
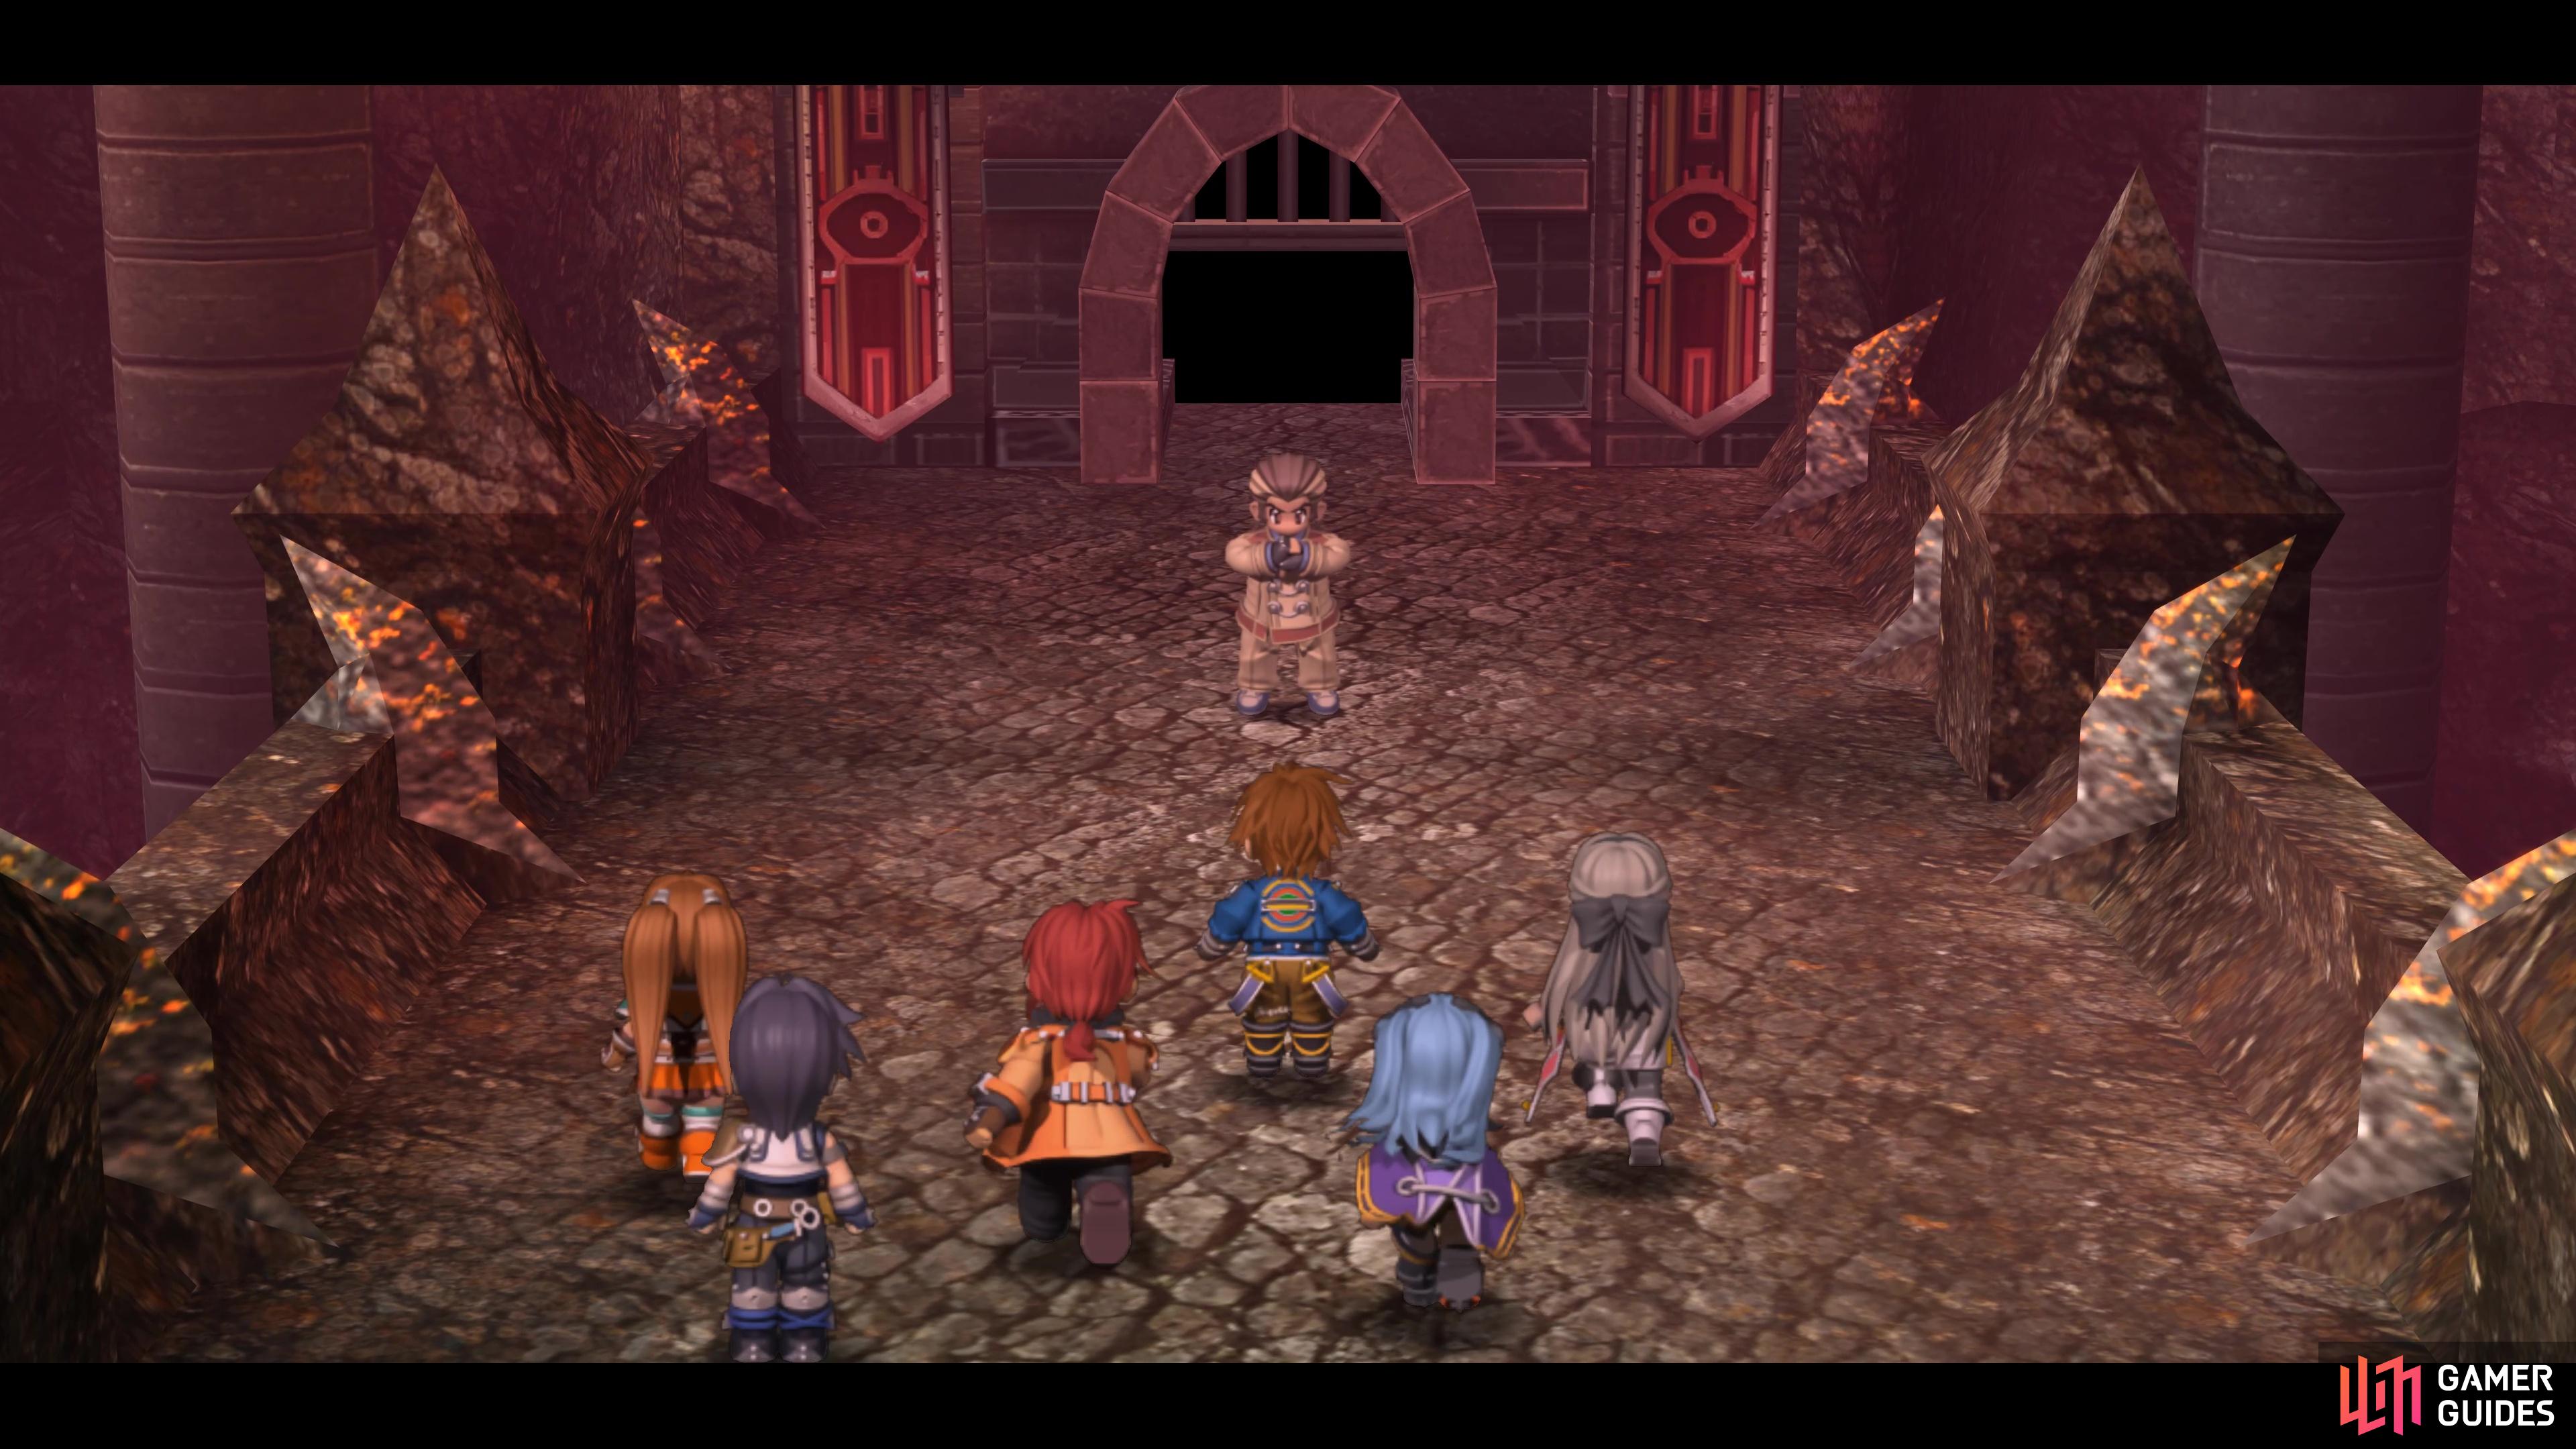
This page covers the Sun Fort - Fourth Stratum during the Finale of The Legend of Heroes: Trails from Zero. This is the final dungeon in the game, and you’ll find details on all monsters, how to open every chest, and defeat the final bosses.
The fourth stratum is the final area of the Sun Fort.
Exploring the Fourth Stratum
| Enemy | Lv | Elemental Effectiveness | Drops |
|---|---|---|---|
| Dark Legend | 43 | Celestial Balm, EP Charge II | |
| Cragrasp | 43 | Prickly Seed, Stimulant | |
| Rip Throat | 49 | Battle Scope, Celestial Balm | |
| Vampir | 43 | Celestial Balm, Antidote | |
| Golden Statue | 43 | – | |
| Beelzebub | 43 | Clear Gelatin, Curia Balm | |
| Quetzalcoatl | 43 | Prickly Seed, Stimulant | |
| Vizou | 43 | Tearal Balm, S-Tablet |
| Items | Notes |
|---|---|
| Orion Guard | DEF+110 ADF+55 (Men Only) |
| Tearal Balm | Restores 5000 HP |
| EP Charge II | Restores 300 EP |
| Tearal Balm | Restores 5000 HP |
| Curia Balm | Cures Ailments |
| Celestial Balm | Restores 2000 HP, cures K.O. |
| Celestial Balm | Restores 2000 HP, cures K.O. |
| Celestial Balm | Restores 2000 HP, cures K.O. |
The final stratum is a lot shorter than the third stratum with no real puzzles to speak of, this is the home stretch! Begin by heading down the stairs and you’ll reach an intersection with holes in the floor. The idea of this stratum is to shift the room around to gain access to where you need to go.
For now, you can only head south, so follow the path to the next area and follow it until you reach your next intersection. Go out the northern door and you’ll find a monster chest containing an Orion Guard. Be sure to scan the Golden Statue here, you won’t get another chance in the game as this is the only place it appears.
Return to the previous intersection and head through the eastern door to reach a switch which will alter the layout of the room. Pull it twice and then exit this room by taking the southern stairs. Go west at the entrance here to find a chest with a Tearal Balm, then go the opposite way and follow the path to an intersection where you’ll find an EP Charge II to the south. Return to the previous intersection and take the eastern stairs to a lever and exit the room.

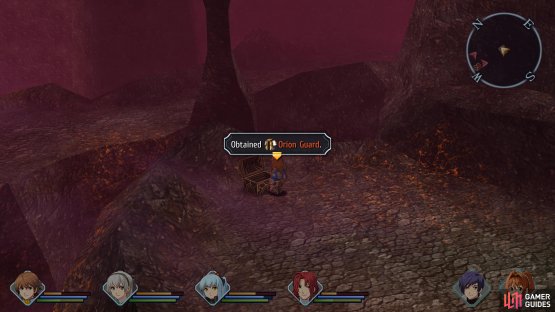
(1 of 2) Be sure to scan the Golden Statue, this is your only chance
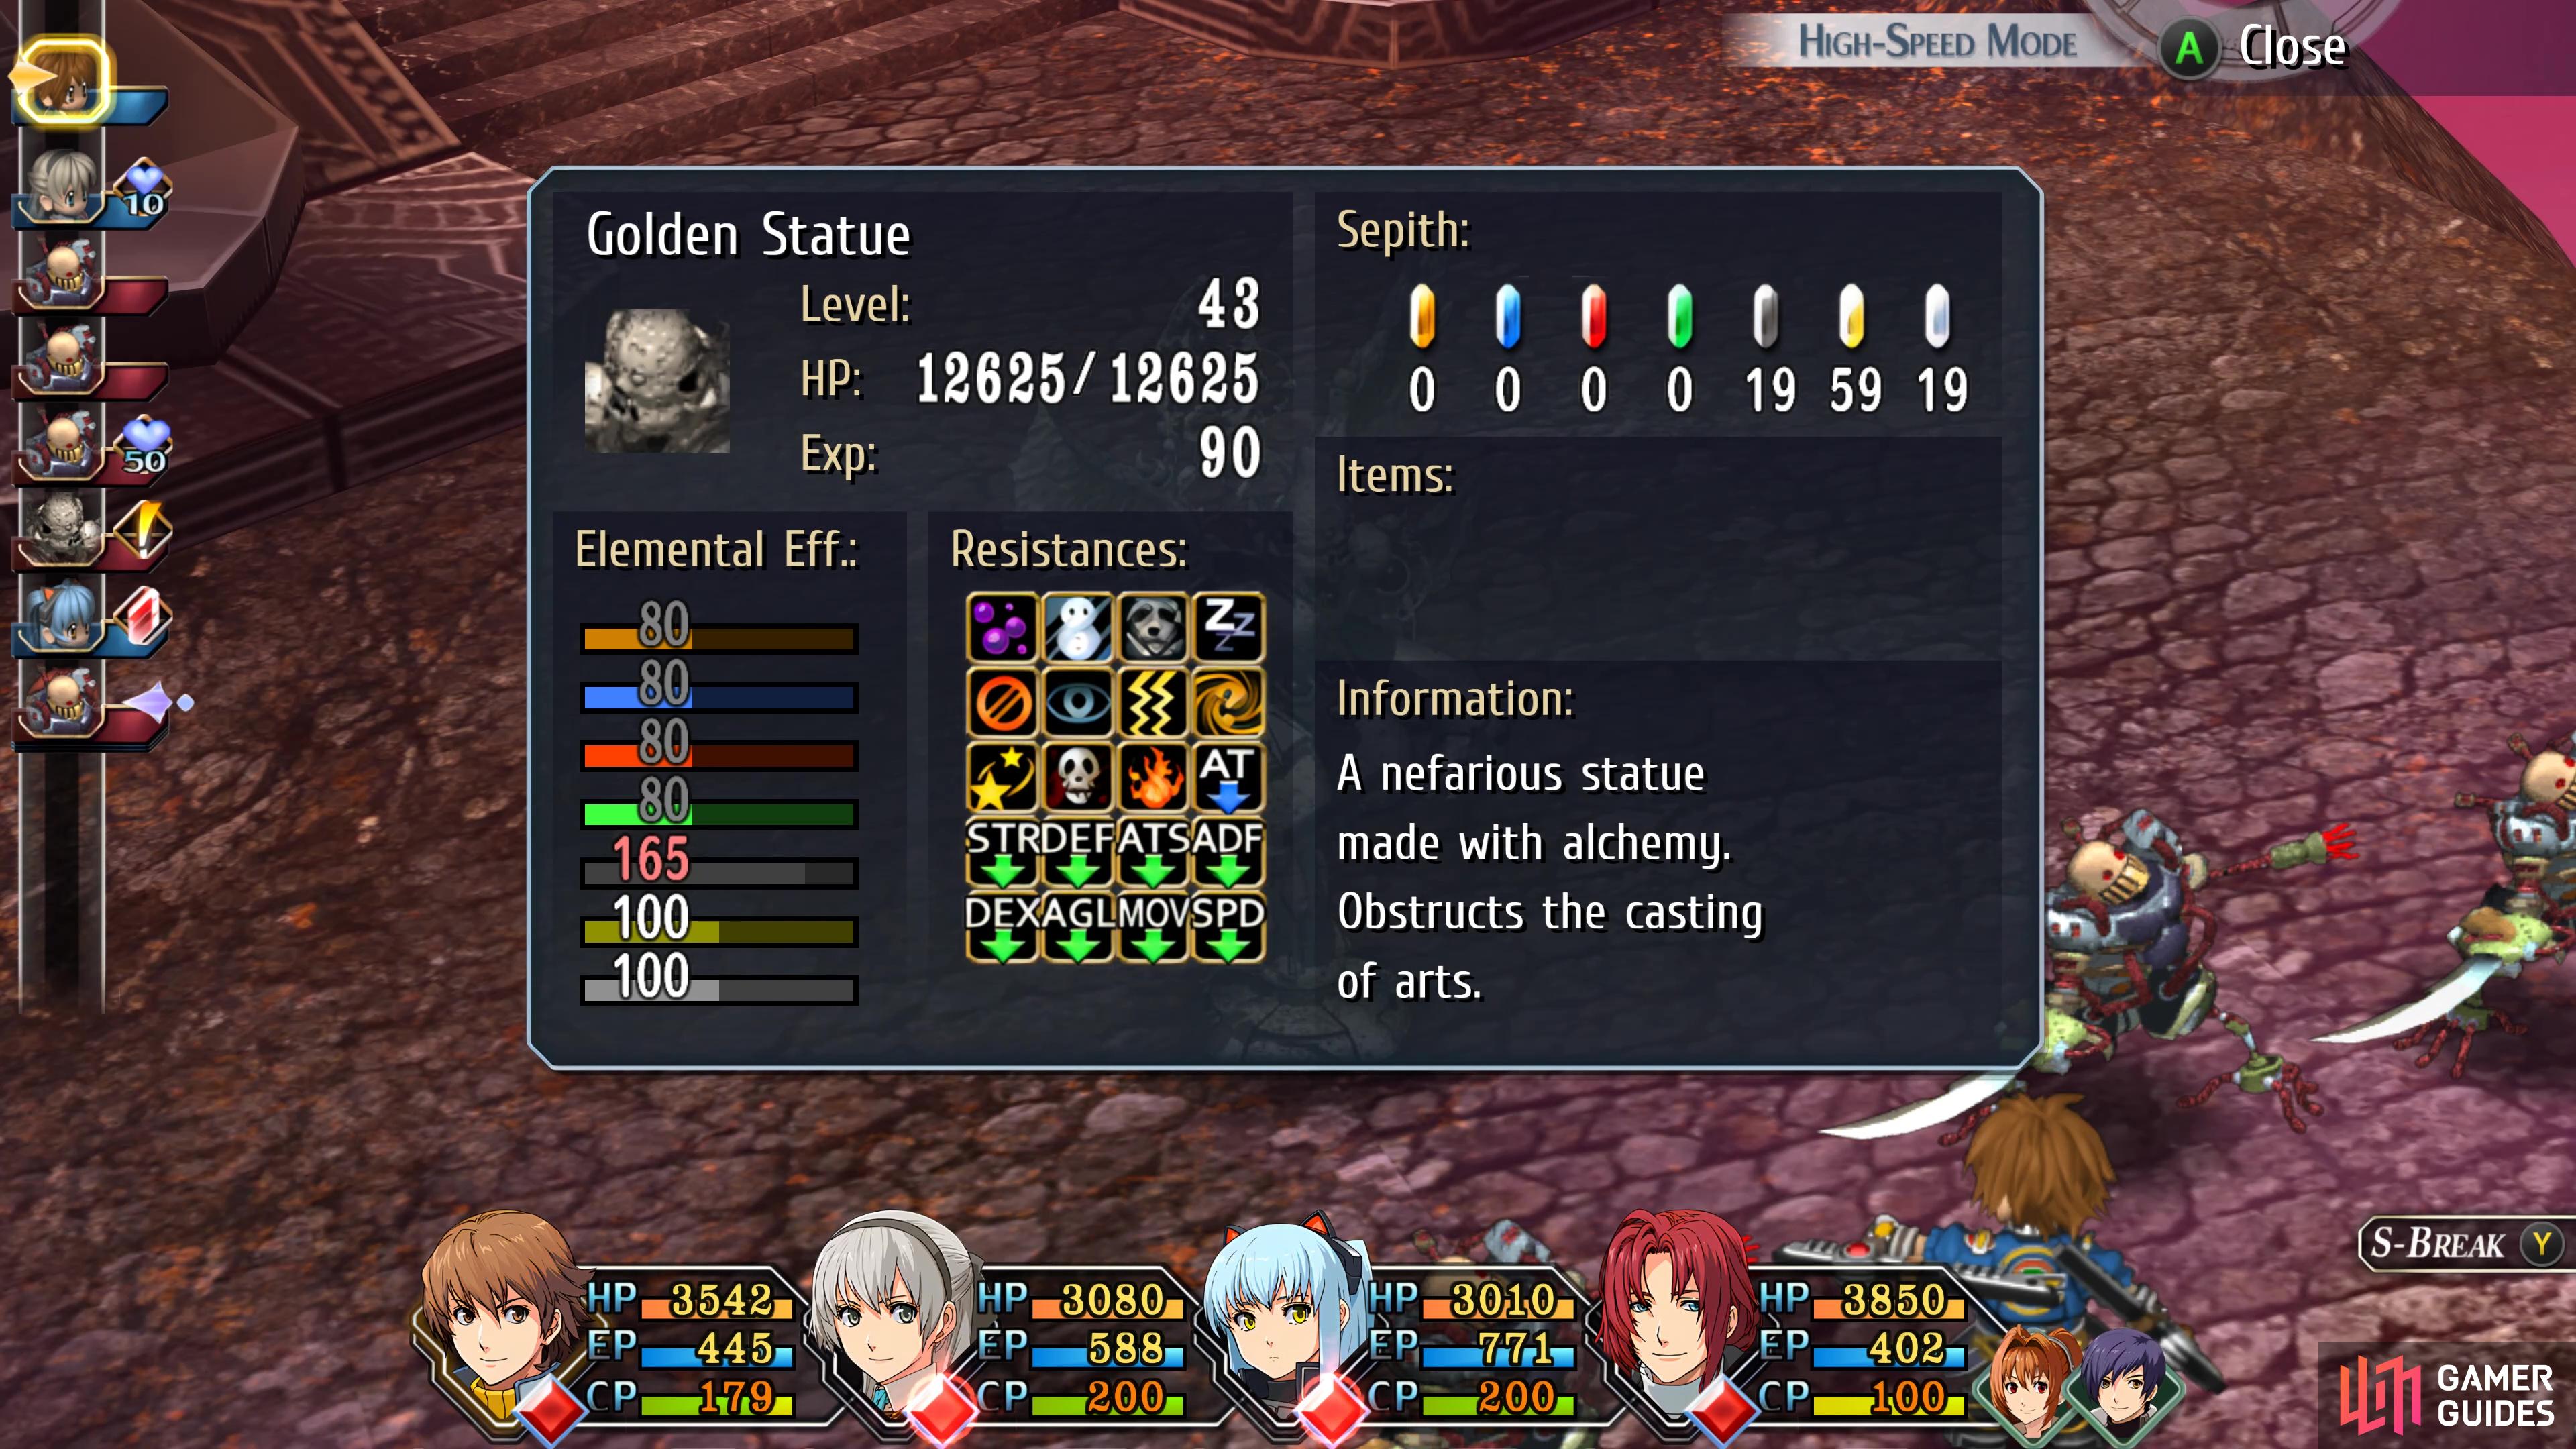
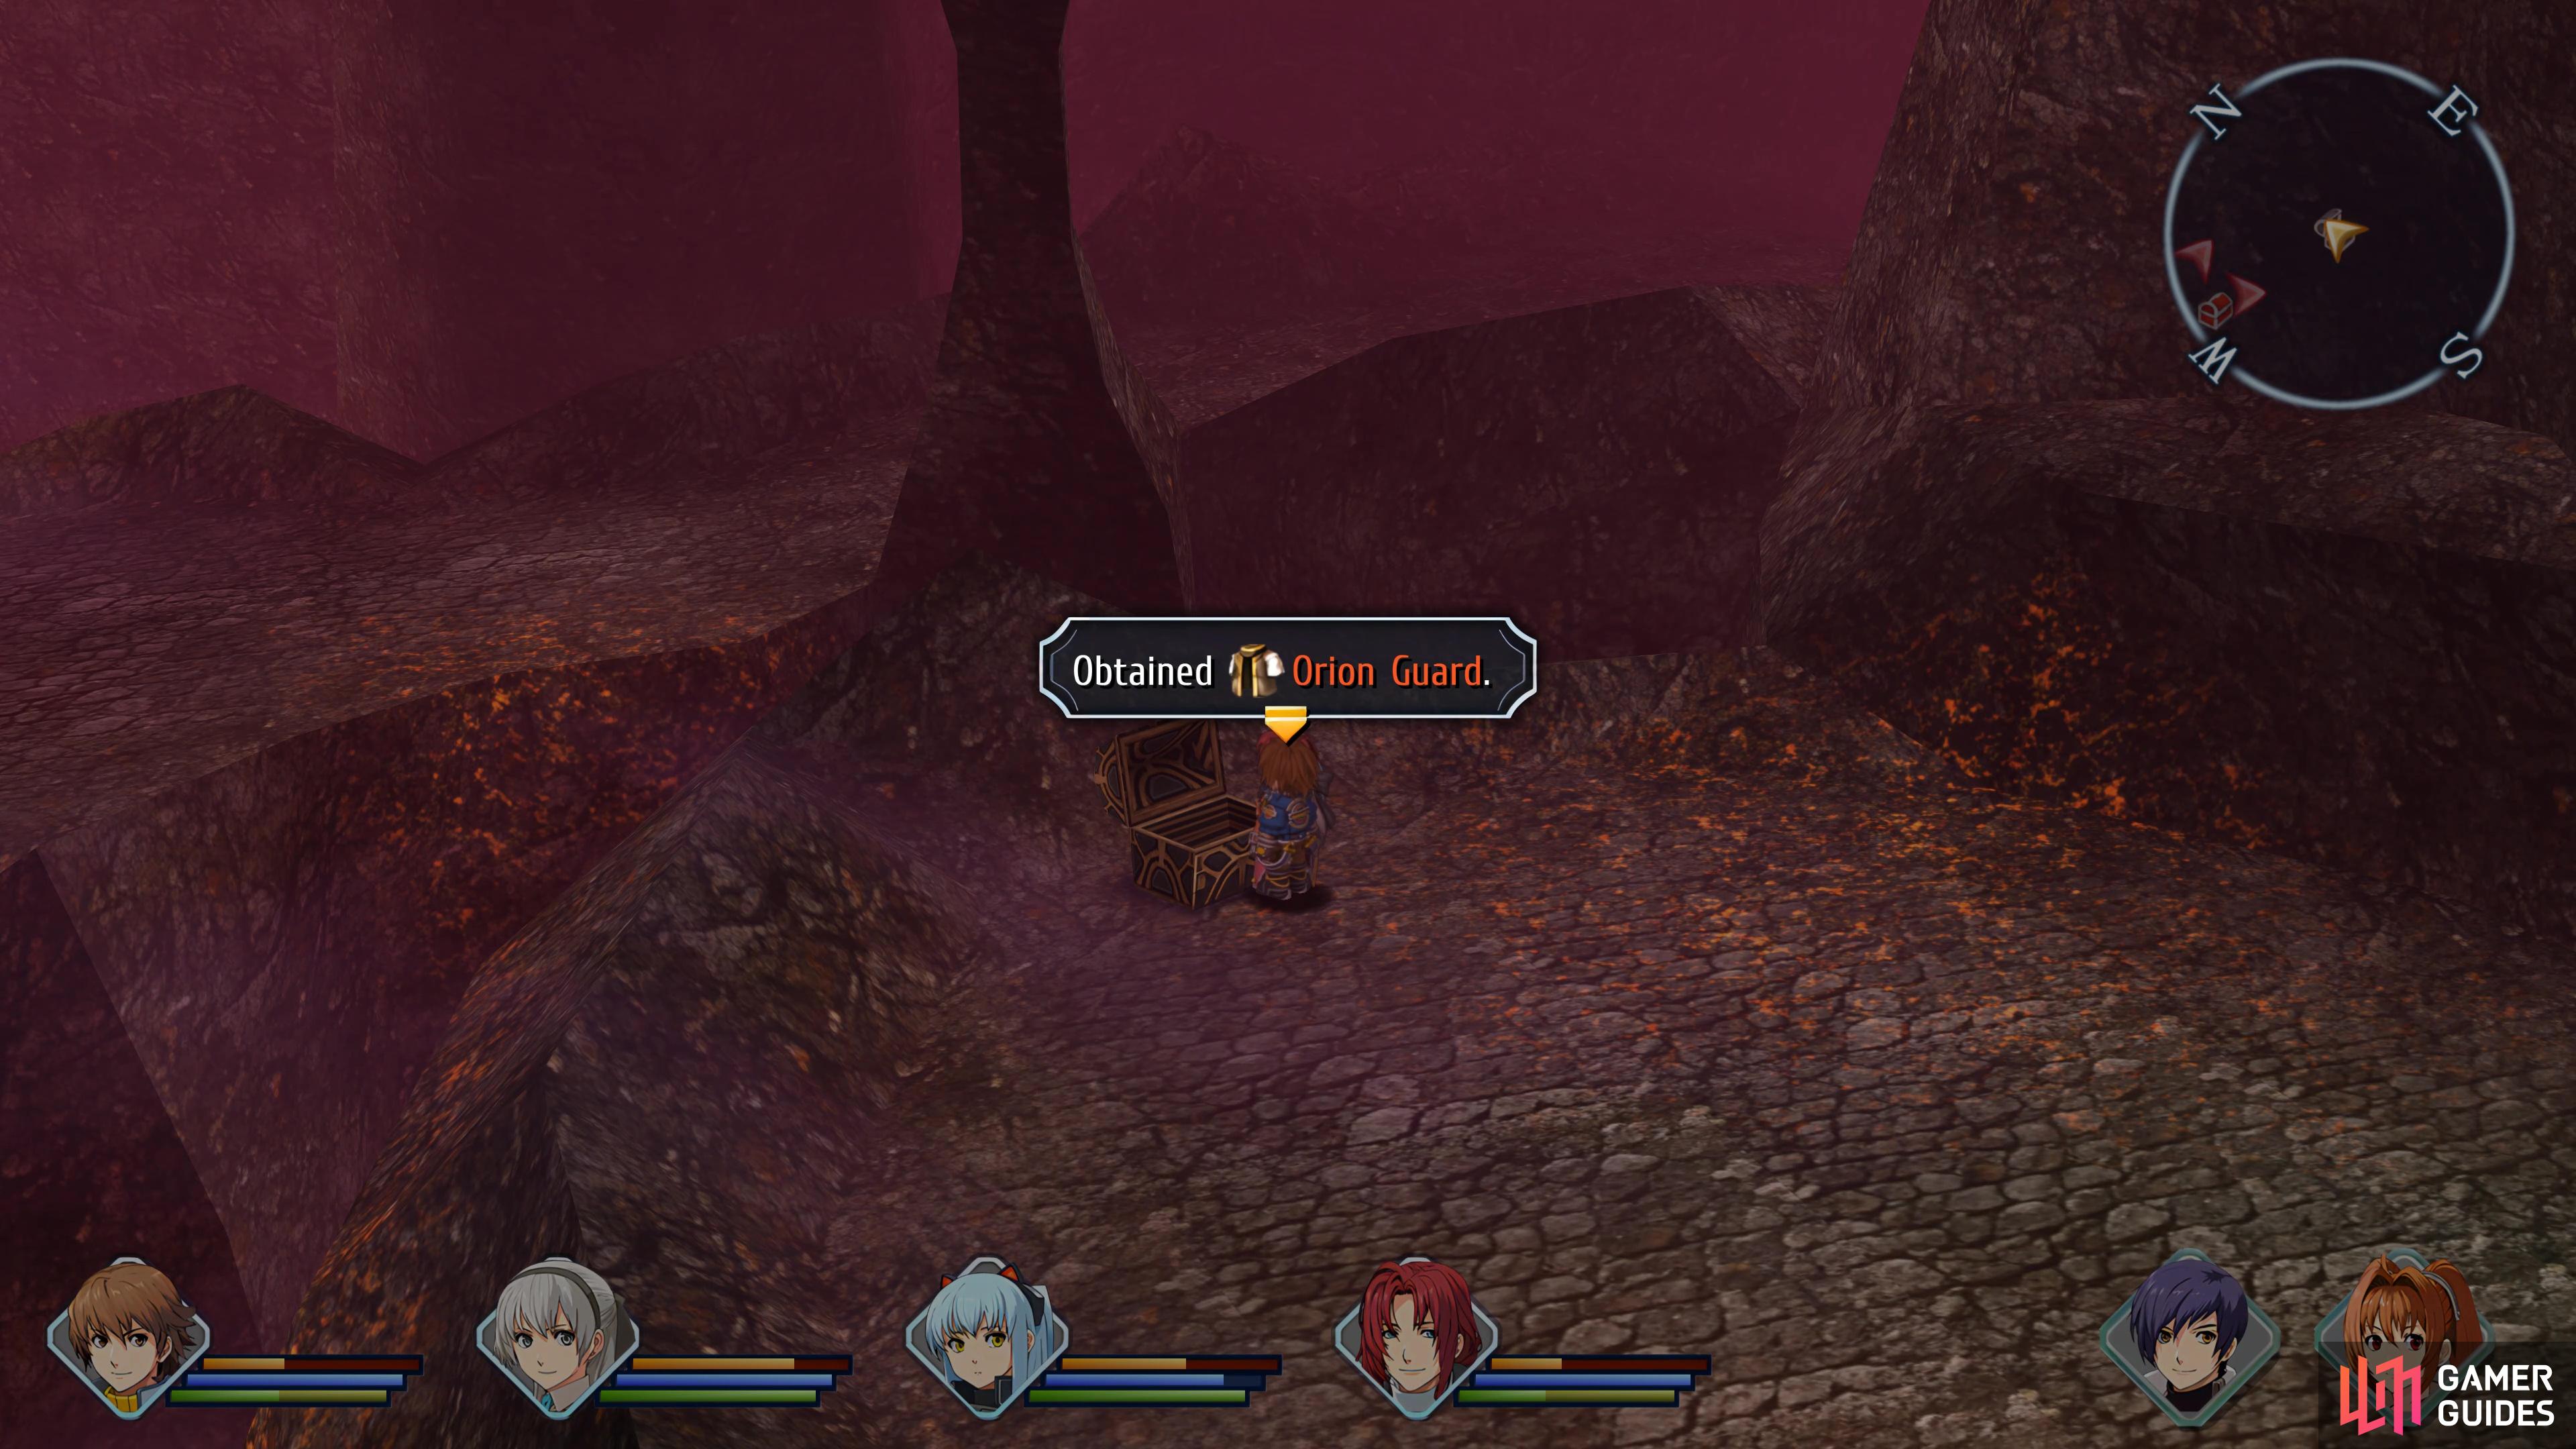
Be sure to scan the Golden Statue, this is your only chance (left), you will obtain an Orion Guard. (right)
You’ll find yourself back at the end of the third stratum, so head west and return to the fourth. Go down to the intersection and this time, head north. You’ll reach another intersection once you descend the stairs, go northeast for a chest with a Tearal Balm and then continue to the northwest into the next area.
Continue following the path to an intersection and go southwest to reach a chest with a Curia Balm. Return to the intersection and go west into the next area. Follow this path and you’ll reach another lever, use it and then ignore the door and pass through the southern exit instead. You’ll reach another intersection where you can go south to find a chest with a Celestial Balm. Back at the intersection, go west and open the chest containing another Celestial Balm as you follow the path northwest and into the final area of this stratum.
Follow the path, go west at the intersection to open the final chest containing yet another Celestial Balm and then proceed to the Recharge Station. A boss awaits you just beyond the exit here so be sure to heal up, recover your CP (using food if you need to), save your game and then pass through.
Boss Battle - Garcia
Garcia is a boss in the fourth stratum of the Sun Fort.
| Enemy | Lv | Elemental Effectiveness | Drops |
|---|---|---|---|
| Garcia | 44 | – |
You may remember your last tussle with Garcia Rossi back at the end of Chapter 3 and this battle remains relatively the exact same, outside of his attacks causing more damage.
The main attack to look out for, like with the original battle, is his S-Craft, Killing Driver. Without any buffs, this will deal around 3900+ HP, needless to say, you won’t be surviving this so be ready to revive anyone that may be unlucky enough to have this aimed their way.
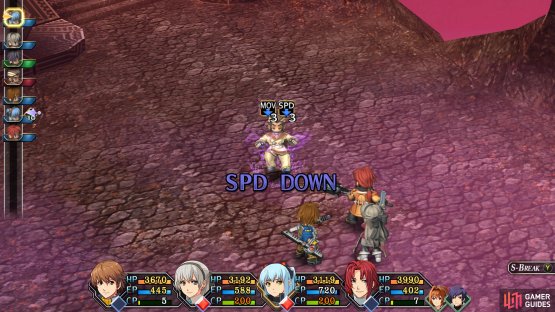
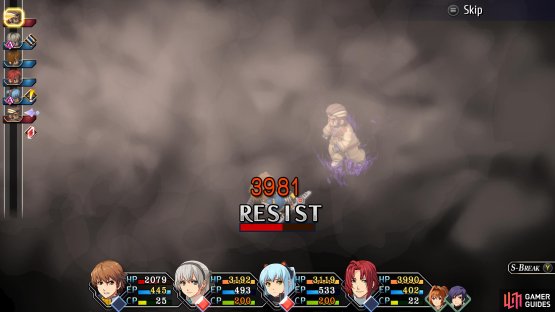
(1 of 2) Be sure to debuff Garcia’s Speed
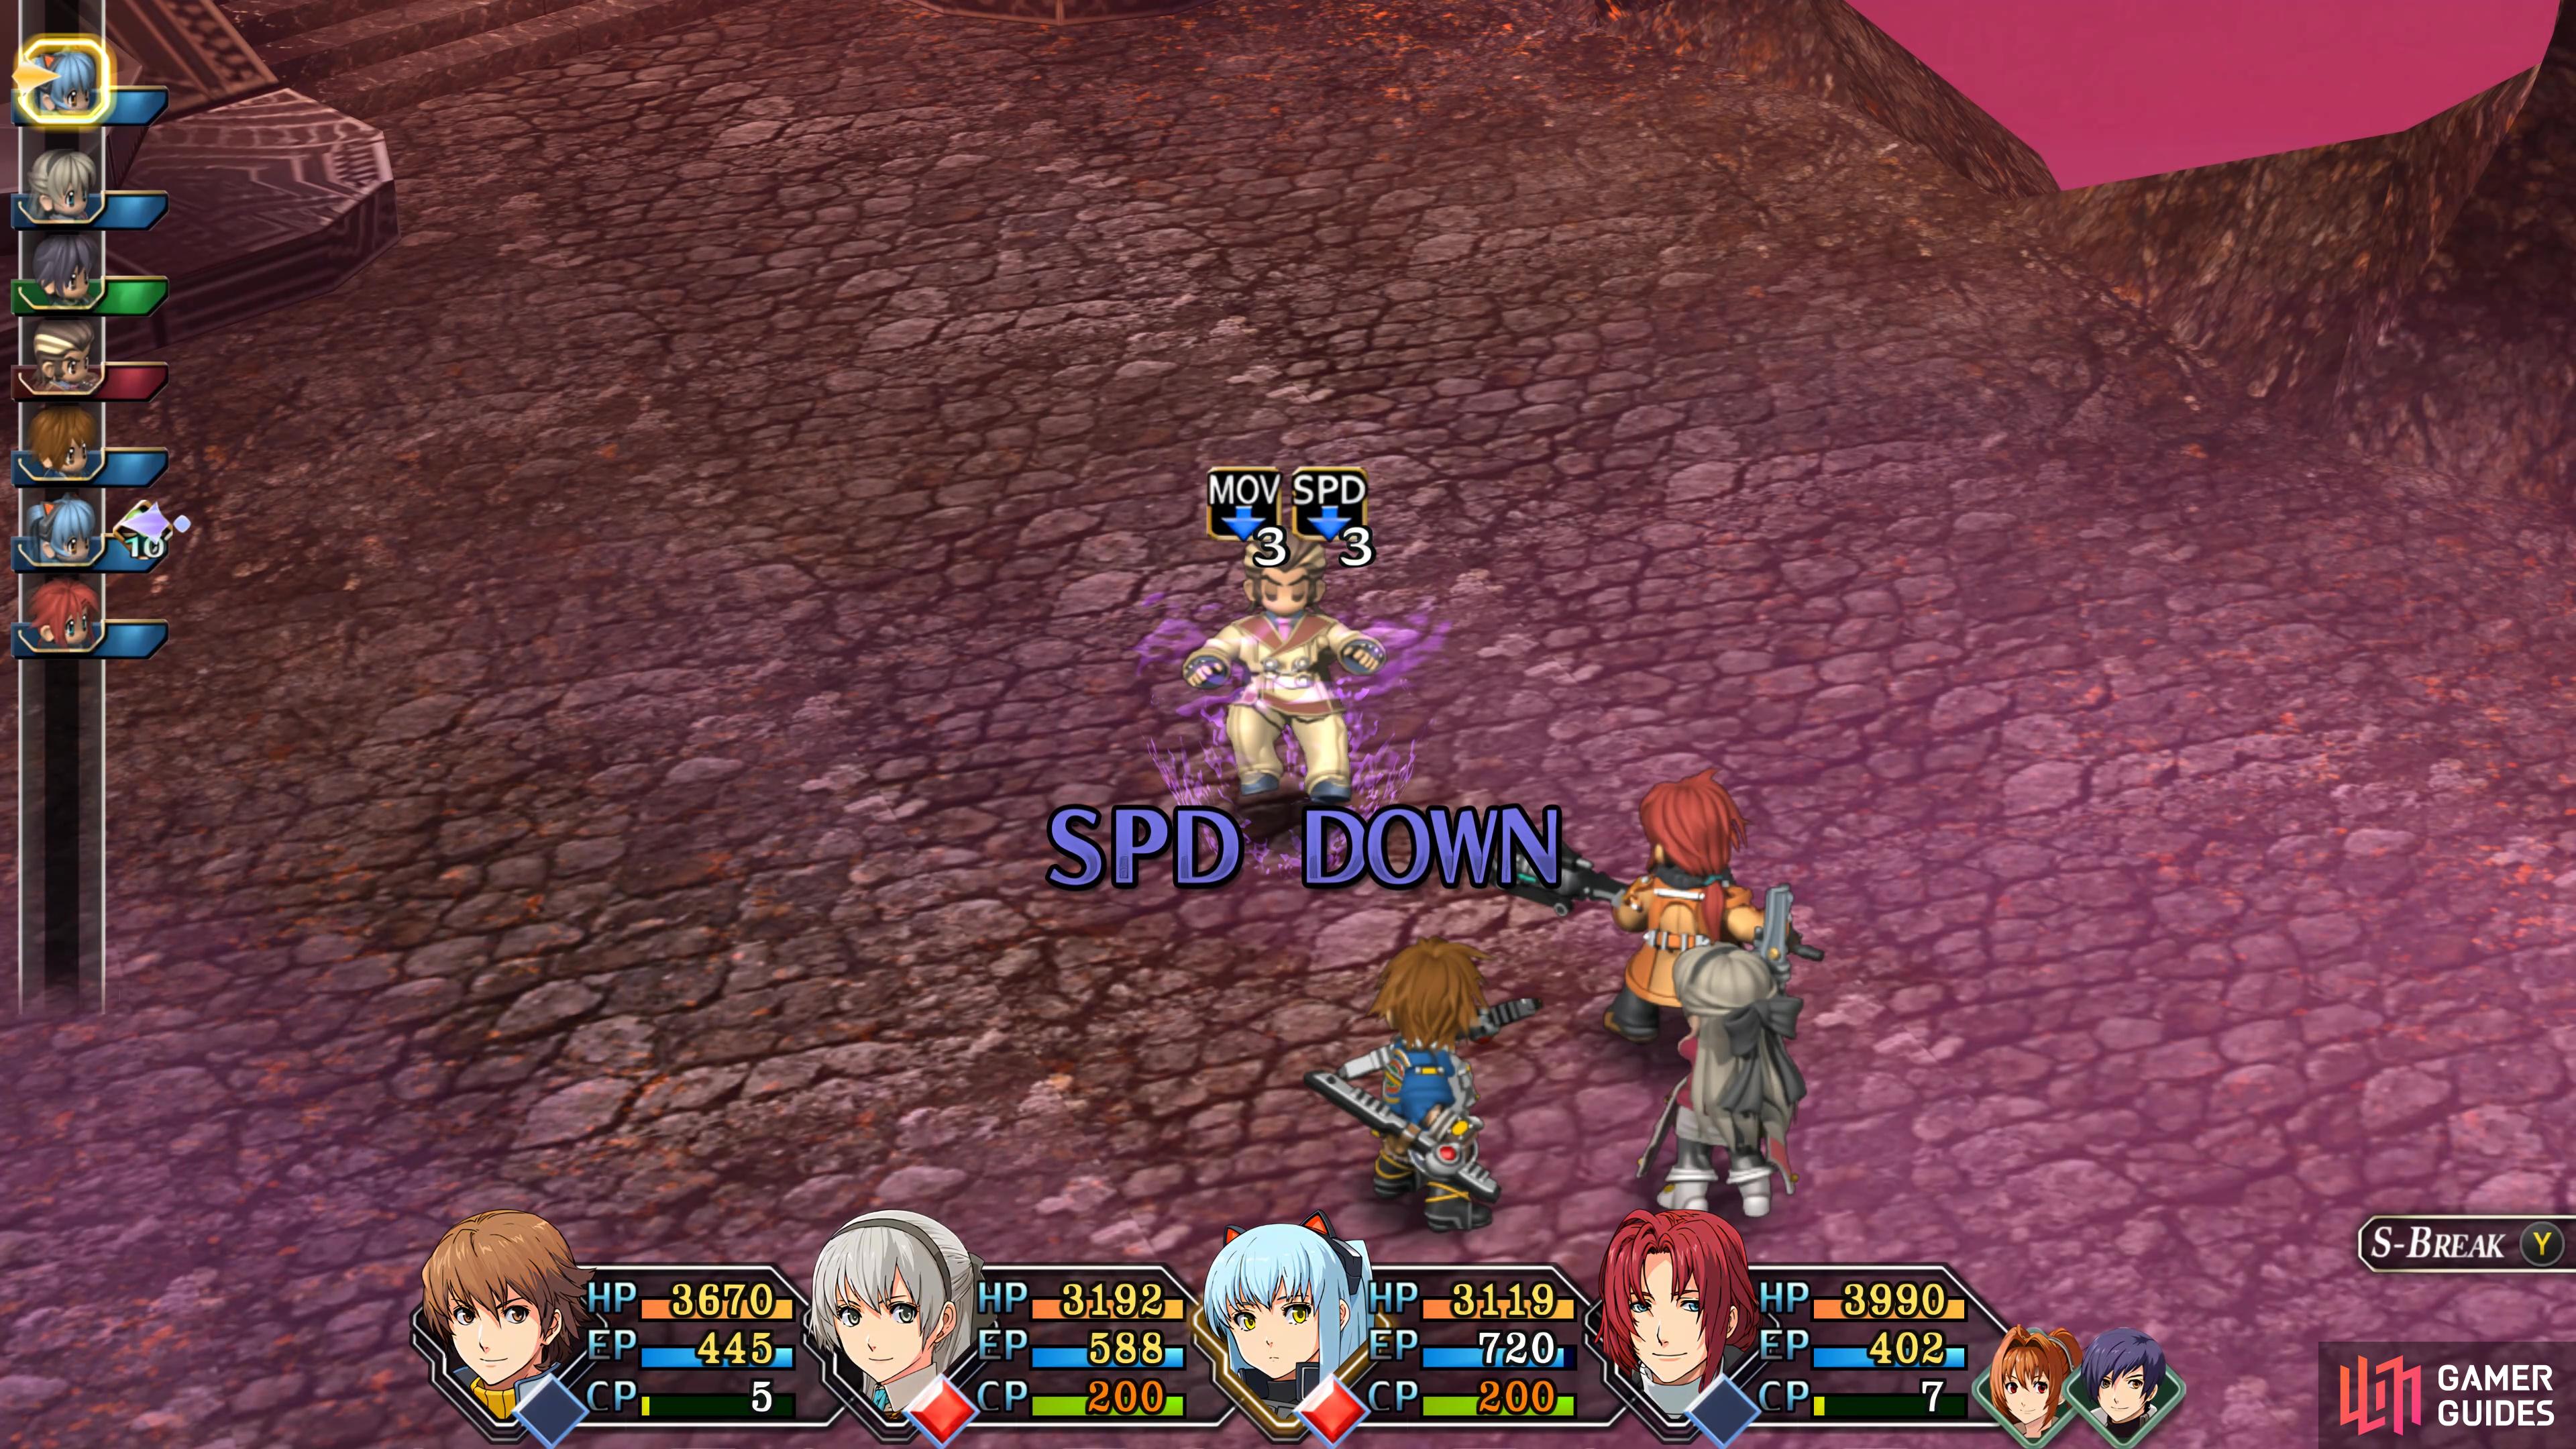
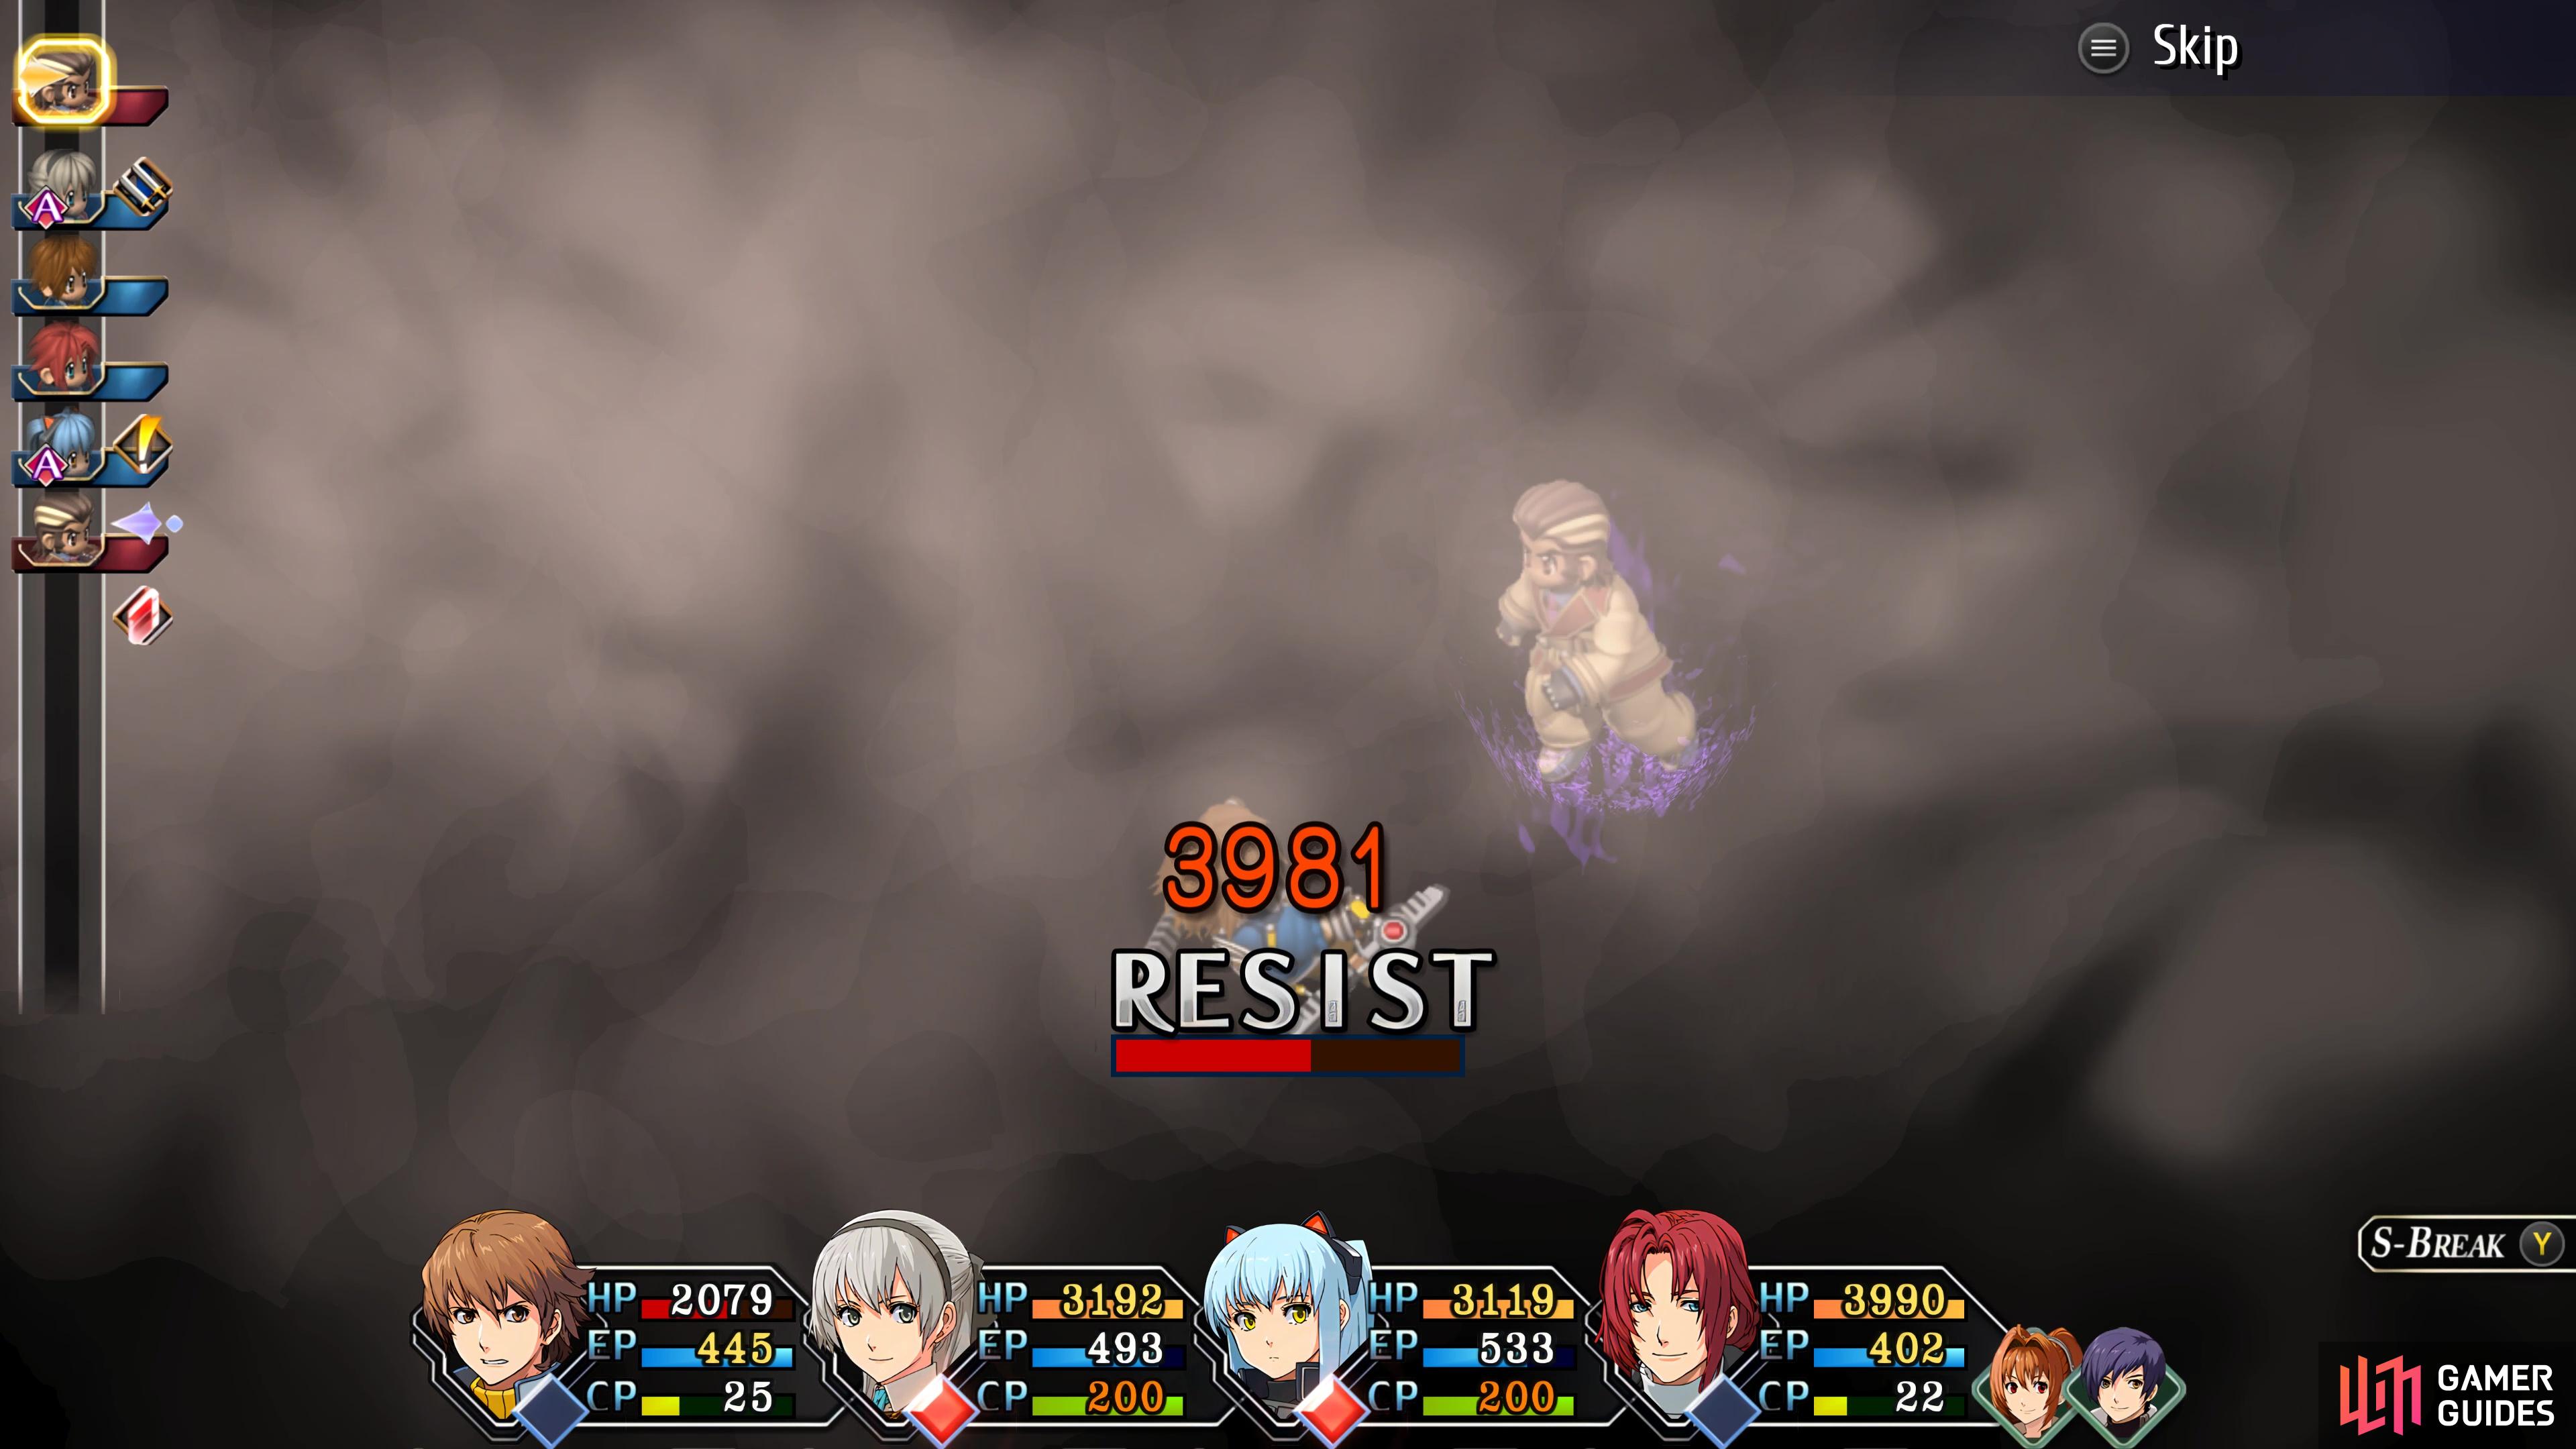
Be sure to debuff Garcia’s Speed (left), Killing Driver will almost certainly kill whoever it hits. (right)
Garcia is surprisingly vulnerable to all of the Stat Down debuffs, so lower his Speed and Strength will make this battle significantly easier than it already is. You can also use Tio’s Analyze to place DEF and ADF on him before you strike him with S-Breaks and high-level Arts. Garcia can dish out a lot of damage, but your party is significantly stronger at this stage of the game that he should be a simple battle.
Once you regain control after the battle, return to the Recharge Station to heal up and then ensure you have 200 CP for everyone, be it from fighting enemies or using food. Take one last look at your setup and be sure that all characters have necessary status resistance. Once you’re ready to settle everything, continue along the path where your final adversary awaits.
Final Boss Battle - High Priest Joachim
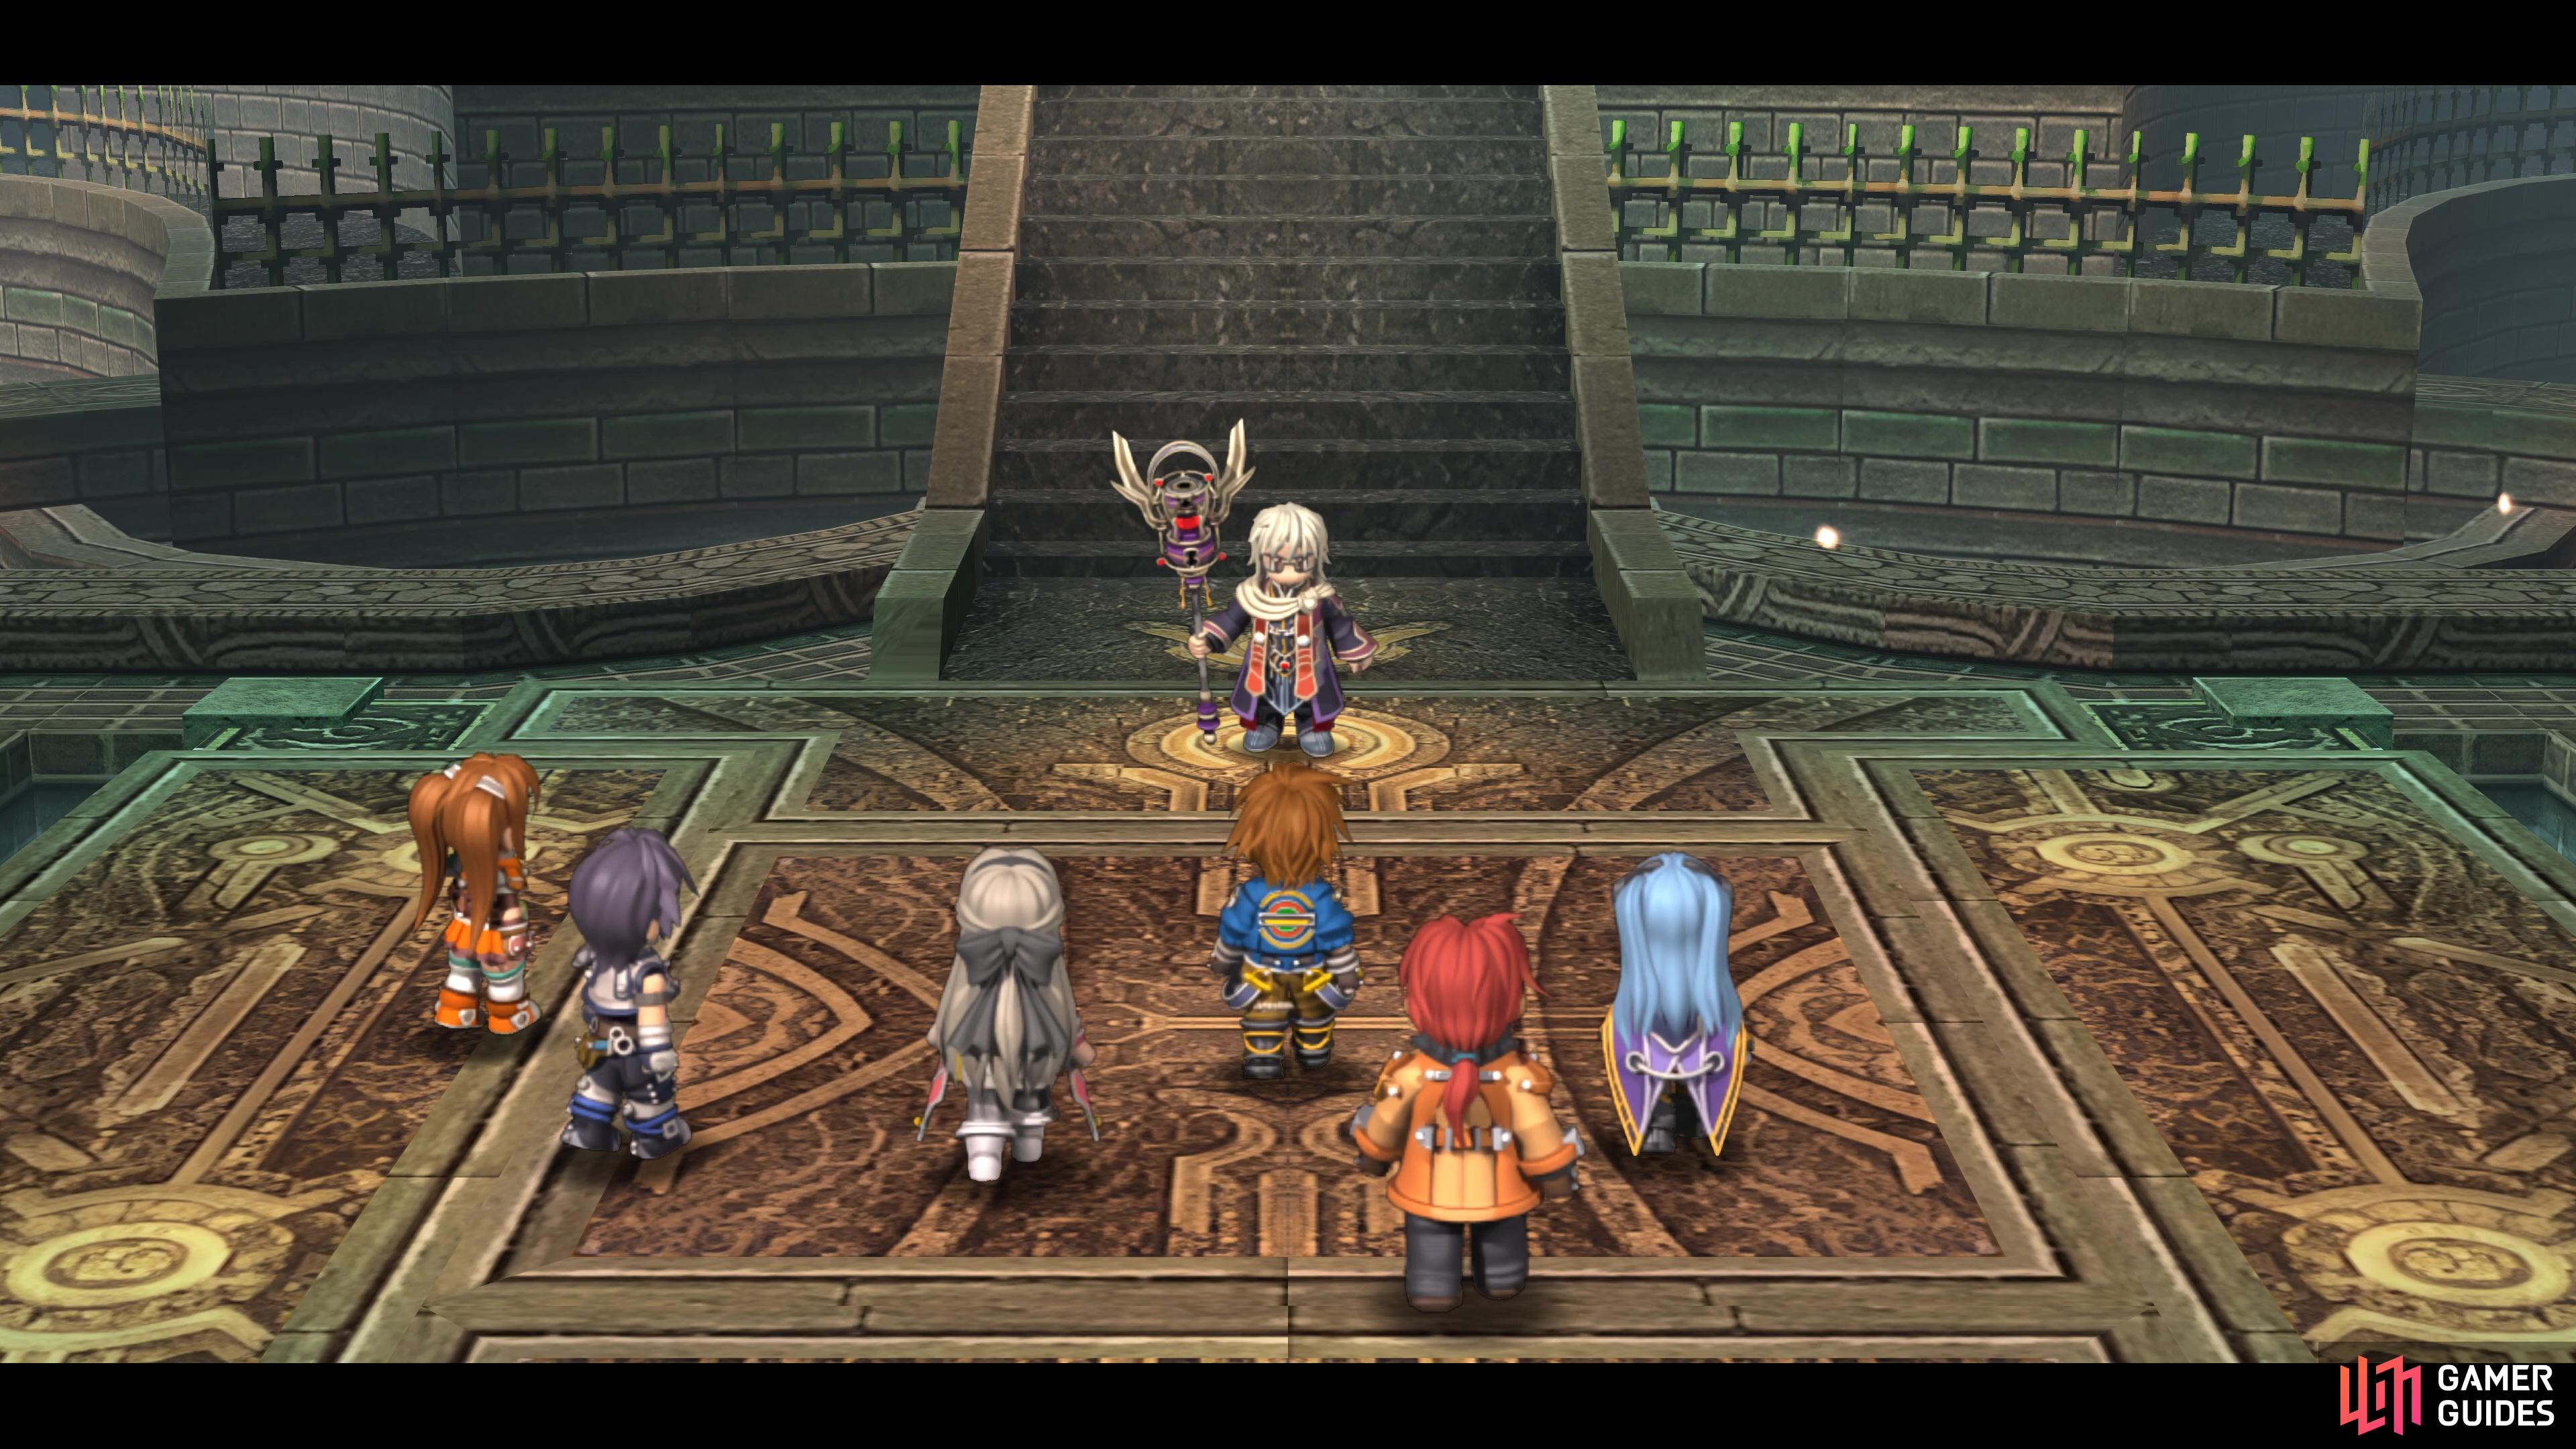
High Priest Joachim is the first part of the final boss battle.
| Enemy | Lv | Elemental Effectiveness | Drops |
|---|---|---|---|
| High Priest Joachim | 44 | – | |
| Regna Aguel | 44 | EP Charge II, Tearal Balm |
The Final Battle takes place across two boss battles but there is a silver lining to it all, you’ll recover your HP, EP, and CP between the two battles. The first battle is against High Priest Joachim and two Regna Aguels.
The Regna Aguels are rather simple to deal with as they won’t move, but instead, attack in a line AoE that has a chance to inflict Burn on anyone it strikes. If you’re protected against this, you can all but ignore them so long as you remember to keep your HP up.
High Priest Joachim, on the other hand, has a few more tricks up his sleeve:
-
Mind Crush: Joachim will let out a surge of dark energy, dealing around 750 HP in a small AoE. This also has a chance to inflict Confusion.
-
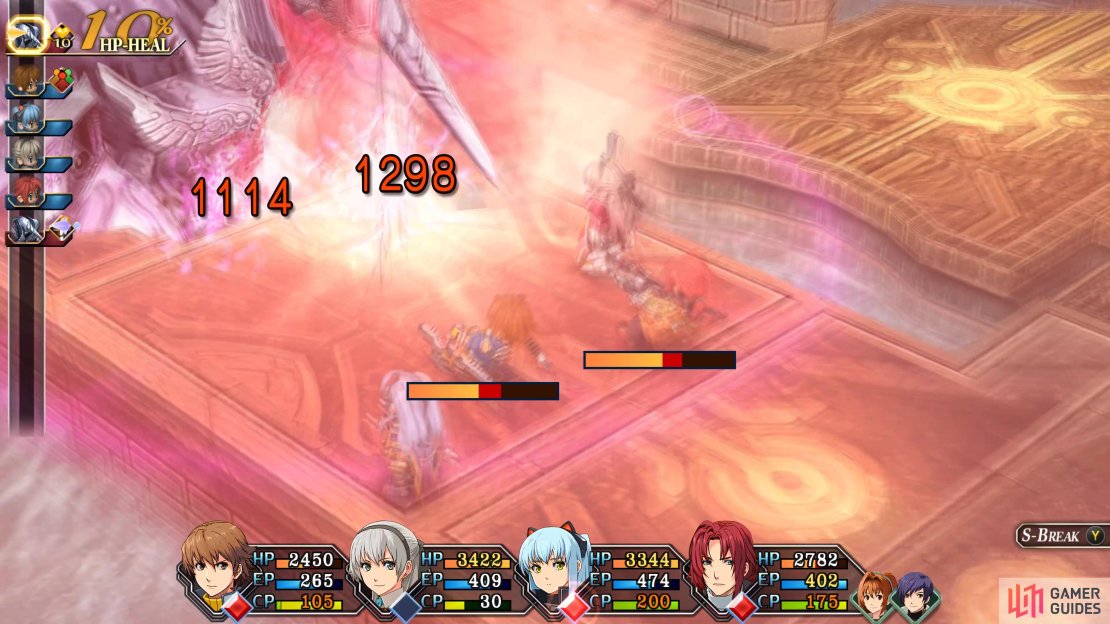
Calamity Sphere: Joachim’s S-Craft will see him summon a large demon that attacks every character for around 1200+ HP while also inflicting Mute on anyone not protected against it.
-
Dark Zanbar: Joachim will swipe with a dark energy sword in a large AoE arc in front of him, dealing around 1000 HP to anyone nearby.
-
Dark Mirage: Joachim will vanish, moving around the battlefield and you’ll be unable to target him. He often uses Dark Zanbar when he exits from this state.
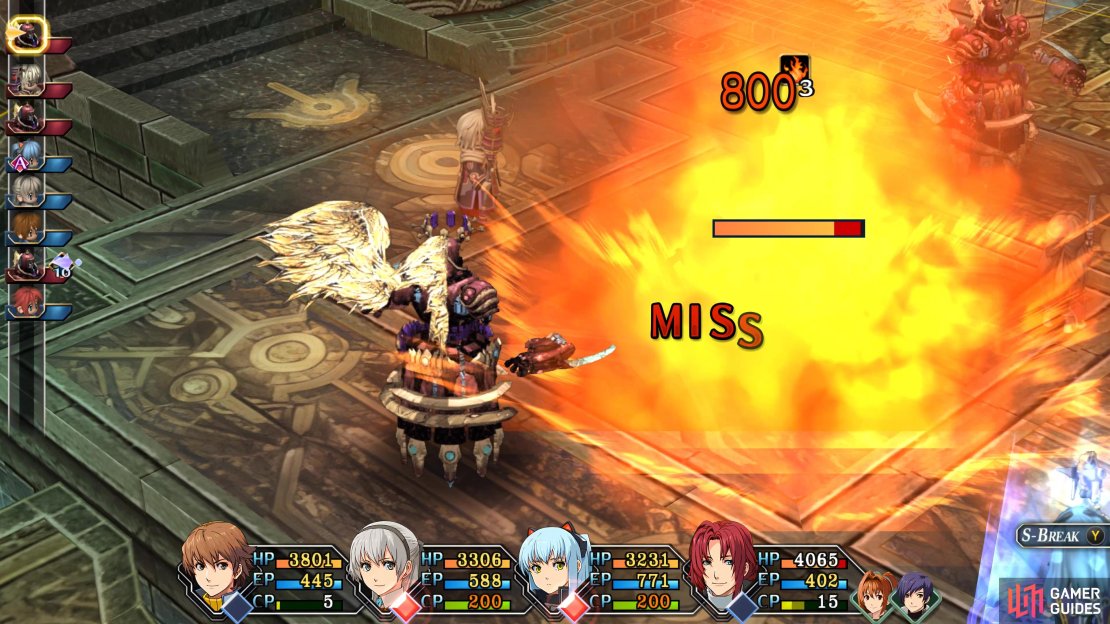


As always, starting with S-Crafts from Lloyd and Randy will put a huge dent in his HP, then you can focus on using high-level Arts to pummel him. If you have Genesis Flood, this is especially useful as it hits the entire screen, and the Regna Aguels are weak to Water.
Joachim is far deadlier than his minions however, and his S-Craft will be dangerous if you didn’t remember Mute protection as you’ll be hit with it from Calamity Sphere if you don’t. Dark Mirage can be a pain too, you won’t be able to attack him during this so keep your characters spread apart and healed up, ready to go when you can see him again.
Joachim himself doesn’t have much HP for what is one of the final bosses, the usual S-Craft combo from Lloyd and Randy will already make a heavy dent in it alone. Leave Tio at the back of the battlefield to sling Genesis Flood or other high-level Arts to not only deal with Joachim, but also his Regna Aguels while Elie focuses on healing and using her own Arts when she can. Remember, your HP, EP, and CP will heal after this battle so use S-Crafts as soon as you have 100 CP.
Final Battle - Demon Joachim
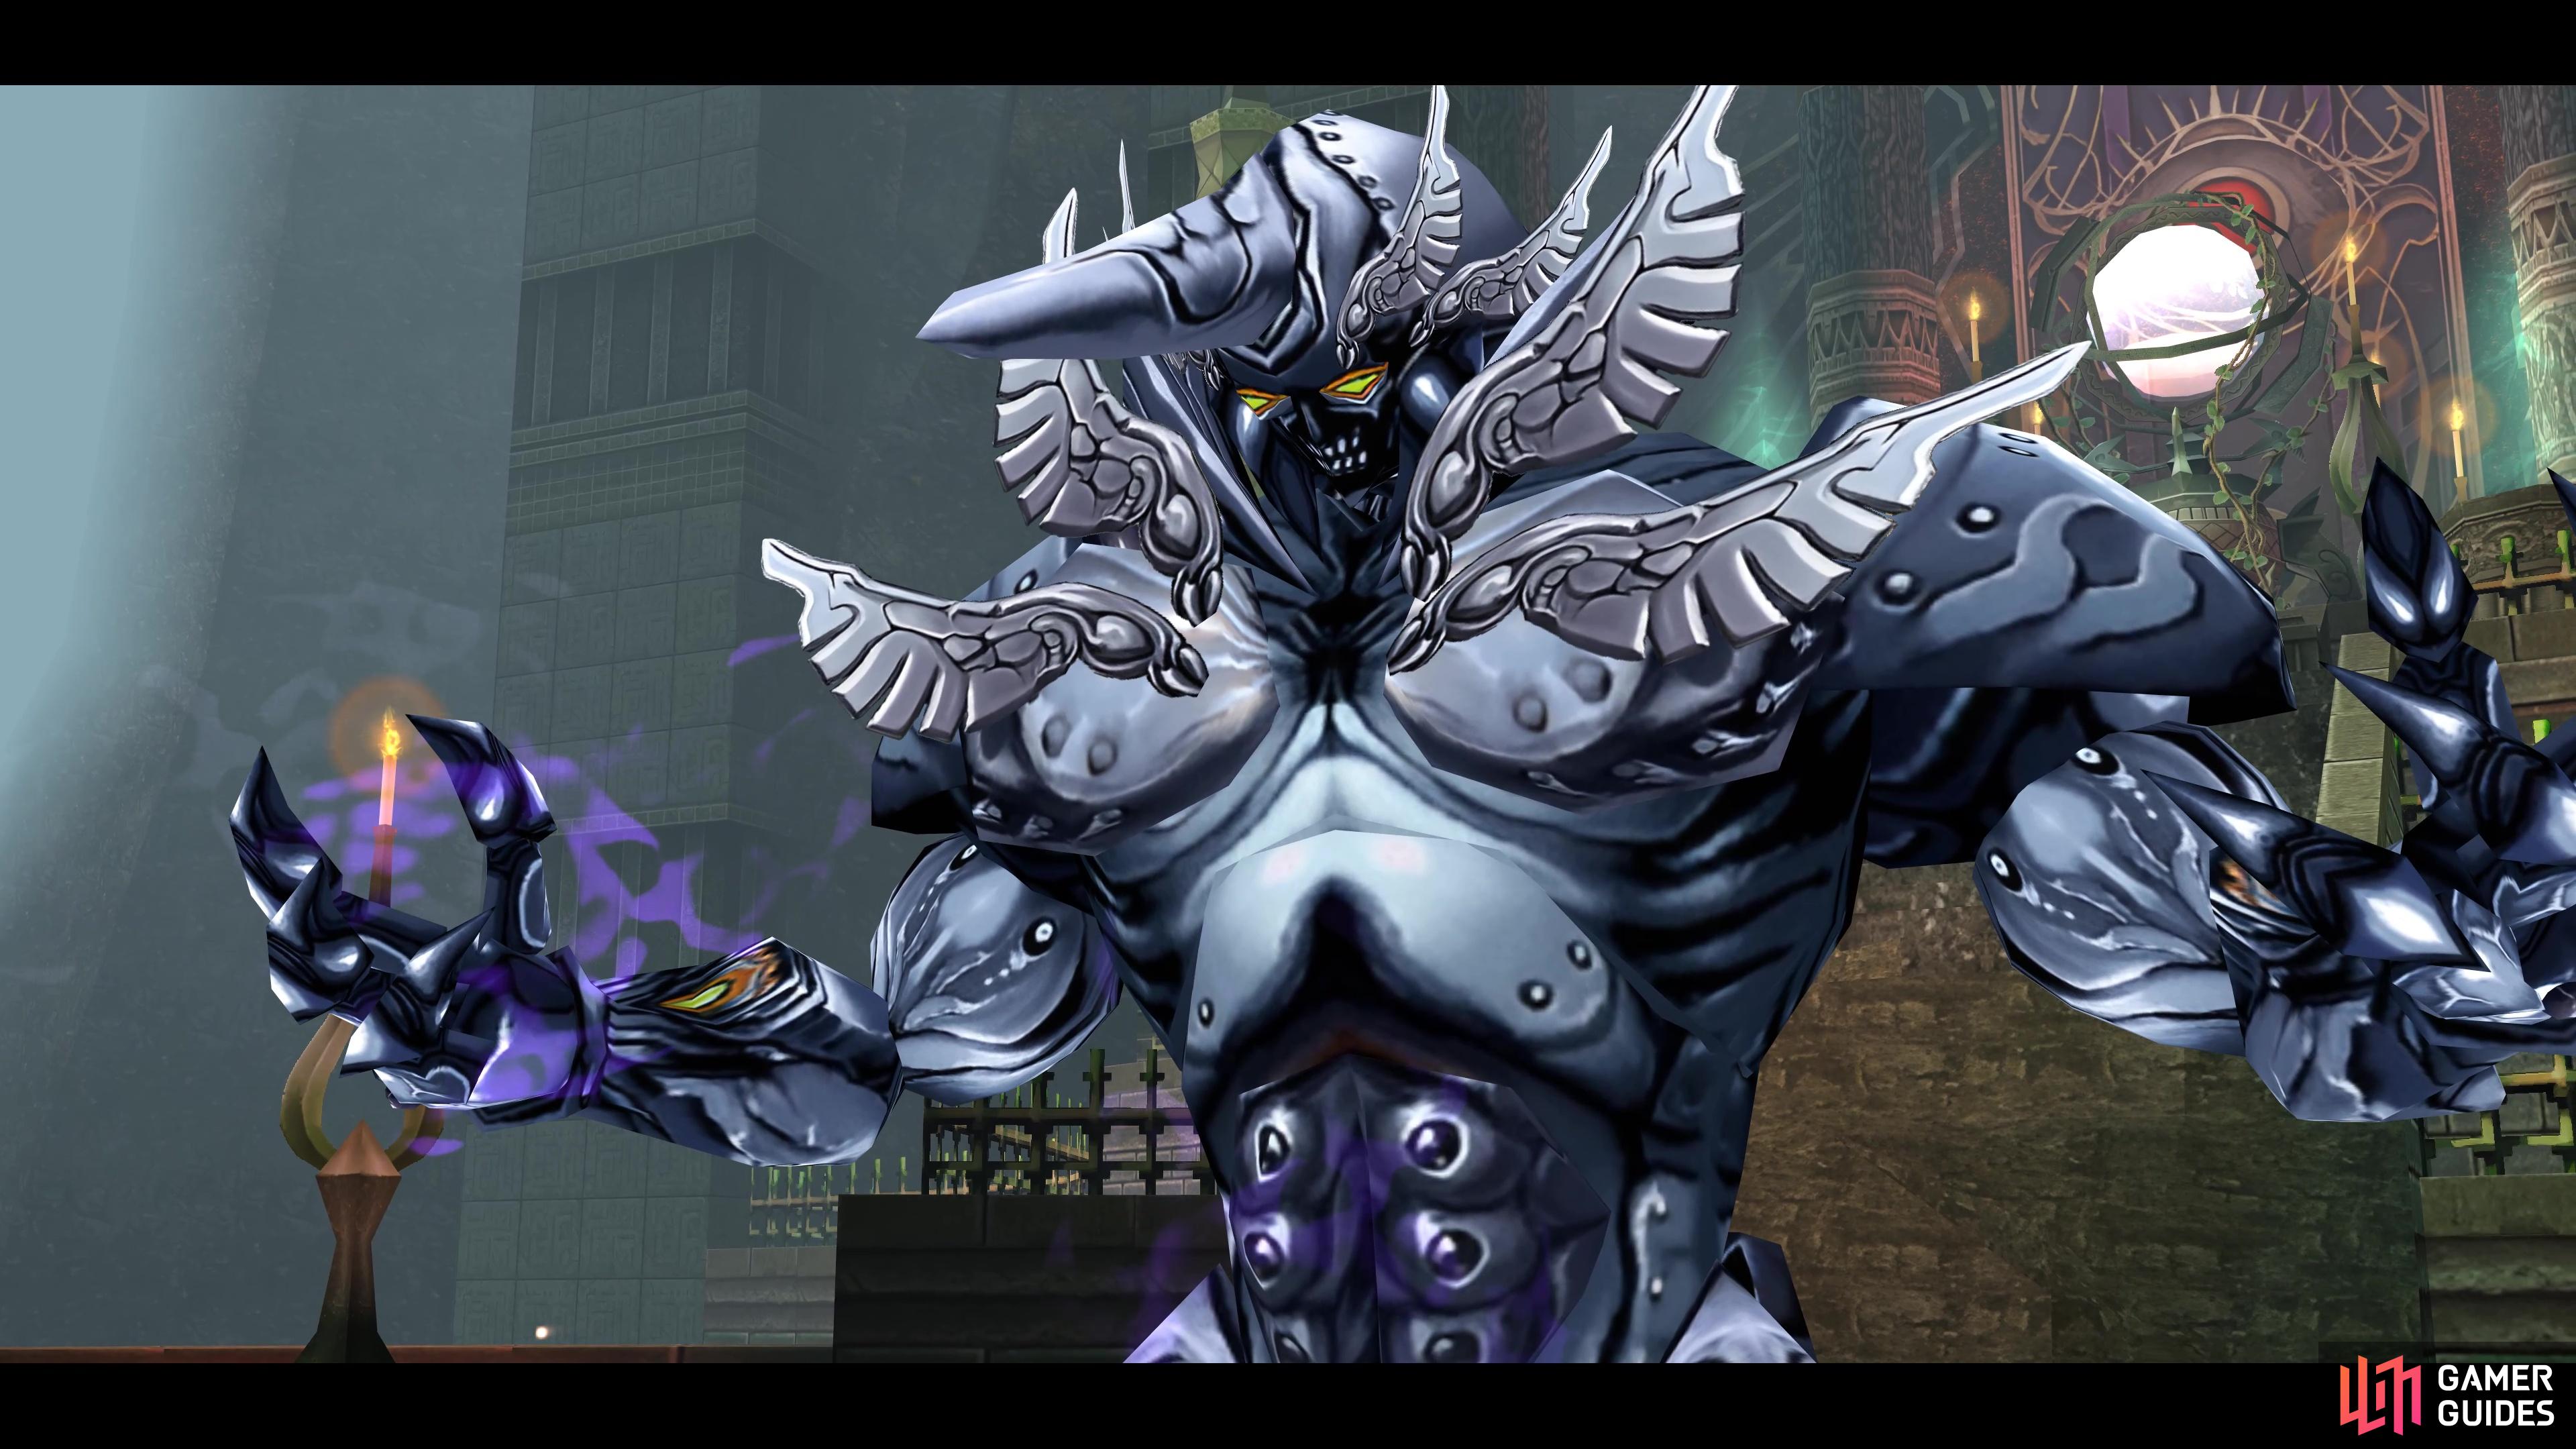
Demon Joachim is the second part of the final boss battle.
| Enemy | Lv | Elemental Effectiveness | Drops |
|---|---|---|---|
| Demon Joachim | 45 | – | |
| Deadly Clown | 43 | – | |
| Vital Clown | 46 | – |
Phase 1
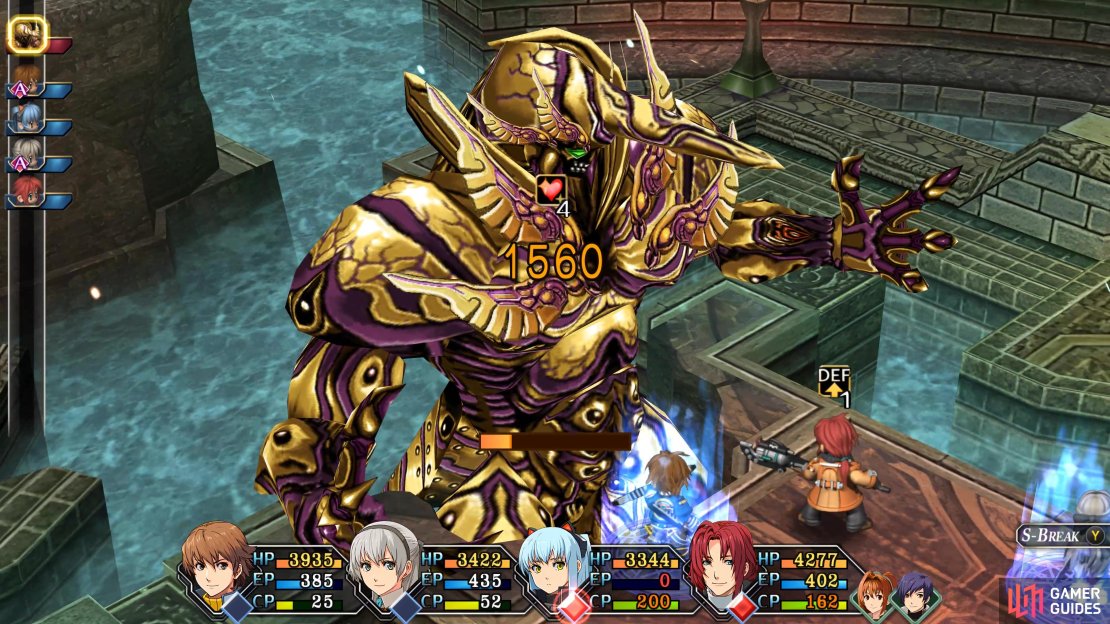
This is the final battle (although there is a set-piece that follows), so there’s no longer a need to worry about holding on to your best items should you need them. Demon Joachim has two Clown minions with him which will fill two different functions.
The Vital Clown has the ability to heal Demon Joachim for around 1000 HP, while the Deadly Clown will use attacks that lower your DEF and ADF. Demon Joachim won’t resummon these and they don’t have a lot of HP so make them your first target at the start of the battle before you focus on Demon Joachim.
During the first phase of the battle (until around half HP), Demon Joachim has access to the following attacks:
-
Hand of Flame: Demon Joachim will strike out at a single character, dealing around 1000 HP with a chance to inflict Burn to anyone not protected against it.
-
Hand of Ice: The same as above, only this has a chance to inflict Freeze on anyone who is not protected against it.
-
Wicked Blade: Demon Joachim’s S-Craft sees him launch a barrage of attacks in a small area, dealing around 2300+ HP to anyone nearby.
-
Lightning Rod: Demon Joachim shoots bolts of lightning in a small AoE dealing around 1100+ HP and has a chance to inflict Seal to anyone not protected against it.
-
Earth Bullet: Demon Joachim will shoot an earth-based wave in a line-AoE, dealing around 1000 HP to anyone it hits and pushing them back.


How difficult Demon Joachim is will be purely based on your protection to ailments, as every attack he has will have a chance of placing one on you. Two characters should be at least fully covered with the Grail Lockets at least. He won’t start using Wicked Blade until the two clowns are defeated but once they are, keep Randy and Lloyd close to the boss so he focuses it on them. You can also make life a lot easier by placing and keep SPD down on him.
You’ll want to pay special attention to the battlefield, whenever the clowns are defeated, they’ll explode and cause the ground below them to disappear (as indicated by the while outline around the area). Also, once you bring Demon Joachim into his second phase, the floor at the back of the battlefield will disappear, this is easy to get caught out by as his attacks cause knockback. Don’t fret though, that character will only be gone for a few turns as it works just like the Vanish effect.
Phase 2
The second phase will grant new attacks to his growing list, give you less space to avoid them all and there is a chance for a new summon, an Evil Prim Phobos so be sure to hold off on killing Demon Joachim until you at least have your scan for that.
As for his new attacks, you’ll want to be prepared as they really up the stakes:
-
Refrain of Revenge: Demon Joachim will enter a counter state and grant himself regen.
-
Dogma of Battles: Demon Joachim’s ultimate attack that will hit in a small AoE dealing around 2800 HP to any characters hit by it.
-
Wicked Trinity: Demon Joachim will begin casting an Art that cannot be canceled. This will see him use Calamity Claw, Galion Tower, and Last Disaster back-to-back.


(1 of 3) Refrain of Revenge will grant him regen and counter stance
Avoid attacking Demon Joachim with physical attacks during this second phase (outside of S-Crafts) as he’ll now counter every time you do (if he’s used Refrain of Revenge. On top of that, he has high physical defense, so Arts is the way to go for all four characters, don’t worry about throwing those EP Charges about as this is the last battle.
Due to the threat of both Dogma of Battles and Wicked Trinity, ensure you keep your HP up as high as possible throughout the battle. It may be worth considering keeping Elie on healer duty the entire battle. Once again, you can still use SPD down to limit how often he attacks.
Phase 3
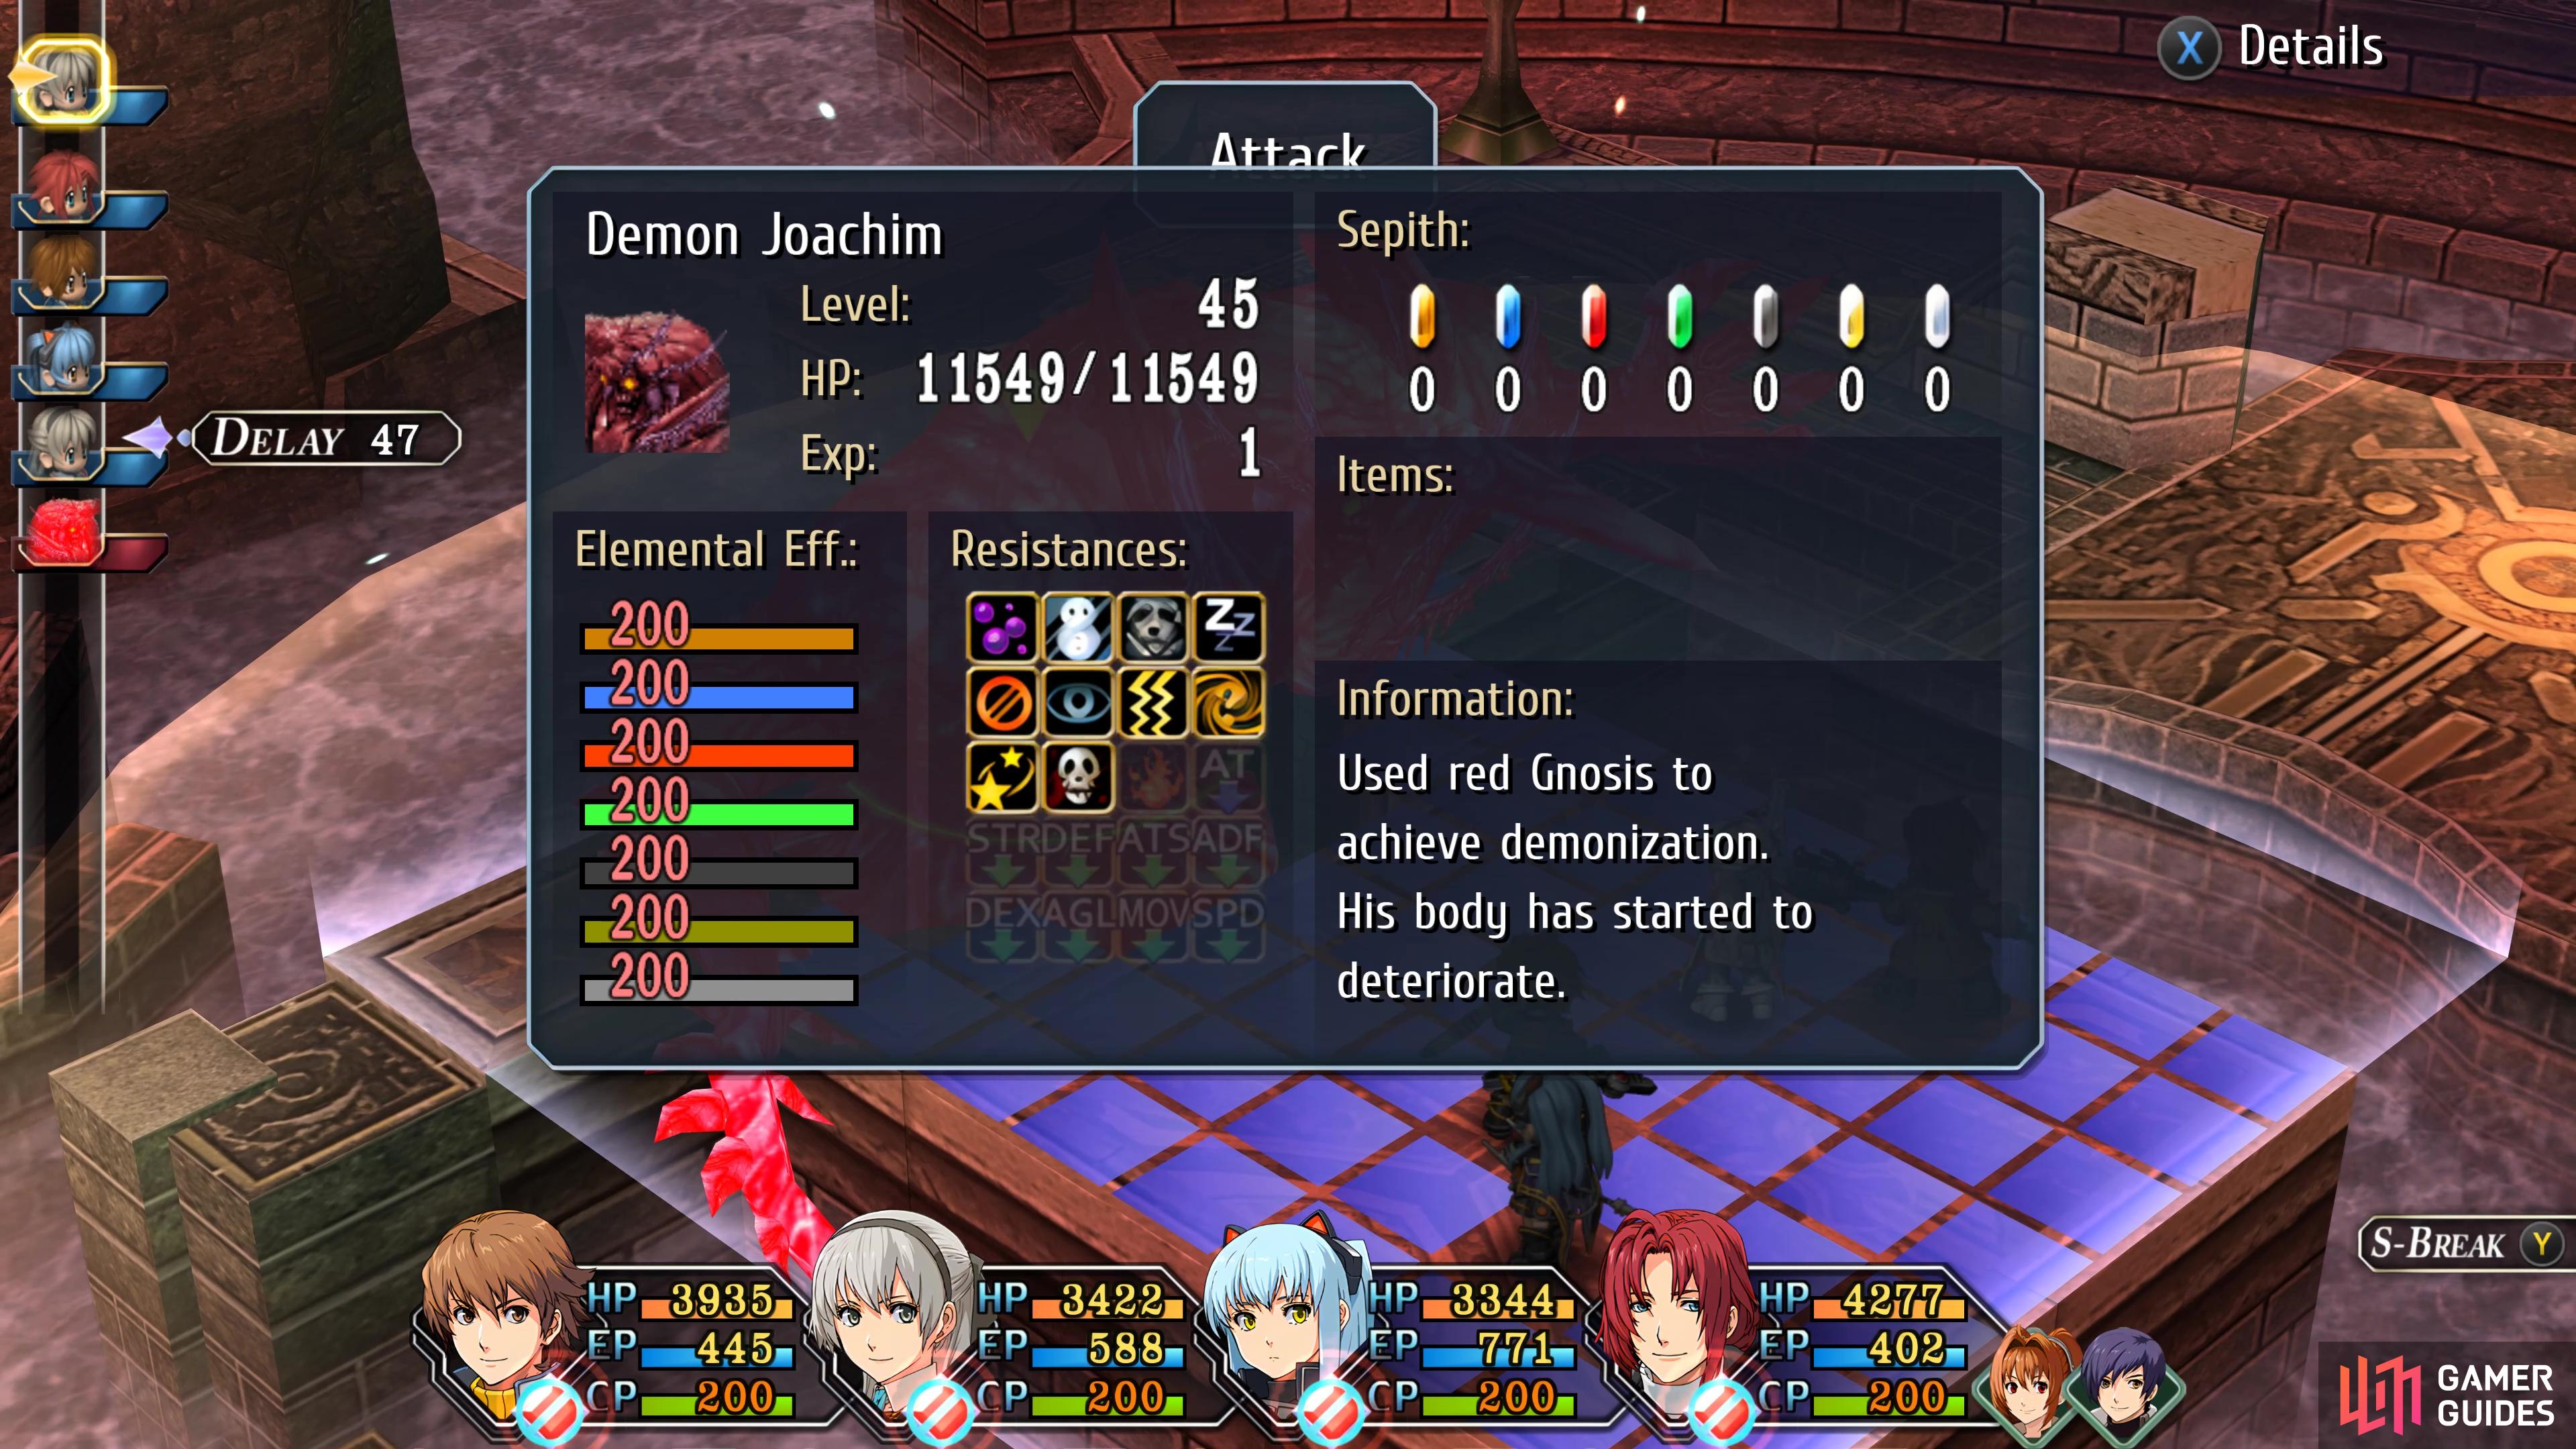
This final form of Demon Joachim is a new scan, don’t miss it!
More scenes will take place between the end of the second phase and once you regain control, you’ll be up against Demon Joachim one final time. This scan is a new entry, so be sure to scan him!. This final phase is a victory lap, he only has one weak attack and he’s massively weak to every element, blast him with a few Arts and Joachim will be defeated for good.
Sit back and enjoy the scenes, you’ve finished Trails from Zero and can now look to a New Game+ or keep your Clear Data safe for the sequel, Trails to Azure.
No Comments