
This page covers everything you can do during the Ruins Investigation main request during Chapter 4 Day 1 in The Legend of Heroes: Trails from Zero. Details on how to find every chest and defeat the boss.

Ruins Investigation is the main story request for Chapter 4 Day 1.
The Ruins Investigation is the main focus for Chapter 4 Day 1 and once you complete it, you’ll soon lose access to Noel’s tank so be sure to complete all of your other Requests before heading to the temple.
Exploring the Moon Temple
| Enemy | Lv | Elemental Effectiveness | Drops |
|---|---|---|---|
| Skull Head | 30 | S-Tablet, EP Charge | |
| Bone Archer | 30 | U-Material, Smoke Ball | |
| Bone Warrior | 30 | U-Material, Battle Scope | |
| Dullahan | 30 | U-Material, Reviving Balm | |
| Wind Faerie | 30 | Savory Pinion, Mint Drop | |
| Deadman | 30 | Antidote, Deluxe Dumplings | |
| Vargem | 30 | Celestial Balm, Smoke Ball | |
| Hammer Dwarf | 30 | Beast Flesh, Curia Balm | |
| Poltergeist | 30 | Softening Ointment, Teara Balm | |
| Wisp | 30 | Curia Balm, Battle Scope | |
| Nightmare | 30 | Curia Balm, Teara Balm |
| Items | Notes |
|---|---|
| Curia Balm | Cures Ailments |
| Celestial Balm | Restores 2000 HP, cures K.O. |
| Celestial Balm | Restores 2000 HP, cures K.O. |
| Iron Shoes | DEF+40 MOV+1 |
| Fish Darts | 30% chance of Deathblow |
| Courageous Hotpot | CP + 100 or Critical HP |
| Bomblet Rice | – |
| EP Charge II | Restores 300 EP |
| Action 3 | SPD+30% |
| Black Suit | DEF+90 |
| EP Cut 3 | Arts’ EP cost -15% |
| Celestial Balm | Restores 2000 HP, cures K.O. |
As you enter the Temple, all seems calm. Use the Recharge station should you need it and then as you enter the main chapel, a bell will begin to ring, causing spirits to begin roaming the temple and you’ll be thrust into a battle against three Skull Heads. These are nothing more than a regular battle in this area so be sure to scan them and take them out.
The Moon Temple is similar to Stargazer’s Tower in the way that the higher elements are at play. More importantly, you’ll want to make sure that everyone is protected against Deathblows here, as it will come up fairly often.
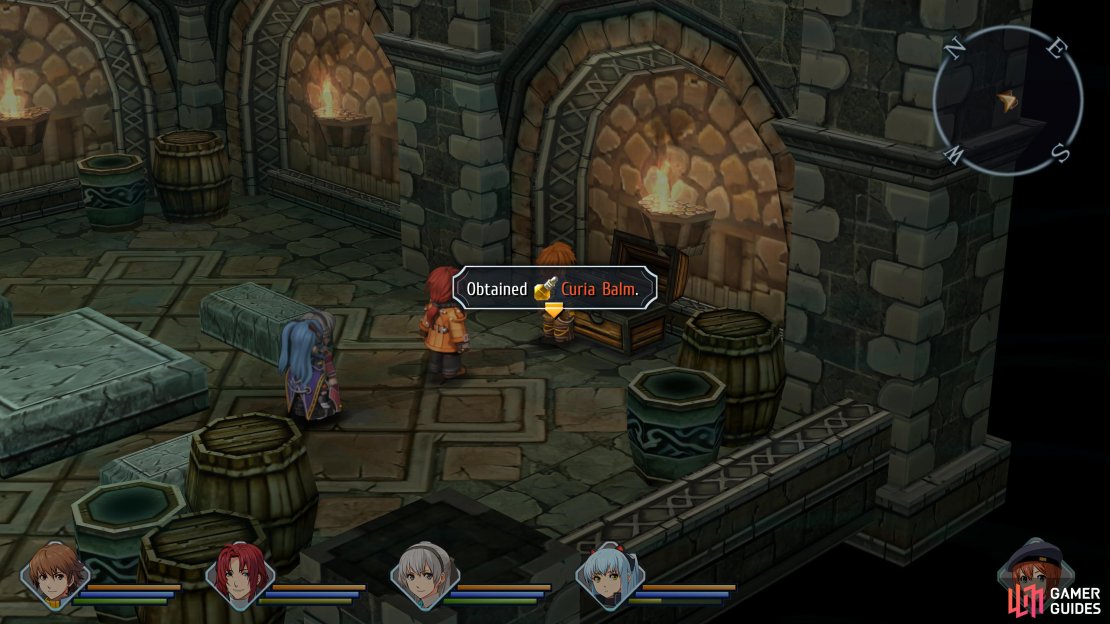
Once you regain control following the battle, begin by taking the door on your left (the northeast). Ignore the stairs down and head into the next room to find a chest housing a Curia Balm. Return to the stairs and take them down, following the path to the end to find yourself outside. Head right here to open a chest containing a Celestial Balm and then head to the left of the door you entered and take it.


Head left and up the stairs in the first room and follow the stairs to an intersection, taking the northern stairs. You’ll find yourself at a second intersection, take the northern stairs once again and you’ll find a chest containing another Celestial Balm. Return to the previous intersection and take the eastern stairs this time and you’ll find a monster chest containing some Iron Shoes. You’ll need to deal with three Dullahans but you’ll find them bunched up from the start, making it a little easier for you.
Be sure to equip the Iron Shoes, and then return to the first intersection and take the southern stairs this time. Follow this path to find yourself back in the chapel, but higher up. You’ll find a switch here which, when pressed, will cause some walkways to move about. Go across the one nearby and take the stairs back down to the ground floor, leaving through the door to the right this time (southeast).
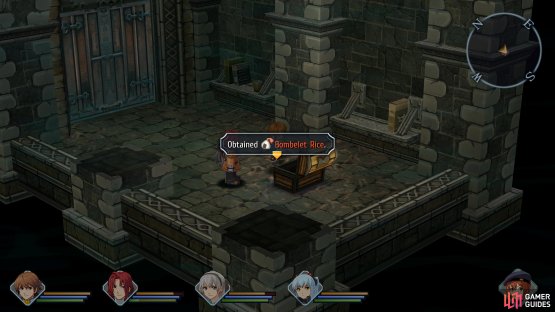
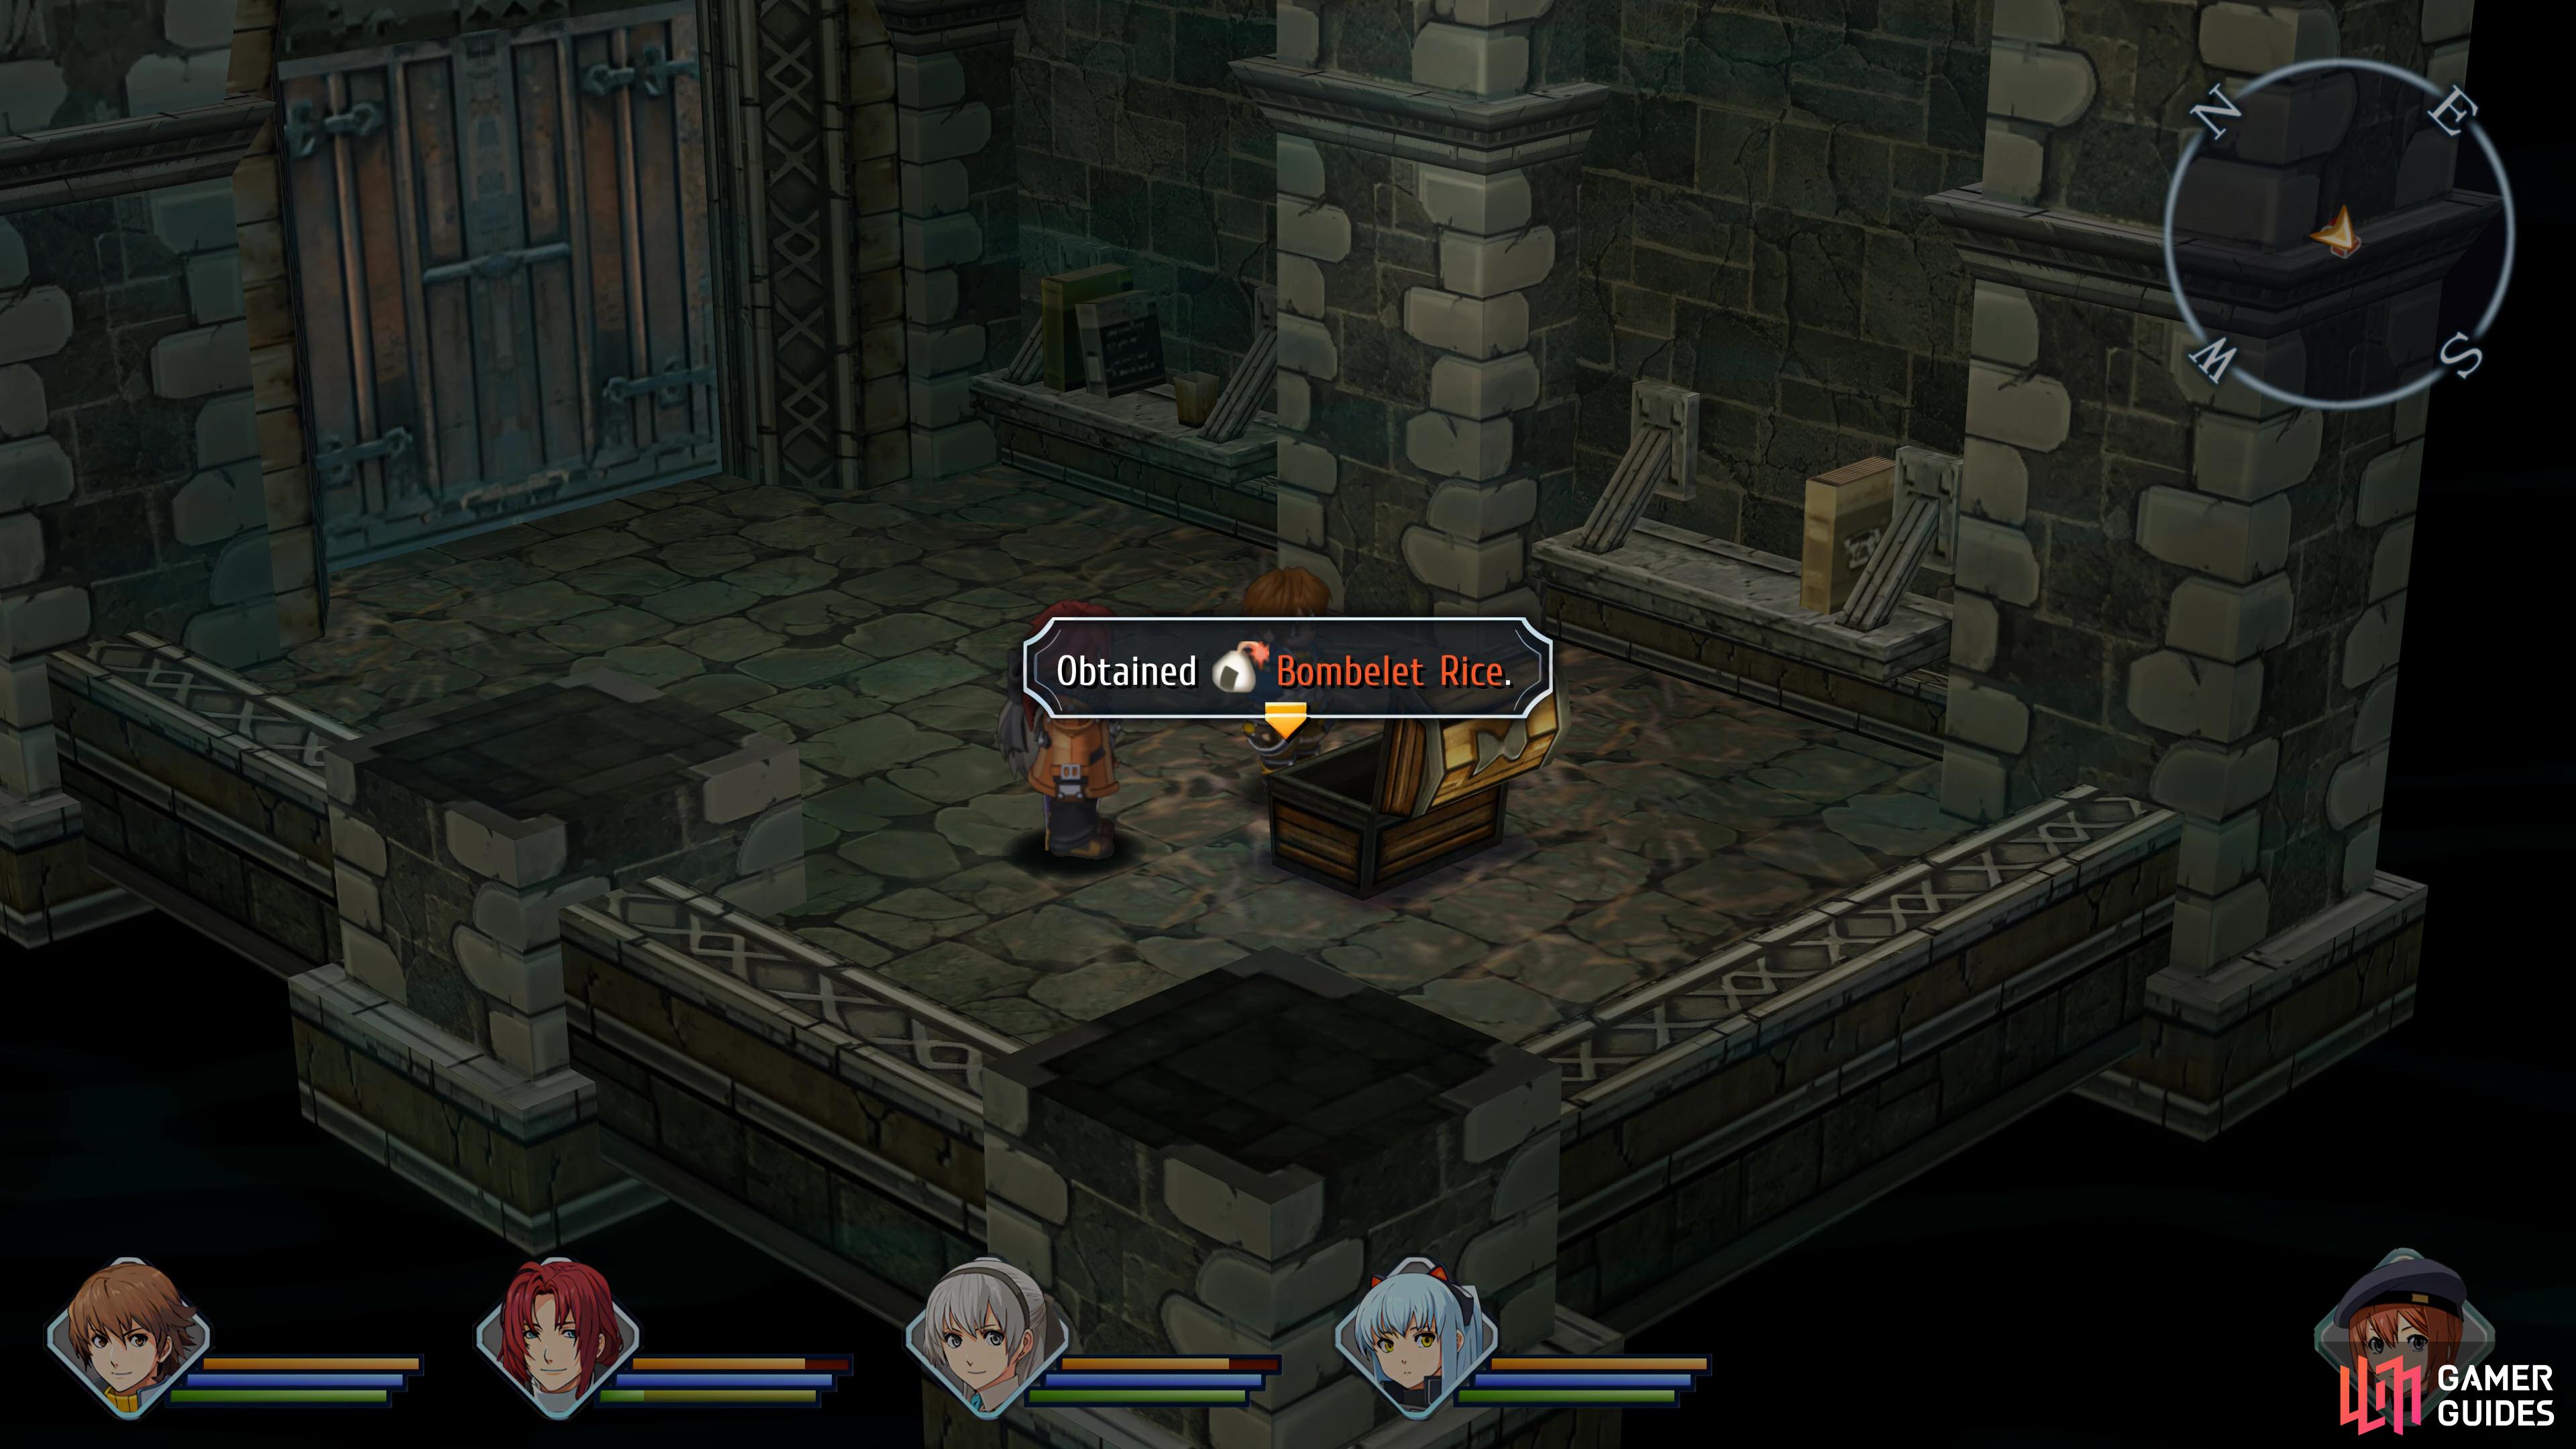
Take the stairs down to the bottom, but before you head through the door, dispatch the Deadman and open the chest to obtain some Fish Darts. Head out the door now and you’ll find yourself in a large room with multiple doors. Many of these are empty, so head through the second door along the northern wall to find a chest housing a Courageous Hotpot. Check out the furthest door to the left on the southern wall next to find another chest, this one containing a Bomblet Rice. Once you have both treasures, leave this room via the western exit.
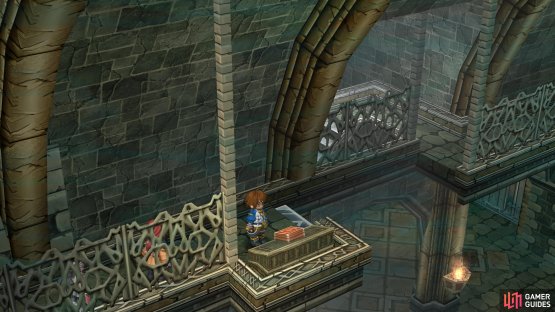
(1 of 2) Activate the first switch to lower some walkways

Activate the first switch to lower some walkways (left), you’ll find several chests with food in the large room with multiple doors. (right)
As you follow the path, you’ll find stairs leading both up and down. Begin by taking the stairs up to the top and unbar the door by the broken stairs. As you start heading downstairs, you’ll find a door to the west, ignore it for now and head to the bottom to find a chest with an EP Charge II. Return to the previous door you just skipped and head through it.
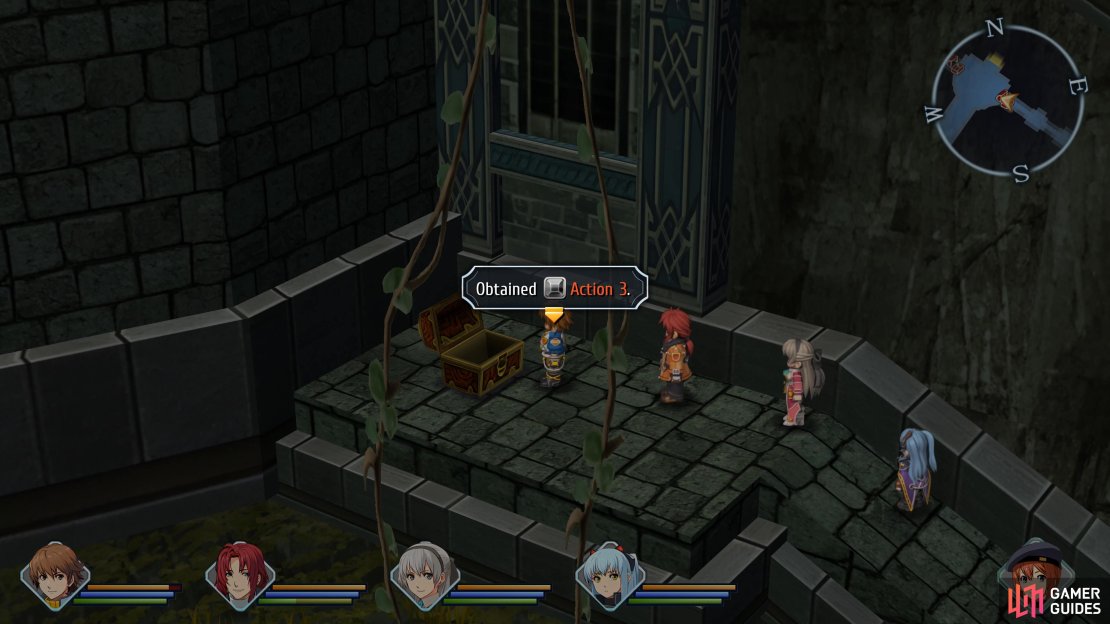
You’ll find yourself outside once again, head to your left to find a chest containing a handy Action 3 Quartz (slot this straight away) and then go right from the door you entered to find another door bringing you back inside. Follow the stairs here to an intersection and go up to the very top to find a door. Follow the path to the end and down some stairs to find another monster chest, you’ll need to defeat a large group of Vargem and Hammer Dwarves (use and S-Break to make this easier for yourself) and you’ll obtain a Black Suit.
Return up the stairs and to the previous intersection and this time, go through the door at the end to find yourself in the garden. Head east from the entrance and follow it around to the north side of the room. Ignore the door for the moment and open the two chests, the one in the center contains an EP Cut 3 and the final chest of the dungeon in the northwest corner contains a Celestial Balm.


Take the door now and you’ll find yourself back in the chapel once more, this time on the other side. Activate the switch here and you’ll bring down the rest of the walkway, allowing you to enter the door in the center of this room. You’ll find a Recharge Station here, be sure to use it and ensure that everyone has protection to Burn.
Boss Battle - Arch Devil
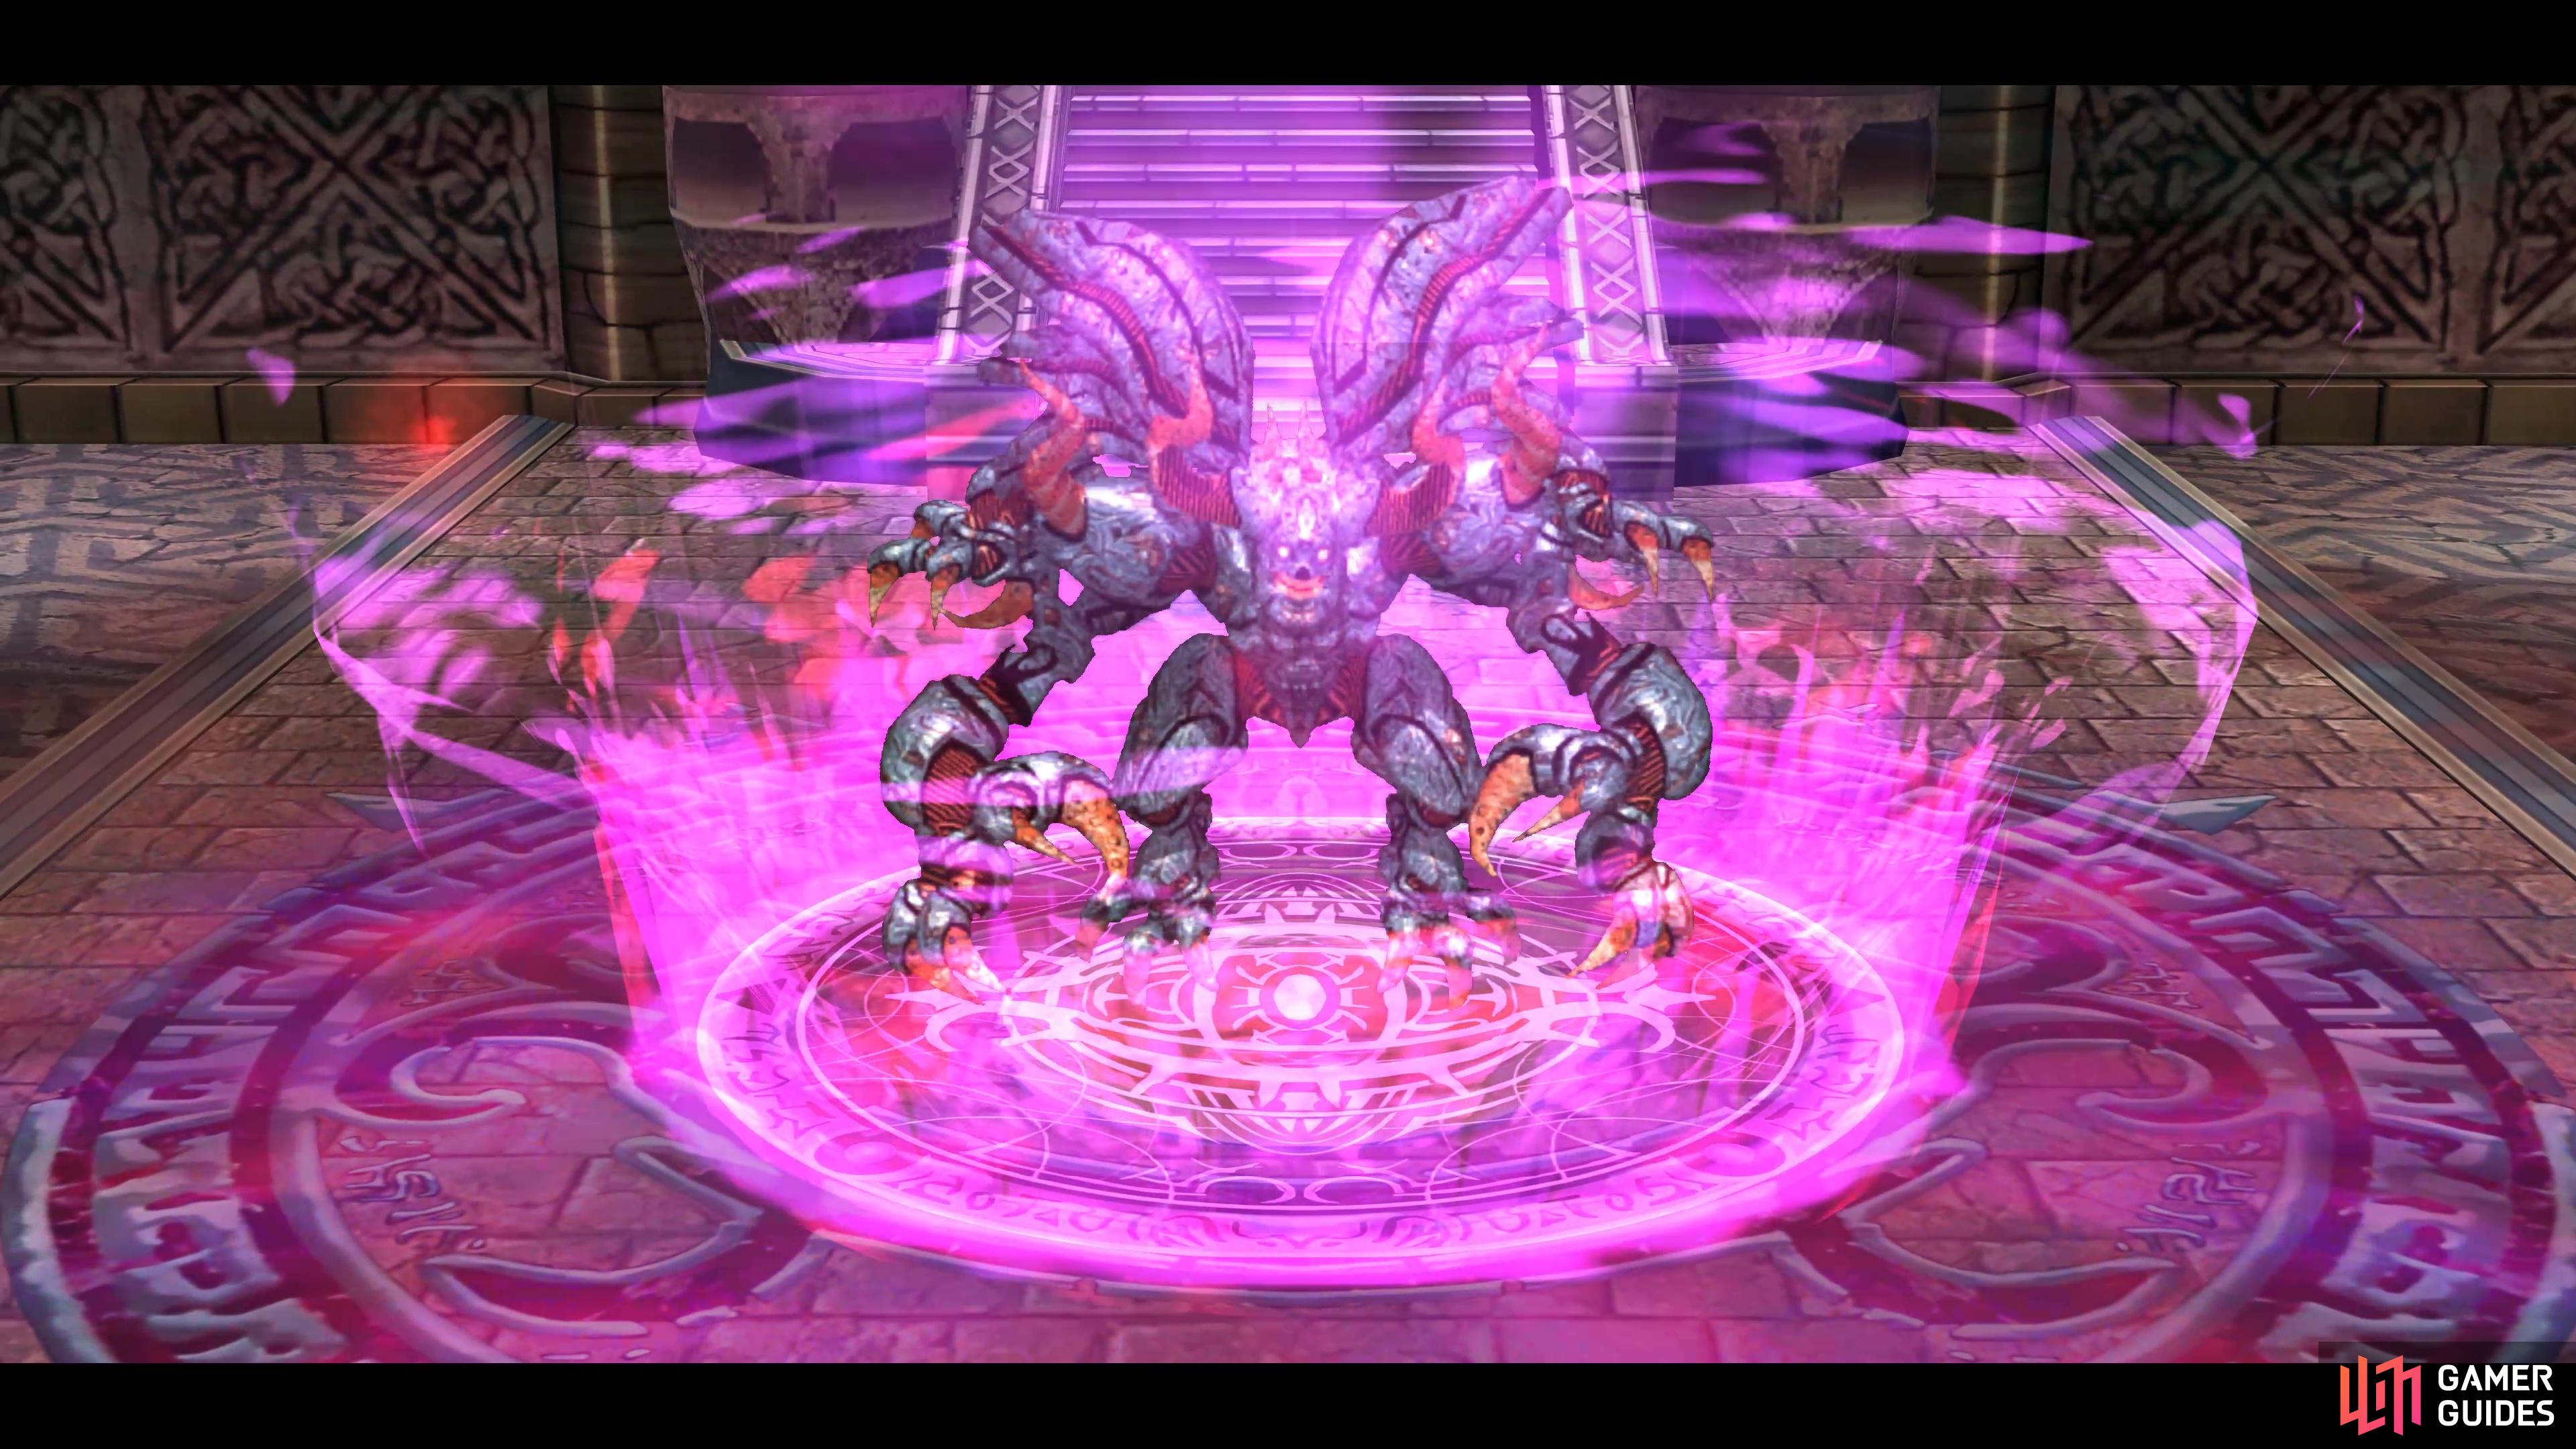
The Arch Devil is a boss during Ruins Investigation.
| Enemy | Lv | Elemental Effectiveness | Drops |
|---|---|---|---|
| Arch Devil | 31 | Zeram Powder | |
| Sudorudo | 30 | U-Material |
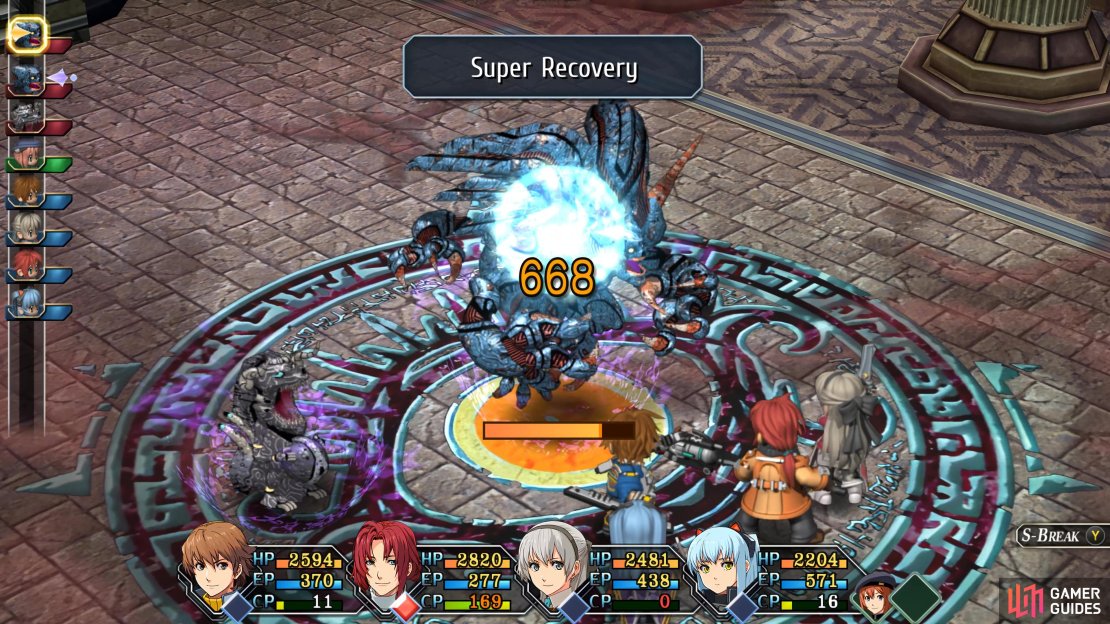
The battle against Arch Devil is a tough one so having prepared well in advance will make things a bit smoother. Arch Devil will begin the battle with two Sudorudos at his side, be sure to scan them both. The Sudorudos are a minor annoyance throughout the battle, as they’ll use Flamethrower against you, this is an attack that travels along a line. It’ll only deal around 450+ HP but more importantly, it can and will inflict Burn. Arch Devil will resummon these often, so if you have Burn protection equipped, it’s better to ignore them and instead focus on Arch Devil.
Arch Devil itself has a lot of HP, possessing 13332 on the Normal difficulty so you’re in for a long battle. It often uses Super Recovery before most of its turns, this will recover around 650+ HP. Demonic Claw will hit a single character for around 750+ HP and also inflict Poison, so be ready to heal it whenever anyone is inflicted by it. Finally, the Arch Devil can cast Diamond Dust, be sure to use an Impede against it immediately as it will hit in a large area and deal around 1100+ HP to anyone caught in it.
If you’ve reached Level 32 with Lloyd in this dungeon, you will have unlocked his second S-Break, Rising Sun, and it’s a useful one to use in this battle as you can hit more than one enemy at a time. Any Sudorudos you end up killing will waste a turn for Arch Devil to call more. Likewise, both Randy and Tio’s S-Breaks are useful for taking out a few enemies at the same time.


You’ll notice that the Arch Devil has high physical defense in general, so once again you’ll want to use high-level Arts with Elie and Tio. As the Arch Devil is weak against Space, Dark Matter is a very useful Art here and it will also group up the Sudorudos making other AoE attacks more useful.
Once the battle is over, head forward to reach the bell you saw earlier and the group will come together to stop it ringing, stopping the outpour of spiritual energy in the process. Head back to the chapel where you’ll discover that all of the monsters have gone, and you’ll find yourself back outside the Moon Temple. Return to Noel’s tank and you’ll get a call on your Enigma from Fran who informs you that the Mayor of Mainz requests the assistance of the SSS.
Mayor’s Request
This is a short request to end the day and set up the main case of Chapter 4. Noel will bring you to Mainz in her tank, make your way to the mayor’s house and speak with him to learn the contents of his request. Seems like one of the residents are missing and he’d like the SSS to have a look around Crossbell to see if they can find anything out. Return to the tank and Noel will take the party back to Crossbell, leaving at this point.
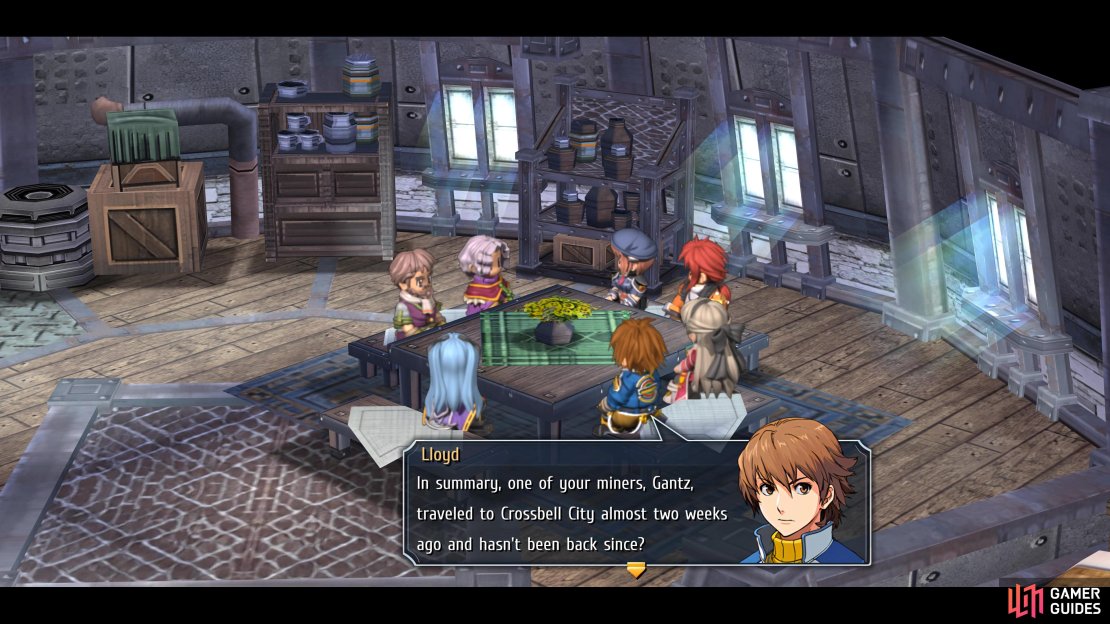


(1 of 3) The mayor of Mainz will ask you to search for Gantz in Crossbell
You’ll regain control in the Casino, head upstairs and speak to Proprietor Drake and you’ll learn that Gantz has been winning major mira at the Casino, a miraculous turn of events for someone with terrible luck. You’ll also learn that he’s holed up in the deluxe suite of the hotel across the street. Go in the left entrance of Hotel Millennium and head up the stairs to the top, entering the second room along the eastern wall to trigger some scenes and once you regain control, return to the SSS HQ to bring the day to a close.
No Comments