
This page covers the Revache & Co. dungeon during Chapter 4 Day 3 in The Legend of Heroes: Trails from Zero. Details on how to complete all Requests, clear the dungeon and information on everything you should do before the point of no return.
Revache & Co. is the final dungeon of Chapter 4.
The final day of Chapter 4 is one of the most important in Trails from Zero as it’s the last day you have full access to the entirety of Crossbell state. Once you set through the door after the boss battle here, you’re locked in until the end of the game. With that in mind, you’ll want to ensure you take care of a lot of important tasks before that and the following page will detail all of that information.
For now, you won’t have access to everything until you’re through most of the dungeon on this day so we will remind you when to make your save and go back at that point.
Key Information
Quests
| Quest | Availability | DP |
|---|---|---|
| Orbal Staff Enhancement | At the start of the day | 4 |
| Stargazer’s Tower Monster Extermination | At the start of the day | 4 |
| Moon Temple Monster Extermination | At the start of the day | 4 |
| Ancient Battlefield Monster Extermination | At the start of the day | 4 |
Items
| Item | Location |
|---|---|
| Back Alley Doctor Glenn - Ch.14 (Book) | Downtown District: Exchange five Mishy Plush Toys from Barca Casino at Neinvalli |
| Rich Cream Soup (Recipe) | Revache & Co.: 2F room on the eastern wing |
Blue Pill Investigation Part (2)
Once you regain control after the scenes, check the computer and pick up the final set of Request for Trails from Zero. There are four to do today and one of them, Orbal Staff Enhancement, will require you to play through the majority of the dungeon on this day. The other three are all Monster Extermination requests with a great reward.
Before you set off to complete them though, head to Barca Casino in the Entertainment District and purchase some Tokens and buy five Mishy Plush Toys. With these in hand, head on over to the Downtown District and enter Neinvalli, you’ll find you can trade for Back Alley Doctor Glenn - Ch.14 in exchange for these Mishy Plush Toys. With this in hand, you should have all 14 books of Back Alley Doctor Glenn.
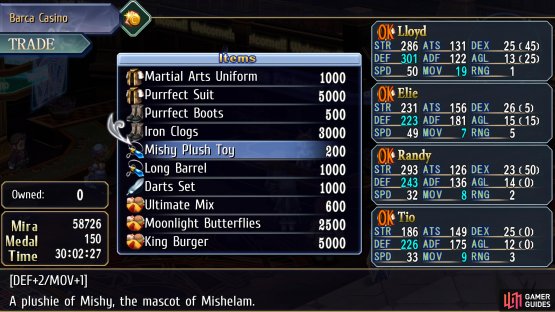

(1 of 2) Purchase five Mishy Plus Toys from Barca Casino


Purchase five Mishy Plus Toys from Barca Casino (left), then trade them for the final chapter of Back Alley Doctor Glenn at Neinvalli. (right)
With that piece of business taken care of, it’s time to tackle the three Monster Extermination Requests. Be sure to use the Hotel or Inns to replenish your CP between each one as they’ll make the corresponding battles a little easier. Each of the three requests will unlock new Combo Crafts between your other party members!
Once you’ve cleared the Requests, it’s time to continue with the story. You will need to check in on all of the suspicious cases that you learn about yesterday so go to the following places:
-
Head to West Street and enter Grimwood Law Office
-
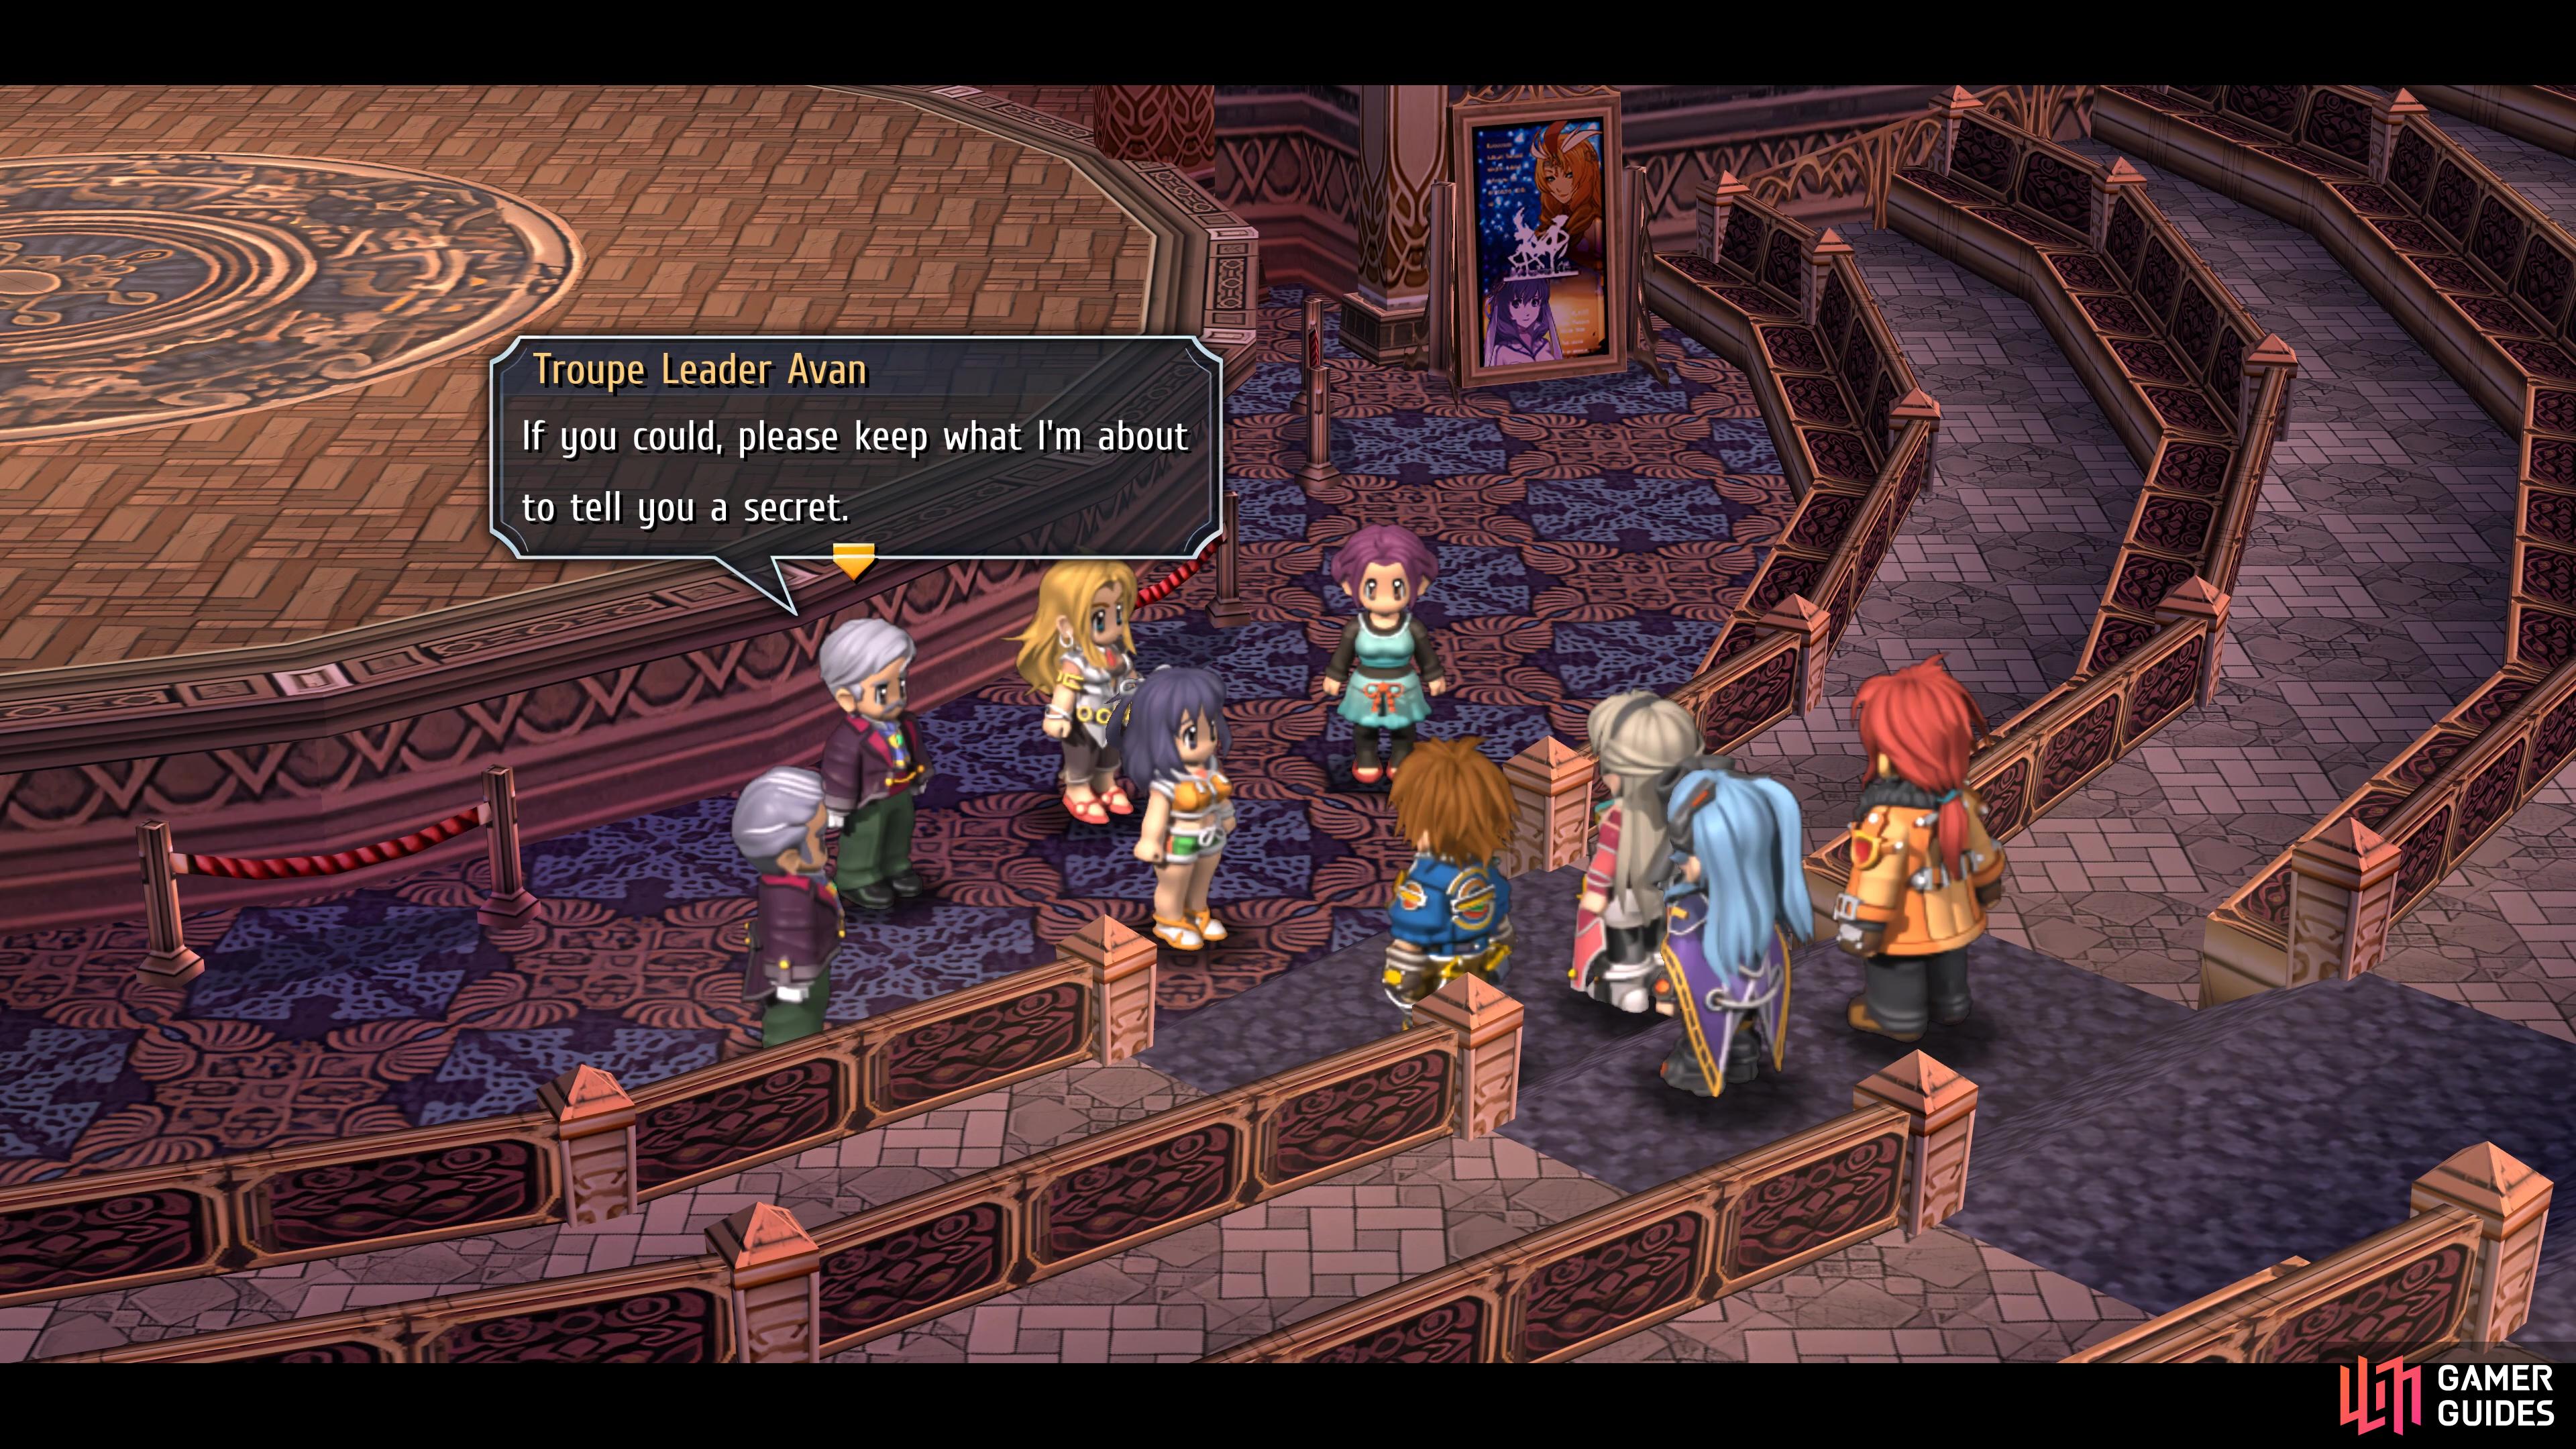
Go to the Entertainment District, into Arc en Ciel and down to the stage
-
Go to the Residential District, down the stairs and into the first house
-
Make your way to the Downtown District and go into Ignis, then go into Trinity and speak with Wazy
You’ll discover that several people have gone missing as part of your investigation.
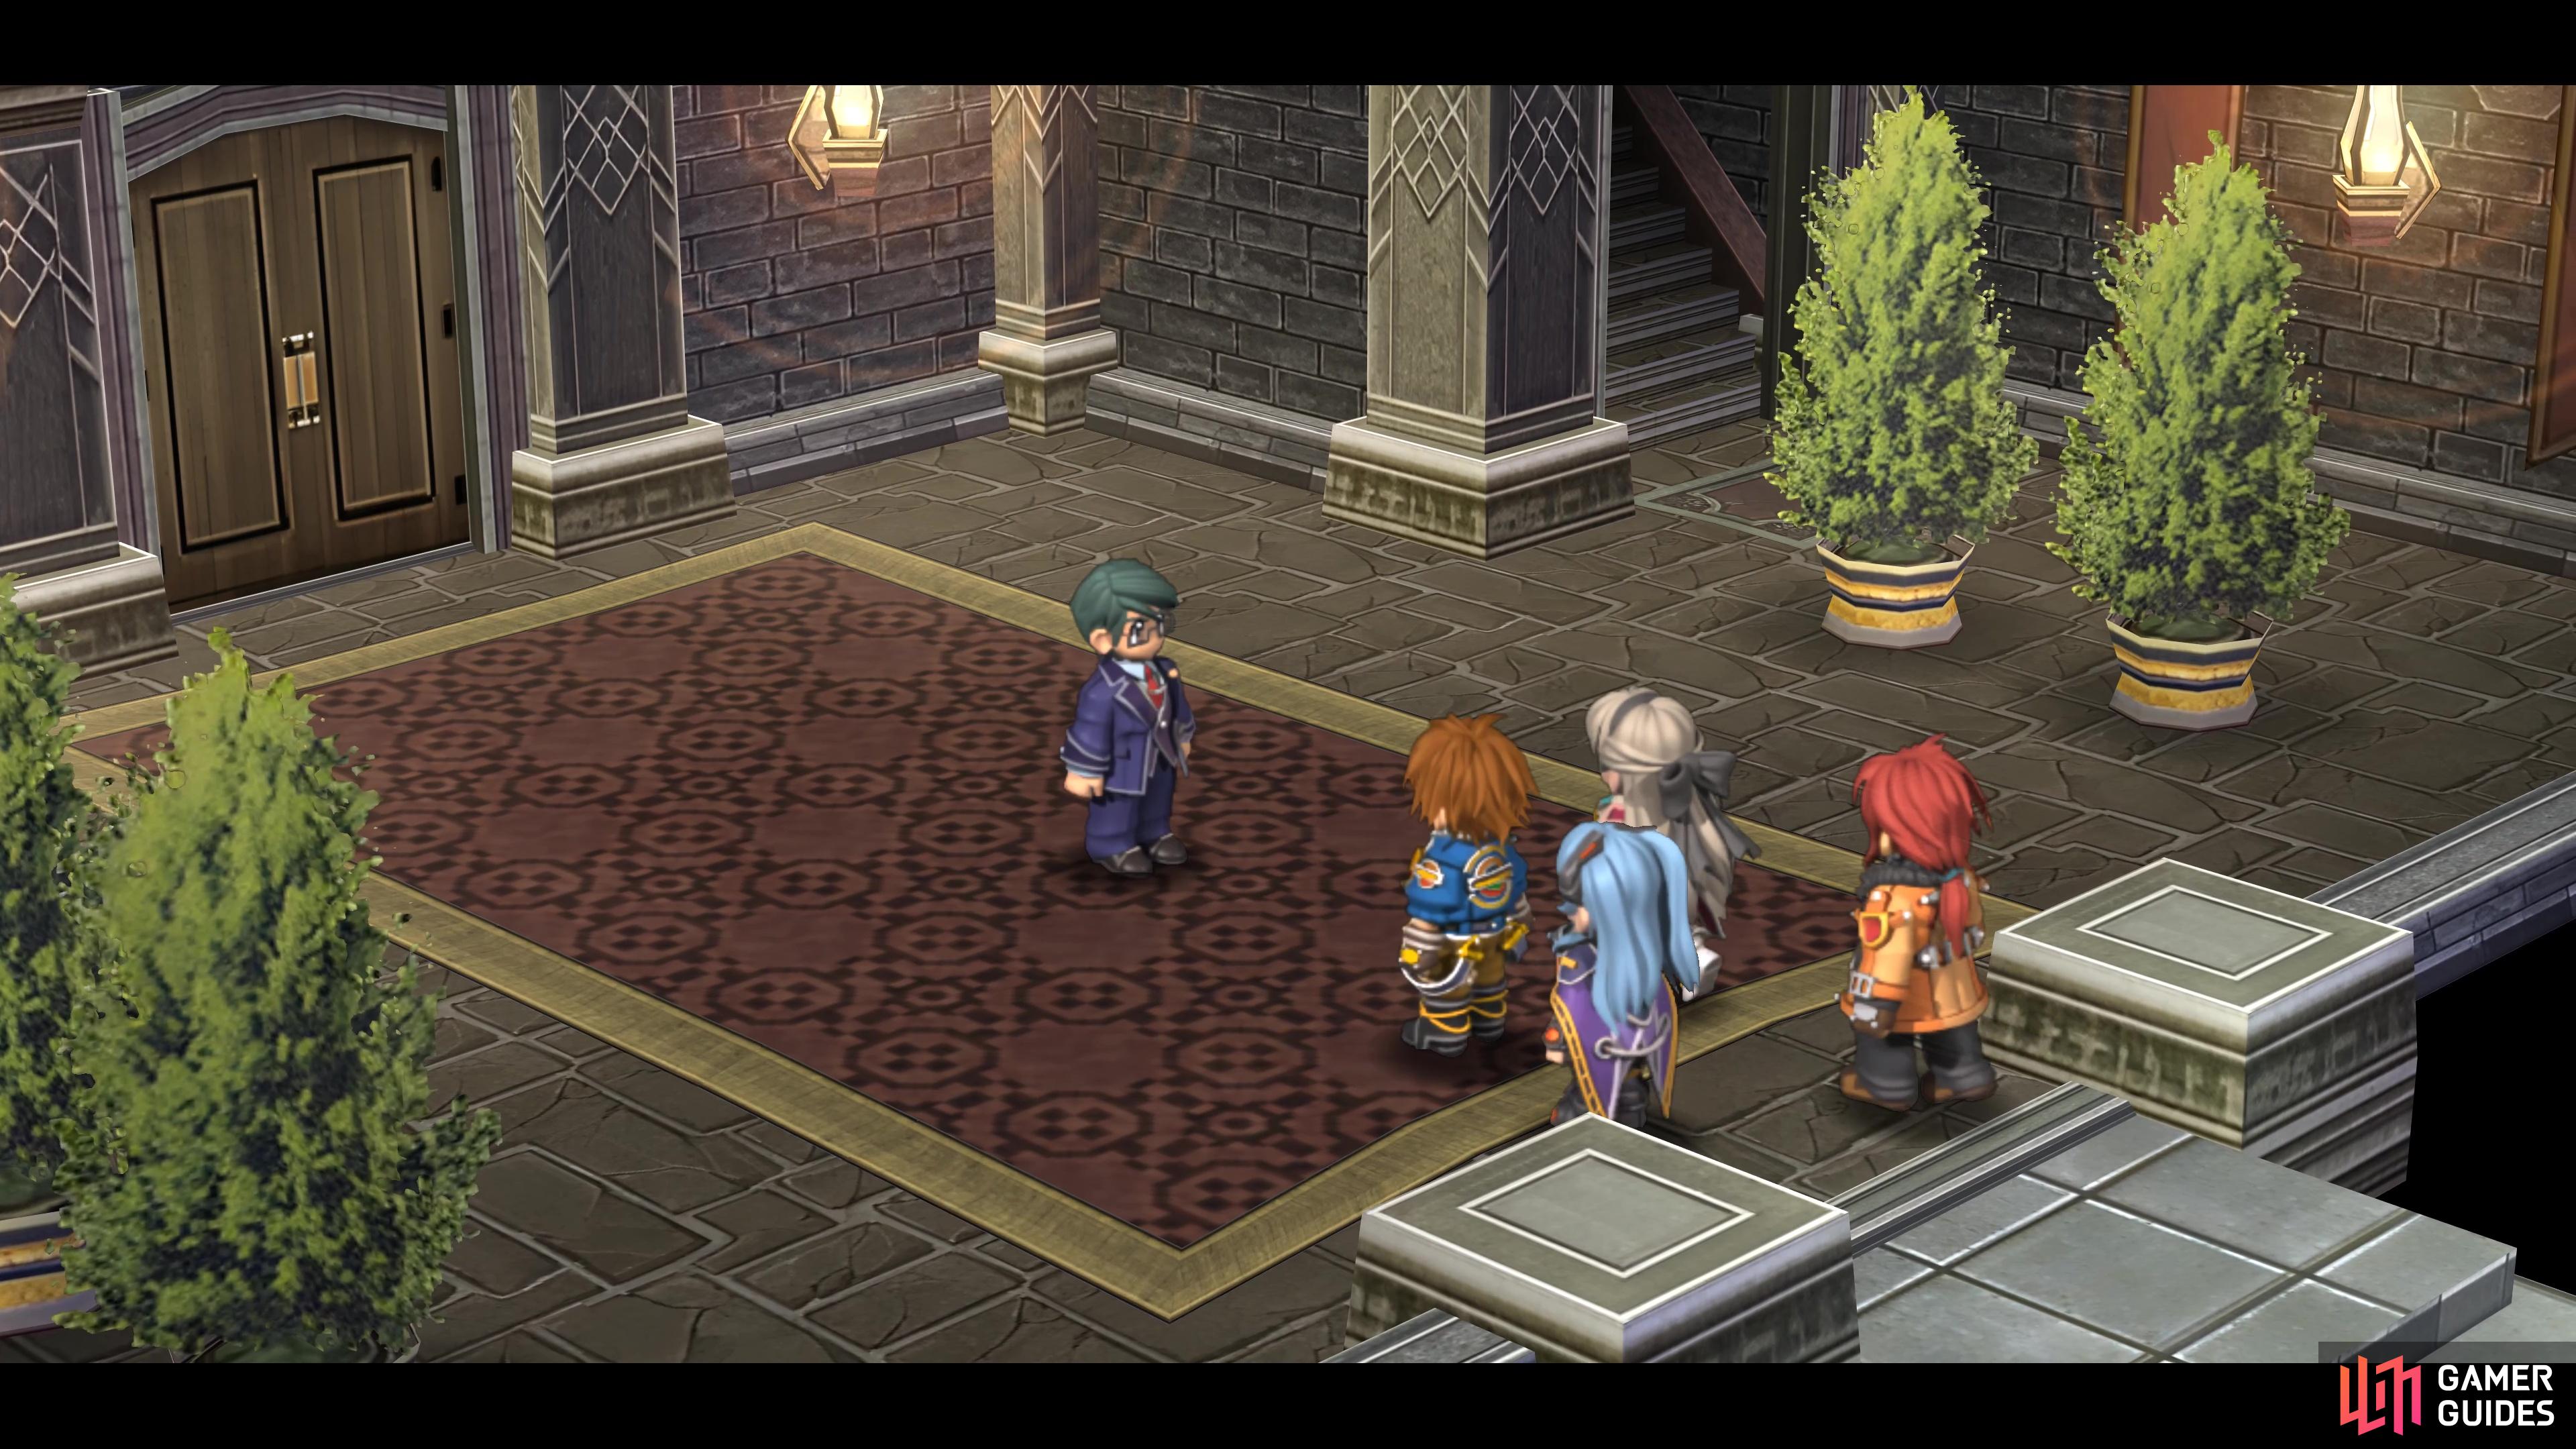
The team should speak about their findings once you leave Trinity, implying that there may be more people missing beyond what the SSS have discovered themselves. You’ll get a call on your Enigma to learn that something is up at the Revache & Co. building, head on over to Back Alley to trigger a scene and then enter the final dungeon of Chapter 4.
Exploring Revache & Co.
| Enemy | Lv | Elemental Effectiveness | Drops |
|---|---|---|---|
| Flying Feline | 33 | Beast Flesh, Deluxe Dumplings | |
| Moth Flier | 33 | Red Flies, Eye Drops | |
| Baby Penguins | 33 | Monster Egg, Deluxe Dumplings | |
| Killer Hammerhead | 33 | Fish Fillet, Roe | |
| Venus Mantrap | 33 | Prickly Seed, Curia Balm | |
| Tri-Attacker C | 33 | Teara Balm, EP Charge | |
| Tri-Attacker S | 33 | Curia Balm, EP Charge | |
| Tri-Attacker R | 33 | Teara Balm, U-Material | |
| Beep Seeker | 33 | Curia Balm, U-Material |
| Items | Notes |
|---|---|
| Teara Balm | Restores 2000 HP |
| Rich Cream Soup | Recipe |
| Time, Space Mirage Sepith (200) | – |
| Confuse | Chance to confuse enemy +10% |
| Impede 3 | Cancels enemy arts and crafts with 30% success rate |
| Hit 3 | ACC+30% |
| Time, Space Mirage Sepith (200) | – |
| Tearal Balm | Restores 5000 HP |
| T-Material | Needed for Orbal Staff Enhancement Request |
| EP Charge II | Restores 300 EP |
| Teara Balm | Restores 2000 HP |
| Divine Cloth | Required for ultimate armor |
| Curia Balm | Cures Ailments |
| Proxy Puppet | Prevents K.O. once, then breaks |
| Full Metal Coat | DEF+100 ADF+50 |
| Dual Guarders | DEF+50 MOV+2 |
| Celestial Balm | Restores 2000 HP, cures K.O. |
| EP 3 | Max EP+15% |
You will have Dudley along for the ride in this dungeon, and he has some useful Crafts at his disposal. If you’d prefer to stick with the SSS instead, be sure to strip him of a few of his more useful Quartz (such as an Evade 3). Begin the dungeon by heading through the central doors for a scene and then examine the painting in the top right corner to discover a lock that requires two keys, your main objective for the dungeon.
Leave this room and head west into the next to find a locked gate. Examine the panel on the side and you’ll discover that you need a password. Go back to the lobby and this time take the eastern stairs up and go into the first room to find a chest containing a Teara Balm. Leave and enter the next room to find a book open on the desk, examine it to learn the conditions for the password. Before you leave the room, examine the bookshelf on the left to obtain the Rich Cream Soup Recipe.

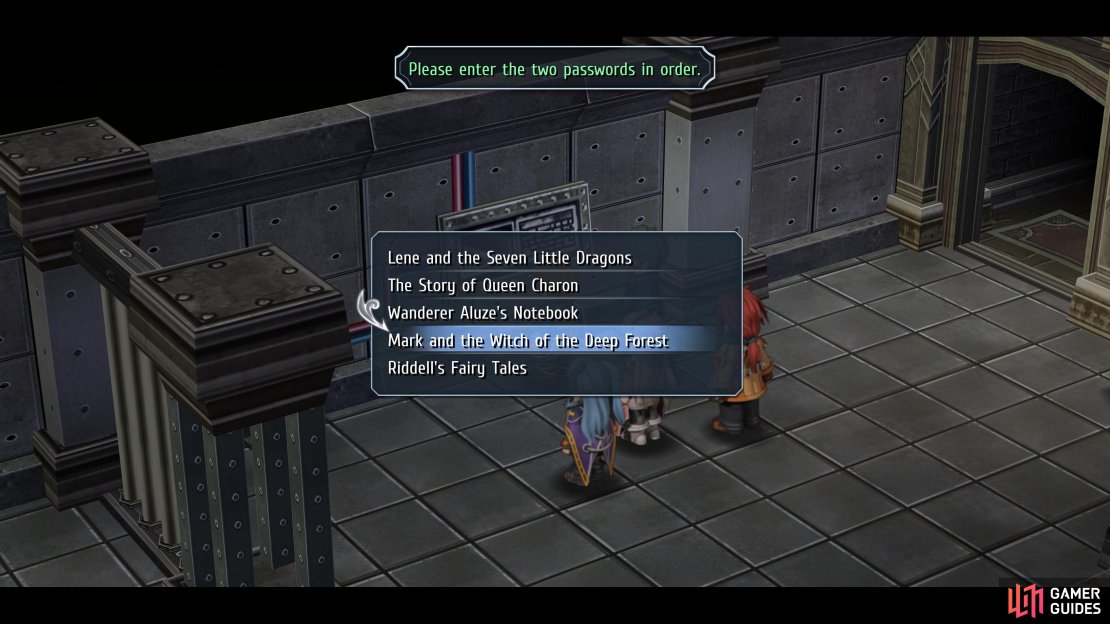
(1 of 3) Examine the painting to learn you’ll need two keys in this dungeon
Before heading back down to the locked gate, go up to the 3F and into the room to find a bookshelf at the back. Examine it and the team will mention that it looks like there’s a pressure plate on there, meaning you’ll need to locate something heavy enough to activate it. Return to the locked gate and examine the console, you’ll find the answer to the riddle at the library, otherwise, enter Mark and the Witch of the Deep Forest followed by Shawn Arnham to unlock the gate and enter the west wing of this dungeon.
Warehouse
As soon as you enter this area, you’ll trigger a scene followed by a battle against three Flying Felines which should pose little threat. You’ll be encountering monsters from this point onwards in the warehouse ever, so plan accordingly.
Begin your search by heading on to the raised platform and activate the console here to lower the two pillars. Go northwest and around now and up the stairs furthest to the right. Go east at the nearby intersection to open a chest containing Time, Space Mirage Sepith (200) then go back and take the west path, following it to another intersection.
Go to the east at this intersection and you’ll find the next console, which will raise the pillars once again. Return to the previous intersection, go left and take the previous stairs you skipped to find a monster chest at the end.
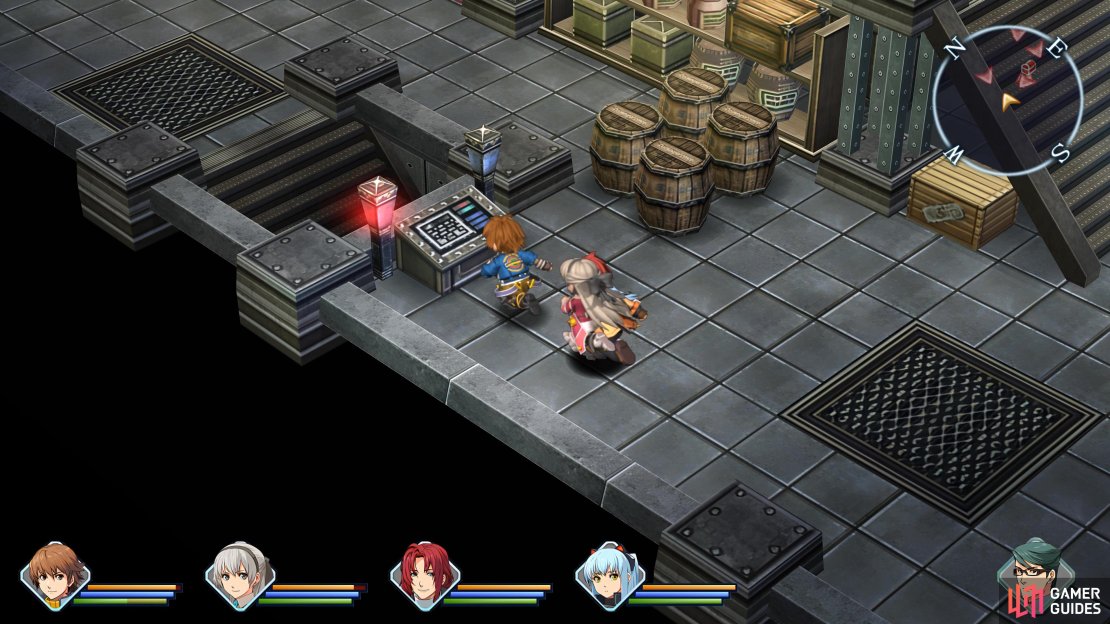


(1 of 4) You will need to use consoles to raise and lower the pillars in the warehouse
You’ll need to defeat four Killer Hammerheads so consider using an S-Break to finish them off quickly and you’ll obtain a Confuse Quartz. Once you pocket this, return to the south of the room and take the other stairs up to the next floor.
Follow the linear path in this room until you reach the western stairs and take them down to a chest containing a Hit 3 Quartz. Return up the stairs and go back to the first stairs you climbed, heading southwest this time, beyond a second set of stairs to locate the next console.
Activate it and then climb the stairs you just passed to reach another intersection and go right (east), following the path to a chest containing an Impede 3 Quartz, be sure to equip this right away. Return to the previous intersection and continue across to the north, heading under the stairs to find another console. Activate this and then head up the nearby stairs and follow the path to the next floor.
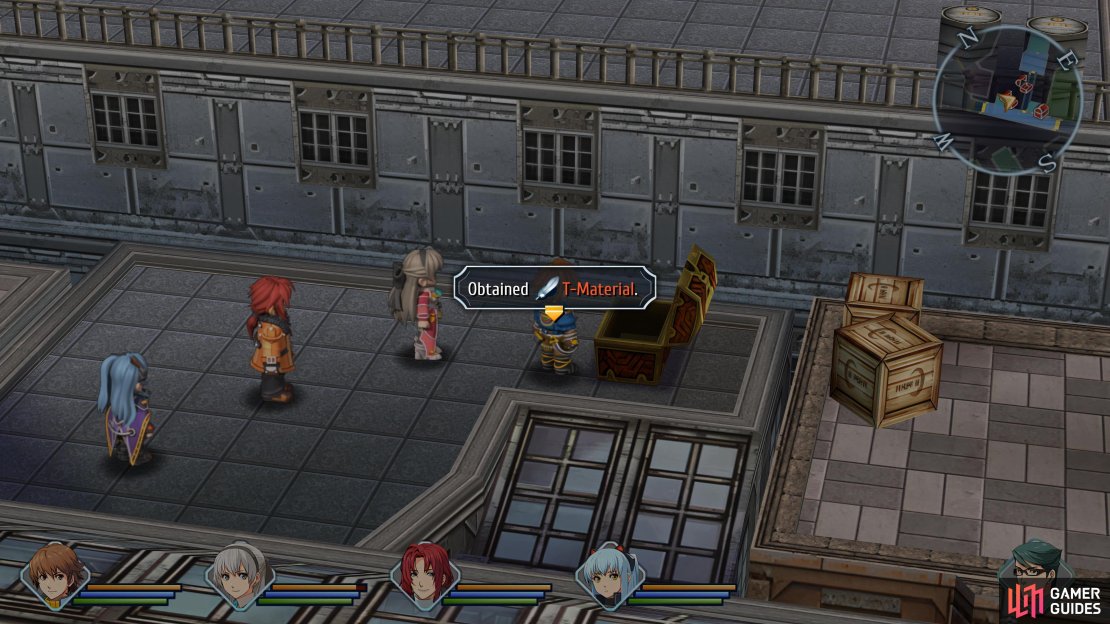
Follow the path and head down some stairs, then go to the far northwest corner to find a chest containing Time, Space Mirage Sepith (200). Continue down to the southeast now and ignore the stairs, following this path to a door that will take you outside. There are two chests you can grab here, one containing a Tearal Balm and a T-Material. The T-Material is the item you needed to complete the Orbal Staff Enhancement request.


(1 of 4) A Hit 3 hides in one of the chests
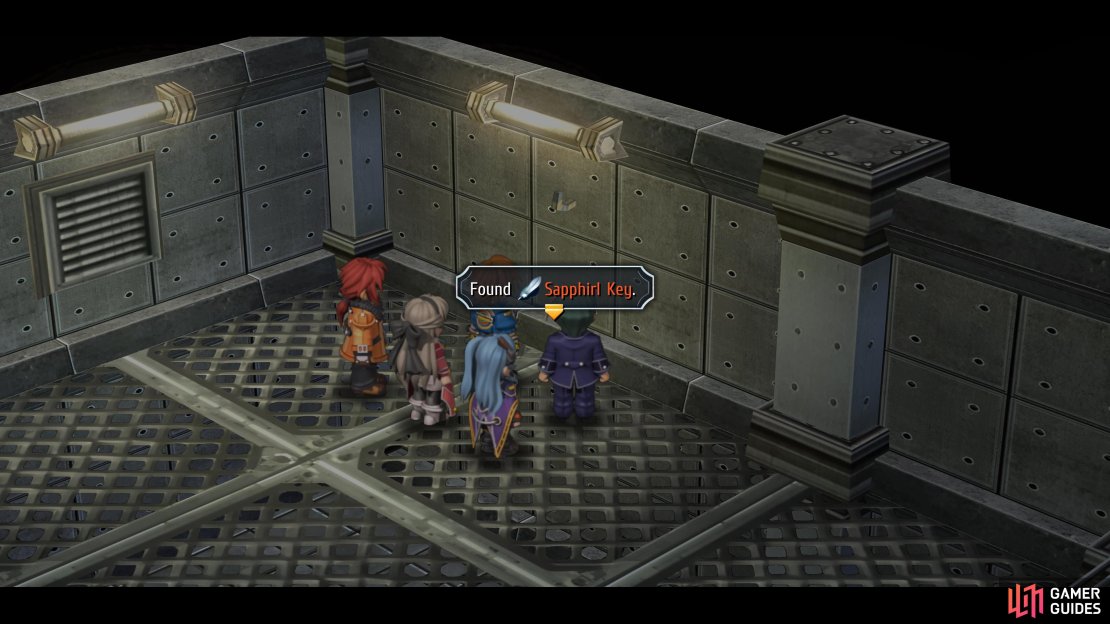
Return to the warehouse and take the stairs up you ignored a moment ago. Make use of the Recharge Station should you need it and then follow the path to the end. You’ll be forced into a battle against eight Venus Mantraps, a battle that an S-Break from Randy and Lloyd should solve easily. Once the battle is over, examine the far wall to obtain the Sapphirl Key. You’ll now need to return to the lobby so that you can work on the east wing (using the consoles to alter the pillars as you make your way down).
This is a great opportunity to complete the Orbal Staff Enhancement Request, now that you have the T-Material. It’s a simple request that involves you handing over the T-Material to get a powerful new Craft for Tio, Absolute Zero. This hits in a large area and will inflict Freeze unless the enemies are resistant to it, all for 50 CP. Load her up with the Gladiator accessories and this will make a lot of regular battles that much easier.
If you’ve done all the requests for today, go ahead and report them and you should get promoted and obtain the Power Suit. When you’re ready to continue, head back to the Revache & Co. lobby and go into the main room in front of you again. Examine the shelf in front of you and you’ll obtain the Gold Pedestal, which you can take to the shelf up the eastern stairs and open a secret door. Head through and open the chest to obtain an EP Charge II then continue to follow the path to enter the east wing.
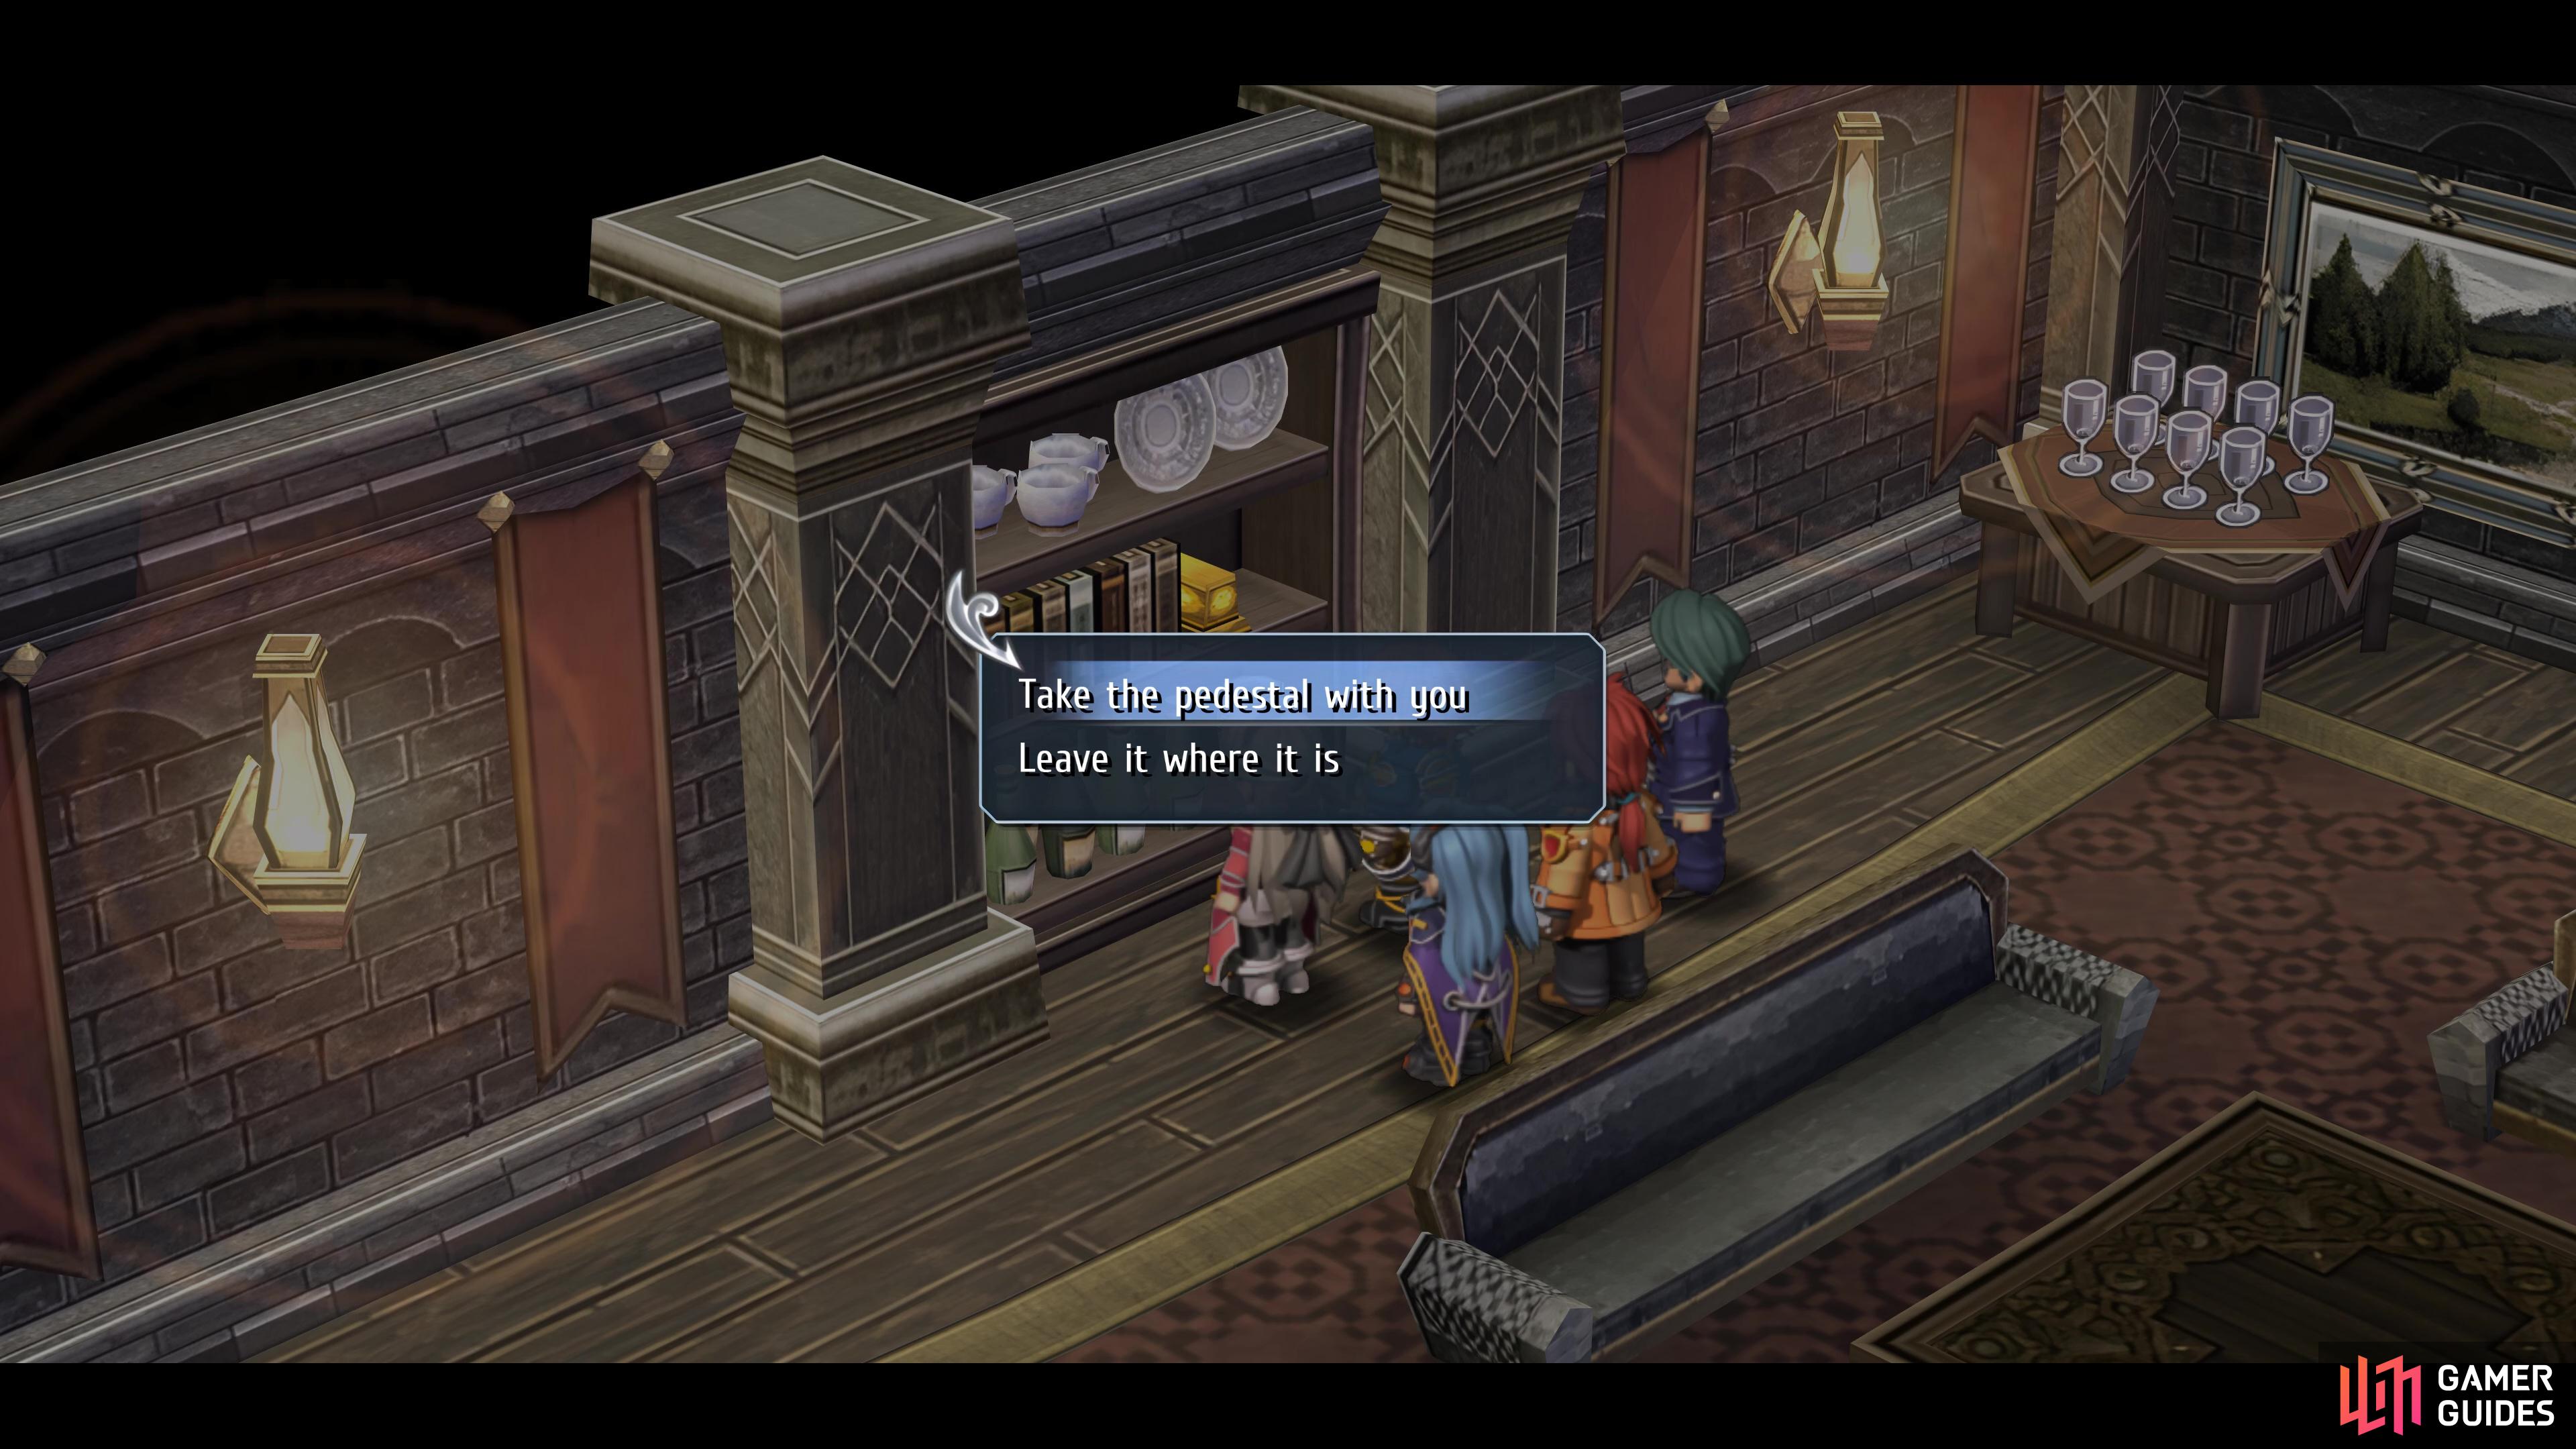
Grab the gold pedestal from the sitting room and place it on the shelf up the eastern stairs to reach the Armory.
Armory
Once again, you’ll be attacked by enemies as you enter, these make up some of the different set of enemies you’ll find on this side of Revache & Co. so remember to scan them all. Once you regain control, head into the first room and follow it to the end where you’ll find a Beep Seeker blocking the doorway. Defeat it and go through the door and at the intersection in the next room, go to the left to find a chest containing a Teara Balm.
Continue through this room, defeat another Beep Seeker and pass into the next. Go south first to open a chest containing a Divine Cloth, these are used to craft the ultimate armor in the final chapter. Once you pocket the cloth, head along the other direction to find a console that will switch off the electrical floor.
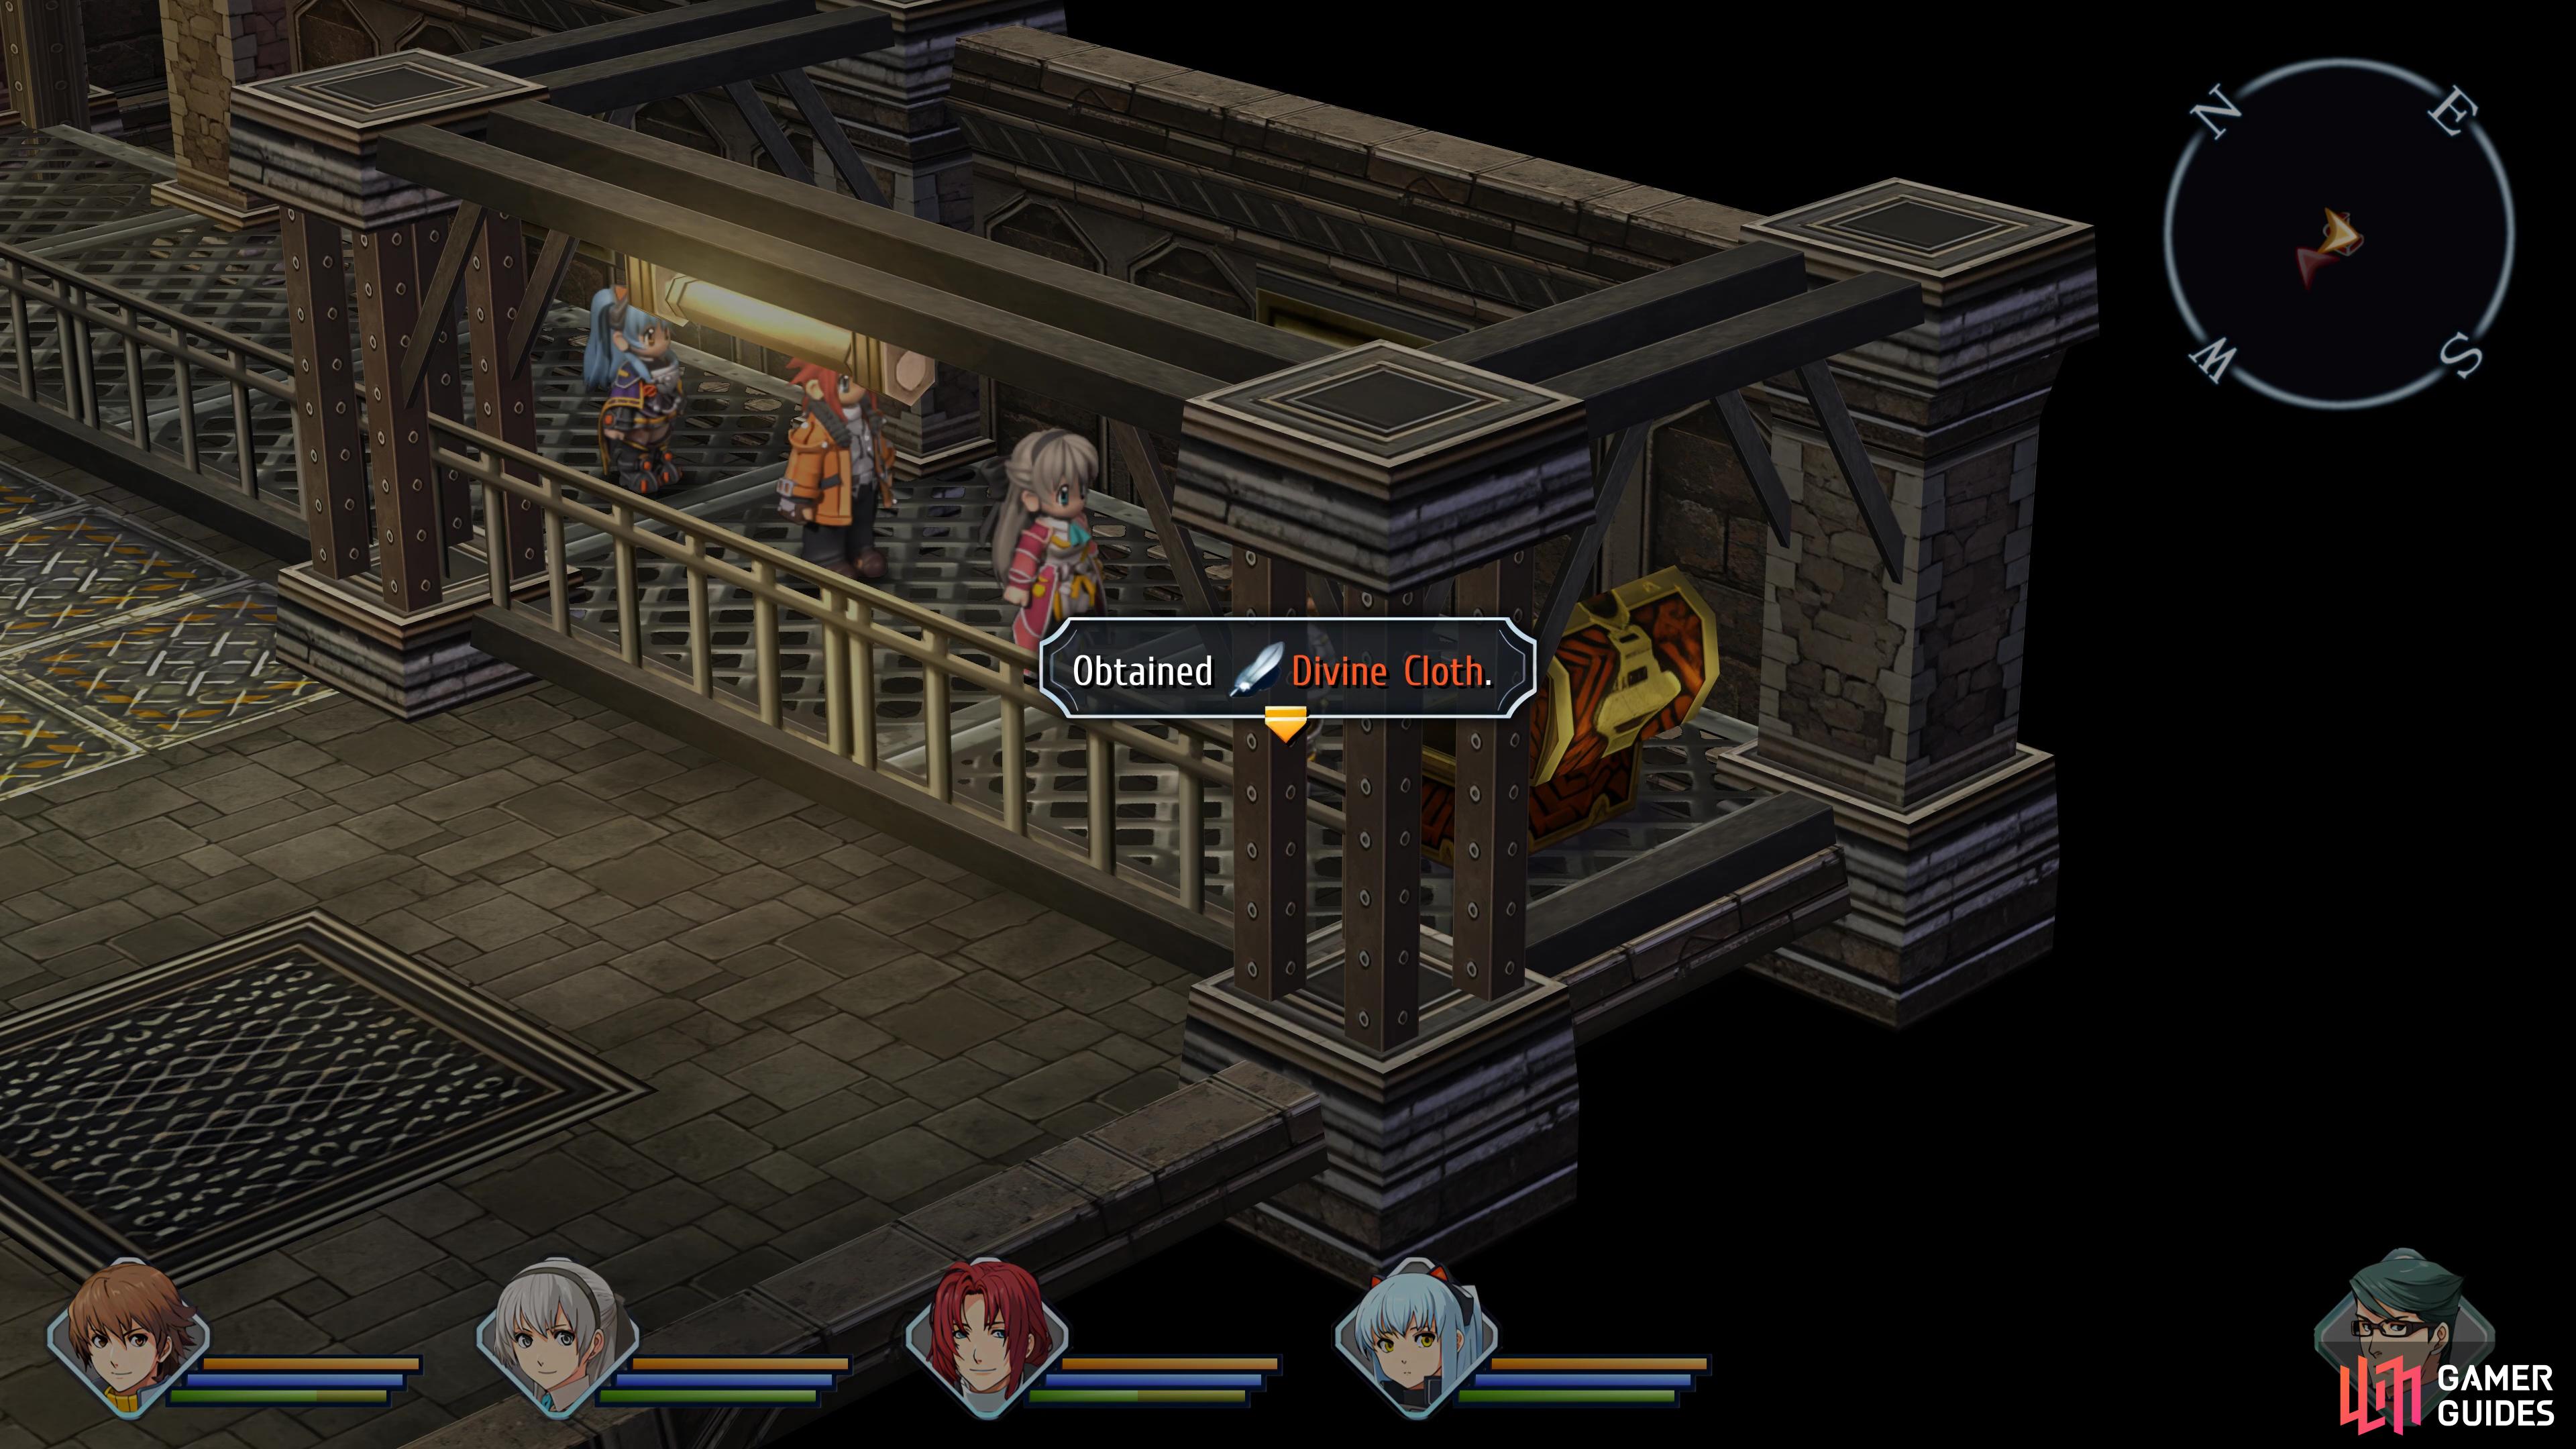
Divine Cloths are used to forge the ultimate armor in the final chapter.
Retrace your steps to the main corridor and head along this path now and dispatch another Beep Seeker to access the door. Follow the linear path through the next two rooms and you’ll find yourself in a corridor. Head into the first room and activate the console at the end, then return to the corridor, ignore the next door and enter the one next to it to activate another console. Grab the chest while you’re here to obtain a Curia Balm. Return to the door you passed and head inside and follow the path through another door.
You’ll come out at another large room but ignore it for now and go through the southern door. Head to the southern wall and then go east to find another Beep Seeker guarding a door. Defeat it, head through and follow the path to the end to find a console that will shut off the electrical floor. Return to that room and open the two chests, one of which contains a Proxy Puppet and a monster chest housing a Full Metal Coat.


(1 of 4) The monster chest in the armor contains a battle against all types of mechs
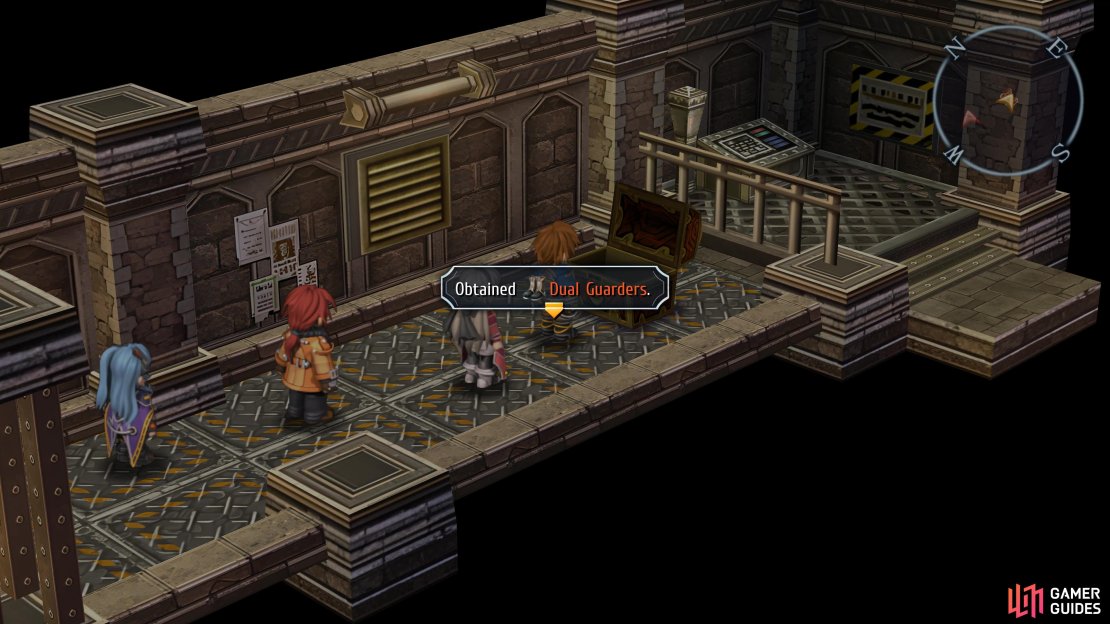
Leave this room via the south once again and this time, head around to the northwest corner, dispatching the Beep Seeker in the process. In the room beyond, you’ll find a console that shuts off another electrical floor leading to a chest. Return to the previous room and take the southwest exit, going east in the next room to reach the chest containing some Dual Guarders before taking the stairs down.
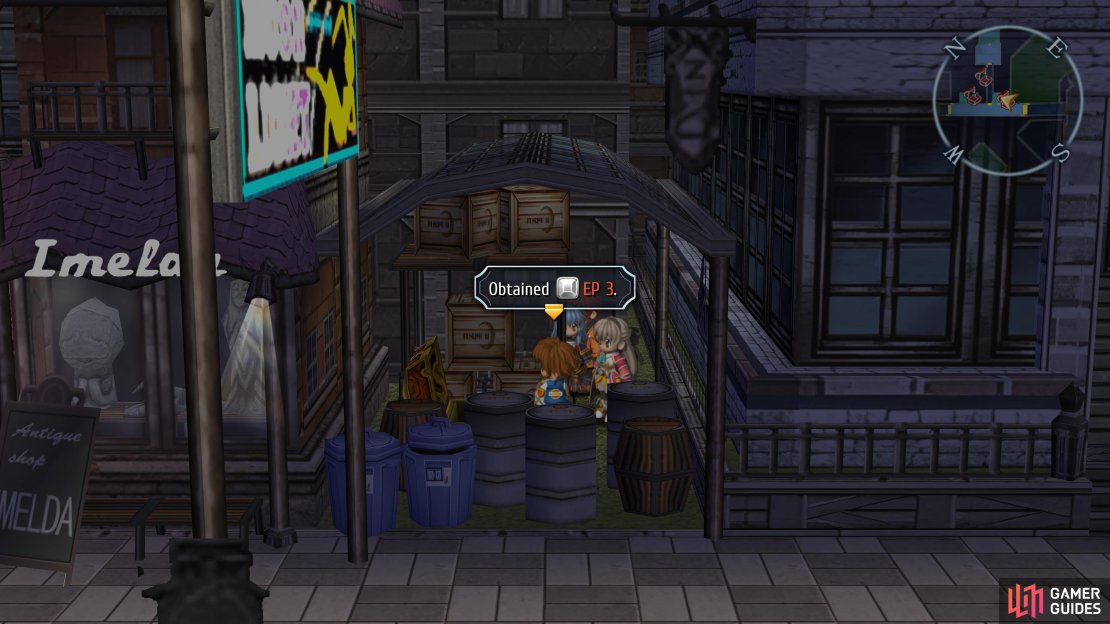
In this large room, head to the northwest corner to find the first console needed for the door along with a chest holding a Celestial Balm. Now head over to the northeast of the room to find the second console, allowing access to the door. Before heading through, however, use the door nearby to find yourself in the Back Alley once more where you can open the final chest of the dungeon containing an EP 3.
Return to the previous room, use the Recharge Station and head through the door. You’ll have to fight a battle against a large group of Tri-Attackers so make use of your S-Breaks (if Randy is Level 35, he’ll have his second S-Craft that will hit a large area). Once the battle is over, collect the Carnelia Key on the wall.
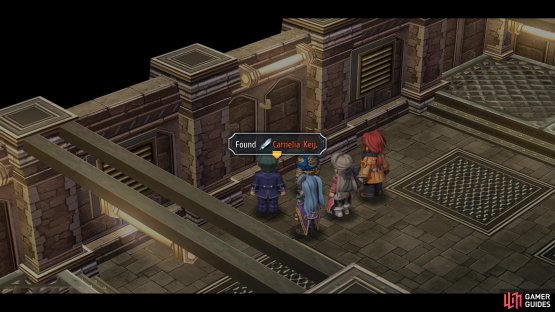

(1 of 2) A Carenlia Key awaits at the end of the Armory


A Carenlia Key awaits at the end of the Armory (left), insert both keys in the sitting room to reach a secret passage. (right)
Make the long trek back to the lobby of Revache & Co. and head through to the sitting room once again. Insert both keys and some stairs will appear where the table was, save your game and head downstairs, following the corridor to a boss.
Boss Battle - Regenenkopf
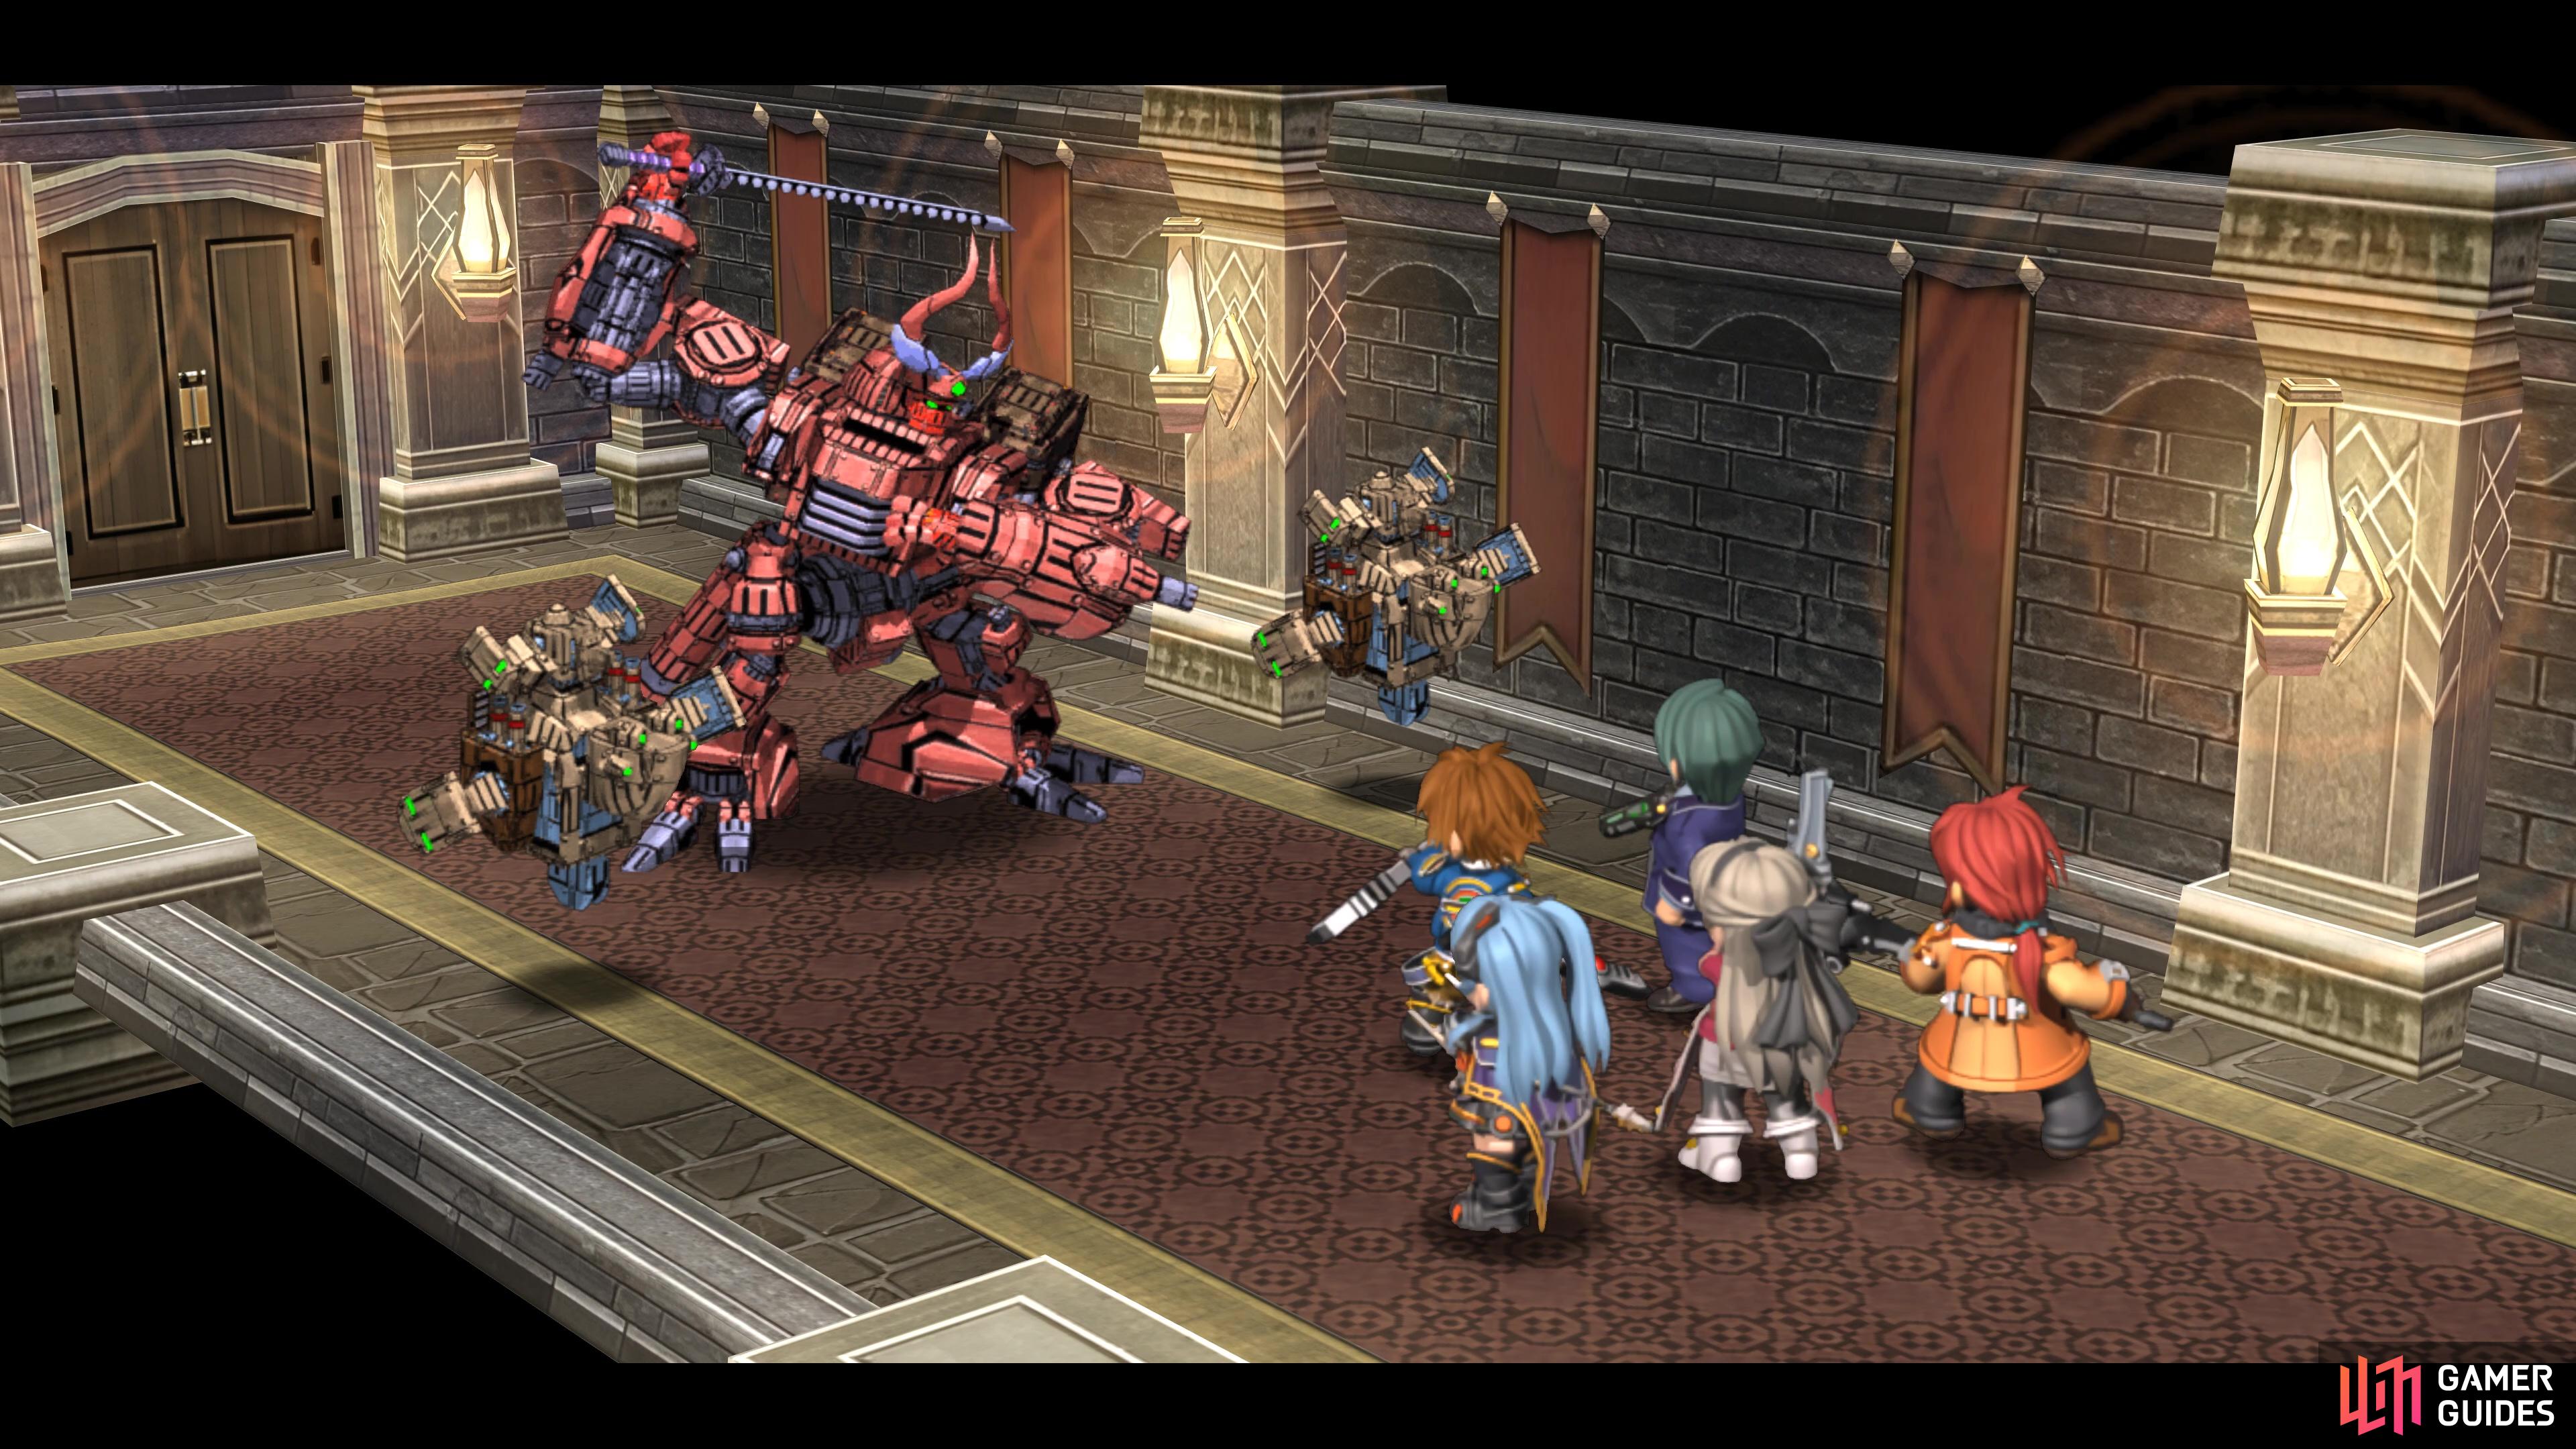
Regenenkopf is the boss of the Revache & Co. dungeon.
| Enemy | Lv | Elemental Effectiveness | Drops |
|---|---|---|---|
| Regenenkopf | 33 | T-Material | |
| Mustang | 33 | U-Material |
This is one of those bosses that look far tougher than they actually are, especially if you came in prepared with everyone having 200 CP. The Regenenkopf can use Searing Flame, which will see him shoot three missiles in an AoE that deals around 700 HP. Hallelujah Hurricane will grant it increased STR and SPD, allowing its other attacks to hit harder while Flowing Star, its deadliest attack, is another AoE that will deal over 1000 HP and inflict Blind on anyone not protected.
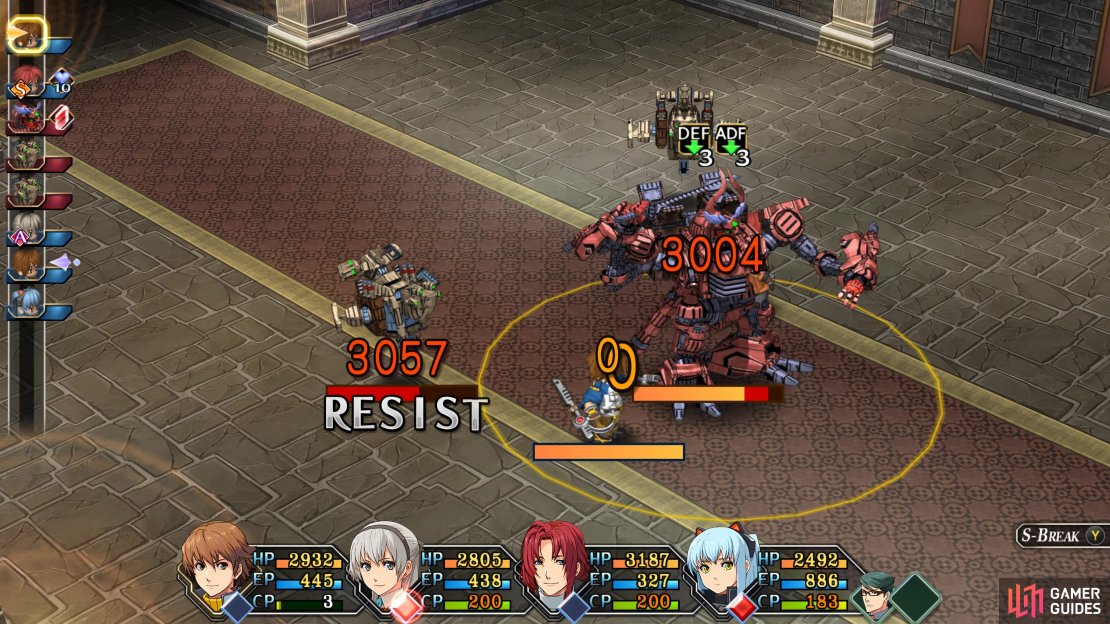


(1 of 5) Lloyd and Randy’s S-Break should be dealing 3000+ HP damage at this point in the game
Be sure to have Tio Analyze the Regenenkopf, this will place DEF and ADEF down on it, allowing your S-Breaks and Water-based Arts to hit that much harder. Lloyd at this stage of the game can easily put out over 3000 damage with his Rising Sun S-Break and Randy even higher with Death Scorpion, this is enough to kill the Mustangs outright and put a heavy dent into Regenenkopf.
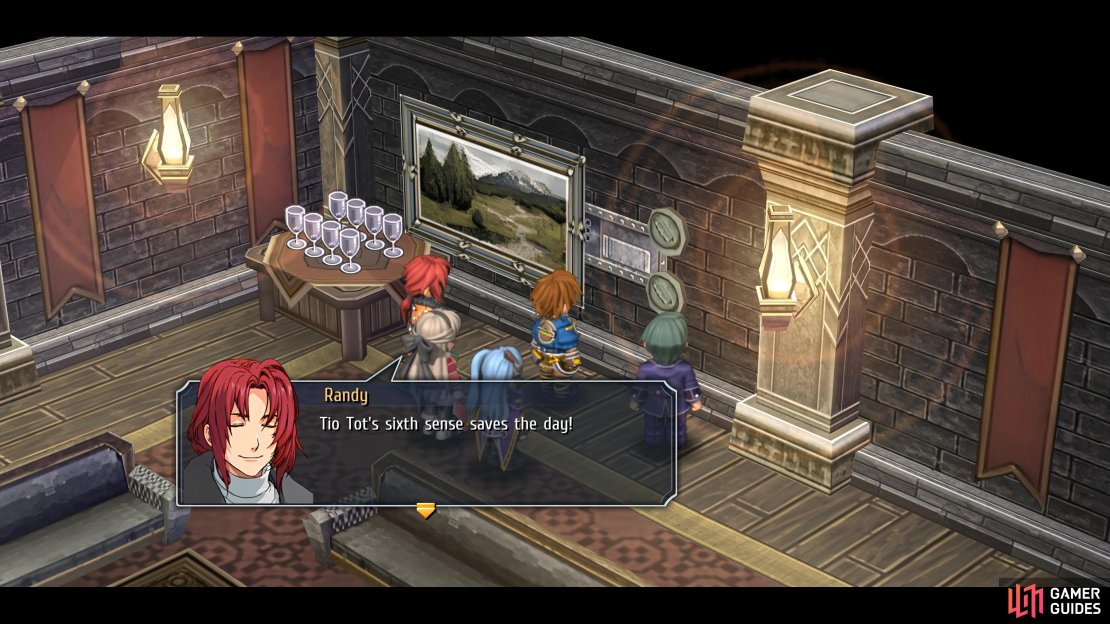
If you’re happy with everything and have achieved all that is on the Point of No Return page, make a hard save on a different slot and then head through the door. Once you regain control, speak to everyone, examine the chest in the middle of the room, then search the drinks shelf in the top corner to obtain the key. Open the chest to trigger lengthy scenes that will bring Chapter 4 to a close and begin the Finale.
| Chapter | Game Total | Rewards |
|---|---|---|
| 71 | 343 | Strega-P (294), Power Suit (324) |
No Comments