
Walkthrough for the Ancient Battlefield in Chapter 3 in The Legend of Heroes: Trails from Zero, including basic information about the monsters encountered in the area, and the treasures and fishing spots you can find as you explore.

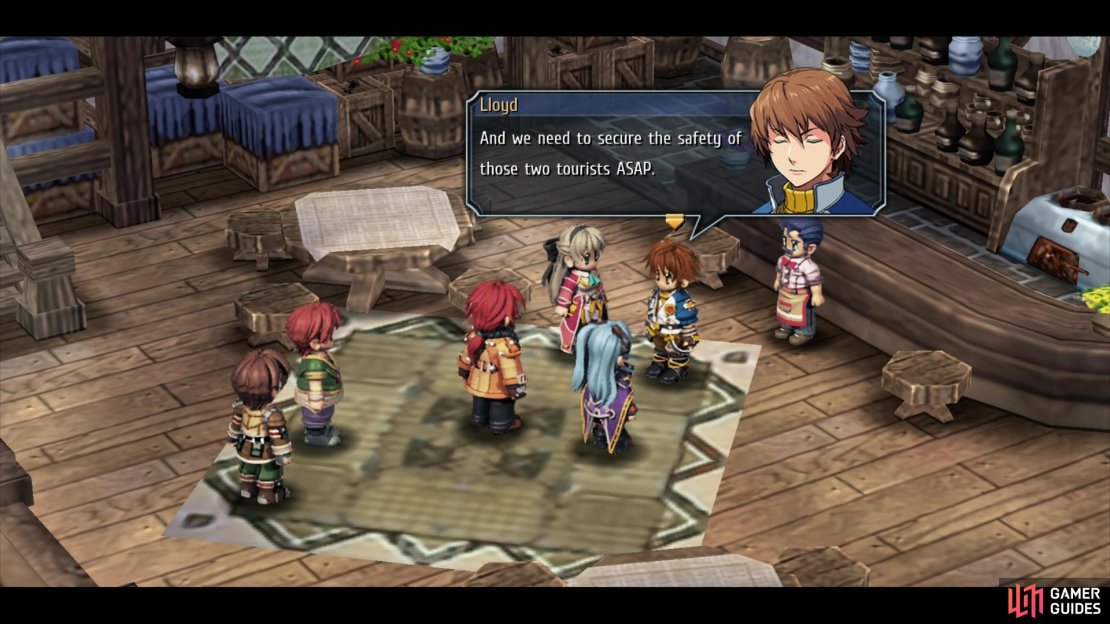

(1 of 3) To gain access to the Ancient Battlfield, you’ll first need to accept the “Missing Tourists”
Exploring the Ancient Battlefield
At the start of Day 3 in Chapter 3 you can pick up the urgent request Missing Tourists. As with all urgent requests you’ll need to complete it to advance the main questline, but Missing Tourists also opens up the Ancient Battlefield field dungeon, which is crawling with new monsters to fight and treasures to plunder.
Before you explore the Ancient Battlefield extensively we suggest you complete Missing Tourists in its entirety, as you’ll automatically leave the dungeon during the events of the request and you’ll have to head back anyways.
To gain access to the dungeon you’ll need to head to Armorica Village, which requires you to exit Crossbell City via East Street, trek through East Crossbell Highway, then take Old Armorica Road… or you could just catch a bus right outside of Crossbell City, if you wish. When you reach Armorica Village, head to the Ash Tree Inn and talk to Gofan, who will be standing near the counte. After the conversation, return to the Old Armorica Highway and make your way to the third screen (the area adjacent to Armorica Village) and cross the newly repaired stone bridge to the east.
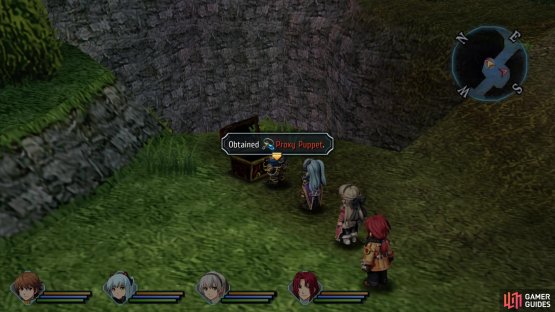
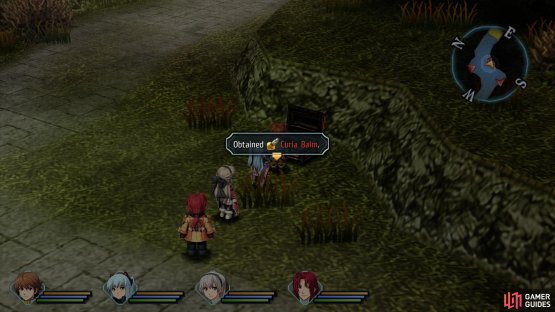
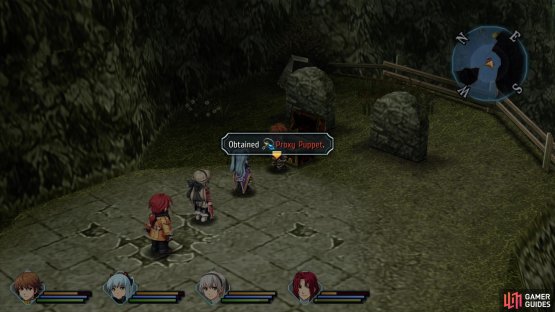
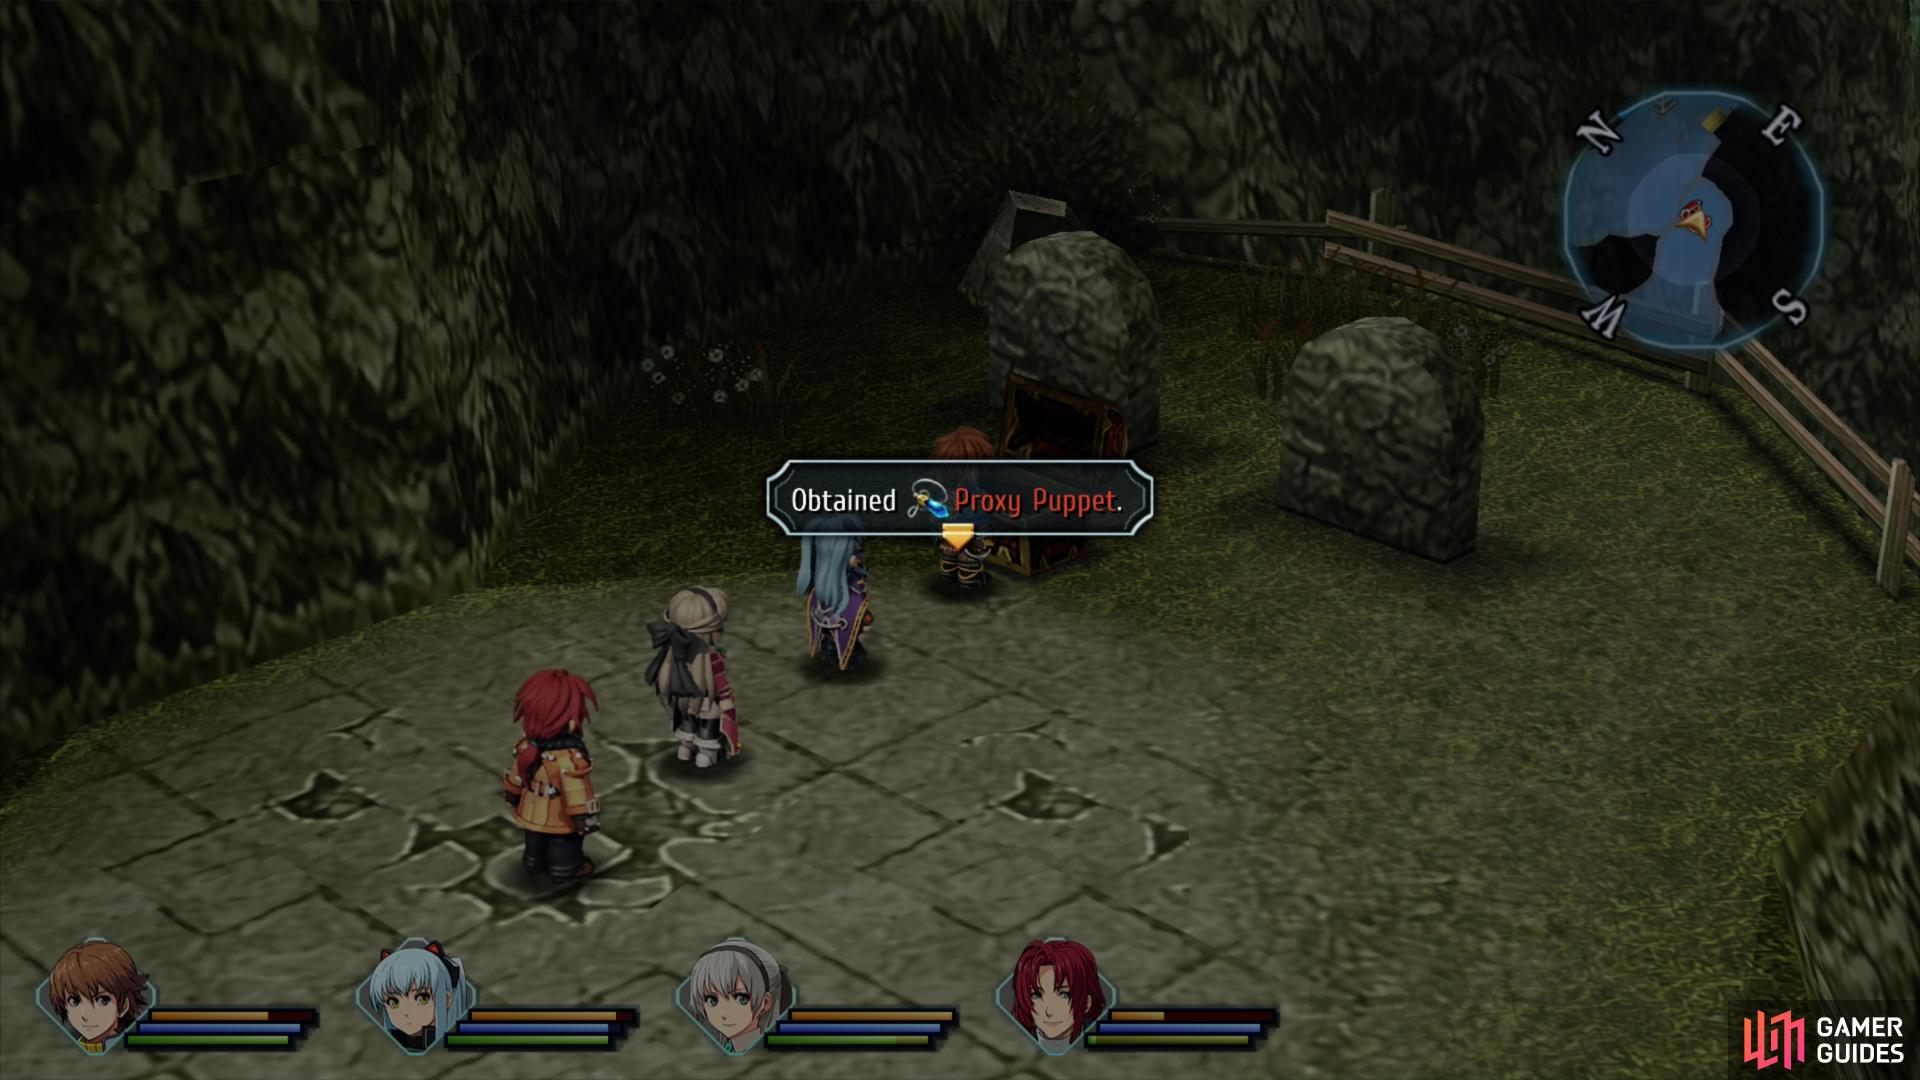
(1 of 2) After crossing the bridge, loot two chests to score a Proxy Puppet,
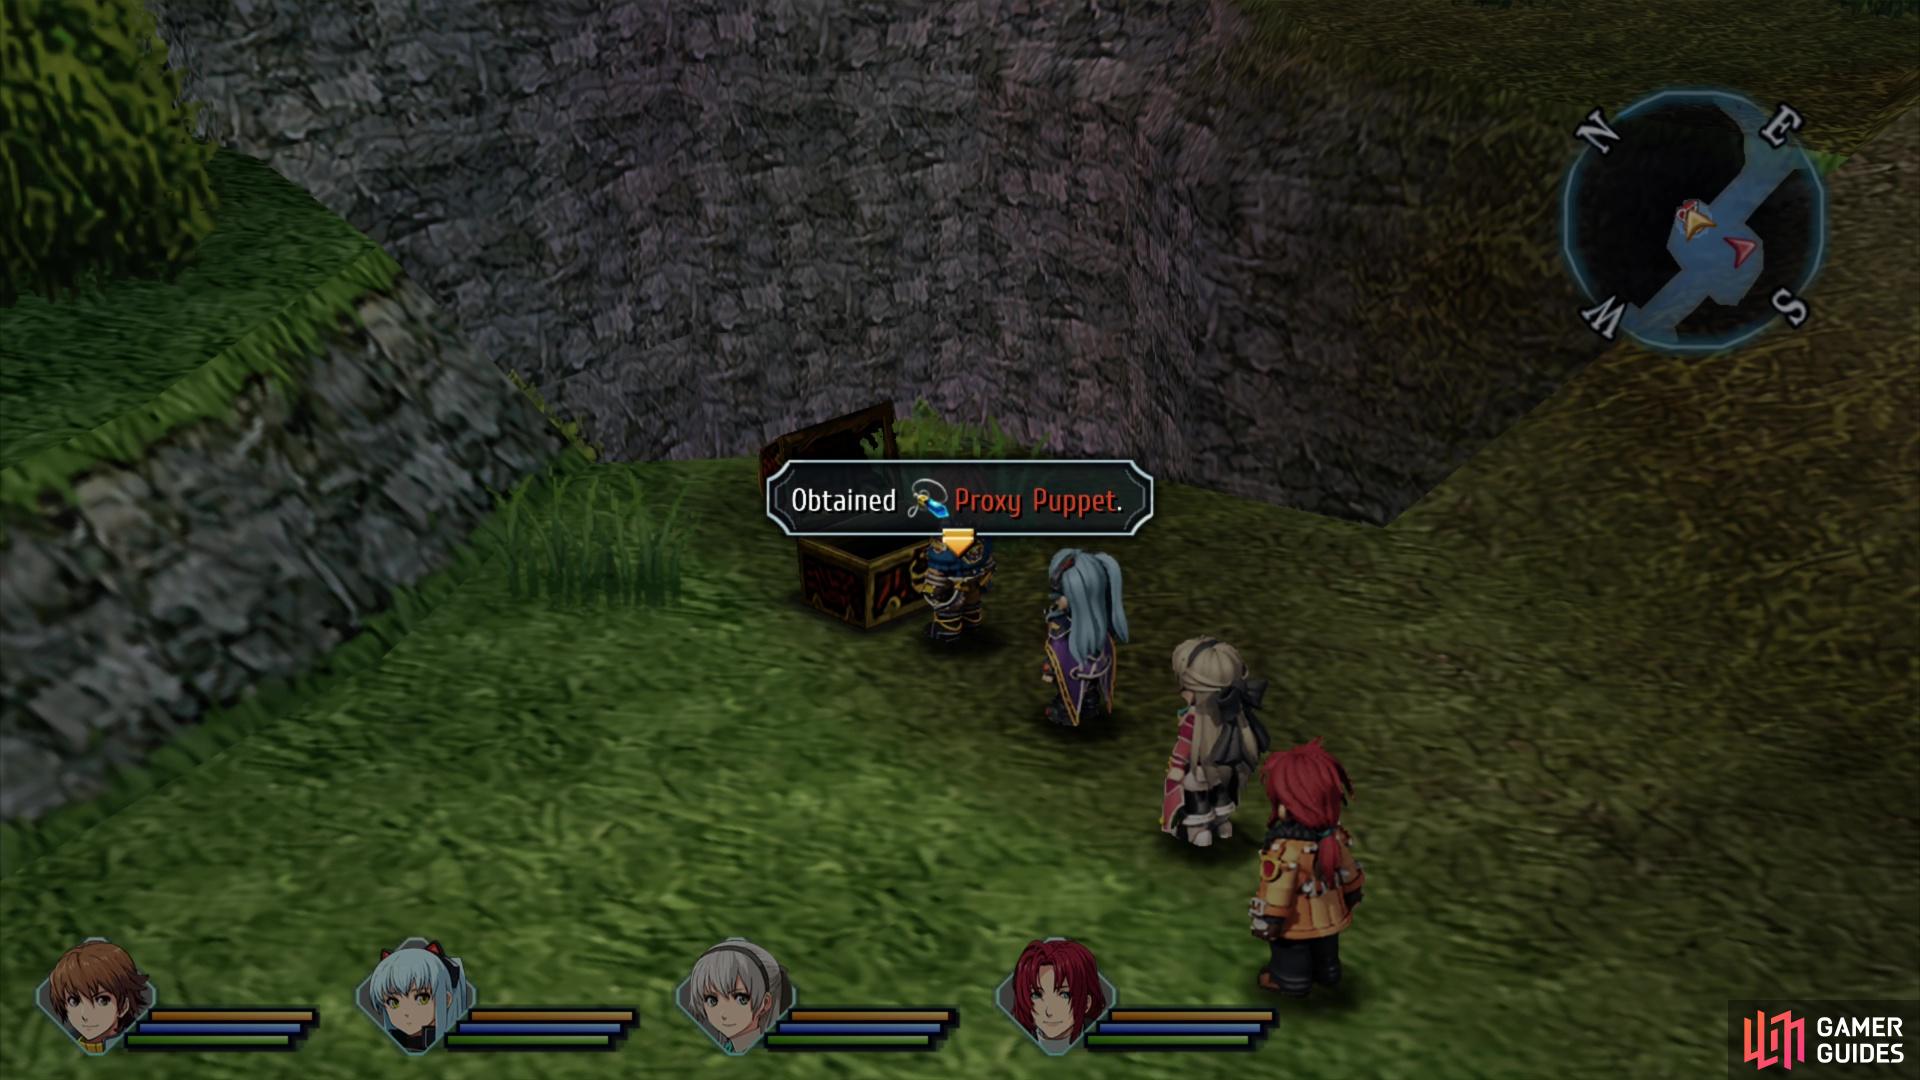

After crossing the bridge, loot two chests to score a Proxy Puppet, (left), and some Curia Balm. (right)
Immediately after crossing the bridge you’ll be able to nab two chests that eluded you on your first trip down the Old Armorica Road. The first one is to the north after crossing the bridge while the second is uphill to the east. Don’t get too excited, however, as they just obtain a Proxy Puppet and a Curia Balm.
| Items | Location |
|---|---|
| Proxy Puppet | Old Armorica Road - Screen 3 |
| Curia Balm | Old Armorica Road - Screen 3 |
| Teara Balm | Ancient Battlefield - Screen 1 |
| U-Material | Ancient Battlefield - Screen 1 |
| Celestial Balm | Ancient Battlefield - Screen 1 |
| Curia Balm | Ancient Battlefield - Screen 1 |
| Hit 3 (Quartz) | Ancient Battlefield - Screen 1 |
| Heal (Quartz) | Ancient Battlefield - Screen 2 |
| Proxy Puppet | Ancient Battlefield - Screen 2 |
| Teara Balm | Ancient Battlefield - Screen 2 |
| Celestial Balm | Ancient Battlefield - Underground Passage |
| Horizon Rod | Ancient Battlefield - Underground Passage |
| Teara Balm | Ancient Battlefield - Underground Passage |
| Celestial Balm | Ancient Battlefield - Underground Passage |
| HP 3 (Quartz) | Ancient Battlefield - Screen 4 |
| U-Material | Ancient Battlefield - Screen 4 |
| EP Charge | Ancient Battlefield - Screen 4 |
| Battle Jacket | Ancient Battlefield - Screen 4 |
| Teara Balm | Ancient Battlefield - Screen 5 |
| Scent (Quartz) | Ancient Battlefield - Screen 5 |
| Enemy | Lv | Elemental Effectiveness | Drops |
|---|---|---|---|
| Vampire Thorn | 25 | Prickly Seed, Seven-Colored Beans | |
| Cursed Shield | 25 | EP Charge, Sedative | |
| Living Totem | 25 | Teara Balm, Stimulant | |
| Sepith Demon | 25 | Beast Flesh, Cooling Spray | |
| Saccharine Tomartian | 25 | Acerbic Tomato, Sedative | |
| Vampire Bat | 25 | Red Flies, Battle Scope | |
| Grave Flier | 25 | Chitinous Shell, Earthworm | |
| Merman | 25 | Fish Fillet, Deluxe Dumplings | |
| Blade Fang | 26 | U-Material |
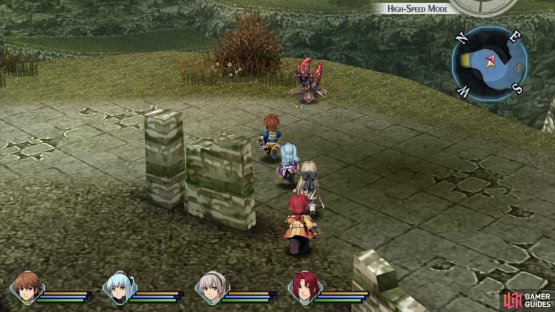
(1 of 2) Hunt down Vampire Thorns on the field,


Hunt down Vampire Thorns on the field, (left), as the elusive Saccharine Tomartian can only spawn alongside Vampire Thorns. (right)
Ancient Battlefield - First Area
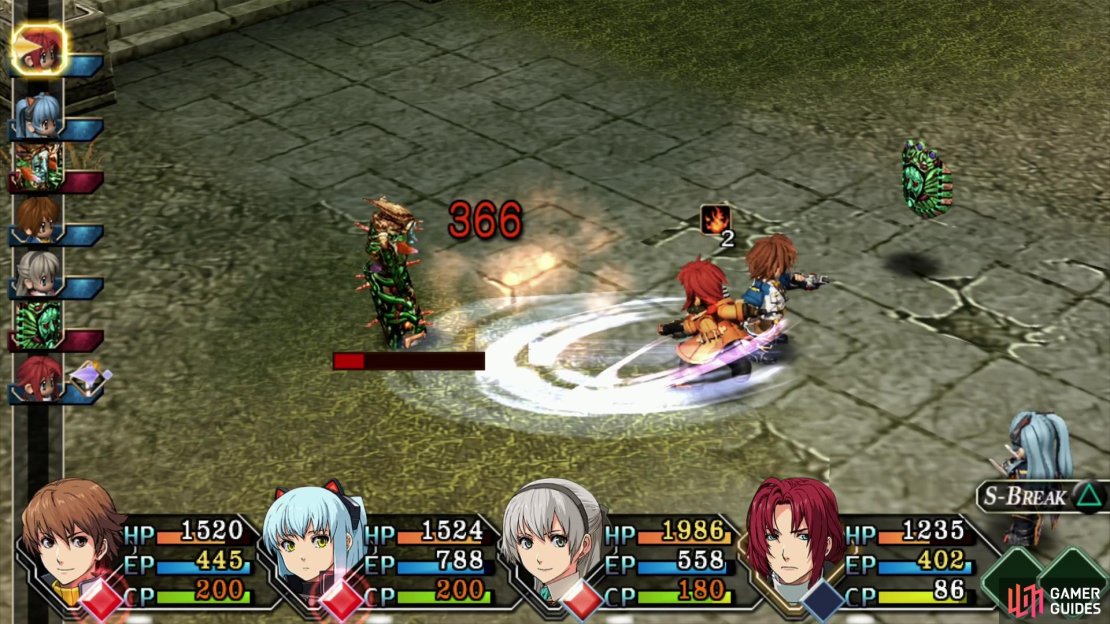
There are five new enemies on this map, and two of them are worth noting. First, the [Saccharine Tomartian] is a rare monster - the first we’ve encountered in a while. They accompany [Vampire Thorns], so just keep picking fights with Vampire Thorns that appear on the field until some Saccharine Tomartians spawn alongside them.


(1 of 2) Cursed Shields will reflect physical damage,
Cursed Shields will reflect physical damage, (left), defeat them by having Elie and Tio pelt them with Arts, instead. (right)
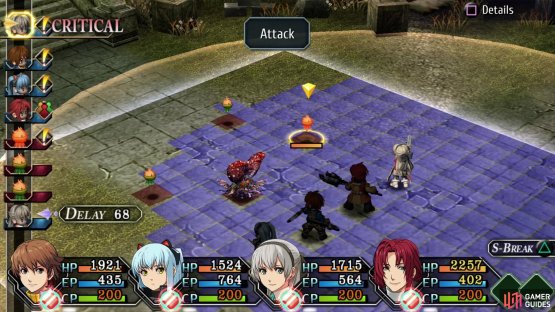
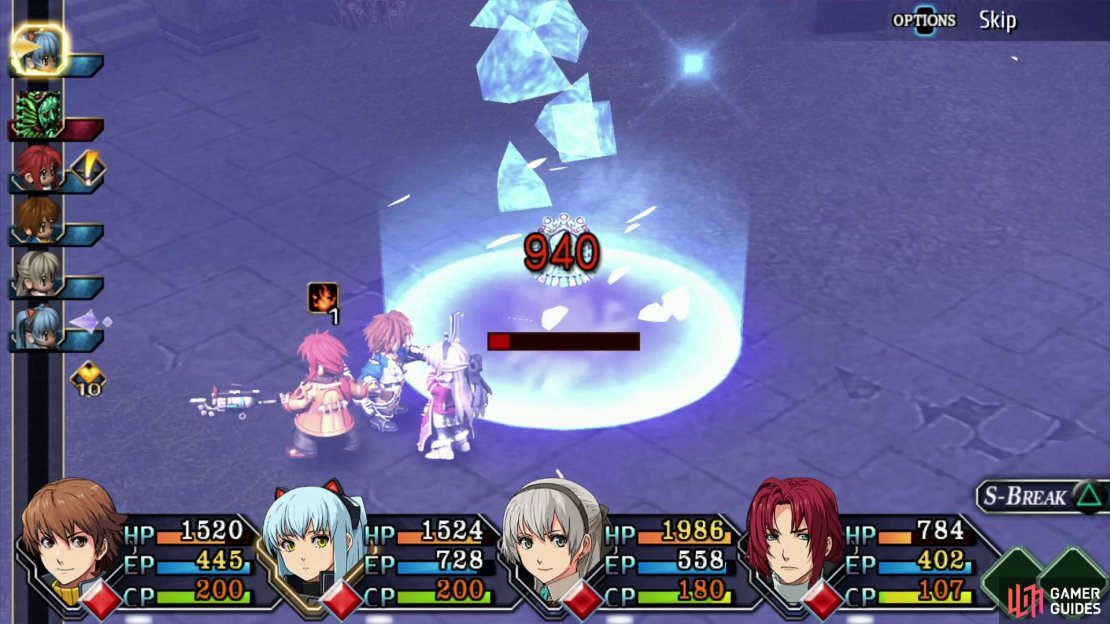
The next most interesting enemy in this area is the [Cursed Shield], which is noteworthy for its ability to reflect physical damage directed at it. Attacking with Lloyd, Elie or Randy will prove quite painful, so you’ll need to use Arts to damage these enemies (Tio’s normal attack also counts as non-physical damage). Hopefully you’ve been keeping your Quartz updated and your Orbment Slots upgraded; if so, Tio and Elie should finally be coming into their own as casters. With all her Orbment Slots upgrade Tio should have over 700 EP, and depending on her level and weapon she could have around 150 ATS. With an Ingenuity Quartz equipped, Tio should be able to cast whatever she wants, whenever she wants to cast it and expect to fully recover her EP between battles just by walking around.
If your ability to utilize Arts isn’t up to snuff, these enemies will make that perfectly clear.
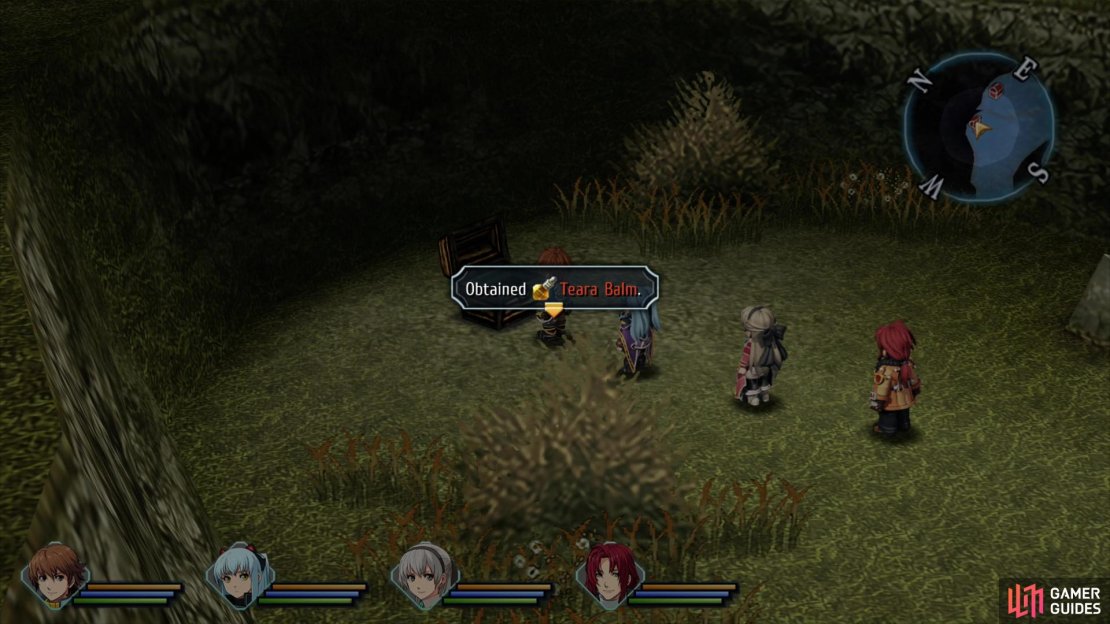
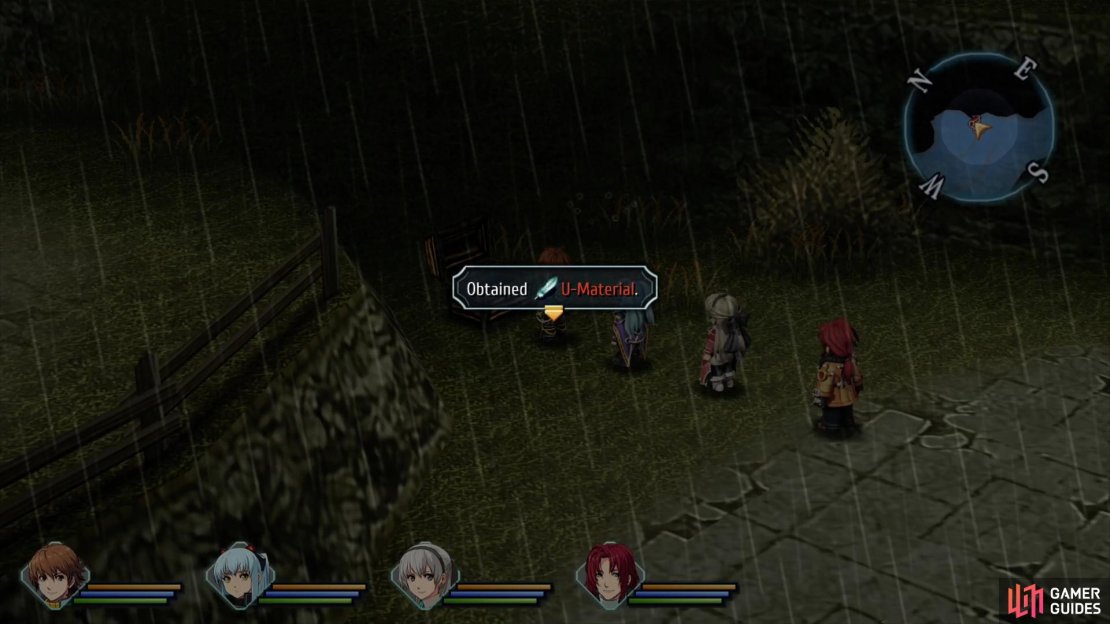
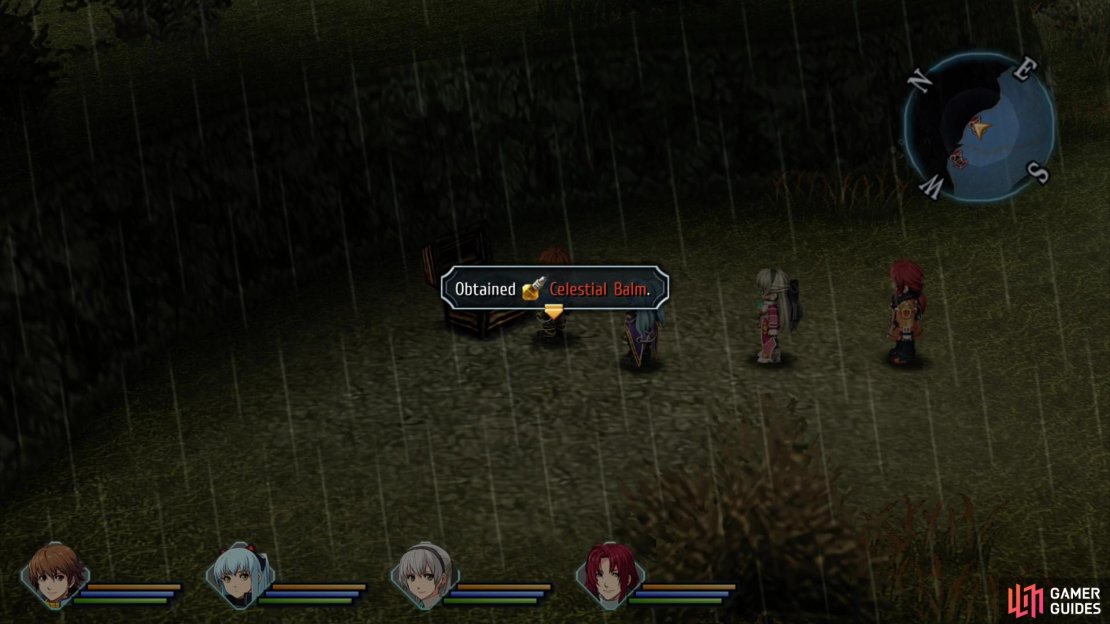
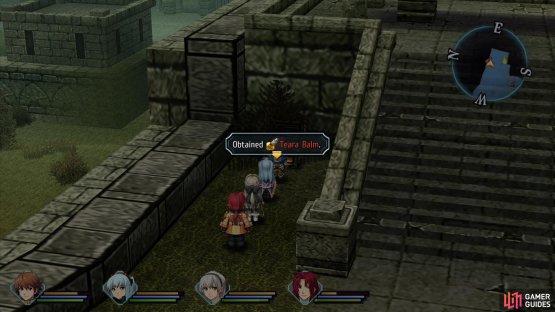
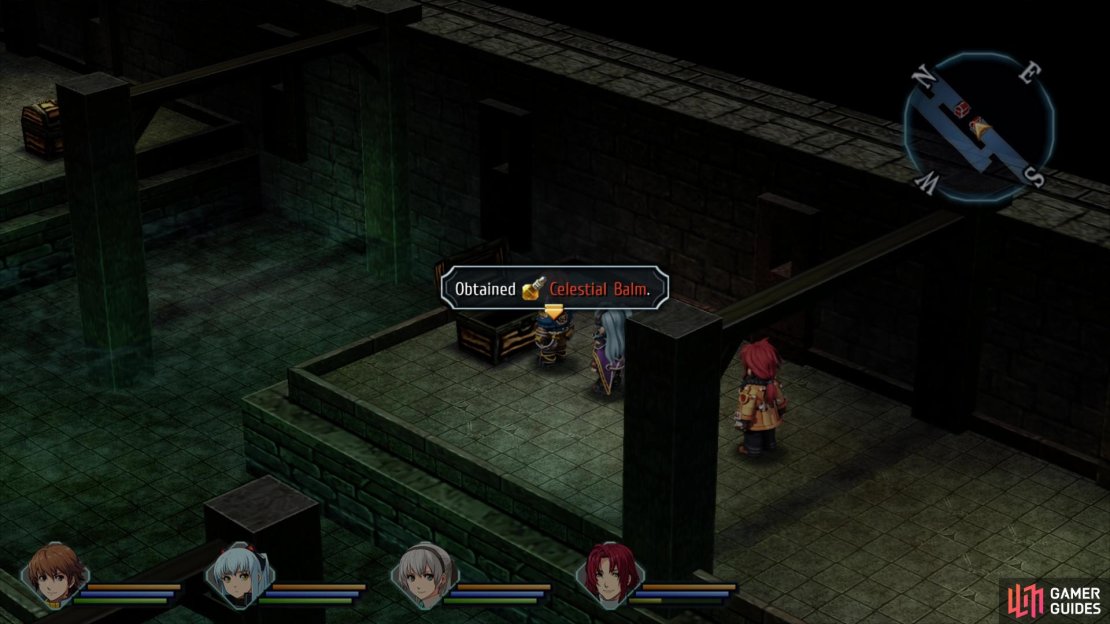
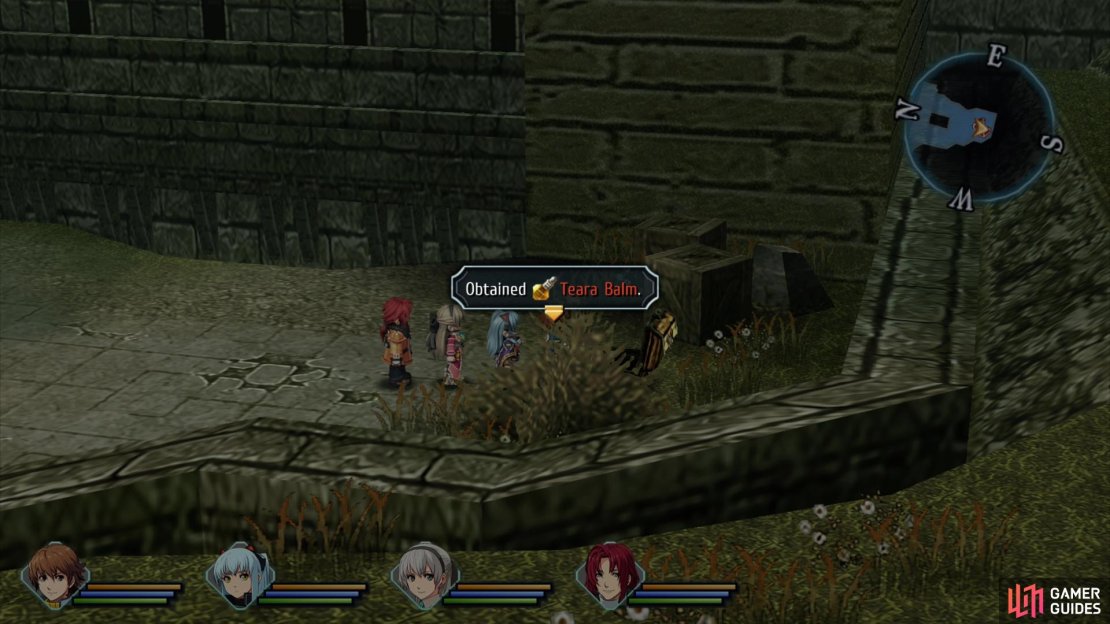
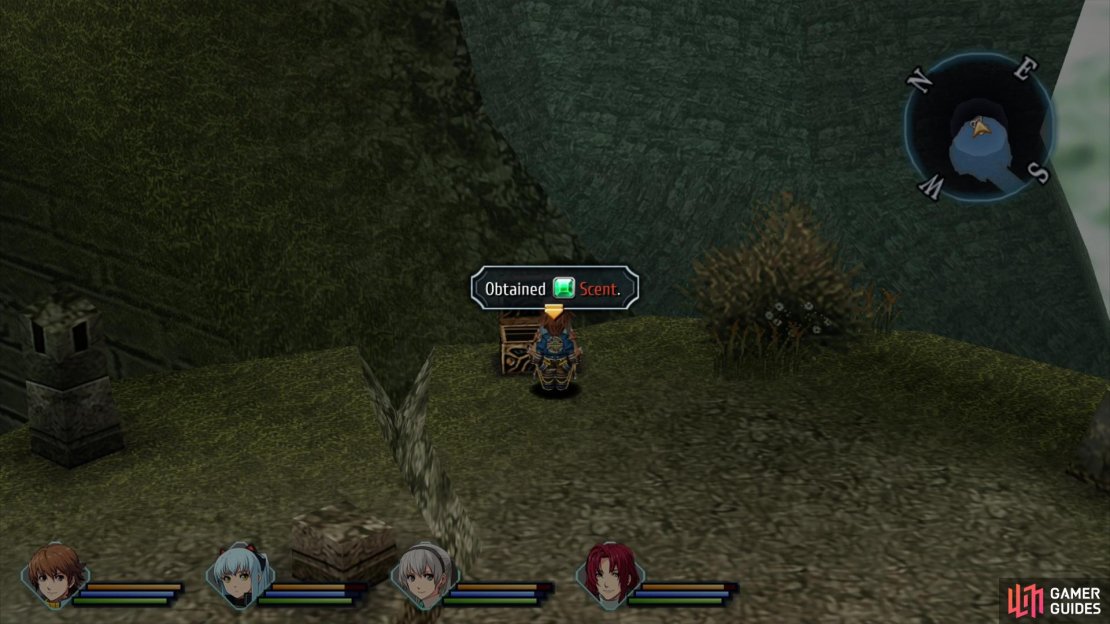
(1 of 5) At the fork, head uphill to the northeast and search the northern end of the map to find chests containing Teara Balm,
In addition to the five new monsters on this screen you’ll also find five treasure chests you can loot. From the exit to Old Armorica Road at the western end of the area, head east until you reach a fork. If you continue uphill to the northeast you can find three chests (Teara Balm, U-Material, Celestial Balm) and an area transition that leads to the fourth screen of this area. If you didn’t open the gate during Missing Tourists, you’ll have no choice but to work your way through the second and third areas (Underground Passage), which is just as well, as that’s the route we’re taking, anyways.
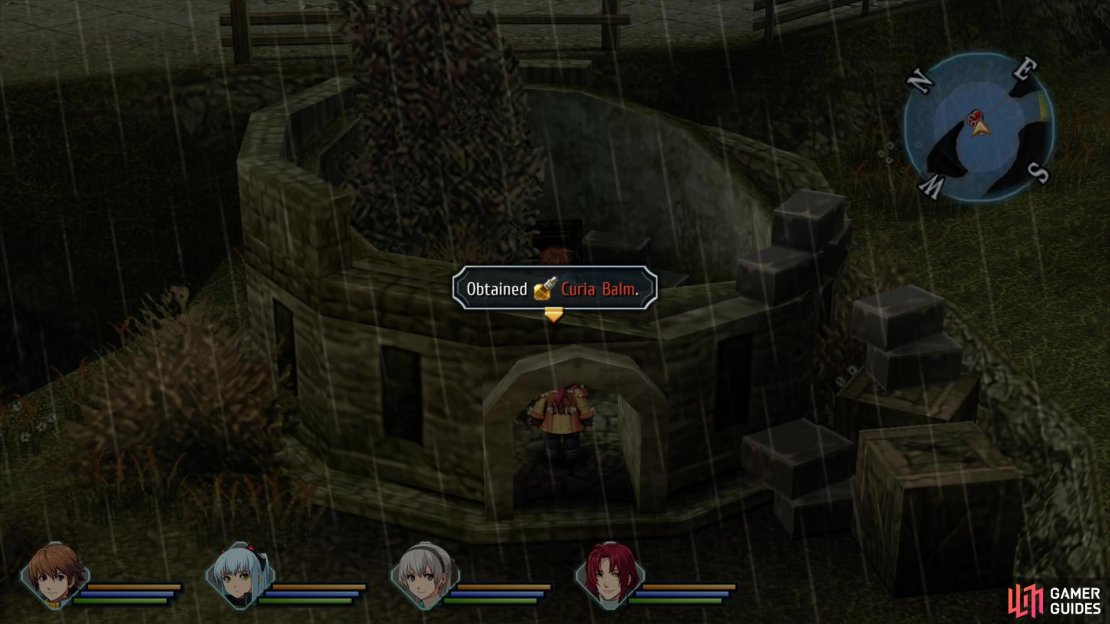
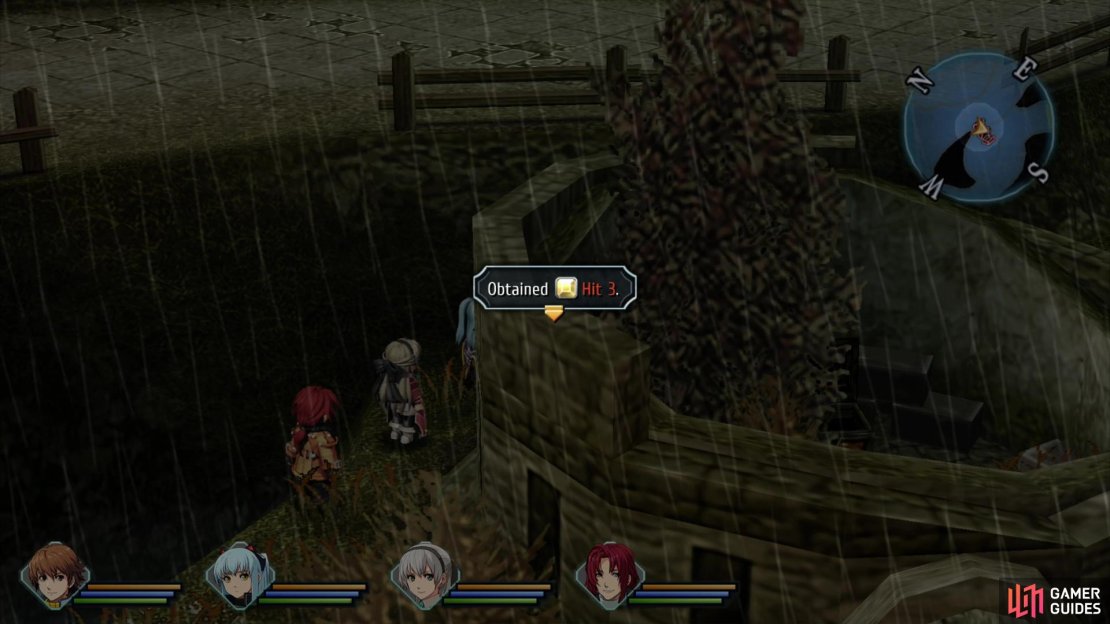
Get the aforementioned treasure, then return to the fork and downhill to the southeast until the road turns east. When you spot some stairs to the north, descend them, kill any enemies in the vicinity, then enter a round, ruined stone building to find a chest containing a Curia Balm. Less obscure and more lucrative, however, is the chest hidden behind this building. Just circle around the left side of the building and look for the exclamation point prompt to let you know you’re at a chest, then loot it to score Hit 3 Quartz.
When you’re done looting these two chests, make your way to the western edge of this depression to find a fishing spot in the pond below.
Fishing Spot: Ancient Battlefield - Pond
| Fish | Bait |
|---|---|
| Armorica Carp | Deluxe Dumplings, Dumplings, Earthworm |
| Gluttonous Bass | Earthworm, Kasagin, Snow Crab |
| Pythonhead | Kasagin, Snow Crab |
| Queen Crab | Carp |
| Arch Crab | Snow Crab |
One of the last new fishing spots in the game, this surprisingly crabby fishing spot has little to offer save for the two rare crabs unique to this pond - the Queen Crab and the Arch Crab. The Arch Crab can be fished for with the Bamboo Rod and some Snow Crabs serving as bait, you just need to be wary of Gluttonous Bass and Pythonheads, both of which will serve as spoilers for this catch. The Queen Crab, however, requires an as-of-yet unobtained rod to catch. Don’t worry, you won’t be waiting much longer - we’ll come back to this spot shortly and empty it out.
Grab all the treasure, then continue following the road to the east and exit out to the second area.

(1 of 4) Open a chest near some stairs to provoke some monsters - 4x Living Totems and 2x Cursed Shields.
Ancient Battlefield - Second Area
There are no new enemies on this map, nor any alternate routes (no matter how redundant), so this should be a relatively quick screen to progress through. From the transition to the first area follow the road southeast then south until you find some stairs, alongside which you’ll find an ornate chest.
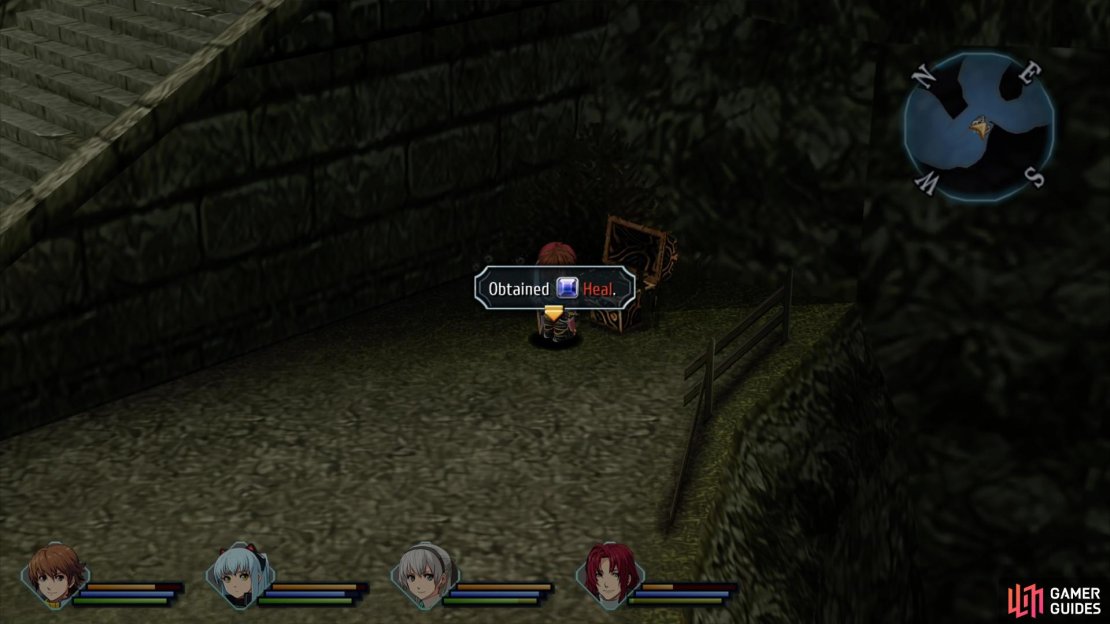
You know the drill, the decorative nature of the chest means monsters, in this case 4x Living Totems and 2x Cursed Shields. Use magic to defeat the latter and physical attacks to pummel the former into submission, and when you emerge victorious you’ll obtain some Heal Quartz, which is similar to Invigorate, save it restores HP as you walk instead of EP.
(1 of 2) Continue through the area to find two more chests, one containing a Proxy Puppet,
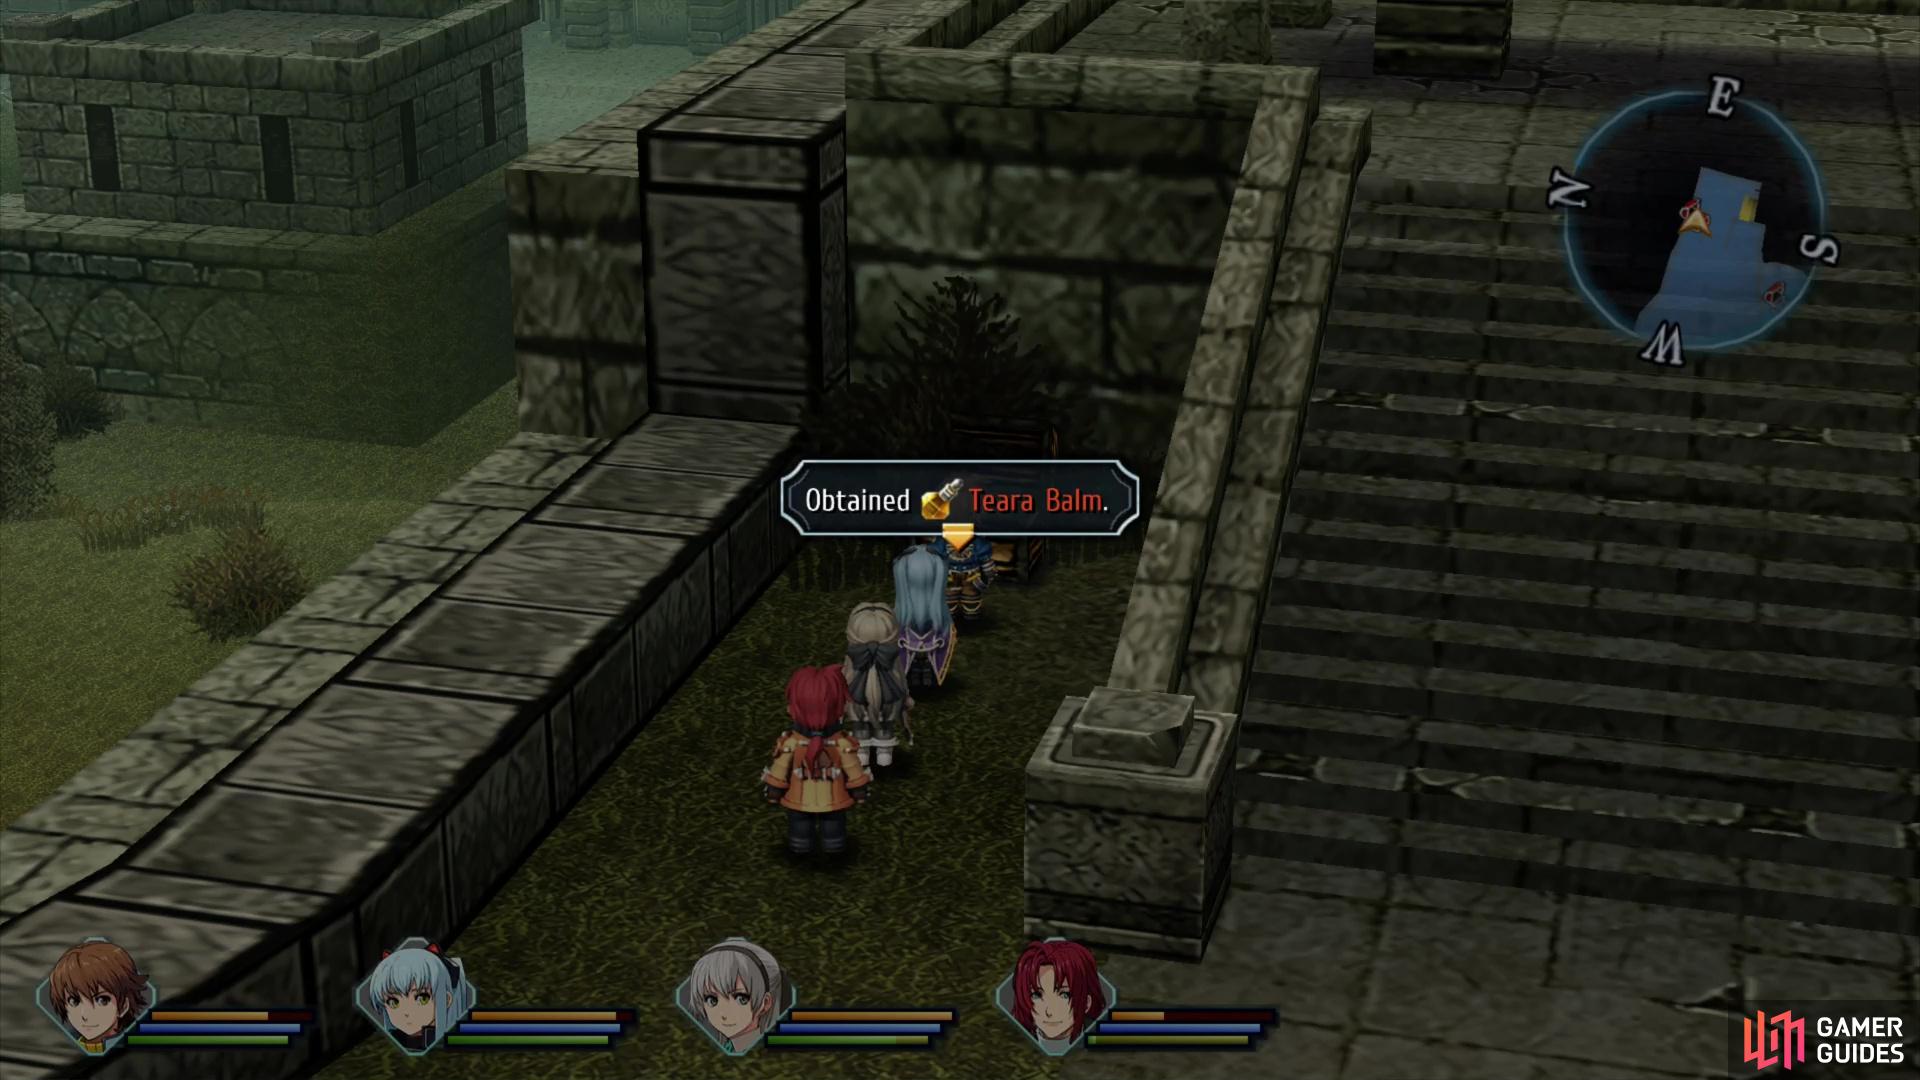
Continue through the area to find two more chests, one containing a Proxy Puppet, (left), and another yielding some Teara Balm. (right)
Continue up the nearby stairs and when you reach a fork turn southeast to find another chest at a dead-end, which will yield another Proxy Puppet, then return to the fork and follow the road northeast. Ascend a second flight of stairs and when you reach a third, search to the left of these stairs to find a chest containing some Teara Balm. Once you’re done looting, head to the right of this third set of stairs to find a doorway leading to the Underground Passage.
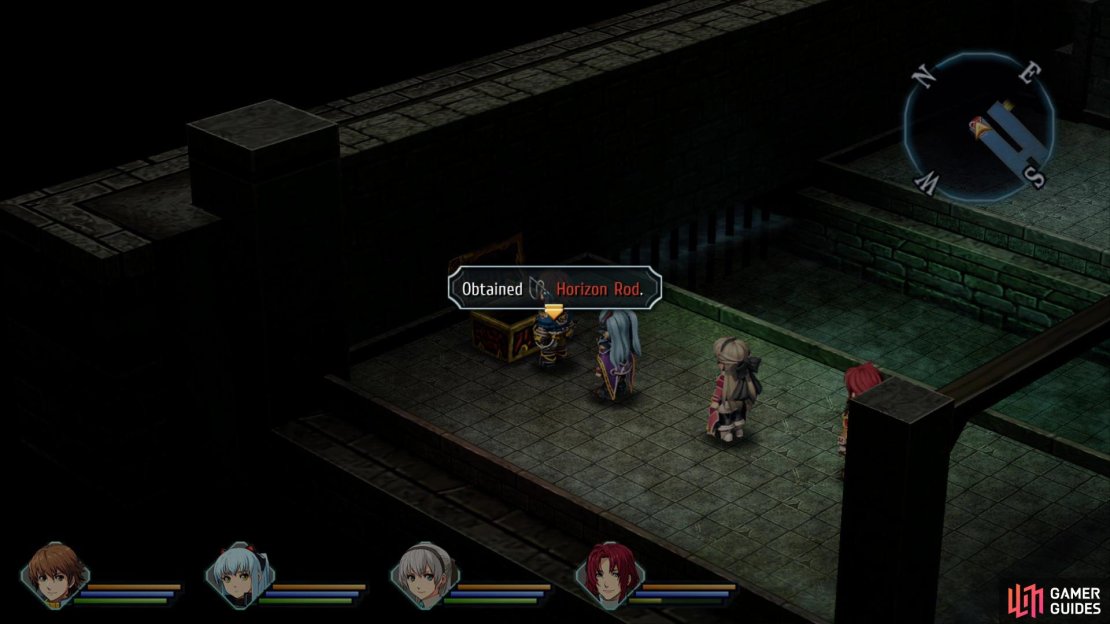

(1 of 4) Plunder chests in the sewers for some Celestial Balm,
Ancient Battlefield - Underground Passage
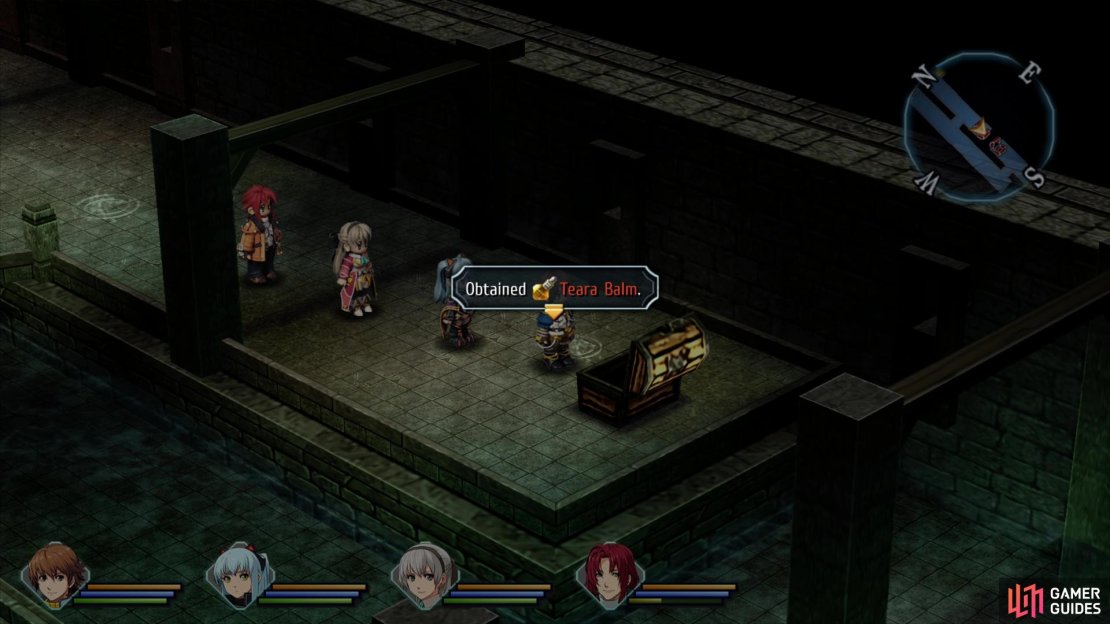
The Underground Passage - three screens we’ll collectively refer to as this dungeon’s third area - consists of two staircases leading down to a connecting sewer level. It ultimately connects the second screen and fourth screen of the Ancient Battlefield, but there’s new monsters and treasure that make exploring it worthwhile in its own right.
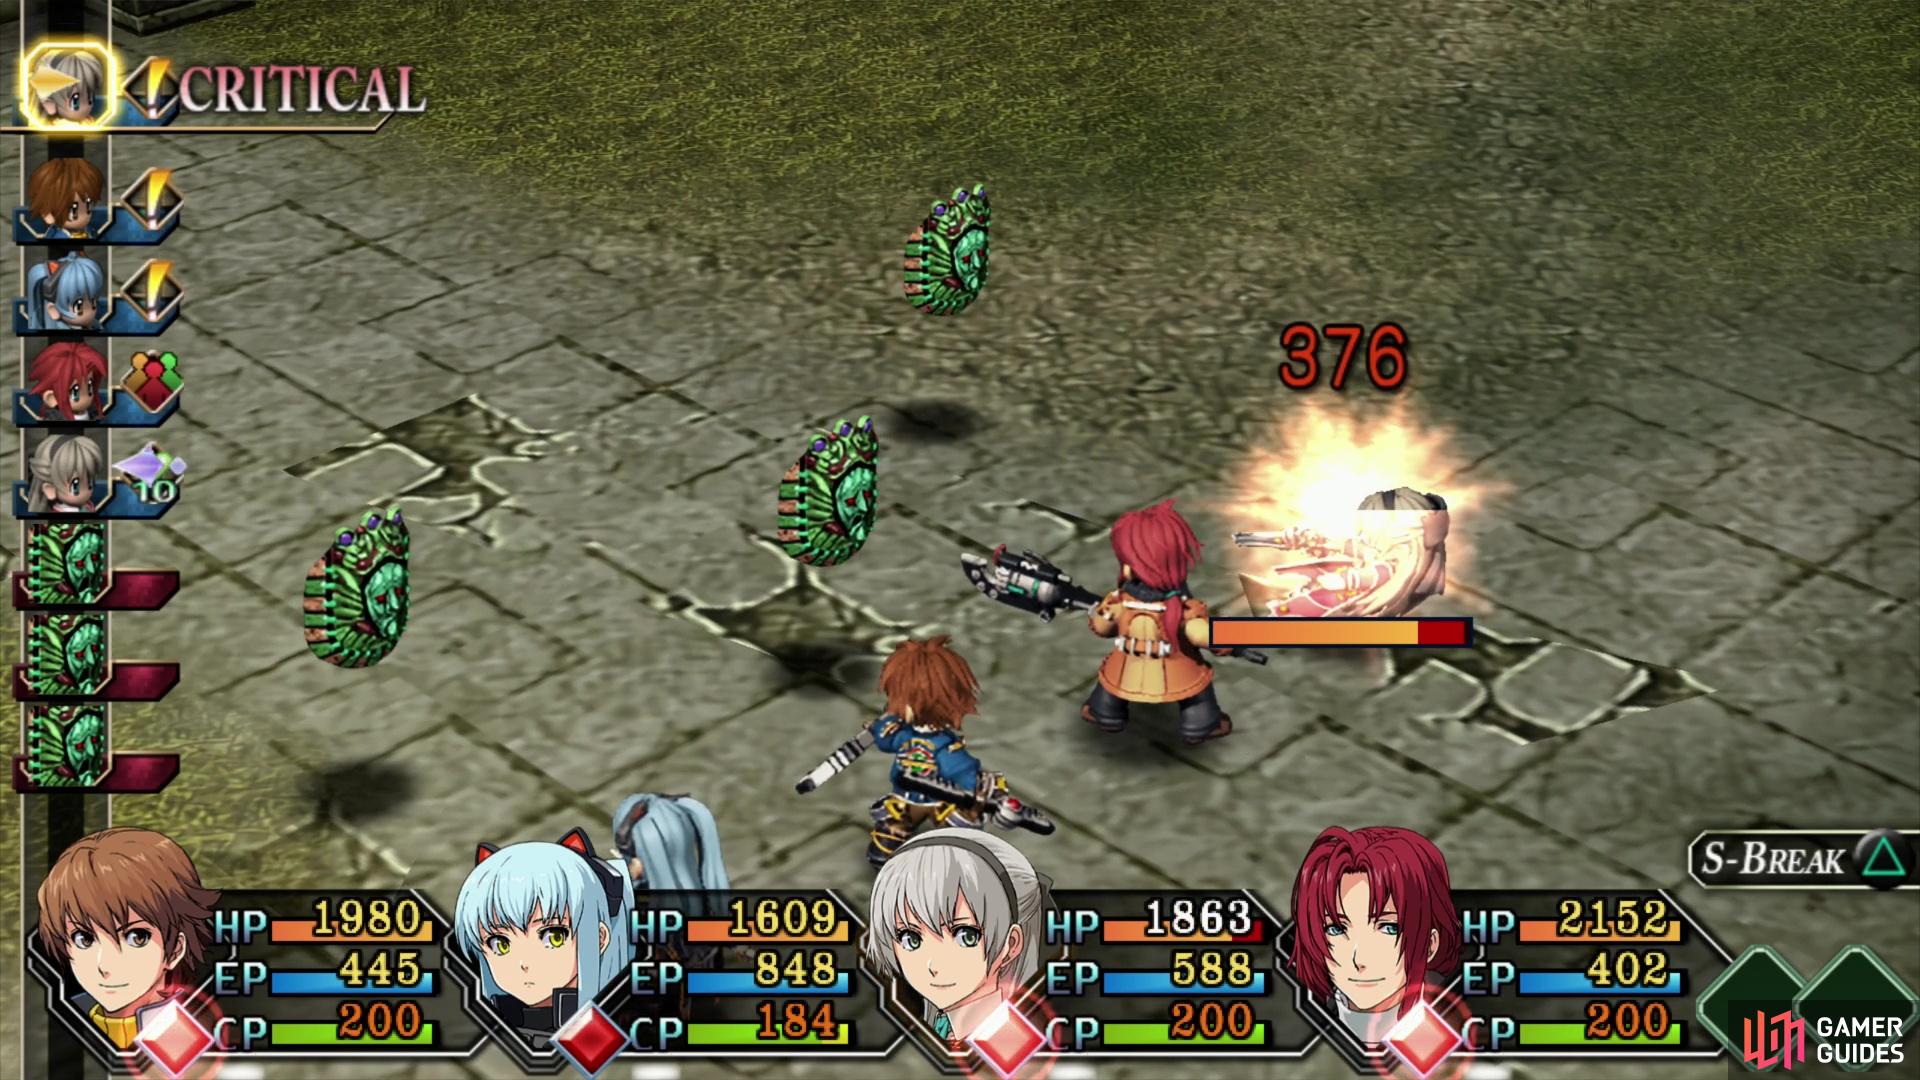
Descend the stairs and you’ll eventually reach a sewer section, which consists of three walkways linked by stone bridges. Patrolling this damp, subterranean passage are the [Vampire Bat], [Graveflier] and [Merman] enemies, none of which are particularly interesting save for the need to Analyze them for bestiary completeness.
Make your way north through the area, snagging chests in plain sight (there are three of them) to obtain Celestial Balm, the Horizon Rod and some Teara Balm. The Horizon Rod is the second to last fishing rod in the game, and it’ll allow us to use Carp and Kasagin as bait, which we’ll fill out our fishing log. In fact, between the Bamboo Rod and the Horizon Rod, we can catch every rare fish in the game save for one, and you’ll get the rod for that final fish once the other twenty-three are caught. We’ll get to finishing our fishing log after the Ancient Battlefield, on the aptly named page [Fishing after the Ancient Battlefield].
Anywho, exit through a doorway along the northern end of the sewers to reach another stairwell. Ascend to the top, plunder a chest to score another Celestial Balm, then exit through the nearby doorway to reach the fourth area of the Ancient Battlefield.
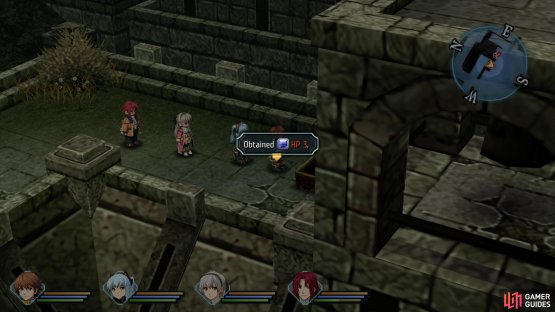


(1 of 4) After exiting the Underground passage, loot a chest on the northeastern battlements to obtain HP 3 Quartz.


After exiting the Underground passage, loot a chest on the northeastern battlements to obtain HP 3 Quartz. (left), and another chest on the southwestern battlements to obtain some U-Material. (right)
Ancient Battlefield - Fourth Area
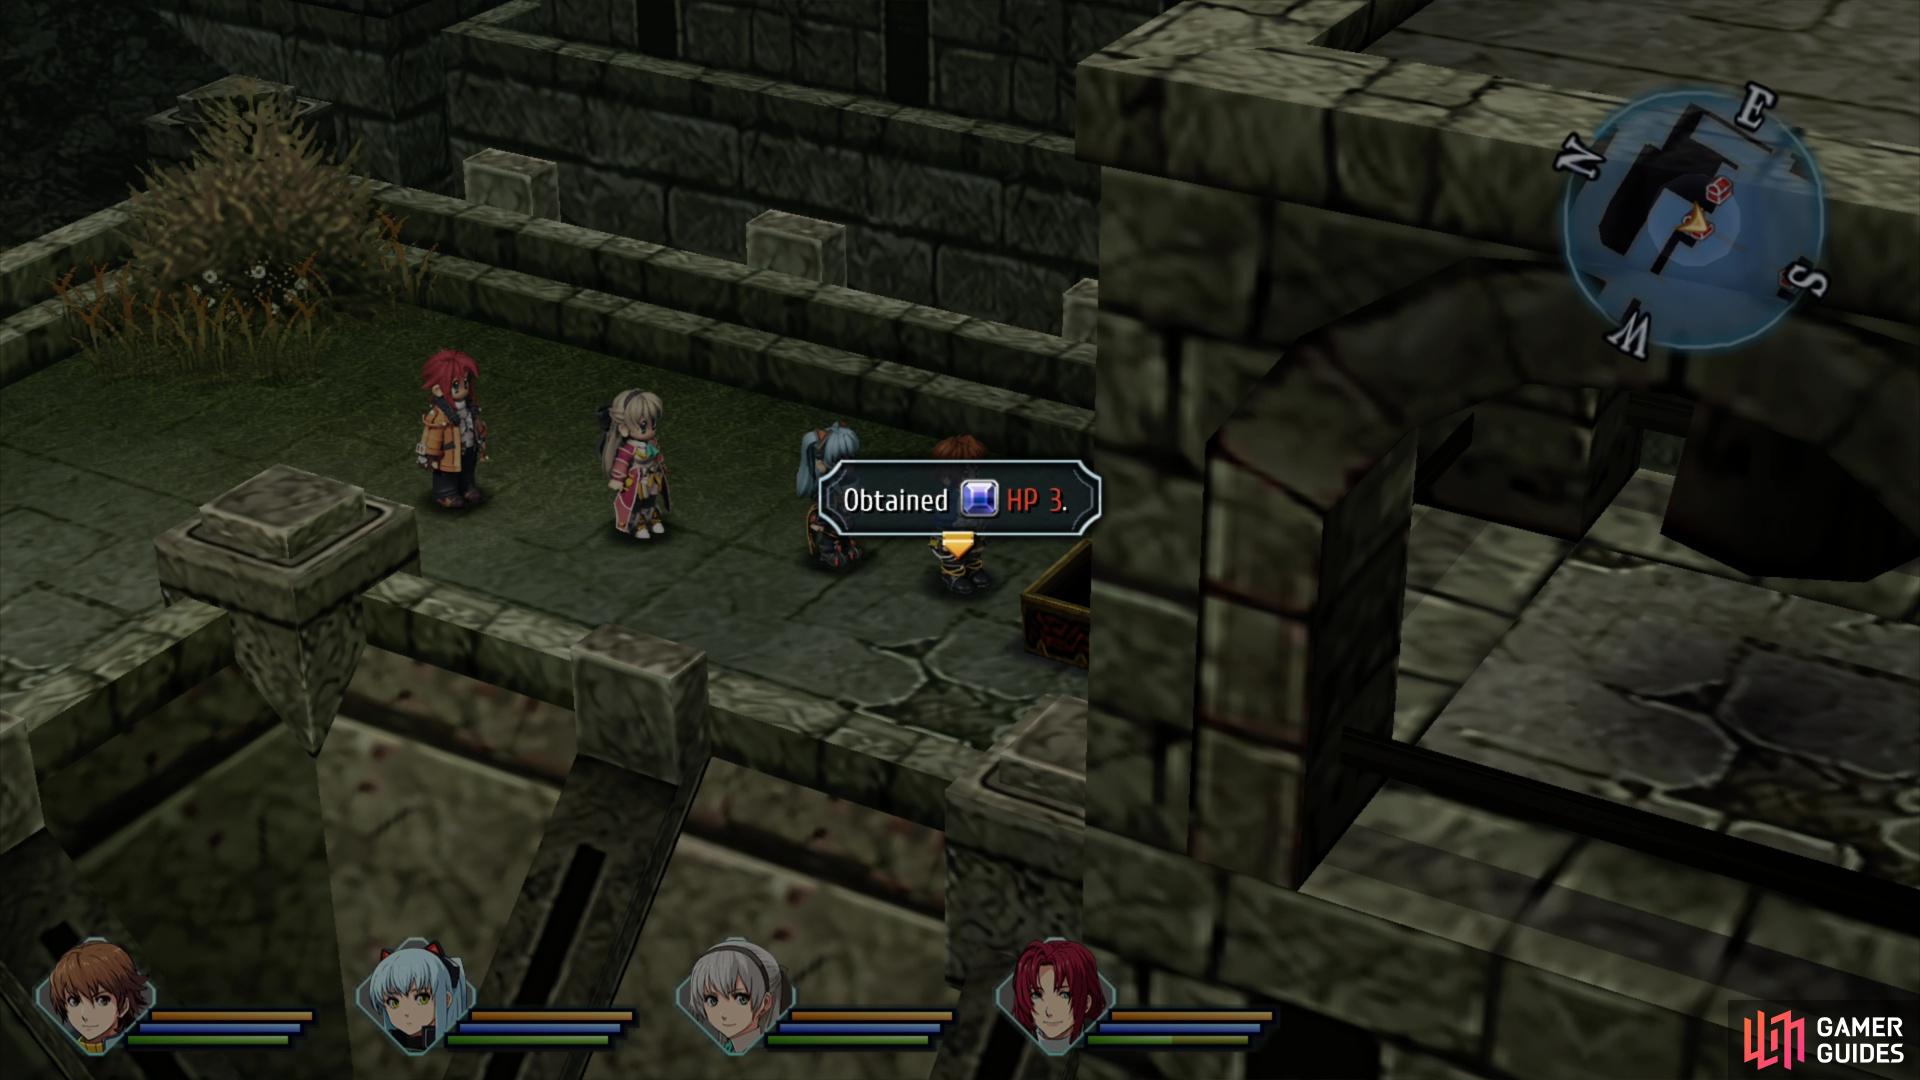
After exiting the Underground Passage you’ll find yourself on some ancient battlements. Follow the battlement north and west to find a new enemy, the [Zu], which isn’t terribly noteworthy. Fight it, Analyze it, then continue west down some stairs and turn south to reach a four-way split. At this fork turn east to find a chest containing HP 3 Quartz, then backtrack back to the fork and descend some stairs to the south to reach a courtyard.


(1 of 3) Opposite the chest containing the U-Material you’ll find a lever. Pull it to open a nearby gate,
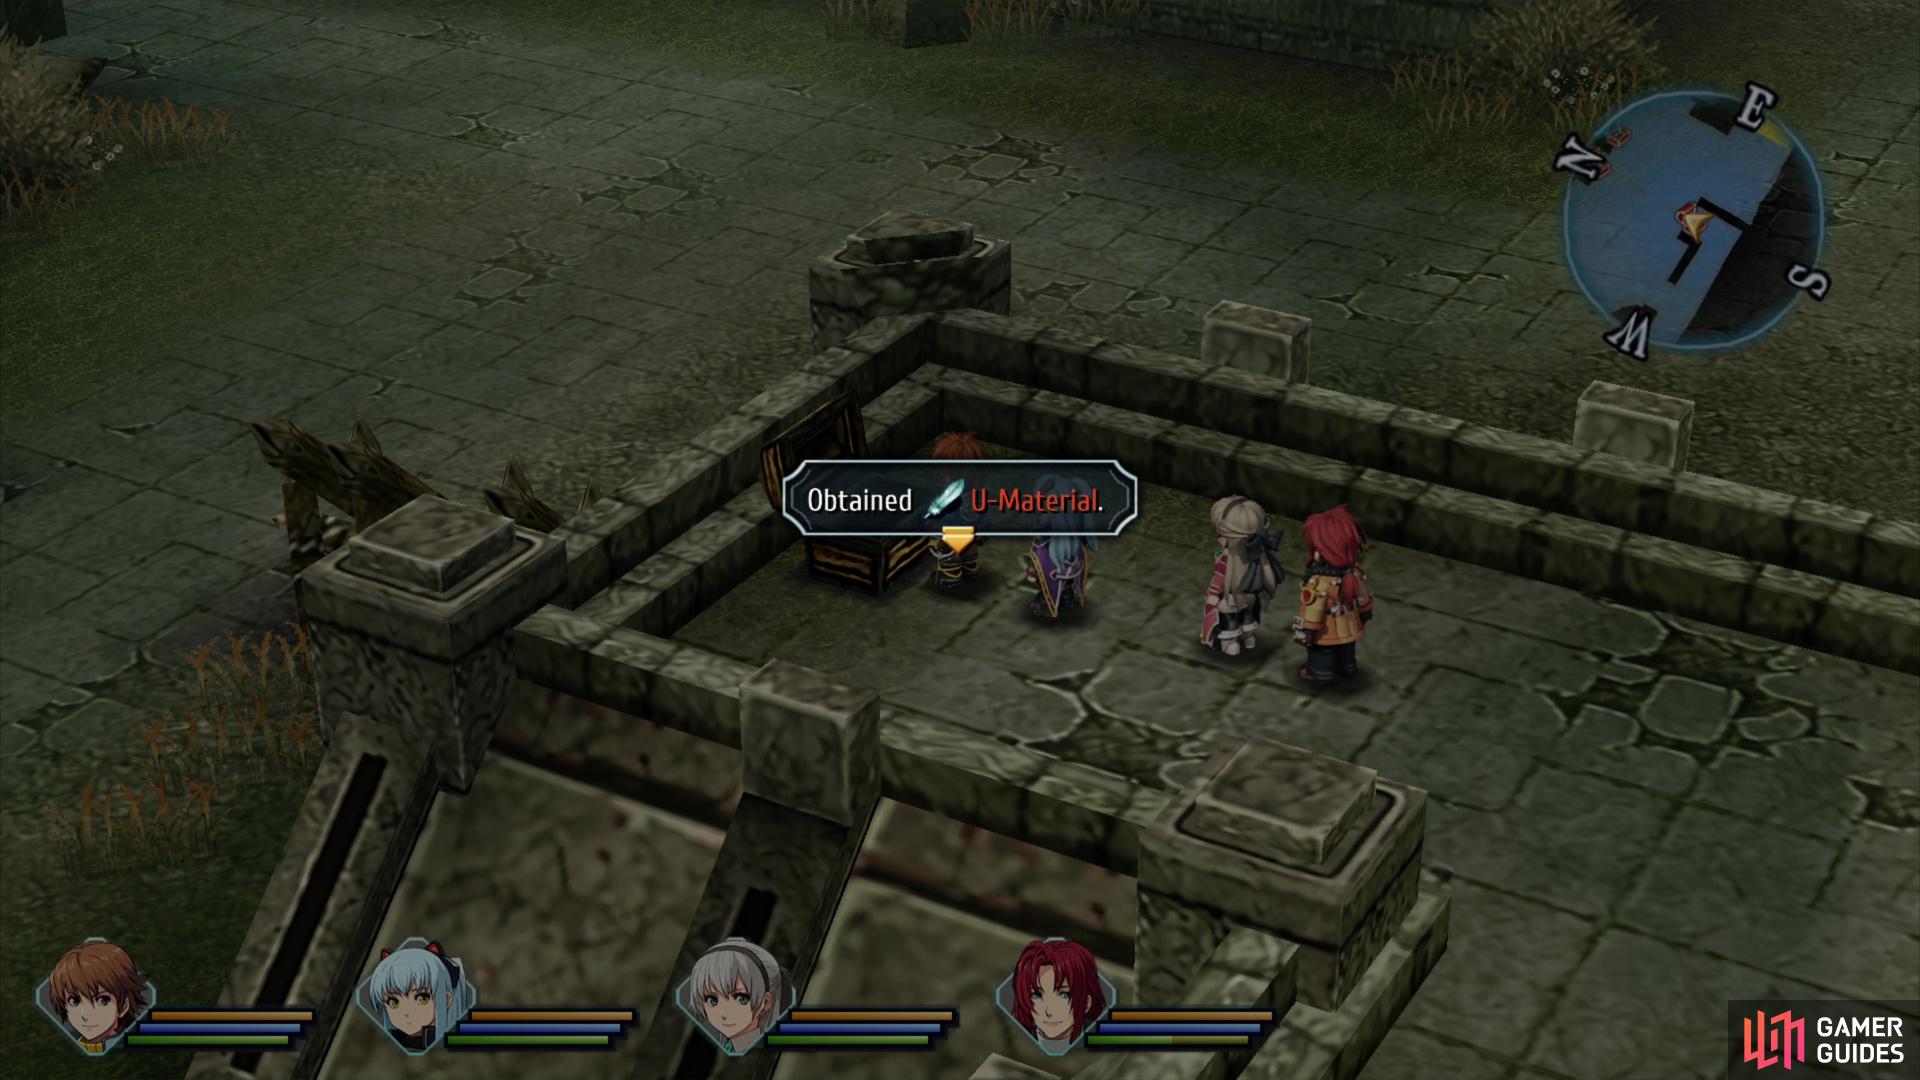
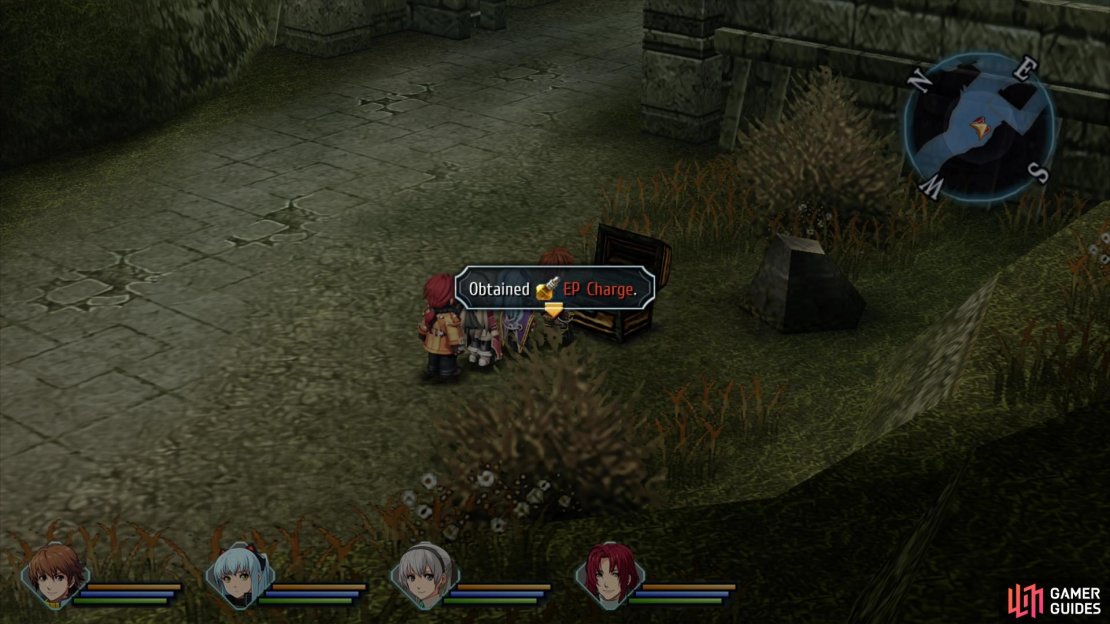
Continue south across the courtyard, ascend some stairs to reach another section of battlements, then head east to find a chest containing some U-Material. Once looted, make your way west along the battlements, defeat another Zu (it’ll likely get in the way if you ignore it), then activate a lever at the end of the walkway to open the nearby gate… assuming you didn’t do so during Missing Tourists. With the gate open, return to the courtyard and pass through the gate to find a chest containing some EP Charge.
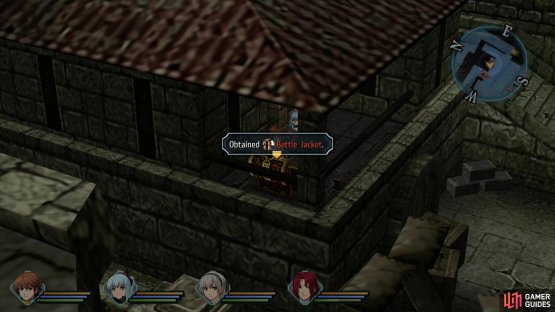
Return east to the courtyard and continue east past some barricades, defeat or dodge another Zu, then head up the stairs to the northeast. Work your way around the back of a building, which obscures your characters, ultimately worming your way onto a balcony where you’ll find a Battle Jacket. Once done, head back down the stairs and continue south to find an area transition that’ll take you to the fifth area.
(1 of 4) Loot a chest to the right to score some more Teara Balm,
Ancient Battlefield - Fifth Area
The fifth - and for now, final - area of the Ancient Battlefield doesn’t have a whole lot going on.. During the request Missing Tourists you found yourself in a boss battle with four [Blade Fangs], and after the fight you were automatically returned to Armorica Village. On subsequent visits you have more freedom, but all you’ll find here are enemies from previous areas, a locked door and two chests.
Plunder the chest to the right of where you enter to score some Teara Balm, then head left and continue through the area to reach a circular overlook where you’ll find another ornate chest. Inside you’ll find another 4x Living Totems and 2x Cursed Shields, and you’ll defeat them the same way here as in the second area - physical attacks for the Living Totems, Arts for the Cursed Shields. Your reward is some Scent Quartz.
Whew. And with that, we’re done with the Ancient Battlefield. You can return to Crossbell City and report the request if you with, and you’ll get two new scenes, one when you enter the city, and another when you enter the SSS HQ, which sets up the next urgent request, [Finding Colin]. Before you actively start to pursue that, however, let’s finish up our fishing log and catch all the fish in the game, an endeavor covered in the following [Fishing after the Ancient Battlefield] page.

 Sign up
No Comments