
Walkthrough for Stargazer’s Tower in Chapter 2, during the main quest “Threat Letter Investigation (Part 2)” in The Legend of Heroes: Trails from Zero, including basic information about the monsters encountered in the area, and the treasures and fishing spots you can find as you explore.
Exploring Stargazer’s Tower
After clearing the Geofront - B Sector you’ll need to travel to Stargazer’s Tower to continue your investigation. To reach Stargazer’s Tower you’ll need to pass through Ursula Road, specifically a new area you weren’t allowed to explore earlier.
Exit Crossbell City via the Station District, then exit south to reach the second screen of Ursula Road. Continue south and a scene will trigger, where you’ll be directed to exit to the west to reach the forested path that leads to Stargazer’s Tower. Do so and you’ll reach a new area of Ursula Road, complete with new enemies to fight and treasures to loot. Once you reach the western end of this new stretch of Ursula Road you’ll find some stairs leading down to the next area - the exterior of Stargazer’s Tower.
| Enemy | Lv | Elemental Effectiveness | Drops |
|---|---|---|---|
| Living Armor | 21 | U-Material, Battle Scope | |
| Living Axe | 21 | U-Material, Reviving Balm | |
| Living Shield | 21 | U-Material, Relaxant | |
| Parrot Snake | 21 | U-Material, Softening Ointment | |
| Shadow Beast | 21 | U-Material, Sedative | |
| Death Slugger | 21 | U-Material, Stimulant | |
| Yin | 21 | – | |
| Yin | 21 | – | |
| Iron Stark | 40 | – |
| Items | Location |
|---|---|
| Reviving Balm | 1F |
| Stamp Jumpers | 1F |
| Proxy Puppet | 2F |
| Celestial Balm | 2F |
| EP 2 (Quartz) | 4F |
| Curia Balm | 4F |
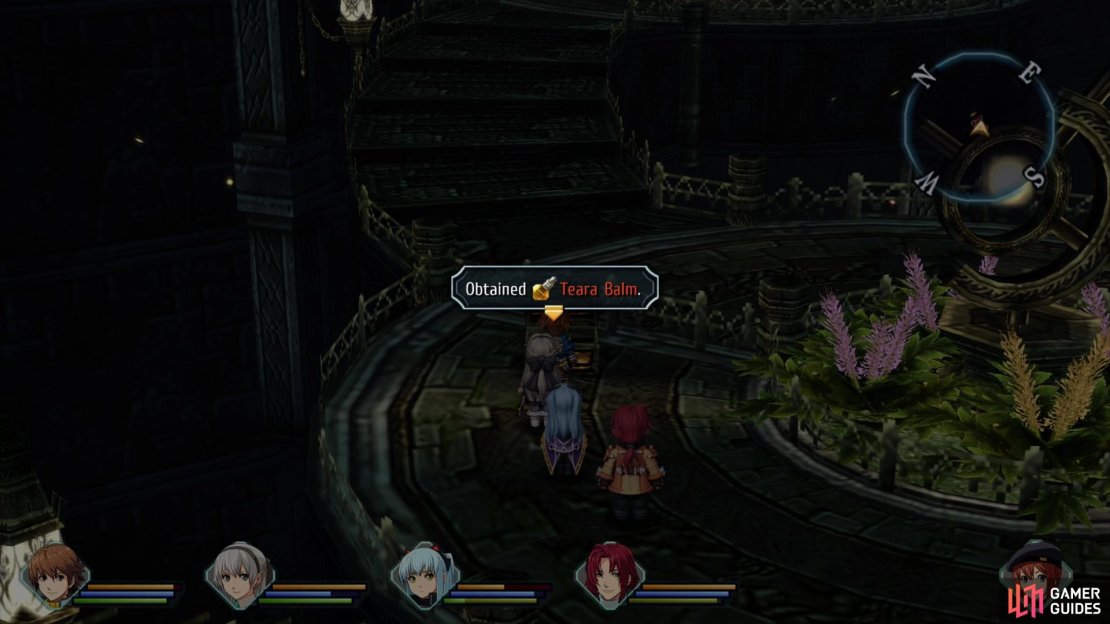
| Teara Balm | 5F |
| Holy Chain | 5F |
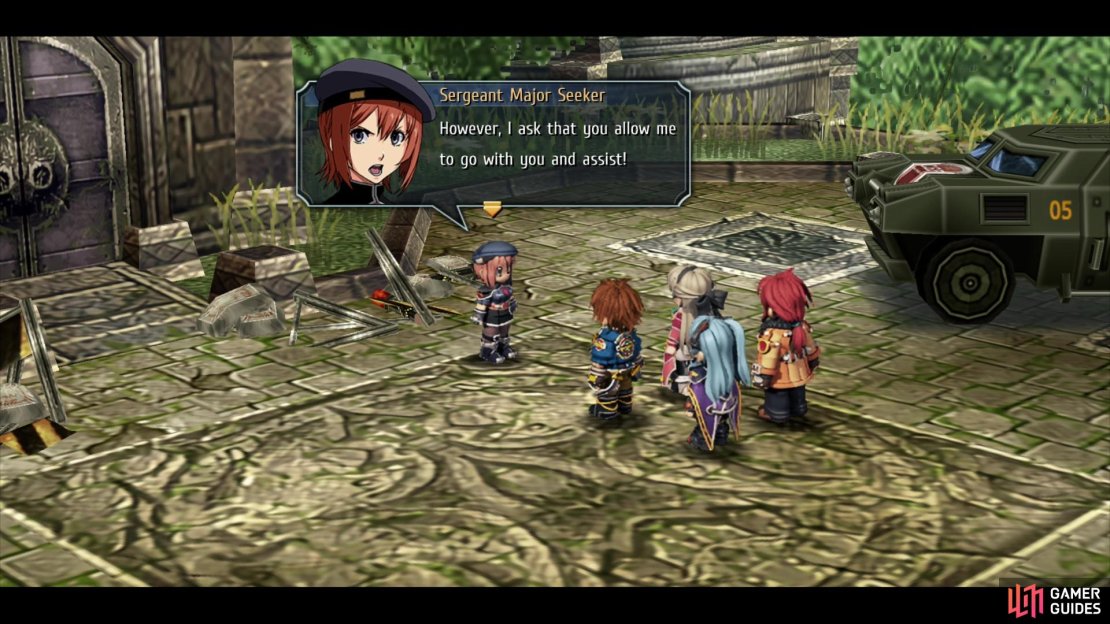


(1 of 3) Noel will join your party as a support member.
Support Members
Make your way north and head down several flights of stairs to find yourself outside of Stargazer’s Tower, which isn’t as abandoned as its remoteness warrants. After some group chatter, continue downhill and across a bridge to reach the base of the tower, where another conversation will take place. Once this second bit of dialog is over you’ll have gained a guest character, who will serve as a [Support Member].
Support members will basically act autonomously in battle, not being subject to attacks like normal characters (attack members), but not being as reliable, either. When they appear on the AT bar and take a turn they’ll either perform attacks or use support skills, making them handy additions to the party. If you want to use Noel as an attack member instead of a support member, you can swap her out with one of your regulars via the “Tactics” option in the menu - the demoted character will take her place as a support member. Aside from being somewhat underleveled, Noel’s actually got a variety of useful crafts she can use:
- S-Grenade: Inflicts Sleep (75%) in an area (M).
- Electromagnetic Net: Decreases enemy MOV-5 in an area (M).
She also comes equipped with a variety of Quartz (Defense 2, Septium Vein, Evade 2, Action 1, HP 2, Attack 2 and Information), which allows her to cast useful spells like Tear/Teara/Thelas/Breath/Cobalt Sphere/La Crest/La Forte/Quake, making her a fairly useful healer/buffer. All in all she’s pretty serviceable, and could probably fill in well for either Randy or Elie, if you were so inclined, but Elie’s Aura Rain and Randy’s Crash Bomb are probably more reliable healing/debuff options than what Noel brings to the table.
When you’re ready to move on, enter the tower and continue north through some large doors to trigger yet another scene. Tio will mention that Arts may not function as expected in this tower, but before she can elaborate you’ll be greeted by some of the tower’s inhabitants - two suits of [Living Armor], and they don’t have a nuanced opinion about trespassers.


(1 of 2) Living Armor pack a respectable punch, but it’s nothing you’re not used to by now.
Living Armor pack a respectable punch, but it’s nothing you’re not used to by now. (left), While resistant to the core elements, Living Armor is weak to time Arts. (right)
Stargazer’s Tower - 1F
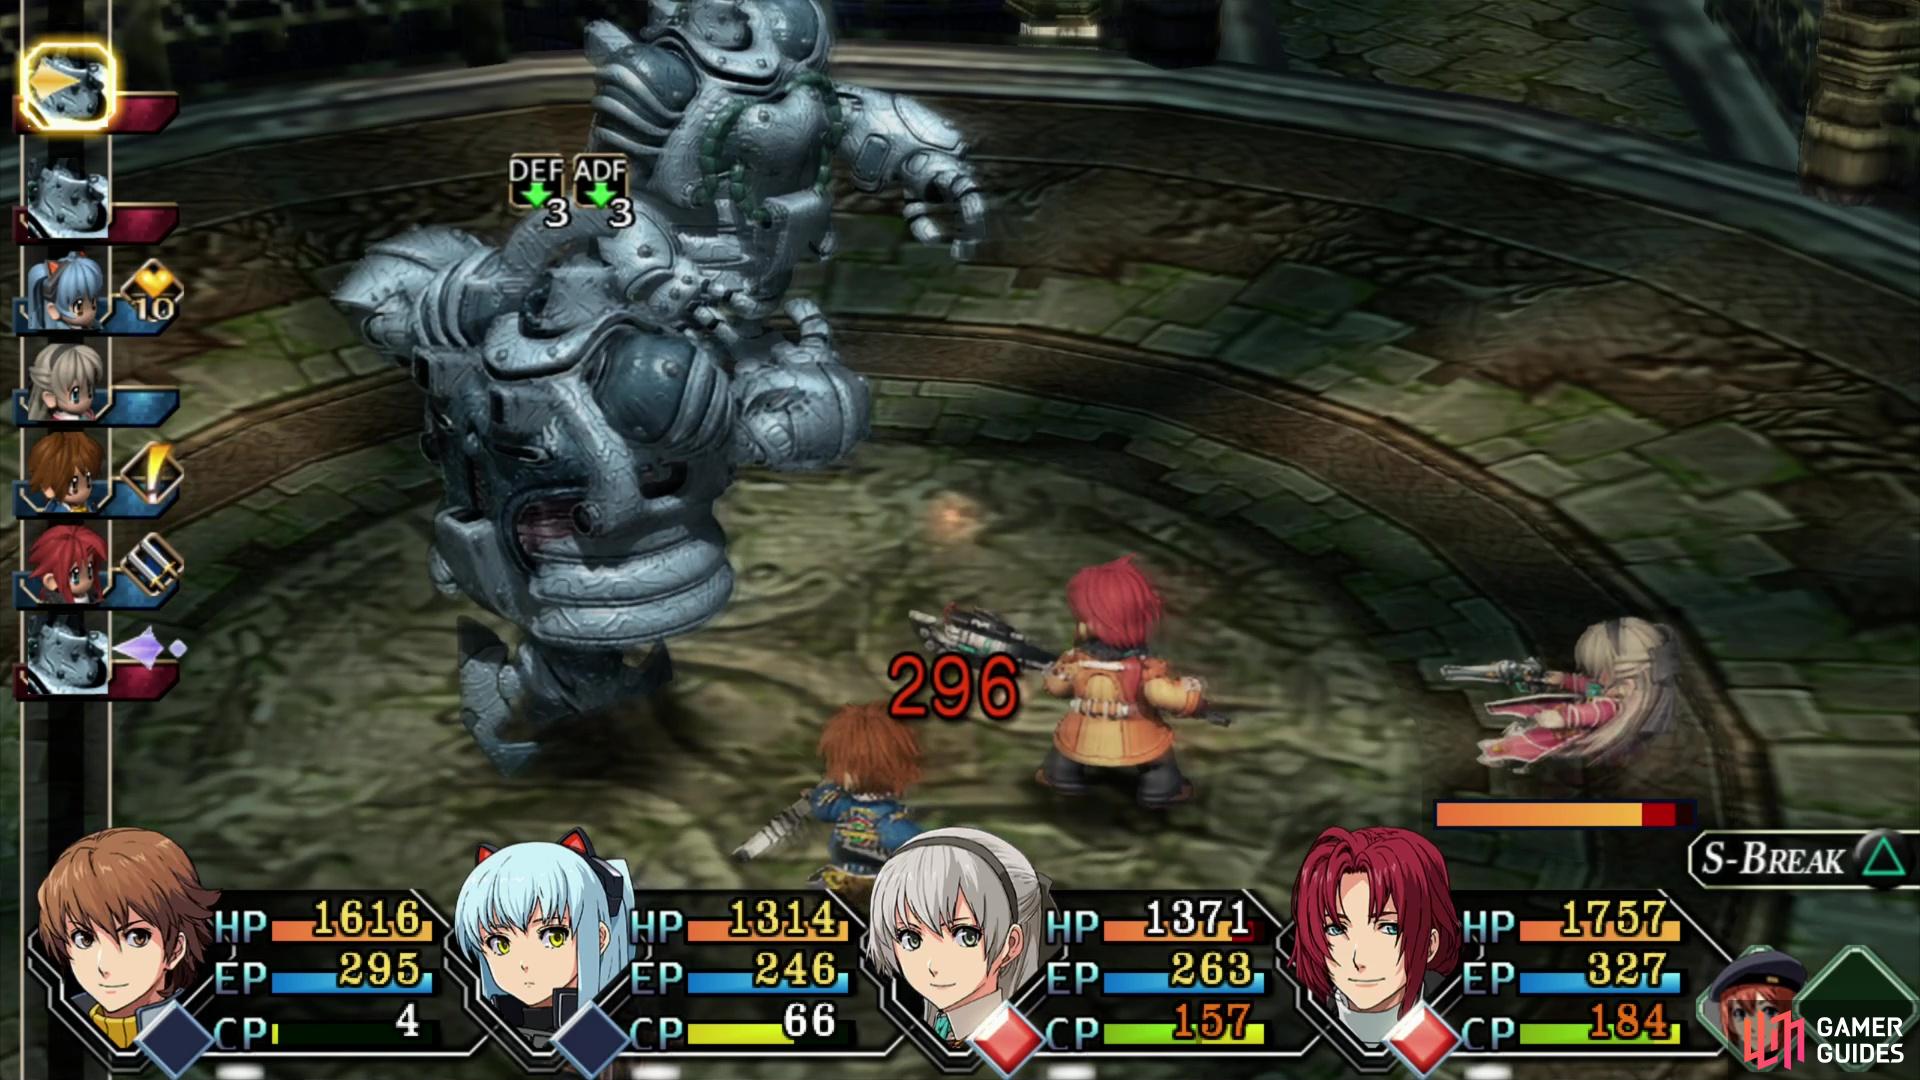
Despite being big and scary, these enemies aren’t all that tough. They’ve got a fair amount of HP (over 2,000), decent STR (181 on normal), fair DEF (129 on normal) and good resistances to the four core elements, but they’re painfully slow, with both low SPD and MOV. They hit hard (expect 300-400~ damage from their punches on normal difficulty), but all in all they’re not really much stronger than the [Gordians] back on Ursula Road.
That said, there are a few things to watch out for. While slow and suffering from a distinct lack of variety in their attacks, the odd nature of Stargazer’s Tower does mean you can see some uncommon battle order bonuses pop up on the AT bar, including Deathblow. If the enemy has this bonus on their turn, they’ll one-shot a character, provided the hit lands. Use Arts or Crafts that inflict delay, reduce SPD or otherwise incapacitate enemies (or increase your own SPD) to alter the battle order, otherwise you could face some unwanted complications. This is a bit tricky against these Living Armor enemies, as they’re immune to various status effects like Sleep, Blind, Faint and Confuse, but it’s a good rule to keep in mind going forward.
Fortunately the Living Armor isn’t without weaknesses. Against earth, water, fire and wind they only take 80% normal damage, but, as Tio hinted earlier, they’re weak to time Arts (180% normal damage), which makes even low-end time Arts like Soul Blur fairly effective forms of offense. Tio and other high ATS characters can expect to deal 400~ damage with Soul Bluf, and even slackers like Randy will still probably deal 300~, arguably making it more effective than normal attacks. S-Breaks are also useful for whittling down your foes, and like with most stompers, concentrating on one and taking it out quickly will make the rest of the fight much easier.
As usual, make sure to Analyze the Living Armor with Tio some time during the fight to fill out your bestiary.

(1 of 2) Living Axes can inflict Deathblow with their normal attacks, which are also AoE, making them capable of downing multiple party members with a single attack.

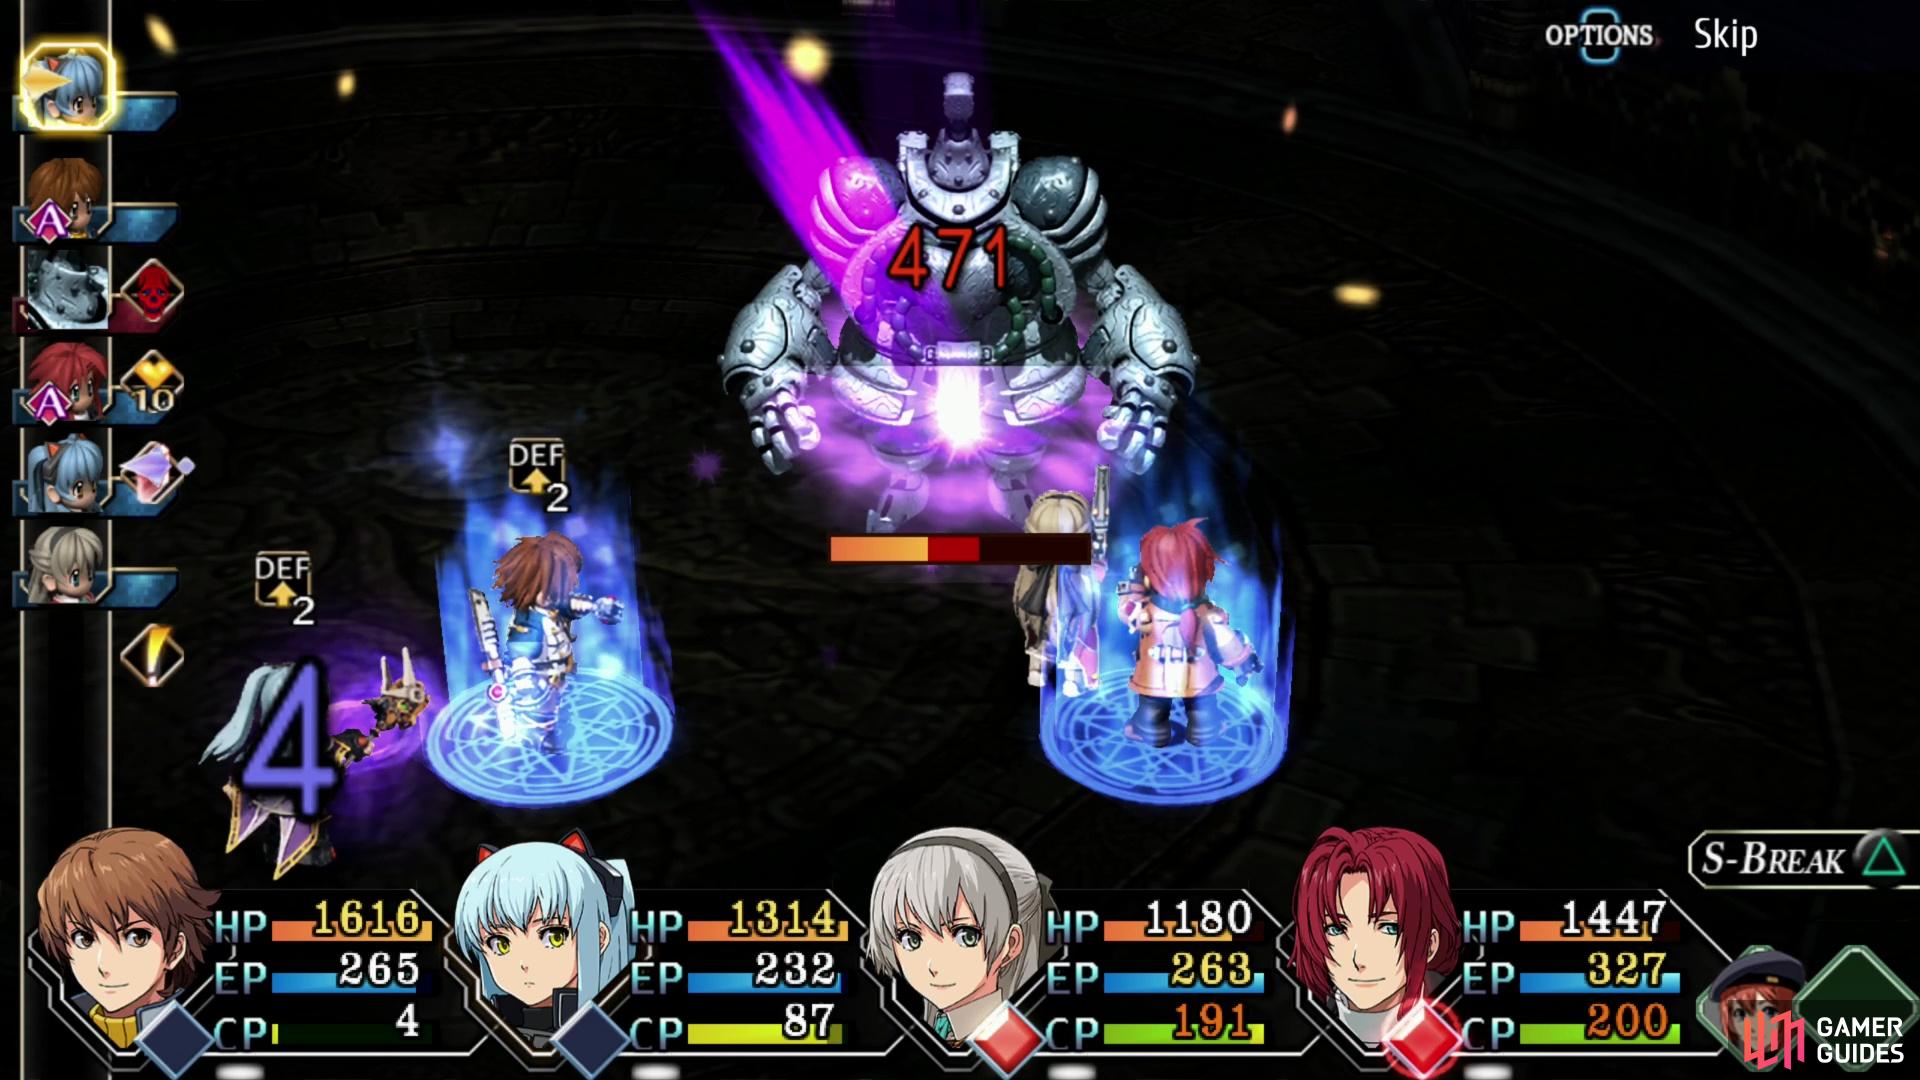
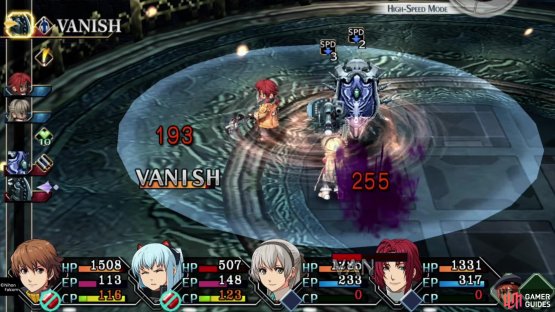
Living Axes can inflict Deathblow with their normal attacks, which are also AoE, making them capable of downing multiple party members with a single attack. (left), You also need to be wary of the “Vanish” buff, which will temporarily remove characters from the battle and drain their SP. (right)
After the battle with the Living Armor is over, the team will talk among themselves before you’re put back in control, free to finally explore this dungeon properly. This is a pretty simple floor, navigation-wise, you just need to make your way clockwise through the map. Start out by heading northwest to reach a platform occupied by a [Living Axe] enemy, one of only two enemies on this map, and by far the more dangerous of the two.
Like Living Armor, the Living Axe is weak to time Arts and resistant to the four primary elements. What makes it dangerous, however, is its standard AoE spin attack that can also inflict Deathblow with alarming regularity. If you don’t ambush (or aren’t lucky enough to get a Team Rush during said ambush) and find yourself facing three Living Axes, they’ll make you regret not equipping everybody with a Holy Chain. Deprived of their ability to instantly KO characters with their cheap attack, they’re not all that threatening… although you do still need to pay attention to the AT bar in case the “Vanish” effect shows up, which will remove characters from battle and drain their EP to zero.
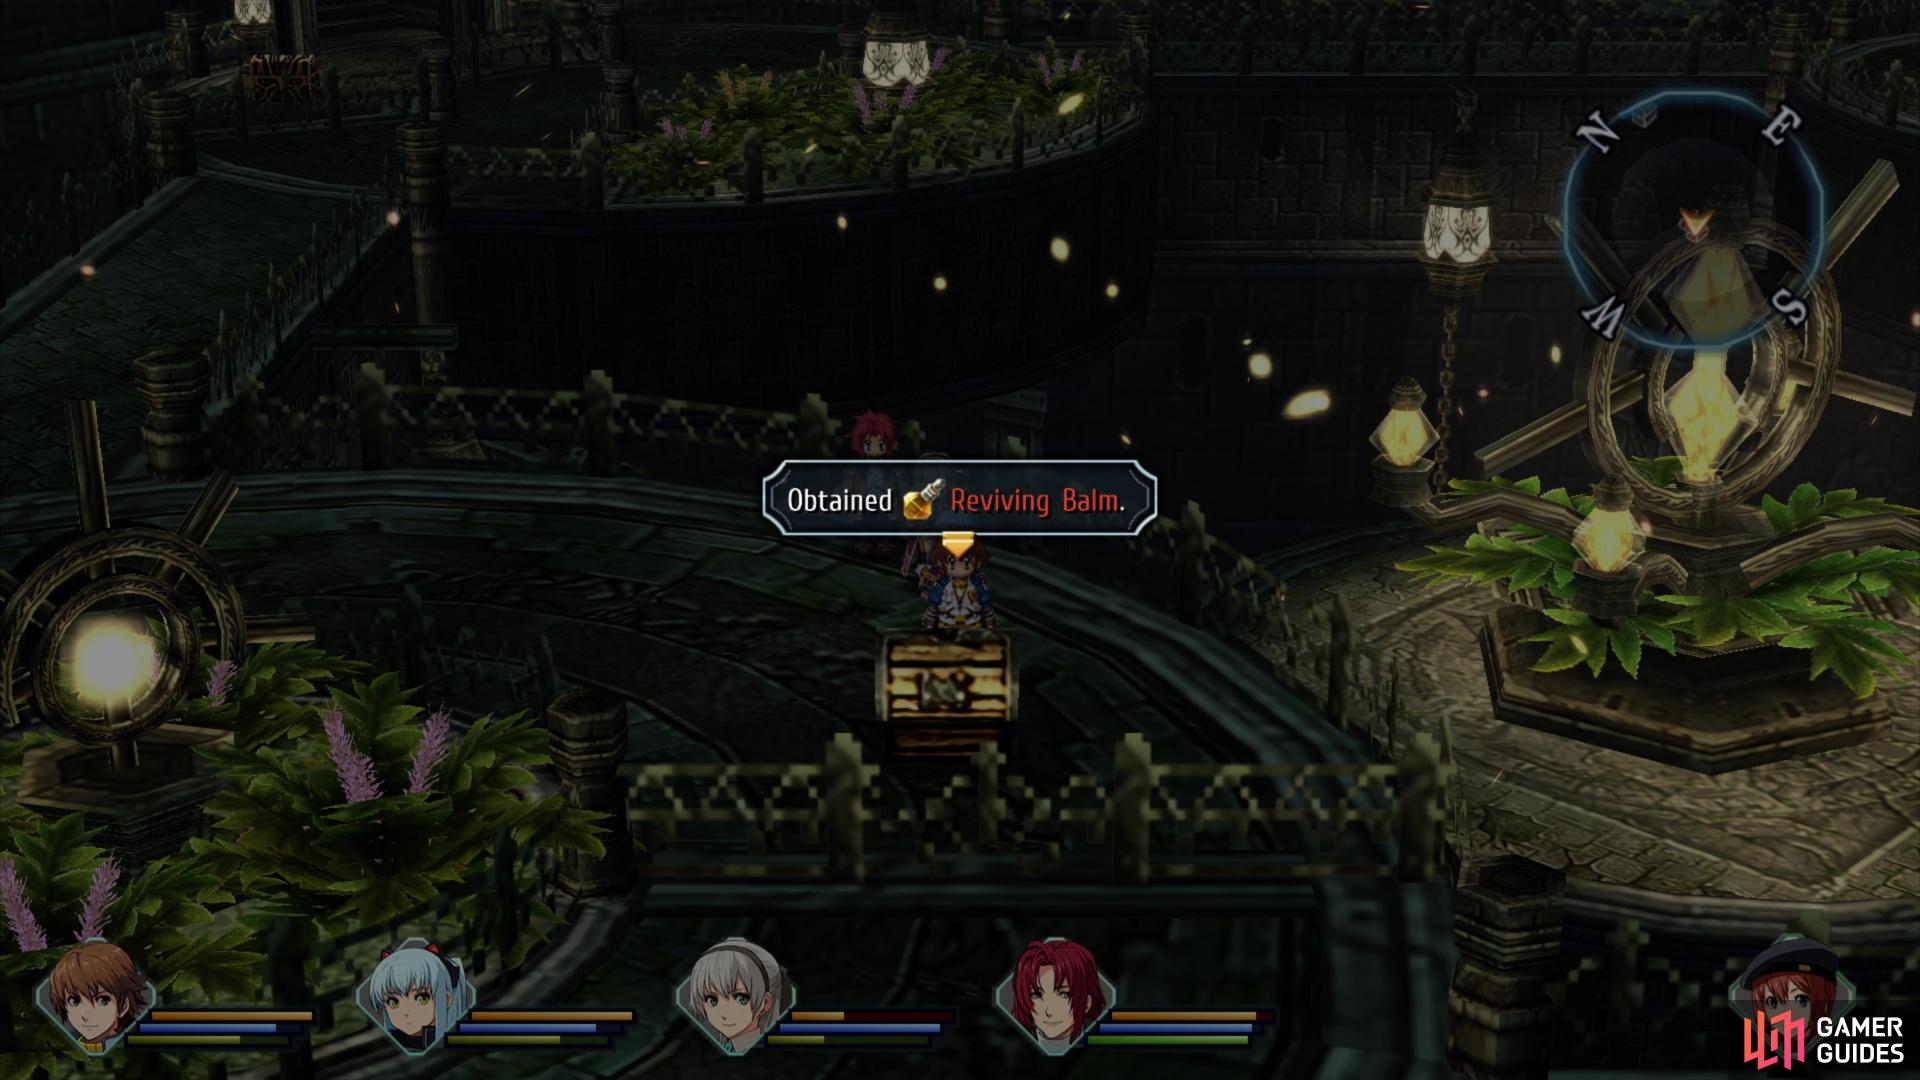
Loot a chest to obtain some Reviving Balm.
Defeat the Living Axe, then loot a chest to score some Reviving Balm. Once done, continue northeast to another platform, where a [Living Shield] prowls. The defensive counterpart to the Living Axe, this animated tool is quite durable, and poor Tio will struggle to deal any damage to it with her normal attacks. It also has high ADF and isn’t particularly weak to time Arts (only 125% damage), so you’ll likely just want to use other characters to bully it into submission. While it can inflict Seal, it’s otherwise not terribly dangerous, although they’re often accompanied by Living Axes.
Note the chest to behind a fence - you’ll be able to reach it from the next screen - then head to another platform to the southeast and exit to the east.

(1 of 3) Open an ornate chest to encounter some monster, including 4x Living Axes and 2x Living Shields.
Stargazer’s Tower - 2F
Same enemies as last time, but the layout is trickier on this floor.
If you head southwest you’ll find a platform occupied by a Living Axe, but fences keep you form progressing. More productively, however, you can make your way northwest to another platform, where you’ll find an exit to the north. Take it to find yourself along the northern corner of Stargazer’s Tower - 1F, where you can loot the chest that taunted you from behind a fence earlier.
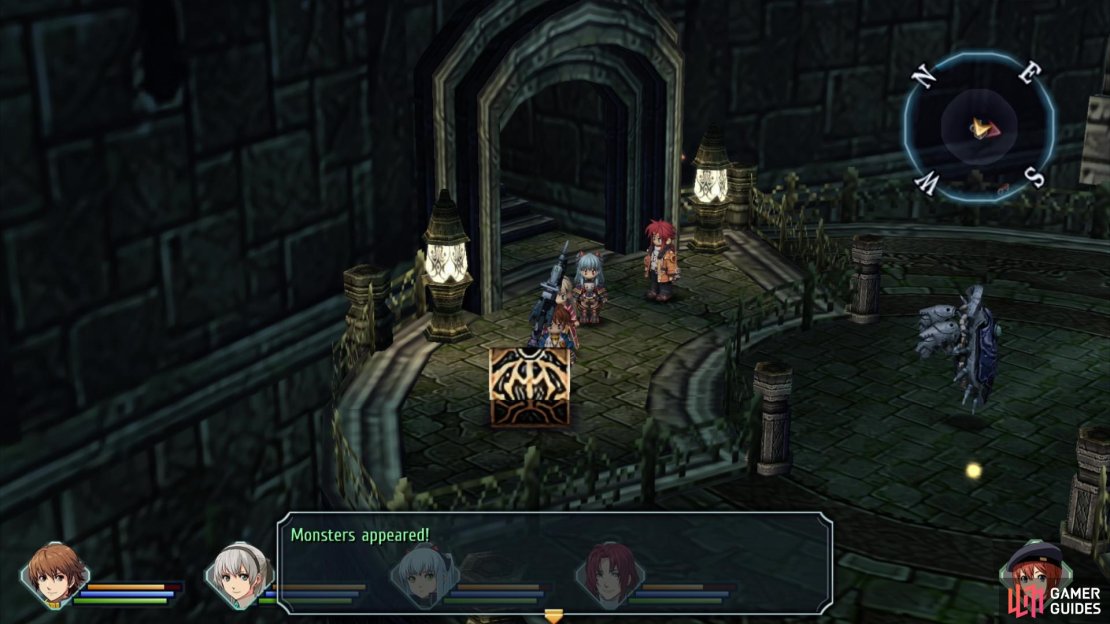
The ornate design of the chest should inform you that it’s got critters dwelling inside - 4x Living Axes and 2x Living Shields, in fact. You can’t ambush them, and they are immune to Blind, so you won’t have a Team Rush or Crash Bomb to bail you out this time. That being the case, you absolutely want to have Deathblow immunity for this fight.
Don’t be shy about spamming S-Breaks, Crafts (Arts are generally not going to be that effective, unless you have a high-end time Art like Death Spiral) and other AoEs, trying to focus on the Living Axes whenever possible. Once you’re victorious you’ll obtain some Stamp Jumpers, male-only boots that are finally a decisive improvement over Purrfect Boots.

(1 of 2) On 2F you can find two chests, one with a Proxy Puppet inside,


On 2F you can find two chests, one with a Proxy Puppet inside, (left), and another with some Celestial Balm. (right)
Return to Stargazer’s Tower - 2F and continue south to reach a platform where some Living Armor roams. Only one screen to go from a boss to a normal monster… Decommission it, then work your way around the platform counter-clockwise to find a chest containing a Proxy Puppet
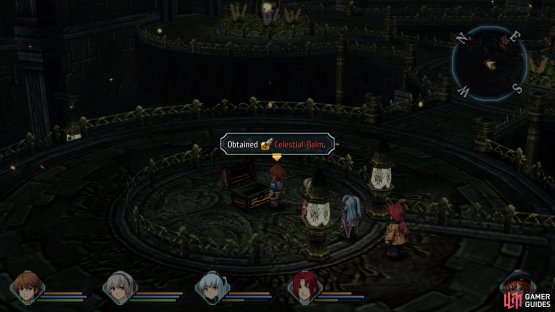
Make your way west to another platform, defeat the Living Shield, then plunder another chest in the center of the platform to obtain some Celestial Balm. Go southeast to reach a final platform and ascend some stairs to exit to Stargazer’s Tower - 3F.
(1 of 2) If you’re feeling frisky, pick a fight with the Iron Starks guarding a chest and Analyze them.


If you’re feeling frisky, pick a fight with the Iron Starks guarding a chest and Analyze them. (left), Don’t stick around, however, as these bruisers are way out of your league. (right)
Stargazer’s Tower - 3F
Bit of a change of pace, enemy-wise, this floor is populated by the [Parrot Snake] and [Shadow Beast], which are less of a hassle than the Living Armor/Shield/Axe enemies from the lower floors. They still drop U-Material, too! Clear as much of the level as you care to and make your way to the northern end, where you’ll find another ornate monster chest. Inside dwell a trio of [Iron Starks], and at Lv40 you don’t have a chance against them. If you want to pick a fight, Analyze your foes, then run away, by all means… but you should probably save before hand, because a bad AT bar could cause this fight to get out of hand, as these enemies will probably one-shot your characters.
When you’re done poking the bear, exit to the west to reach the Stargazer’s Tower - Exterior Staircase, an area that’s only noteworthy for leading you to Stargazer’s Tower - 4F.

(1 of 3) Grab the EP 2 Quartz,
Stargazer’s Tower - 4F
When you enter Stargazer’s Tower - 4F you’ll encounter a new foe - the [Death Slugger]. Deal with it, then head northeast to reach a platform occupied by a Living Armor, which in turn guards a chest that’ll yield some EP 2 Quartz. Lots of bonuses on this one, so try to fit it into somebody’s Orbment.
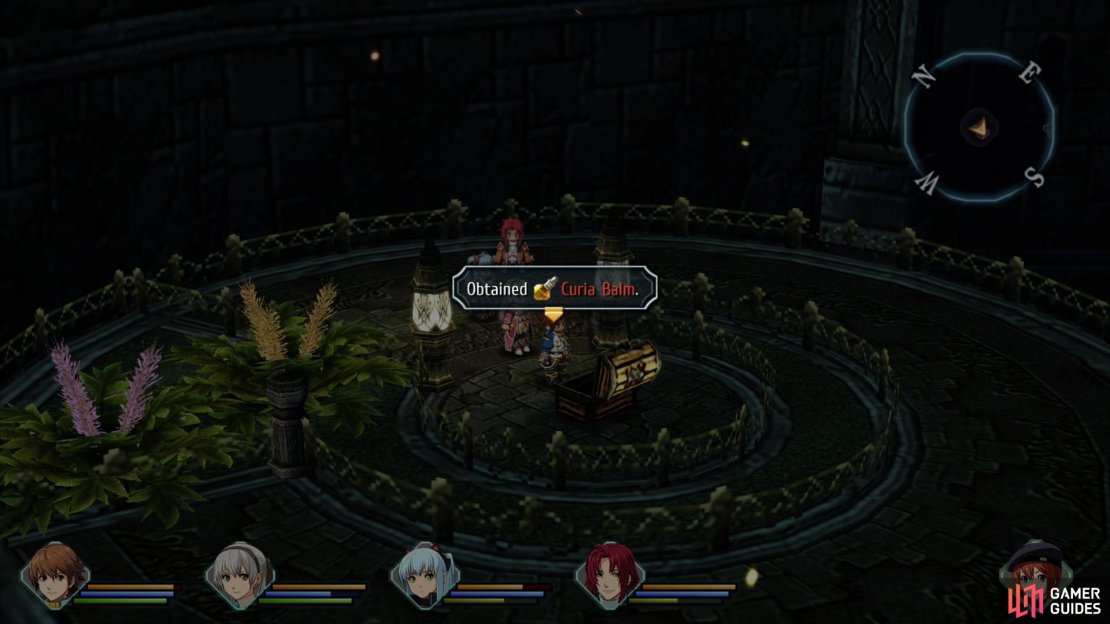
Backtrack to the first platform, head upstairs to the northwest, defeat another Death Slugger, then continue northeast to find another platform housing a Living Armor and a chest. Defeat the former and loot the later to score some Curia Balm.
Make your way up a ramp to the south, then continue upstairs to the next area.
Stargazer’s Tower - 5F
Almost to the top!
Head west to reach the first platform and defeat a Death Slugger, then note another Death Slugger and a chest beyond a fence. Thwarted by such a mighty barrier, you’ve no choice but to go up the stairs to the northeast to reach another platform. Dispatch the Shadow Beast and the Parrot Snake slithering around, then continue upstairs to the southeast and dispatch some Living Armor. Another barrier denies you access to a chest, so head down some stairs to the southwest, defeat another Parrot Snake, descend another flight of stairs to the northwest, smite a Death Slugger, then loot a chest to obtain some Teara Balm before continuing upstairs to the west.

(1 of 5) Open a chest to confront a host of monsters, including 4x Death Sluggers and 2x Shadow Beasts.
Stargazer’s Tower - 6F
More of the same on this floor.
Venture onto the first platform and dismantle some Living Armor, then go upstairs to the southeast to find an Orbment Charging Station. Must be close! Heal up if necessary, then note the ramp to the north. Avoid it for now, as it leads to the top of the tower.
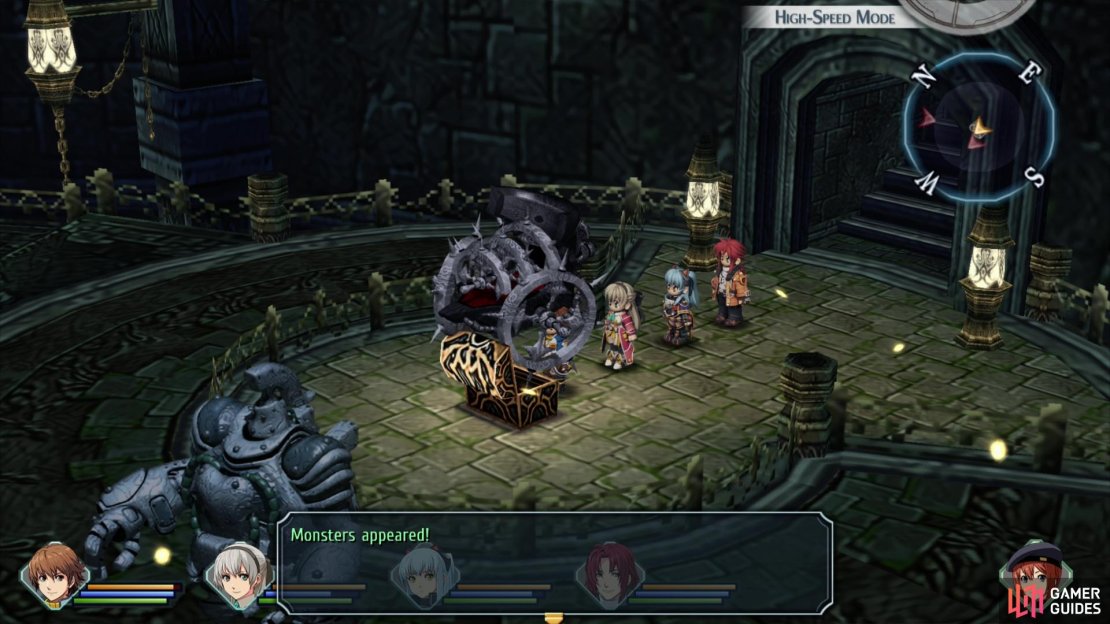
Instead, make your way northeast to another platform, pulverize a Death Slugger, then exit to the east to find yourself back on Stargazer’s Tower - 5F. In front of you is an ornate chest, and by now you should know what that means - treasure awaits, but you’ll need to fight for it.
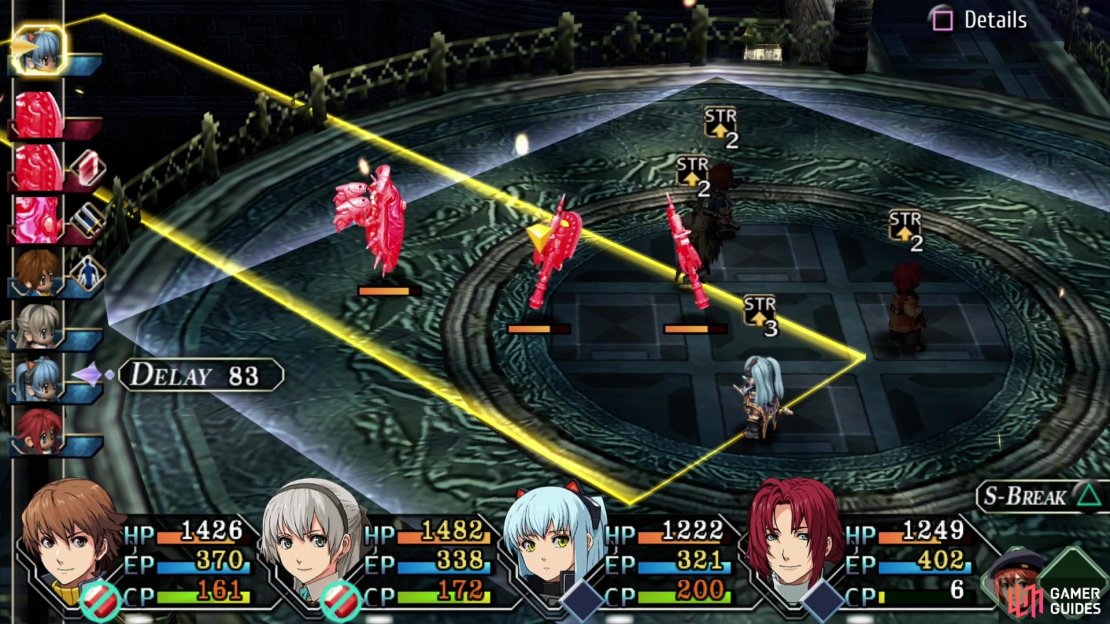
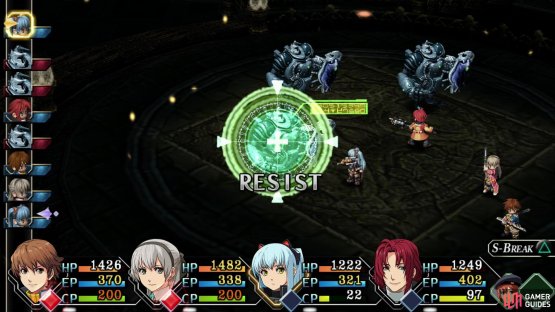
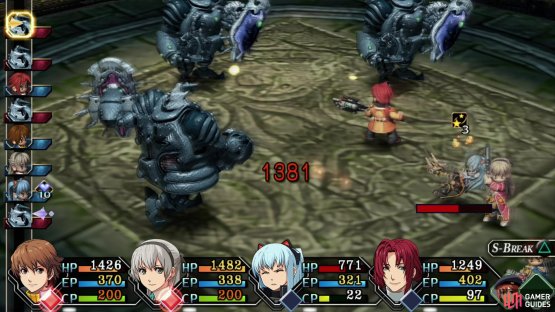
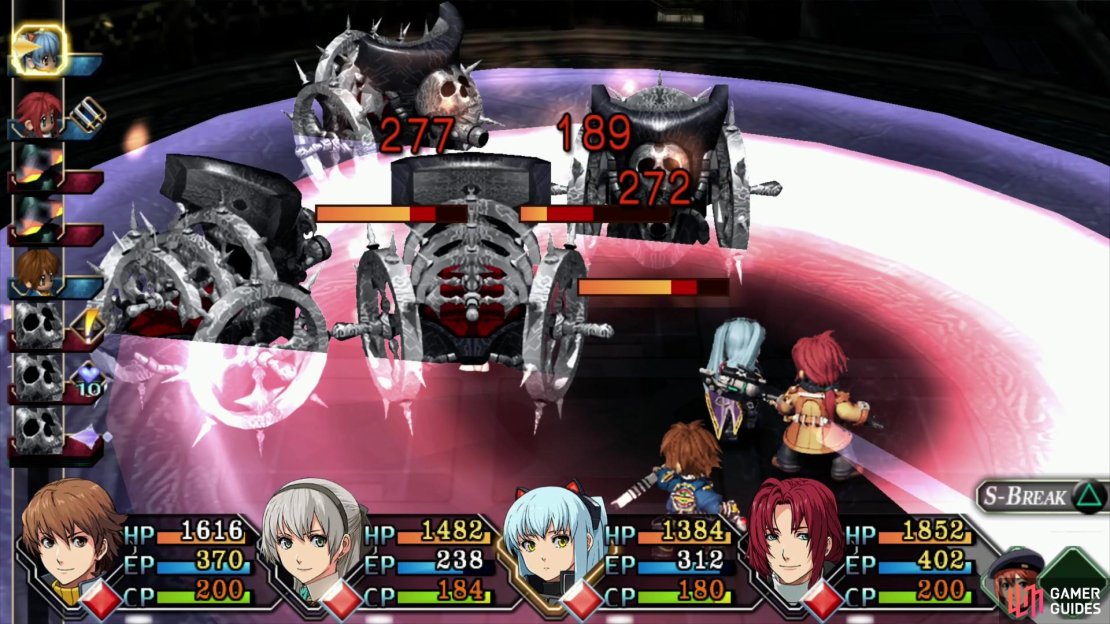
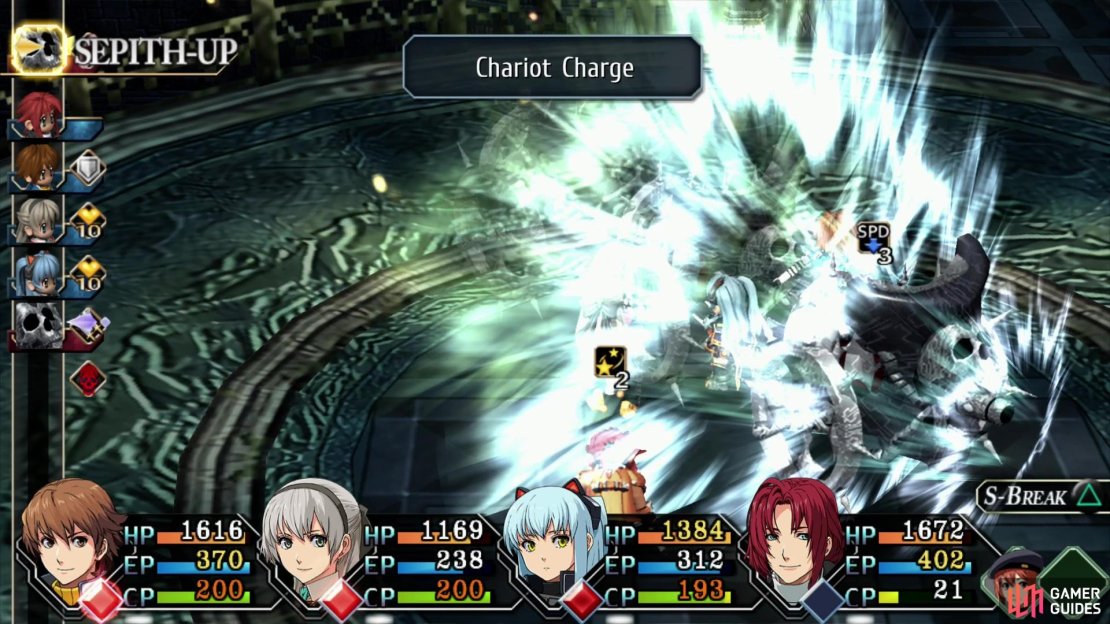
Open the chest and you’ll be attacked by 4x Death Sluggers and 2x Shadow Beasts. Bit of an odd mix, to be sure… You’ve fought all these foes before, but ideally you shouldn’t have faced Death Sluggers on fair terms. If so, you may not be prepared for their Hellish Cannon and Chariot Charge attacks, both of which can deal significant damage (300+) as well as inflict Faint. Chariot Charge is a line AoE and can impose a five turn Faint debuff. Worse than both, however, is their Hellish Four Shots attack, which can deal 1,000 damage to a target.
Suffice to say, you don’t want four of these things running roughshod over you.
To that end, aggressively deploy Crafts and S-Breaks. You’ve got an Orbment Charging Station nearby, so you can alway rest up and grind your CP back after this fight. Randy and Tio can all but one-shot several of these enemies with their S-Breaks, which should all but guarantee victory. Once you win you’ll obtain a Holy Chain. A bit late for this, really.
Backtrack to the Orbment Charging Station and rest up. If your CP isn’t maxed out, go fix that, and when you’re ready head up the ramp to the north. After some scenes you’ll find yourself in a fight.
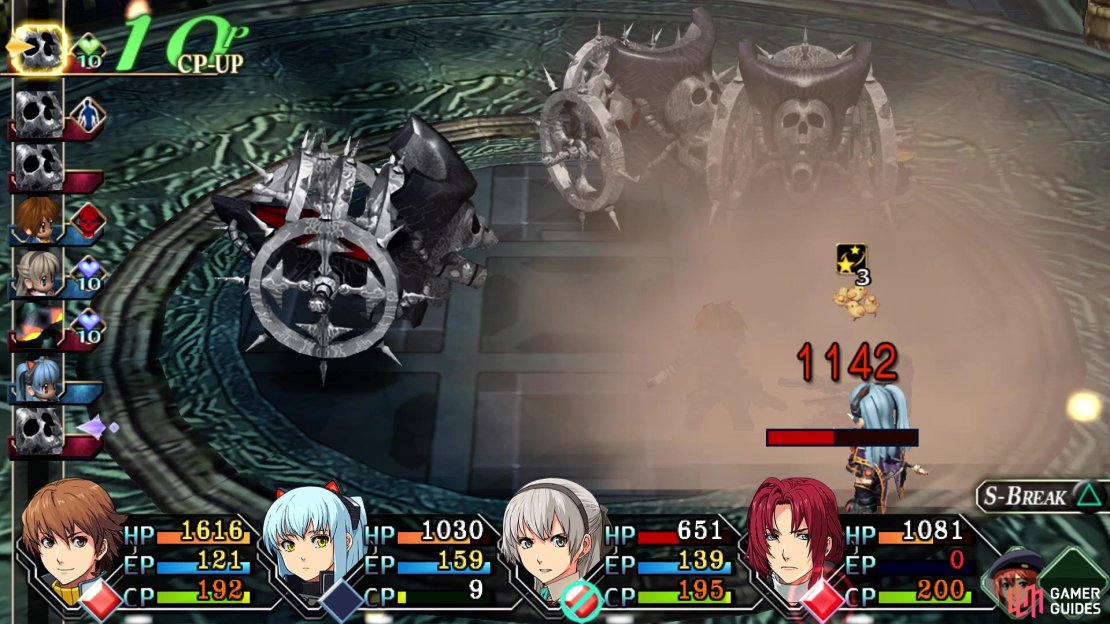
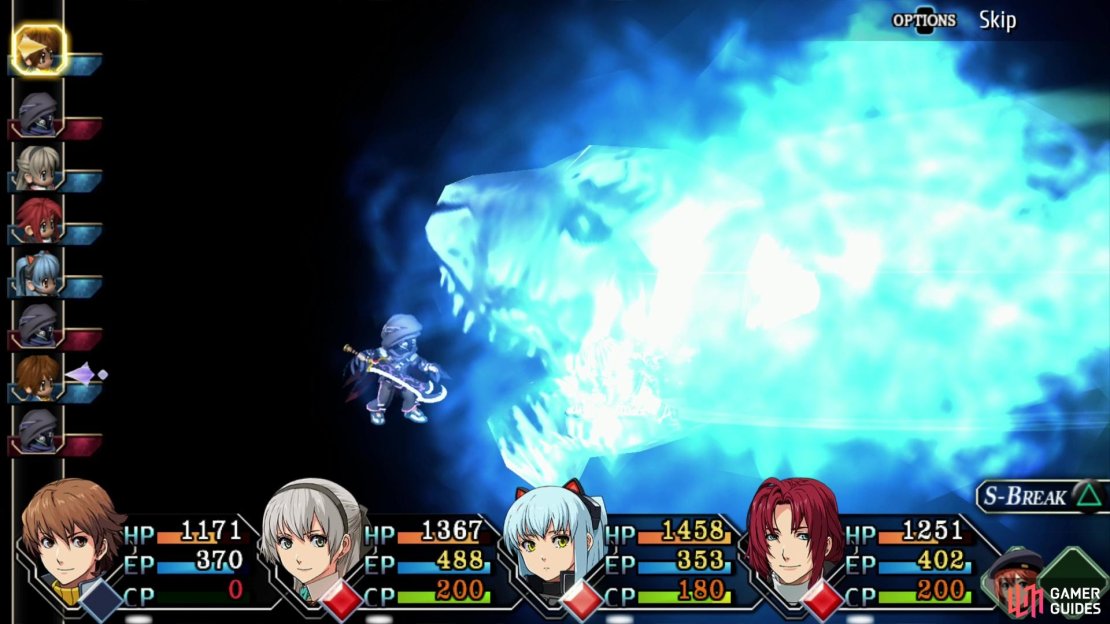
Boss Battle - Yin
| Enemy | Lv | Elemental Effectiveness | Drops |
|---|---|---|---|
| Yin | 21 | – | |
| Yin | 21 | – |
The battle with Yin is as difficult as you make it, and it largely comes down to preparation. If you have Holy Chains equipped and are hence immune to Deathblows, this fight will be much, much easier, as some of Yin’s attacks have a chance to inflict this instant-KO debuff. That’s not to say Yin doesn’t pose any threat if you have immunity to Deathblow, but you’ll turn some otherwise dangerous attacks into chip damage, which will allow you to focus on dealing damage instead of reviving your characters.
Speaking of healing, this fight will also be easier if you have plenty of it. Elie, as usual, will do most of the heavy lifting in this regard. Her S-Break is excellent at keeping your party in good shape, but arguably just being proactive with Holy Bullet is a better use of your CP, especially if you keep your characters grouped up. It’s really quite an astounding ability that can provide moderate healing over a small area while also giving the recipients 20 CP (including Elie herself if she’s in the area of effect!), and all for a mere 40 CP.
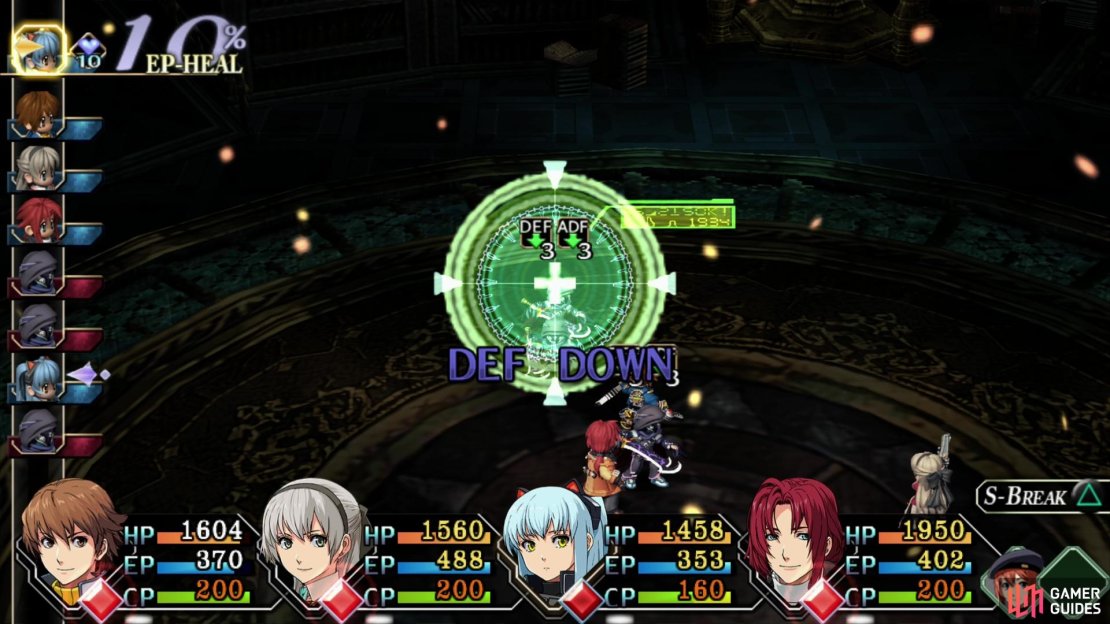
Grouping up makes keeping your party healed easier, but it also makes Yin’s AoEs more dangerous, so there is a tradeoff. Specifically Yin’s Dragon Claws, Falling Moon and Paraselene Dance are all AoEs, but the first two aren’t terribly stronger and the ladder affects a wide enough area for Yin to hit several characters with it regardless of whether you’re bunched up enough for Holy Bullet. Failing that, Holy Breath (Water x2, Wind x4) provides healing (L) over a wide area (L), albeit at the cost of 60 EP.

(1 of 6) Yin will use Body Split to create autonomous clones with their own HP pools.
A list of Yin’s attacks can be found below:
-
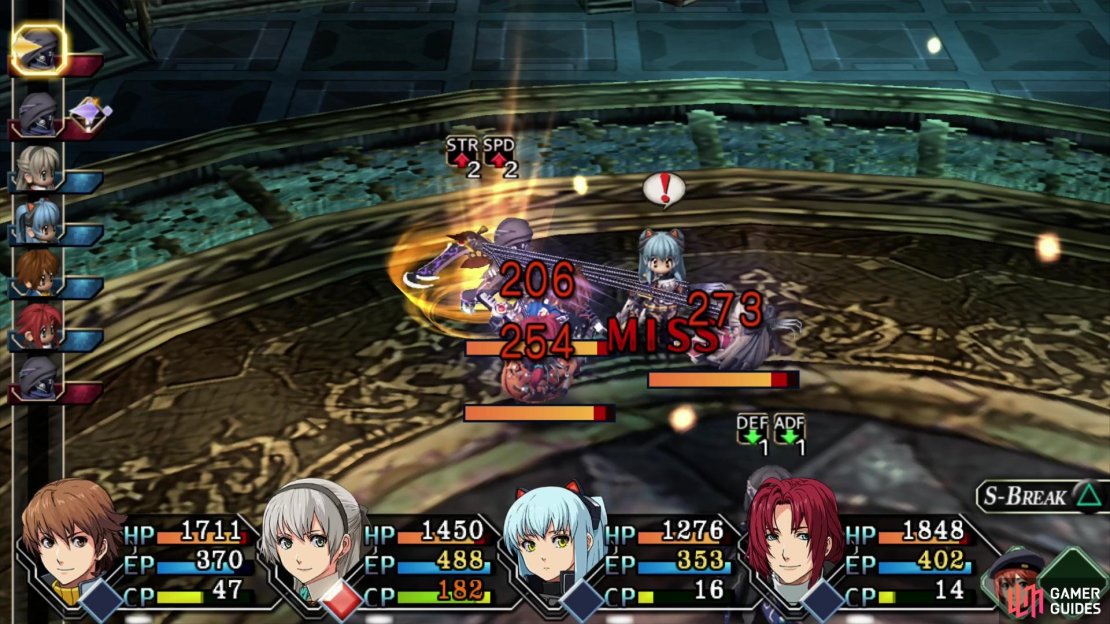
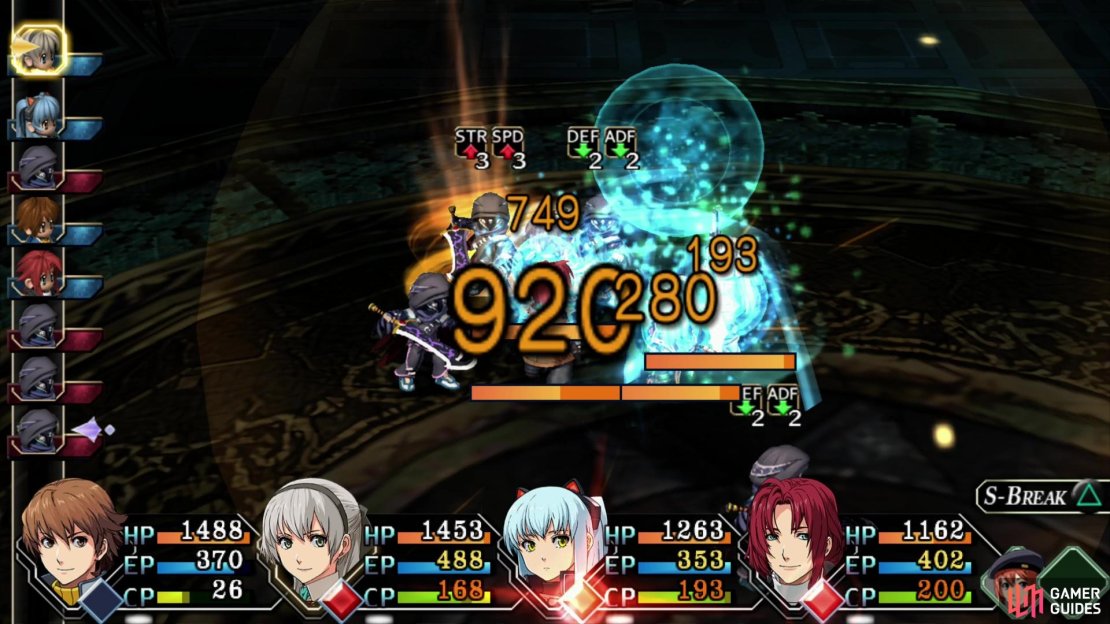
Body Split: Yin creates a clone, which acts autonomously and has its own HP pool. This clone will typically only use Dragon Claws and Exploding Talisman, making it largely capable of being a nuisance (unless you’re not immune to Deathblow). With 2,000~ HP it’s sturdy enough, and probably not worth going out of your way to kill, although catching it and Yin in an AoE is often a worthwhile endeavor. Yin can create at least three clones. Note that Yin’s clone has its own bestiary entry, and must be Analyzed along with Yin, although subsequent clones share the same bestiary info.
-
Dragon Claws: Yin throws out chains, latches on to all characters in an area, draws them close, and damages them. Moderate damage at worst.
-
Exploding Talisman: Yin throws a talisman at a target, which subsequently explodes. Can inflict Deathblow, but otherwise isn’t too dangerou.
-
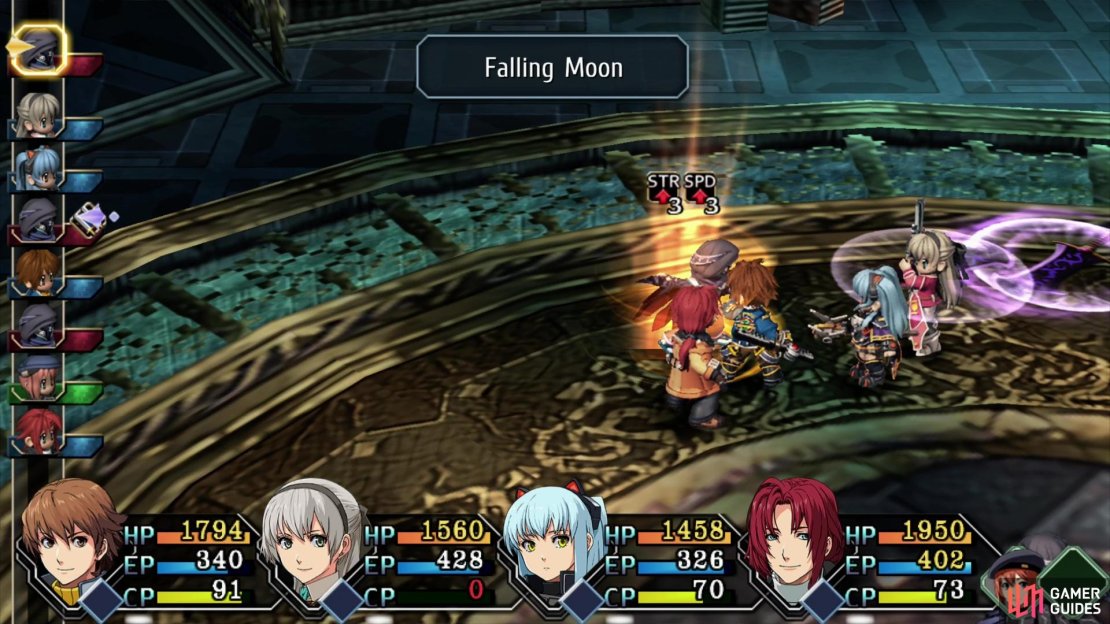
Falling Moon: Yin throws her greatsword, dealing damage in a line. Deals heavy damage.
-
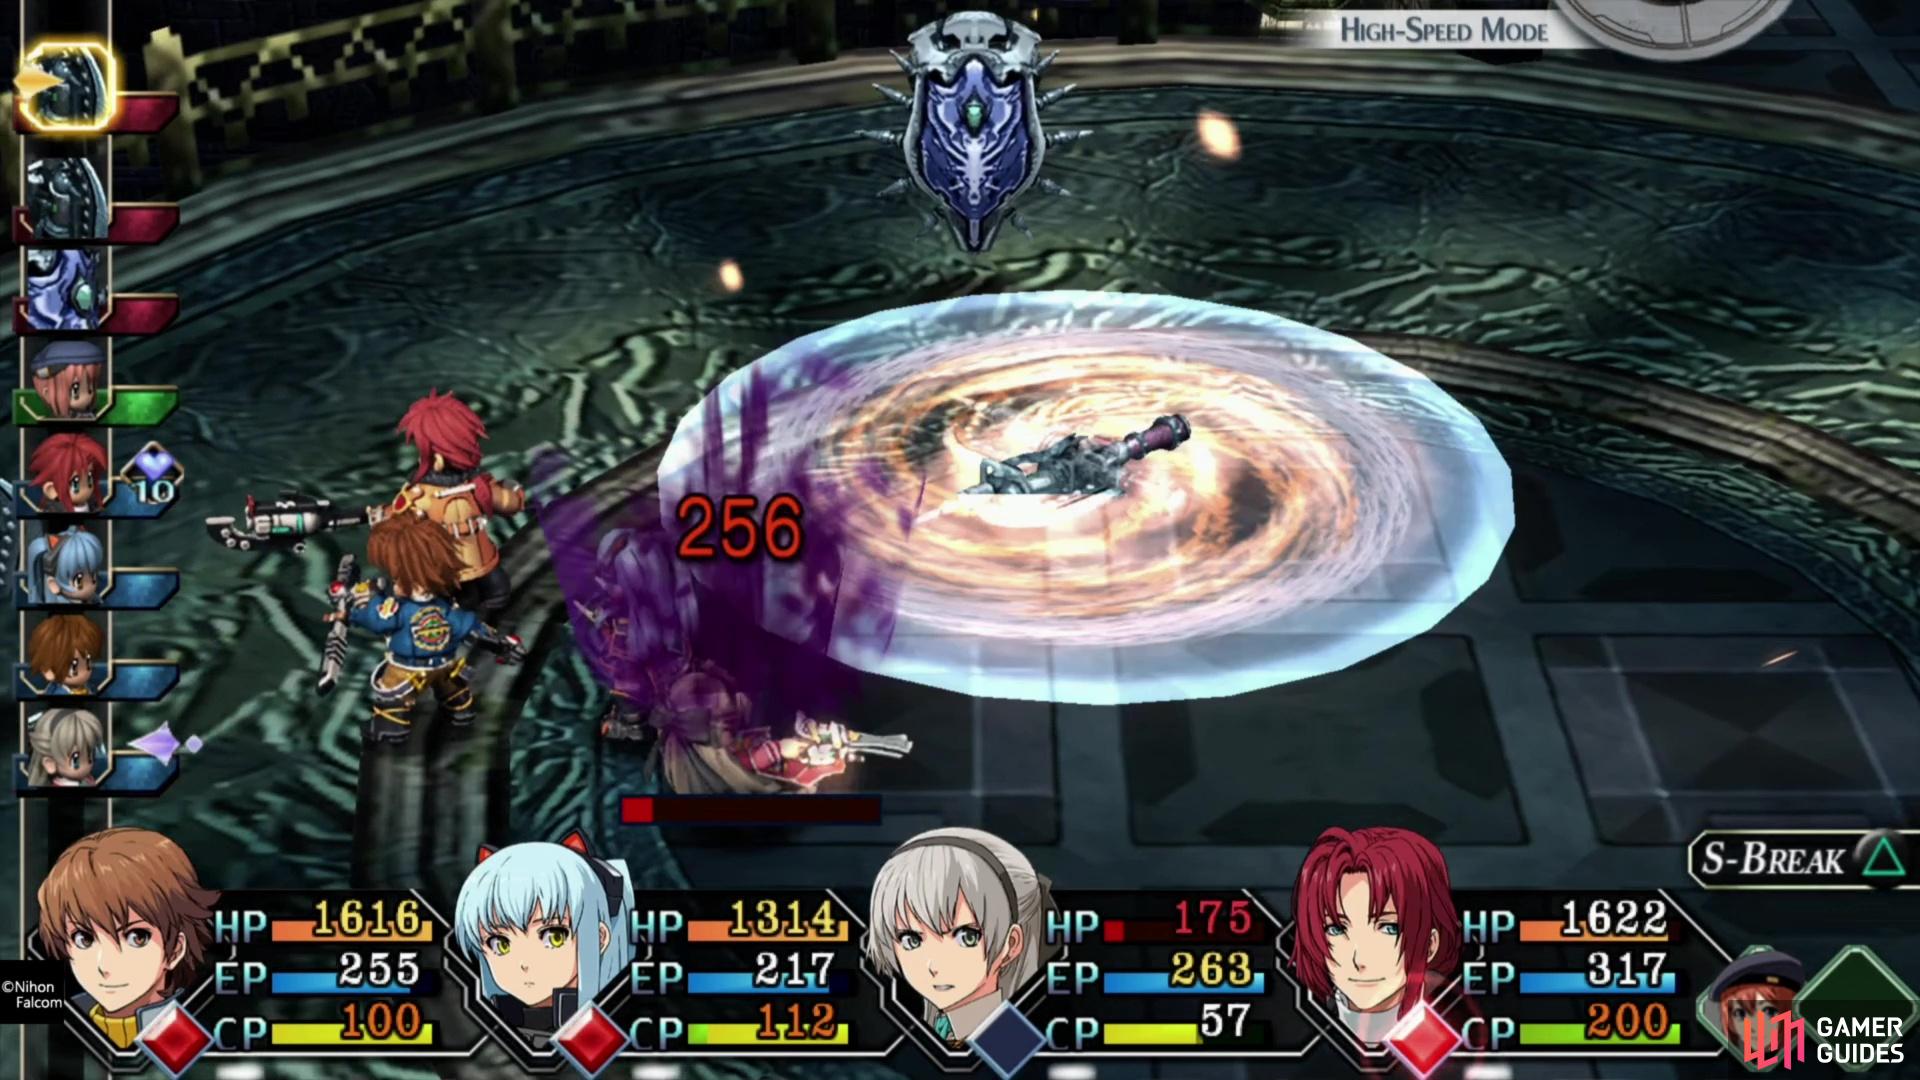
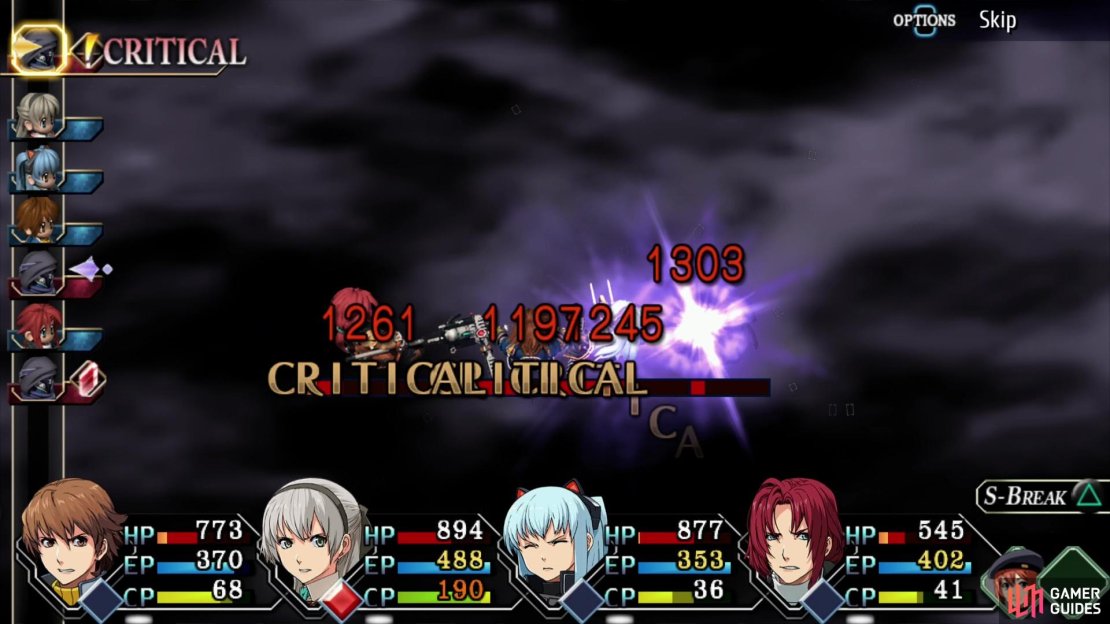
Paraselene Dance: Yin’s most dangerous attack, it’ll deal heavy damage to all characters in a wide area. If the AT bar is unfriendly and Yin scores a critical hit, this attack can deal over 1,000 damage to all characters, but it’s more likely to deal 500~.
-
Qilingong: Yin will buff themselves, boosting their STR and SPD for three turns.
(1 of 3) Be sure to Analzye both Yin and Yin’s clone.
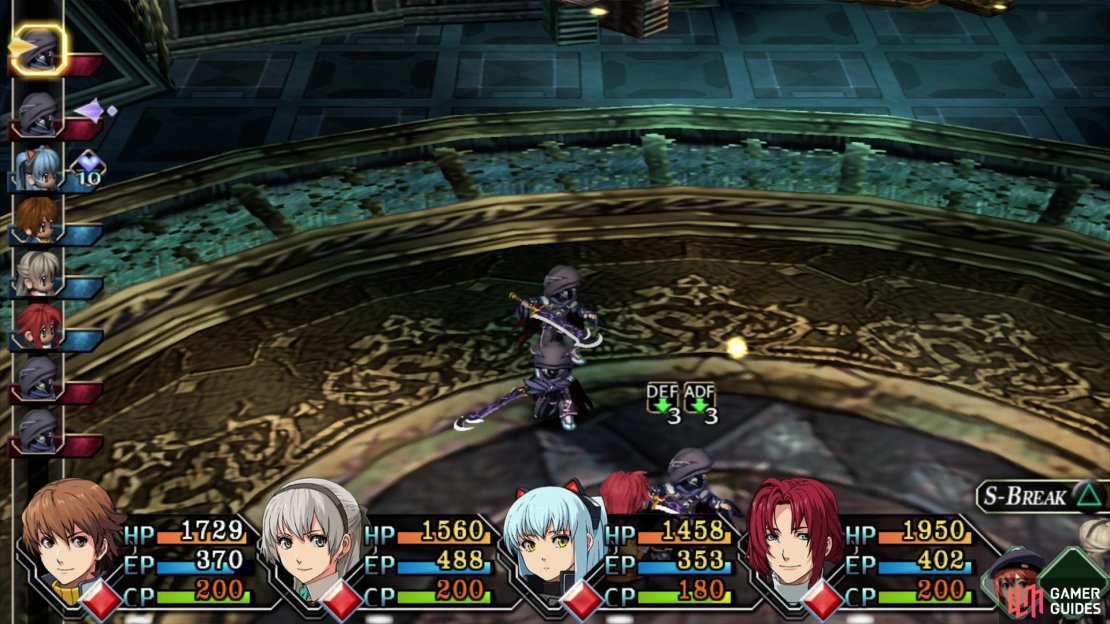
Yin has around 7,000 HP on normal mode, so despite beginning the fight outnumbered 4-to-1, the assassin is durable enough to weather your attacks. Using Lloyd’s S-Break the first chance you get isn’t a bad strategy, but Tio and Randy might want to wait until there are some clones to catch up in their S-Breaks. Otherwise, stick to potent Arts (any element is fine, Yin isn’t particularly strong or weak against anything - avoid debuffs, Yin’s immune to most of them) or failing that, normal attacks.
Keep yourself healed and make sure to Analyze both Yin and one of Yin’s clones, and avoiding any AT bar surprises this fight should be a fairly easy one.

(1 of 2) Answer two questions correctly
Answer two questions correctly (left), and you’ll gain +2 Detective Points per question. (right)
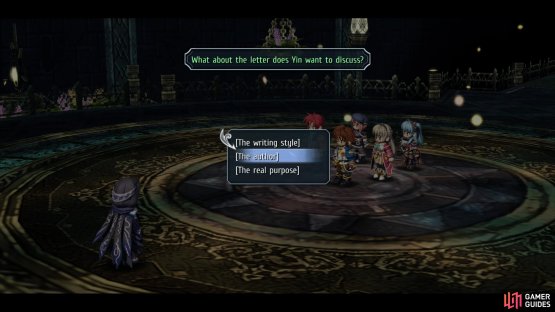
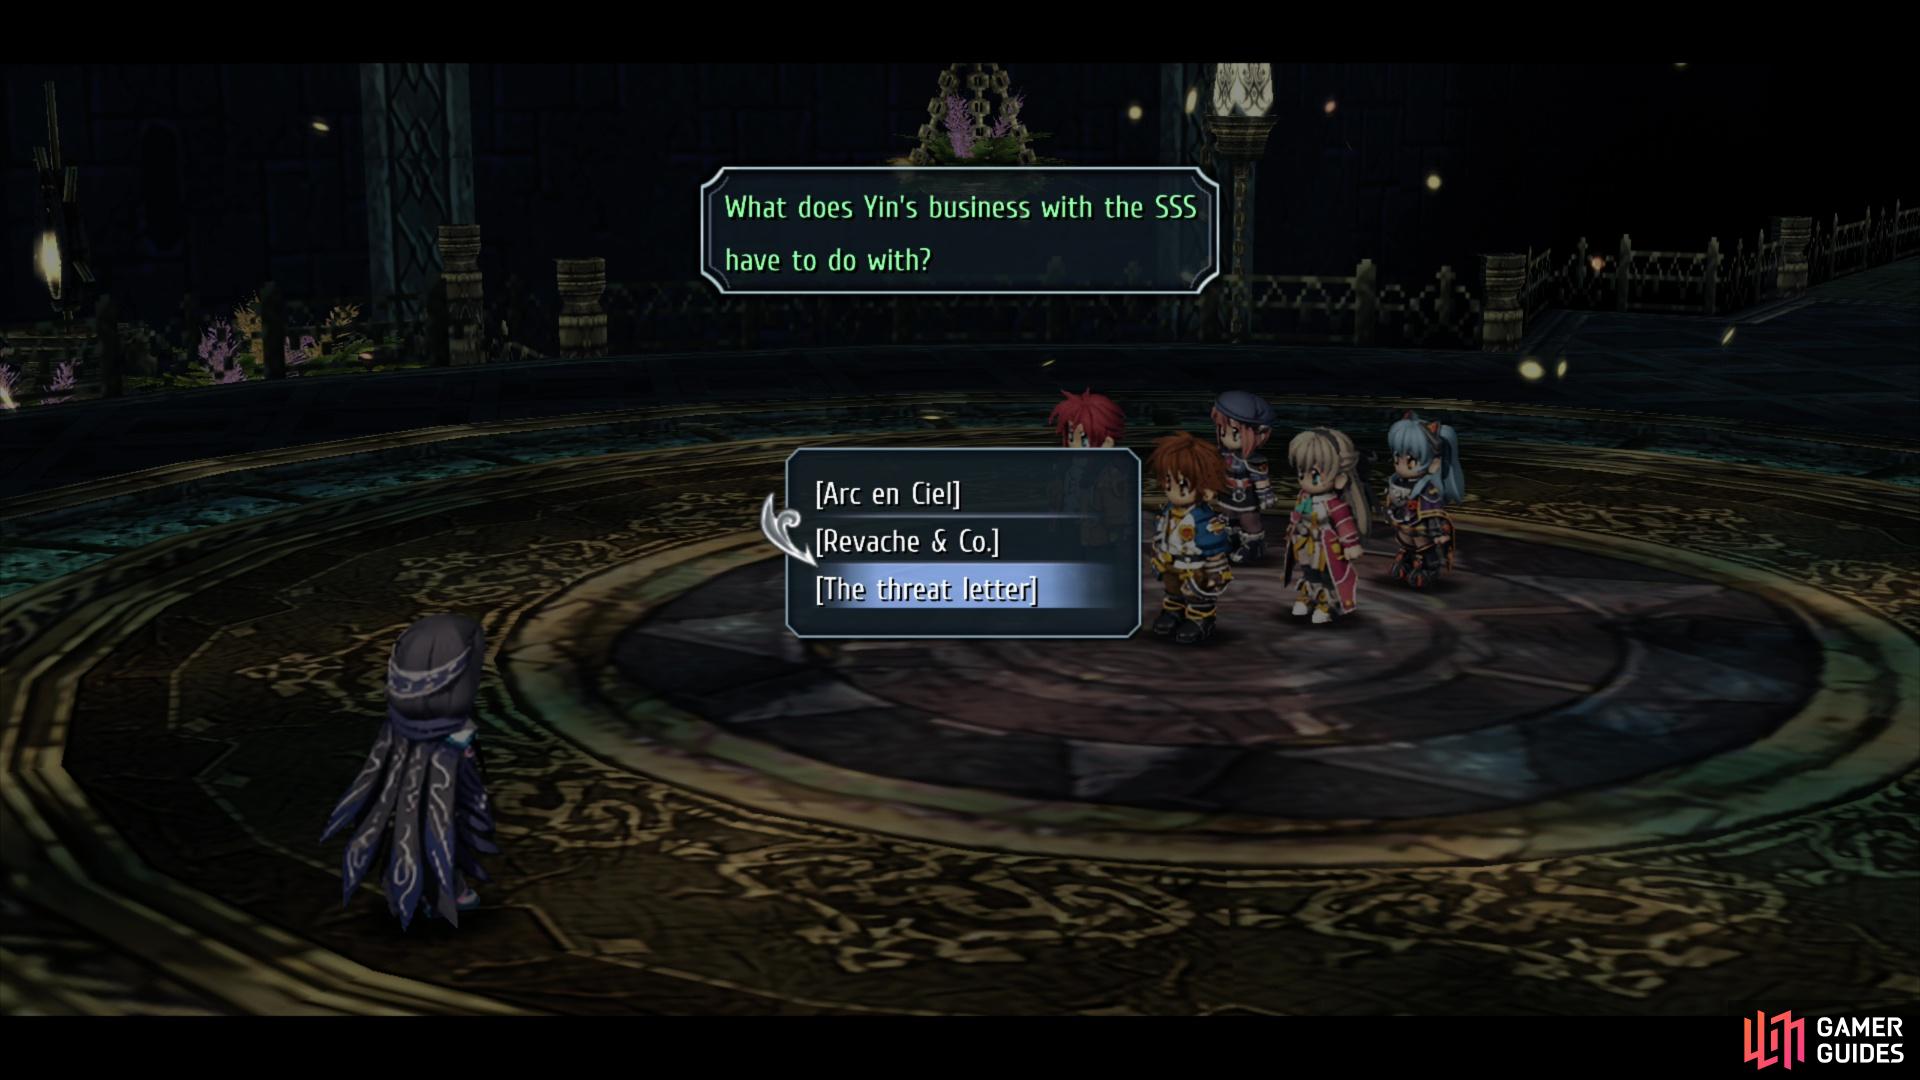
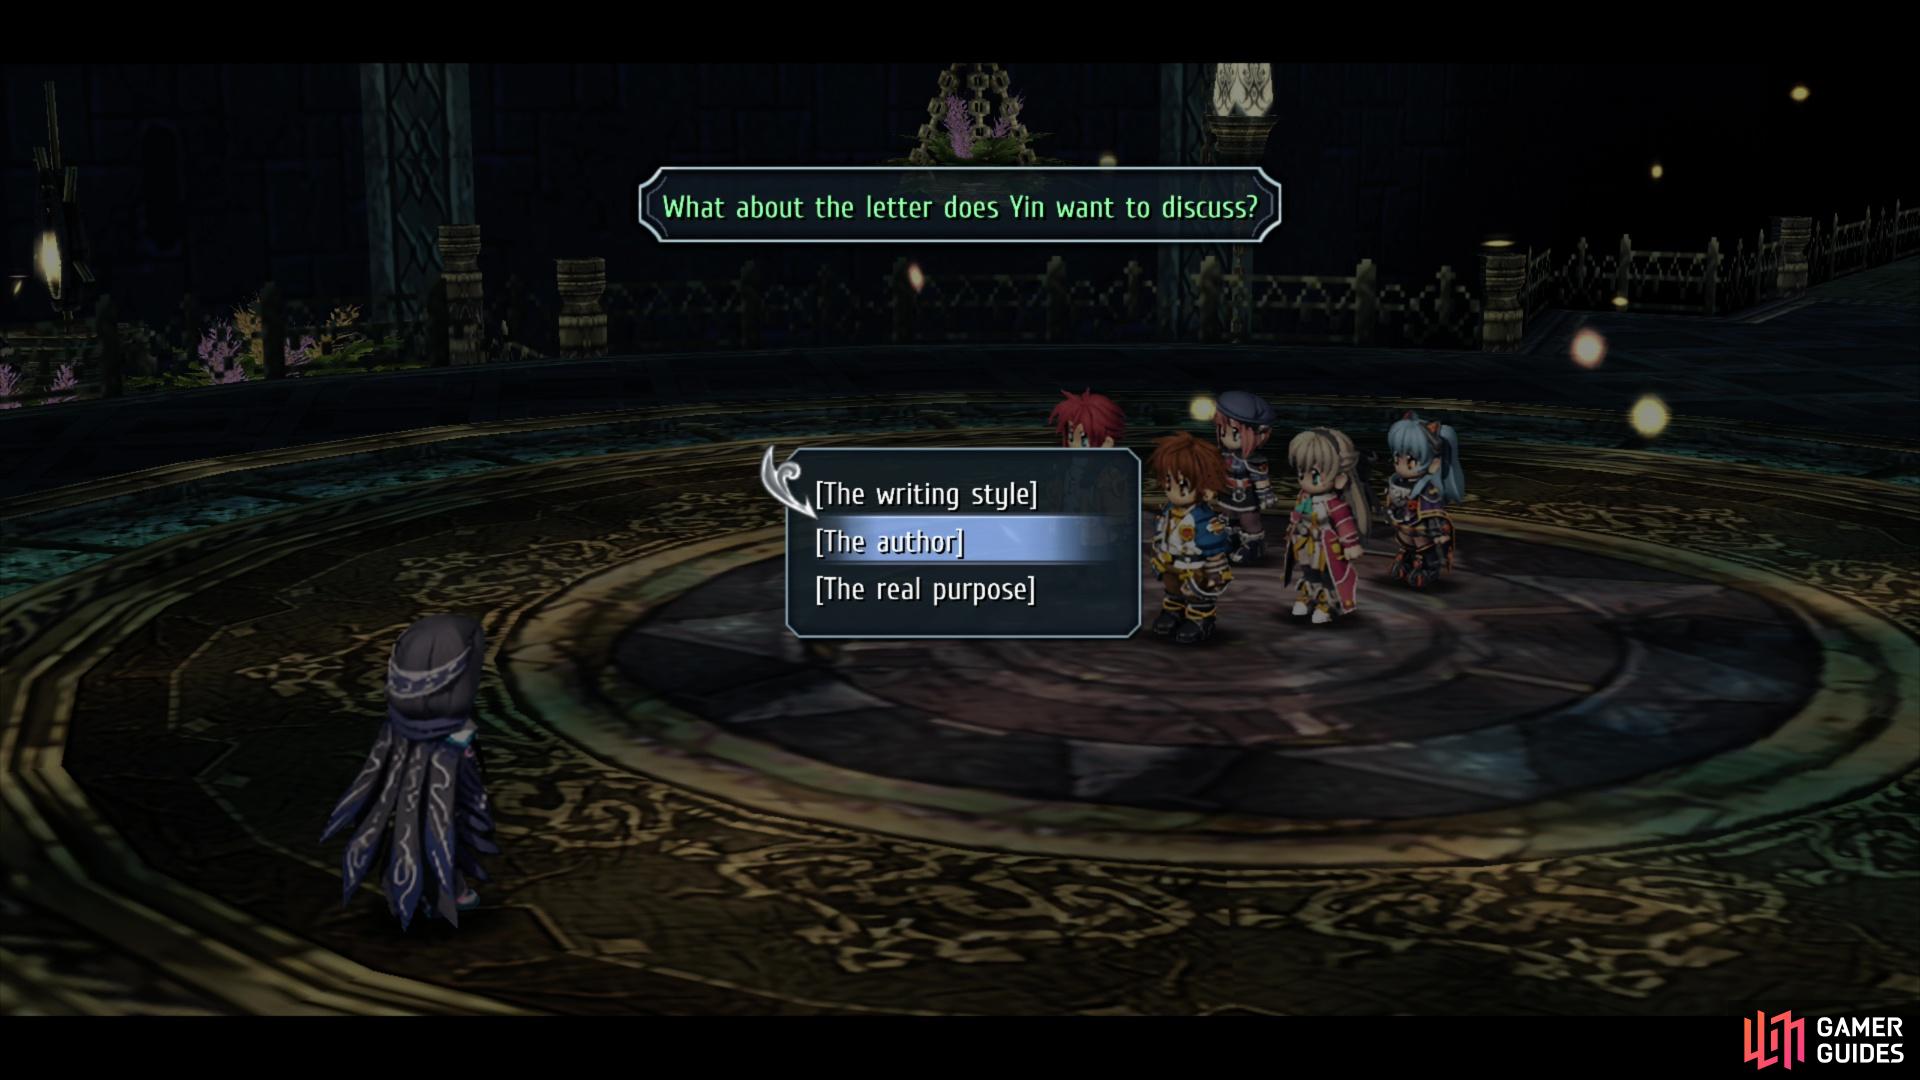
After the battle, Yin will ask you two questions, and if you respond correctly you’ll gain some Detective Points:
| Question | Answer | Detective Points |
|---|---|---|
| What does Yin’s business with the SSS have to do with? | The Threat Letter | +2 DP |
| What about the letter does Yin want to discuss? | The author. | +2 DP |
Answer correctly for some bonus Detective Points, after which a series of scenes will play out. After quite a bit of story plays out you’ll find yourself back in control in the Arc en Ceil building. Time to finish the Threat Letter Investigation!
No Comments