
This page covers the urgent request “Finding Colin” during Chapter 3, Day 3 in The Legend of Heroes: Trails from Zero.
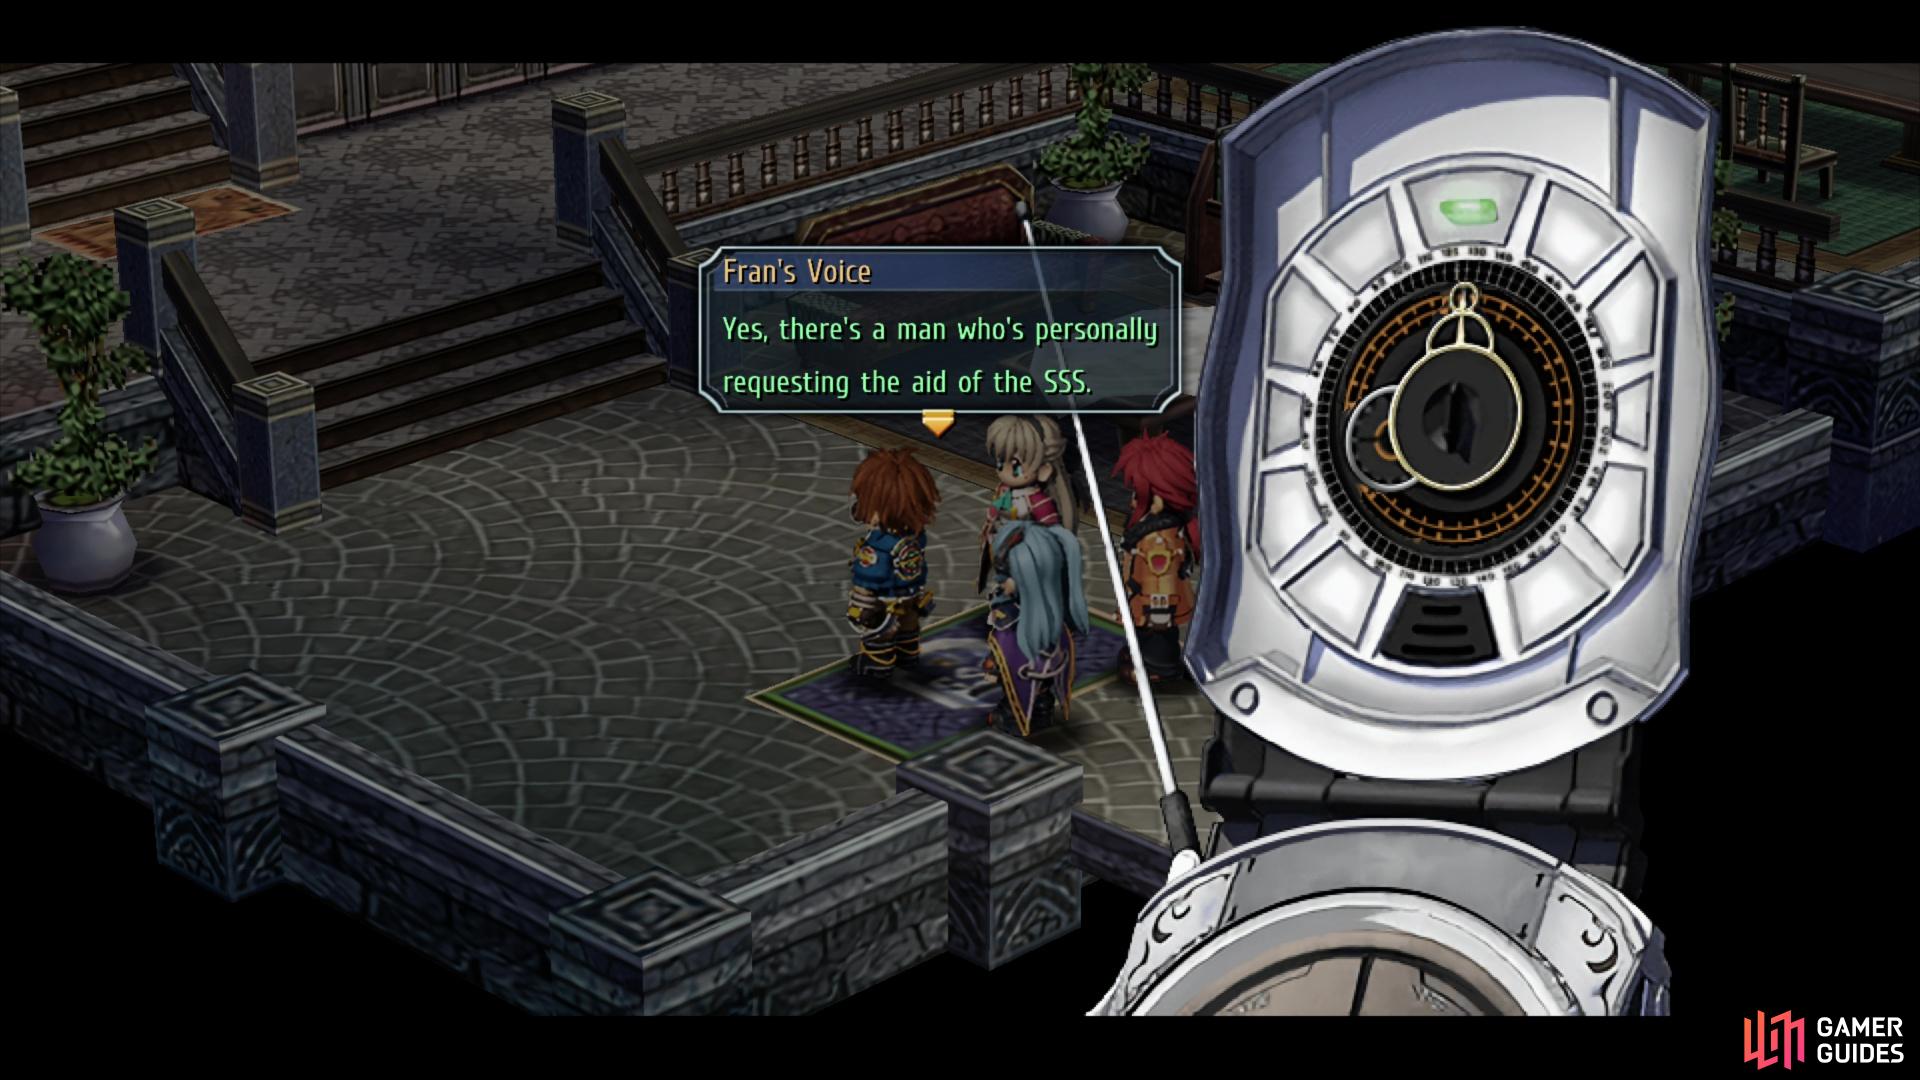
This request will come in when you return to SSS HQ after finishing “Missing Tourists”.
How to Start Finding Colin
You’ll automatically accept this urgent request late in Chapter 3, Day 3. After you complete the urgent request Missing Tourists, return to the SSS HQ building in Crossbell City and you’ll get a call, giving you the details for this request.
Before starting this request, make sure you’re done with the other requests in this chapter. It’s also a good idea to explore the Ancient Battlefield dungeon fully, if you haven’t already. You can even fill out the Fishing Notebook, if you’re so inclined!
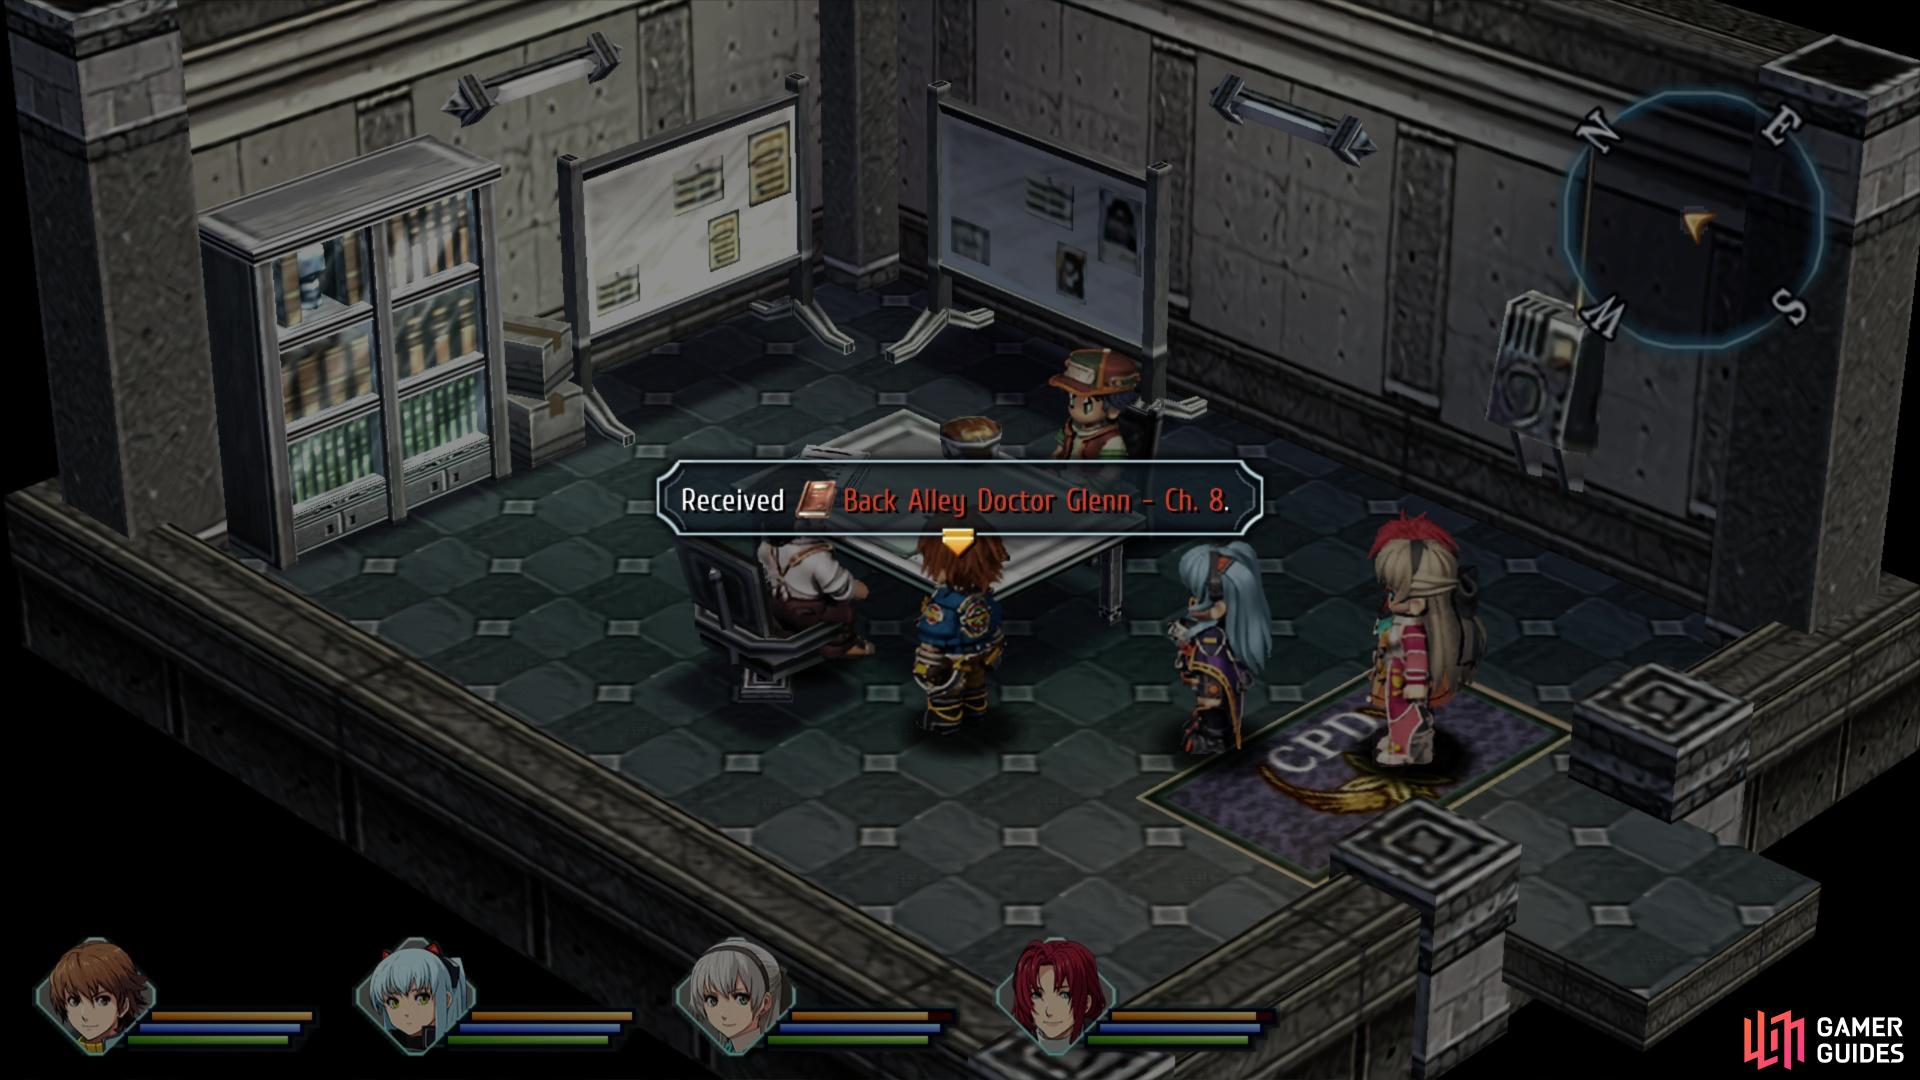
Before you start the request, head to the CPD building to find Sergei, who will give you “Back Alley Doctor Glenn - Ch. 8”.
| Item | Location |
|---|---|
| Back Alley Doctor Glenn - Ch. 8 | Talk to Chief Sergei in the interrogation room in the CPD Building |
There’s also a new missable you should go out of your way to grab. Head to the Administrative District, enter the CPD building, exit the lobby and head down the hallway to the west, then turn north and enter an interrogation room. You’ll find Chief Sergei in here, suffering through the busy festival days after being caught trying to avoid work. After some chastisement he’ll give you a copy of Back Alley Doctor Glenn - Ch. 8.
How to Complete Finding Colin
When you’re ready to move on, head to the Administrative District and search for Harold and his wife, Sophia, who are standing/sitting near/on a bench next to the fountain in the center of the district, respectively. After some dialog you’ll be given Colin’s Pictures x3 and Colin’s Plushie, Lloyd will delegate responsibilities (giving himself charge of half the city) and the team will split up to search for Colin.
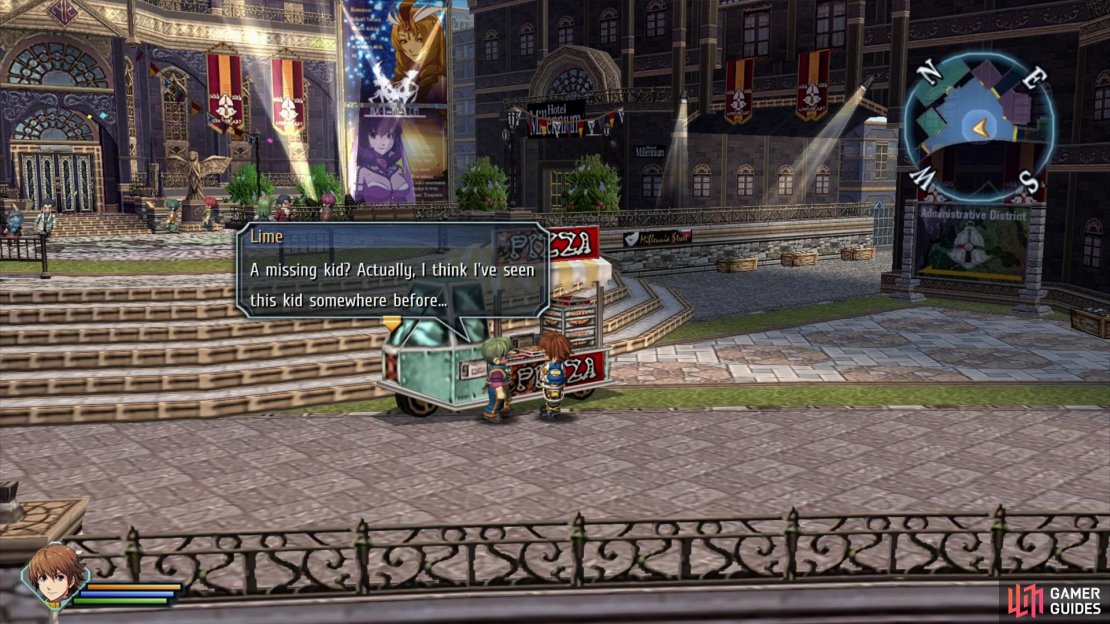
(1 of 5) To advance the request you’ll need to talk to NPCs in the Entertainment District,
Search the Entertainment District
After the scenes end you’ll be in the Entertainment District, where you’ll have to go around talking to various NPCs. Note that if the NPC doesn’t talk about Colin for whatever reason (you didn’t pick up your vendor rewards following Serial Theft Investigation, or if it’s your first visit to the Hotel Millennium, for example), you’ll need to talk to them again. All the NPCs you have to talk to here include:
- Lime, proprietor of Plate Pizza.
- Barker Pym, wandering around near the Hotel Millennium.
- Receptionist Kyle, enter the southern entrance to the Hotel Millennium and talk to the receptionist.
- Bunny Girl, standing outside the entrance to the Barca Casino.
- Cherry, enter the Barca Casino and talk to the receptionist.
- Sophie, proprietress of Sophie’s Ice Cream, near the entrance to Arc en Ciel.
- Rixia and Ilya, just enter Arc en Ciel and this will happen automatically.
- Manager Leticia, enter the northern entrance to the Hotel Millennium and talk to the receptionist.
After exhausting your options in the Entertainment District, Lloyd will mention moving on. Exit to the southeast to reach the Back Alley.
Search the Back Alley
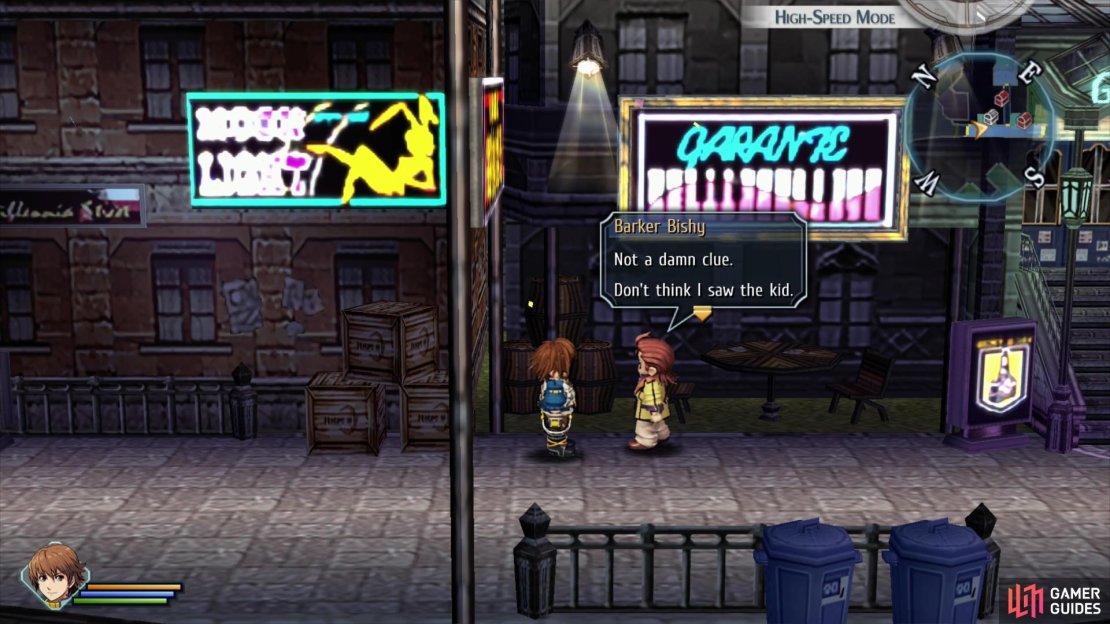
More of the same here, find NPCs and talk with them. Before you can get around to it, however, you’ll get an update from Randy. Once he’s done talking, make the rounds:
- Barker Bishy, standing along the side of the road near the Garante Jazz Bar.
- Eric, enter the Garante Jazz Bar and talk to the bartender.
- Eris, lady in a purple dress, walking up and down the street.
- Imelda, proprietress of Imelda’s Antique Shop, inside the aforementioned store, behind the counter.
Head towards the exit to Central Square to trigger a scene, and freshly encumbered, make your way to Central Street.
Search the Central Square
You’ll get another check-in scene when you arrive, after which it’s time to speak to this area’s various NPCs:
- Hoisdorf, enter the Vingt-Sept Cafe and talk to the cashier.
- Ryu, standing near Koken, just southeast of the Vingt-Sept Cafe.
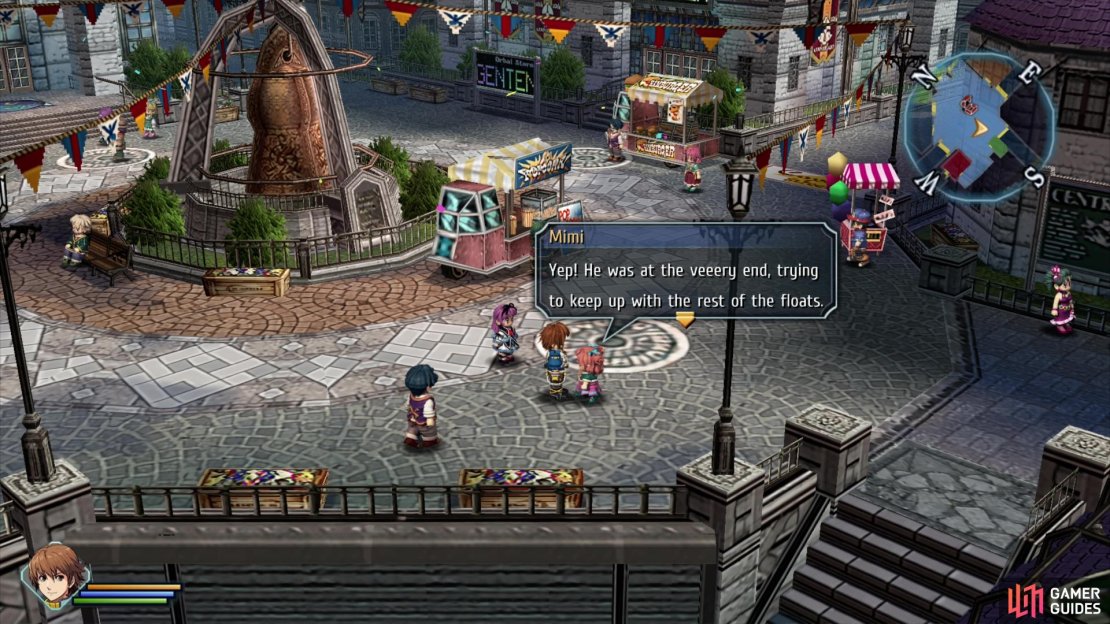
- Mimi, wandering around near the stairs leading down to the Gironde Armory.
- Gironde, proprietor of the Gironde Armory, you’ll find him behind the counter.
- Wendy, behind the counter inside the Genten Orbal Store.
Enter the Times Department Store and you’ll trigger a scene, after which follow Renne’s rather obvious advice:
- Receptionist Pearl and Receptionist Cynthia, behind the counter near the door.
- Kean, ascend the stairs and talk to the kid near the railing.
Once you’ve exhausted these possibilities, make your way to south to Station Street.
Search Station Street
A new area means a new scene. After that bit of chatter is over with, get to talk to the few NPCs you can find here:
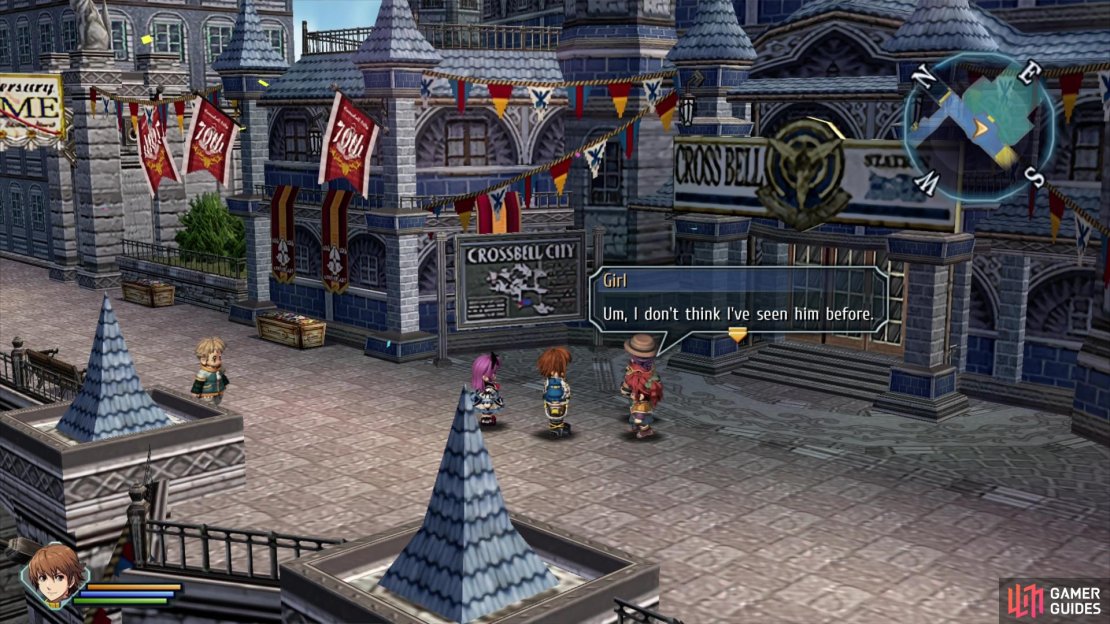
- Girl, standing outside of the Crossbell Station building.
Yeah, not a whole lot here. Head downstairs and examine the door to Geofront - A Sector to trigger a scene, then head back Central Square, where you’ll get some more calls. Once those are done, exit to the west to reach West Street.
Search West Street
This place is a bit more lively than Station Street was. Seek out the following NPCs:
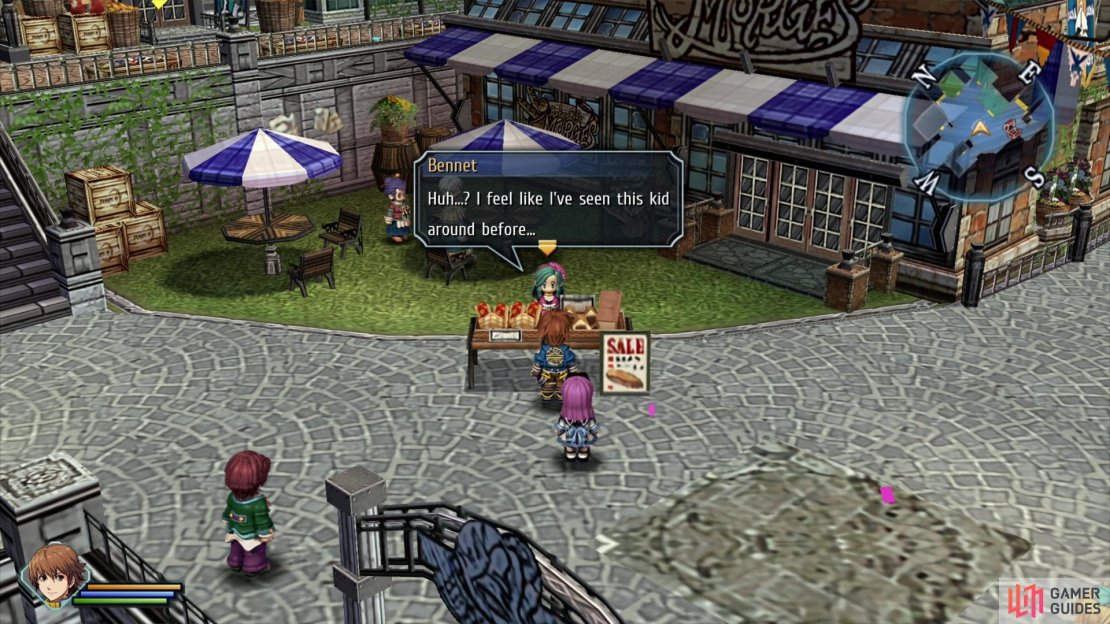
- Bennet, who is running a bakery stand outside of Morges Bakery.
- Oscar, behind the counter inside Morges Bakery.
- Miles, enter the Bellheim Apartments building, go downstairs, then enter the eastern apartment at the end of the hall. Miles is wandering around inside.
- Tallys, inside Tallys’ General Store, behind the counter.
- Mr. Grimwood, inside Grimwood’s Law Office, sitting on a couch.
Once you’ve talked to the aforementioned NPCs, you should trigger another scene when you head back outside. During the call, Lloyd will get the chance to speculate on what happened to Colin. Answer with ”He entered an automobile.” to score +2 Detective Points, and after quite a bit of chatter you’ll find yourself back in control with your party reunited in the SSS HQ building.

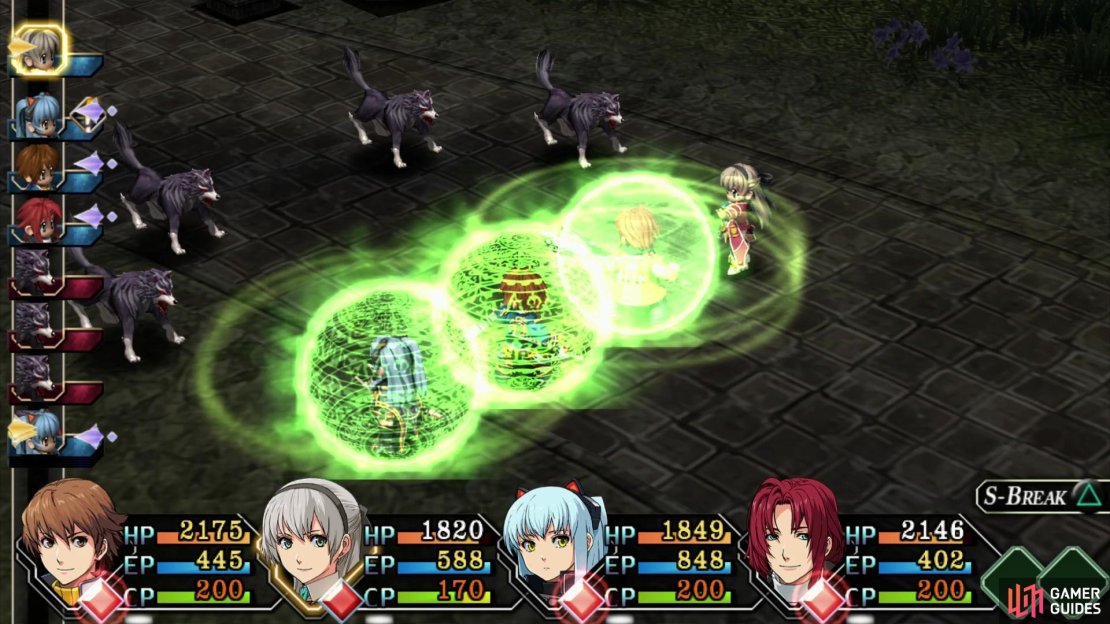
Boss - Slash Wolves
Exit out to the West Crossbell Highway to trigger another scene, after which follow the road to the third screen, where you’ll find the truck parked just off the road. You’ll chat with the driver when you get close, after which make sure you’re prepared for a fight, then continue following the road to the fourth screen, where you’ll trigger… you guessed it, a scene.
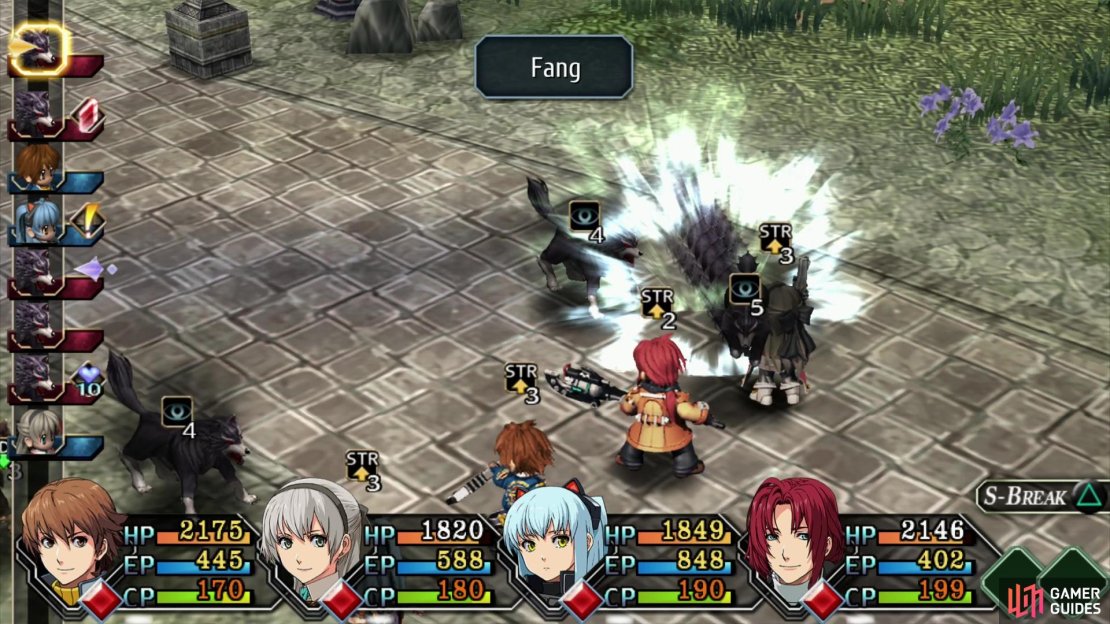
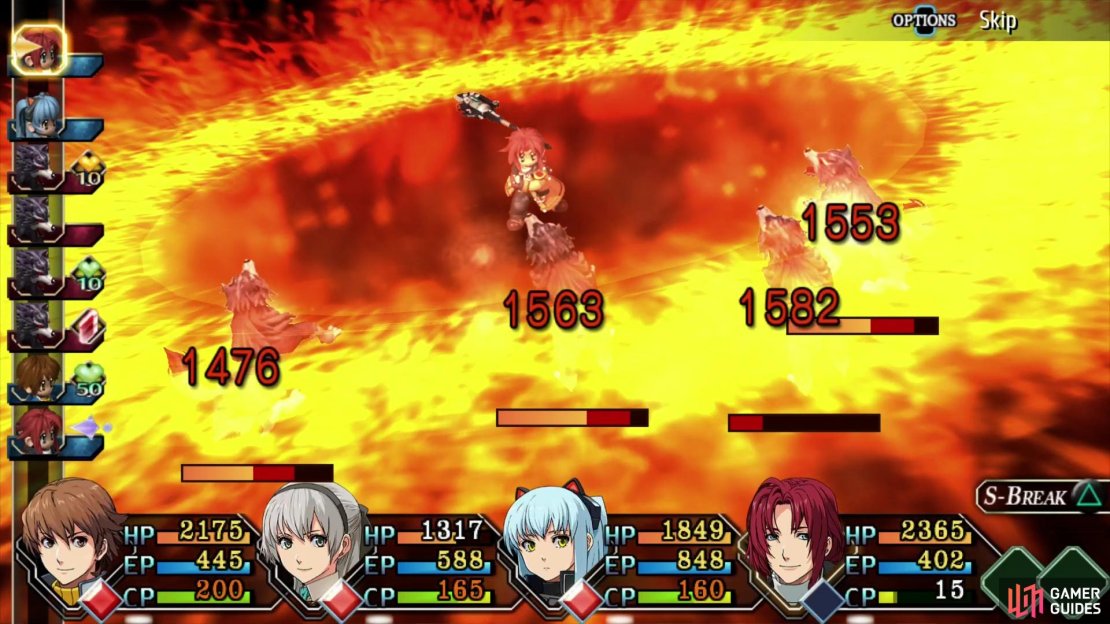
Follow the road south and you’ll finally find what you seek. Endure one more scene and you’ll find yourself in a battle with four Slash Wolves.
| Enemy | Lv | Elemental Effectiveness | Drops |
|---|---|---|---|
| Slash Wolf | 26 | U-Material |
Start out the fight by Analyzing them to fill out their bestiary entry, after which it’s time to get to business.
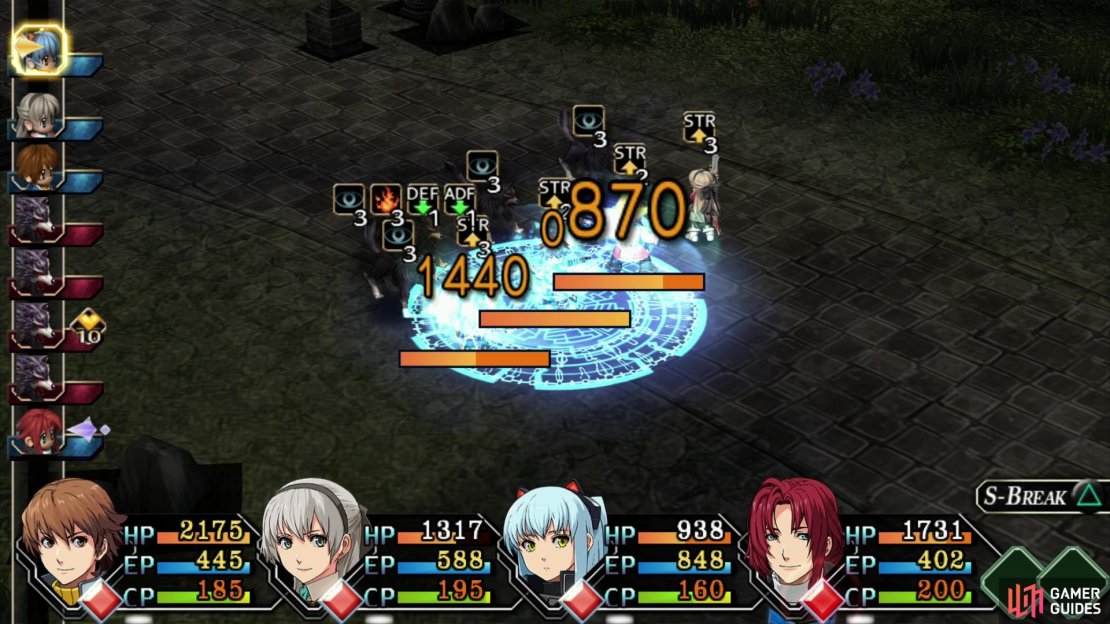
Individually Slash Wolves aren’t that dangerous - they’ll bite for 400~ damage as a standard attack, which is nothing special, and they have over 4,000 HP each. They’re resistant to Freeze, Faint and Deathblow, but that still leaves an awful lot of status effects, including Blind. Randy’s Crash Bomb will prove helpful, but perhaps not as much as you’d think for enemies who rely on physical attacks exclusively.
Crash Bomb will indeed cause them to miss with their standard melee attack, but it won’t help with their “Fang” attack, a charge that strikes all targets in a line and always seems to hit. Not only will this inflict around 500~ damage, but it’ll cause AT Delay, causing your characters to take turns slower. Since they’ll use Fang regularly, this could allow them to get an awful lot of extra hits in. Trying to hit as many of the mutts as possible with Arts like Lorelei (Wind x6, Time/Space/Mirage x2) may prove more useful, as it has a 50% chance to inflict Sleep. If you can debilitate a few of them for several turns, this will allow you to focus on one or two foes.
Debilitated or not, you should focus your attention on as few targets as possible, as this fight becomes much, much easier when there are fewer wolves jumping at you. Randy’s S-Break is as useful as ever, although Tio and Elie may have to spend time using Energy Circle and Holy Bullet to heal, or Strike Bell to score you some extra turns, mitigating the effects of your enemy’s “Fang” attacks.
Defeat the Slash Wolves and you’ll finish up the chapter after many scenes and much chatter.
No Comments