
Walkthrough for Geofront - B Sector in Chapter 2, during the main quest “Threat Letter Investigation (Part 2)” in The Legend of Heroes: Trails from Zero, including basic information about the monsters encountered in the area, and the treasures and fishing spots you can find as you explore.
Exploring Geofront - B Sector
After you’ve explored Crossbell, completed all the new requests for this day (Fishing for Ingredients!, Testaments Training, East Crossbell Highway Monster Extermination and Rare Herb Retrieval), and perhaps got some fishing in with the Feather Tackle, it’s time to continue the Threat Letter Investigation, which ultimately leads you to Geofront - B Sector.
Geofront - B Sector is a fairly standard dungeon - monsters, treasure chests, and a valve puzzle that’s so simple it barely qualifies as a puzzle. You won’t have a map to help you navigate the rooms and tunnels in Geofront - B Sector, but there’s only five new monsters and around half a dozen treasures, so it’s not all that complicated.
Let’s get to it.
Geofront - B Sector - Upper Floors
| Enemy | Lv | Elemental Effectiveness | Drops |
|---|---|---|---|
| Geenewna | 18 | Fish Fillet, Insulating Tape | |
| Blood Monad | 18 | Tender Whitefish, Eye Drop | |
| Jet Tortoise | 18 | Chitinous Shell, Roe | |
| Torso B | 18 | EP Charge, Battle Scope | |
| Torso Deluxe | 18 | U-Material |
| Items |
|---|
| All Sepith x80 |
| U-Material |
| EP Charge |
| Teara Balm |
| Soldier Suit |
| EP Cut 2 |
| Curia Balm |
You don’t have a map for this dungeon, but it’s just a series of relatively short interconnected chambers and hallways with a few side areas off the beaten path that helps keep things interesting. Just follow these instructions to gather all the loot and reach the lower floors of Geofront - B Sector, and remember to scan the new enemies as you go.
-
After some obligatory chatter after you enter, make your way east, go down some stairs and go through a door.
-
Go through a door to the east.
-
Go down some stairs to the east, where you’ll find a [Blood Monad] enemy roaming near a fork. Ignore the southern path and continue through a door to the east.
-
You’ll find yourself in a small chamber with a [Jet Tortoise]. Fight or avoid it, then exit to the south.
-
Continue upstairs and exit to the south.
Exit the Geofront - B Sector to find an otherwise unobtainable chest in Crossbell City.
-
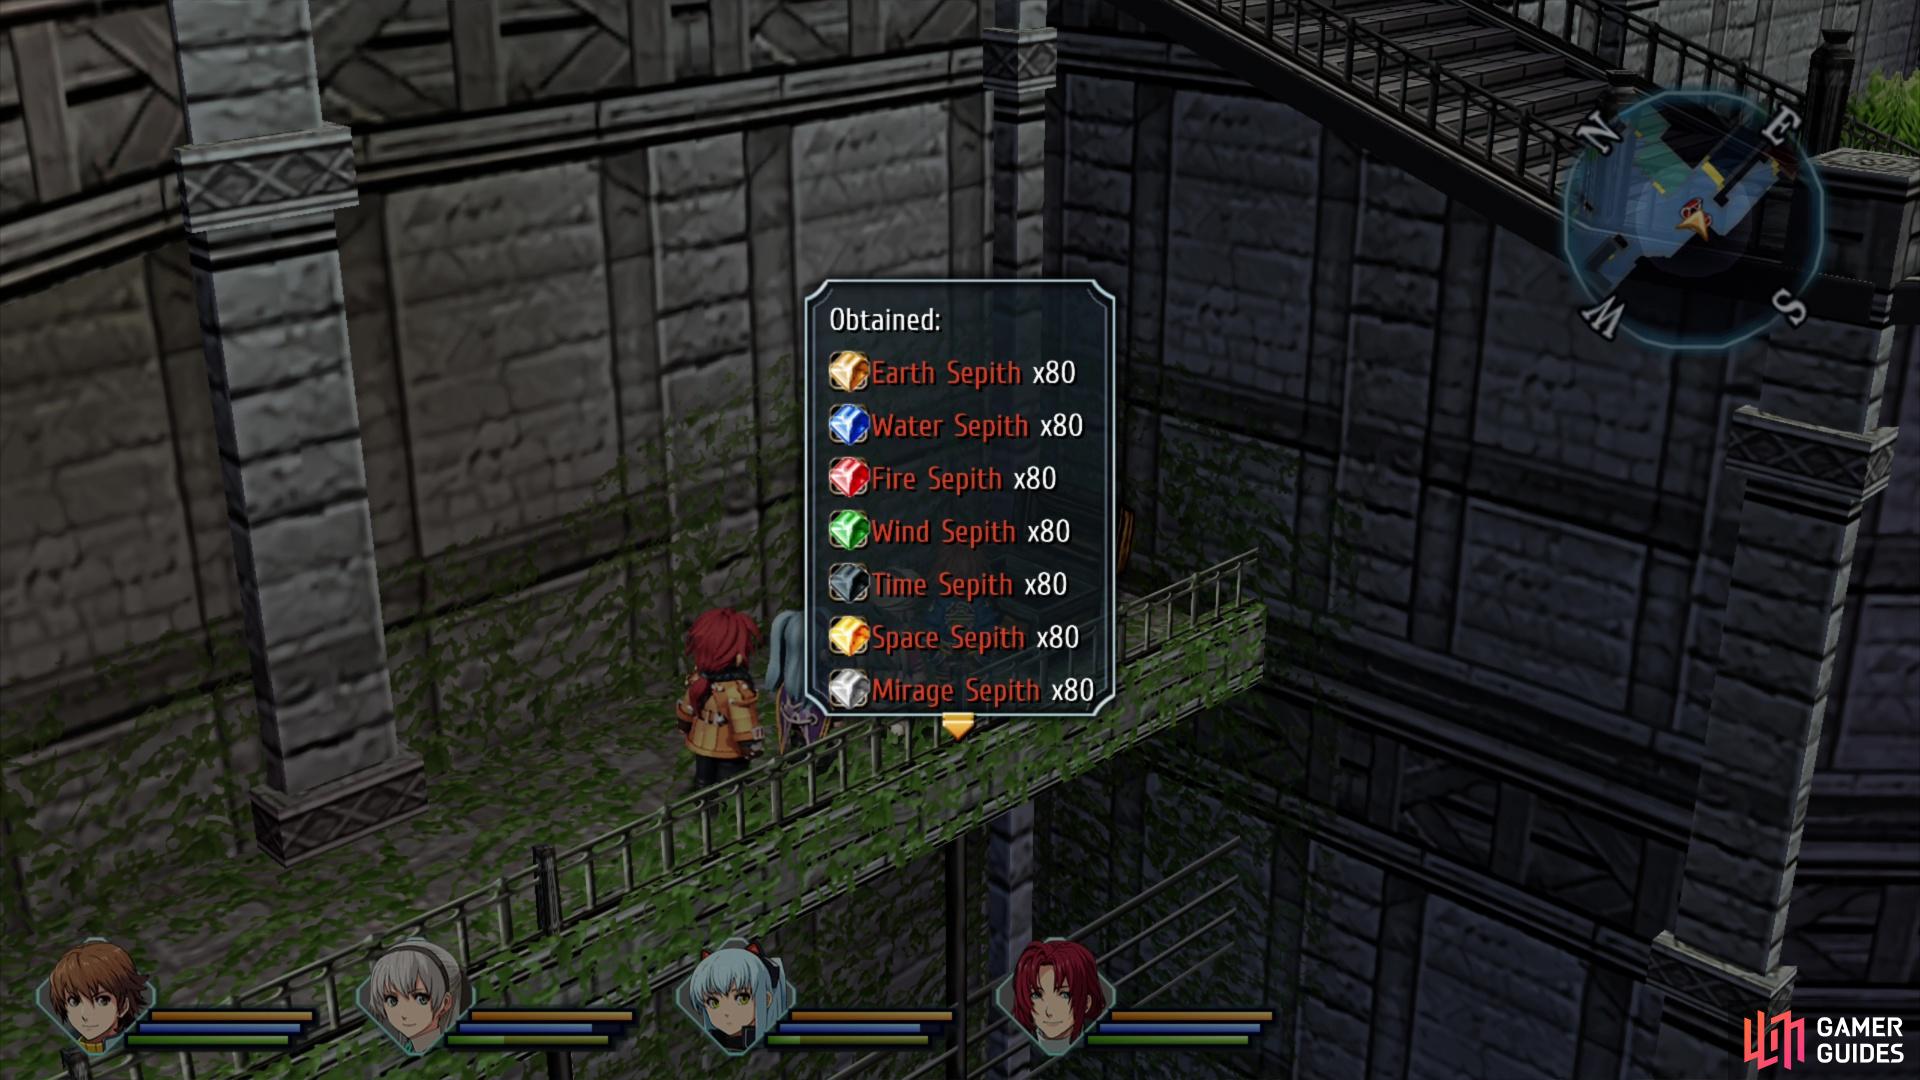
You should now find yourself outside in Crossbell City. Loot a chest to the east to obtain All Sepith x80.
-
Return to Geofront - B Sector and backtrack to the fork near the Blood Monad enemy. Take the neglected path south, go down some stairs and exit to the south.
-
Head down the hallway to the south, where you’ll find a [Torso B] enemy. These malfunctioning bots are likely to lose turns and sustain damage just by trying to operate, but they’ll also self-destruct when defeated, so try to kill them with ranged attacks. After the fight, ignore the door to the east and exit to the south.
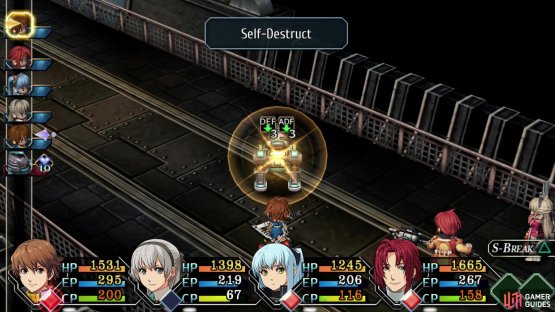
(1 of 2) The ramshackle nature of Torso B enemies disrupts them during combat, but it also means they’ll self-destruct when defeated.


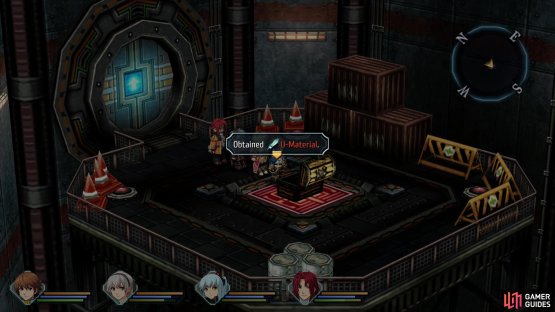
The ramshackle nature of Torso B enemies disrupts them during combat, but it also means they’ll self-destruct when defeated. (left), Loot a chest to obtain U-Material. (right)
-
You’ll reach a small chamber occupied by a [Geenewna]. Kill it and loot the chest it was guarding to obtain some U-Material.
-
Backtrack to the hallway to the north and go through the previously neglected door to the east.
-
Head upstairs, kill another Blood Monad, then exit to the north.
-
You’ll find yourself on an elevated walkway looming over some previously-explored areas. Defeat a Jet Tortoise and a Torso B, then exit to the north.
-
Continue down a hallway and exit to the north.
-
You’ll find yourself in a chamber occupied by a Geenewna. Kill or avoid it, then exit through the door to the east.
-
You’ll reach an empty hallway with a door to the north and another to the east. Go through the door to the north.
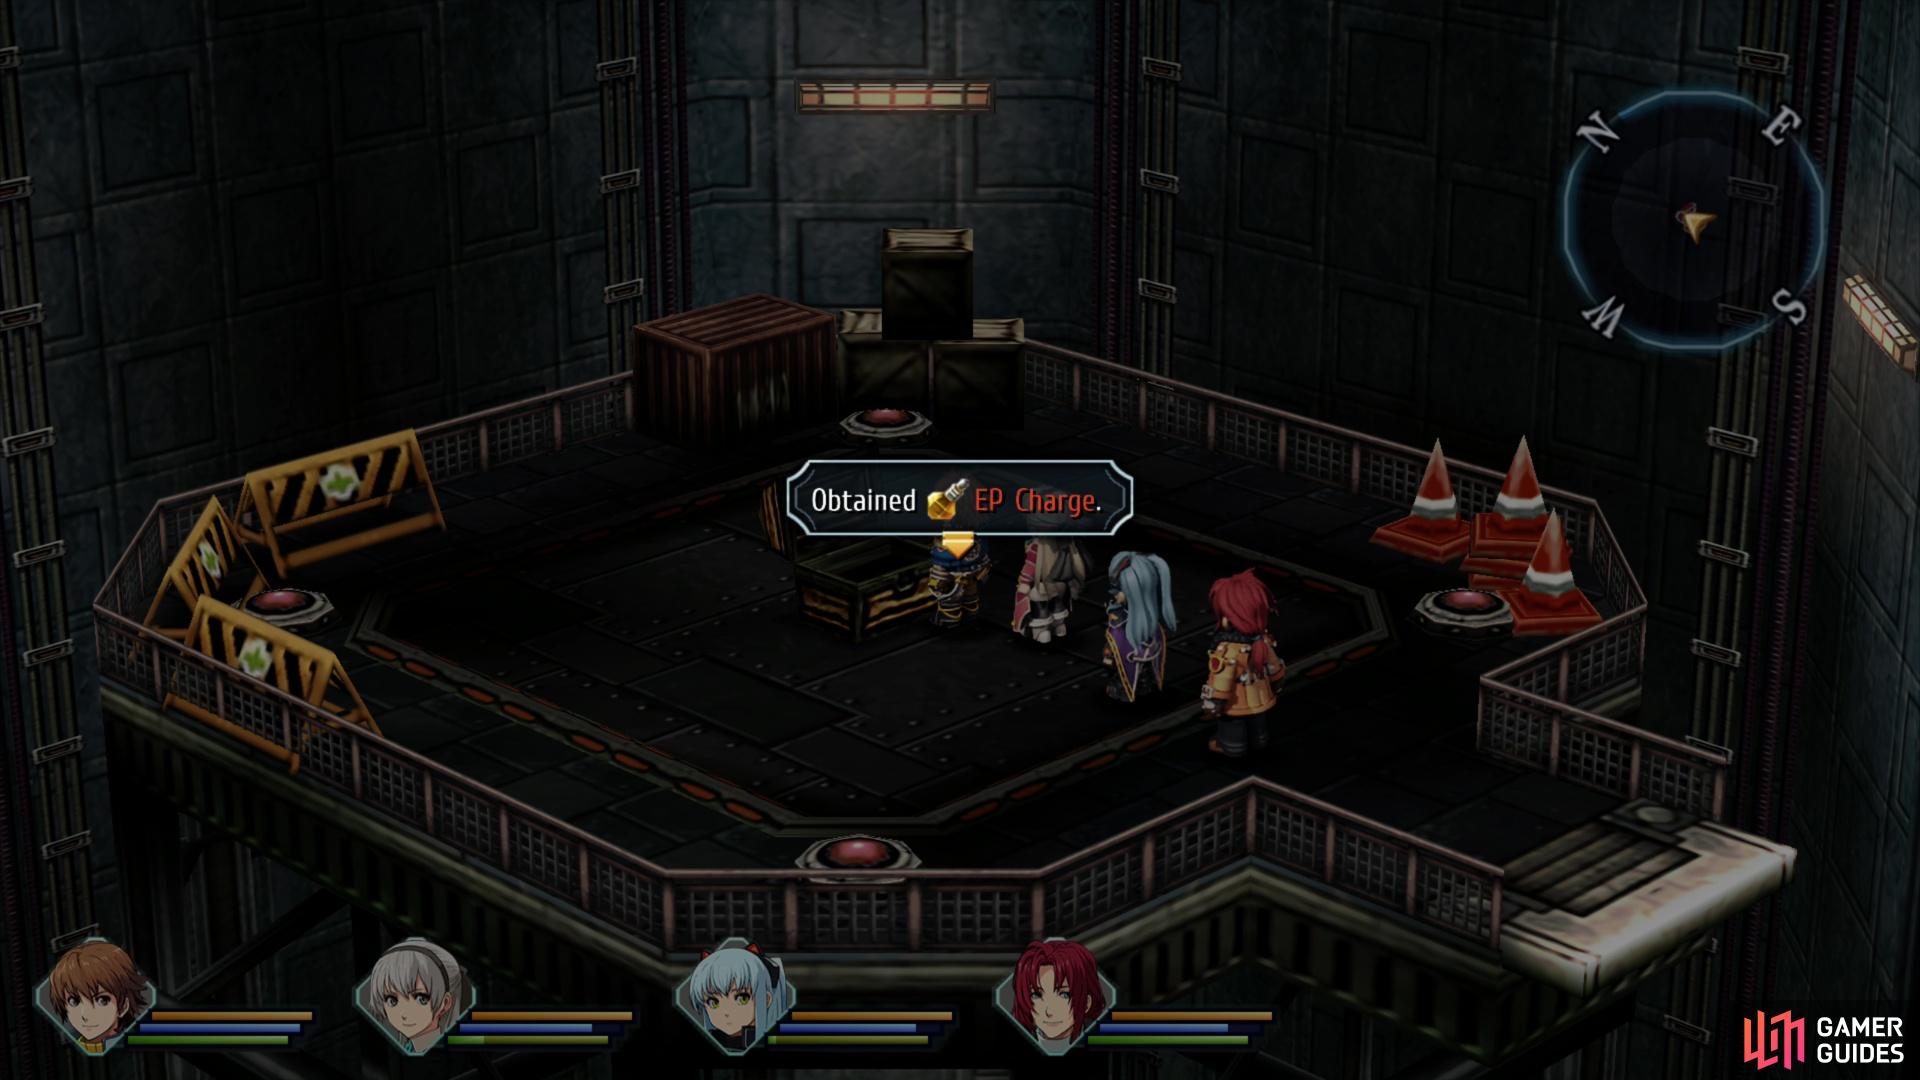
Loot a chest to score some EP Charge.
-
You’ll enter into a chamber patrolled by a Torso B. Destroy it and loot a chest to obtain some EP Charge.
-
Backtrack south to the previous hallway, then exit to the east.
-
Ride down an elevator to reach the lower floors.
Geofront - B Sector - Lower Floors
The lower floors are much the same as the upper floors - same enemies, same general structure. The only thing that really sets it apart are the flooded regions, where you’ll have to use valves to manipulate the water level, creating paths where there were previously none. If you’re worried about a complicated puzzle, don’t be - two of the valves you need to use are immediately in front of the path you need to cross, leaving no ambiguity about what’s expected of you. The only “tricky” part is you’ll have to backtrack and take a detour after using the first valve to get a treasure. Not difficult by any stretch of the imagination.
-
From the elevator room, exit to the east.
-
You’ll find yourself in a hallway. A section of floor is lowered to the east, preventing you from reaching the chest ahead. That being the case, go through the door to the north.
-
Head down some stairs and kill a Jet Tortoise, then ascend a staircase and exit to the north.
-
You’ll find yourself in a T-shaped hallway. Kill a Geenewna, then exit to the east.
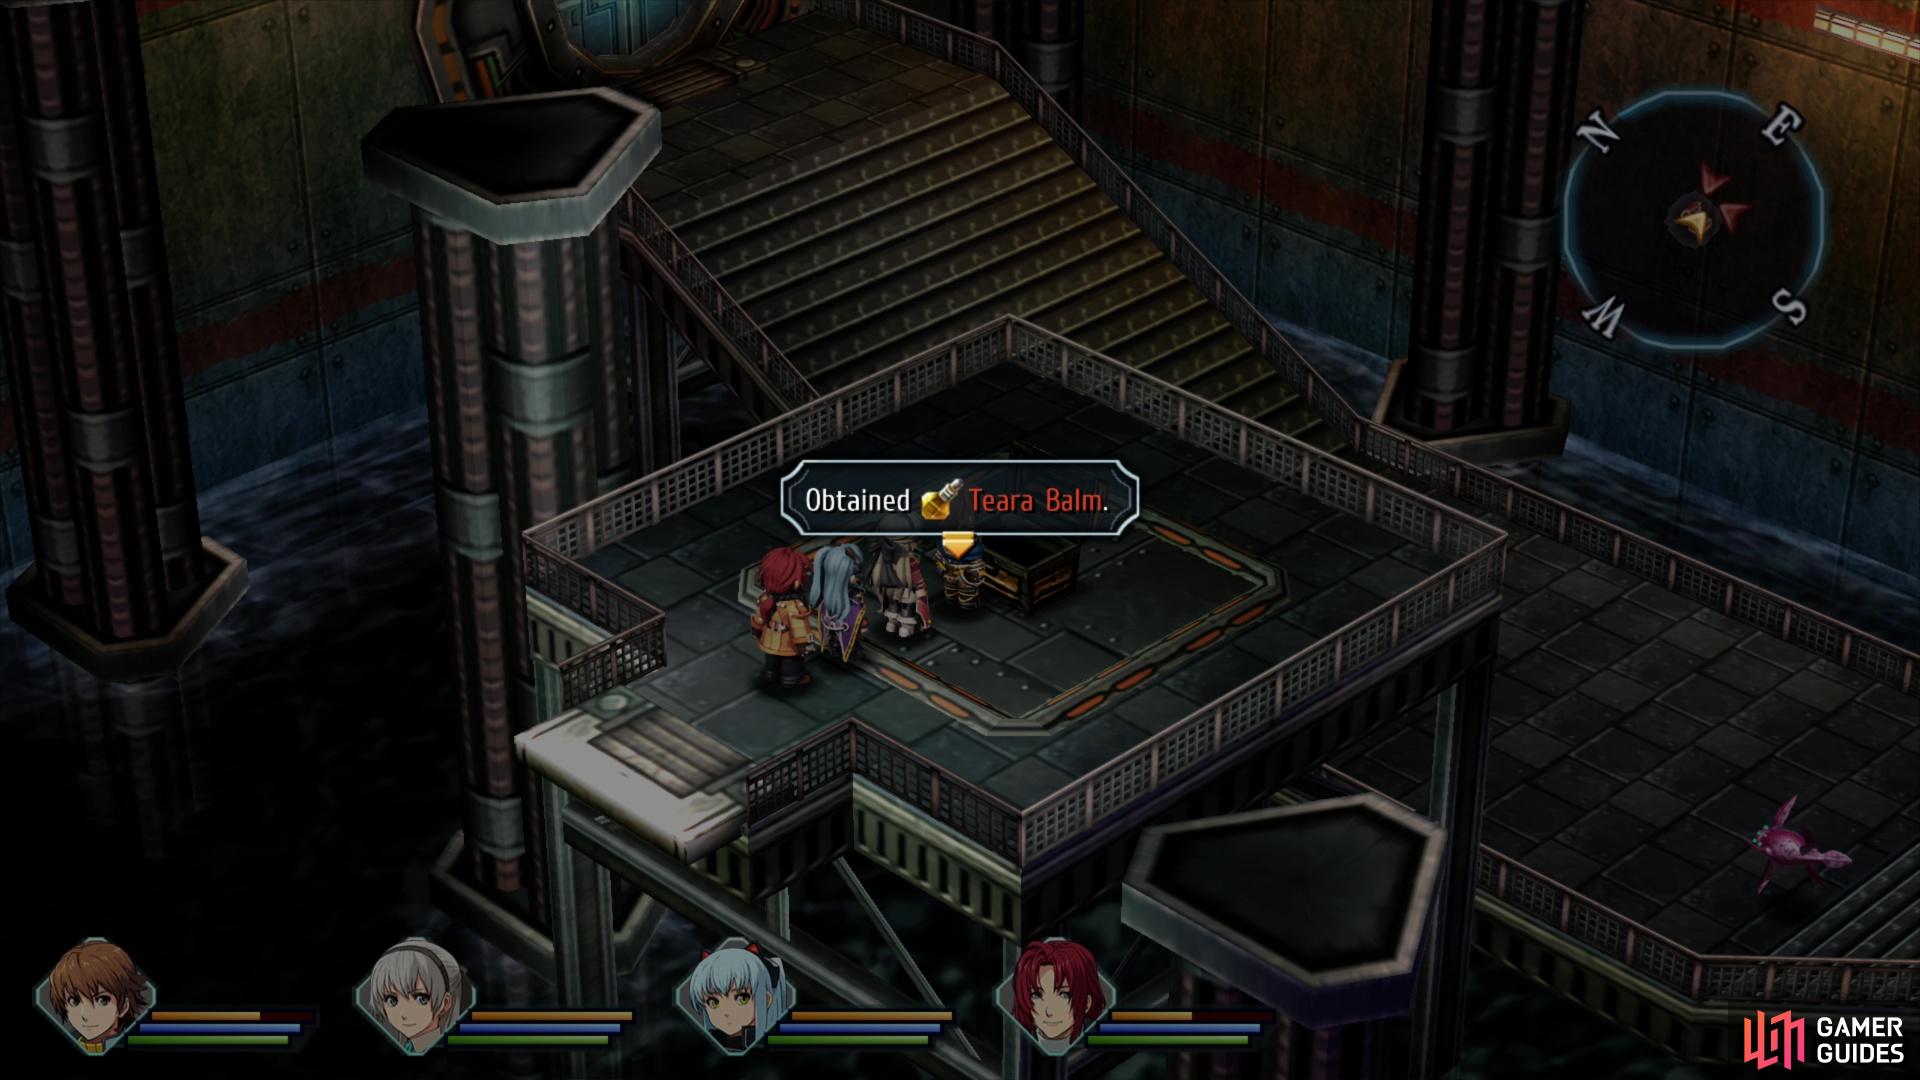
Take a detour to score some Teara Balm.
-
You’re on a platform overlooking a walkway below you. You can’t reach the walkway from here, so don’t fret over it and just loot the chest ahead of you to obtain some Teara Balm.
-
Backtrack to the T-shaped hallway to the west, then exit to the west.
-
Defeat the Torso B that guards this chamber, then exit to the south.
-
The path to the south is impassable due to a lowered platform, so go through the door to the east.


(1 of 3) Open a monster chest near the first valve,
-
Note the valve to the north, but ignore it for now and head down the stairs to the east. The way further east is currently impassable due to a lowered platform, so go down some stairs to the south to find a chest. This is a monster-filled chest, and when you open it you’ll need to defeat 4x Geenewna and 2x Blood Monads. Defeat them (Crash Bomb is useful, as always) and you’ll obtain a Soldier Suit.
-
Head back up the stairs and turn the valve, which will increase the water level in the area, allowing you to cross the platform to the east. Before you do that, however, backtrack west, exiting to the previous hallway.
-
Turn south, where the higher water level will allow you to cross another now-elevated platform, then exit to the south.
-
You’re now back in the elevator room. Exit to the east.


(1 of 4) Turn a valve to raise the water level,
-
Head east and cross another platform that has been elevated by the higher water level, which allows you to reach the formerly isolated chest. This is another monster chest, and if you open it you’ll need to kill 4x Jet Tortoises and 2x Blood Monads. If you do, you’ll obtain the EP Cut 2 Quartz.
-
Backtrack west to the elevator room.
-
Exit through the door to the north.
-
Cross the platform to the north and exit through the door to the east.
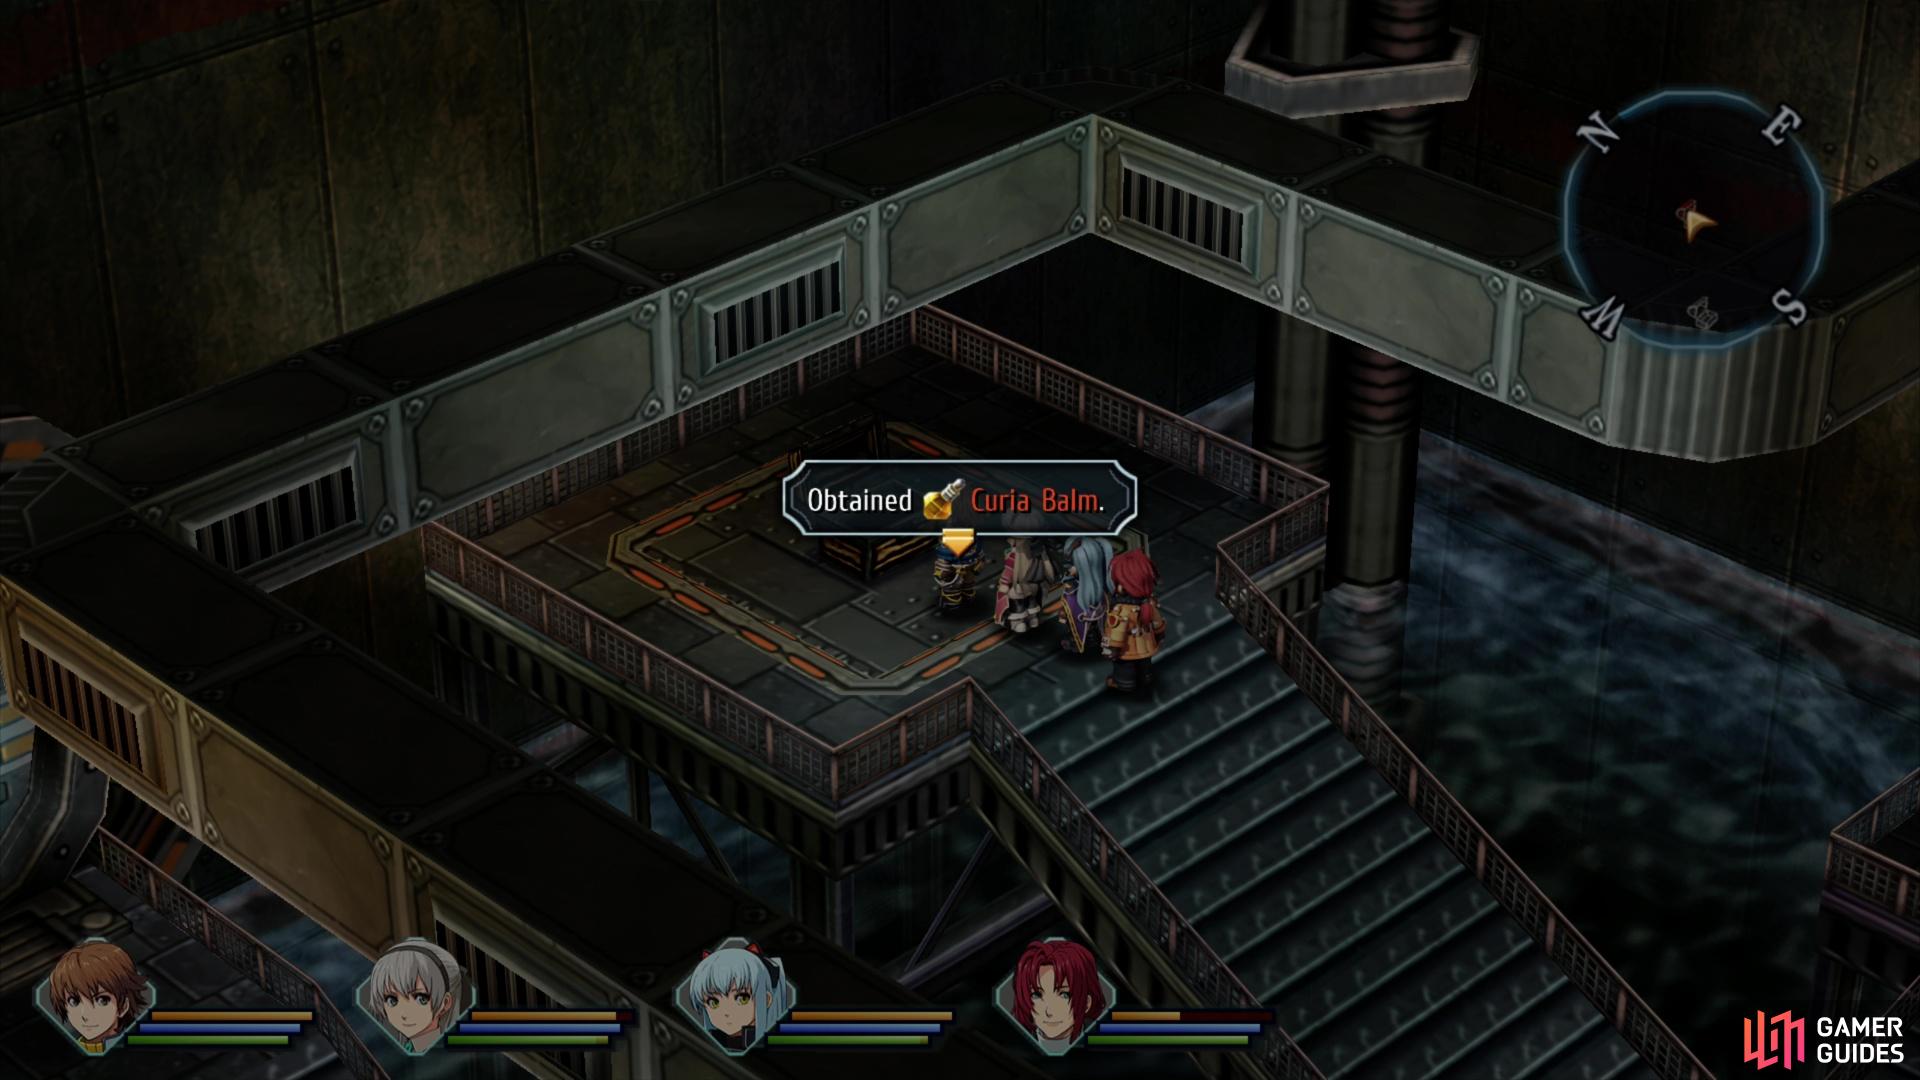
Pass over a platform raised by the water and plunder a chest to score some Curia Balm.
-
Back in the valve room, cross the platform to the east and defeat a Torso B, which is likely going to be obscured by ducts in the foreground. When you reach a fork, go upstairs to the north and loot a chest to obtain some Curia Balm. Exit to the east.
-
You’ll find yourself in a hallway. Kill or bypass a Jet Tortoise, then exit to the north.


(1 of 2) Turn a second valve to lower the water level,

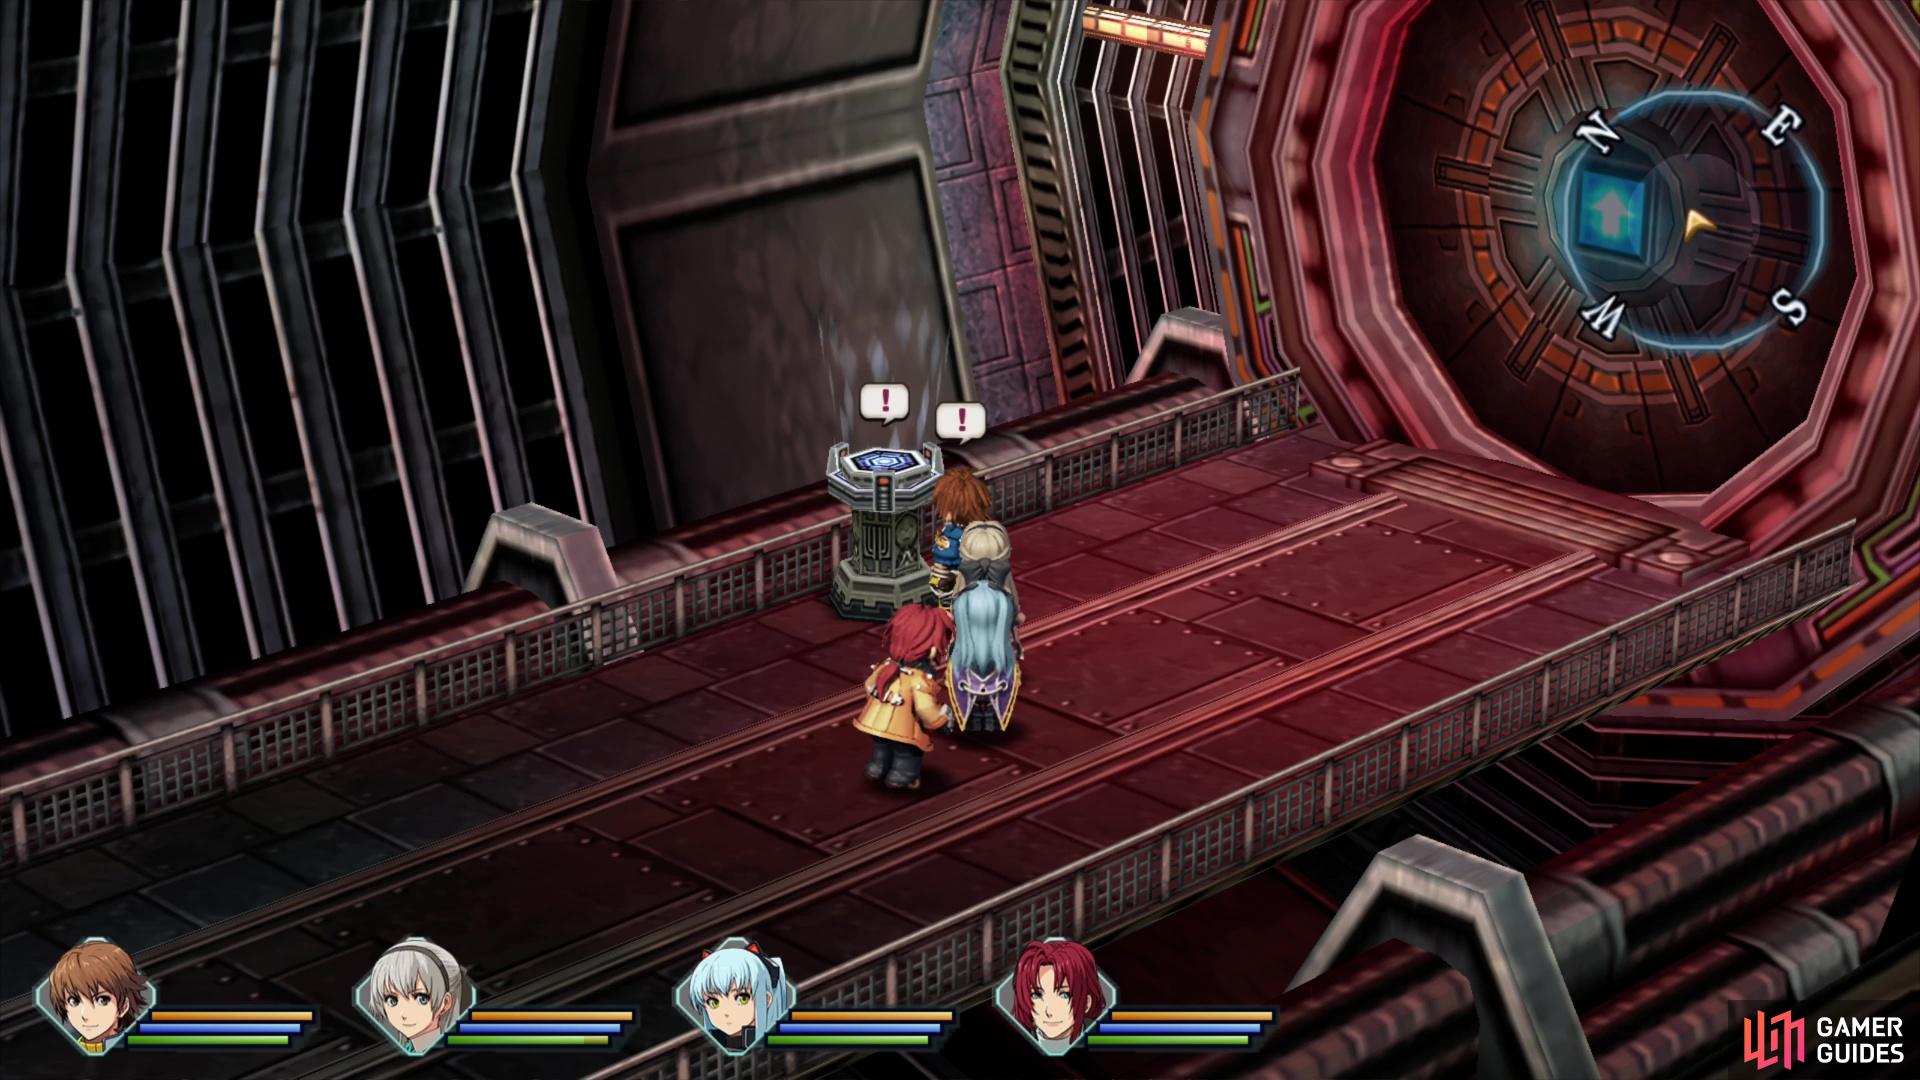
Turn a second valve to lower the water level, (left), then press on to reach an Orbment Charging Station. (right)
-
Turn a valve to drain the water, then cross the previously-flooded low area (fighting or avoiding a Blood Gonad and a Geenewna) and exit to the north.
-
Exit the small, empty chamber you find yourself in via the door to the east.
-
Head east down a hallway and use the Orbment Charging Station near the eastern end to recover your HP/SP. A boss fight awaits through the door to the east, so save your game and consider running through the previous areas to boost your CP, if necessary. When you’re ready, exit to the east.
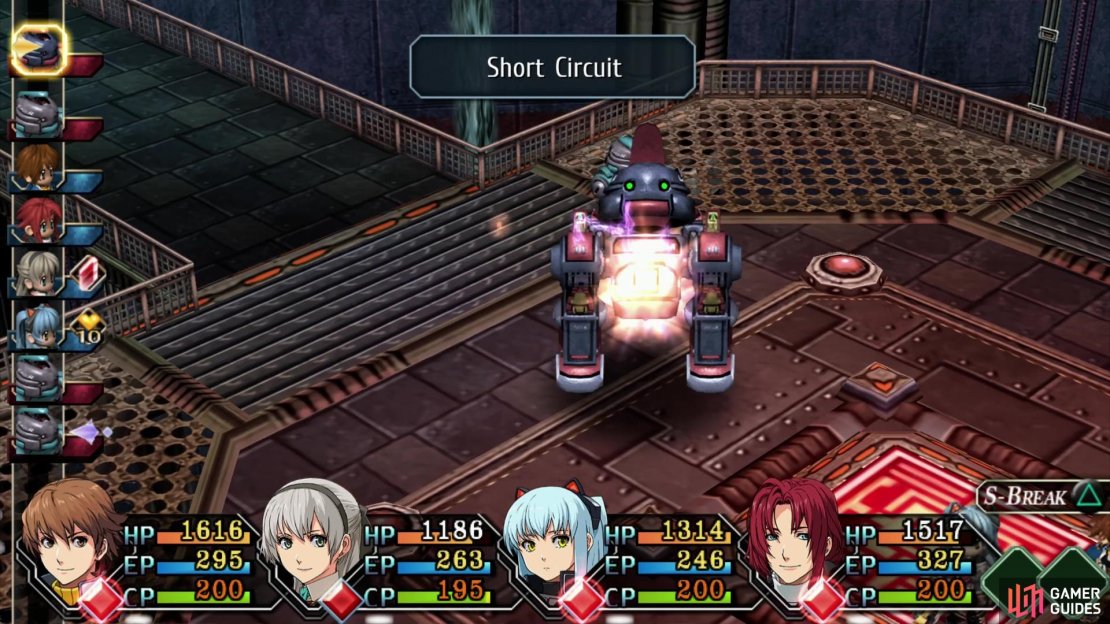


(1 of 4) You’ll start out in a bad situation, but the rickety robots are prone to malfunction.
Boss Battle - Torso Deluxe and Torso Bs
When you’re ready, go through the door to the east and head upstairs to reach a chamber, where you’ll be ambushed by a [Torso Deluxe] and 4x Torso B enemies. Bad news is, the enemy has the advantage, and will take their turns first. Good news, these fidgety robots are likely to suffer from “short circuit” malfunctions, wasting their turn and dealing damage to them. If they don’t malfunction they’ll use the attacks you’re used to - Vacuum Suction and Dust Shoot - the former of which can drag characters across the battlefield. Between the ambush, being surrounded by enemies and potentially having your party broken up by Vacuum Suction this can turn into a pretty hectic fight.
The Torso Deluxe is a bigger, badder version of the lesser robots, and while its attacks are more or less the same, they deal significantly more damage. Be sure to Analyze the Torso Deluxe to fill out its bestiary entry, then focus your attention on defeating the Torso Deluxe as quickly as possible. The other robots don’t hit hard enough to make them a real threat, and since they’re spread out you likely won’t be able to employ too many AoE attacks. Use S-Breaks and water magic to deal damage quickly (these robots are weak to all elements, but especially to water) and once the Torso Deluxe is defeated the rest of the battle is just a matter of mopping up the Torso Bs. Note that while all of the enemies have a wide variety of resistances to ailments, they are susceptible to Burn, with Randy’s S-Craft offering 100% chance to inflict it. Burn causes damage over time whenever the enemy takes their turn, with it doing upwards of 500-600 damage on the boss.
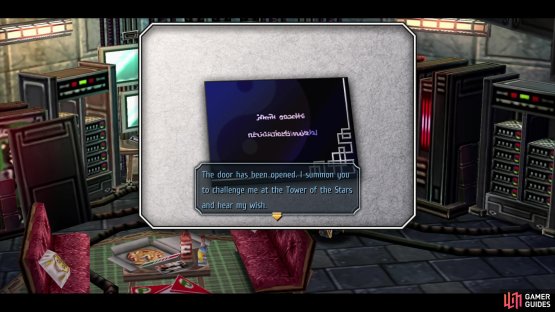
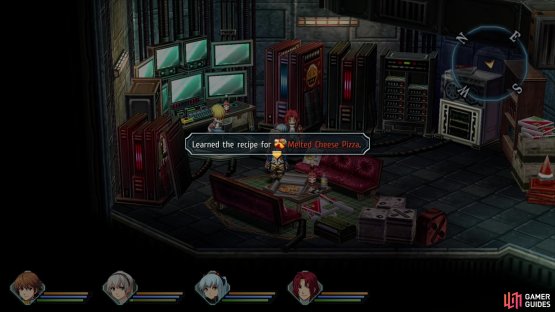
(1 of 2) Confront the hacker to get a lead on Yin’s location,


Confront the hacker to get a lead on Yin’s location, (left), then examine some leftover pizza to learn the Melted Cheese Pizza recipe. (right)
Confronting the Hacker
Defeat the robots, then go upstairs and exit to the east, then in the hallway beyond, go through the door to the north to find the hacker. After some chatter with the hacker you’ll obtain the Silver Card, which points you to your next destination, Stargazer’s Tower. After you’re done interrogating the hacker, investigate the pizza on the table to learn the Melted Cheese Pizza recipe, then exit the room. Go into a duct to the north and follow it to return to the entrance of the Geofront - B Sector. You’ll get some more chatter after you leave Geofront - B Sector, but before you head off to obey the summons of Yin, there are a few things you can do in Crossbell City.
First and most importantly, there’s a new secret request you can complete - Lost Wedding Ring. Be sure to do this before you head off for Stargazer’s Tower.
Second, there’s a fishing spot you can find in Geofront - B Sector. Just head back into Geofront - B Sector, take the duct back to Jona’s hideout and continue west to where you fought the Torso Deluxe and Torso Bs. Search the southwestern end of the platform, near the stairs, and you’ll find this fishing spot:
Fishing Spot: Geofront - B Sector
| Fish | Bait |
|---|---|
| Snow Crab | Earthworm |
| Eel | Earthworm |
| Queen Crab | Carp |
| Electric Eel | Carp |
Not a very lively fishing spot, only four fish here, and two of them you can find in abundance elsewhere. Sadly, the two new fish you can’t catch yet. Still, if you want to fill out your fishing log a bit, you can waste some Earthworms to catch the familiar Snow Crab and Eel.
With that, it’s time to deal with the Lost Wedding Ring request, and following that, head to Stargazer’s Tower.
No Comments