
This page covers the Chasing Kitty main Request on the second day of Chapter 3 in The Legend of Heroes: Trails from Zero. Details on how to find every treasure in the deeper reaches of the Geofront’s A sector.
Chasing Kitty is the final urgent request in Chapter 3 Day 2.
Once you leave the CPD following the completion of Exposing the Counterfeit Dealers you’ll get a call on your Enigmas from Jona, who requests the SSS’s assistance with a task. Head back to the HQ first to report the completion of the previous urgent request. Later in this Request, you’ll be left with just Lloyd and Tio, so consider making sure one of them have access to the Detection and Heaven’s Eye Quartz.
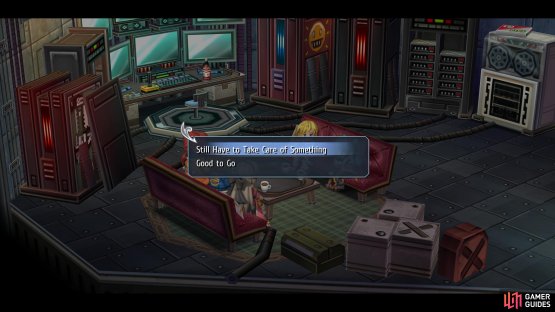
Once you’re ready to continue, return to the Residential District to access the Geofront and use the vent shortcut to Jona’s room. During the scenes, select “Good to go” to get the quest underway and have Elie and Randy leave the party.
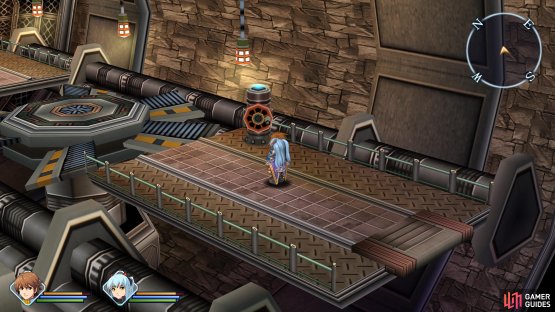
(1 of 2) Use the vent shortcut to reach Jona’s room

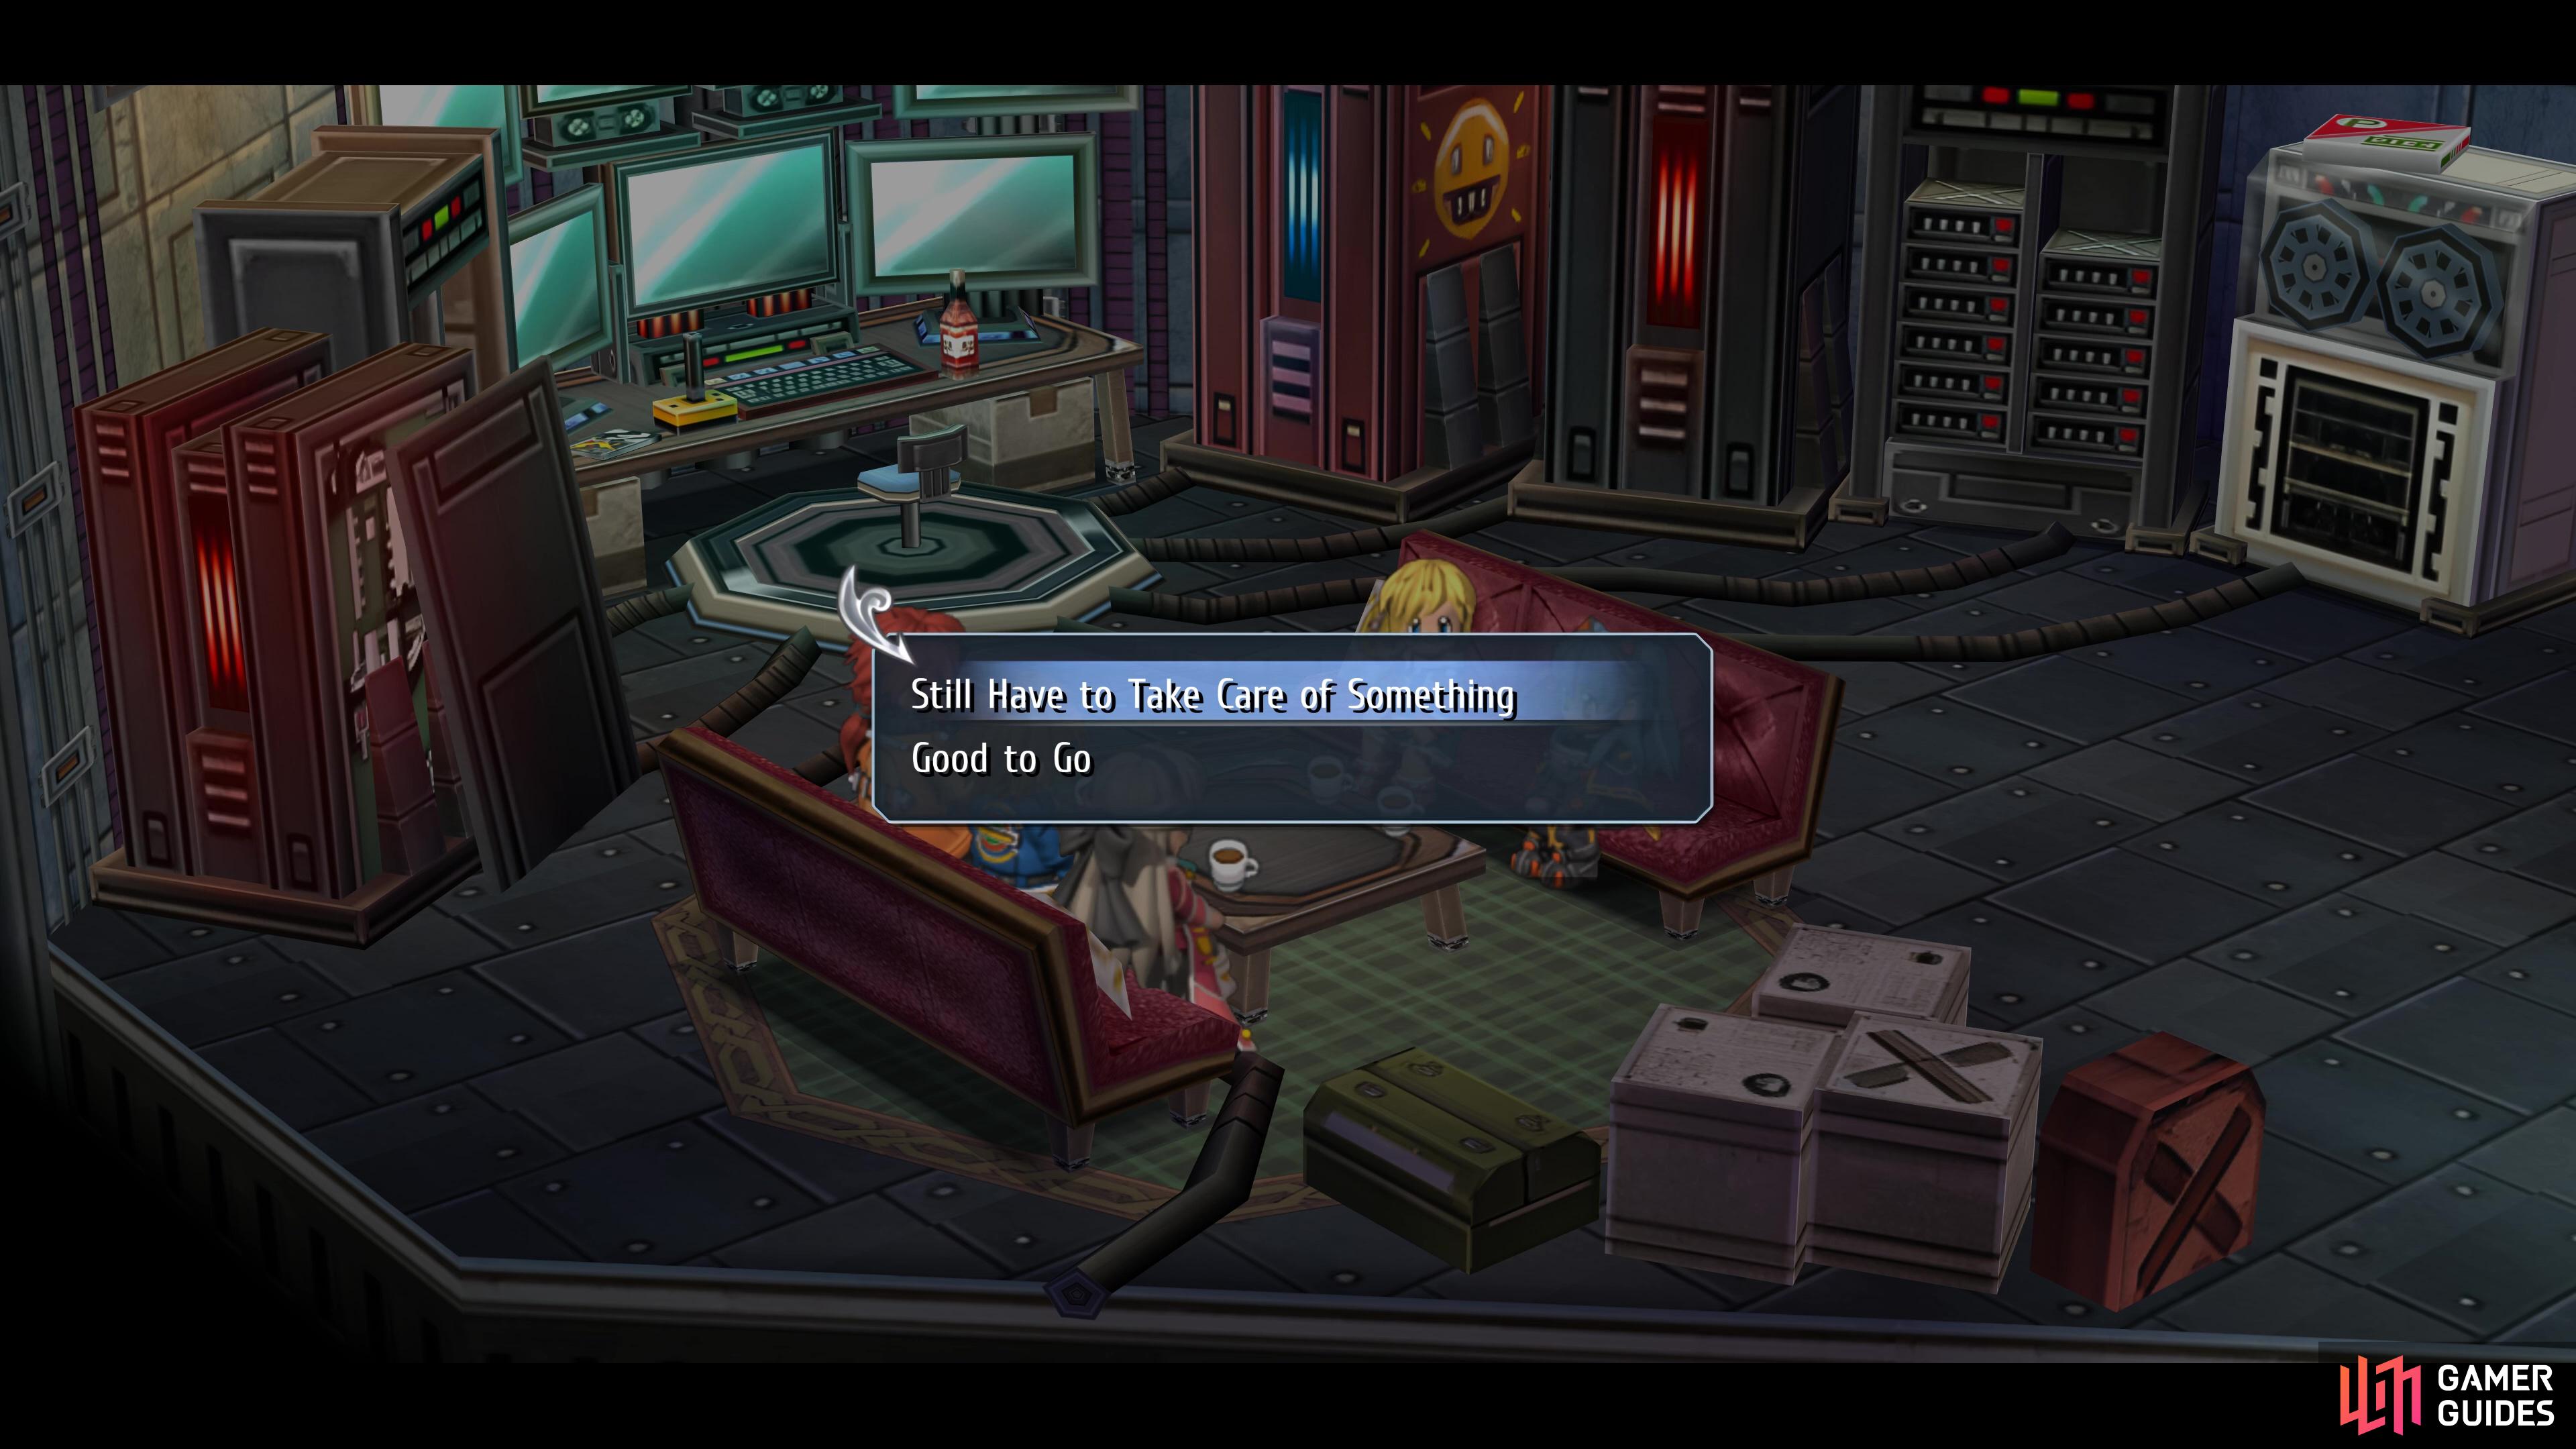
Use the vent shortcut to reach Jona’s room (left), then select good to go to get the operation underway. (right)
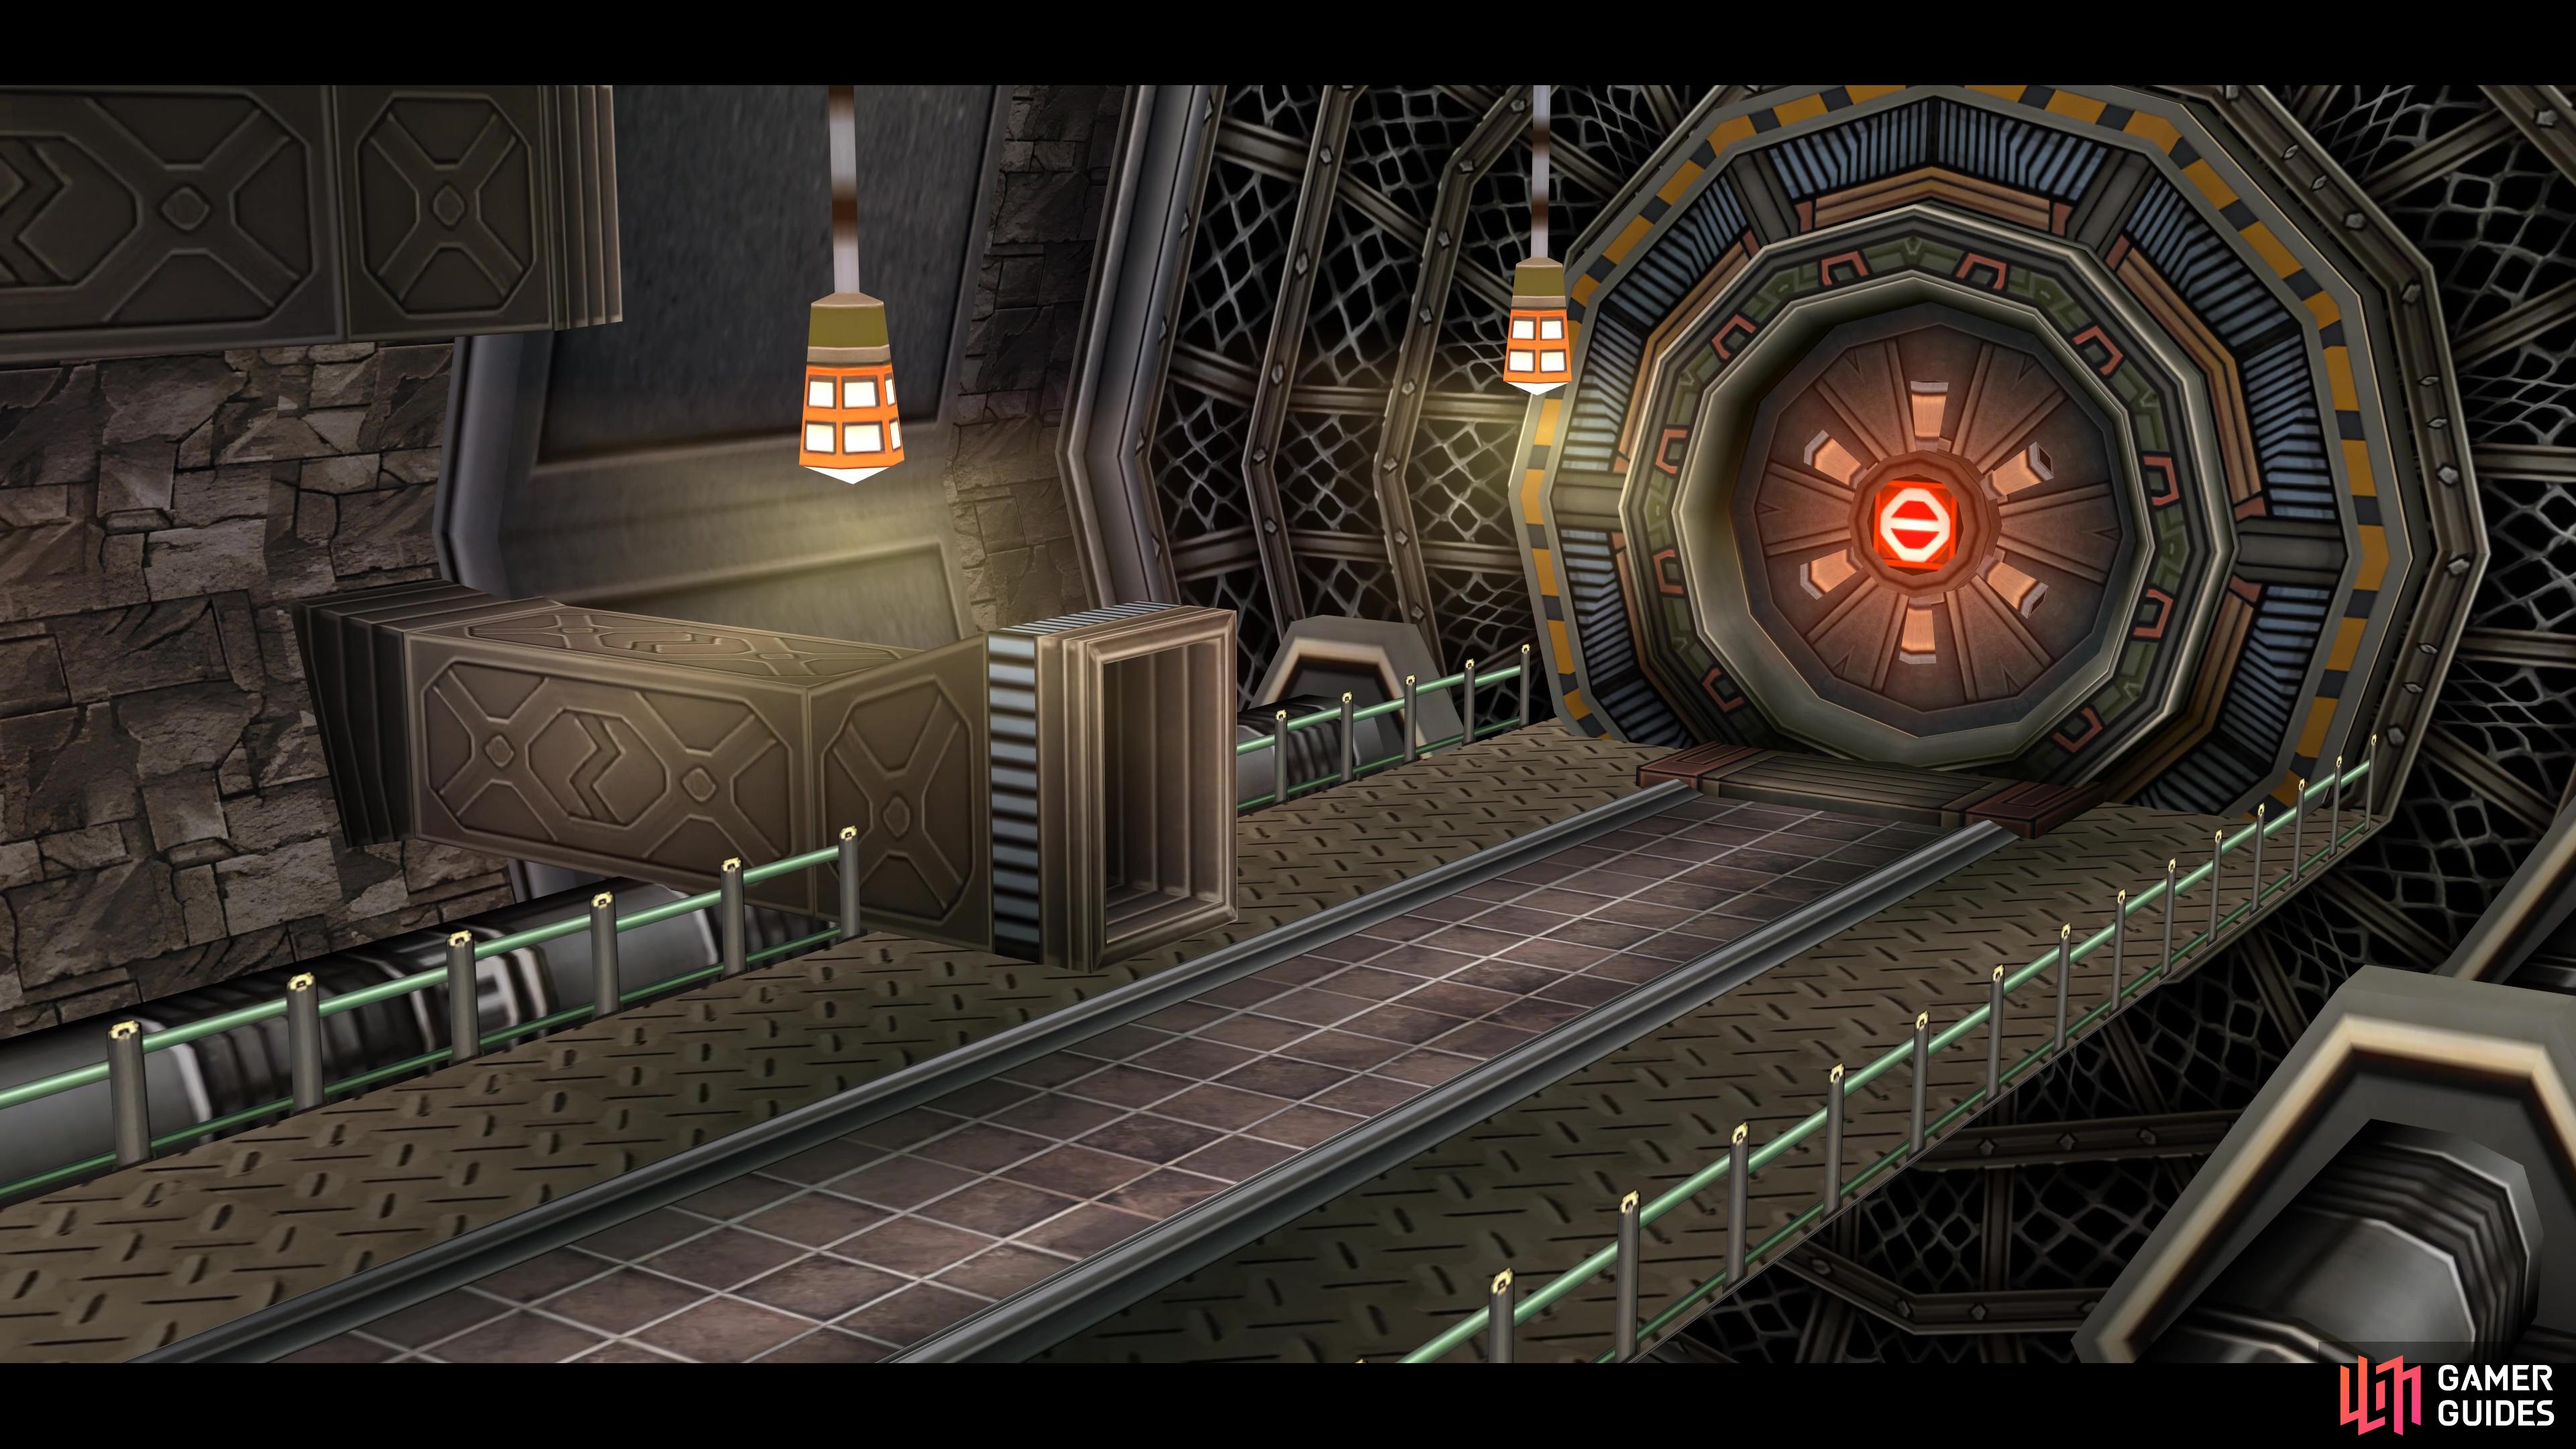
Exploring the Geofront A Sector
| Enemy | Lv | Elemental Effectiveness | Drops |
|---|---|---|---|
| Dart Gnaw | 22 | Beast Flesh, Relaxant | |
| Geralm Rat | 22 | Chitinous Shell, Brilliant Carrot | |
| Dark Colloid | 22 | Clear Gelatin, Eye Drops | |
| Parasite Prima | 22 | Savory Pinion, Earthworm |
| Items | Notes |
|---|---|
| Curia Balm | Cures Ailments |
| Marble Ring | Prevents Mute |
| Gentle Coat | DEF+54 ADF+27 |
| Teara Balm | Restores 2000 HP |
| Stride Heels | DEF+25 MOV+3 |
| Move 3 | MOV+3 |
Once you regain control, you’ll find yourself at the entrance of the Geofront’s A Sector. Before you continue on, leave the Geofront and return to Central Square. Go inside to the Vingt-Sept Cafe and head up the stairs, you’ll find Chief Roberts to the far left of the room who will hand over the easy to miss Back Alley Doctor Glenn - Ch.7.
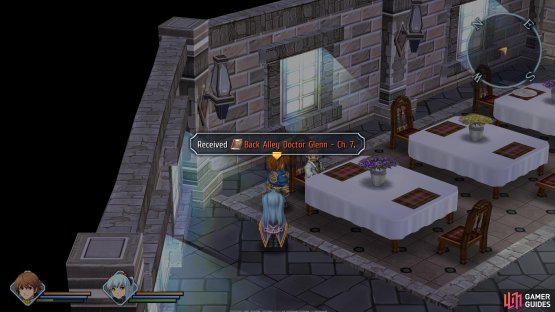
(1 of 2) Leave the Geofront and head to the cafe on Central Square to get this missable Back Alley Chapter


Leave the Geofront and head to the cafe on Central Square to get this missable Back Alley Chapter (left), you’ll learn a Combo Craft for Tio and Lloyd once you enter the depths of the A sector. (right)
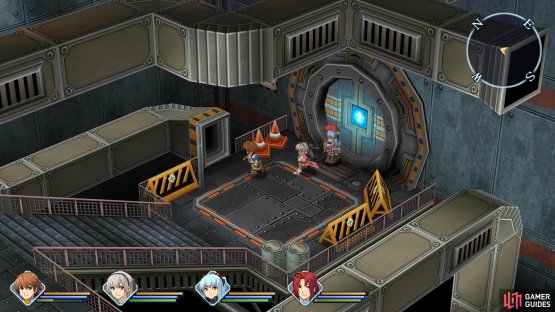
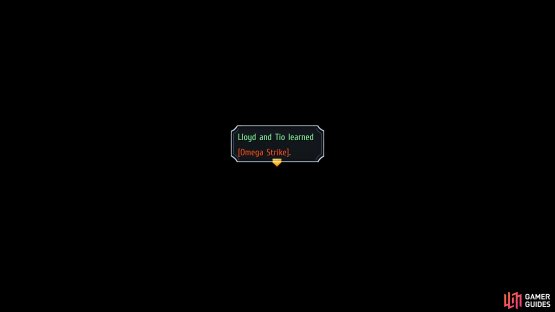
Once you have this in your possession, return to Station Street and the Geofront’s A Sector. Once you’re back at the Recharge Station, head east through the door and use the elevator. Go north at the intersection and find another elevator, examine it to have Tio get it operational and then ride it down. Once you exit through the door here, you’ll trigger a scene and unlock Lloyd and Tio’s Combo Craft, Omega Strike.
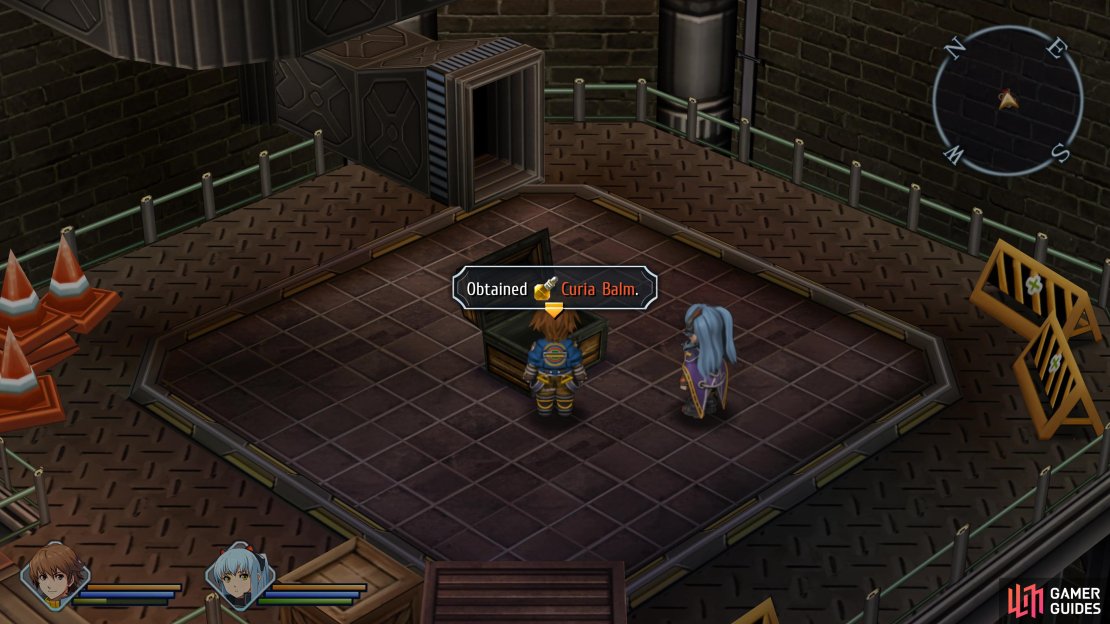
Once you’re ready to continue, access the nearby vent and then at the first intersection, head east and follow the vent to a chest containing a Curia Balm. Return to the previous intersection and go north this time, following it all the way to the end to another chest, this one housing a Marble Ring which protects the user from the Mute status ailment.
Leave this room via the southern door and follow the path until you end in a large room. There’s not much you can do here but take the vent to the north and follow it through until you end up at the bottom of this large room. Exit through the southern door to find a chest containing a Gentle Coat for Lloyd, which you should already have purchased at the start of Chapter 3.


(1 of 3) Taking the southern exit from the vent will lead you to a Curia Balm
Return to the previous room and take the vent on the left and follow it through to the end to find yourself back at the top of the large room. Head onto the top of the vent to your right and follow it around to the other side of the room where you can turn a valve to erect a platform that will allow you to gain access to the eastern door. Head through and follow the path to the end, taking the elevator deeper into the A section.
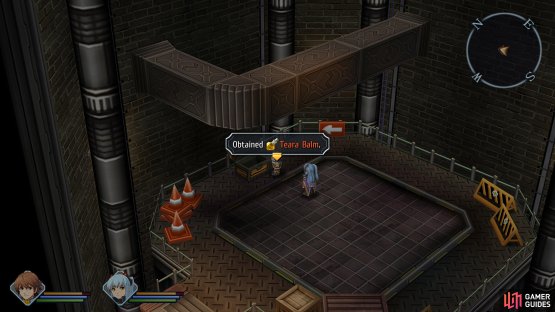
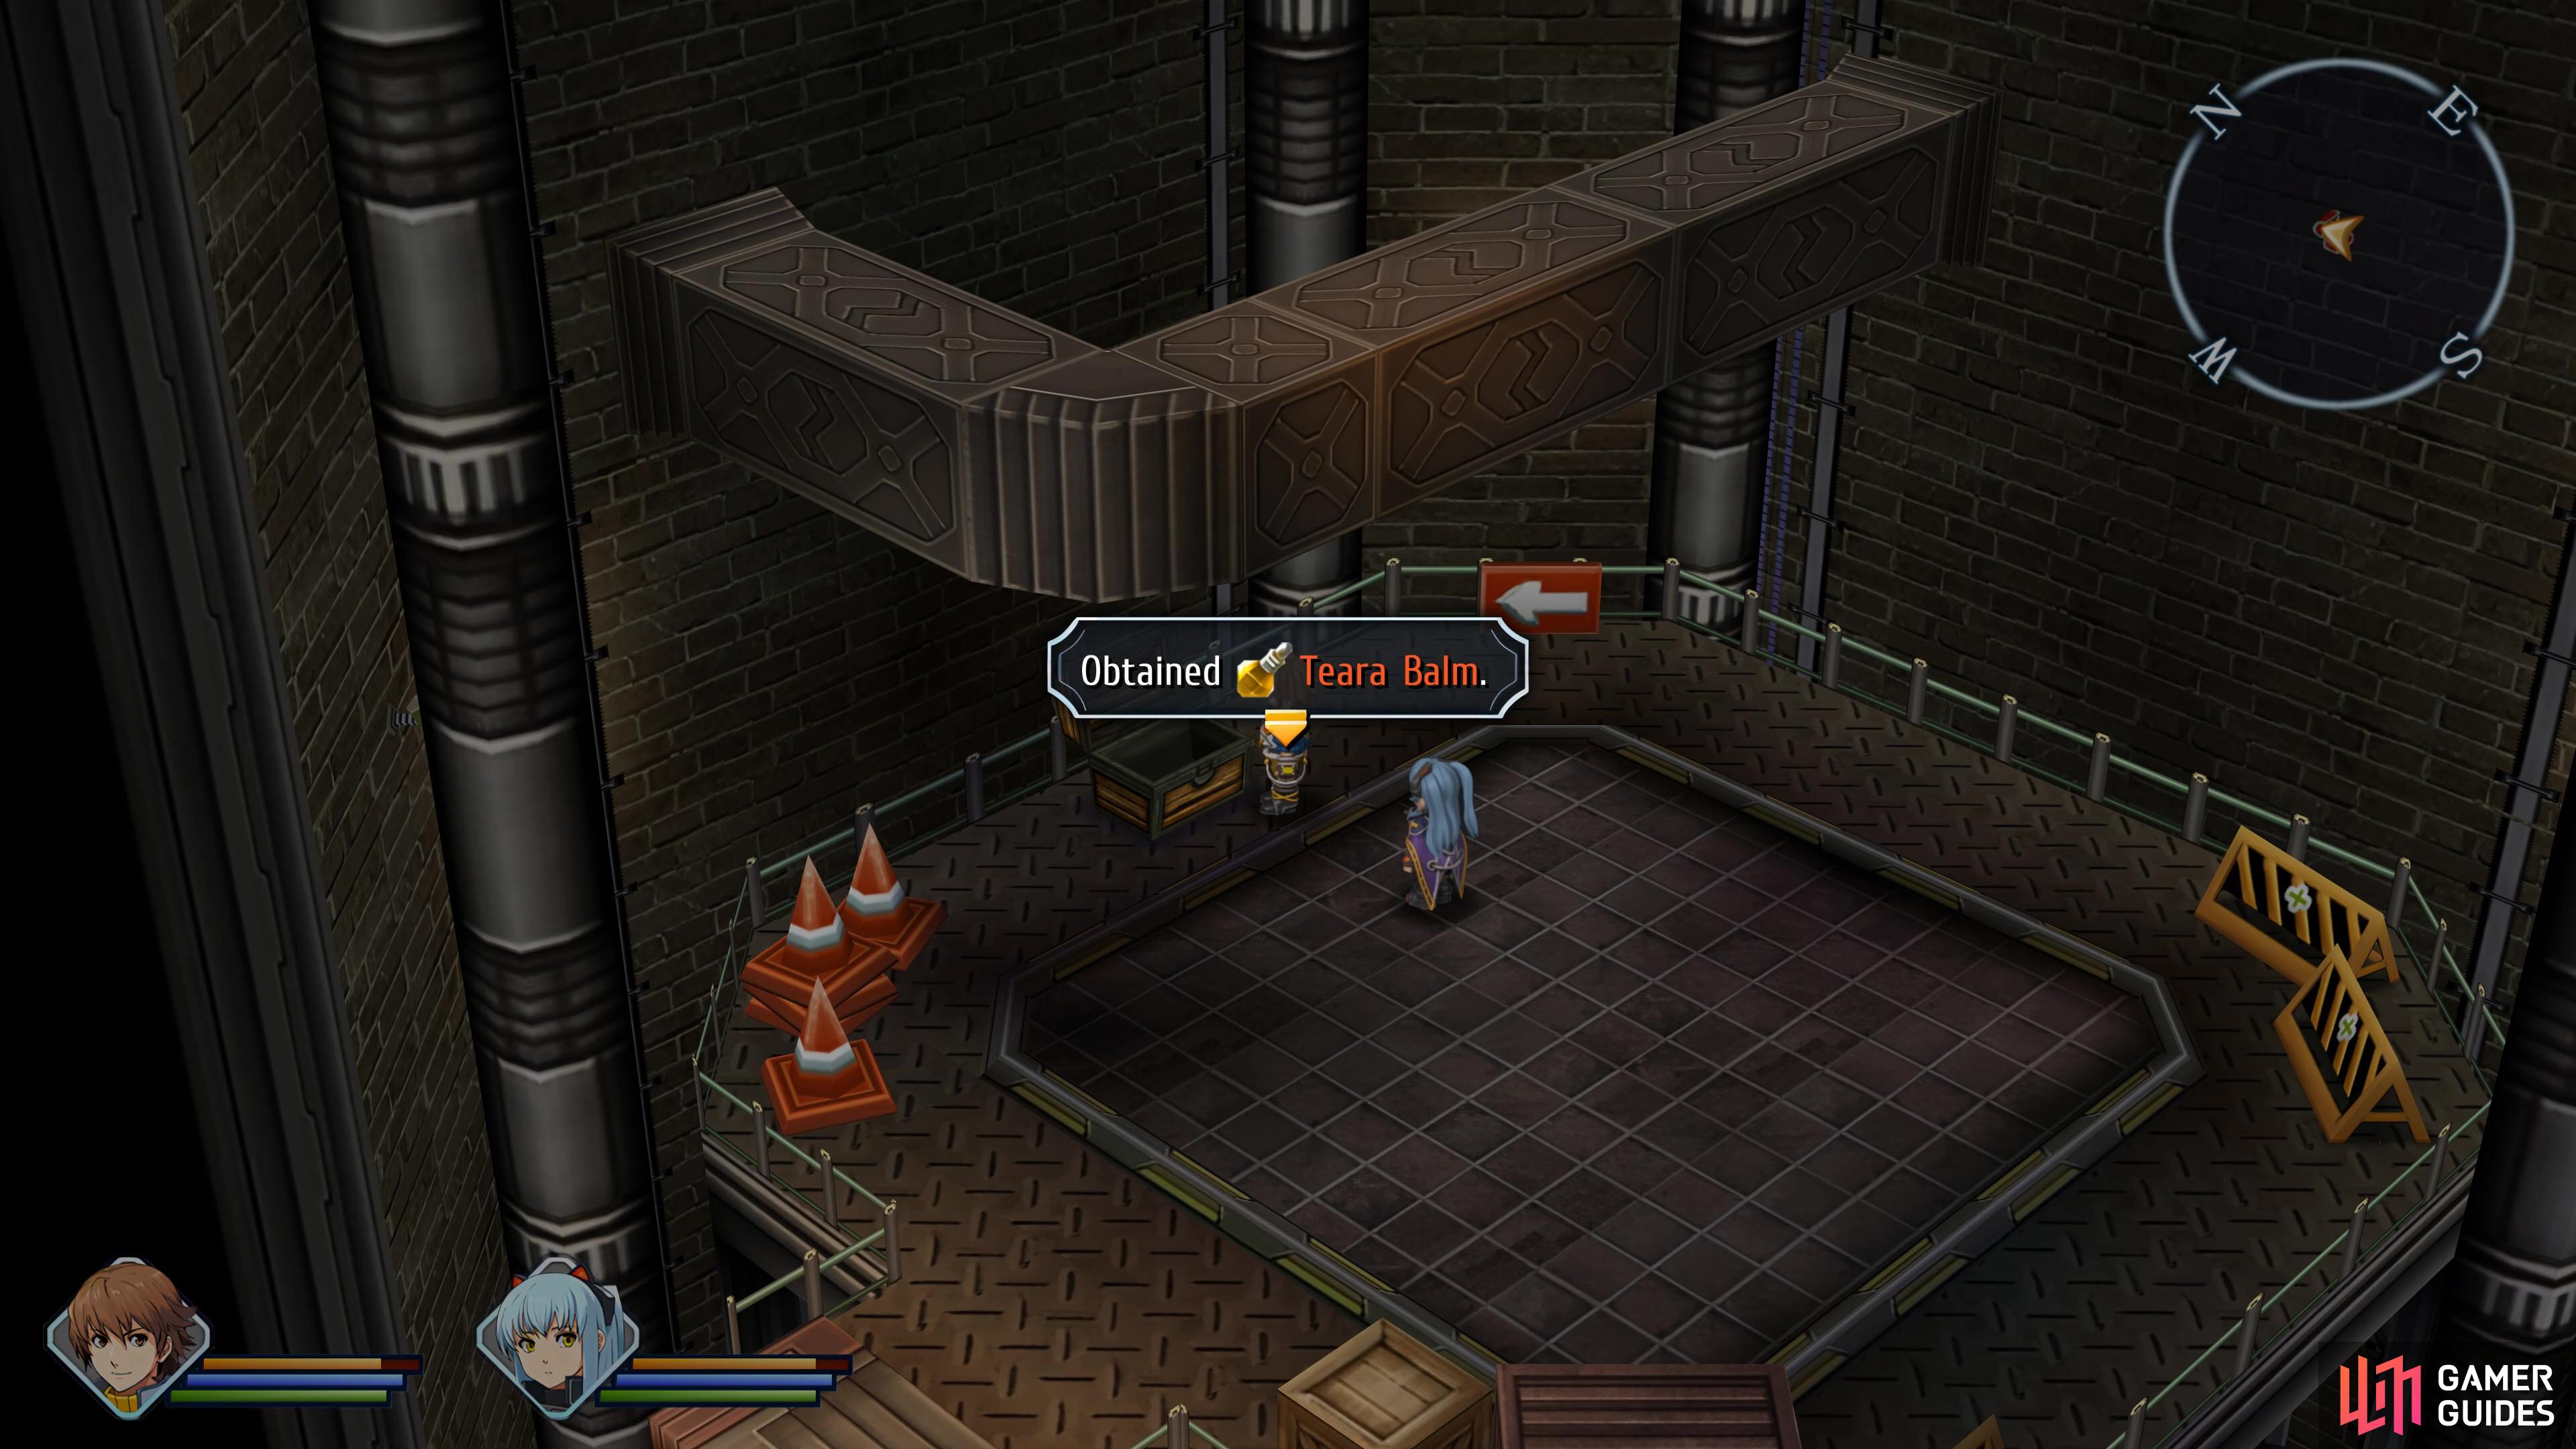
Opt for the eastern door here, defeat the monster and then open the chest to obtain a Teara Balm. Pocket it and return to the other room, taking the other exit out of the elevator room. Lloyd and Tio will remark about the large spinning fans here, noting that you’ll need to switch these off as you continue to explore the A sector. Start by using the nearby valve here to stop this fan and then head through the door to another large room with multiple fans.
(1 of 2) Take the eastern door to find a Teara Balm

Take the eastern door to find a Teara Balm (left), you will then learn about using valves to stop the fans and creating bridges for yourself. (right)
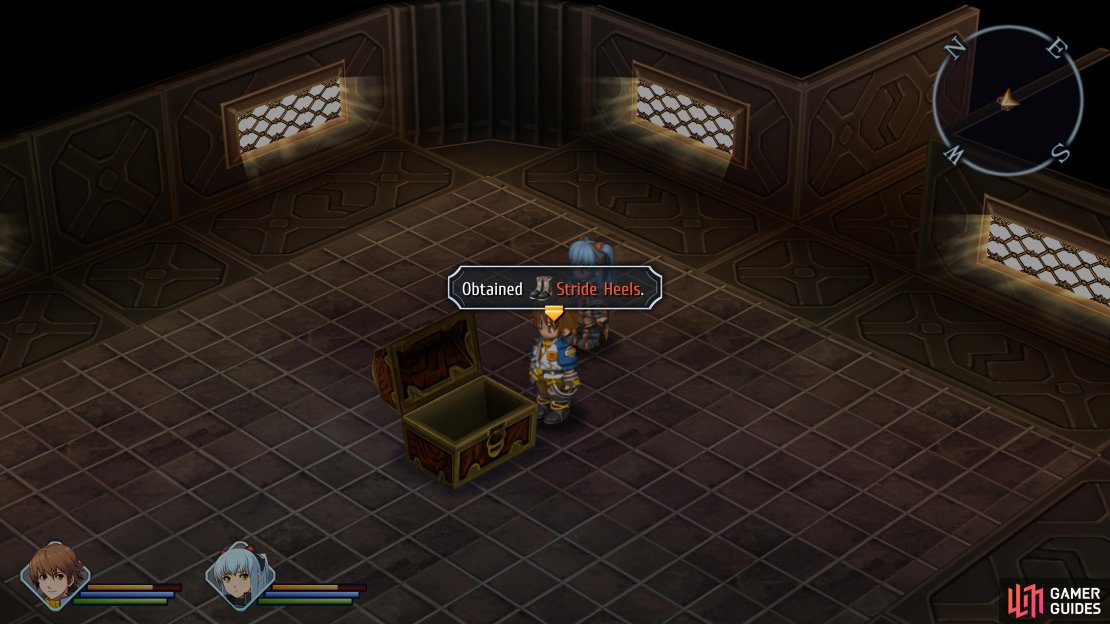
Exit out to the western room and follow the path to another fan that you can’t cross yet. Use the nearby vent and you’ll reach the center platform with the valve, turn it to stop both fans and then exit via the northern door to find another vent you should take. As you follow this path, you’ll come across a chest containing some Stride Heels for Tio, more armor that you should have already been using since the start of Chapter 3.
Continue to follow the vent across a bridge and into another and you’ll eventually end up at a valve. Turn the fan off and then exit via the southern door, following the path back to the large fan room. Access the nearby vent and follow it to an intersection, opting for the southern exit. You’ll find yourself at a monster chest, open it and defeat the group of six Geralm Rats (use Tio’s S-Break if it’s available) and you’ll obtain a Move 3 Quartz, the final treasure in this sector of the Geofront.


(1 of 3) You can’t miss this chest with the Stride Heels in it
Return to the intersection in the previous vent and go north this time and follow it to the end to reach a valve in the large fan room. Activate it and use the stationary fan to reach the northern door which will lead to a corridor with a Recharge Station. Recover your HP and EP and then ensure Tio has access to the highest level of Water Arts you can. Once you’re ready, step through the door and head forward to trigger a boss.
Boss Battle - Megalo Queen
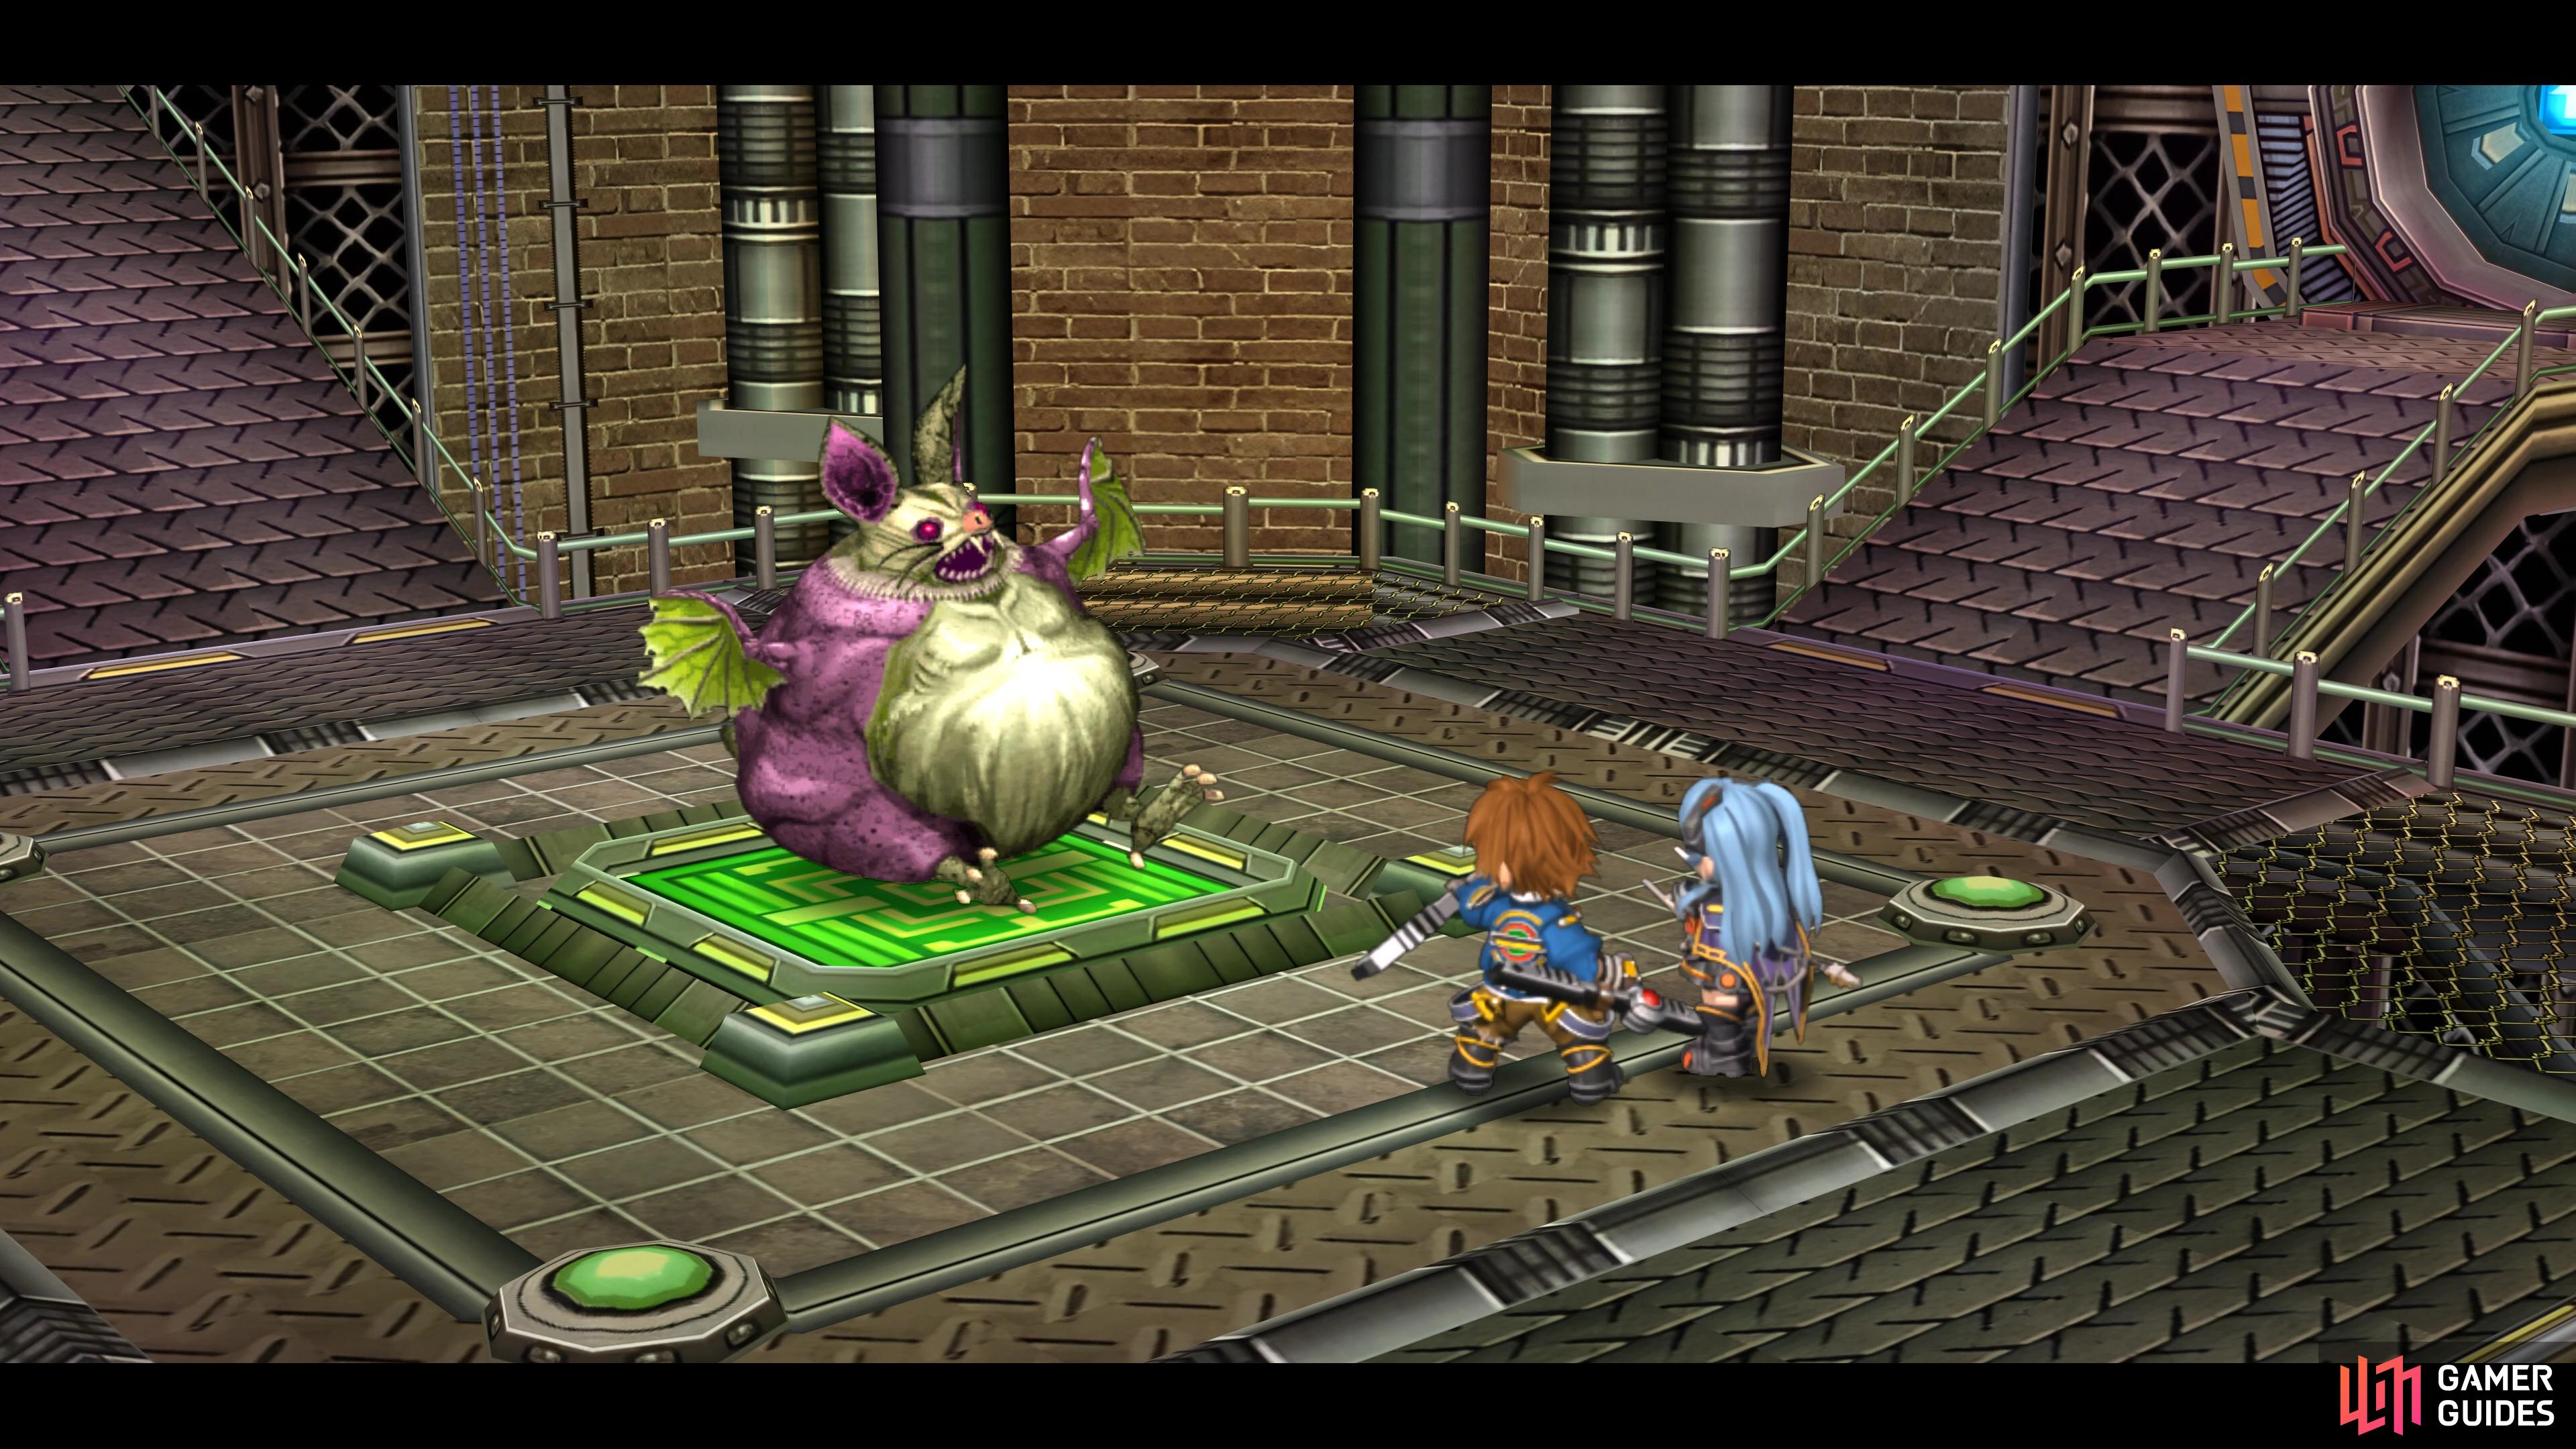
The Megalo Queen is the boss at the end of this sector.
| Enemy | Lv | Elemental Effectiveness | Drops |
|---|---|---|---|
| Megalo Queen | 23 | Prankster | |
| Megalo Bat | 22 | U-Material |
Before you do anything, make sure you scan the Megalo Queen and you’ll also want to make sure that you don’t kill her quick enough before she can use Call Allies. This will summon a Megalo Bat to the battlefield, which is a new entry, so be sure to scan that one too.
With that out of the way, the Megalo Queen is similar to the Megalo Bat (that she summons here) that you fought a long time ago. You may only have Lloyd and Tio, but you can deal a lot of damage to both bats so long as you have access to the Water Arts mentioned above. The Megalo Bat will use the same Chomp and Fat Press attacks from before, with Fat Press being an AoE attack that can do some decent damage. The Megalo Queen, however, will use Ominous Glint which has the chance to inflict Sleep on its target.
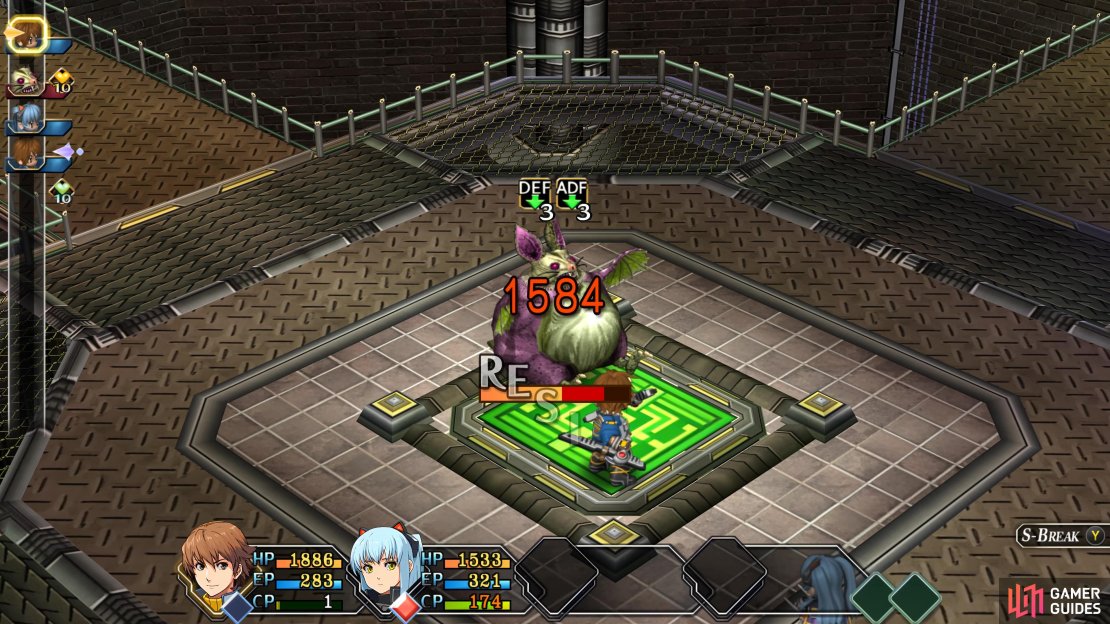


(1 of 4) Use Lloyd’s S-Break after using Analyze with Tio
It’s a good idea to have Tio scan the Megalo Queen with Analyze, this will inflict Def and ADF down on her and then you can use Lloyd’s S-Break to put a heavy dent into her HP. At this point, Tio should keep back and sling Water Arts at her, Diamond Dust will hit for around 1500+ HP and often strike the other bat at the same time. This will pretty much all but kill the Megalo Queen so you can follow it up with a quicker Water Art or a few strikes from Lloyd. Once the Megalo Queen goes down, so will any Megalo Bats on the battlefield.
Your reward for beating the Megalo Queen (and a Megalo Bat) is the Prankster Quartz and a U-Material. Go back and use the Recharge Station should you need it and then head through the eastern door to find the Terminal you were searching for. Plenty of scenes will take place and once you regain control, leave the room and exit via the northern door.
This will take you back up and then ignore the next elevator (which will take you back down) and take the western door to return to the entrance of this sector. Once you exit the Geofront altogether, you’ll trigger a series of scenes. Eventually, you’ll find yourself back at the SSS HQ examining the memory Quartz that Jona handed to you. You’ll need to select every option here and there’s a lot of to take in as you learn a lot more about Revache and the Crossbell underworld. Scenes will continue as this day comes to a close and another busy festival day begins.
No Comments