
Walkthrough for the Ursula Road in Chapter 1, during the main quest “Monster Damage Investigation” in The Legend of Heroes: Trails from Zero, including basic information about the monsters encountered in the area, and the treasures and fishing spots you can find as you explore.
You won’t be getting any help from Crossbell’s public transportation system on Ursula Road, either, but this time the absence bears investigation.
Exploring the Ursula Road
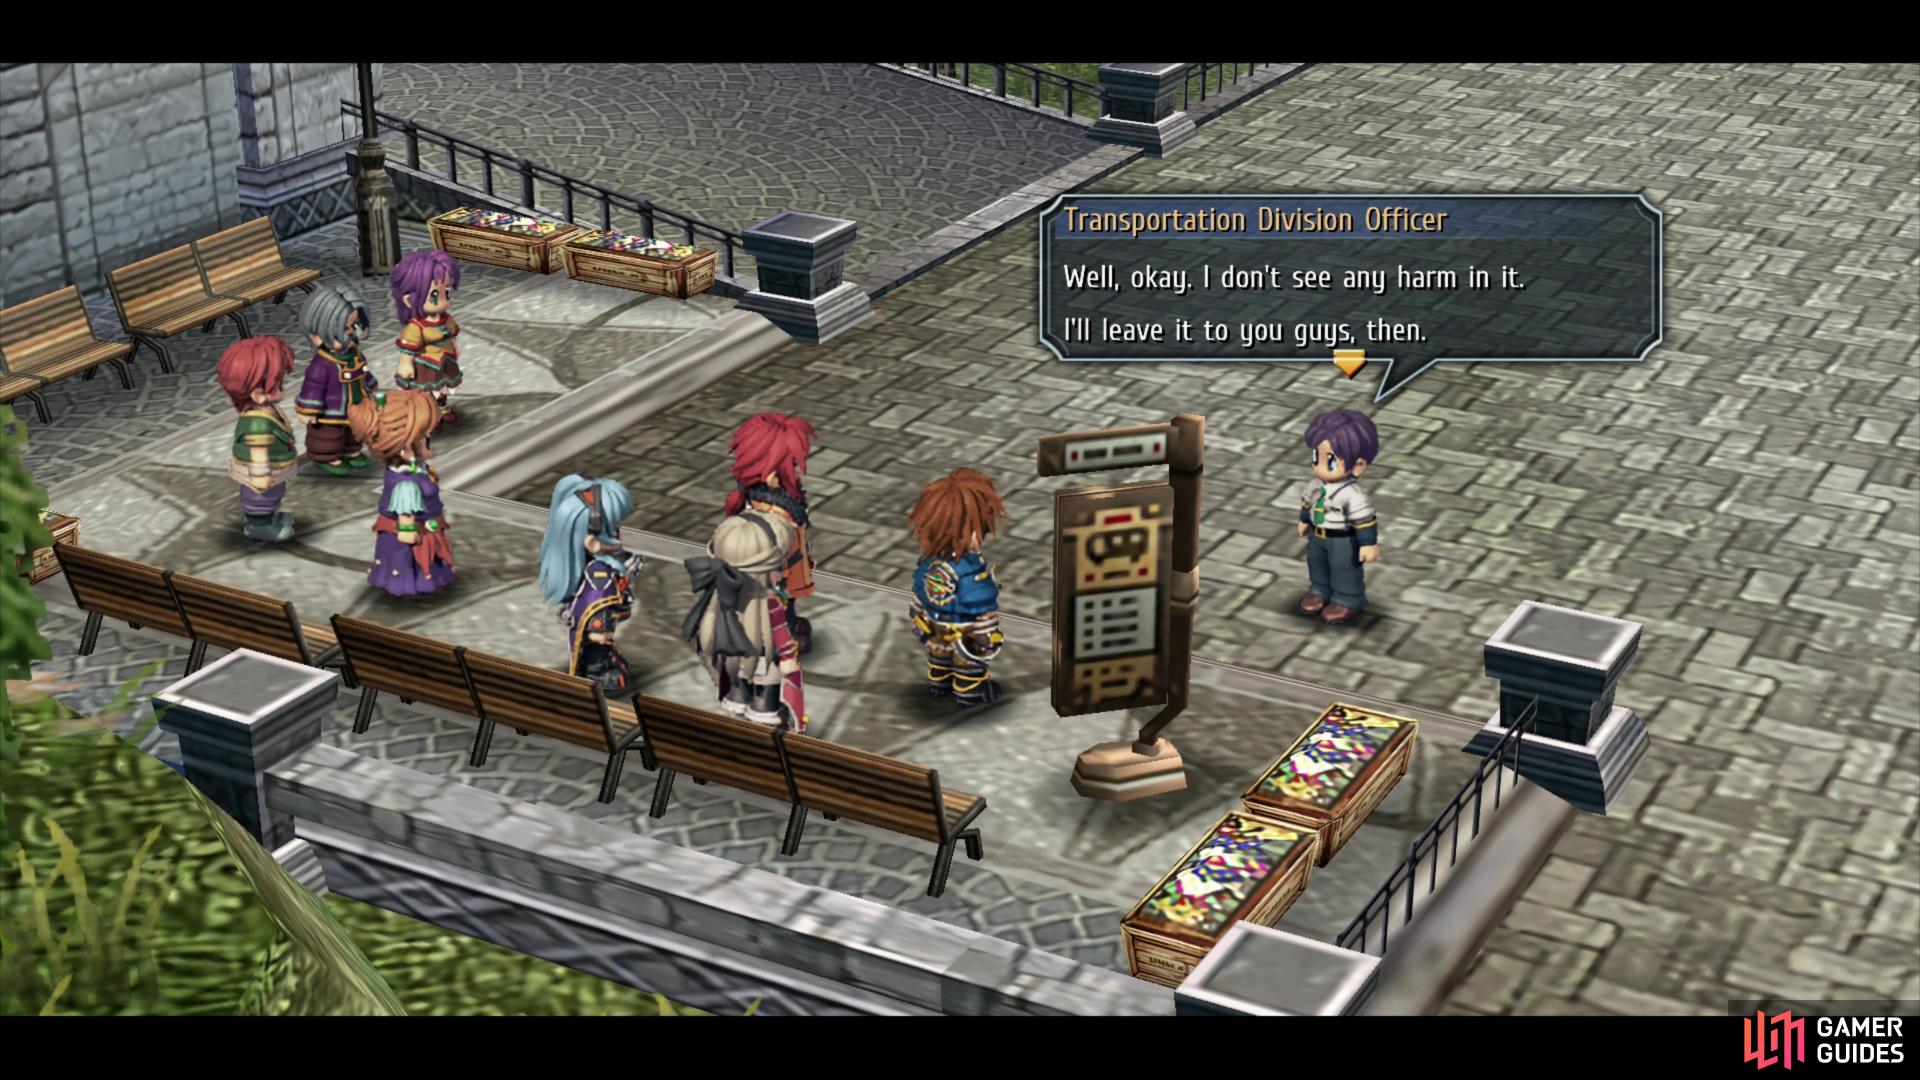
After concluding your investigation in Armorica Village, you’ll return to Crossbell where you can take care of various bits of new business, including the request Search for the Kitten’s Owner. Once you’re done you’ll need to leave the city via the exit to Ursula Road in the Station Street area. Unfortunately the bus is late, so you won’t be skipping this area. In fact, the tardiness presents an opportunity, which Lloyd jumps on - not only are you making your way over the Ursula Road on foot, but you’re also looking for some wayward public transportation.
Like the East Crossbell Highway and Old Armorica Road, Ursula Road is yet another overworld field dungeon, a long stretch of road swarming with monsters, with the odd side area that often hides treasure chests and the odd fishing spot. This particular field dungeon is a good bit larger than the previous two, with four screens housing more monster variants than found in the East Crossbell Highway and the Old Armoric Road - there’s even a boss battle for good measure!
Still plenty left to do during Chapter 1, Day 1, so let’s get to it.
| Enemy | Lv | Elemental Effectiveness | Drops |
|---|---|---|---|
| Racohm | 12 | Relaxant, Dumplings | |
| Long-Eared Monkey | 12 | Beast Flesh, Brilliant Carrot | |
| Kesalan | 12 | Red Pepper, Red Flies | |
| Deathcargot | 12 | Chitinous Shell, Earthworm | |
| Gordian | 13 | U-Material | |
| Tropical Archer | 12 | Tender Whitefish, Roe | |
| Mossimon | 12 | Prickly Seed, Fresh Herb | |
| Backlash | 12 | Fish Fillet, Roe | |
| Ocean Drome | 12 | Kibbled Salt, Earthworm | |
| Fire Beetle | 13 | Brilliant Carrot, Cooling Spray | |
| Spineedler | 13 | Crying Onion, Milled Flour | |
| Butterflier | 13 | Softening Ointment, White Rice | |
| Goldflier | 13 | Honey Syrup, Sedative | |
| Calamiflier | 13 | Red Pepper, Mint Drop | |
| Shining Pom | 11 | U-Material |
| Items | Notes |
|---|---|
| EP Charge | Second area |
| Coral Ring | Second area |
| Rune Cloth | Third area |
| Reviving Balm | Third area |
| Impede 1 (Quartz) | Third area |
| Tinkle Eearrings | Fourth area |
| EP Charge | Fourth area |
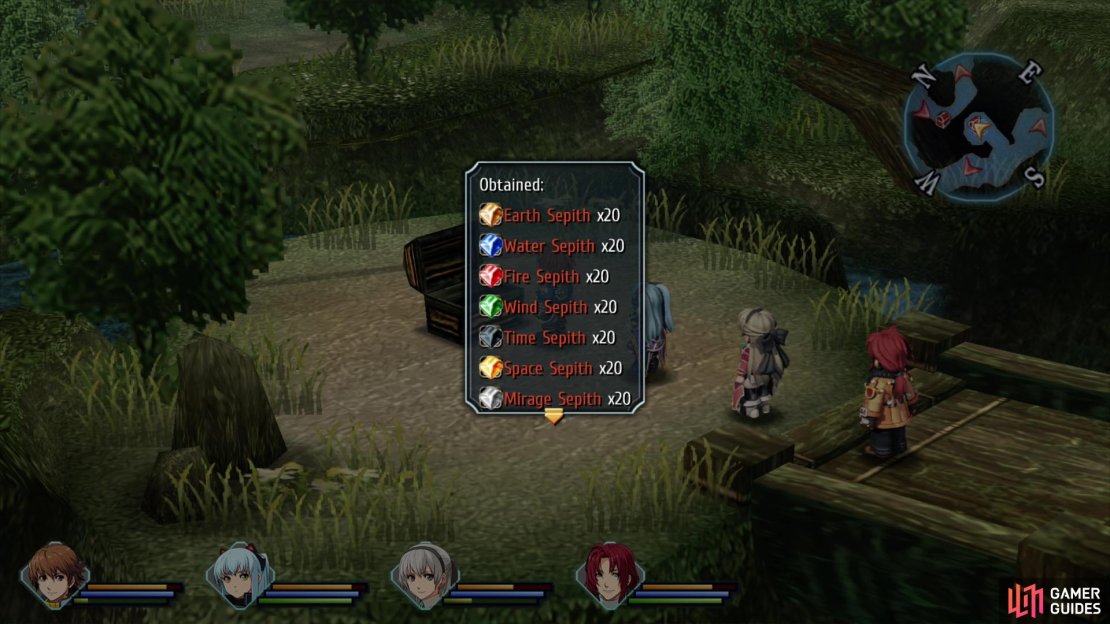
| All Sepith x20 | Fourth area |
Ursula Road - First Area
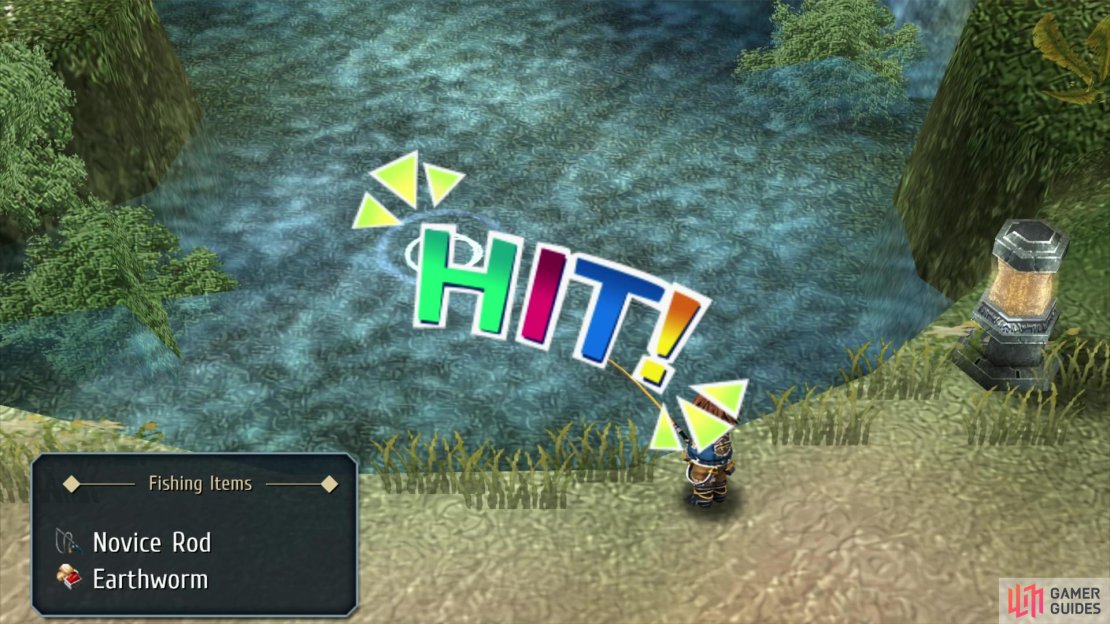
The first screen of Ursula Road is pretty simple, there are no treasures and a variety of new monsters, including the Racohm, Long-Eared Monkey, Kesalan, Deathcargot and Ocean Drome. Racohm can be farmed for Dumplings, Kesalan can drop Red Flies, and Deathcargot and Ocean Dromes both drop Earthworms, should you need to stock up on bait.
Speaking of bait, if you explore some ruins along the eastern end of the map (where a Long-Eared Monkey prowls) you can find the Ursula Road - Estuary fishing spot. It’s hidden, so don’t bother looking for the telltale ripples, instead just walk along the edge of the ruins overlooking the sea until you get a prompt to do some fishing.
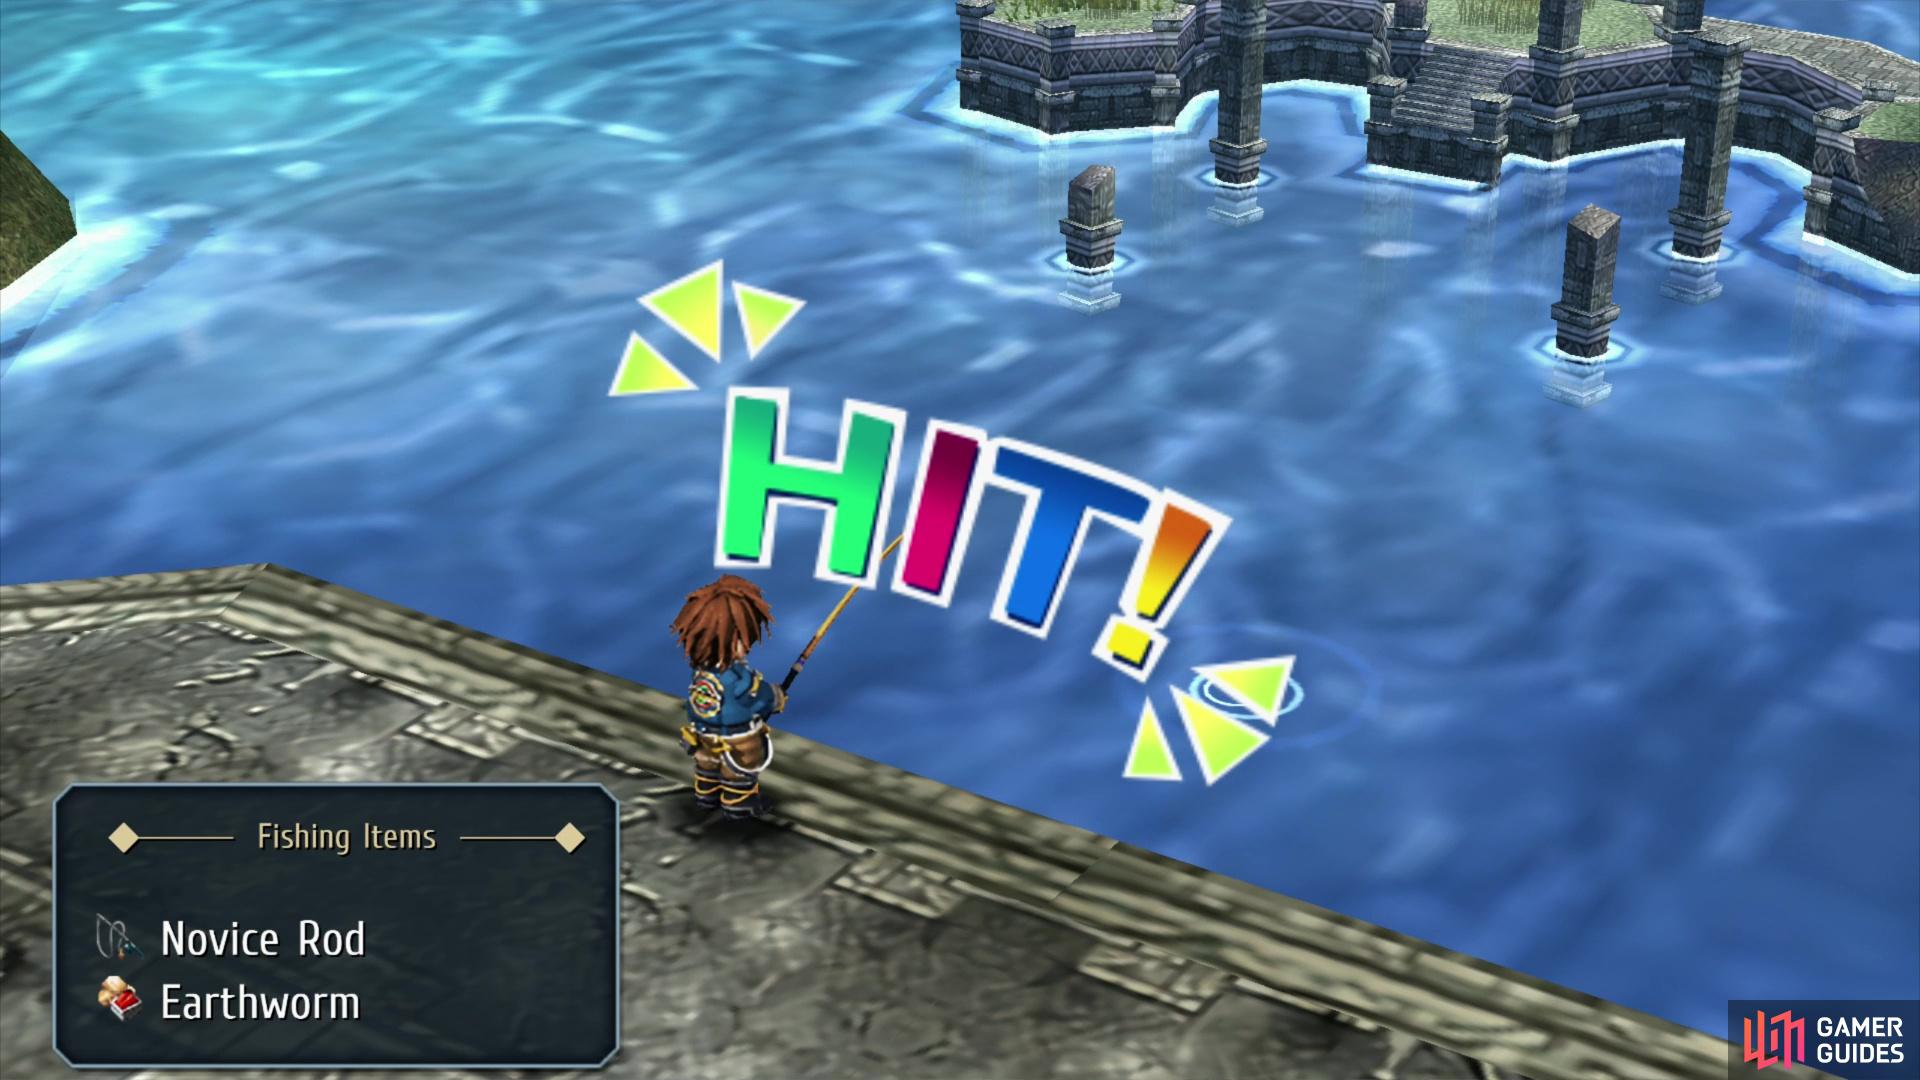
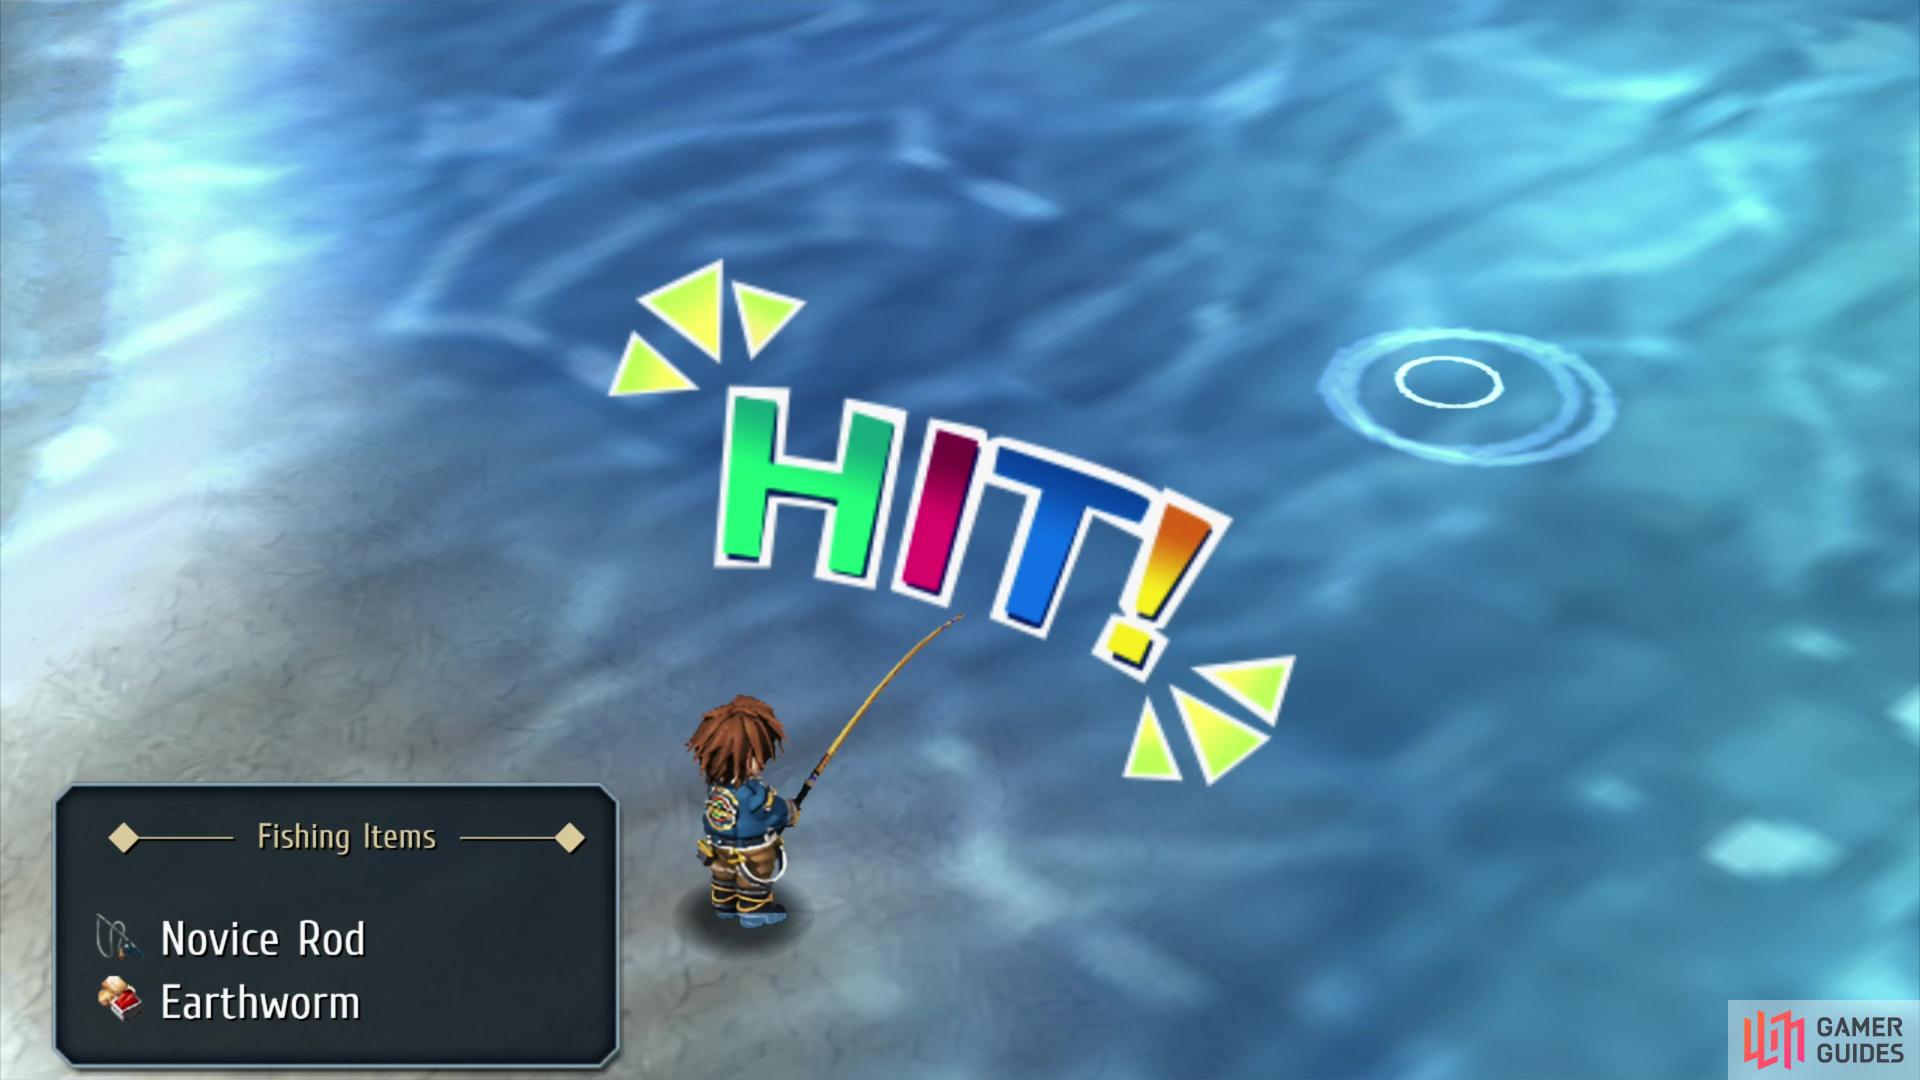
The first screen of Ursula Road has little to recommend it save for the “Estuary” fishing spot.
Fishing Spot: Ursula Road - Estuary
| Fish | Bait |
|---|---|
| Snow Crab | Earthworm |
| Carp | Deluxe Dumplings, Dumplings, Earthworm, Snow Crab |
| Kasagin | Red Flies |
| Trout | Deluxe Dumplings, Roe |
| Eel | Earthworm |
| Serpenthead | Pythonhead, Viperhead |
Tons of new fish here, but with this new fishing spot comes a reality check - you won’t be able to catch every fish that dwells in this fishing spot at this time. In order to catch the Kasagin, Trout and Serpenthead you need access to bait other than the humble Earthworm or Dumplings, and that means you need something better than your Novice Rod. Until you get a better fishing rod, these fish just aren’t on the menu. Still, no good reason you shouldn’t be able to grab the Snow Crab, Carp and Eel, which will get you most of the way to the next rank in the Fishing Guild.
Rush through the second screen of Ursula Road until you find the cause of the bus’s delay.
Boss Battle - Gordians
| Enemy | Lv | Elemental Effectiveness | Drops |
|---|---|---|---|
| Gordian | 13 | U-Material | |
| Long-Eared Monkey | 12 | Beast Flesh, Brilliant Carrot |
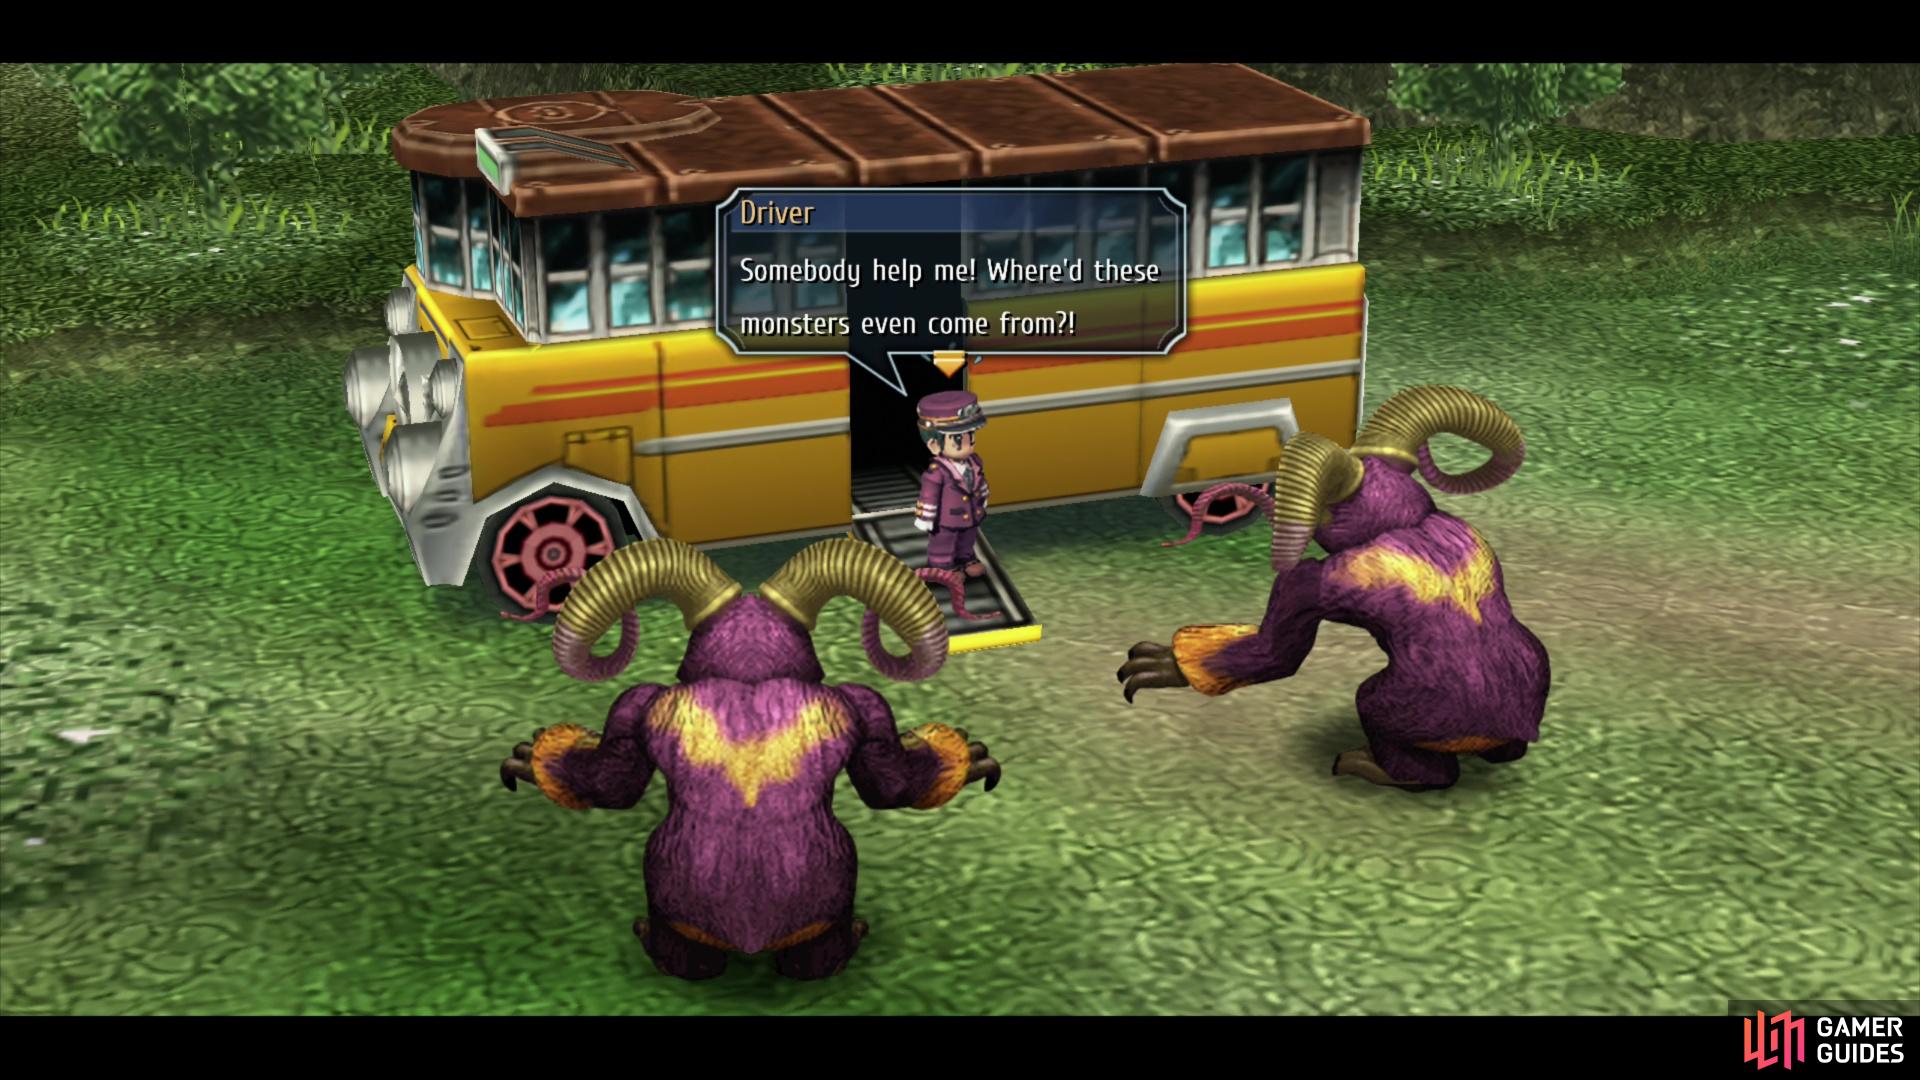
When you make it to the second screen of the Ursula Road, make sure your HP, EP and CP are up to snuff! When you’re sure you’re ready, run past the monsters roaming about and the treasure chests that seek to lure you astray. Once you’ve progressed far enough you’ll find out what delayed the bus.

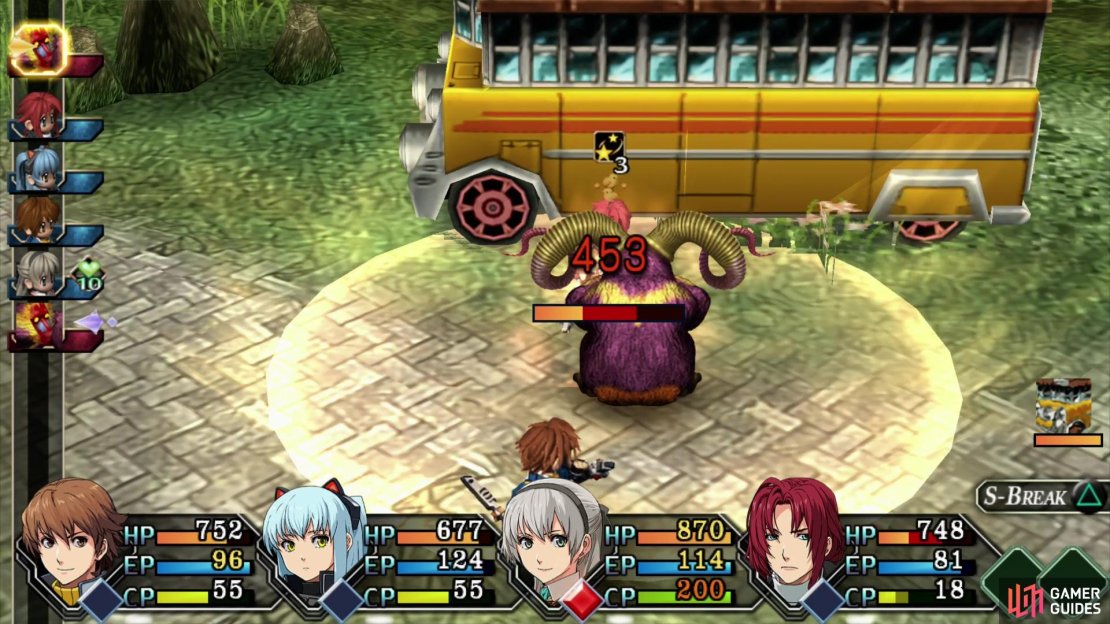
(1 of 4) Be sure to Analyze one of the Gordians - this is your only chance to get this particular bestiary entry.
You’ll find yourself facing off against a pair of Gordians, massive primates whose strength matches their size. Expect to take around 250~ damage from their standard attacks on Normal difficulty, but their “Double Press” attack is far more dangerous still. This attack will be announced ahead of time with the “Gordian is focusing its power” message - get every character out of the area of effect (save for the target, obviously) to limit damage. If you can kill the Gordian before this attack launches - a tall order considering the mammoth apes have over 2,000 HP apiece - you’ll save yourself a lot of pain. Double Press will hit all targets in the area of effect for well over 400~ damage and can inflict Faint for three turns, which could result in a party wipe if enough characters are affected.
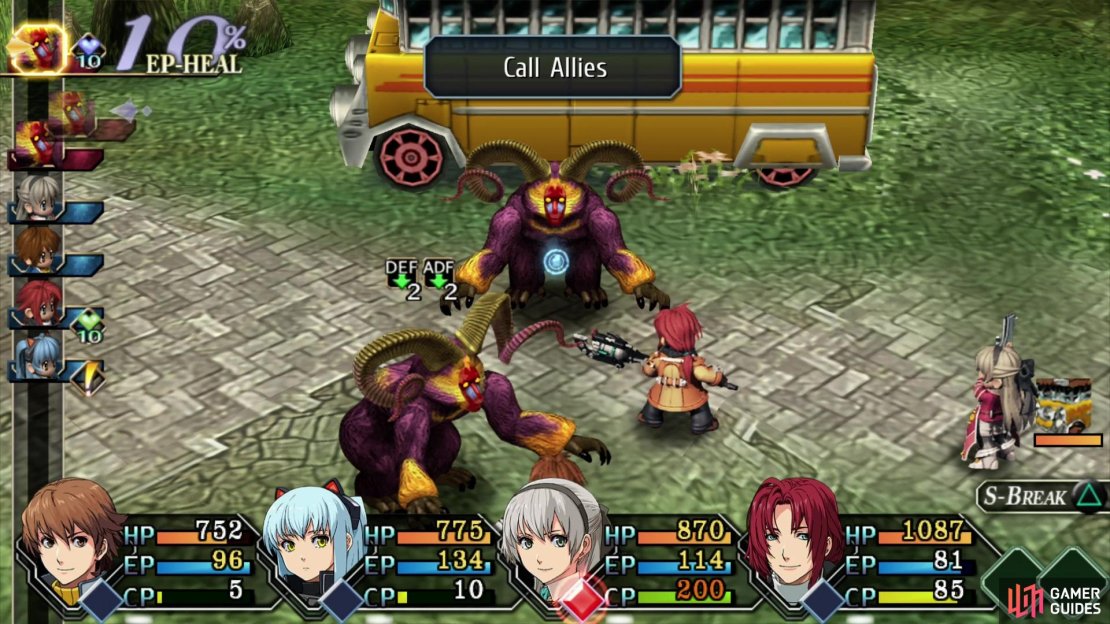
The Gordians can also call for backup, which will arrive in the form of a Long-Eared Monkey. This doesn’t take up their turn, so you’ll probably end up with at least two of the critters running around at some point in the battle.

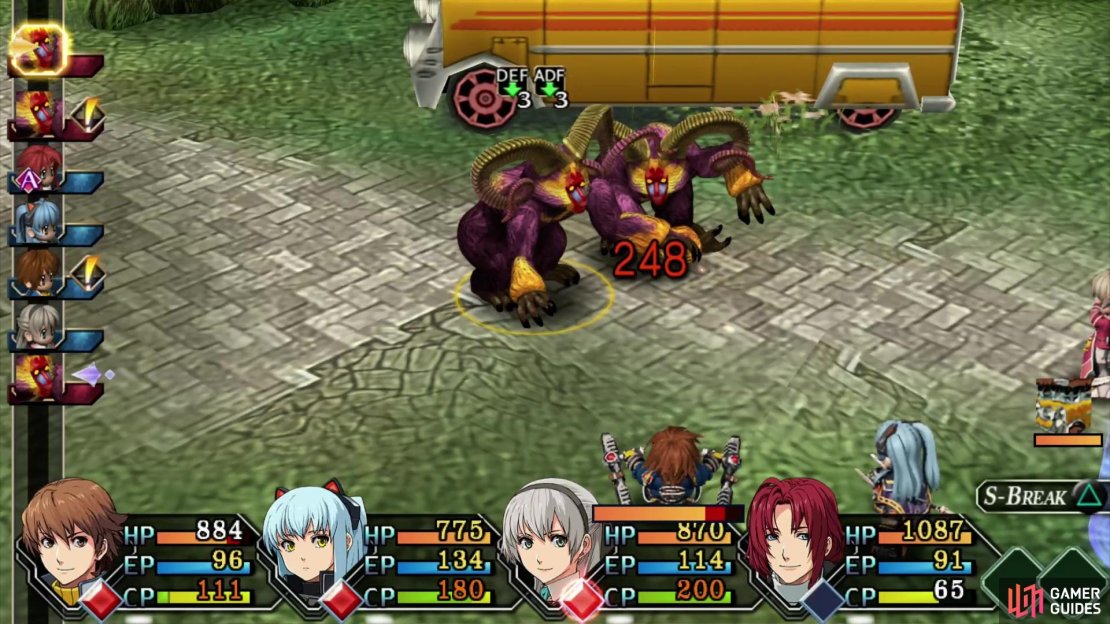
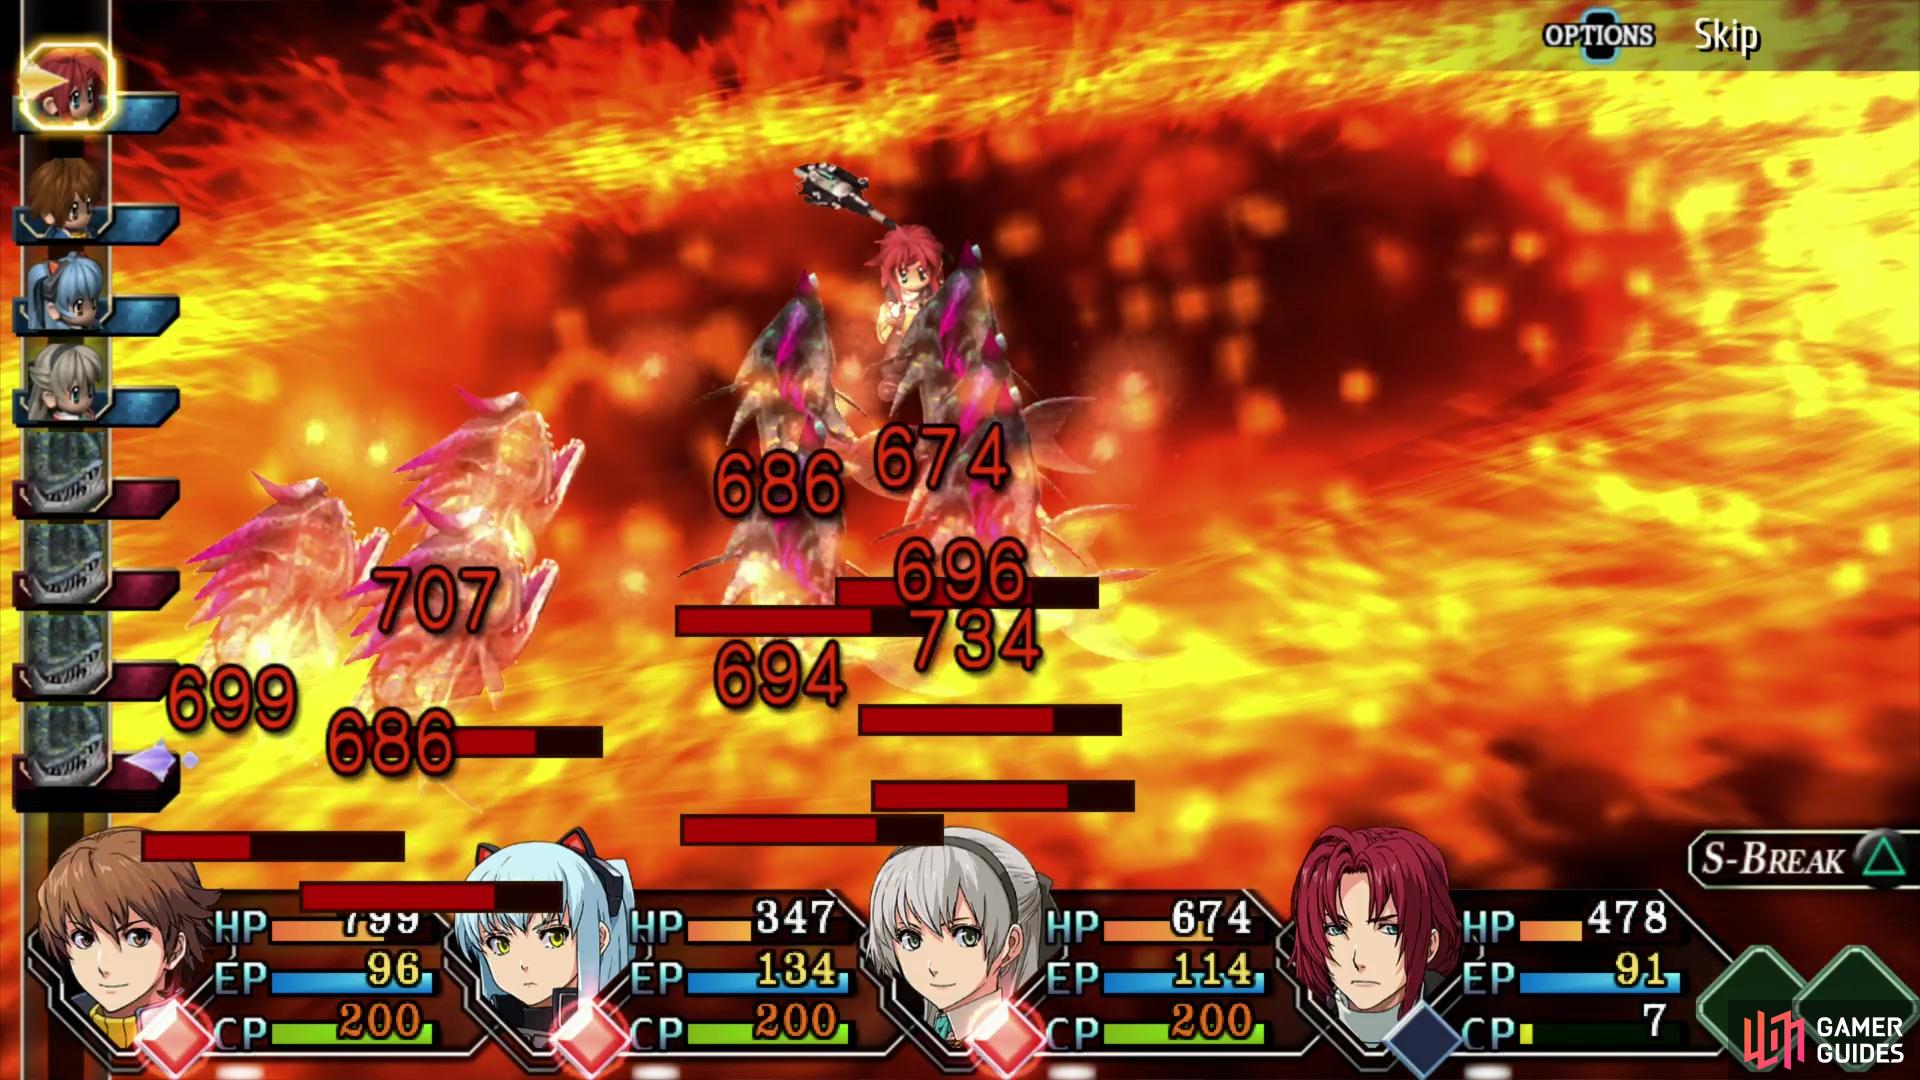
(1 of 2) Gordians are weak to fire,


Gordians are weak to fire, (left), and you should spam S-Breaks on one of them to try to knock it out quickly. The fight becomes much easier when you’ve only one mammoth monkey to worry about. (right)
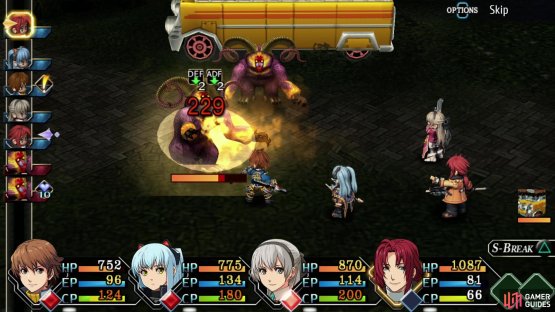
Focus on one Gordian at a time and try to whittle it down, as this fight will be much easier when you don’t have to worry about two Double Press attacks, not to mention the high damage output of these monsters in general. Try to hit both with S-Breaks, of course (and save Tio and Randy’s S-Breaks for when you can hit some of their summoned Long-Eared Monkeys, too), but don’t be shy about spamming Lloyd’s S-Break to punish one of the beasts quickly, or Elie’s for healing. Try to lead with Lloyd, as he’s probably the most fit tank you have and keep everybody healed above 500 HP or so - enough to weather two attacks from the Gordians (more on higher difficulties). The Gordians are also weak to fire, so if you can pelt them with Fire Bolt you can expect to deal significant damage.
Before you kill both Gordians be sure to Analyze at least one of them. You won’t get another chance to fill out their particular bestiary entry during this playthrough.
Put down the primates and watch some scenes, where you’ll be shown your place in the pecking order (not high) and gain some new rivals… ones who are painfully nice and who outclass you considerably. Something to work towards! After the chatter you’ll be free to explore this area, but first, exit out to the third screen by heading southwest, to trigger some more complaining from Lloyd, then backtrack to the second screen.

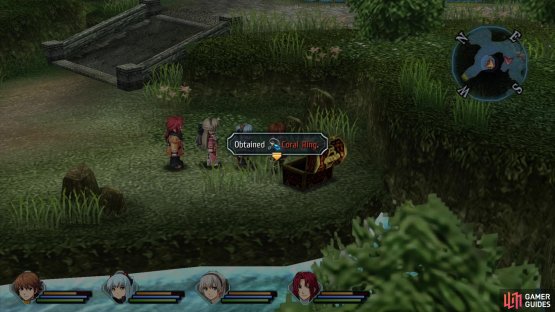
(1 of 2) Loot a pair of chests on the second screen of Ursula Road to obtain some EP Charge,
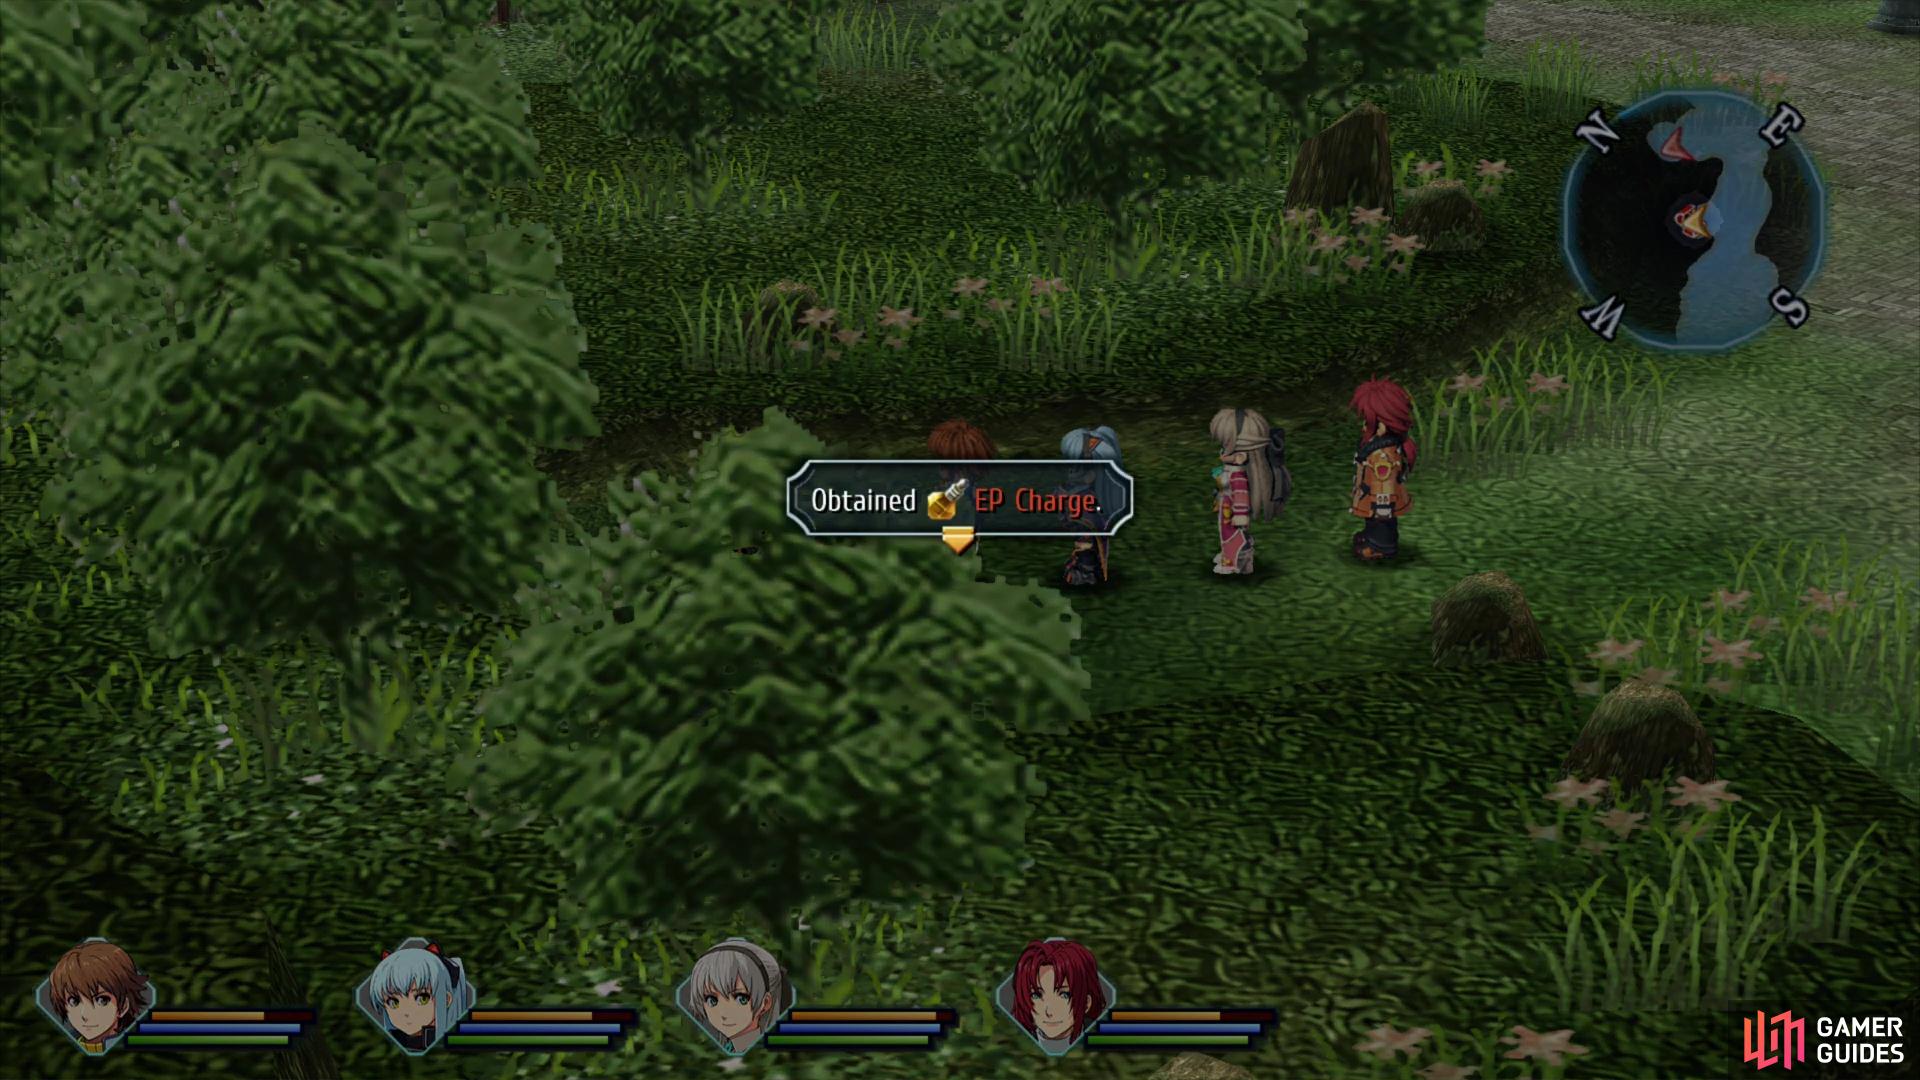

Loot a pair of chests on the second screen of Ursula Road to obtain some EP Charge, (left), and a Coral Ring. (right)
Ursula Road - Second Area
On this screen you’ll encounter the same enemies as in the first screen, although overall there are far fewer foes on this screen (only four in total). Just head up the map and seek out two chests to the west, one of which is near an area transition to a forest, which you can’t enter just yet. The one near the middle of the map will yield some EP Charge while the one near the forest transition contains a Coral Ring.


(1 of 2) The ornate chest contains eight Backlash enemies, which is a good opportunity to earn the “Eight Defeats, One Raid” achievement.
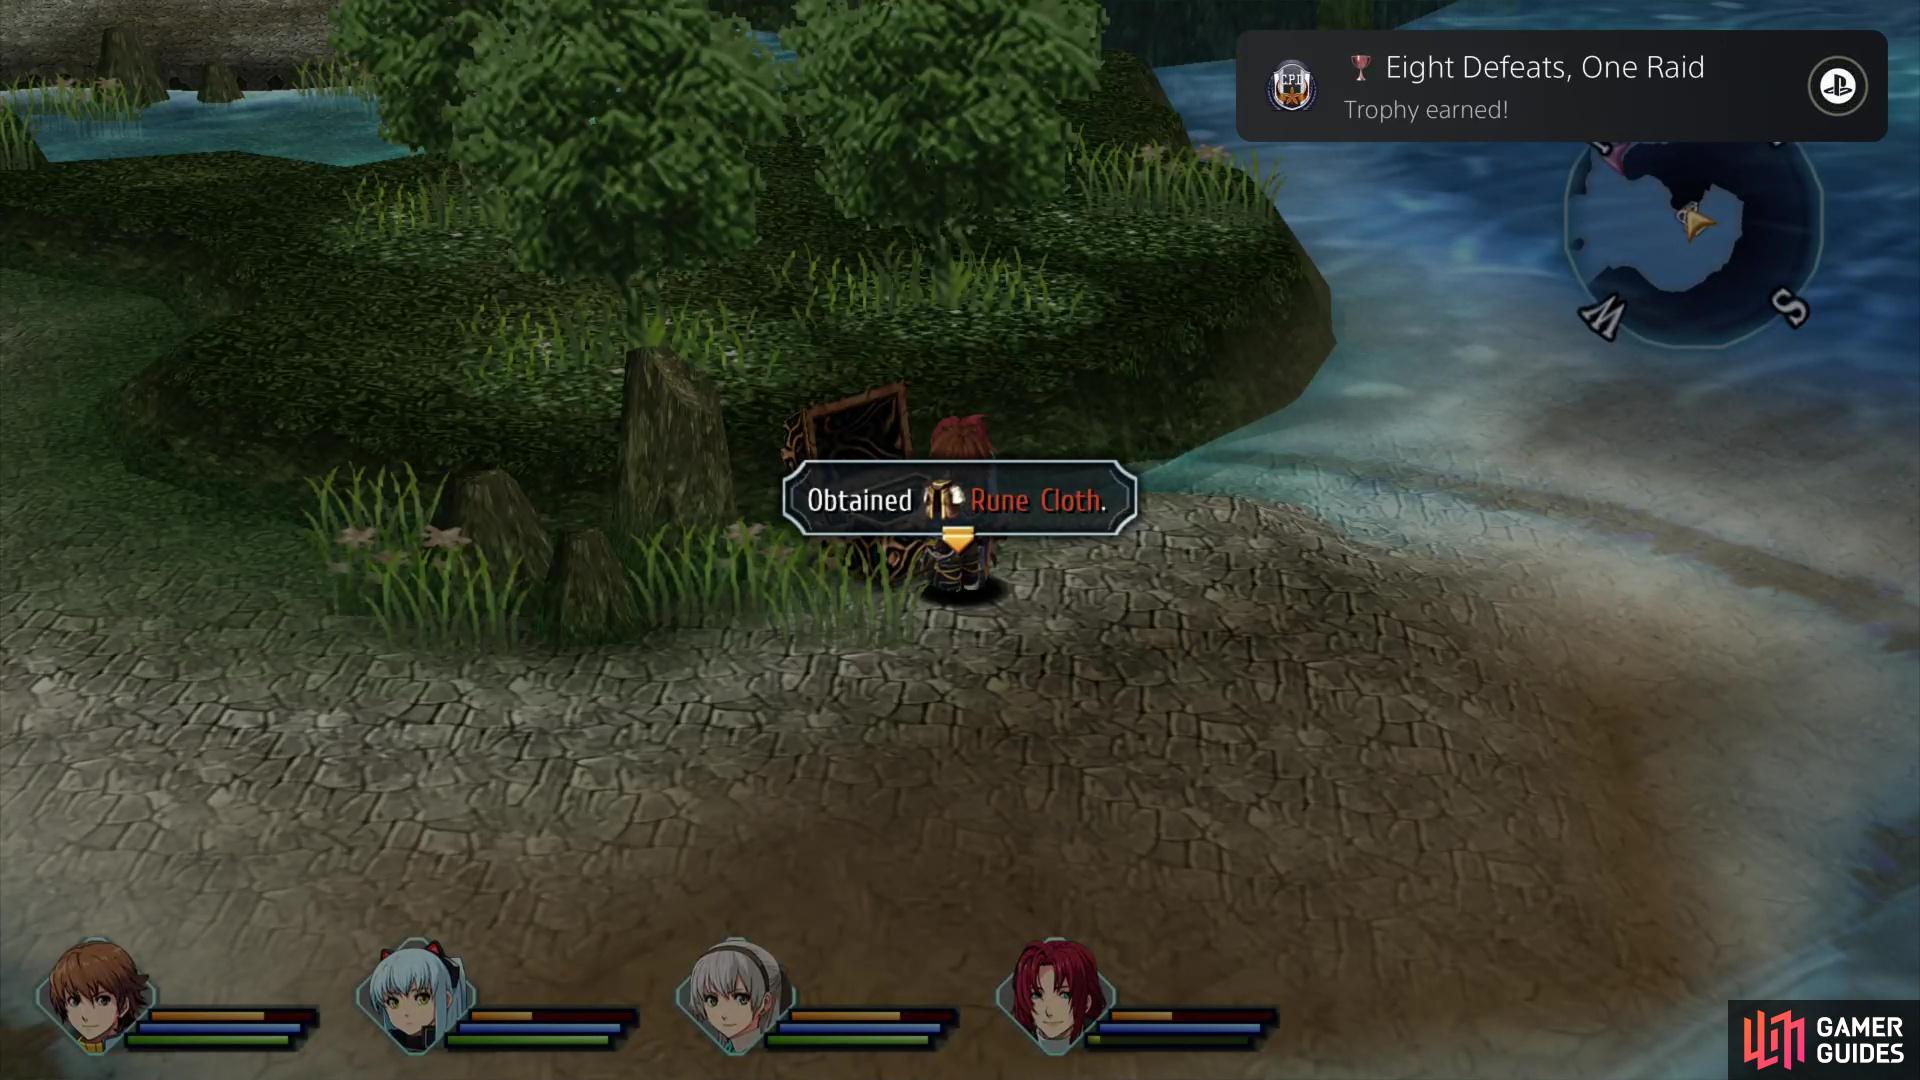
The ornate chest contains eight Backlash enemies, which is a good opportunity to earn the “Eight Defeats, One Raid” achievement. (left), However you defeat the eight Backlashes, you’ll earn a Rune Cloth for your efforts. (right)
Ursula Road - Third Area
Exit the second screen of Ursula road via the southwestern area transition to reach the third screen. There are two parts to this area, the high ground where the road continues to run to the south and a low beach area. On the high ground you can encounter mostly the same enemies from the first two screens (Racohms, Kesalans and Ocean Dromes) as well as the new Backlash enemy, whie on the lowlands you’ll find Tropical Archers and Mossimons. Both fish can drop Roe, but these foes are otherwise not all that interesting.
Along the eastern end of the map - just down some stairs to the southeast of the bus stop sign - you’ll find two chests, one of which is more ornate than the others. The ornate chest houses eight Backslash enemies, and if your CP is maxed out, this is a fine spot to farm for the Eight Defeats, One Raid achievement/trophy. Just run all your characters into the middle of the mob of Backslash enemies to group them up and finish them all off with Randy’s S-Break. If you kill all eight in one attack you’ll earn the aforementioned achievement/trophy. However you defeat them, you’ll also obtain the Rune Cloth armor, which has high defensive stats (DEF+20/ADF+20), which is probably worth wearing instead of the Martial Arts uniforms you won at the Barca Casino. You can also find the Ursula Road - Lakeshore fishing spot to the east of this monster-infested chest.
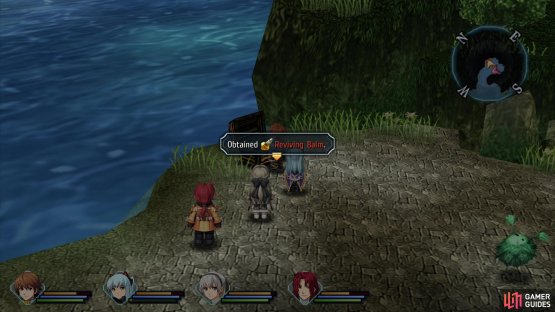
(1 of 2) Loot two chests on Ursula Road’s third screen to obtain the Reviving Balm,

Loot two chests on Ursula Road’s third screen to obtain the Reviving Balm, (left), and some Impede 1 Quartz. (right)
Finish up the area by looting the other chest on the beach to the north, inside of which you’ll find a Reviving Balm, then head back up to the road and follow it south until you cross a bridge. Just past this bridge you’ll find some stairs leading down to a depression where two Backlashes prowl. Defeat them and loot the chest the guard to obtain some Impede 1 Quartz. Once done, exit the area to the west… unless you’d rather do some fishing at this area’s fishing spot, first.
The “Lakeshore” fishing spot is by far the most interesting fishing spot on Ursula Road, even if you can’t catch most of the fish here yet.
Fishing Spot: Ursula Road - Lakeshore
| Fish | Bait |
|---|---|
| Snow Crab | Earthworm |
| Azelfish | Red Flies |
| Kasagin | Red Flies |
| Trout | Deluxe Dumplings, Roe |
| Salmon | Deluxe Dumplings, Roe |
| Gluttonous Bass | Earthworm, Kasagin, Snow Crab |
| Viperhead | Kasagin, Snow Crab |
| Catfish | Carp, Kasagin, Snow Crab |
Lots of new fish here, but you can only catch Snow Crabs and Gluttonous Bass with the bait/rod you have now. The Gluttonous Bass is frankly a spoiler fish that’s just there to eat up rarer bait while you fish for Viperheads and Catfish… which you can’t do yet, anyways. Might as well snag one Gluttonous Bass to bring your fishing collection up to eight specimens - enough to rank up when you return to the Fishing Guild.

(1 of 3) Goldfliers and Calamifliers both spawn only in the company of Butterfliers.
Ursula Road - Fourth Area
The fourth map of Ursula Road is almost an entirely new area, brimming with new monsters, more treasure chests and a new fishing spot. The new enemies include this area’s only rare monsters - the Goldflier and Calamiflier, which spawn exclusively alongside Butterfliers and another Shining Pom. These are joined by the less obscure Fire Beetle and Spineedler, the latter of which tends to explode when defeated.
To find all the monster varieties in this region, you’ll need to engage Butterfliers until the Goldflier (yellow) and Calamiflier (red) variants appear, which could take a while if you’re unlucky. The Shining Pom isn’t too bad this time around, as you can exit to the St. Ursula Medical College area and return, which resets the Shining Pom’s spawn rate. Just zone in and out and look along the western edge of the area (near where two Spineedlers spawn) and if you see three monsters there, one of them will be this area’s Shining Pom. You can find more details about spawning this Shining Pom on the Where to Find the Shining Pom in Ursula Road page, while details on finding the Goldflier and the Calamiflier can be found on the Where to Find the Goldflier and the Calamiflier in Ursula Road page.
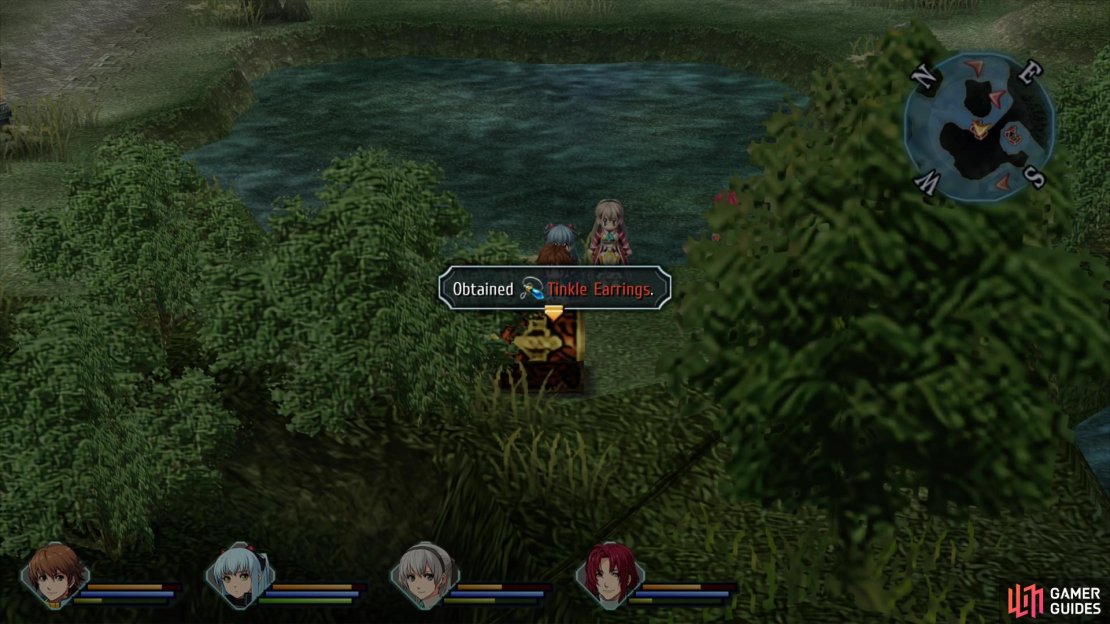

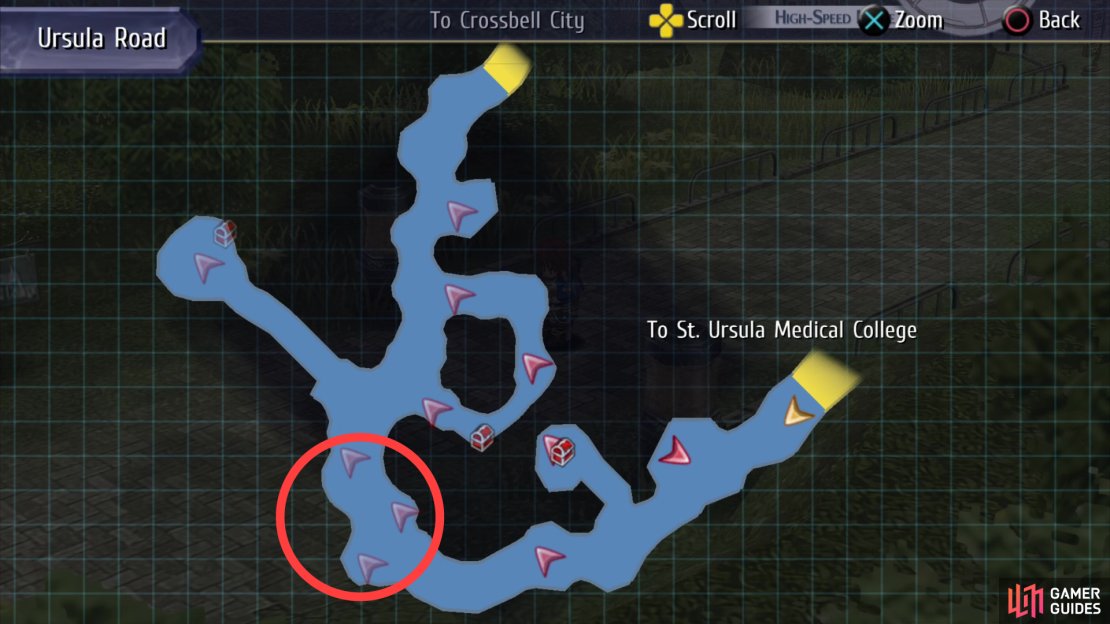
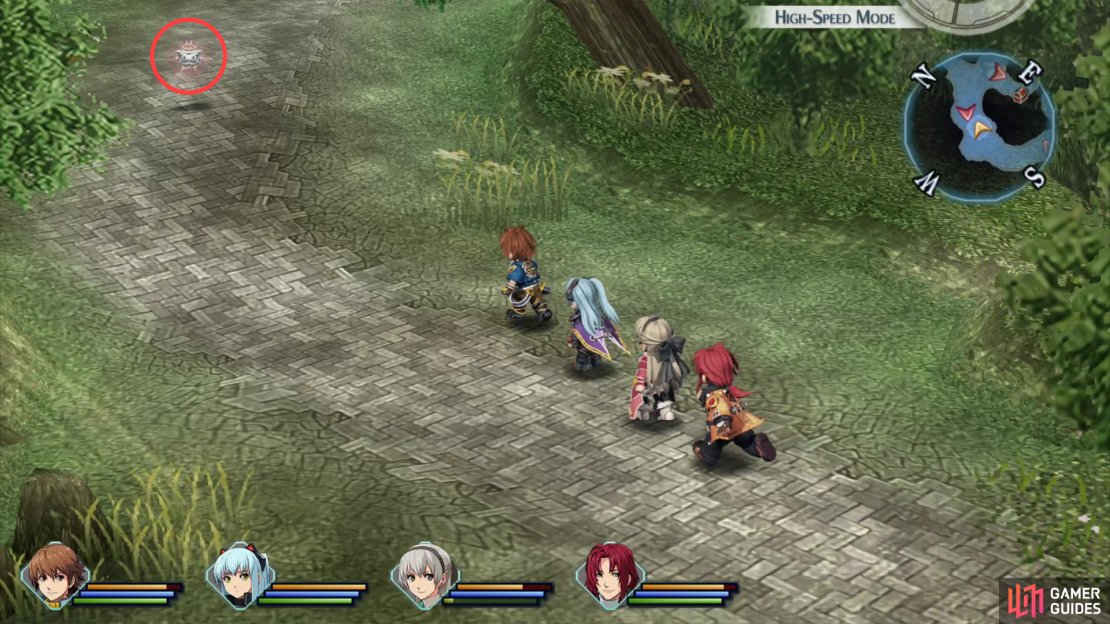
(1 of 3) The fourth screen of Ursula Road has three chests, on near a pond contains Tinkle Earrings,
As for treasure, there are three chests in this region:
-
Tinkle Earrings: From the area transition to the third screen make your way southwest until you find a pond. This chest is on the southwestern edge of the pond.
-
EP Charge: Go up some stairs to reach the northernmost region of this area, where a Fire Beetle guards this chest. This chest is obscured by a tree, but the Detection Quartz should make it easy enough to find.
-
All Sepith x20: Work your way southwest through the level until you’re forced to turn southeast. On the road leading to the exit to St. Ursula Medical College you’ll find a bridge to the north, which leads to an island. A FIre Beetle guards the chest on this island.
(1 of 3) The only fish you can find at the “Pond” fishing spot is the Gluttonous Bass… at least at this point in the game.
Fishing Spot: Ursula Road - Pond
| Fish | Bait |
|---|---|
| Gluttonous Bass | Earthworm, Kasagin, Snow Crab |
| Viperhead | Kasagin, Snow Crab |
| Pythonhead | Kasagin, Snow Crab |
Finally, we have the third fishing spot on Ursula Road, which you’ll find on the southwestern edge of the map, near where two Butterfliers roam. At this point in the game, this isn’t a very busy fishing spot - you can only catch Gluttonous Bass here with the Earthworms you have available, and you probably landed at least one of those back at the Ursula Road - Lakeshore fishing spot.
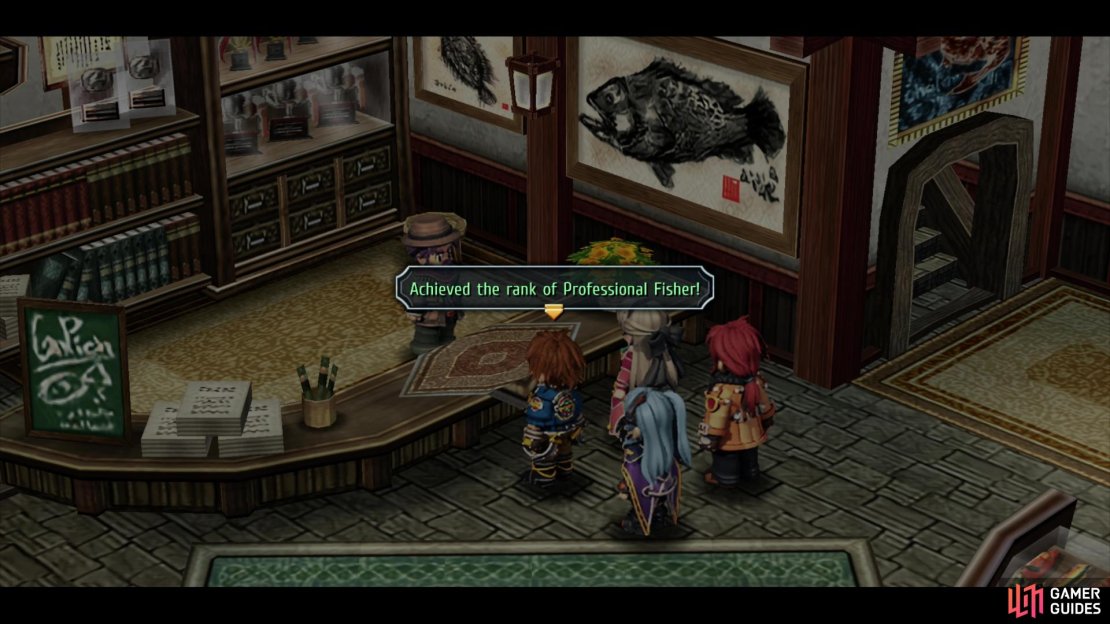
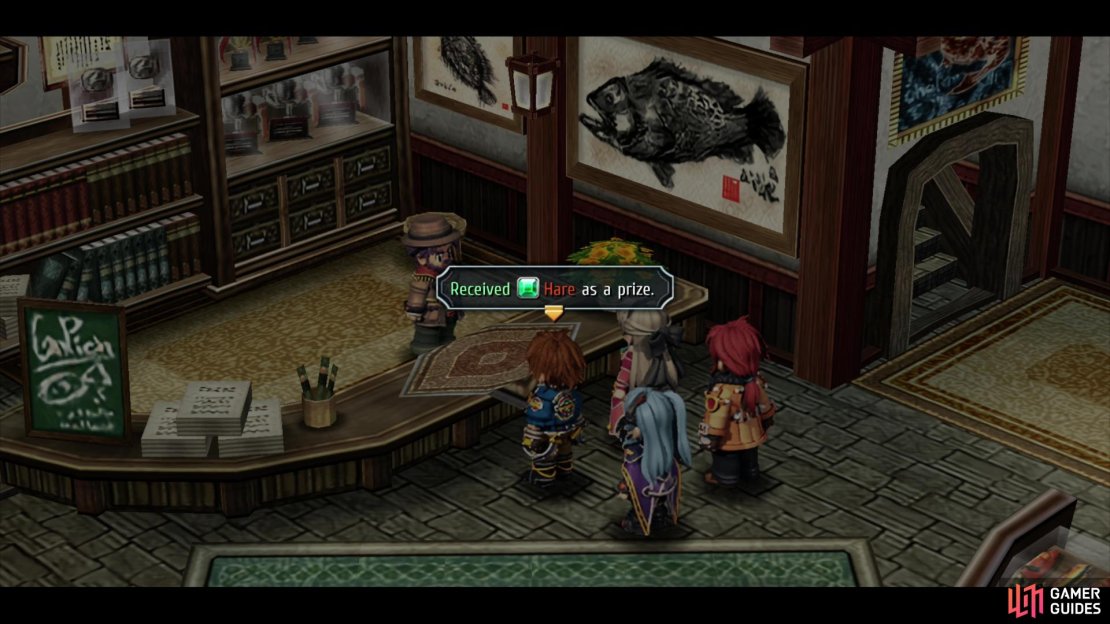
Catching all the currently available fish in Ursula Road - the Snow Crab, Carp, Eel and Gluttonous Bass - should get you up to eight total fish (assuming you caught all four varieies back at Armorica Village.) If so, consider returning to Crossbell City and reporting your achievement to the Fishing Guild, which will earn you the rank of “Professional Fisher”, and some Hare Quartz as a reward.
With that, you should be done on Ursula Road. Just make your way to the area transition leading to St. Ursula Medical College to get a little bit closer to the end of this long, long day…
No Comments