
Walkthrough for the West Crossbell Highway in Chapter 2 of The Legend of Heroes: Trails from Zero, including basic information about the monsters encountered in the area and the treasures you can find as you explore.
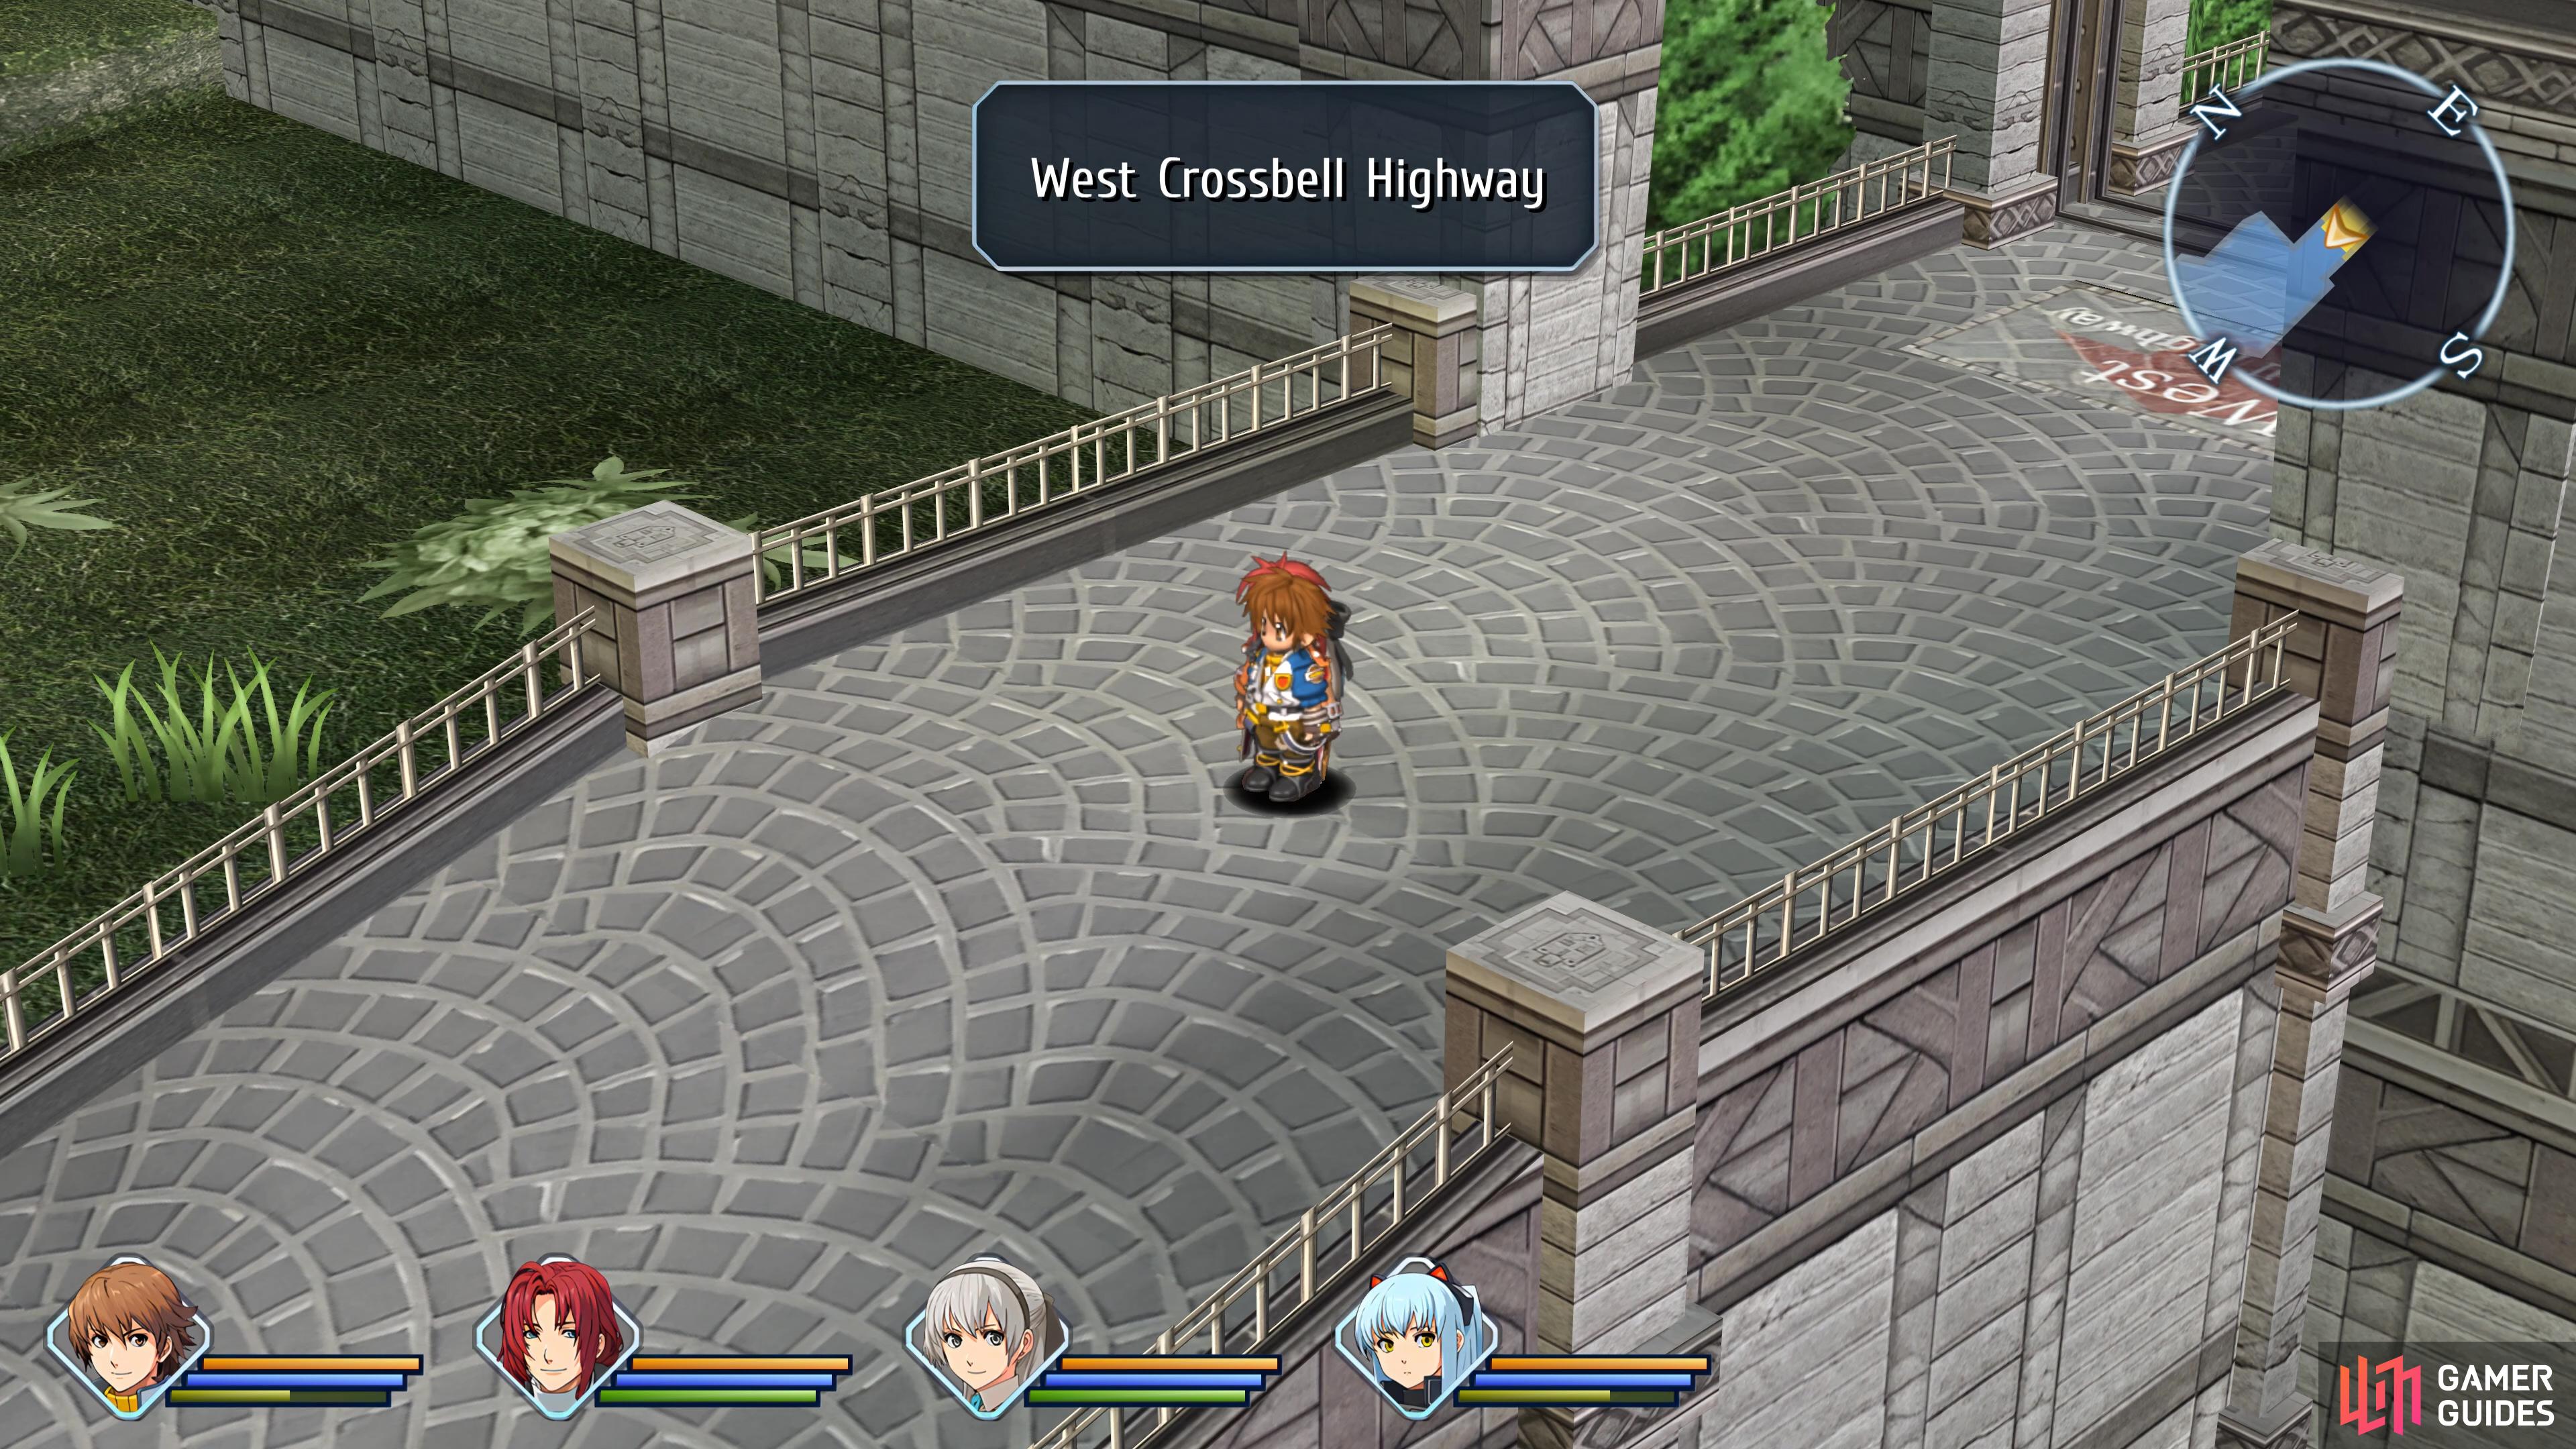
You first gain access to West Crossbell Highway during Chapter 2 Day 1.
Once you’ve finished up your chores in Crossbell for the start of this Chapter, it’s time to go take care of some Requests and alongside it, exploration of some new areas that are open to you now. West Crossbell Highway is one such area and you’ll need to head through here to take care of a Request and reach an area where there’s a new Recipe to be had. You can enter the West Crossbell Highway by taking the exit in West Street.
Exploring West Crossbell Highway
| Enemy | Lv | Elemental Effectiveness | Drops |
|---|---|---|---|
| Black Berga Bug | 17 | Scorching Wine, Red Flies | |
| White Berga Bug | 17 | White Rice, Dumplings | |
| Fanged Wolf | 17 | Beast Flesh, Marbled Steak | |
| Axe Peacock | 17 | Stimulant, Fresh Egg | |
| Black Hunter | 17 | Savory Pinion, Antidote | |
| Rotten Dandy | 17 | Prickly Seed, Milled Flour | |
| Flaming Geenew | 17 | Fish Fillet, Cooling Spray | |
| Nauseating Tomartian | 17 | Acerbic Tomato, Curia Balm | |
| Metal Beetle | 17 | Black Pepper, Sesame Oil | |
| Ebony Drome | 17 | Clear Gelatin, Kibbled Salt | |
| Creepy Sheep | 17 | U-Material | |
| Shining Pom | 16 | U-Material |
| Items | Notes |
|---|---|
| Reviving Balm | First area |
| EP Charge | First area |
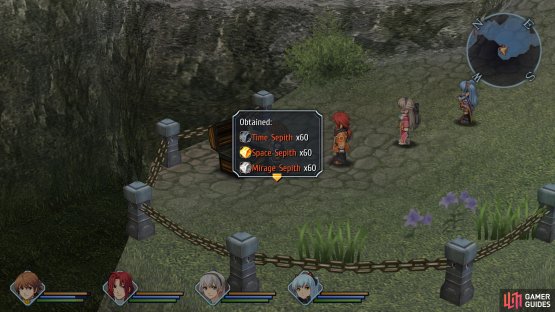
| Space, Time, Mirage Sepith x60 | Second area |
| Tear Balm | Second area |
| Move 2 | Second area |
| EP Charge | Third area |
| Proxy Puppet | Third area |
| Strega- Σ | Fourth area |
| Space, Time, Mirage Sepith x60 | Fourth area |
| Teara Balm | Fourth area |
| EP Charge II | Fifth area |
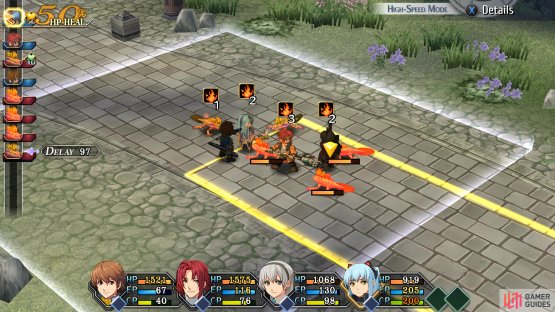
As with most field dungeons in Trails from Zero, the first screen of the West Crossbell Highway is a simple one. If you took the time to go to Moon Temple beforehand and gained some levels on the higher level enemies then none of these should pose a threat (and should also give little in the way of EXP at Level 20). Still, remember to scan every new monster you encounter using Battle Scopes or Tio’s Analyze Craft. Do be aware that the enemies here like to use status effects against you, the Berga Bugs especially will often Poison you.
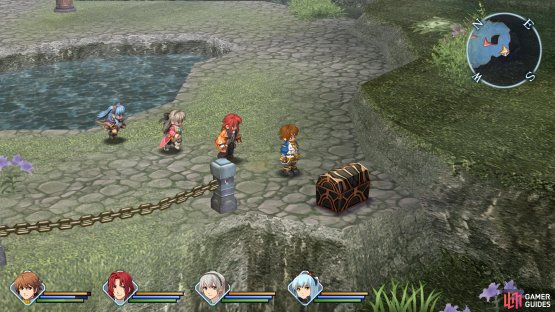
Head north at the first intersection to find a Black Berga Bug followed by a White Berga Bug. Take them both out and then loot the chest to obtain a Reviving Balm. You’ll find more Berga Bugs of both the black and white variety in the northwest corner, and another chest hidden here containing an EP Charge. That’s all there is for this first screen, so exit the area by heading south and over the bridge.

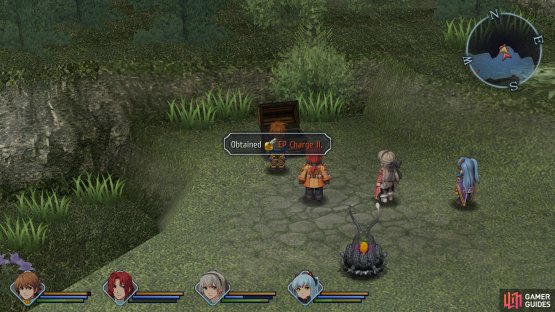
(1 of 2) You’ll find an EP Charge in the first area
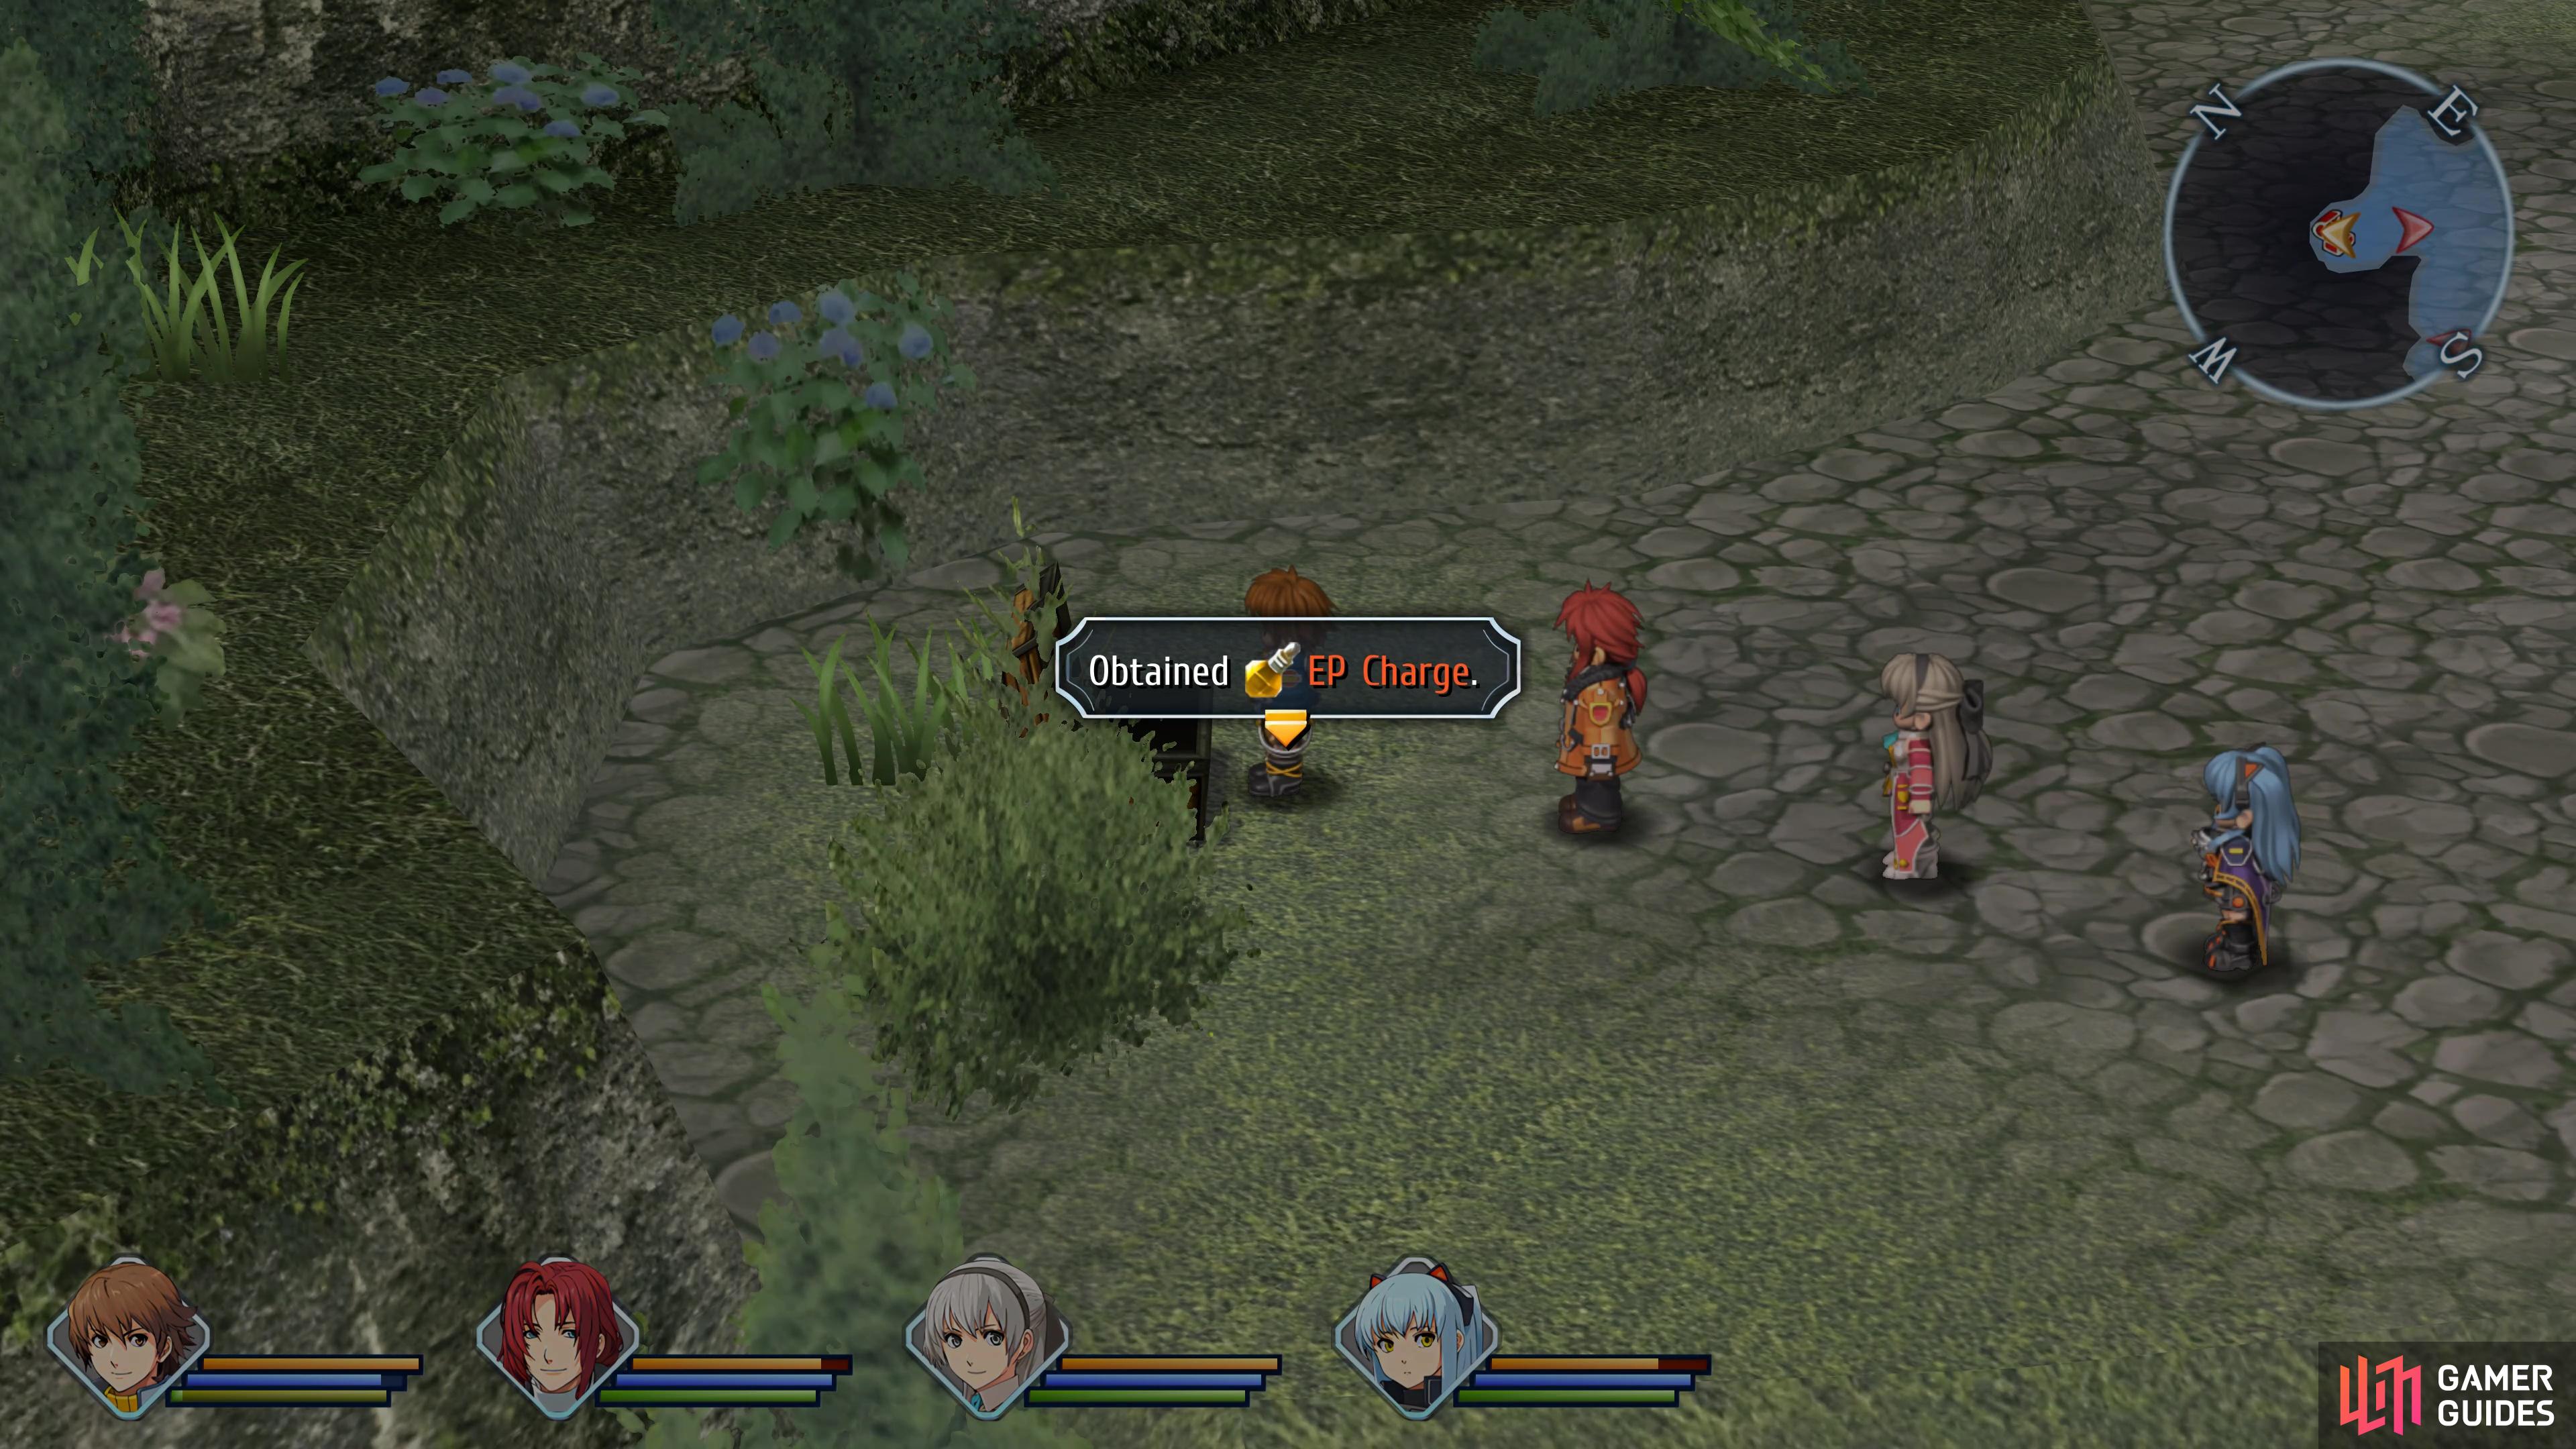
You’ll find an EP Charge in the first area (left), and some Sepith in a chest in the second area. (right)
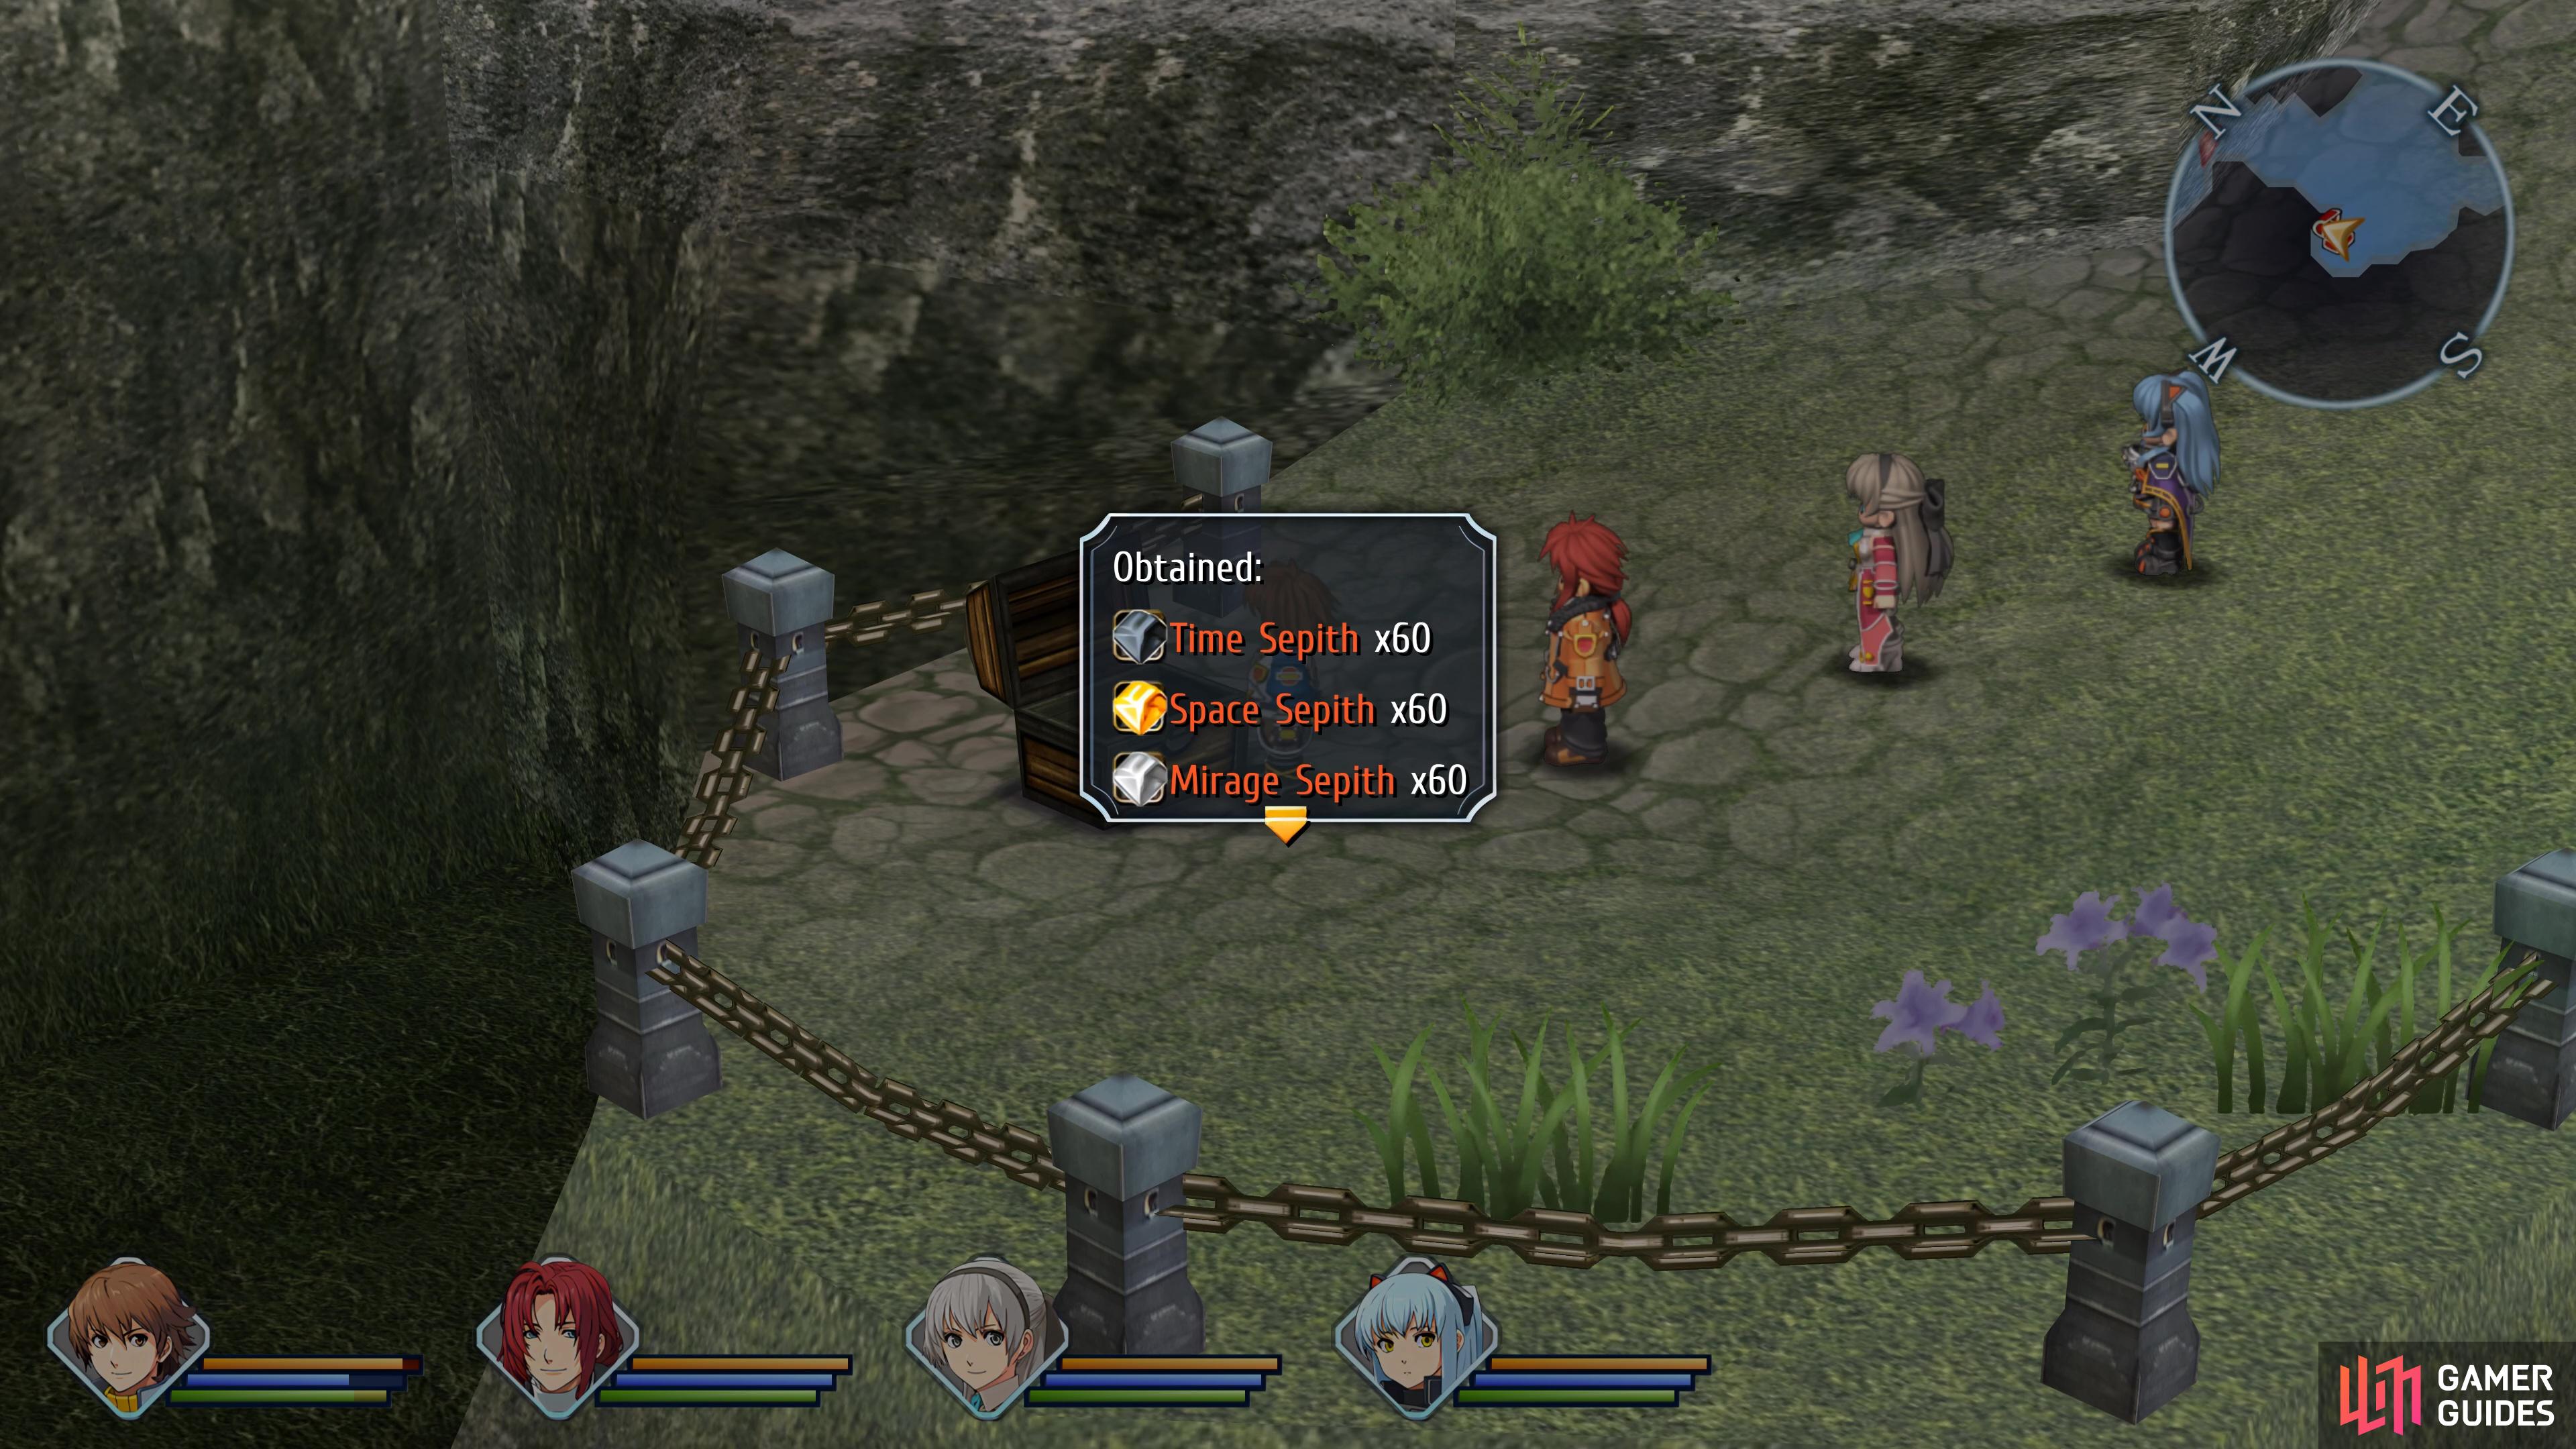
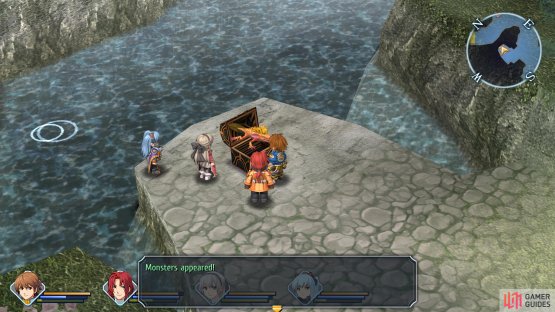
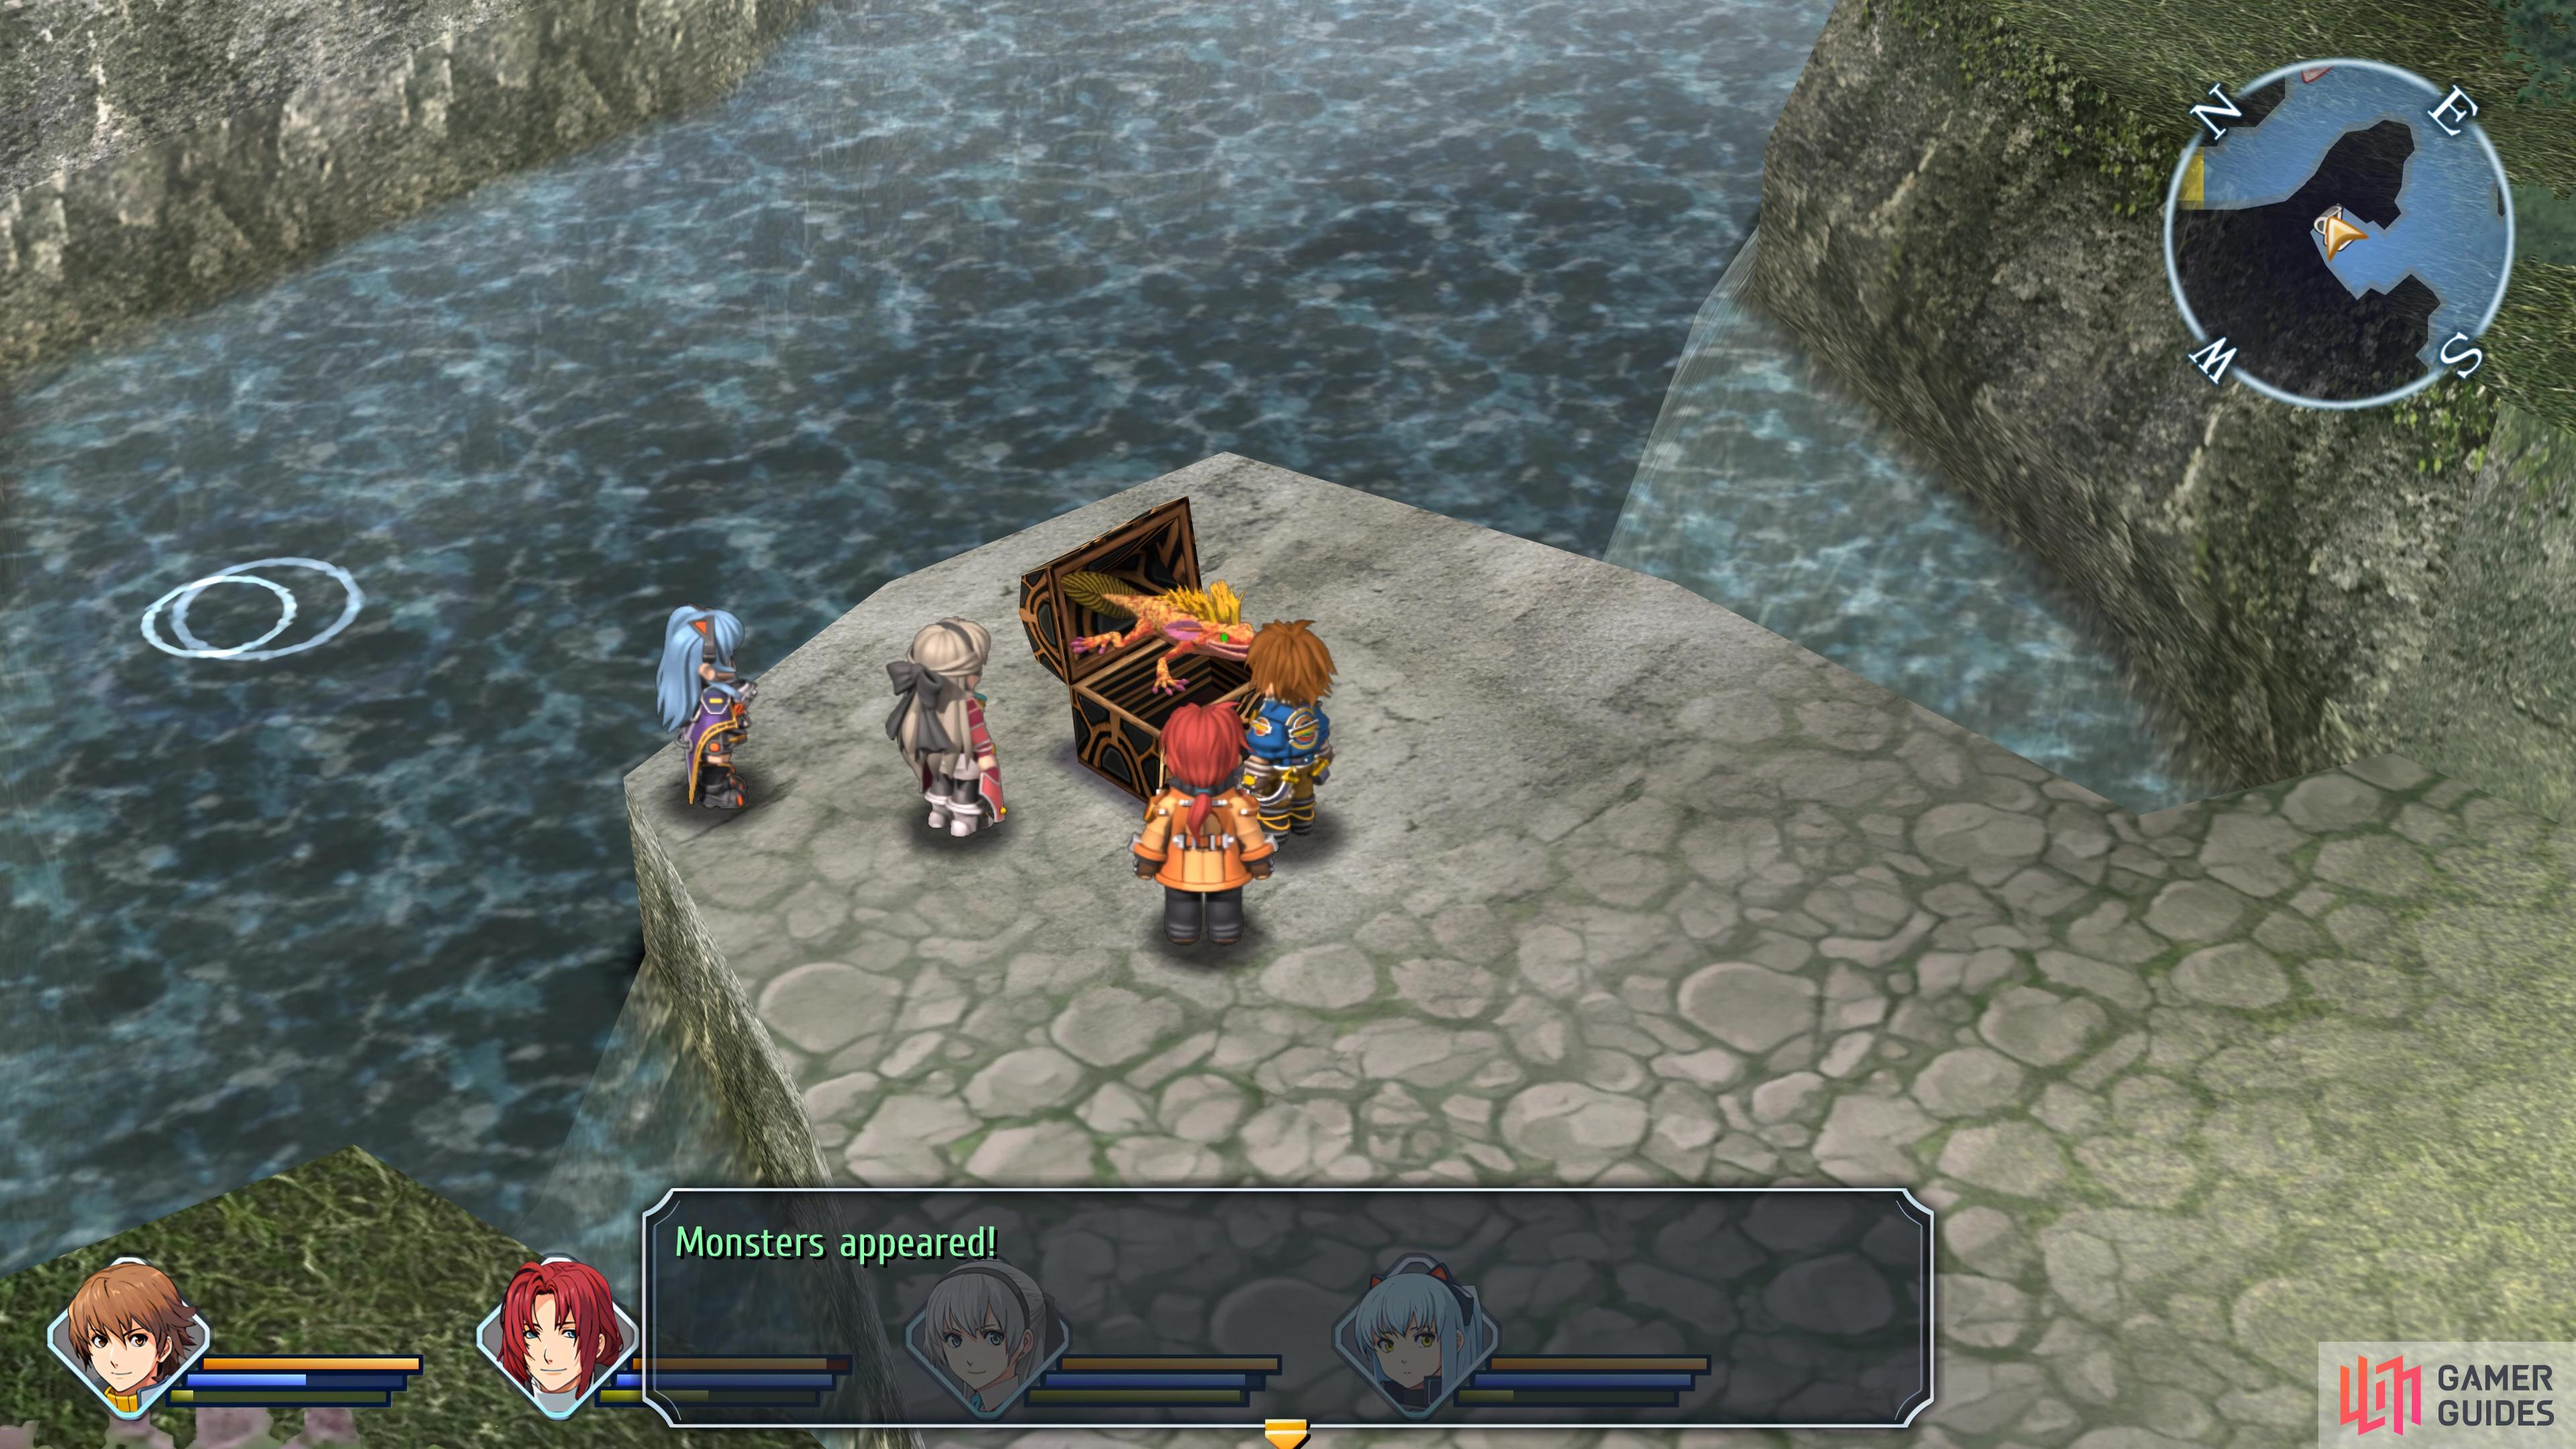
The second area is larger, although there’s still only three chests you can open right now (the fourth is a monster chest against high-level enemies). Follow the path south and you’ll reach a pool of water, to the south of this is the high-level monster chest that you have no hope of winning right now (a horde of Lv 35 Sage Creepy Sheep) but you can always save your game, use a Battle Scope and then run from the battle if you want the entry right now (we’ll be back later for the chest).

(1 of 2) Save before opening this chest

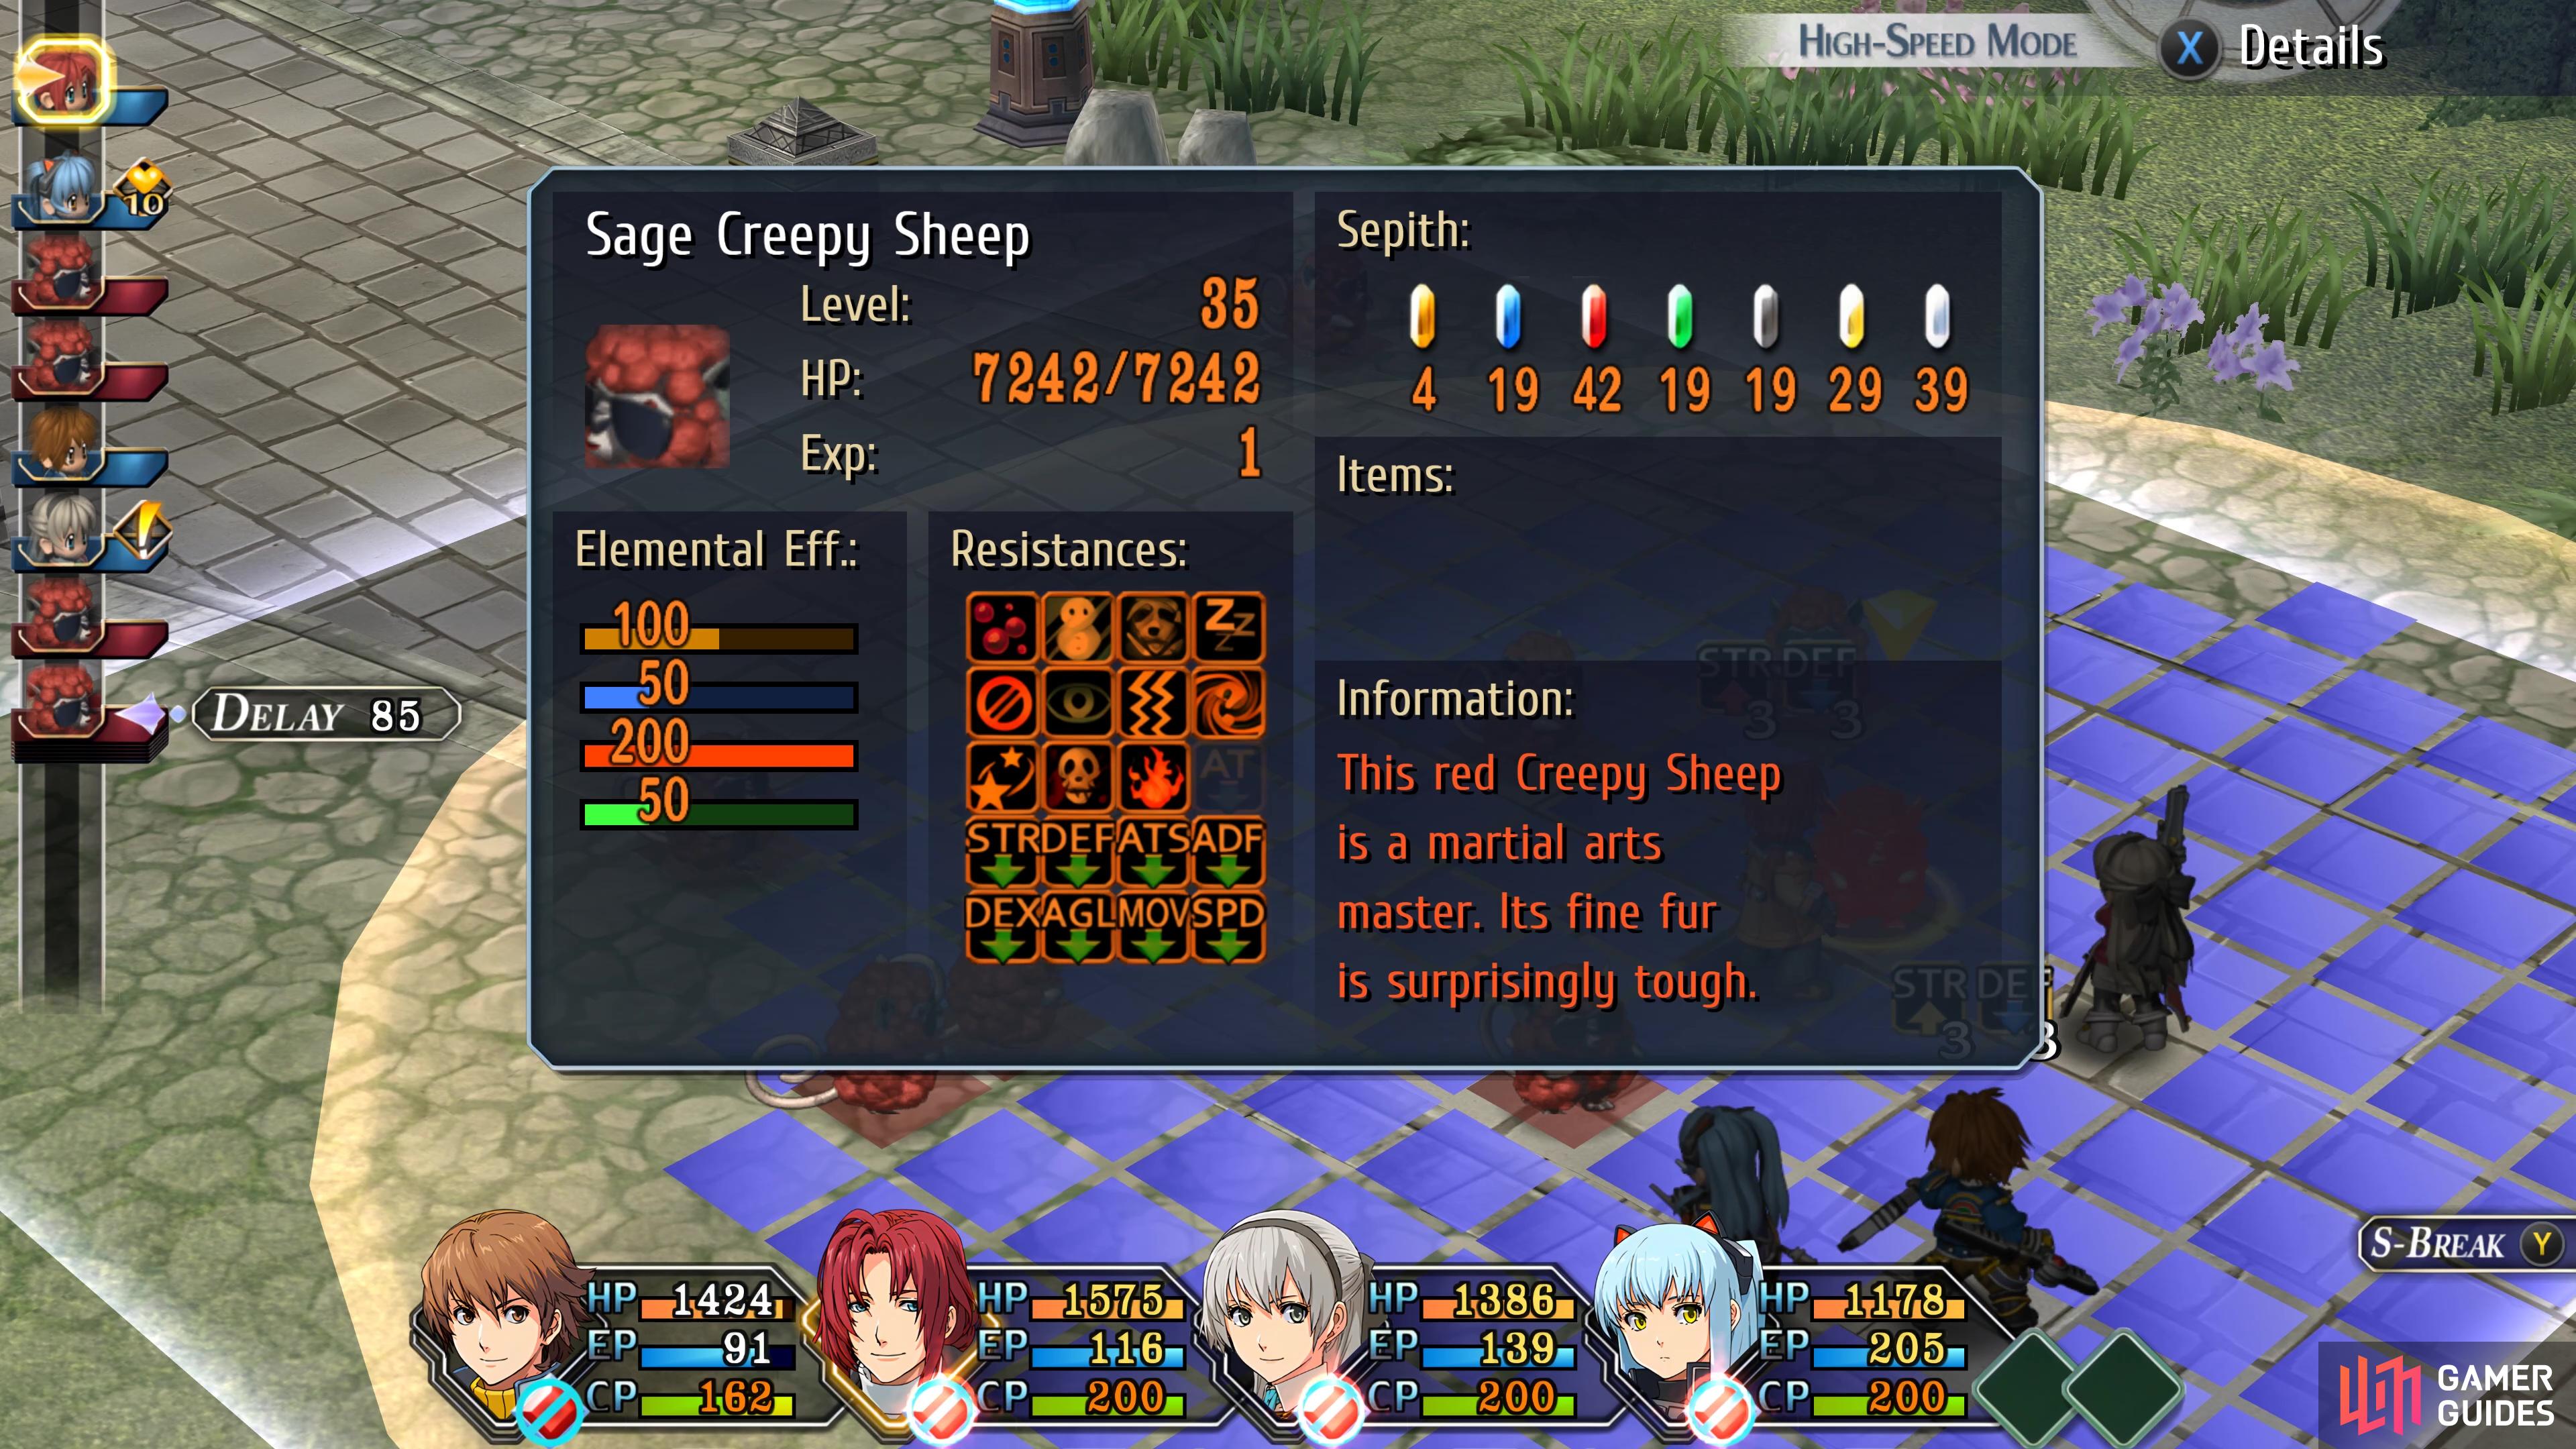
Save before opening this chest (left), the monsters are far beyond your capabilities right now. (right)
Head west from this chest and you’ll find another chest behind a Black Berga Bug, this one housing Space, Time, Mirage Sepith x60, handy for upgrading some of your slots. Return to the main path and continue west until you reach the next intersection. Follow the looping path down to find two chests guarded by three encounters (perfect for a Chain Encounter), inside you’ll obtain a Tear Balm and a Move 2 Quartz. Once you’ve plundered these chests, return to the intersection and fight your way to the southwest exit to reach the third area.
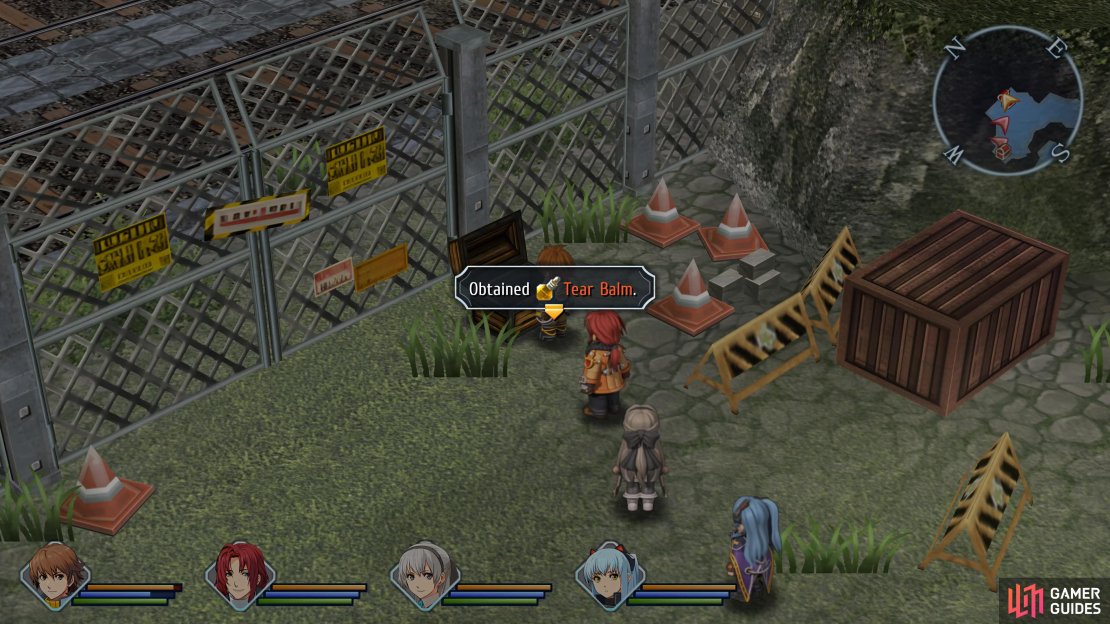


(1 of 4) A Tear Balm
This area is more straightforward, so follow the path and head west at the intersection to find a chest housing another EP Charge. Keep an eye out for the Rotten Dandy enemies you start encountering in this area, they’ll explode upon death dealing heavy damage to anyone close. The rest of this area is linear, so follow the path and as it starts heading south, search in the southeast corner for a chest containing a Proxy Puppet, this will revive you once in battle, but will break upon the act so it can be useful for boss battles.
The fourth area is a lot more involving, and as you reach the first intersection, you’ll have no choice but to deal with the monster in the West Crossbell Highway Monster Extermination Request. Following your victory, the bus will be up and running in this location again should you need to go back and recover.
Once you’re ready, you’ll find you can head in two directions, north or south. Before heading south, go directly west to find a monster chest with six Flaming Geenews, they shouldn’t pose too much of a threat to the party at this stage, but nevertheless, make use of area of effect attacks such as Randy and Tio’s S-Breaks to defeat them. Upon your victory, you’ll obtain the Strega- Σ boots, be sure to equip these right away. You’ll also spot a Fishing Spot nearby, but without a new rod, there’s no new fish available for us here.
(1 of 2) You’ll find a monster chest to the west of the Request monster

You’ll find a monster chest to the west of the Request monster (left), Tio’s S-Break will make short work of them. (right)
| Fish | Bait |
|---|---|
| Eel | Earthworm |
| Gluttonous Bass | Earthworm, Snow Crab, Kasagin |
| Pythonhead | Snow Crab, Kasagin |
With this done, head south, and you’ll run into your first Nauseating Tomartian. You won’t encounter these often, and there’s a Creepy Sheep rare enemy that can spawn in battles with them so be sure to scan the entry for it before you finish up in this area.
Continue south and look in the southwest corner to find a chest containing Space, Time, Mirage Sepith x60. A short distance to the east of this chest is a Flaming Geenew protecting the final chest in the south containing a Teara Balm. You’ll be prevented from going any further south for now, so instead, return to the intersection and this time head north and follow the path around to the northwest exit.
The final area in West Crossbell Highway is another simple one, but there are still two chests to be had and a Shining Pom that is one of the easier ones to get to spawn (thanks to Bellguard Gate to the left of its spawn point).
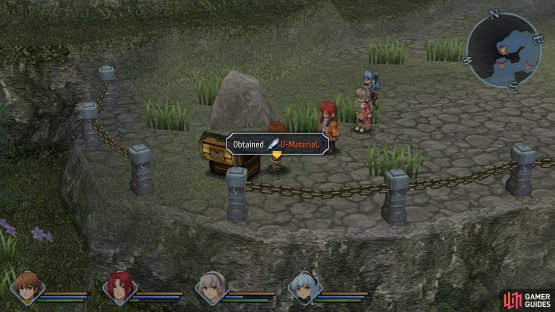
(1 of 2) An EP Charge II

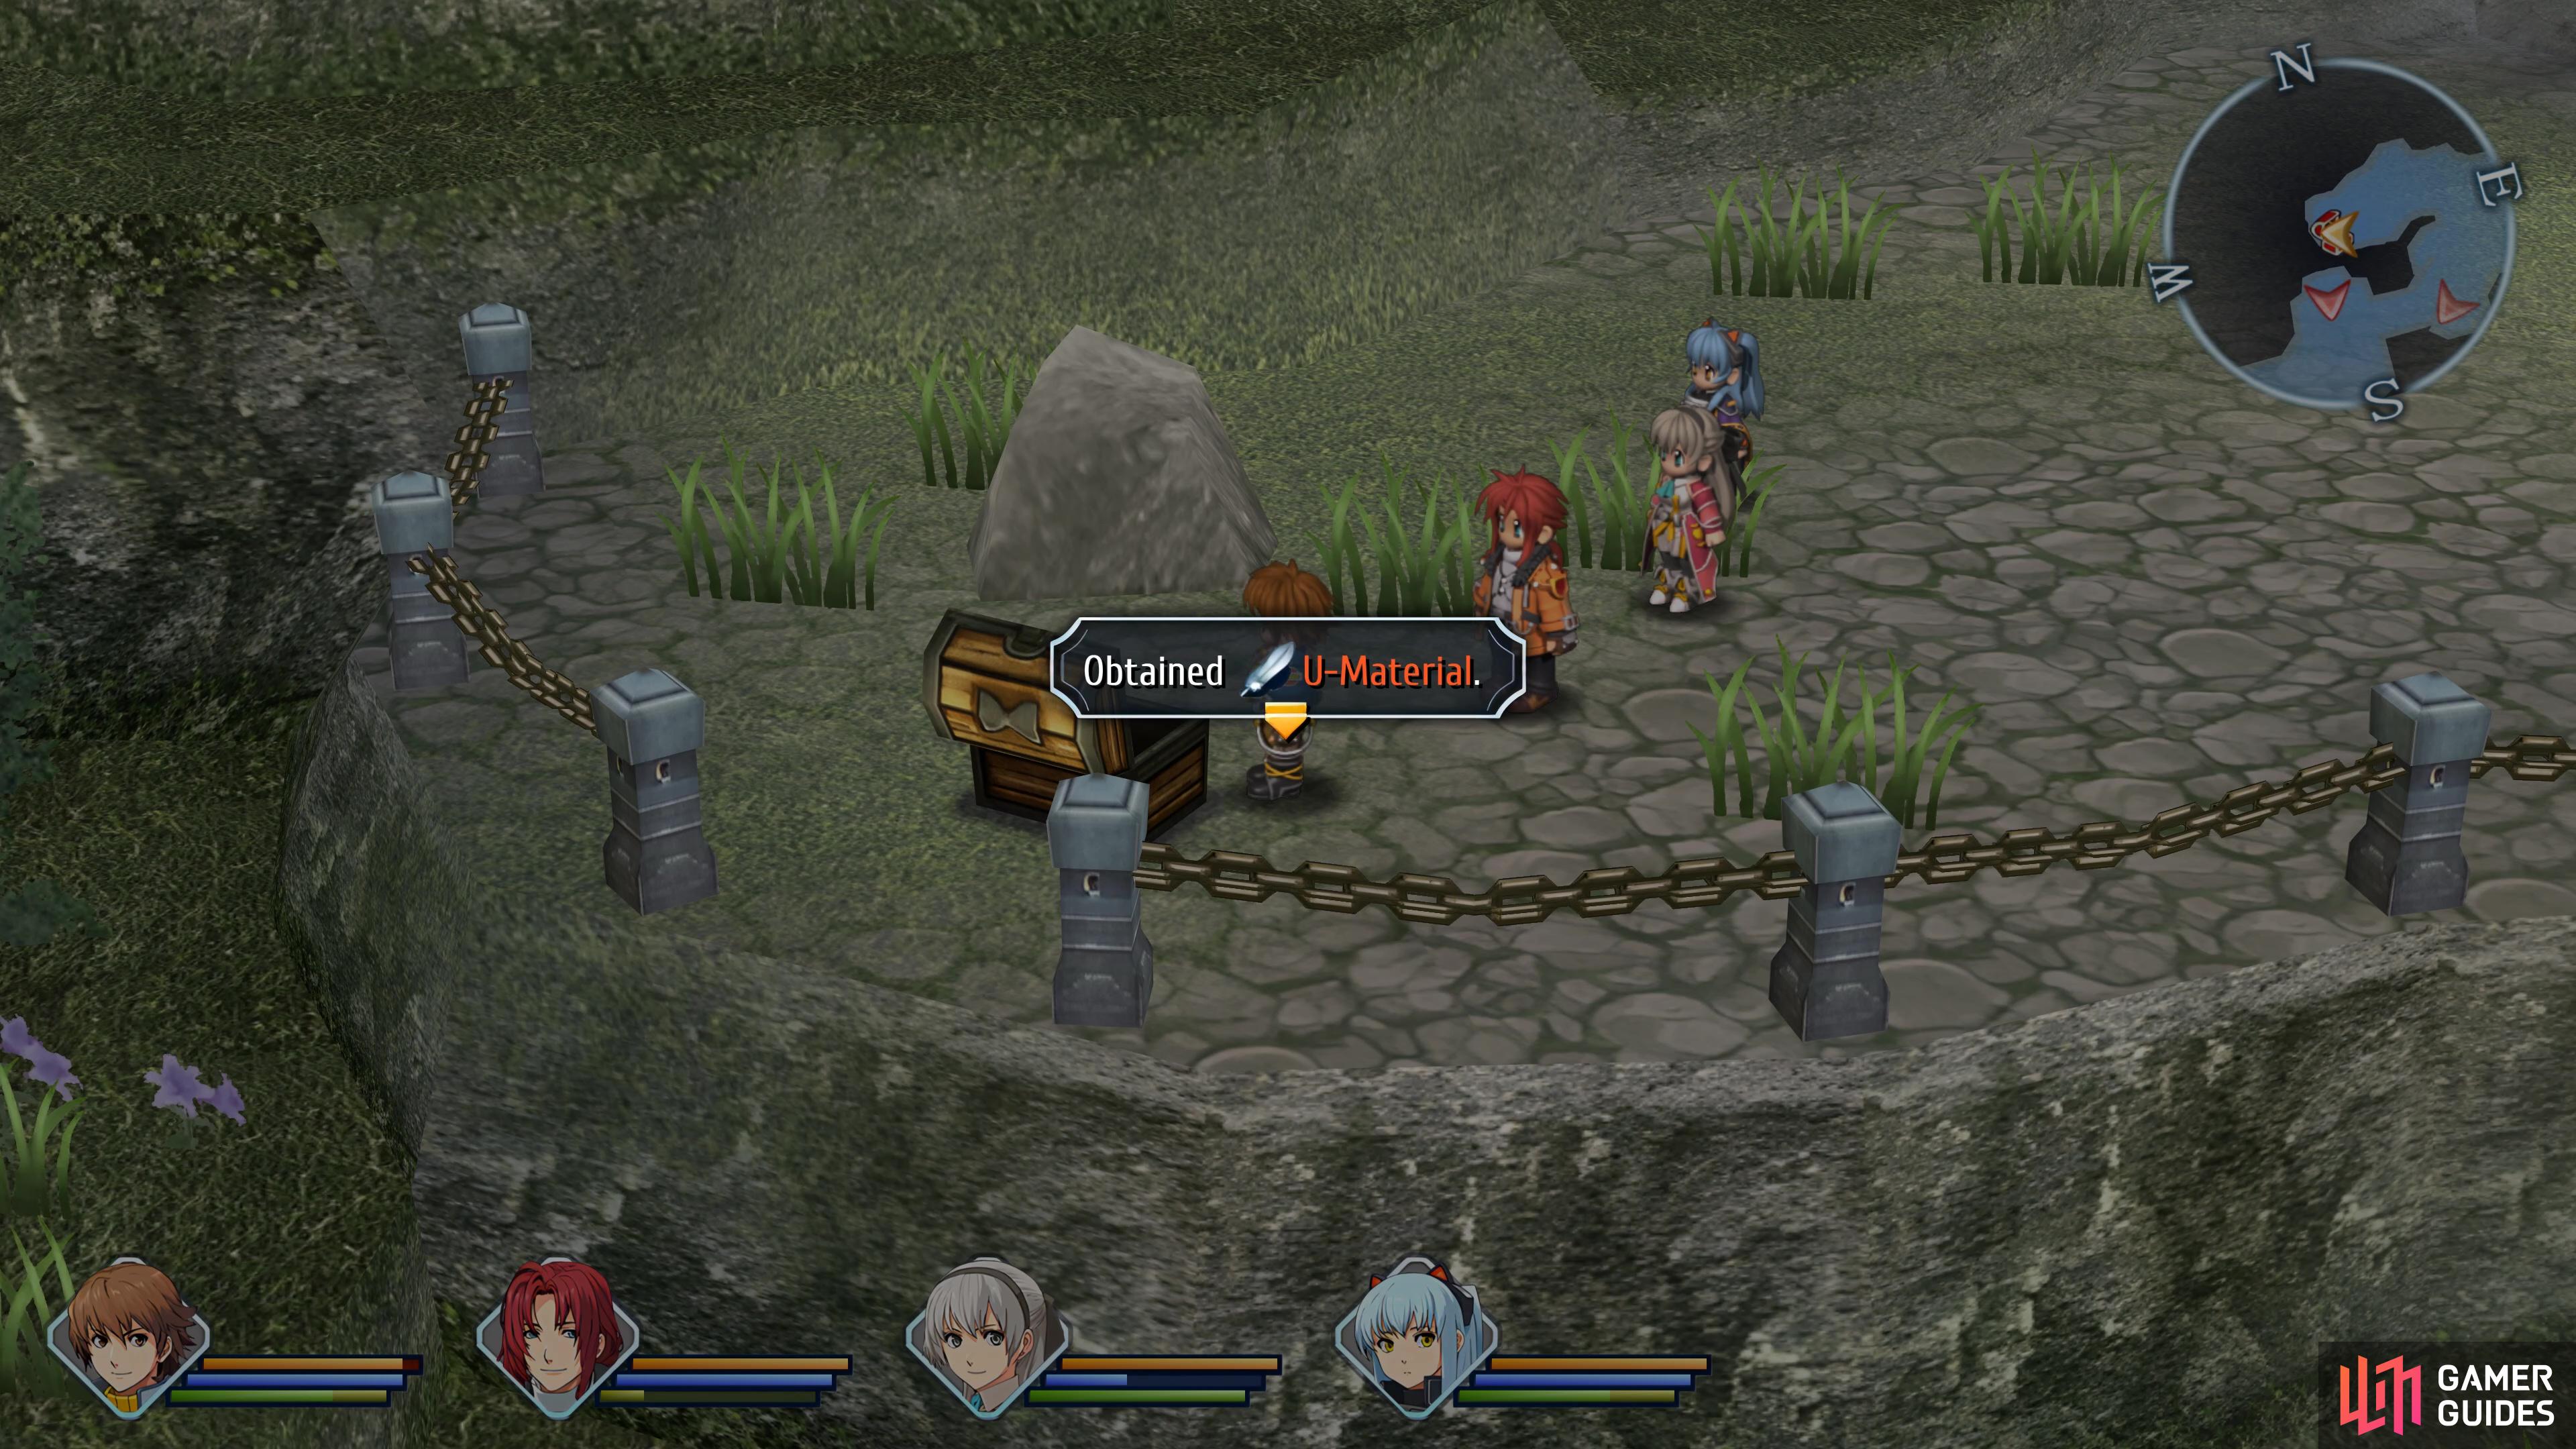
An EP Charge II (left), and U-Material await in the chests in the final area. (right)
After dealing with the Fanged Wolf and more Nauseating Tomartians, look along the northern wall to spot a chest containing an EP Charge II. Continue west along the path and then search the upper northern path for the final chest, this one housing a U-Material. That’s all for West Crossbell Highway, but before you take the bus back to Crossbell and head off for the east, there’s a bit of business to take care of at Bellguard Gate.
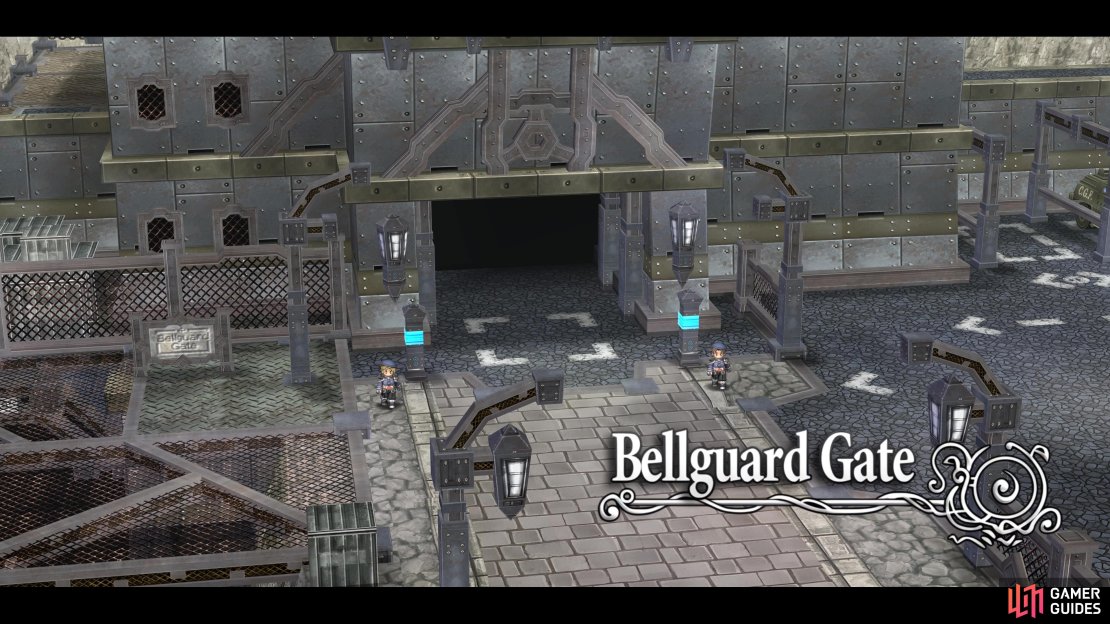
How to Find the Hearty Hotpot Recipe


(1 of 3) There are two important items to get at Bellguard Gate
There’s not too much to Bellguard Gate at the moment, you’ll need to return here later in the game for the story, but there is an important missable, a new recipe. Head inside the main building and enter the second room on your right to reach the cafeteria. Speak to Stella twice behind the counter and she’ll teach you the Hearty Hotpot Recipe. Leave this room and enter the room below, taking the stairs up to the next floor and following the corridor around until you’re outside again, there’s a chest here containing some Iron Leggings.
And with that, you’re doing with everything you can do out west for now so use the bus stop at Bellguard Gate and take it to East Crossbell Highway.
No Comments