
This page covers everything you should do at the end of Chapter 4 Day 3 in The Legend of Heroes: Trails from Zero before heading through the last door in Revache & Co. Details on how to open every chest, prepare for Bond Achievements, and last-minute preparations.
Chapter 4 Day 3 is the final “free” day in Trails from Zero, once you defeat the boss in Revache & Co. and pass through the final door, you’re locked into the end of the game, only being allowed to leave Crossbell as the story dictates. With this in mind, you’ll want to head out of Revache & Co. once you defeat that boss to take care of your final preparations.
Fishing and Combat Notebooks
The first thing you’ll want to do is ensure you have completed this Fishing Notebook, you could’ve done this first back on Chapter 3 Day 3, once you gain access to the final rod and bait. If you’ve still yet to do it, head on over to the fishing page to learn where to catch every fish, along with the rod and bait combo required.
Your main reward for this is the Grail Locket from the Serpenthead, the Divine Angler Emblem accessory for reaching the highest rank along with the You Won’t Like Me When I’m Angler-y. With everything unlocked too, it makes fishing for Rainbow Trout a lot easier which is the easiest way to make mira.


(1 of 2) You can obtain a Divine Cloth at this point for the combat notebook
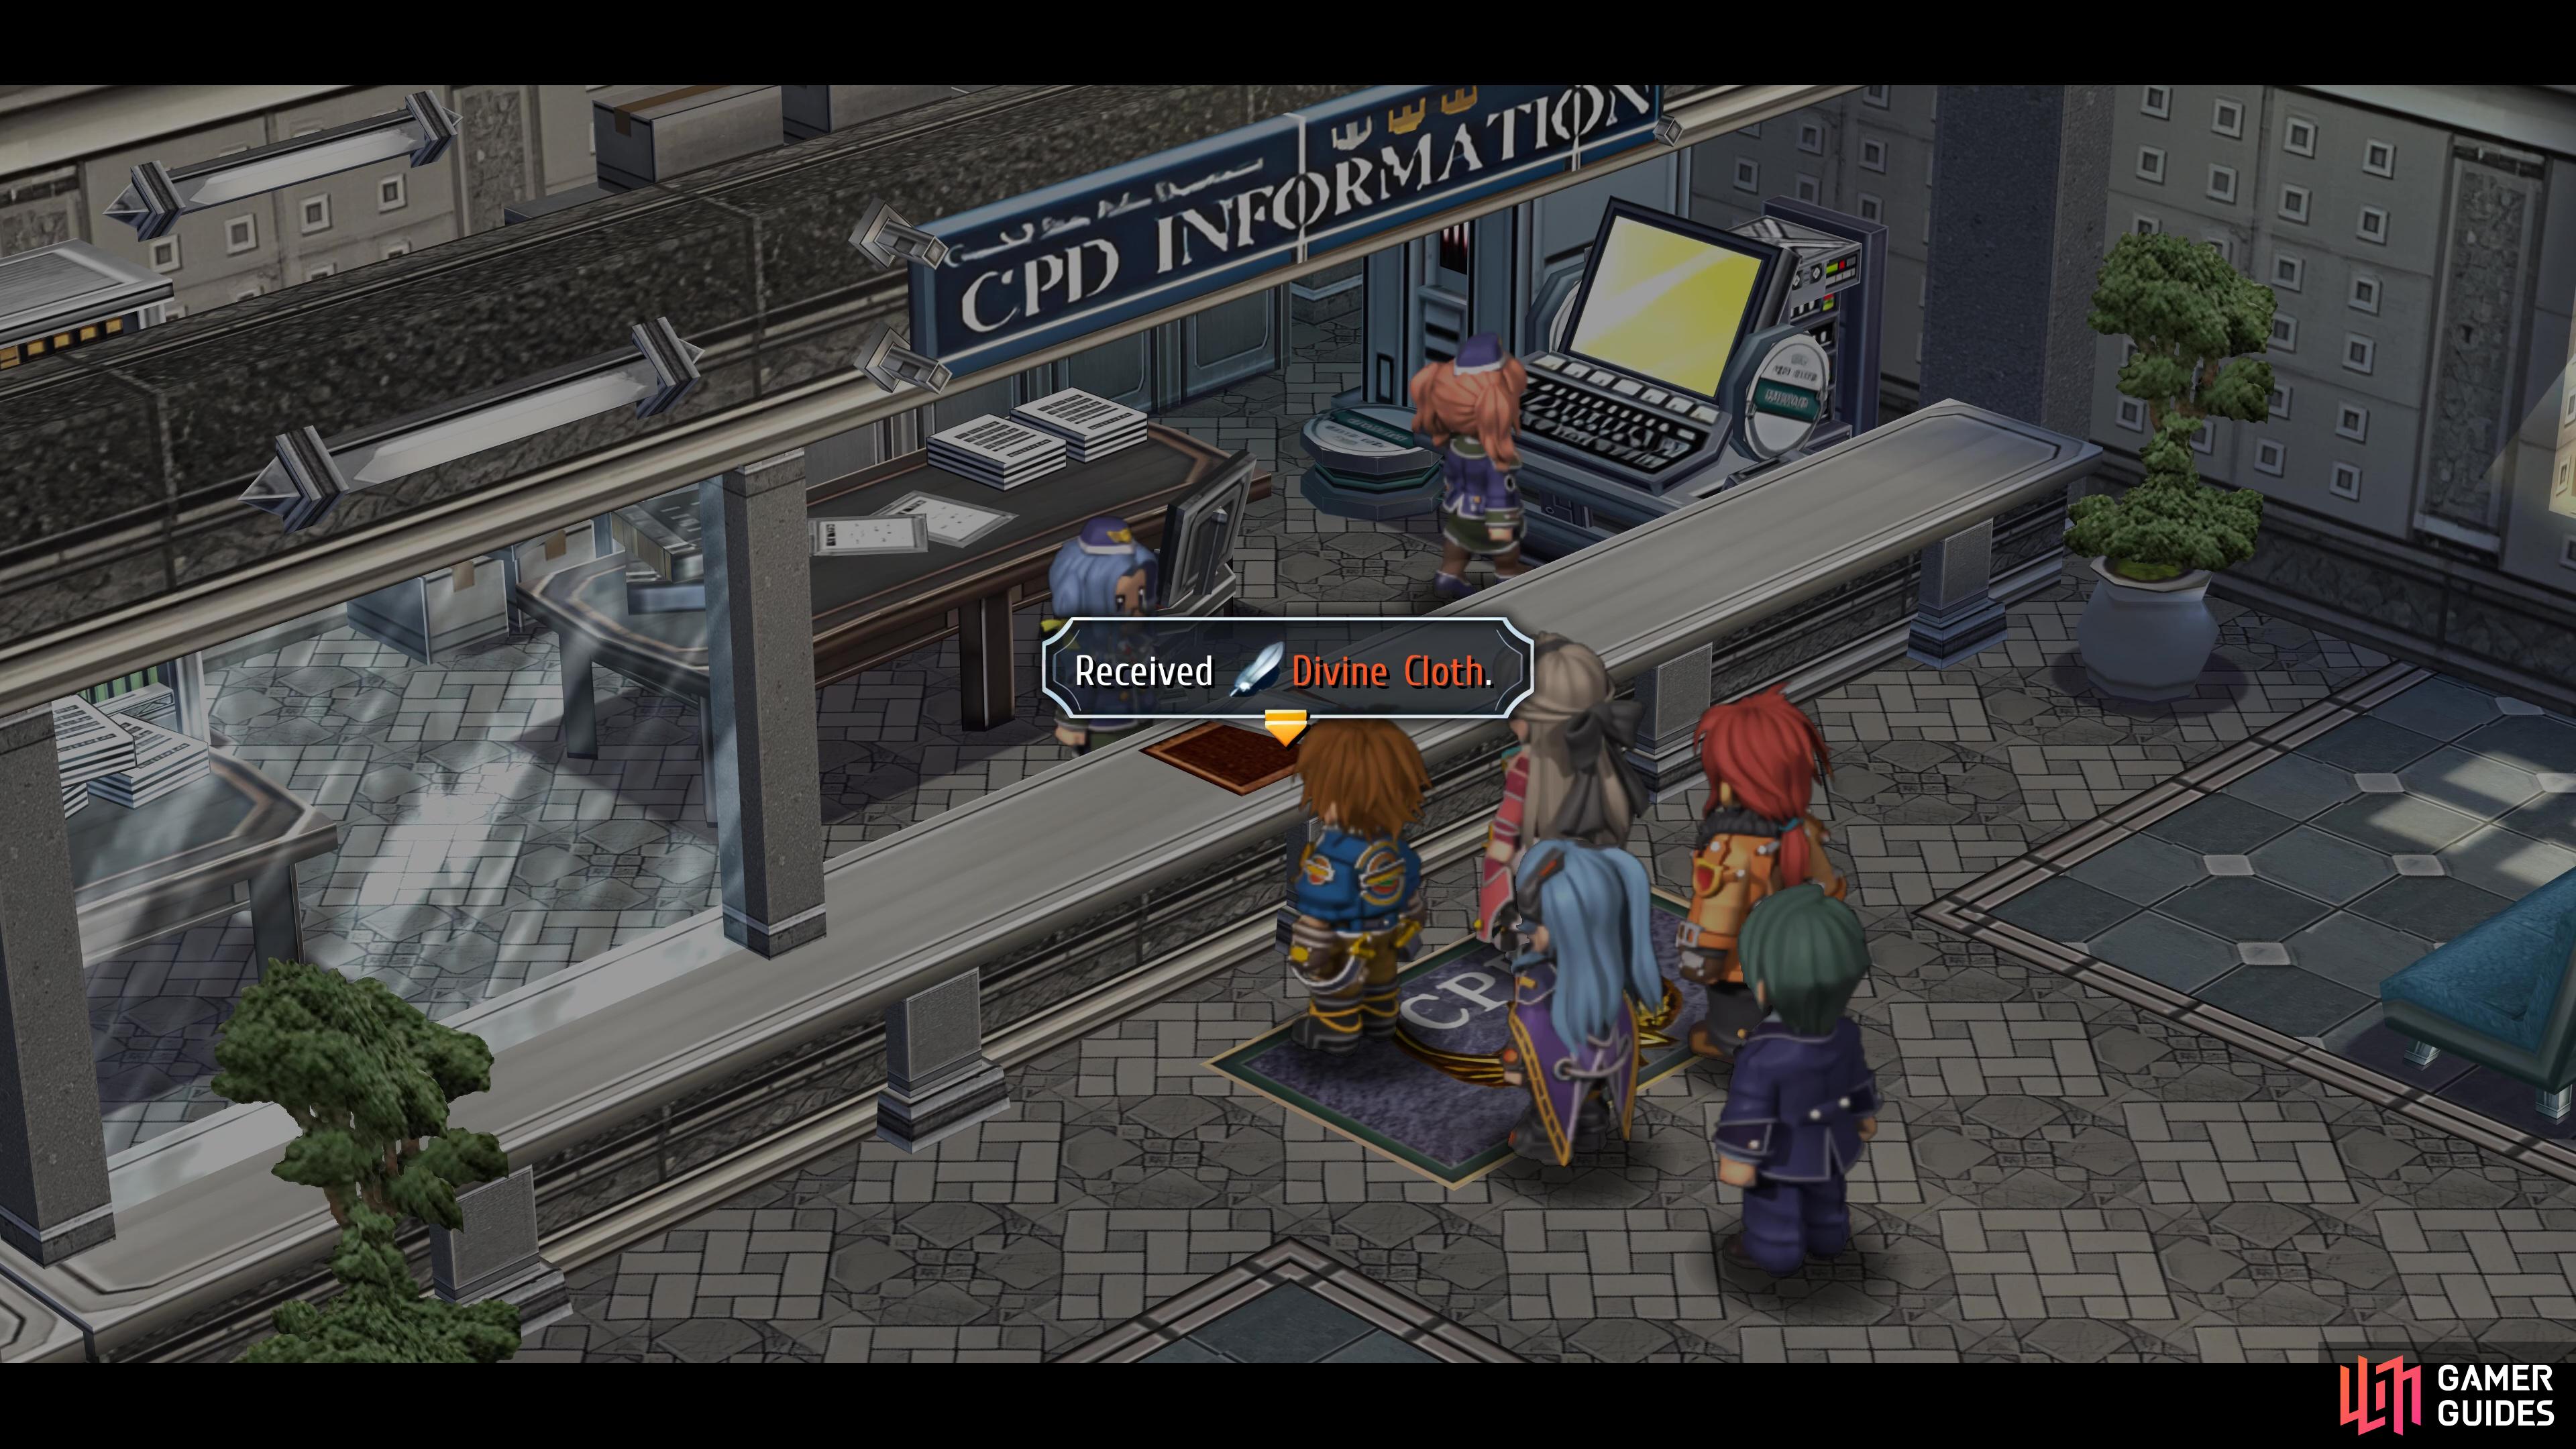
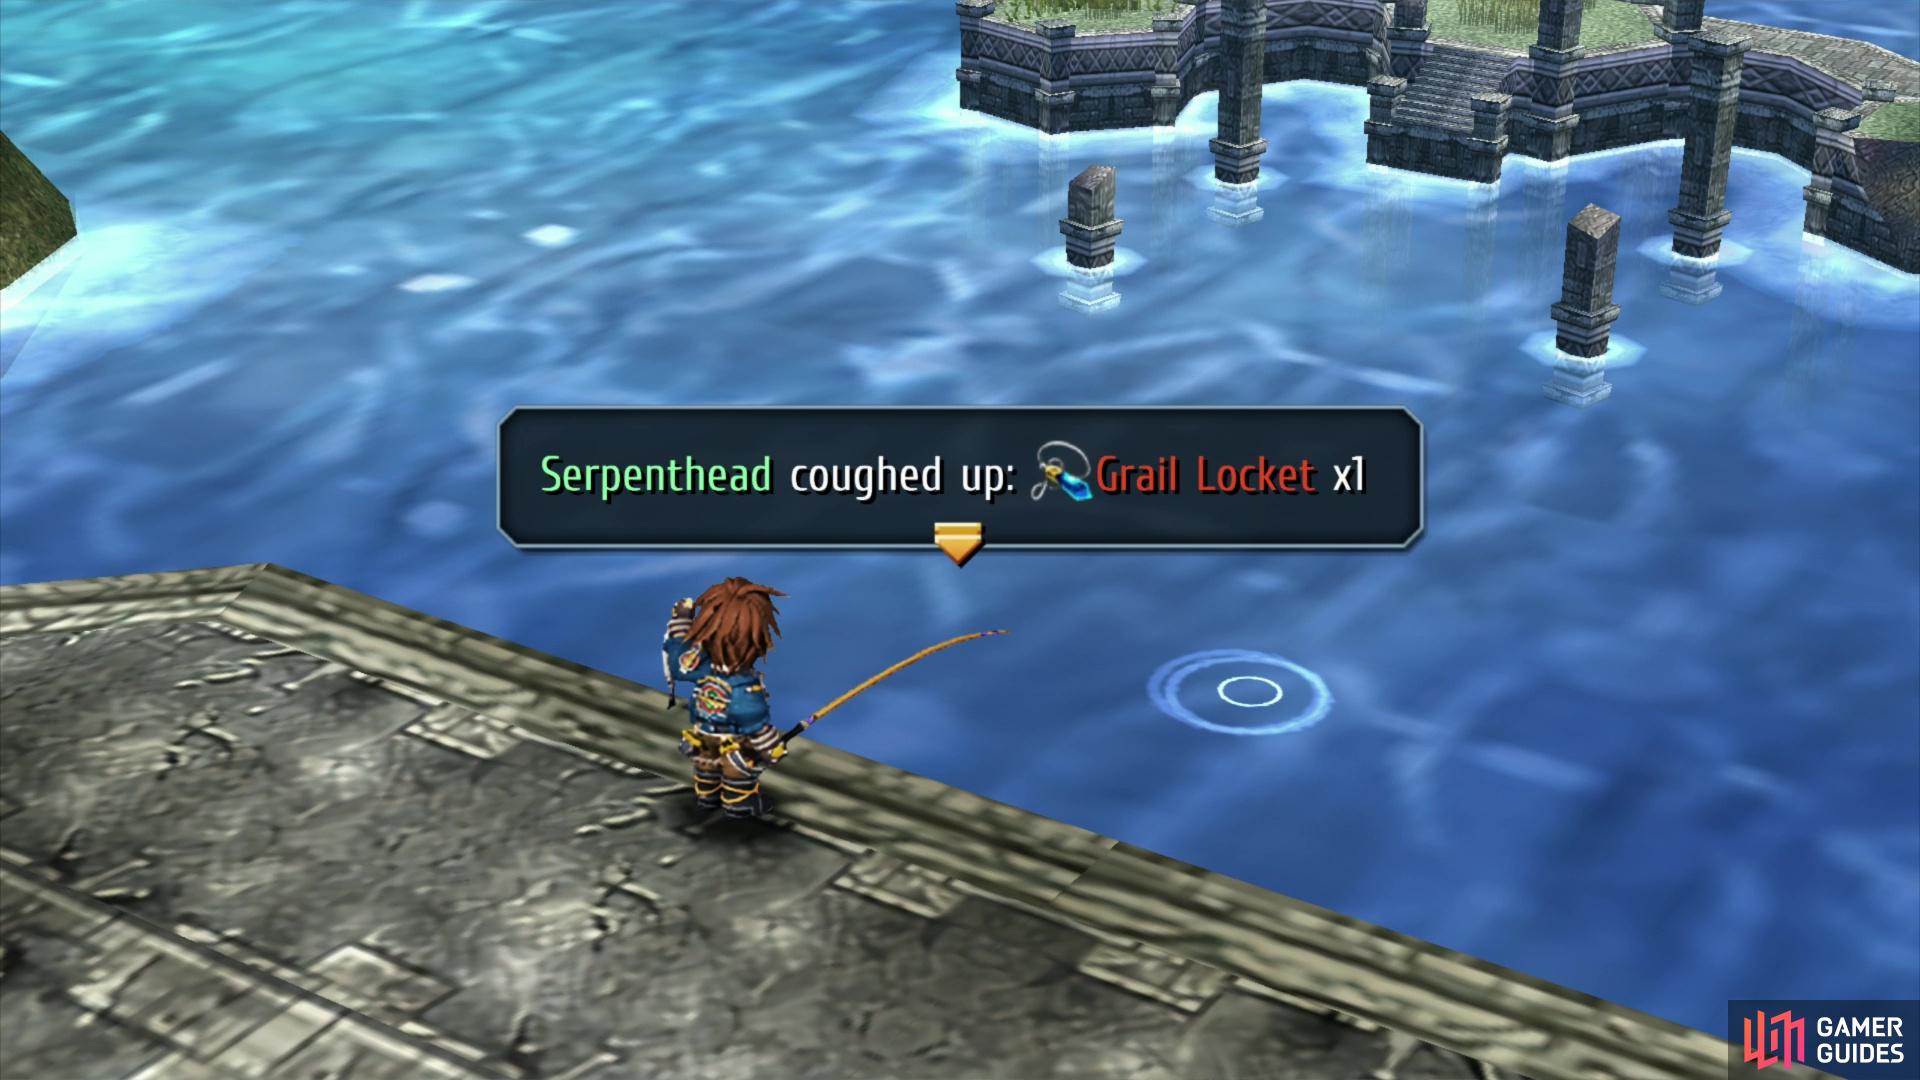
You can obtain a Divine Cloth at this point for the combat notebook (left), and you’ll be rewarded with a Grail Locket for catching the last fish. (right)
Next on your list should be to show your Combat Notebook to Receptionist Rebecca at the CPD in the Administrative District. If you’ve scanned every available monster to date (including the high-level monster chests), you’ll obtain another Divine Cloth as your reward, a material used in the forging of ultimate armor in the final chapter.
High-level Monster Chests
If you cast your mind back, you will remember that there are several monster chests that were way too high level for you to complete at the time. Now is your last chance to go back and open them, don’t worry if you’re worried about getting too much exp, each of these enemies will only offer 1 exp. You’ll find the locations and level-ranges of these monster chests in the table below:
| Lv | Location | Reward |
|---|---|---|
| 25 | Ursula Road: Path leading to Stargazer’s Tower | Capricorn Gem |
| 30 | East Crossbell Highway: Just before Tangram Gate | Aries Gem |
| 35 | West Crossbell Highway: Head to second area when leaving from Crossbell | Cancer Gem |
| 35 | Mainz Mountain Path: Take the bus to (Doll Studio) and you’ll find it south from the bus stop | Virgo Gem |
| 40 | Stargazer’s Tower: Go to 3F | Leo Gem |
At this stage of the game, the main monster chest that should be causing you trouble is the Lv 40 chest in Stargazer’s Tower. Before you set off for each chest, however, be sure to use an Inn or Hotel to recover to 200 CP, then you can begin each battle with S-Breaks from Lloyd and Randy. A lot of these monsters also have strong physical resistance, so Arts will be very useful here, especially the ones that hit over a larger area.
The Iron Starks in the Lv 40 Stargazer’s Tower chest require a bit more caution. There’s three of them, and although they only have regular attacks, it will hit for around 1200 HP+ to characters that are Lv 35 on Normal. To make matters worse, they’ll also inflict Faint to anyone not protected against it.


(1 of 2) The monster chest in Stargazer’s Tower is the toughest, but beatable at Lv 33-35
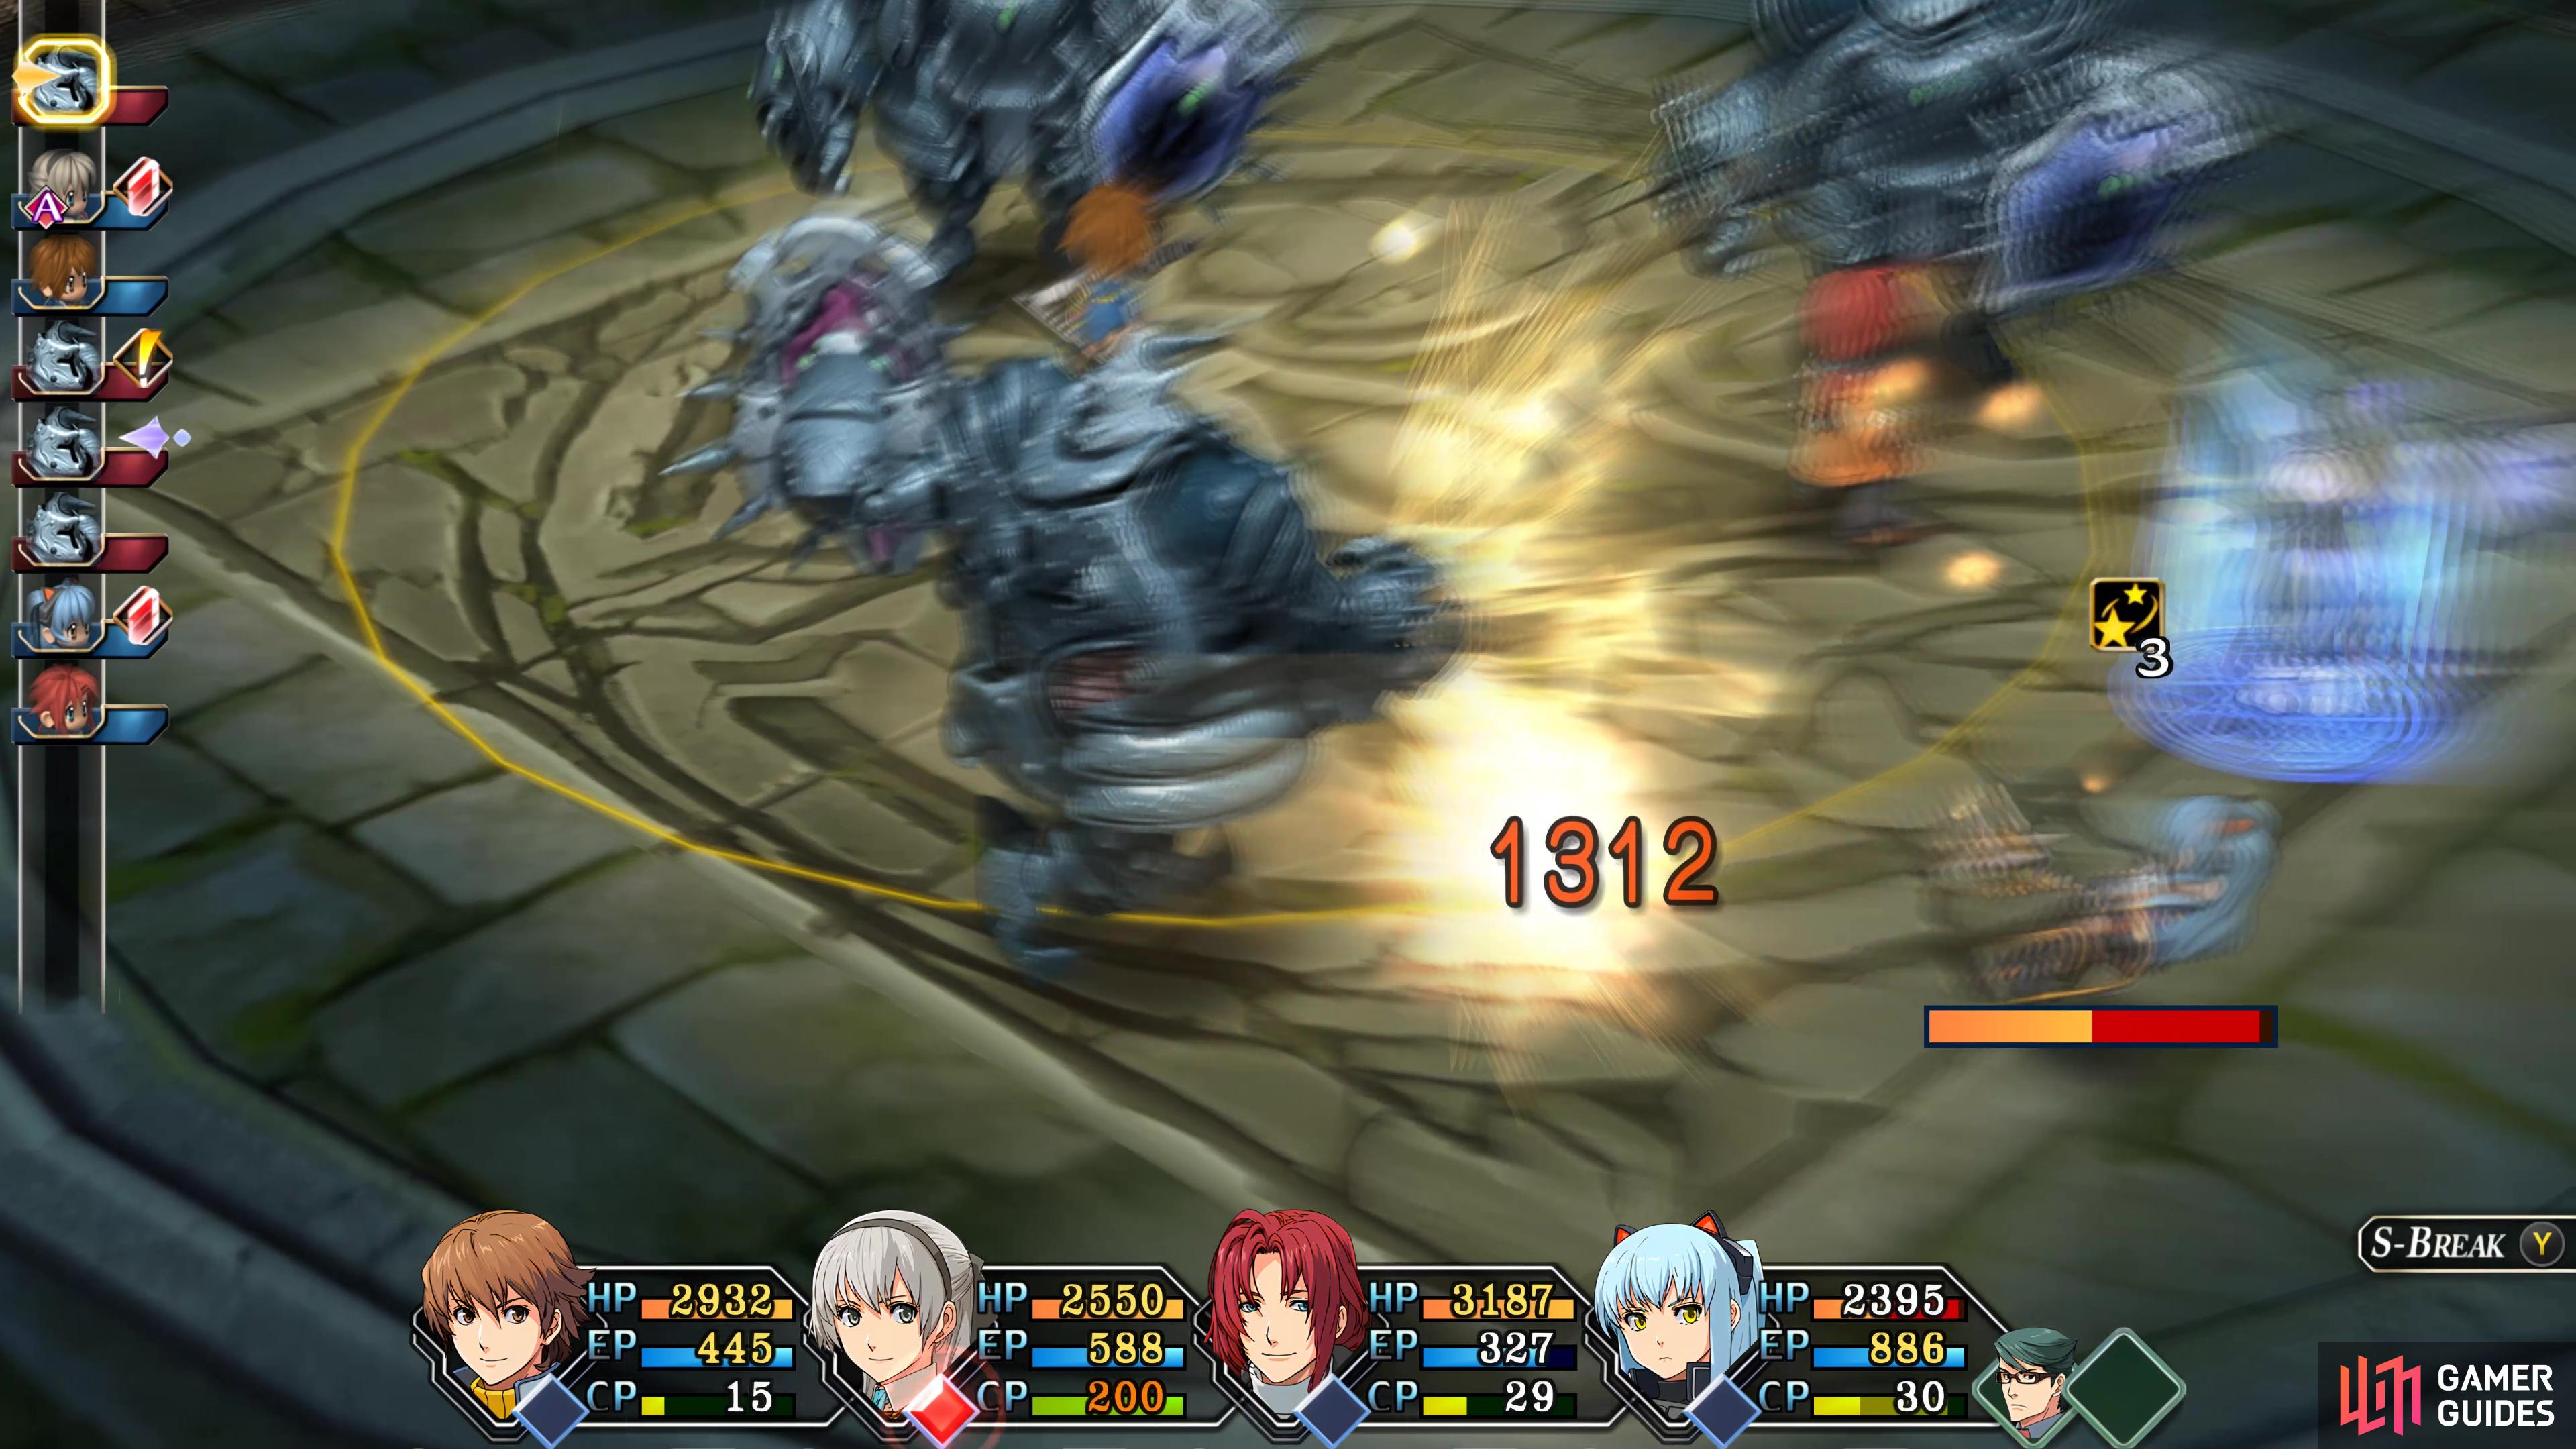
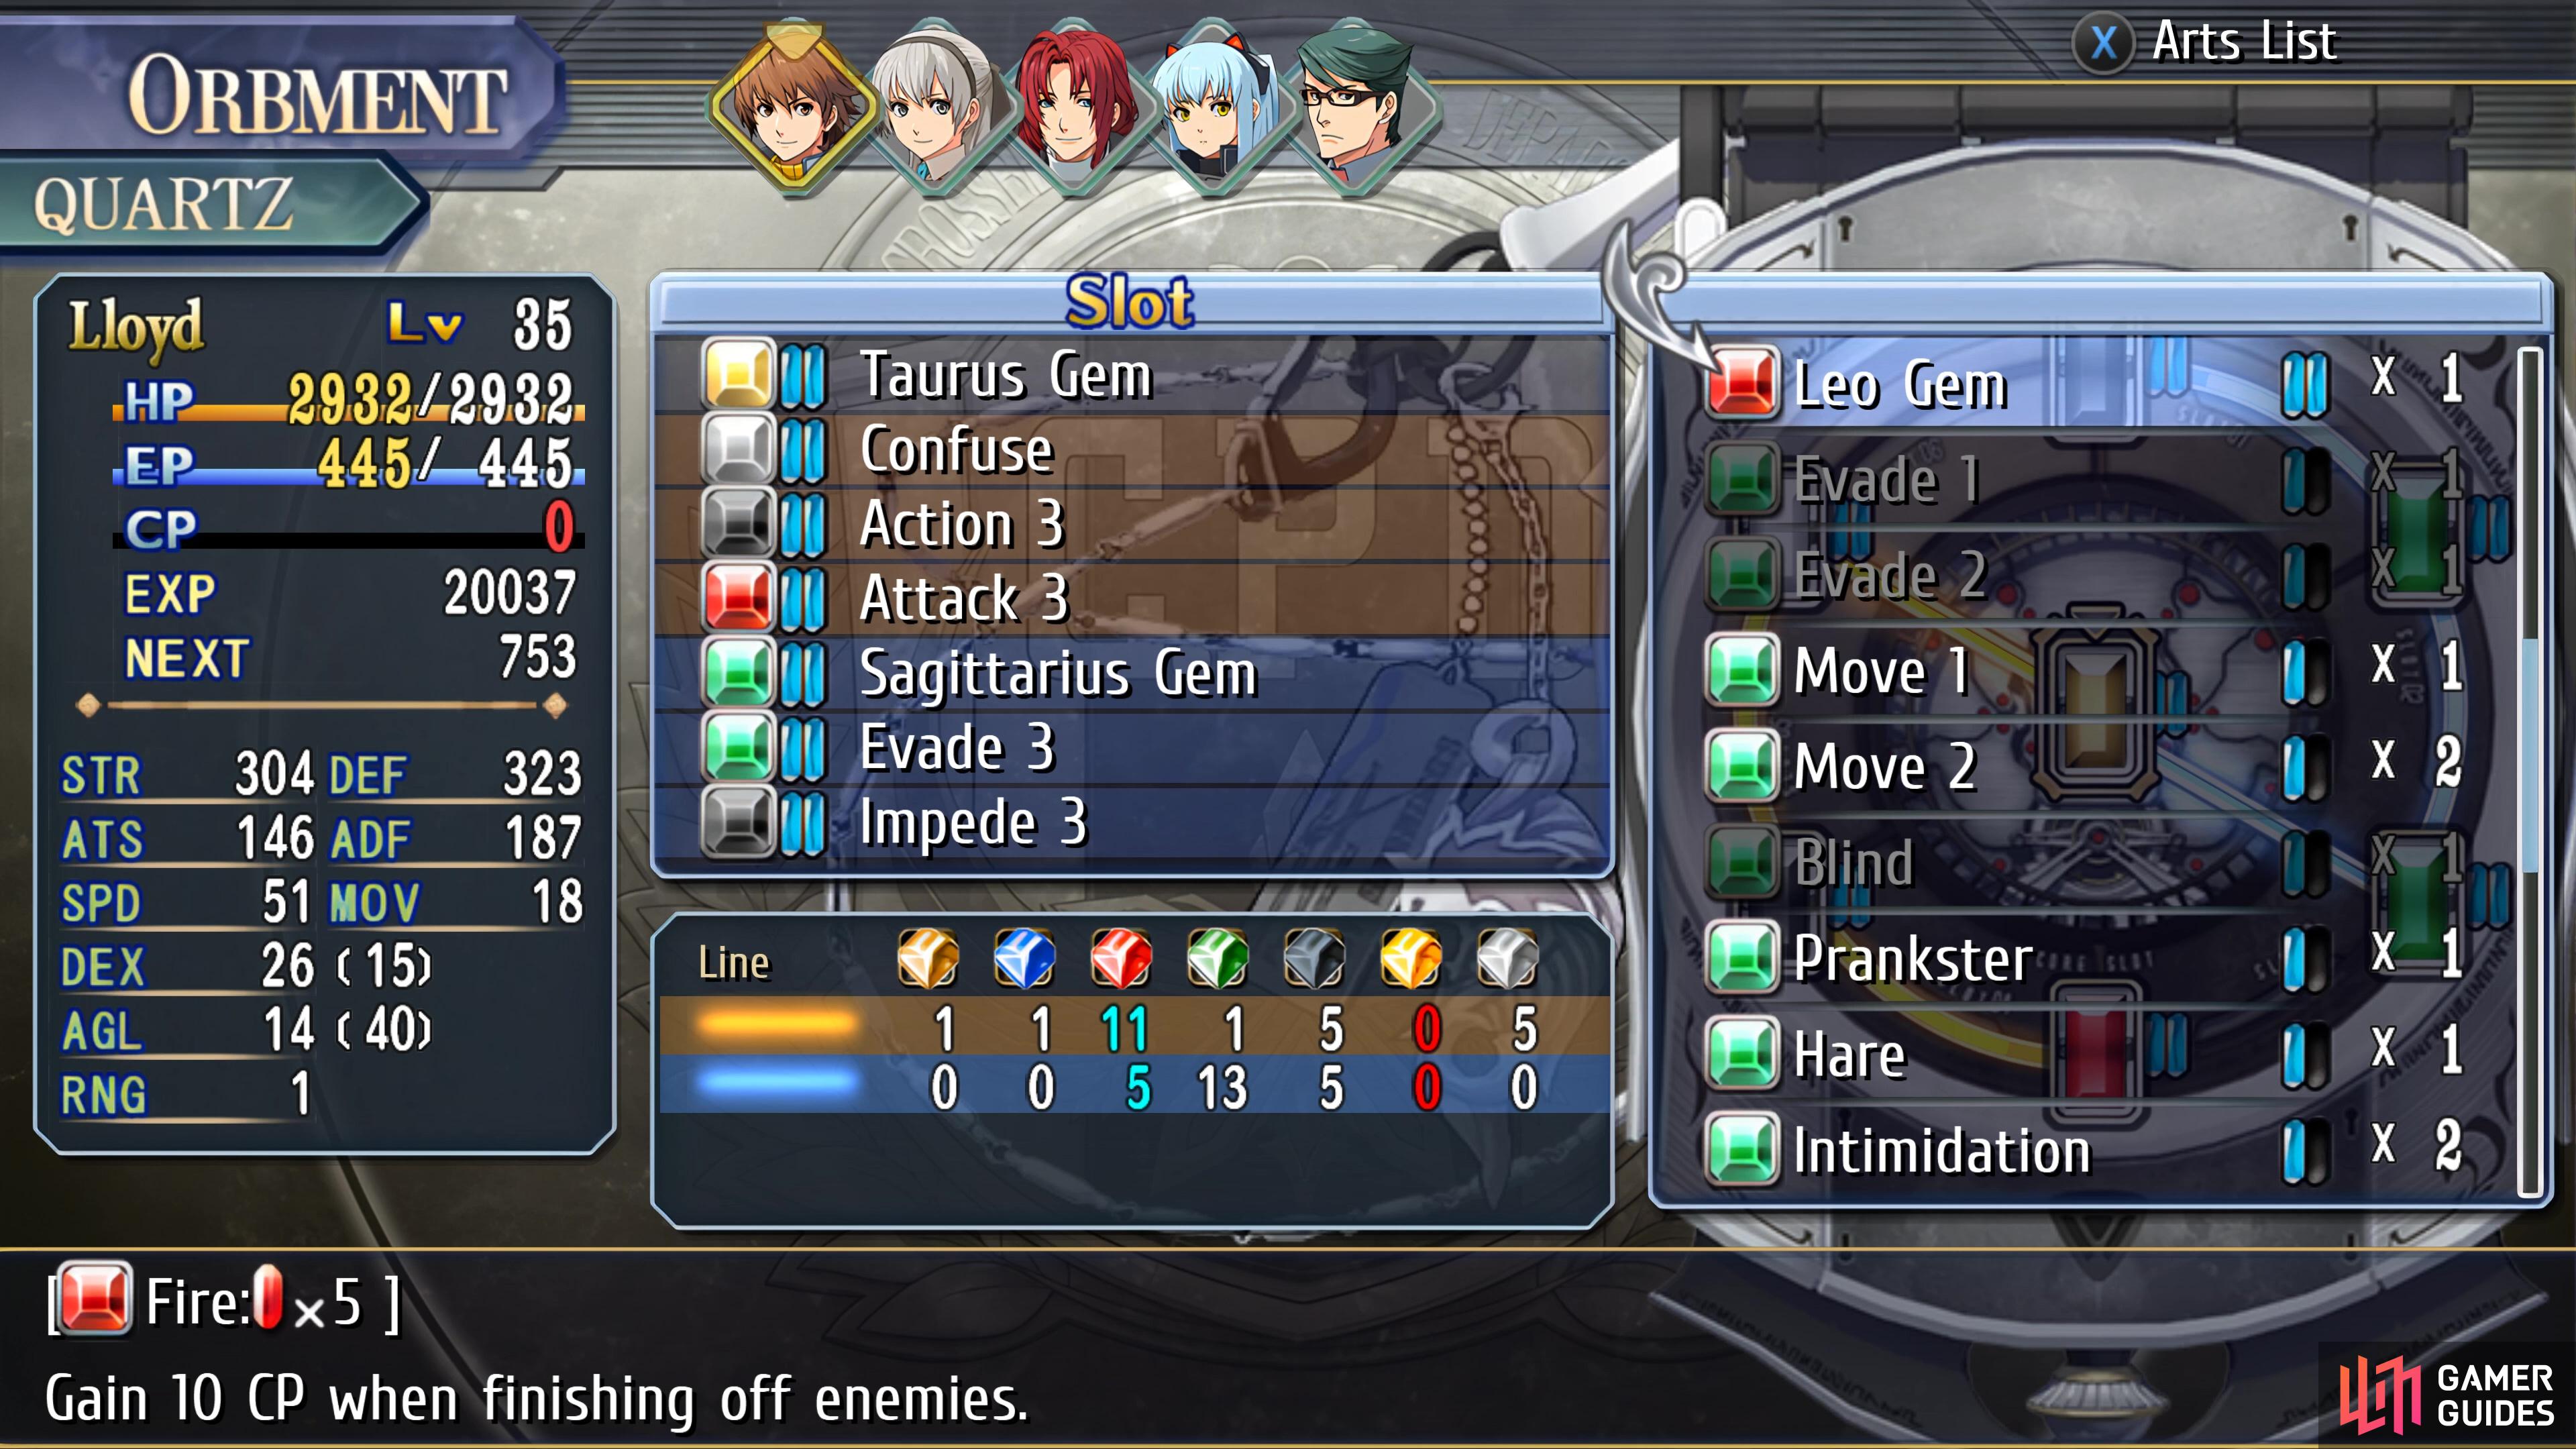
The monster chest in Stargazer’s Tower is the toughest, but beatable at Lv 33-35 (left), all of the Gems you get are excellent and useful in most setups. (right)
Begin the battle with your S-Breaks as usual, then use Lloyd and Randy, who hopefully have high Evasion, to take center stage while Elie and Tio sling high-level Arts at the back. Also beware that they will Self-Destruct when you defeat them, this could catch Lloyd and Randy out who will most likely be near to them.
The reward for all of these chests is some of the better Quartz in the game, most of which should find their way into your setups.
Bond Endings Preparations
If you’ve been following this walkthrough, you will have noticed that you’ve been guided to make certain choices, all in the purpose of setting it up so you can make a single choice in the final chapter to get a Bond Achievement, then reload and get the others, all added to your records. Follow these steps:
-
Begin by purchasing all of the Enigma Covers at the Genten Orbal Store in Central Square. Each one will set you back 1000 mira each.
-
Purchase the room decorations for each character (two each):
| Character | Decoration | Location (cost) |
|---|---|---|
| Lloyd | Model Orbal Car | Armorica Village: General Store (1,000) |
| Lloyd | Orbal Stereo | Mainz Mining Village: General Store (10,000) |
| Randy | Darts Set | Entertainment District: Barca Casino (1,000 Tokens) |
| Randy | Ilya Poster | Central Square: Times Department Store (10,000) |
| Tio | Hanging Mishy | Central Square: Times Department Store (1,000) |
| Tio | Sitting Mishy | Back Alley: Imelda’s shop (10,000) |
| Elie | Elegant Vase | Central Square: Times Department Store (1,000) |
| Elie | Wall Clock | St. Ursula Medical College: Le Lectier Inn (10,000) |
-
Once you’ve purchased all of the room decorations, head into each character’s room twice to install each of them (a short scene will play showing you adding them to the rooms).
-
The final step is to perform some Combo Crafts. This is most easily done by heading outside of East Crossbell Highway and fighting the monsters there, then going back to East Street (with Turbo on) and using the Inn to recover to 200 CP. You’ll need to do 9 Combo Crafts with Lloyd and your choice in the prologue, 2 Combo Crafts with Lloyd and your choice for the Schwarze Auction, and finally 2 Combo Crafts with your choice for the Intermission.


(1 of 4) Purchase all of the room decorations
With all of these steps, do not use any other Combo Crafts with Lloyd and you should be setup for obtaining every Bond Achievement in the final chapter.
Once all of these steps have been taken, do anything else you wish to do such as crafting some more Quartz or buying some consumables, and then return to where you defeated the boss in Revache & Co to pass through the door.

 Sign up
No Comments