In order to continue any further against the Eclipse, you’re going to have to take down their Focus network. Thankfully, Sylens found out the location of where this might be, which is in the southwest corner of the map. Fast travel to Meridian Village and take the southwestern exit, following the trail to the west and ignoring any side paths until you happen upon a campfire at a fork. Head northwest to another campfire and if you go northwest from here, you will be met with a giant rock wall, so how are you supposed to get to the top.
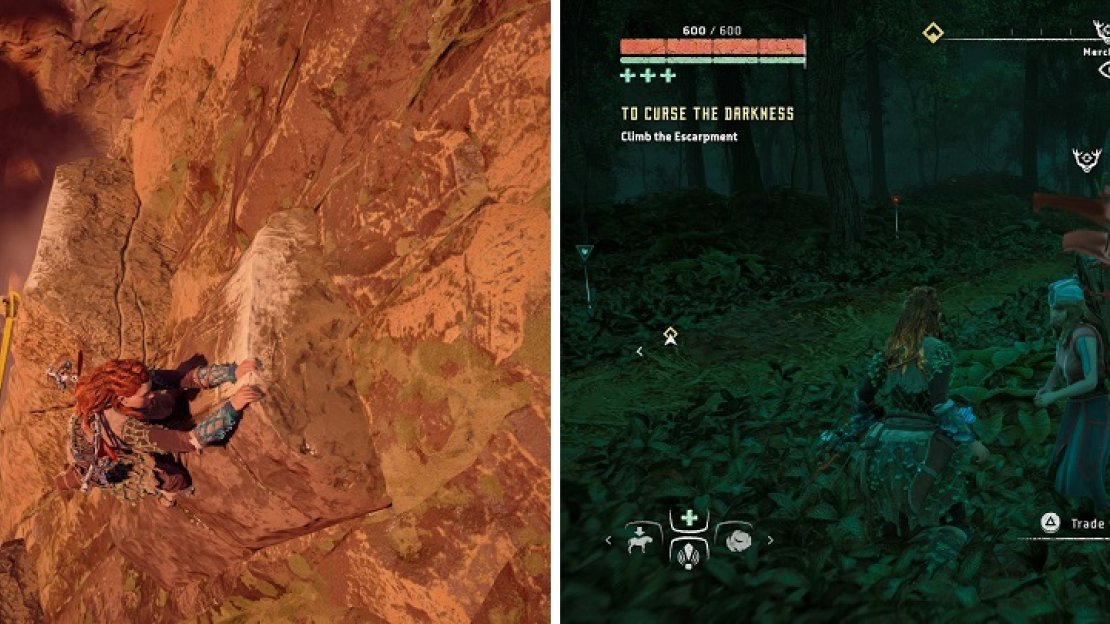
If you did any exploring to the north, then you might have a campfire or two available for fast travel. However, the other way is to channel the spirit of Nathan Drake and climb your way to the top. From the previous campfire you discovered, follow the path northwest exactly to be brought to some handholds. This is a fairly long climb and about halfway up, you will discover another campfire, but you won’t be able to fast travel to it because of how close you are. Cross the bridge to the west and continue on that path until you come to another fork in the road.
The climb to the top is a long one (left). There’s a merchant right outside of the Eclipse camp (right).
One path goes northwest, while the other continues straight west, which is the one you want to take. You can find Metal Flower - Mark III (G) along the path, so snatch it and keep going as the path curves to the southwest. As you approach the next fork, Sylens will call you and say you’re getting close, as well as mention some handholds on a rock wall ahead. Somehow, there’s a merchant near the fork, selling to absolutely no one out in the middle of nowhere. Keep going southwest and you’ll eventually arrive at the handholds Sylens mentioned. Climb them up to a ledge with a campfire and despite your insatiable desire to explore past the crevice, you need to listen to Sylens and rest at the campfire in order to continue.
Infiltrating the Eclipse Base
After a little conversation with Sylens, head on through the crevice and use your Focus to spot some corrupted machines ahead. There will be four Redeye Watchers, as well as two Longlegs. Luckily for you, there’s quite a lot of tall grass around to hide in, so use that to your advantage in delivering some Silent Strikes to the machines. Of course, that only works on the Watchers, as the Longlegs have a bit too much health to kill instantly. A good triple shot with precision arrows to its concussion sacs will deal some huge damage and soften them enough to finish them off with other attacks.
Where the further of the two Longlegs was patrolling are more handholds that allow you to reach a ledge to delve deeper into this base. Unfortunately, the area beyond is riddled with Corrupted Scrappers. You will want to be careful around these, as they have a radar that can uncover your position, even if you’re hiding in tall grass. Of course, if your cover is blown, then a few good shots to the Scrappers’ weak points will put them down for good… or a shock arrow to the power cell on its behind.
More handholds can be found on the opposing end, leading you to an area with some Eclipse soldiers. Aloy will automatically drop down into some tall grass, so use this opportunity to mark all of the enemies, noting a single elite on the opposite end. Use your Lure Call to get the enemy right in front of you closer, then stealth kill him. If the other guard patrolling the immediate area sees his body, quickly jump out and kill him; otherwise, Lure Call is your best friend to get him closer to your cover. There will be another enemy to the east that might have gone unnoticed in your initial sweep of the area.
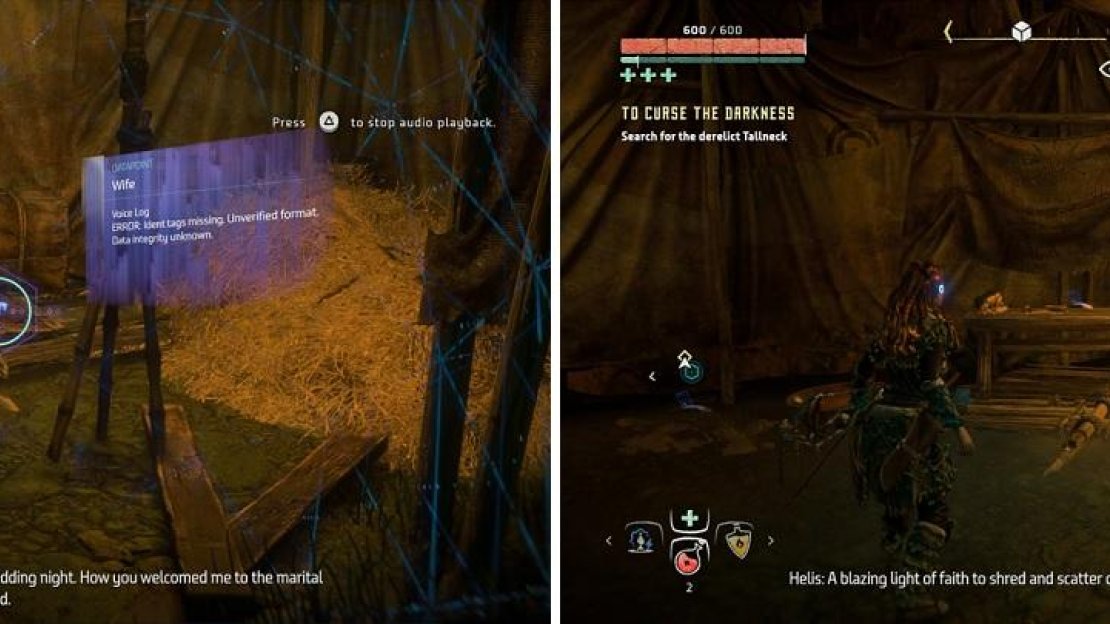
The Datapoints inside of the one tent offer a glimpse into the mind of Helis.
Of course, headshots with precision arrows will work wonders here as you take him out, as well as the others on and across the bridge. When you get close enough to the elite, nock a triple shot and let your arrows fly…right into his skull. There are a large number of Audio Datapoints here - Wife , Without Pity , Chosen of the Sun , Meridian’s Fall , Itamen Coddled , and Prophecy . Approach the edge of this area to receive a prompt to push the tree, giving you a footing which to cross the gap. Follow the path to find the derelict Tallneck that Sylens has been pushing you to find all this time.
Escaping the Eclipse Base
Now, there is a ladder on one side and a ramp on the other; the ladder leads to a dead end, so take the ramp. Once you reach the top, there will be a cutscene that will bring out the end of the Tallneck and have you running for your life. As Sylens kindly points out, you need to keep running and not look back at all. The first few bits are the hardest, especially with a Deathbringer firing on you. You’ll likely get hit a few times, so keep a finger on any potions you may have, as well as the medicine pouch.
The reason why the first bit is tough is because you need to climb along some ledges to aid in your escape. This means you’ll be a sitting duck and hopefully you don’t take enough damage to die. Once you get past this section, though, things will be a little bit easier, as you’ll only have to contend with Eclipse soldiers. Listen to Sylens’ advice and just keep running, as there are way too many to fight. Your goal, if you can remember amongst all of this chaos, is the bridge Sylens mentioned earlier. So, keep running and once you reach the bridge, get to the middle to find a rappel point, bringing an end to this quest.
| Objective | Reward |
|---|---|
| For shutting down the Eclipse network | 10,000 XP / +1 Skill Points |


No Comments