

Grabbing a Grazer Trophy
Enjoy a little scene showing the aspirants ascending to the proving ground, and after a little more rudeness from Resh you’ll get to your first trial: A herd of Grazers will arrive and it’s your job to take one down and claim a trophy. Your best bet is to wait for some to attack the other aspirants, and while they’re focused on that, perform a strong attack to knock them down, then finish one off and loot it to claim a Proving Trophy. Bast, being a jerk as usual, sabotages your effort and you’ll have to find another trophy. Now there are fewer Grazers about, and the rest of the aspirants have taken off, so there’s no easy way to get this one - just shoot at one until you have its attention, dodge its attack (most likely a charge) then take it down in melee.
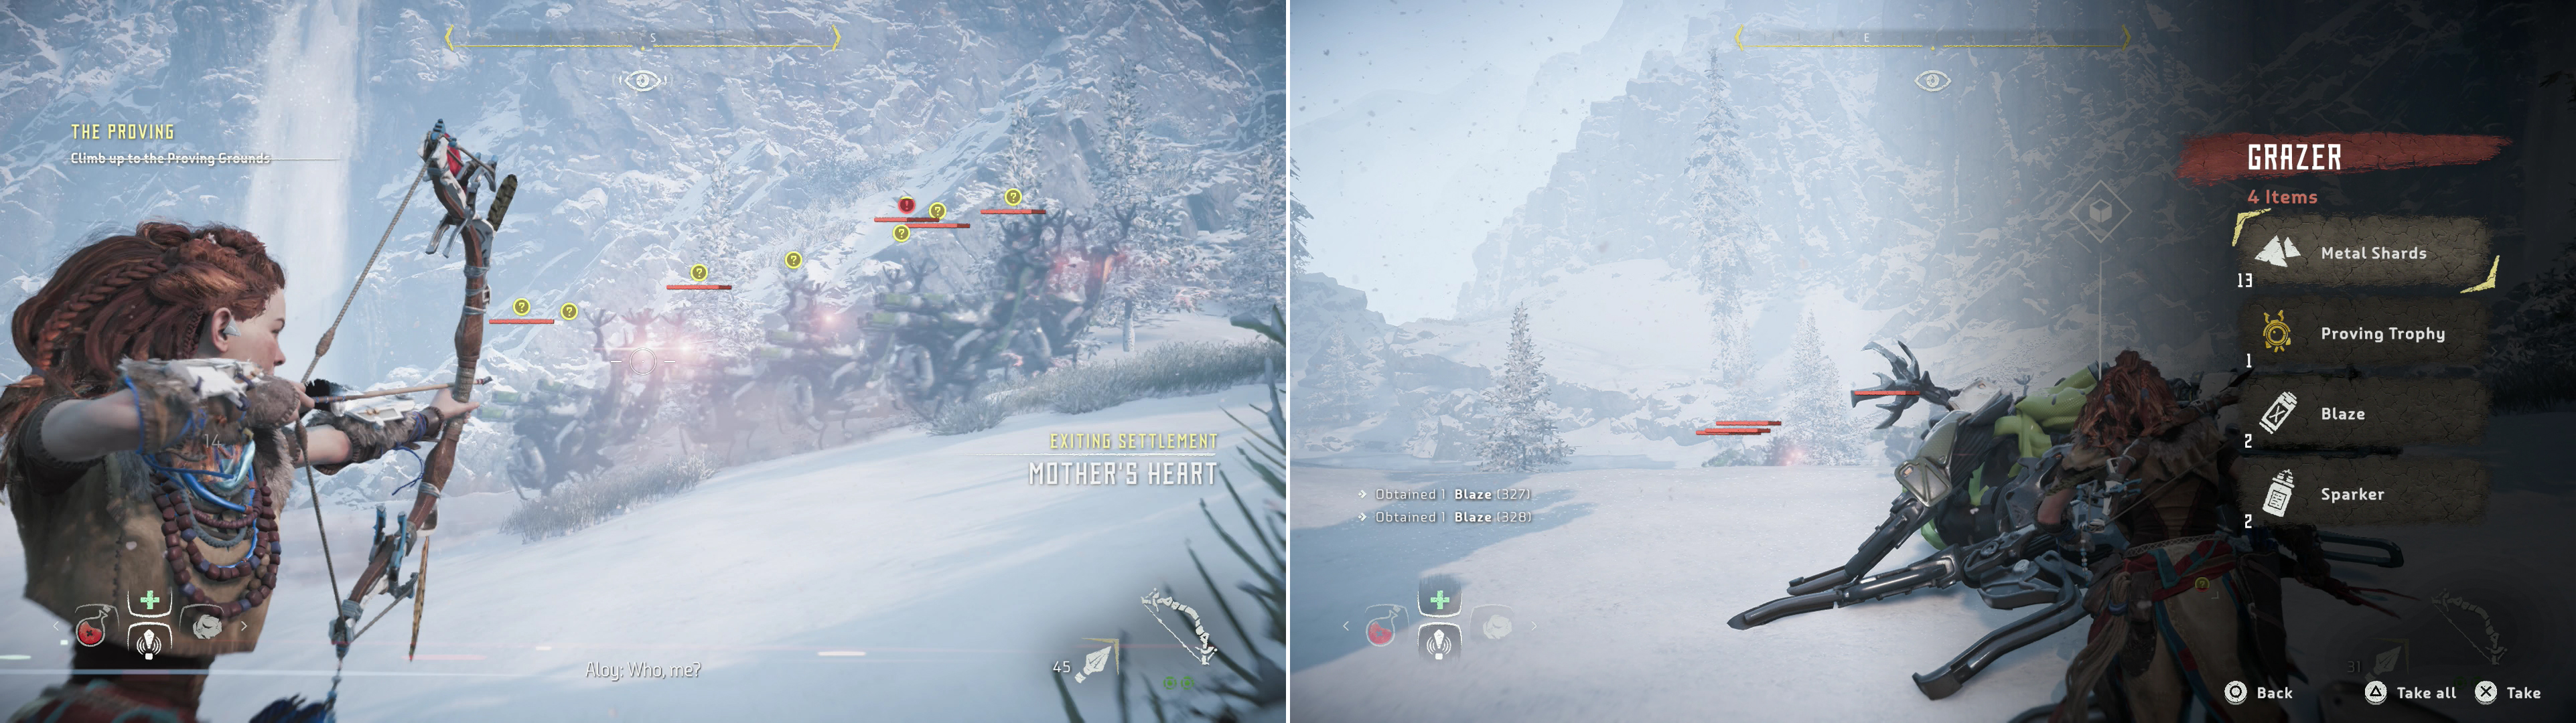
Take down a stampeding Grazer (left), then grab a Proving Trophy off of it (left)
Abandoned Brave Path
When you have the second Proving Trophy head north, northwest under an arch and along a mountain path, climbing ledges and ladders as necessary until you encounter a Proctor. He’ll try to talk sense to Aloy, which naturally is an exercise in futility, and she opts to take a dangerous path in a desperate attempt to finish first than to simply settle with survival.
Continue forward and use a zipline to cross a gap, then turn west and balance across a collapsed tree that spans another crevasse. Cross the tree and jump [X] onto a ledge, then navigate up the cliff face with the [Left Analog], leaping up to higher ledges when necessary. Leap into another ledge and sidle to the right to find another ledge you can leap to, just maneuver Aloy to the right with the [Left Analog] and she’ll use her super-human strength and agility to leap her way onto a more stable ledge. Cross another conveniently-placed fallen tree then turn southeast to find a dead tree jutting vertically over the side of a cliff. Move to the end of this tree and press [Triangle] to rappel down to the ground below. Her hands must be made of iron to endure sliding down that rope.
Follow the linear path ahead northeast, then northwest, scale a ledge, then continue north-west, then north to reach another cliff-face Aloy can climb. Proceed forward across some old world ruins which now serve as another convenient bridge, under an arch and up a cliff. Cross another fallen tree bridge and use a final zipline to steal the race.

Facing impeding defeat, Aloy takes an unconventional route through the Proving (left). Braving dangerous conditions, use the alternative path to take the lead (right).
Outsider Ambush
Your celebration will have to be postponed, however, as the Proving is interrupted - violently. Aloy, Vala and Bast are behind some cover, while the attackers occupy a ledge to the northeast, firing an endless supply of arrows. You can try to out-shoot them from behind the rock, but there’s a better way to handle this. Turn east and sneak your way over to some high grass (rolling to speed up the process), then continue east into other patches of grass until you find a ledge (marked by some yellow rope) leading up to where the attackers are.
Continue north, northwest into some grass from which you can take out the enemies. A single headshot with your bow will be enough to kill an enemy, but if you’re not capable of that, you might as well resort to melee. With a bit of patience and careful aiming, however, you should be able to eliminate each of the archers one at a time, and yes, Silent Strike does work on them if you’re capable of sneaking up to them.

Take out the incoming cultists archers by performing headshots from cover (left), then fend off a host of melee attackers (right).
After the last archer dies you’ll find yourself back on the lower part of the battlefield, now confronted by a host of melee combatants, who are capable of performing stupidly floaty, somehow-homing leap attacks. Kill them and some archers will pop in to reinforce them, after which the surviving Nora Braves will attempt to make a run for it… only to be mowed down by a heavily armed attacker with a decidedly unfair advantage.
Boss Battle - Cultist Leaders
Get back behind the nearby rock immediately, as you now have to contend with two Leaders, who are supported at long-range by more archers on the ledge. One leader - the one with the heavy weapon - is approaching from the right, while another Leader is approaching from the left. Get out your trusty Tripcaster and fire at some rocks to the southeast, then anchor the line by firing at the rock you’ve been using as cover. You can turn west and fire another Shock Wire at the rocks there, and anchor this trap to you cover-boulder, too. This should penalize them if they try to go around the southern end of the boulder, just don’t expect the stun effect to last very long.
Equip some Fire Arrows and aim at whichever leader presents themselves. Often one of them will try to flank you by heading around the left (northern) end of the boulder, but there’s no guarantee on how they’ll move (although if you move to engage them quickly on the right, there’s a good chance they’ll stay there), so you’ll need to improvise, using the boulder as cover against them and their archers if possible. Keep moving, heal as necessary and use your Fire Arrows to good effect - they’ve got a chance to set your enemies on fire, which will cause them to flail about, allowing you to punish them more and buying yourself a moment’s reprieve.
The Leader with the heavy weapon appears as a greater threat, but his damage potential is actually lower. The other Leader can pelt you with fire arrows, but he’s also not above closing in melee and using an electrified cudgel on you. When one of them falls it’ll be much easier to deal with the other, and you can, of course, claim the heavy weapon user’s Deathbringer Gun. You’ll move slower (provided you don’t have the “Heavy Lifter” skill) and you won’t get to keep it forever - when this battle is over or its ammo is spent, it’ll be automatically abandoned (press [Triangle] at any time to drop it). While you have it, however, it should make quick work of the minions on the ledge.

Perform headshots to take down the Cultist Leaders (left), then use the heavily-armed Cultist’s weapon against his allies (right).
Once all the enemies are dead, loot the bodies of the fallen, saving the Leaders for last, as there’s plenty of arrows and potions to stock up on. You can also score some Supply Crates near a shrine, which contain a variety of goodies. You’ve got another fight ahead of you before you’re able to roam freely, so gather what resources you can here, they may come in handy. When you’re ready to continue loot the body of the Leader to discover that he, too, had a Focus. Seems that not all tribals shun technology. Before Aloy has time to contemplate the matter, however, another attacker will show up, and this one proves too much for her to handle…
| Objective | Rewards |
|---|---|
| For surviving the Proving | 2,500 XP / +1 Skill Point |


No Comments