| Training Dummies |
|---|
| Training Dummies I-IX |
Two Days Before the Proving
A lot of time has passed since you last had control of Aloy, and the day starts out with her looking for Rost. First things first, you should note that you now have access to all the menus in the option, including “Skills” and “Crafting”, and from now on everything you pick up will be for keeps. Also, the previous two quests (and presumably Rost’s years of training) gave Aloy enough Experience Points (XP) to reach level three, expanding her Health by ten points per level and leaving her with three skill points to distribute.
Open up your menu and go to the “Skills” submenu, where you’ll see three trees - Prowler, Brave and Forager. Each of these trees is comprised of twelves skills you can purchase, for a total of 36 skills, of which you have access to 33 at the moment. The further down the tree each skill is the more it costs, starting at one skill point per skill for the first row of skills, then advancing to two, before finishing at three for the last two rows. Earn XP and level up, complete quests, get skill points, simple stuff.
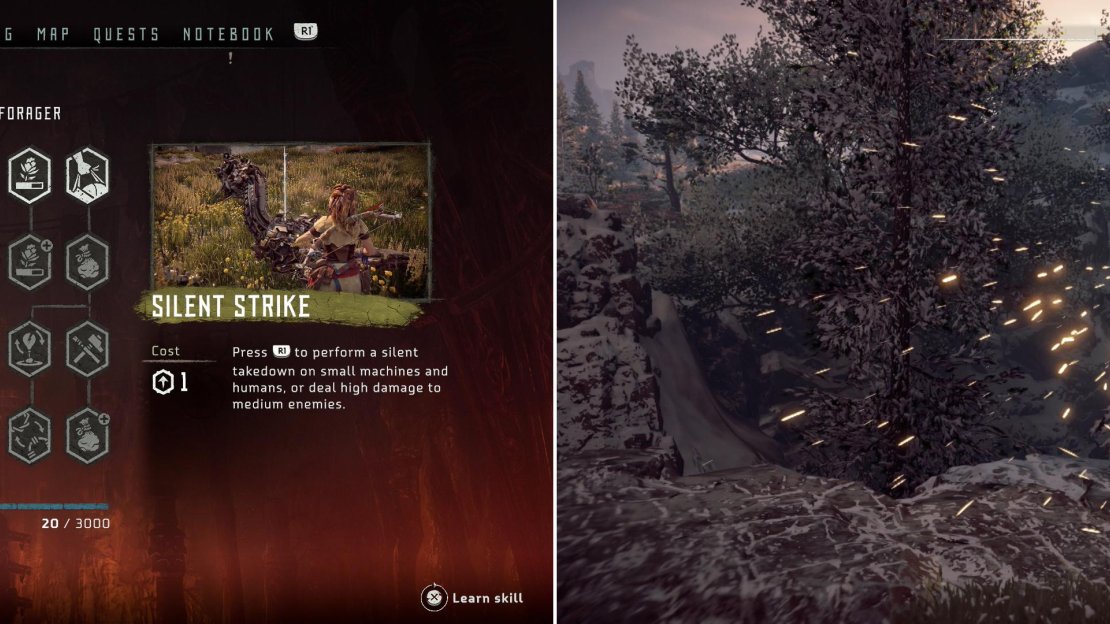
The first two skills you should arguably start out with are the “Silent Strike” and “Lure Call” skills, the former of which will allow you to perform one-hit-kills on most robots you’ll encounter early one, while Lure Call will help you get individual robots close enough to easily perform such a task. “Gatherer” and “Scavenger” are also nice skills to focus on early, as they’ll both help to build up your inventory as you play, which will lead to more items to trade for Metal Shards and faster upgrades to your Carry Capacity for various items (more on this later)…
Buy whatever skills you want and continue east to find some training dummies and, more importantly, a Campfire. Campfires serve two purposes - they allow you to fast travel (provided you have some Fast Travel Packs crafted) between Campfires you’ve lit, and they allow you to perform a Manual Save (press [Square]) or Quick Save ([Triangle]). Granted, the game does auto-save regularly, but why rely on a process you don’t control?
The Silent Strike is a great skill that’ll serve you well for the entire game (left). Smash the Training Dummies near Rost’s house (right).
Claim some Ridge-Wood and Medicinal Salvebrush nearby, then turn your attention to the north, where you’ll spot a Training Dummy. Normally these things would be… well, just curiosities you could destroy to sate your destructive tendencies, but since there’s a trophy (the uncreatively-named “Downed 23 Crazy Dummies” trophy) - and since everybody loves trophies - that tasks you with destroying them, they’re something of a collectible, and so they’ll be pointed out as you play. Perform a strong attack [R2] to knock down the two training dummies to the north ( Training Dummy I and Training Dummy II ), then turn west and scale a ledge to find Training Dummy III . T raining Dummy IV can be found on a higher ledge to the south, while three more ( Training Dummy V , Training Dummy VI and Training Dummy VII ) stand to the southeast, near the (closed) gate to the south.
When you’re done picking on inanimate objects, turn east, southeast and go through the eastern gate and down the trail beyond. Turn east, southeast and cross a bridge, at which point Aloy will see Rost standing on a ledge above her. Head to the cliffs under Rost and scale them, press [X] to jump onto the hand-holds on the cliff, then use the [Left Analog] to coax Aloy up the cliff. Approach Rost and he’ll tell you that something has come up, and while it affords an opportunity to give you one last vital lesson, you’d best come prepared, else the consequences may be dire. He won’t elaborate on what, exactly, he has in mind, but he will tell you to descend into the Mother’s Embrace valley and obtain the materials you need to craft Fire Arrows.
Pester him for more information, and especially be sure to ask “Anything else?” to get Rost to tell you about old Grata and her ongoing need for sustenance. Seems like Aloy isn’t the only person Rost has taken under his wing in this valley. This starts the Errand “Odd Grata”. What’s the difference between an errand and a sidequest, you ask? Who knows, but let’s use the games arbitrary nomenclature anyways. Finish the conversation and Aloy will express her desire to visit a man named Karst, who may just have a Tripcaster to trade. Once you’re sufficiently burdened with quests, northwest to find a zipline and press [X] to ride down into the valley.
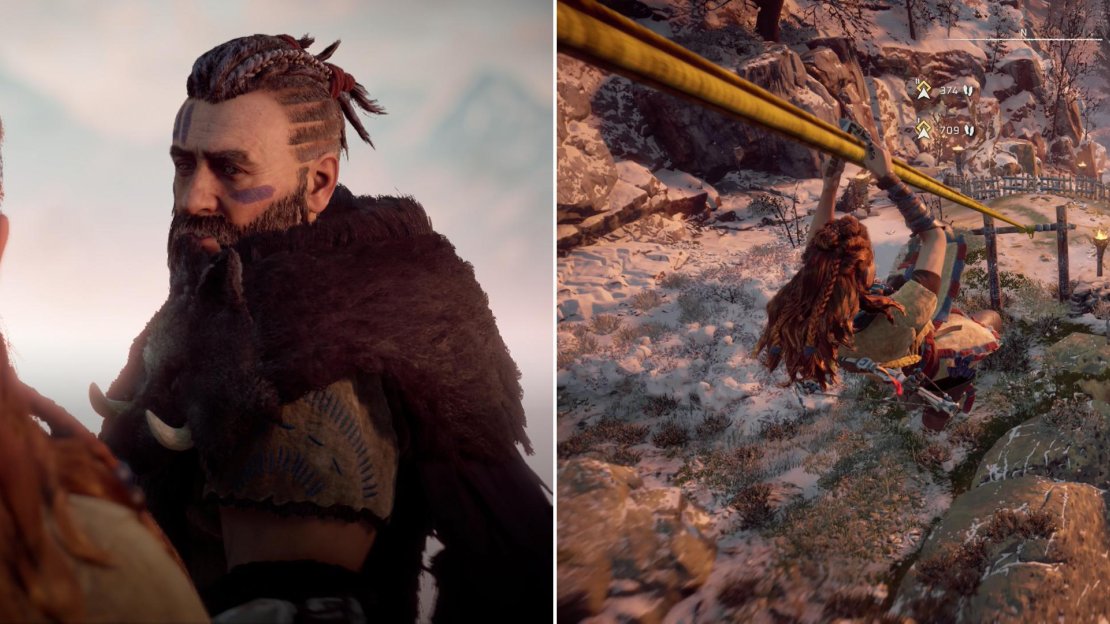
Talk to Rost, who will tell you about a mysterious hunt you need to prepare for (left). Once Aloy and Rost have set up some objectives, use the nearby zipline to reach the valley (right).
Tips in the Valley
From where you land head north then take some stone stairs east to reach your first Campfire in the valley. Claim it, then let’s take stock of the situation. You’re finally playing adult Aloy in the open world, with nothing but mysteries and robo-dinos to occupy you. There were a few things the game didn’t bother to tell you, however, namely some pointers regarding your spear, which, although not as lauded as your bow, is probably your most effective weapon right now. Pressing [R2] will perform a strong attack, which, while slow, deals massive damage and will usually knock smaller machines like Watchers and Striders down, allowing you to safely finish them off with fast attacks [R1]. A simple way to dispatch the machines in the valley if they detect you is to simply wait for them to attack, press [Circle] to dodge, then immediately hit them with a strong attack.
Another thing worth noting is that game is plentiful in the valley. Simply press [R3] to enter Focus mode and look for sauntering purple objects, which, if scanned, will be identified as a specific sort of animal or machine. Despite the natural assumption that you should stalk prey with your bow, it really is easier and more cost-effective to simply sprint at animals (press [L3]) and whack them with your spear (fast attack). You out-run every animal in the valley, and even dangerous-seeming critters like Boars will not attack you, opting instead to flee. Why waste arrows when the spear will suffice?
Animals and machines you defeat will inevitably drop items, and while different animal and machine types have their own rotors of loot they can forfeit, there is a bit of randomization to the specific drops you’ll get from each individual. You can see what different types of machines are likely to drop by entering the menu, selecting the “Notebook” sub-menu, then visiting the “Machine Catalogue” section. For example, the Watcher can drop the following components: Metal Shards, Sparker, Wire, Machine Core - Small, Watcher Lens and Watcher Heart.
The more rare (and consequentially, usually more valuable) components are noted via a color code - common objects are white, uncommon objects are green, rare objects are blue and so on. Defeated enemies will be marked with a loot icon, and the color of the icon will change to reflect the rarest loot you can scavenge from that particular foe. For example, if you kill two Watchers and one has a white loot icon, and the other has a blue loot icon, you know that the Watcher with the blue icon has some rare-quality item you can scavenge from it. Animals function the same way, but have no bestiary menu showing what they can drop. It’s of no consequence, however, most animals in the valley will drop Bony Meat, Fatty Meat, Rich Meat, [animal] Bone (uncommon) and [animal] Skin (rare).
All these various resources and bits of loot can, of course, be sold to various merchants for Metal Shards, which can then be used in turn to buy new items. You can, however, also put these resources towards crafting superior containers for various categories of gear, increasing your carry capacity for said gear. Enter the menu, select the “Crafting” sub-menu, then scroll down to the “Carry Capcity” section to take a gander at all the upgrades you can craft right now: Weapons Satchel, Outfits Satchel, Resources Satchel, Modifications Satchel, Potions Pouch, Traps Pouch and Hunter Bow Quiver.
You would be well-served by upgrading most of these items at least once before embarking on your quest with Rost, but specifically the Resources Satchel, Modifications Satchel and Hunter Bow Quiver. Fortunately the first upgrades for all these items are relatively trivial, as every machine is likely to drop Metal Shards, and Ridge-Wood is plentiful throughout the valley. Higher-tier upgrades will require you to add animal meats to the mix, while the third level of upgrades typically requires more uncommon animal products (bones or skin). Simply upgrading a few choice (aforementioned) contains to level two shouldn’t trouble most players too much, will make the early parts a bit easier, and will give you ample incentive to practice with Aloy.
Later upgrades can prove rather expensive, but a vast majority of your Metal Shards can end up coming from trade, if you’re willing to sell off rare components that otherwise have no immediate value (Machine Core - Small, Watcher Lens, Watcher Heart, Strider Lens, Strider Heart, Scrapper Lens, Scrapper Heart) and modifications. Which leads to the last tip before you’re off the leash: Modifications. Modifications are armor and weapon enhancements that randomly drop from defeated machines (although they’re not listed in the “Machine Catalogue”). Different weapons and armor may possess modification slots, into which modifications can be slotted. The process is irreversible, however, although new modifications can be installed over old ones. With the Tinker skill, you can remove modifications from weapons and armors, but that requires a lot of skill points that you don’t have right now. Modifications, too, come in various rarities, although the actual stats of each modification can vary fairly wildly within rarity tiers.
Forging Fire Arrows
Anywho, time to get to hunting! Your immediate goal is to gather three units of Blaze from Striders, and five Metal Shards. There’s a lot more you could - and should - do down here, though… but one step at a time. Head downhill to the east and you’ll bisect a road near a totem and a watch tower. Turn east, northeast and Aloy will comment on Mother’s Heart, to the north, which is where her answers lie. When you bisect another road turn east, southeast and cross a bridge to the east when you reach it.
Follow the road beyond to the south, southeast but be wary as you go, as about halfway down this road you’ll spot three Watchers patrolling. Uphill to the east is plenty of grass you can hide in, and if you have the Silent Strike/Lure Call skills, luring them to you and dispatching them shouldn’t be a problem. To whistle, simply make sure the exclaimation point icon is selected from your quick item menu (toggle with [Left] and [Right] on the D-Pad), then aim at a machine and press [Down] to lure it.
Failing that, it’s also a fine time to practice your archery, as eye-shots will disable a Watcher in one hit. Should you fail at this, however, all is not lost. Alerted Watchers will often start out combat with a pulse, which alerts nearby machines and serves as a flash-bang attack. What you really need to watch out for, however, is their leaping attack, which can easily be dodged (press [Circle]). Immediately after dodging such attacks you can often follow up with a strong attack ([R2]), which should knock the Watcher down and leave it vulnerable to a fast attack ([R1]) finishing blow. Other than that, watch out for the laser they’ll rarely shoot from their eye.
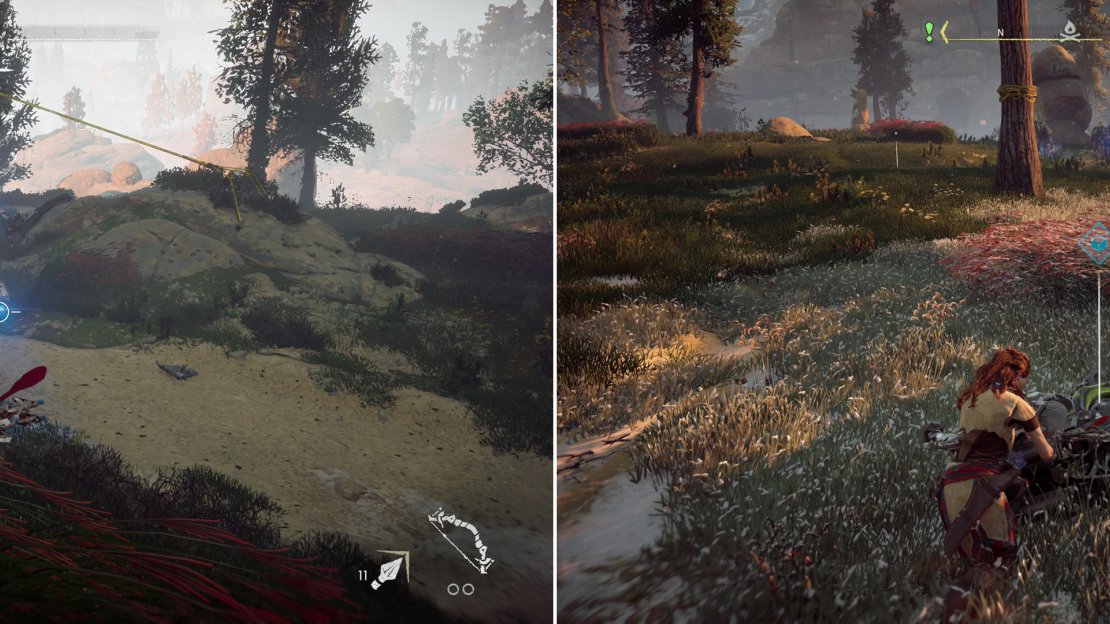
Aim for a Watcher’s eye to disable it in one shot (left). Loot fallen machines to acquire the resources you need to craft Fire Arrows (right).
When the three Watchers have been disposed of, search them to score some randomized loot. This may cover the bare minimum Metal Shards you need, but also be on the lookout for Sparkers and Wire, as they’re both components necessary to craft ammo for the Tripcaster, which you’ll be gathering soon enough. If you find a Machine Core - Small they can be sold to merchants for even more Metal Shards (20), but you should hold on to a few (five will do) Watcher Lenses and Watcher Hearts you find, as they may be useful trading fodder in future.
Continue down the road until you find a second Campfire and light that sucker up. Once done, follow the road south, southwest until it forks. Just beyond the fork to the south you should see a large herd of Striders and Watchers, and there’s plenty of grass to hide in. Your first goal should be to dispatch the Watchers, which are by far the more alert and mobile of the two machine types here, but if you have Silent Strike/Lure Call, you need not be so picky - any machine you can lure close (or that happens to wander near) the grass you choose to hide in will be a safe enough kill. Note, however, that machines will become suspicious if the spot the remains of other machines. This can work in your favor, as a machine killed near the grass you hide in may just lure more machines to you.
Striders aren’t quite as dynamic of foes as Watchers are, but they do have a vicious charge attack, and are prone to kicking with their hind legs, which will do brutal damage if these kicks connect. The former attack can be easily dodged, of course, and you can follow up with a strong attack, just make sure to stay clear of the machine’s rear to avoid kicks. You shouldn’t rely on eye-shots so much with Striders, as they won’t come close to incapacitating the machine with one arrow, like with Watchers. Sure, it’s a weak-point, sure it deals more damage, but hardly enough to justify blowing your cover. Instead, remember the tutorial and shoot off the Blaze Canisters on their back to deal massive damage. It’s an… acceptable alternative to Silent Strike. If you shoot the Blaze Canisters with Fire Arrows, they won’t detach - instead they’ll explode, doing heavy damage to nearby machines and almost certainly destroy the poor Strider, itself. This trick isn’t limited to just Striders, any machine with a Blaze Canister can be compromised this way.
Striders can, of course, drop Metal Shards, Sparkers, Wires and Machine Core - Small, just like Watchers, but in addition they’ll forfeit Blaze, of which you need three units. Several Strider Lenses and Strider Hearts should be saved for trade to merchants, but excess can be sold off. Kill as many as you need to in order to obtain the required five Metal Shards and three Blaze (they respawn quickly if you leave the area, should you desire more prey), then hold [L1] to bring up the Weapon Wheel, use the [Right Analog] to select Fire Arrows, then hold down [X] to craft a bundle.
This is the minimum required amount of Fire Arrows you need to advance, but your life will be easier in the long run if you hunt for more, expand your carry capacity for your Hunter Bow (increase the size of your Hunter Bow Quiver) and perhaps level up a few times in the process. To achieve that end you can, of course, hunt and explore blindly throughout the generous expanse of Mother’s Embrace, but there are also a few Errands and Sidequests you can busy yourself with, which will result in you earning a good bit of XP and materials.
Trading for a Tripcaster
More on that later, however, first, let’s continue with the next task and visit this merchant, this Karst. Not only will you want to do this to continue with the main quest, but if you do decide to make your life easier and gather more materials and complete some sidequests, you’ll probably want a merchant handy whom you can sell your junk to.
Follow the road south-east past the “Strider Site” marked on your map, cross two roads along your path, then make your way across a bridge, beyond which is the village of Mother’s Cradle. Being an outcast, it turns out, isn’t as bad as it could be - the villagers here are largely indifferent to your existence one way or another. Guess being snubbed and ignored is better than being met with violence. Don’t worry, in the time-honored tradition of RPGs, these NPCs really don’t have much to say anyways.
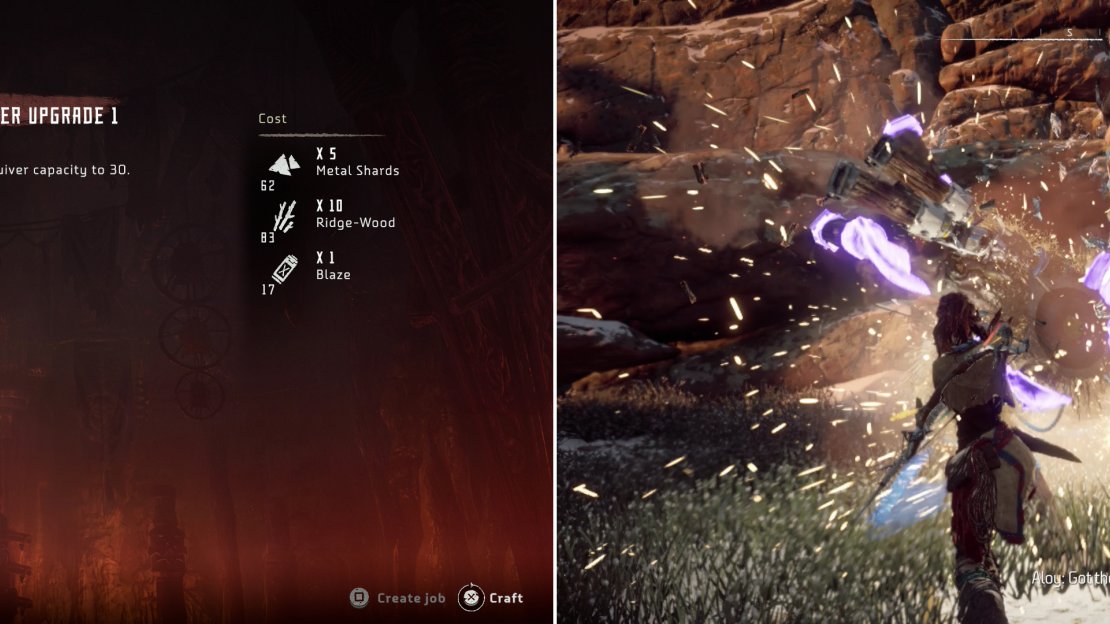
Be sure to upgrade various containers before you move on with the story (left). In Mother’s Cradle you’ll find more Training Dummeis to vanquish (right).
Just because you’re not being talked to doesn’t mean you shouldn’t check out a few things in town, however. First, you can find a Campfire along the southeastern end of town, which is worth saving at for the fast-travel point alone. On top of that you can head west, northwest from the Campfire to find Training Dummy VIII near a house. Smash it, then return back to the Campfire, from which you can head northeast to find a trail running uphill to the east. The trail will rope around to the south and bisect another road, which you should follow southwest, then at another fork turn southeast to find Karst’s house.
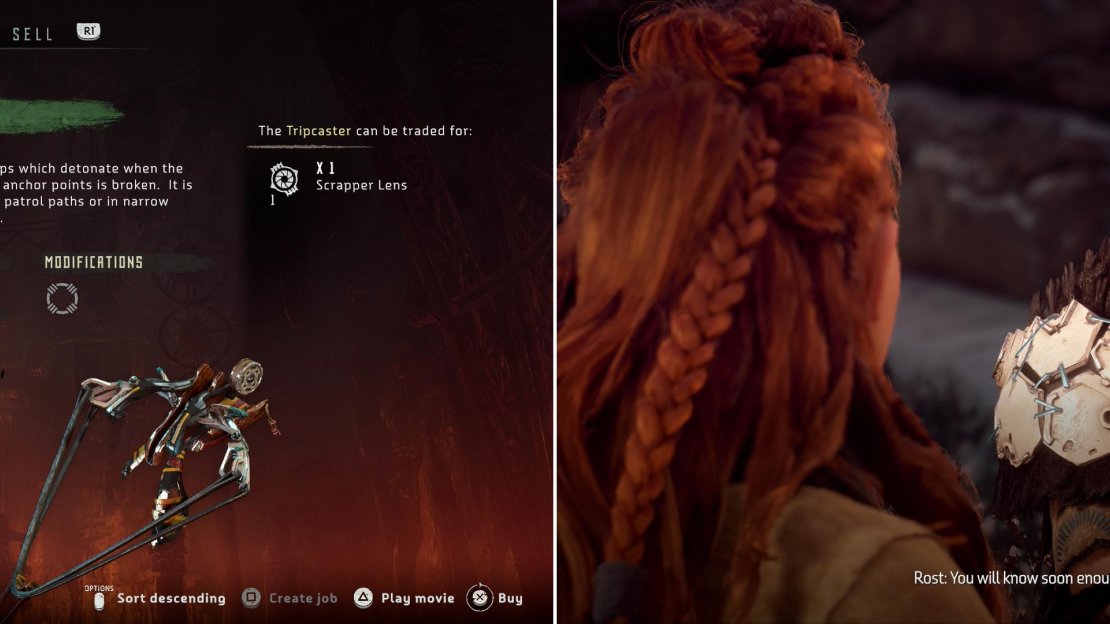
Smash Training Dummy IX , which is located near Karst’s house, then talk to the merchant and, after some banter, you’ll be able to see his wares. He’ll mention that you’ll need to fork over a Scrapper Lens in return for the Tripcaster, and it just so turns out that Aloy happens to have one on her. She must have scored it during her growing up montage, and it’s invisible, as it’s not in your inventory… so, yeah, the game is comping you this one. Pick up your Tripcaster, equip it, then scroll down to the “Treasure Boxes” section to find a Free Sample Box, yours for the taking.
Sell off any Machine Core - Small units you have, and any Watcher/Strider Hearts/Lens in excess of five that you possess. Once done, note that Karst sells a variety of new weapons, including slings and bows. These will prove expensive and, as of yet, not terribly necessary. That’s not to say there’s no reason to get them yet, and they will unlock tutorial quests exploring their usage, as well as new containers you can upgrade to expand your ammo storage capacity for these new weapons.
Speaking of which, before you continue on with this main quest and talk to Rost you should strongly consider upgrading your Resources Satchel and Hunter Bow Quiver at a minimum. The first upgrade for each will only cost you Metal Shards and Ridge-Wood, neither of which are hard to obtain (especially with the Gatherer and Scavenger skills!). The second upgrades require common animal meats (five units of Fatty Meat and Rich Meat), which aren’t too hard to get (use your Focus to scan for animals, then run them down and kill them with fast attacks). The grand total for these upgrades should be 100 Metal Shards, 100 Ridge-Wood, five Fatty Meat and five Rich Meat. You can, of course, upgrade things further, but this will require quite a bit more time and bother. Still, it’s mostly more Ridge-Wood and Metal Shards, with uncommon and rare animal bits not usually being necessary until levels three and four.
Make sure to pick up the Tripcaster from Karst (left), and when you’re ready to move on, go find Rost (right).
To make this process less of a chore you can tackle a few sidequests in the area, including “The Forgotten” and “In Her Mother’s Footsteps”, as well as, of course, “Odd Grata”. You can also revisit some ruins from the distant past (see the sidequest “Ancient Armory”, which will prove lucrative enough.
No Comments