

| Text Datapoints - Machiens |
|---|
| M/SIGMA: Core Log 763E |
| Training Dummies |
|---|
| Training Dummy XVIII |
| Training Dummy XIX |
To Mothers Crown
Fast-travel (or walk) to the Campfire north of Mother’s Rise and from there head northeast along a road until you reach a fork. At the fork turn north, then when you reach another fork turn northwest and follow this road until you reach Mother’s Crown. When you enter the town you’ll hear Marea talking about you, and it seems like a fine time to continue with the quest “A Seeker at the Gates”, but… well, you knew there would be a but.
There are plenty of sidequests in Mother’s Crown, and a few of them have a lower suggested level than “A Seeker at the Gates”. That, and their rewards, make them well worth doing. In fact there’s going to be an awful lot of content to cover before continuing with “A Seeker at the Gates” as it’ll lure you inexorably to the west. Even continuing Sona’s questline “Revenge of the Nora” takes priority.
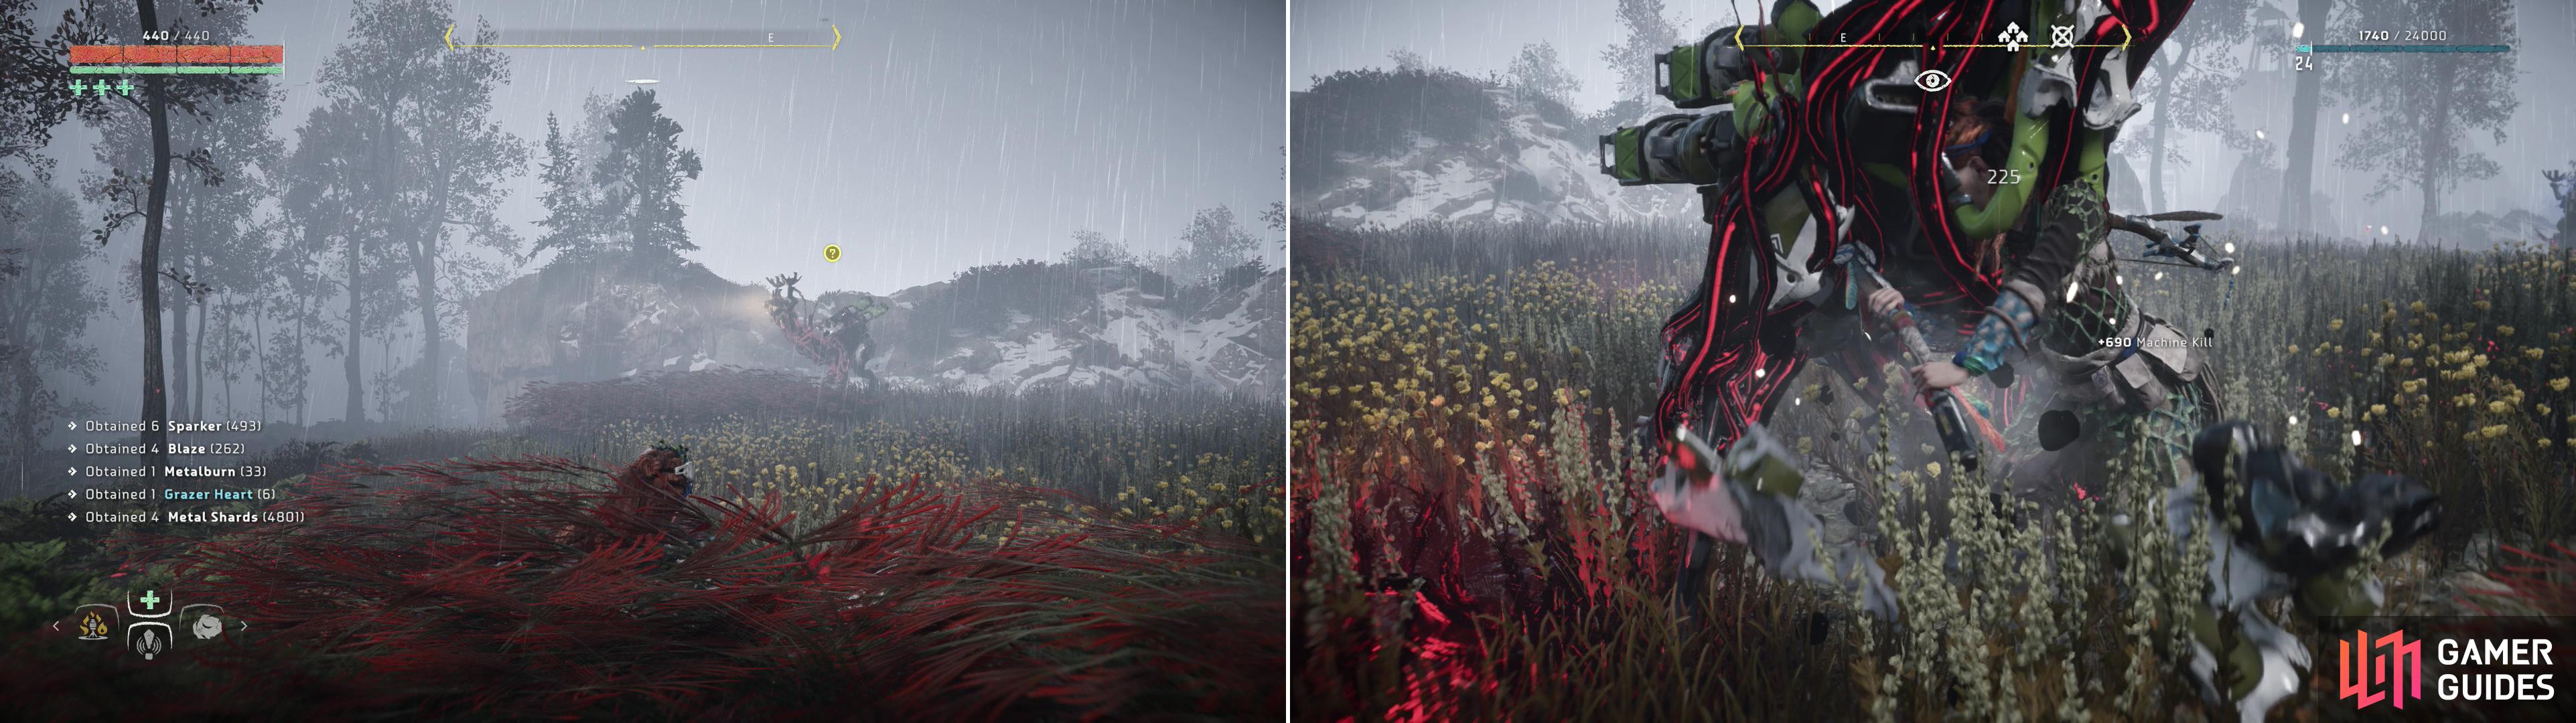
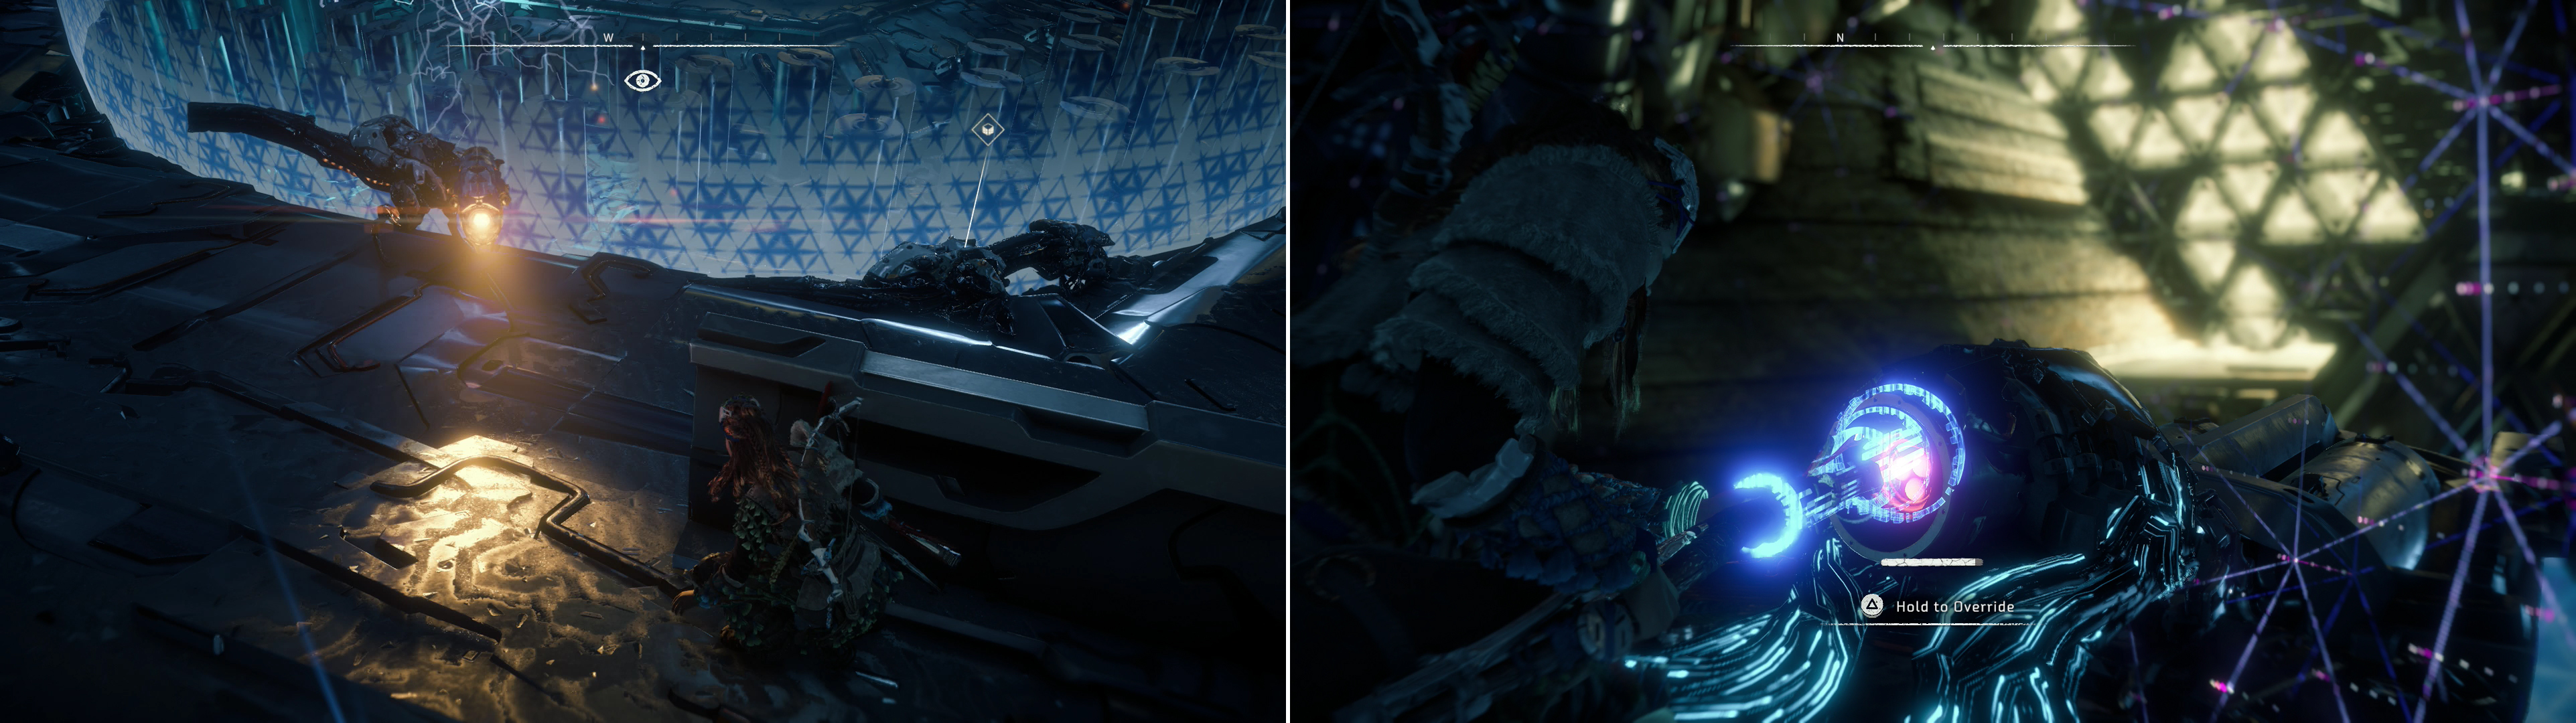
Claim a Campfire in the town, do business with a merchant named Grist, then, when you’re ready, talk to a woman named Dral who stands south of the Campfire. Aloy will ask her about her wounds and Dral will mention a Cauldron, which, of course, only arouses Aloy’s curiosity. After a bit of clever wordplay Dral will tell Aloy the location of the Cauldron, which starts the Cauldron event “Cauldron Sigma”.
Ignore the other quests here for now - you’ll get to them in a bit - and head to the northwestern end of Mother’s Crown to find the settlement’s northern gate. Near (west of) this gate you’ll find two more Training Dummies, Training Dummy XVIII and Training Dummy XIX .

Talk to Dral to learn the location of Cauldron SIGMA (left), and while you’re in Mother’s Crown, smash some Training Dummies (right).
Speaking to Solai
Before leaving the town, consider speaking to Solai, who is busy working on something near (east of) Mother’s Crown’s northern gate, just past Lut. Talk to her to learn that Nakoa made her way to Daytower some time ago - a task Solai aided with. You can also learn about Daytower’s checkered history and Zaid’s atrocities before you go, but ultimately this serves the purpose of moving the chains in the quest “A Daughter’s Vengeance”.
Corrupted Zone
Exit Mother’s Crown via the northern gate, cross the drawbridge, then find another Campfire (seems like overkill). Continue following the trails (augmented by wooden platforms) until you reach a fork, at which note the sign stones. The path to the west will take you to Daytower, while the northern path leads to Hunter’s Gathering, if the signs are to be believed, anyways. The former shouldn’t interest you very much for now, so follow the road north, then at a fork turn northwest for a diversion.
Use Lure Call to attract some Corrupted Grazers (left) then dispatch them easily with Silent Strike (right).
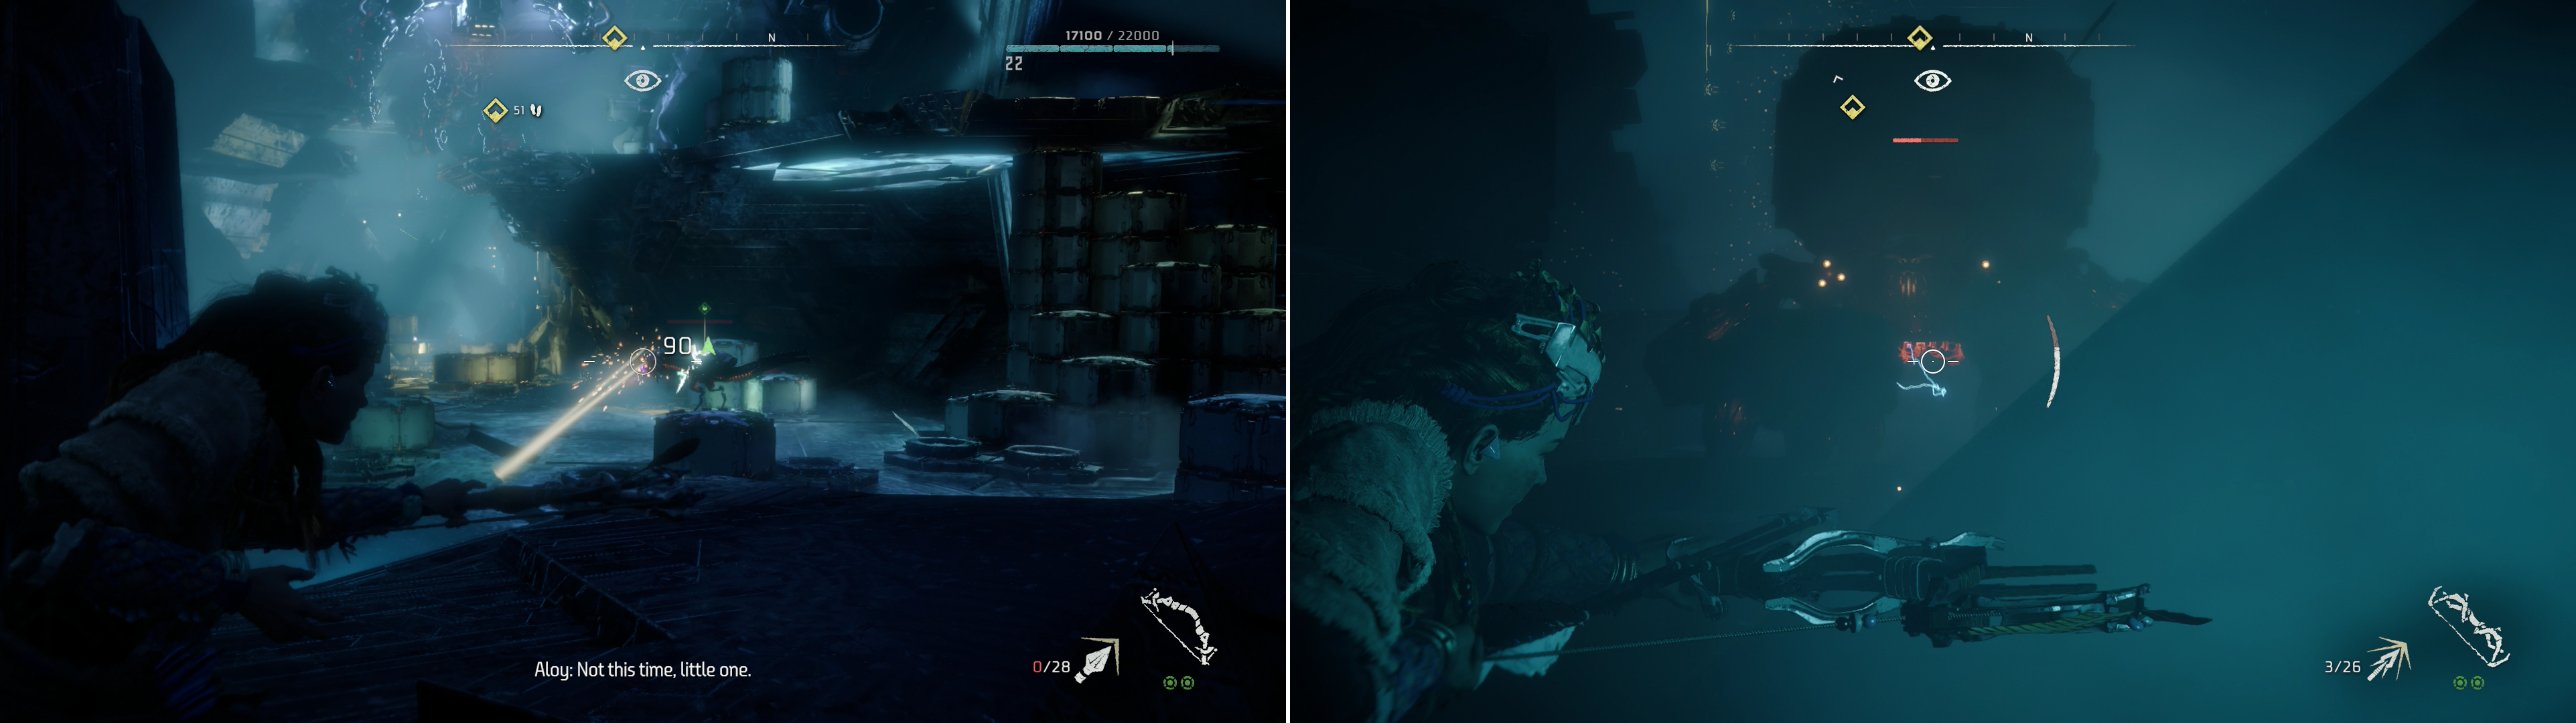
Off the road to the west here lies a Corrupted Zone, and since it’s along the way (more or less) and rather lucrative, you might as well clear it out. Corrupted Zones are simple, there’s a number of corrupted machines prowling around, and you need to destroy them. Do so and you’ve cleared the zone. Easy-peasy. In this case there are three Corrupted Grazers walking about. Expect corrupted machines to be more aggressive than their standard, uncorrupted types, so if you cause a stir, be prepared to fight. On the other hand, they’re just Grazers - hide in some grass and use the Silent Strike/Lure Call combo to put them down, then enjoy the XP boost.
| Objective | Rewards |
|---|---|
| For destroying the corrupted machines | 5,000 XP |


Into the Cauldron
Backtrack southeast to the fork, then turn northeast until this road unites with another road to the north. Light up another Campfire, then continue following the road east, northeast, cross a bridge, then turn north. Ignore a path to the southeast and continue north, and when you reach another fork keep going north to find the wreckage of a caravan, where a man named Marzavid will call out to you and the quest “Underequipped” will start. It’s worth picking up the quest - and you’ll tend to it after you’re done with the Cauldron - but for now continue north to find a Campfire.
Save if you wish, then continue north along the road to find a fork, being way of any machines that may be prowling around. At the fork turn west and follow the road when it bends to the southwest, but keep your eyes turn to the north, as you should spot a triangular structure carved into the mountain. This is Cauldron SIGMA, and outside of it pace several Watchers and some Scrappers. Fortunately, there’s plenty of tall grass just waiting for a seeker to hide in, so oblige the plants, then use their deadly cover to dispose of the machines. When they’re all gone, make your way north to the old world ruins to discover that the triangular structure is actually a door. Hold down [Triangle] (ironic, no?) to override the door.
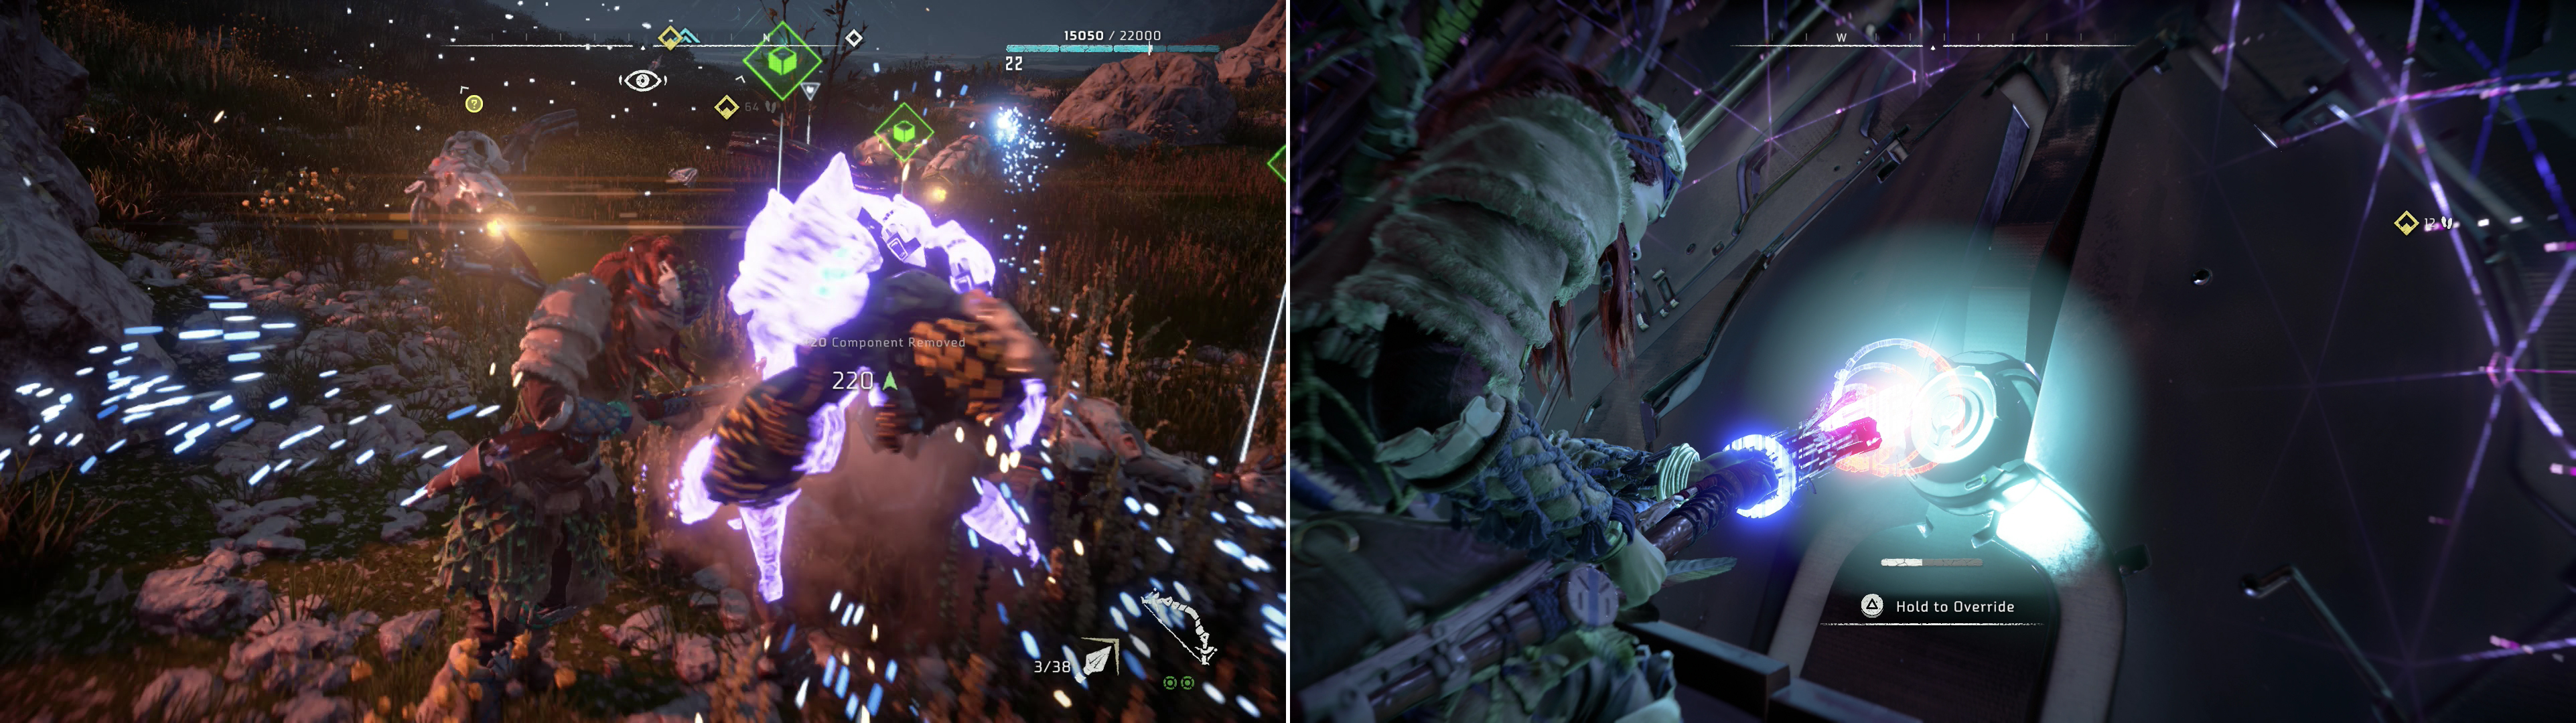
Disable the Watchers outside Cauldron SIGMA (left) then use your spear to override the door (right).
Catching a Holo-Conveyor
Enter the triangular structure and marvel at the fully functional old world technology. Be wary, however - of all the old technology you’ve come across thus far, little of it has been anything short of hostile. Continue through another triangular door to the north to reach a gap you can rappel down, but once you do you’re committed to clear this place out.
Loot a pyramidal Supply Crate to the east, then head down a corridor formed out of wires to the northwest. Ignore the ominously flashing lights and cross a narrow beam, then continue until you get a prompt concerning a vent. Walk up to the glowing red triangle and give it a whack with your spear (alternatively shoot it with an arrow - but why waste ammo?) to release some steam. This steam will serve as your cover - the equivalent of tall grass while you’re in this Cauldron. Just beyond the vent is a Watcher, who can be easily disabled with Silent Strike, as it won’t turn around unless you give it good reason to.
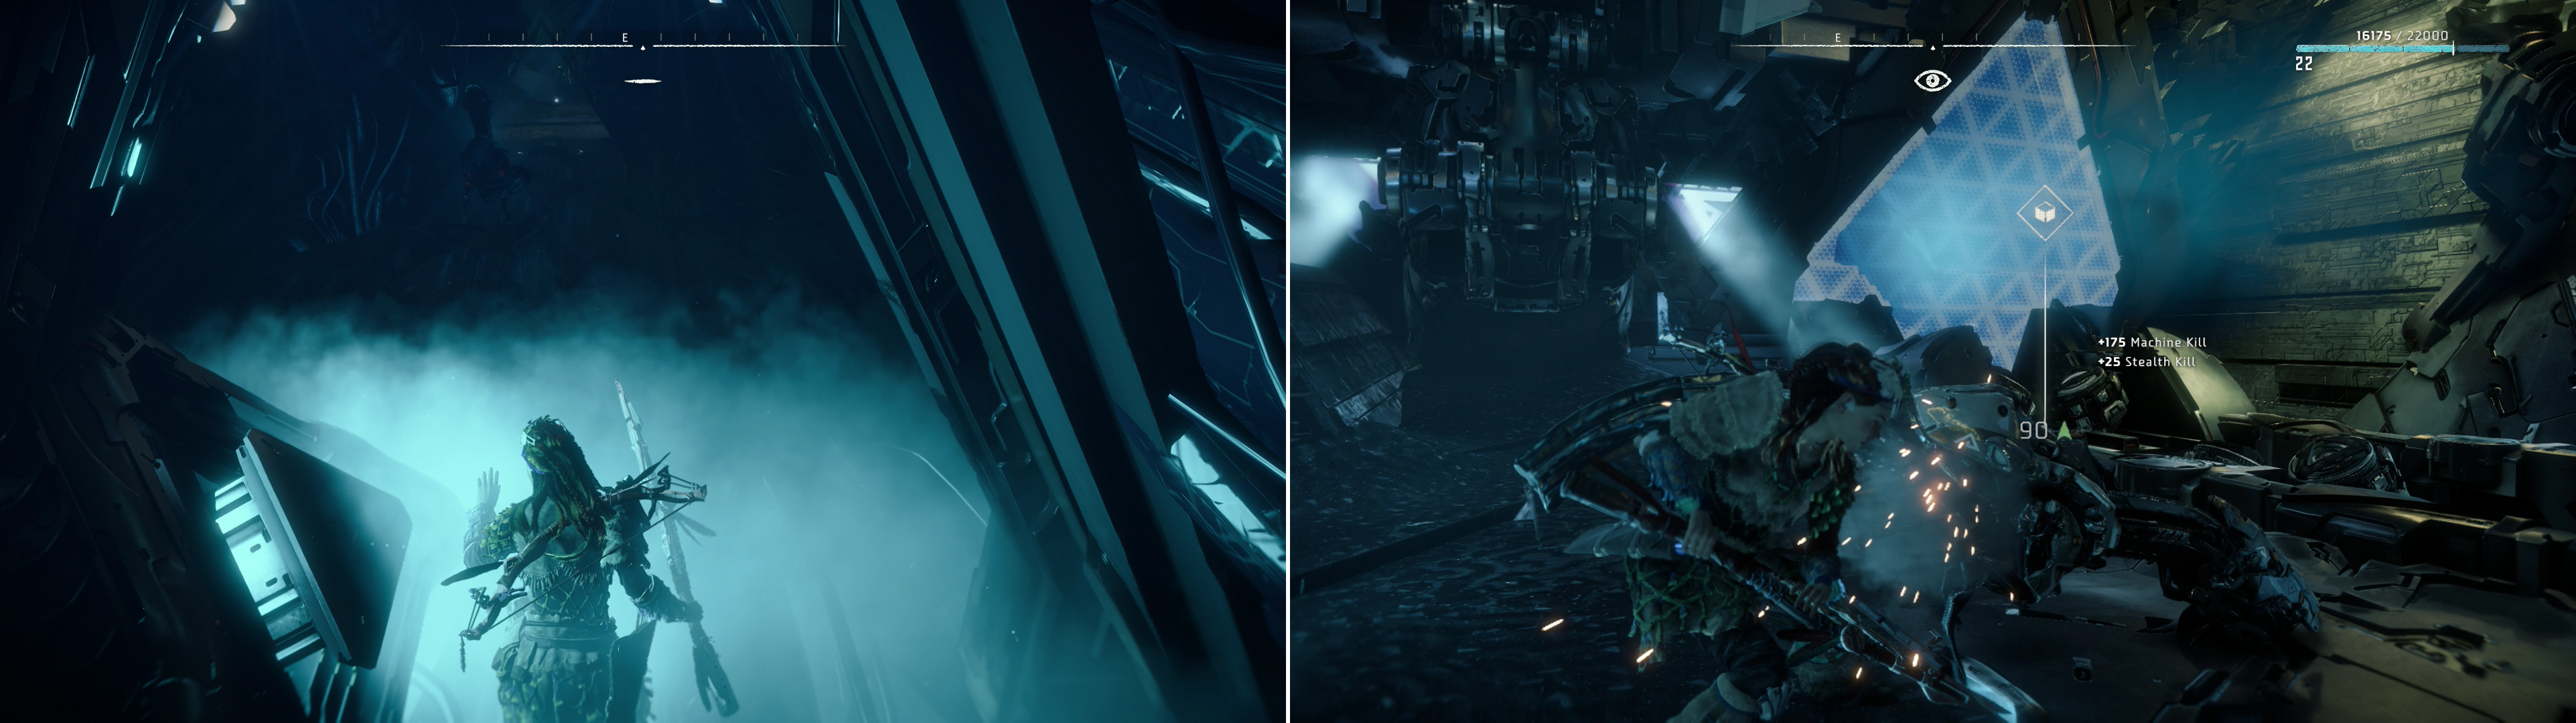
Steam vents will provide cover for you in Cauldron SIGMA (left), which you can use to ambush the Watchers inside (right).
Continue east into a chamber where two Watchers prowl. Smack a vent near the entrance to the room to give you cover, then use Lure Call to draw the Watchers do their doom, one at a time. If you get injured, grab some Medicinal… Mushrooms? Whatever, it all works the same. Once the machines are no longer functioning, note the triangular passages blocked by light. Only pain awaits you if you come into contact with those light triangles, so instead go down the passage in the northeastern corner of the room, pass through a natural passage, then turn west into more tunnels at the end of which is a ladder.
Climb the ladder and follow the dark tunnels beyond until you find yourself on a ledge overlooking the chamber with the two Watchers in it. On this ledge you’ll find a device, which is merrily glowing. Approach it, then hold [Triangle] to override it to deploy a wire bridge, cross to the other side, loot a Supply Crate, then continue into a triangular tunnel. Override a door at the end of the linear tunnel and enter the large chamber beyond, then grab another Supply Crate and turn your attention to the hovering assembly line in front of you. Wait for one of the devices being sent down the line to pass nearby, then leap up and Aloy will grab the bars hanging off the bottom of the device.
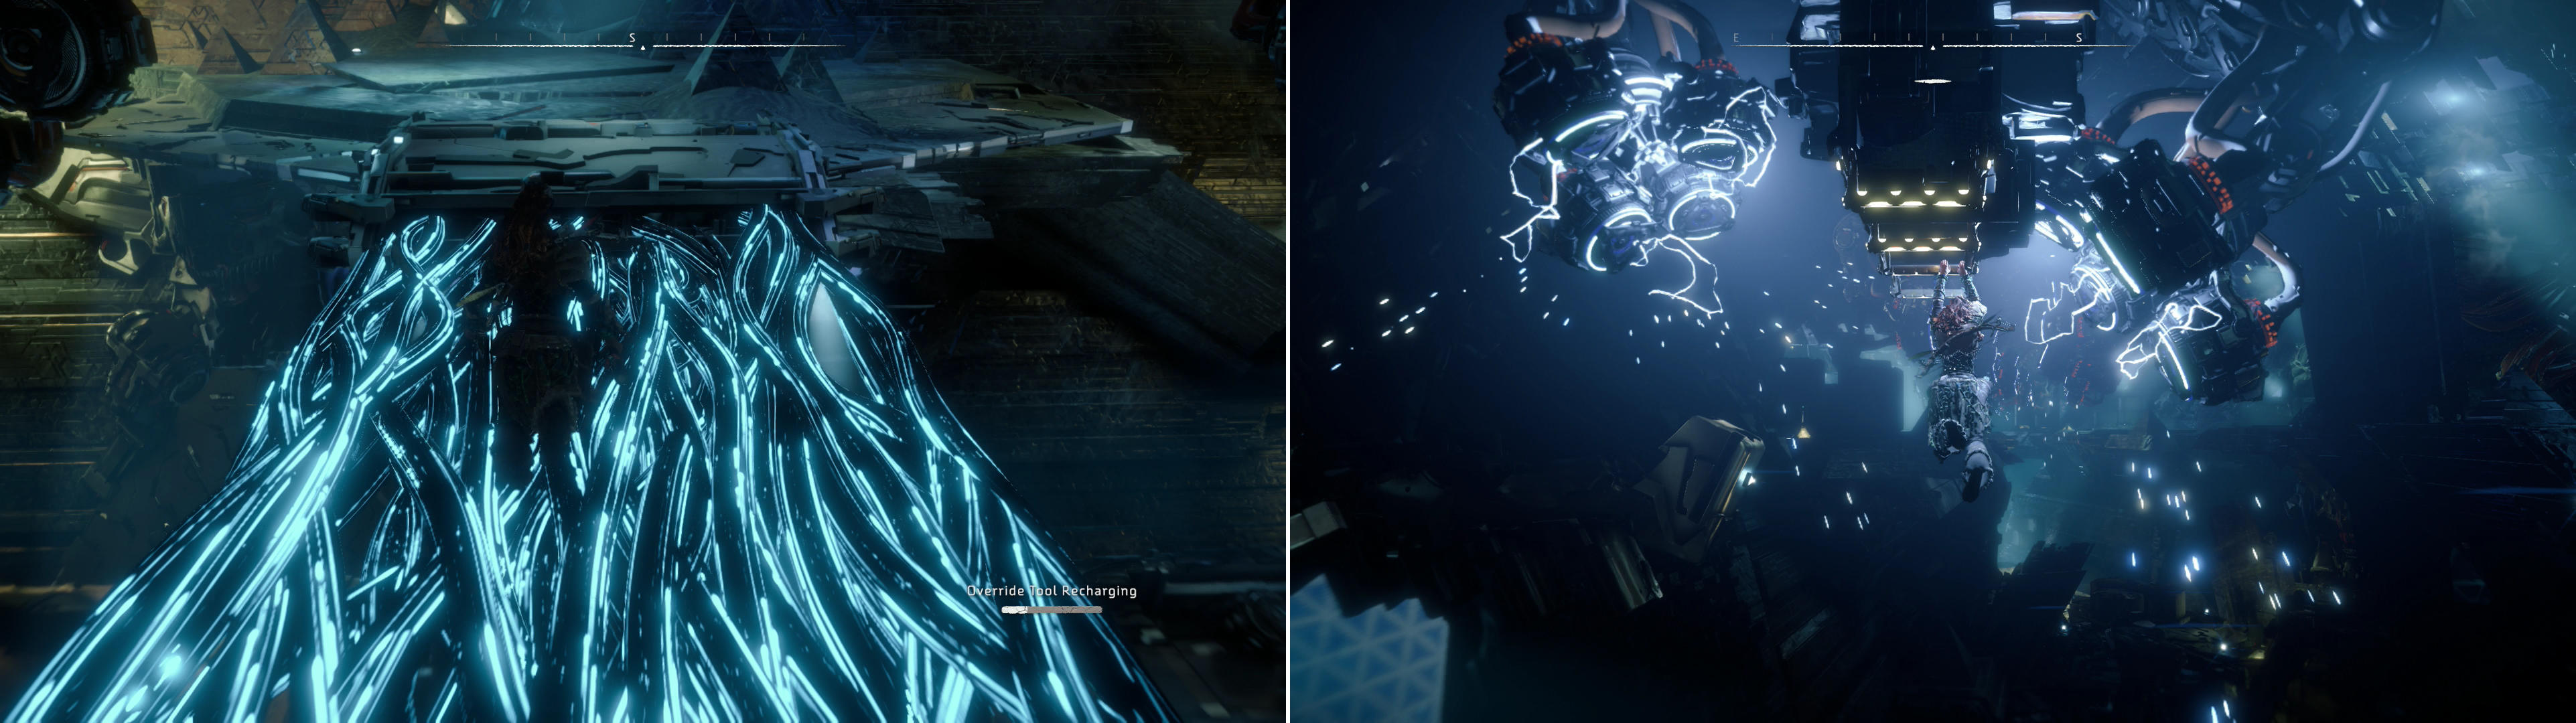
Override a device to deploy a wire bridge (left) then ride some hovering freight to make your way deeper into the Cauldron (right).
Wasting Watchers and Smashing Shell-Crushers
After your fun little ride you’ll find yourself at the southern end of this installation, on an isolated platform. Nothing much to do here, so wait for hovering crate to fly past, leap onto its side, then ride it west. Be sure to drop off onto the platform below before coming into contact with the painful light-barrier. Once done, loot a Supply Crate and then turn your attention to the northeast to spot two Watchers prowling about. They’re the tip of the iceberg, as far as machines in this area go, so try not to alert these ones, else you’ll be dealing with their friends, too.
If you’re quick you can drop down near the Supply Crate and continue northeast up a ramp and score a Silent Strike against the stationary Watcher there, while a vent near the ramp on the ground floor should help you exterminate the patrolling one. Eliminate those two, then ascend to the high ground the stationary Watcher occupied. From here, look to the northwest to find another ledge across from you, which can be reached by hitching a ride on some more hovering crates. There are Watchers further north that may spot you as you attempt this, however, so scan them with your Focus and tag them so you can better watch their movements, and jump across when they’re not looking, try to pick them off with arrows beforehand, or continue north along the ground level, cross a bridge, shoot off a vent cover and use the resultant steam to eliminate them with Silent Strike/Lure Call.
However you secure you passage across, once you make it immediately smash a vent to provide some cover, then scan again to see the foes lying before you - by now you may have cut your way through four Watchers, which leaves three more (one quite far away, on some high ground to the north) with another being somewhat nearer, also north, on the low ground, and a third to the northeast. Accompanying them is a new foe: a Shell-Walker. Before engaging these foes use your Focus to mark their locations, and to identity vents you can shoot off in preparation for the battle ahead.
Continue north, go down a ramp, and liberate some cover-giving steam from a vent near the ramp, then shoot the cover off another vent to the north. Lure Call the Watcher down here to its doom, then retreat back up the ramp to the previous vent, as machines from below will certainly arrive to investigate the destruction of their fellow. When the coast is clear, whistle the other Watcher (the one to the northeast) to its demise, then try to pick off the one on high ground. With a bit of patience an a little luck, they should be neutralized, leaving only the Shell-Walker.
Shell Walkers have numerous weak points for you to target, ranging from lucrative for you, to devastating for the machine. It has a Lightning Gun which it can use to engage you at range. It’s also has an area-of-effect lightning attack centered on itself it’ll deploy, so if you see a light circle on the ground, you’ll want to get away from the Shell-Crawler. Its other “claw” is a Shield Claw, which generates an energy shield in front of it, which protects the machine from frontal assaults. The two claws paired together can prove to be a troublesome combination.
On its back, on the other hand, are its Crate Holders, which secures the crate they carry to their back. Shoot this off and not only will you do respectable damage, but you’ll force them to drop their crate, which can be looted in addition to whatever else they drop. Given enough time, however, they will reattach the crate (deploying their Lightning Gun arm for the task), so you’ll need to be quick about it… or just shoot it off again.
Other than that, there’s the Power Generator, which promises debilitating consequences for the Shell-Walker if you can destroy it. Unfortunately, it’s located on the bottom of the machine, making side-shots tricky, and traps are very hit-and-miss, at best. The simplest way to defeat these foes, then, is to simply stay hidden, shoot off their components one at a time, as stealth allows, if possible saving their Crate Holders for last so you can secure the bonus loot their cargo provides.
Pick off the numerous Watchers prowling around (left) then focus on the isolated Shell-Walker (right).
Looting Cauldron SIGMA
Once all the machines are gone, it’s time to get to looting! First, from the elevated ledge you rode a crate onto (and presumably dispatched the last few Watchers and the Shell-Walker from) turn east to spot another ledge. Make your way across the passage and onto this ledge, then search the eastern wall to find some yellow-glowing handholds you can use to climb up. Your reward for the climb is, of course a Supply Crate. Ignore the opportunity to scale across a support to the northwest and instead drop down to the ground.
Make your way north to the end of the passage, which yields to a Y-shaped fork (where the Shell-Walker prowled). Make your way down the passage to the northeast and search near some hexagonal containers near a ramp to find another Supply Crate. Loot the crate, then ascend a series of ramps (and behold the pulsating organ-like machinery to the northeast!) to reach an elevated walkway. Continue west, then northwest past a device you can override and score another Supply Crate, then backtrack and override the device to deploy a bridge.
Cross the bridge and loot yet another Supply Crate, then turn northwest and drop down a ledge to find another Supply Crate. Next, continue northwest to find a zipline you can ride to reach a platform across a gap. Search a wall to the west to find some handholds you can climb, override another device to deploy another wire bridge, then turn east and cross said bridge. Continue east through a triangular tunnel, at the end of which is another Supply Crate. Plunder it, then proceed east, rappel down a ledge and turn southwest to find another Supply Crate. You’re now in a natural stone cavern… natural save for the upside-down pyramidal structures that pollute the otherwise pristine cavern. Jump onto some rocks to the northeast, pass onto one of the pyramids, then continue onto a lower ledge to the northeast to find yet another Supply Crate. After its contents are yours, return to the pyramid, turn west or northwest and you should spot some hand-holds on the pyramids in that direction. Jump onto them, score another Supply Crate, then continue through a triangular tunnel to the west, northwest.
Cauldron SIGMAs Core
Behold, the core of Cauldron SIGMA lies before you. Behind an impenetrable shield waits a Bellowback, and around the shield two Watchers patrol. To take down this shield you’ll need to climb atop one of several Discharge Pylons (which of course form a triangle around the core) and overriding the device atop the pylon. Several Supply Crates also lie around, should you need resources, and with a foe like a Bellowback, you might want to make some preparations.
First things first, though, rappel down to the ground floor and scrap those Watchers. Expect more to arrive when you threaten the core, however. Once those machines are gone, consider setting up some traps - the short walls encircling the core provide fine anchor points for Shock Wires (or Blast Wires, if you bought the Carja Tripcaster at some point), but note that the Bellowback can simply stomp through these walls, taking your traps out when it does so. Blast Traps and/or Detonating Blast Traps could also prove helpful.
Dispatch the two Watchers patrolling the Cauldron SIGMA Core (left) then overrided a pylon to cut power to the barrier around the core (right).
Also take time to scan the Bellowback. As its name implies, this machine is fond of spitting elements at its opponents - in the case of this particular machine, fire. Fortunately, it has three vulnerable parts you can target: some hard-to-target Blaze Canisters between its legs, its massive Cargo Sac on its back and the Gullet on its neck. The Blaze Canisters are rather hard targets, but focusing on the Cargo Sac and the Gullet will do massive damage to the machine, as well as disabling its long range fire attack and short range fire breath, respectively. The Sharpshot Bow, naturally, will serve you well, especially if you’ve taken time to invest in the Double Shot or Triple Shot skills.
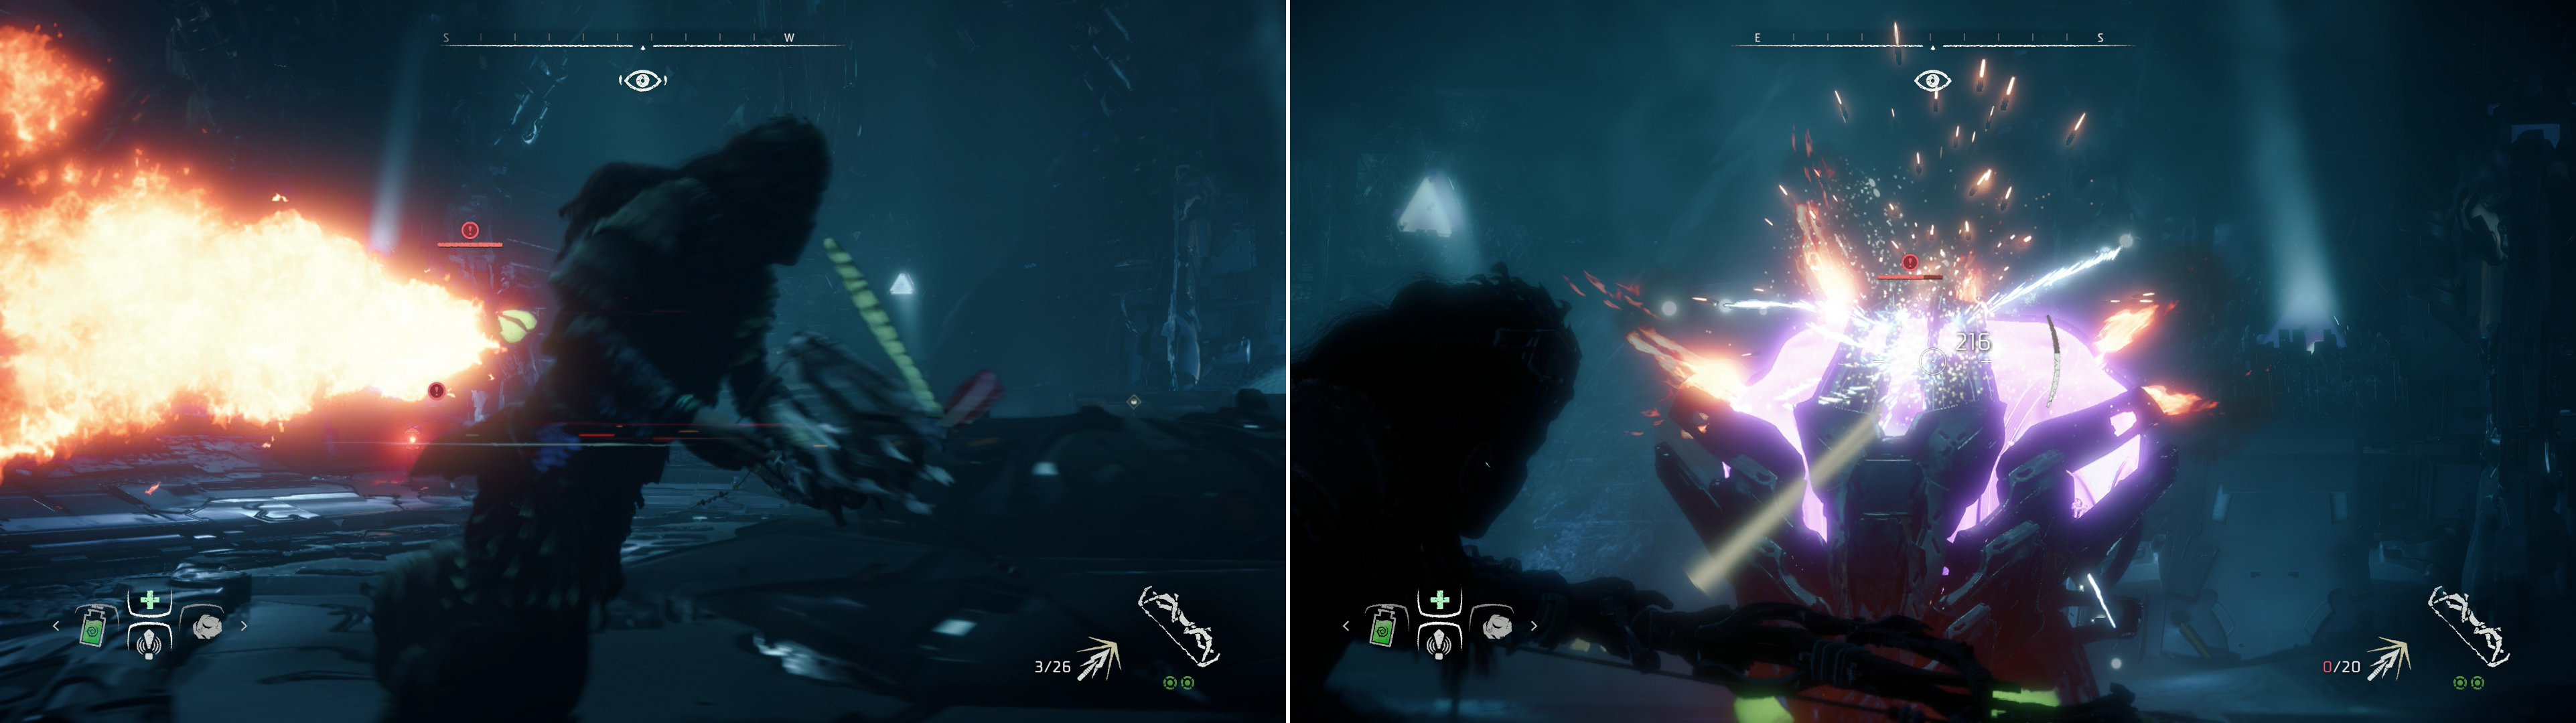
Dodge the Fire Bellowback’s attacks (left) and target its Cargo Sac (right) and Gullet, which will explode when destroyed.
When you’re ready, climb one of the Discharge Pylons and override the device on top to take down the shield, which will also lower the tower. When you reach the ground it’ll be you versus about three Watchers and a Bellowback. You’ll want to stay mobile to avoid the Bellowback and go after the Watchers first, taking them down with a strong attack followed up by a fast attack. Once done, focus on the Bellowback, using Double Shot or Triple Shot (if possible) with the Sharpshot Bow and targeting its Cargo Sac first. When that’s gone its long range attack will be disabled, forcing the Bellowback to move in at close range and deploy its fire breath. Target its gullet to disable this attack, too, at which point it’ll be nearly vanquished and forced to resort to leaps and ram attacks. Keep up the pressure and when it falls, loot the ruined machines, then turn your attention to the core, now exposed and ready for you to override it.
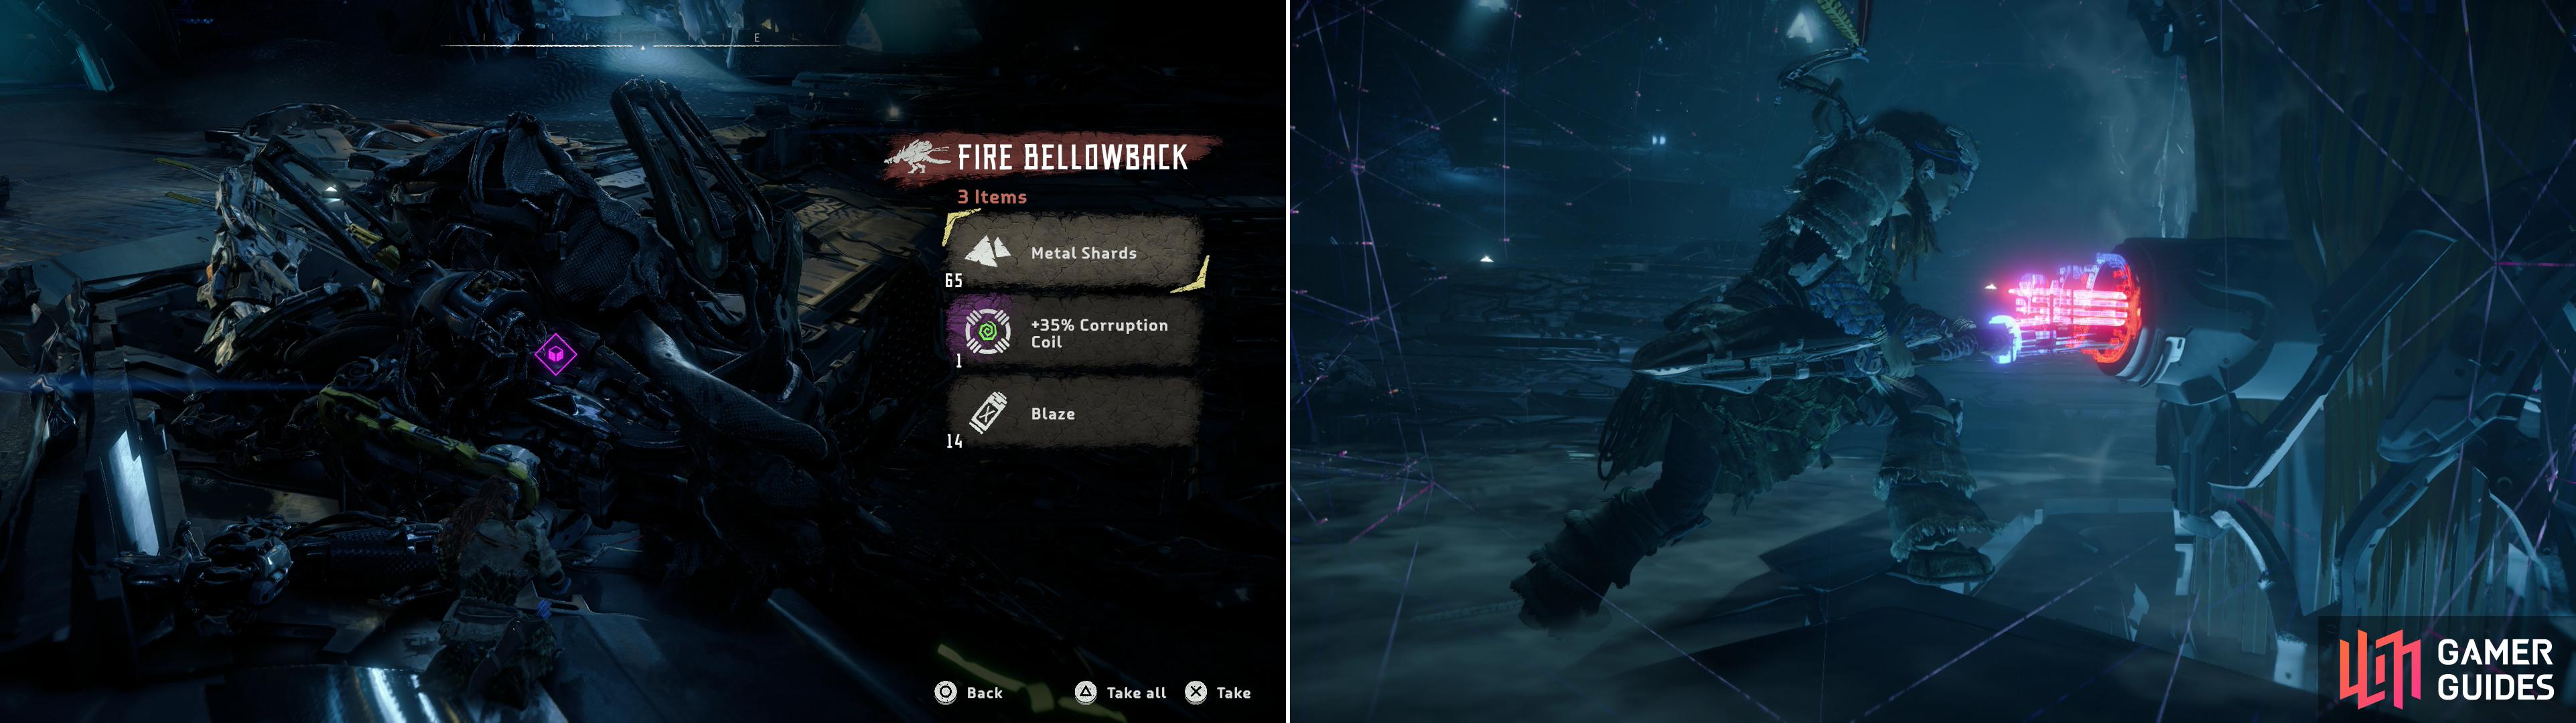
After the fight, claim your loot, which will likely include some Very Rare quality mods (left) then override Cauldron SIGMA’s core to obtain the SIGMA Override codes (right).
Make your way over to the core and override it to get the SIGMA Override codes, which will allow you to hack the Sawtooth, Scrapper, Grazer and Lancehorn machine models. Obviously the real winner here is the Sawtooth, as you may encounter them in pairs. Being able to hack one and let them fight to the death is a very, very cool way to neutralize a threat. You’ll also get the Text Datapoints - Machines “M/SIGMA: Core Log 763E” .
| Objective | Rewards |
|---|---|
| For overriding the Cauldron SIGMA Core | 4,000 XP / SIGMA Overrides / +1 Skill Point |

No Comments