The Banuk Camp
Continue back down the cliffs, then make your way to the road and follow it northwest a short distance, where it will link up with the branch you neglected earlier. Here Aloy will note the Banuk tribal nearby and their apparently tamed machines. Obviously this bears further investigation, and to facilitate this the quest “A Moment’s Peace” begins.’
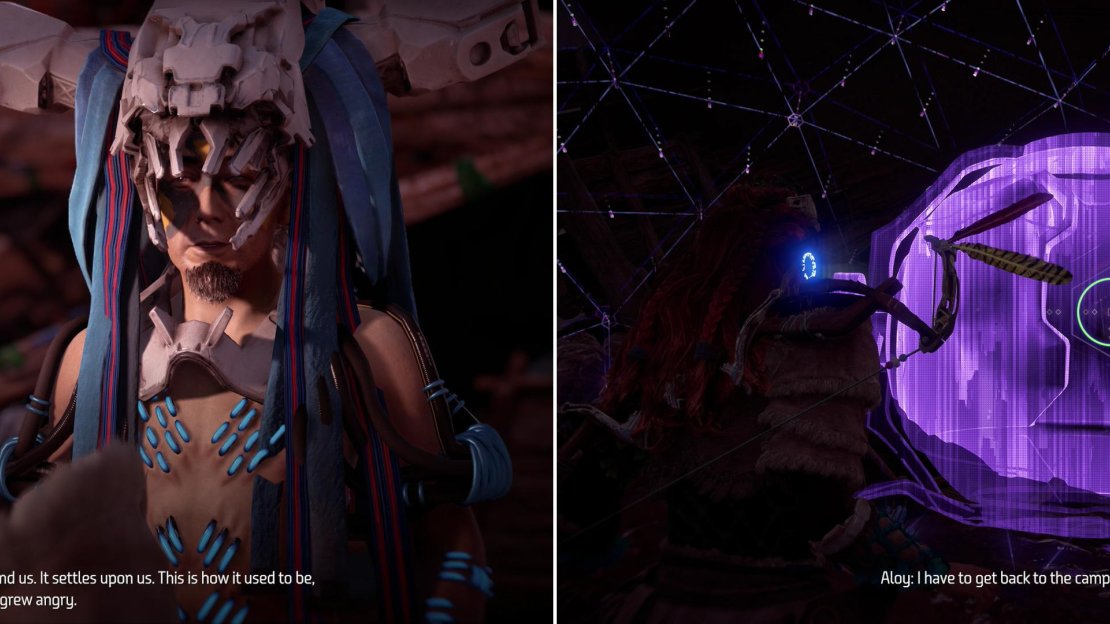
There’s a Banuk settlement to the northwest, complete with a Campfire, a merchant, and numerous Supply Crates scattered about. When you’re done plundering, make your way northeast of the Campfire to find a shaman named Tikuk working on a Watcher. Talk to him and you’ll learn that machines are unusually docile here - and the Banuk apparently have no better idea of why than Aloy does. He does mention something about a “machine song”, though, and this does encourage Aloy to use her Focus to get to the bottom of matters.
Talk to Tikuk to learn about the good old days of docile robots and machine songs (left) then identify the source of the machine’s unusual passivity (right).
Searching for the Signal
Activate your Focus and look up at the cliffs to the north to find a signal you can scan. It doesn’t give you any immediate answers, but it will give you a new goal. Make your way northwest through the camp and climb some stairs to reach a Banuk shrine, where another shaman is busy wasting his time on mumbo-jumbo. Scale a series of cliffs to the southwest, balance across a taut rope spanning a gap, then climb a pillar to reach its top, at which point turn northwest and leap across a gap. Continue north and leap across a series a wooden poles to reach a Campfire with some passive Glinthawks noisily brooding nearby.
Use the Campfire to save if you wish, then venture north through a mountain pass to meet two men, Bajund and Menuf, who will complain about some Oseram up ahead who plan to scavenge a device and sell it for scrap - a device that is beaten up, like it “fell out of the sky”. Hmm… It doesn’t take Aloy long to put the pieces together and realize that this device is the source of the signal, and if she doesn’t stop the Oseram, they’re going to disrupt the signal, which will have catastrophic consequences for the Banuk.
Continue down the trail to the north to find Dorgeld and Garnund, who try to haggle with you before Aloy tells them off. Once they’re gone, scan the device, then return south to the Campfire, at which turn southeast to find a rappel point you can use to reach a zipline, which will take you back to the Banuk camp.
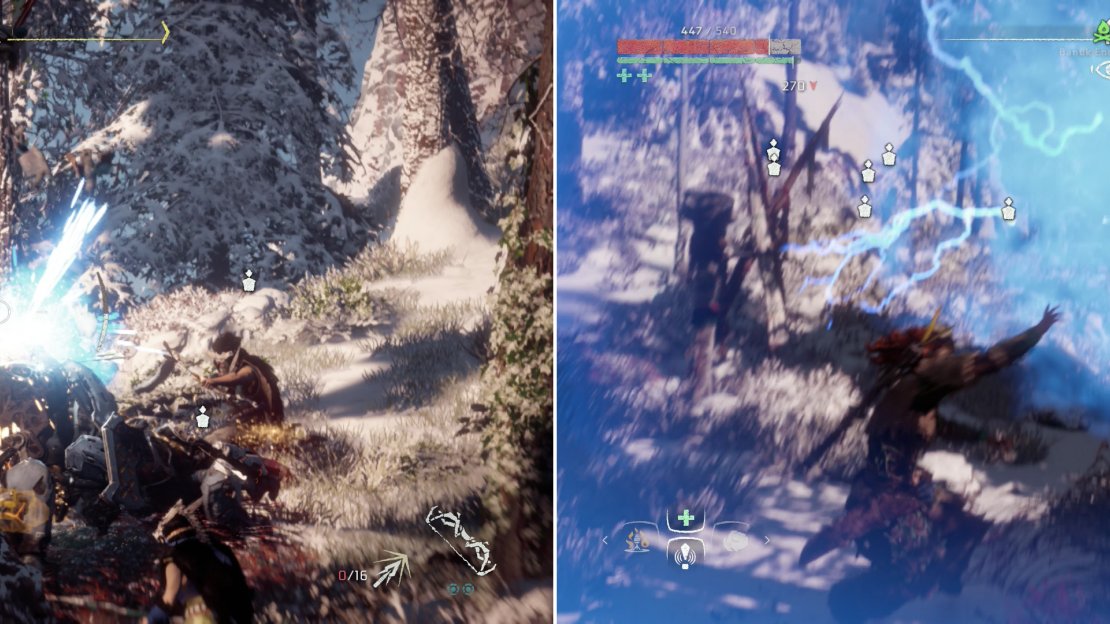
Use Tear damage to knock off the Ravager’s cannon (left). Hitting a Power Cell with Shock Arrows will cause them to erupt and deal massive damage - just make sure you’re far enough away! (right).
Unnatural Order
Aloy is too late to evacuate the Banuk, but not too late to help fight off the machines. Many of the original robots are already dispatched, but several yet remain, including a few Scrappers and the formidable Ravager. What’s a Ravager, you ask? Take a Sawtooth, replace its Blaze Canister with a Power Cell and give it a cannon, and that gets you pretty close.
Fortunately the Ravager Cannon is relatively easily removed with Precision Arrows, and this really should be the first thing you target on the machine, just to remove its ranged potential. Next target the Power Cell on its back - it’s also got a Freeze Canister on its chest, but the Power Cell should be a much easier target. Plus, when the Power Cell explodes not only will it greatly damage the Ravager, but it’ll stun it, allowing you to do even more damage… perhaps safely target the Freeze Canister?
Aside from the Ravager Cannon, expect the same leaping attacks from the Ravager as you endured with the Sawtooth. Be wary, however, of the area-of-effect shock attack the Ravager can perform, centered on itself, much like the Shell-Walker. It’s got ranged options, close combat options, and it’s leap attack covers the middle ground, making it a truly versatile foe.
Once the Ravager has ravaged its last, return to the Banuk camp and talk to Tikuk to complete this quest. With that, you’re done in the northeast for now. It’s time, finally, to return to Mother’s Crown.
| Objective | Rewards |
|---|---|
| For saving the Banuk from the machines | 3,000 XP / +1 Extraordinary Reward Box |


No Comments