With your next destination set in the far southwest, there’s a large number of things you can explore there, including some collectibles, sidequests and even some side activities, like Tallnecks. If you haven’t updated your weaponry to the Shadow tier of weapons, do so now and farm the single Thunderjaw that’s west of Daytower (next to a campfire) for some purple mods. For starters, since you haven’t had the chance to explore the Hunters Lodge in Meridian in this walkthrough, it’s about time you do.
Hunting for the Lodge
Before you can even enter the lodge, you need to have completed at least three trials across all of the Hunting Grounds, with a Half Sun mark. Considering four of the five Hunting Grounds have already been covered, you should fulfill the requirements already. If not, head back to them and just get the Half Sun marks, which is plenty easy at this point in the game. Fast travel to Meridian and head to the western side of the city, where you’ll find the Hunters Lodge up some stairs.
Upon entering, you’ll be greeted by a man who looks to be a little past his hunting prime, Ligan. He mentions that you need to have won three Half Suns at the Hunting Grounds to be allowed to enter, something you’ve done already. Now, there is an order to the rankings in the Hunters Lodge and since you’ve only done the minimum, you are considered a Fledging. In order to officially join the lodge and become a Thrush, you need to find a Hawk to sponsor you. Unfortunately, a Hawk can only sponsor one person at a time, so Ligan sends you to the leader of the lodge, Sunhawk Ahsis.
Before doing that, though, go ahead and talk to the lady at what appears to be the front desk, named Aidaba, who has that lovely green exclamation mark over her head, indicating a new quest. This quest, aptly titled Weapons of the Lodge, will have Aidaba hand over some special weapons for achieving all like marks at each of the five Hunting Grounds. You’ll get to the last one shortly, so just put this on the backburner for now. On the counter around the corner, though, is a Scanned Glyph - Bylaws of the Lodge .
Back to the task at hand, climb either set of stairs in the middle of the lodge to get to the second floor, where you’ll find two more Scanned Glyphs (Record of Redmaw 1 and Record of Redmaw 2) at the top. Past the Sunhawk is one more Scanned Glyph, Legendary Hunts , around the corner. Now, return to Ahsis and speak with him, who seems a little unhappy to see you. Being defiant, though, Aloy manages to get Ahsis to appoint her to a Hawk named Talanah, who can be found at the base of the stairs right by the Sunhawk. Question her if you wish to learn more about the lodge, including the as…err, Sunhawk.
The machines don’t drop their respective trophies until you are on that part of the quest.
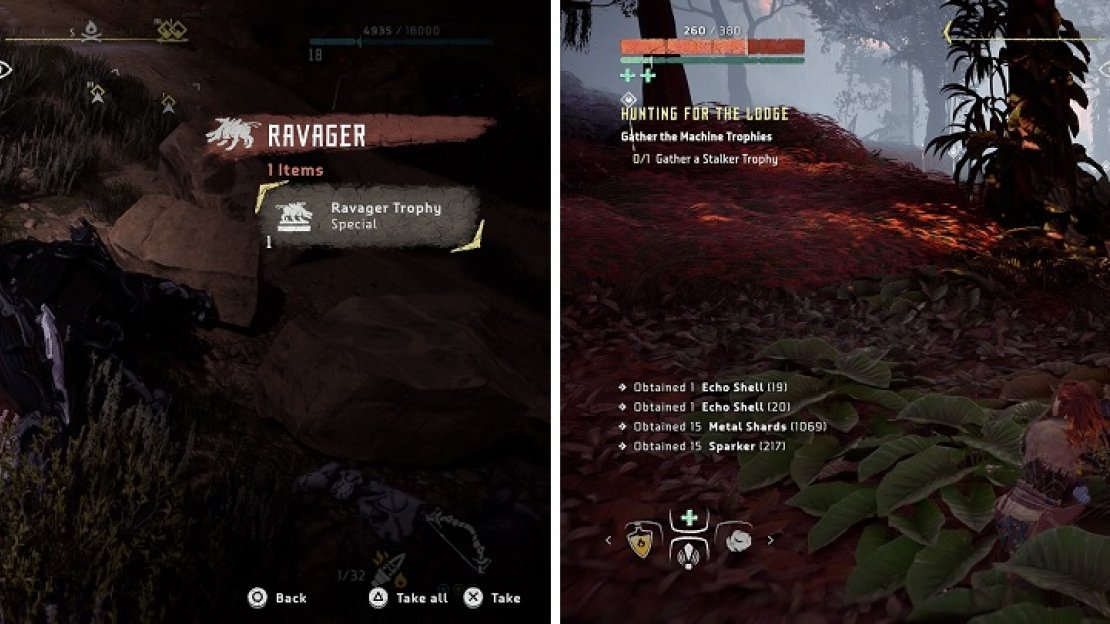
To officially become a Thrush under Talanah, you need to procure some trophies first - specifically, three Sawtooths, two Ravagers and a Stalker. All of these will be marked with specific locations on your map, but you are free to go after whichever ones you want. Note that the trophies cannot be looted prior to having this part of the quest in your log, so you will have to actively hunt them down right now. Once you have all of the necessary trophies, including the annoying Stalker, bring them back to Ahsis to finish.
| Objective | Reward |
|---|---|
| For properly joining the Hunters Lodge | 5,330 XP / +1 Extraordinary Reward Box |
Hunters Blind
Ok! That’s one quest done for the Hunters Lodge, with Hunters’ Blind beginning as soon as you finish the previous one. To begin, speak with Talanah in her usual spot, who ends up running out the door and standing next to another woman. This woman, Ilsadi, is from Lone Light and her village has been receiving some attacks from Glinthawks, those devilish creatures you may have come to hate. You should have visited Lone Light for a brief respite before, but if not, it’s north of the Gatelands Bandit Camp on your map.
Upon arrival, Talanah runs up to you and warns of an incoming attack from more Glinthawks. As you should know by now, fire arrows are the key to defeating these flying menaces. You’ll have to fight around four or five Glinthawks before you can finally breathe a sigh of relief, after which, you should speak with Talanah and Ilsadi. Aloy mentions that the Glinthawks appear to be coming from up river, so it’s time to destroy whatever nest once and for all…on your own, of course, since Talanah doesn’t need to hold your hand.
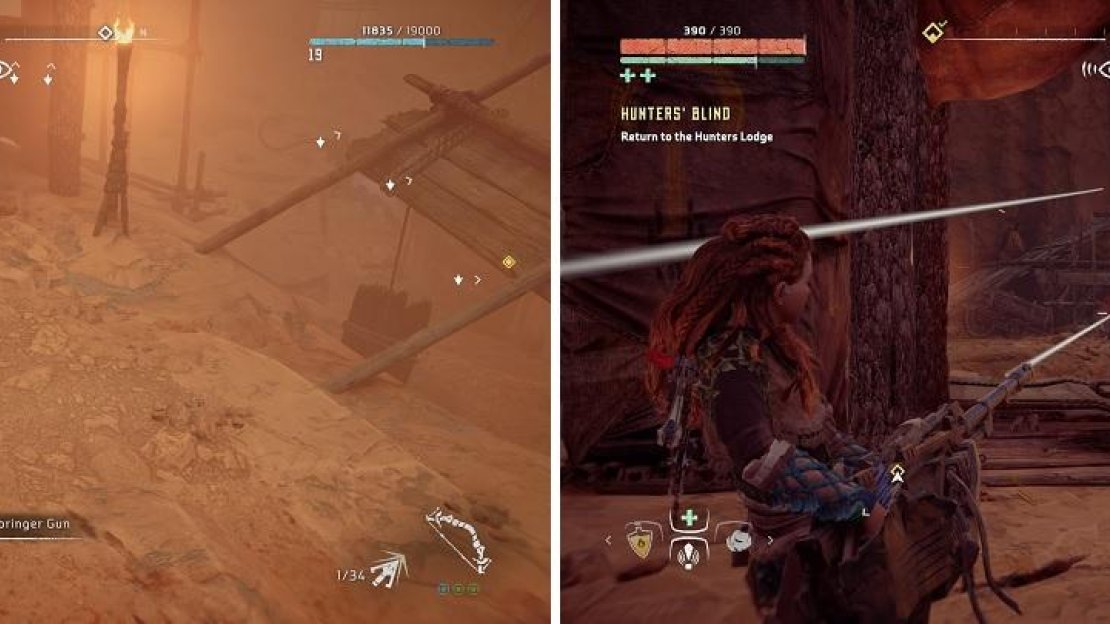
On the northeastern side of the village is a rappel point that will bring you to the bank of the river below. You will come across two more Glinthawks, doing what they do best, scavenging and not being a pest at all. Clip their wings and investigate the area to find a plethora of Snapmaw corpses. Since the Glinthawks couldn’t have done this themselves, it appears some hunters have caused the ruckus. Go north and use your Focus to find some tracks left behind by the hunters, leading up some handholds and right to the culprits themselves.
Depending on your answer, you might have to fight the hunters (left) or kill a Snapmaw for a heart (right).
You actually have a choice here, with your options ultimately resulting in either fighting the hunters or if you choose to compromise, then you will need to deliver a Snapmaw Heart to them. Should you fight them, you are up against a melee attacker and three archers, so take out the melee guy first and then use cover to take out the other three. For the other option, go down the other path up here with the hunters to find some Snapmaws by the river. If they have their Blaze Canisters covered, shoot them with hardpoint or precision arrows until they’re exposed, after which, fire arrows will make them go kaboom. Bring the Heart back to the hunters, speak with Talanah who was watching you, then return to the Hunters Lodge to finish the quest after you do one more thing in the area.
| Objective | Reward |
|---|---|
| For helping a village under attack | 3,000 XP / +1 Tearblaster Weapon Box |
Tallneck - Sun-Steps
You likely heard Aloy mention a signal while you were in the vicinity of the Snapmaw hunters, which is a Tallneck. From where you found the Snapmaw hunters, take the eastern exit and go straight east to the road on your map, where you should find a campfire. North of that very campfire will bring you to the area with the Tallneck, but you have other problems before you find yourself climbing the machine. That problem is the place is crawling with Eclipse agents, along with a Corruptor. Start off by sniping the single cultist walking along the catwalk above you, then go around east to find a ramp to get to the other two.
Note that you are not looking to kill everyone here, as you don’t need to, so just concentrate on the bare minimum to allow you to reach the Tallneck. From the scaffolding area where you took out the first cultist, go west across a bridge and continue giving the cultists a splitting headache. You will come across an elite enemy, who is holding onto a Deathbringer Gun, which hurts a lot. Nock a triple shot to quickly take him down, then use that Deathbringer Gun to make short work of the Corruptor and any other enemies you can before running out of ammo.
Use the Deathbringer Gun (left) to clear the rest of the area of cultists (right).
Just past the area with the elite enemy will be another with a ramp that brings you to a ladder. Ignore the ladder and look for the wooden platform that slightly juts out into the center of the entire area. As Aloy mentions, this will be a great spot for you to jump onto the Tallneck, so wait for it to come around and make a running jump to the Tallneck. Climb up to the top, override the machine and that will be another Tallneck down.
| Objective | Reward |
|---|---|
| For overriding the Sun-Steps Tallneck | 7,500 XP / +1 Skill Points / Map Revealed |
Deadliest Game
Return to Meridian and the Hunters Lodge, where you should now be able to receive another quest, Deadliest Game. This one is similar to the latter half of Hunting for the Lodge, where you need to hunt specific machines for trophies, only these two are the top tier of the food chain, a Thunderjaw and a Stormbird. The game will direct you to the Thunderjaw northeast of Meridian, right next to the campfire, while the Stormbird wil bring you southeast of the city. Note that you can hunt them down in any location on the map and they will drop their respective trophy on the first kill.
While full-blown strategies won’t be given here, a brief explanation will be shown to refresh your memory a bit, as these are two foes you don’t want to sell short. The Thunderjaw’s main problem, at first, is the two disc launchers on its back. You can either damage these enough to knock them off naturally or use Tearblast Arrows to do the job. With the disc launcher off, you can pick this up and use it against the Thunderjaw to deal some heavy damage, especially if you manage to freeze the beast prior to attacking. Just be mindful of its melee attacks after destroying its ranged weaponry and you’ll be fine.
The Stormbird, however, can be a different story, as there is no way to ground it, so you will have to be content with tracking it in the air. First and foremost, you want to destroy the Lightning Gun on its chest, as it will try and pepper you with shots from it. Other than that, you can try to destroy the engines on its wings, but its divebomb attack is fairly easy to dodge and the Stormbird will typically stay on the ground for a little bit after doing it. When you’ve acquired both trophies, bring them back to Ahsis at the Hunters Lodge to finish only to find neither him nor Talanah are there. Speak with Ligan to learn they both went after Redmaw, finishing up this quest.
| Objective | Reward |
|---|---|
| For delivering the Thunderjaw and Stormbird trophies | 6,000 XP / +1 Extraordinary Reward Box |


No Comments