Weapons are an integral part in Horizon: Zero Dawn, as it’s kind of hard to kill enemies without them. The majority of the weapons in Horizon have three tiers to them, with each tier usually introducing a new ammo type with it. You have the basic weapon, a Carja variant and finally a Shadow version. Aloy starts the game with a Carja Hunter Bow, giving her access to two initial ammo types once you progress the main story a little bit. Also, as you increase the tiers, you also gain additional Modification slots.
Hunter Bow
The Hunter Bow is a lightweight bow that trades power for faster reload and firing time, with it being for short-to-medium range combat. Hunter Arrows are your standard arrows and don’t excel at anything. Fire Arrows are great, as you can eventually set fire to enemies, dealing damage over time to them. The last arrow for the Hunter Bow is the Hardpoint Arrow, which deals medium impact damage and high tear on impact.
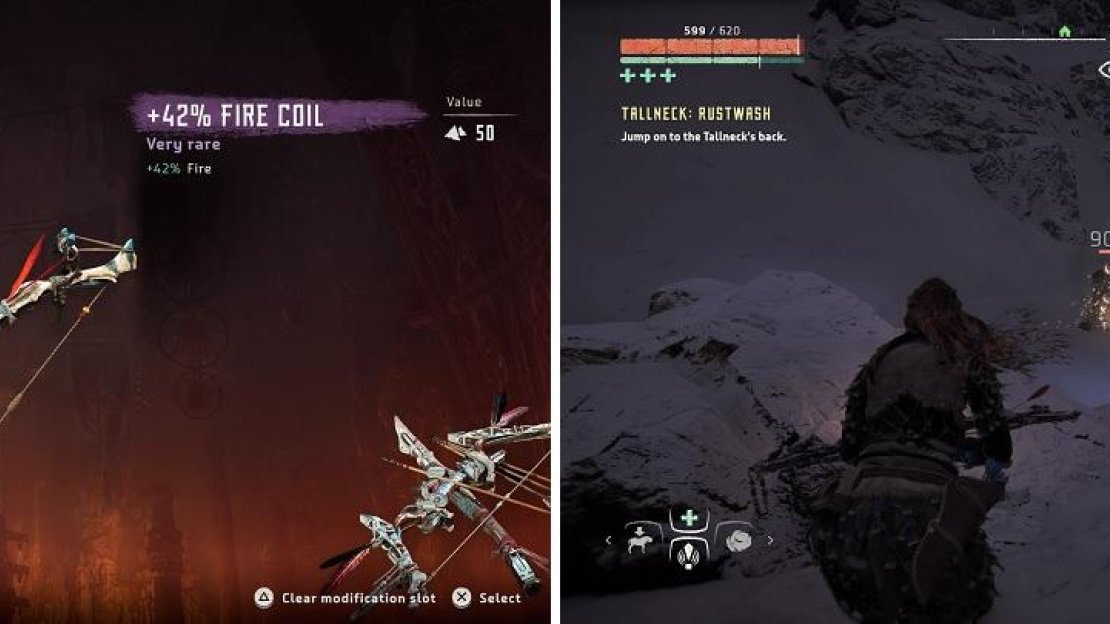
Modding the Hunter Bow with fire mods (left) will be a great way to take down some machines (right).
This is probably the second best arrow in the game for damage, as well as a great source for tear if you don’t want to use Tearblast Arrows or the Tearblaster (Hardpoint Arrows are easier to make). If you want to make the full use of the arrows, buy two Shadow Hunter Bows and mod one for simply fire damage, then the other for tear or damage, if you want.
Sharpshot Bow
The Sharpshot Bow is a highly accurate bow that is very useful because it is long-ranged, but one of its downsides is that it is quite slow when firing. This bow has two very good arrows, with the third one being kind of situational. Precision Arrows will likely be your top damage dealer in the game, especially with a bow modded with pure damage modes. Tearblast Arrows are incredibly useful, as they will pretty much knock off whatever component on a machine, provided you got the arrow close enough.
Harvest Arrows are a mixed bag, as they allow you to get more resources for knocking off a certain resource component, like a Blaze Canister. However, you should likely have more than enough of those resources by the time it unlocks, so there is really no need for them, unless you’re very wasteful with them. For mods, you have one of two choices here, as you can go full damage or do something like handling, to speed up your bow usage.
War Bow
The War Bow is centered primarily around elemental arrows, which act similar to the Hunter Bow’s fire arrows. You start with Shock Arrows, which are pretty much just used to shock enemies, then have Freeze Arrows as your second tier. These are a little bit different than you’re thinking, as Freeze is an ailment that makes enemies take more damage from all sources. This is a great tool to use against the bigger machines, as you can down some of them very quickly thanks to Freeze.
The last tier of ammo for the War Bow is a bit unusual, as it is Corruption Arrows. Using these on machines will make it so they become corrupted (not like the ones you find in Corrupted Zones), similar to confusion. Machines corrupted in this manner will fight other machines, but they will not hesitate to still attack you. For modifications, you’d ideally want three Shadow War Bows, one for each element, but the Corruption Arrows aren’t too important, so definitely make one for the shock and freeze arrows.
Ropecaster
The Ropecaster is not a weapon that is used for damage (it doesn’t do any), but instead for controlling enemies. It fires ropes that Aloy will automatically put into the ground, essentially tying down an enemy. The larger the machine, the more ropes that it will require, but it also depends on the weapon tier you have. This is also one of the only weapons that doesn’t have different ammo types, but each tier upgrades the strength of the rope used, so it takes fewer ropes. Note that attacking a machine that has been tied down will severely reduce the time that it is tied down. Probably the only useful mod for the Ropecaster is handling, so you can fire off shots faster.
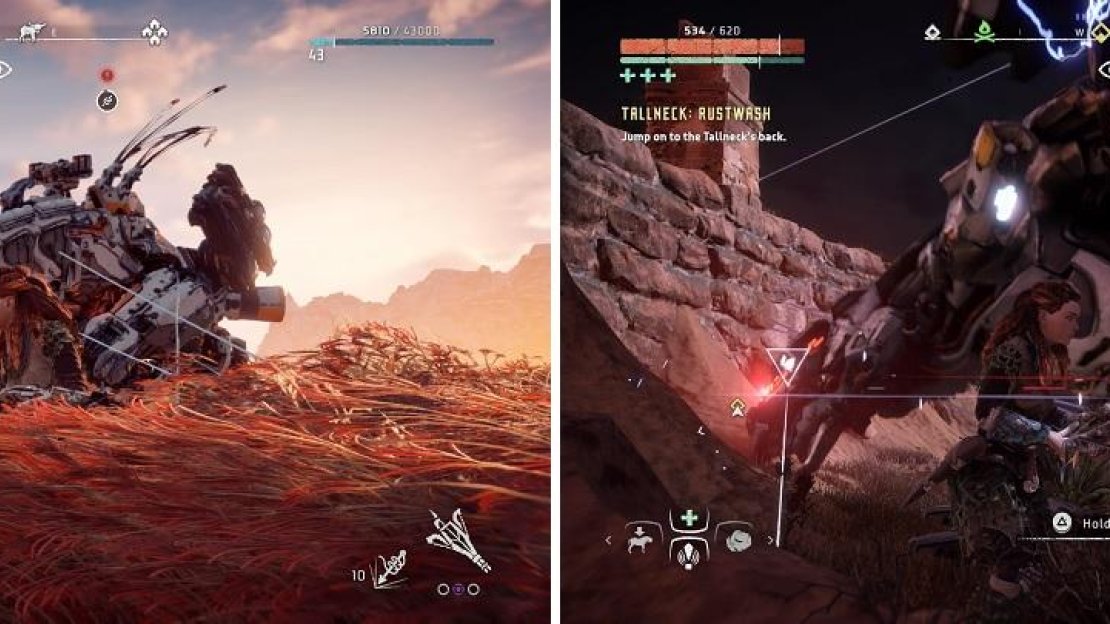
The Ropecaster is very useful in incapacitating machines (left). While tied down, you can easily override them if you can (right).
Tripcaster
The Tripcaster is a weapon that allows you to place tripwire traps down on the ground. It is probably best used in stealth, planting the tripwires along an enemy’s patrol path, since you have to place the beginning and the end of the wires. As with the previous weapons, you have three different ammo types. The first is the Shock Wire, which is designed to keep the enemy in place. The second is the Blast Wire, which when set off, will deal very high explosive damage.
The last is the Fire Wire, which will set an enemy on fire, dealing low fire damage over time. All of them can be good in situations, but the Shock Wire doesn’t benefit from any specific mods. Fire Wire could benefit from fire mods to increase the damage over time, but fire arrows are better for that. If you have extra damage mods, though, put them on this weapon for the Blast Wire, as it will do a lot more damage when enemies trigger them.
Sling
The Sling is used to lob elemental bombs that have a large area of effect. At base stats, the Sling’s elemental bombs have a greater effect than the War Bow’s, but you have the ability to stack three arrows with Triple Shot. The only advantage this has over the other the War Bow is that it can hit multiple enemies. The ammo types include freeze, shock and fire. If you wish to use this, then having one dedicated to each element, with mods, is probably the ideal thing to do.
Blast Sling
This weapon is similar to the normal Sling, but it lobs explosive bombs, with each ammo type having various trigger mechanisms. The Blast Bomb is your standard one that will explode on impact with anything. The Sticky Bomb, though, is a timed bomb that can stick to targets, and deals the most damage out of the three types. Enemies will notice the bomb sticking to them, but won’t come after you, so you can place multiple of them. The last type is a Proximity Bomb, which does the least amount of damage, but it useful for laying down some traps. The only real useful mod for this weapon would be the damage mods.
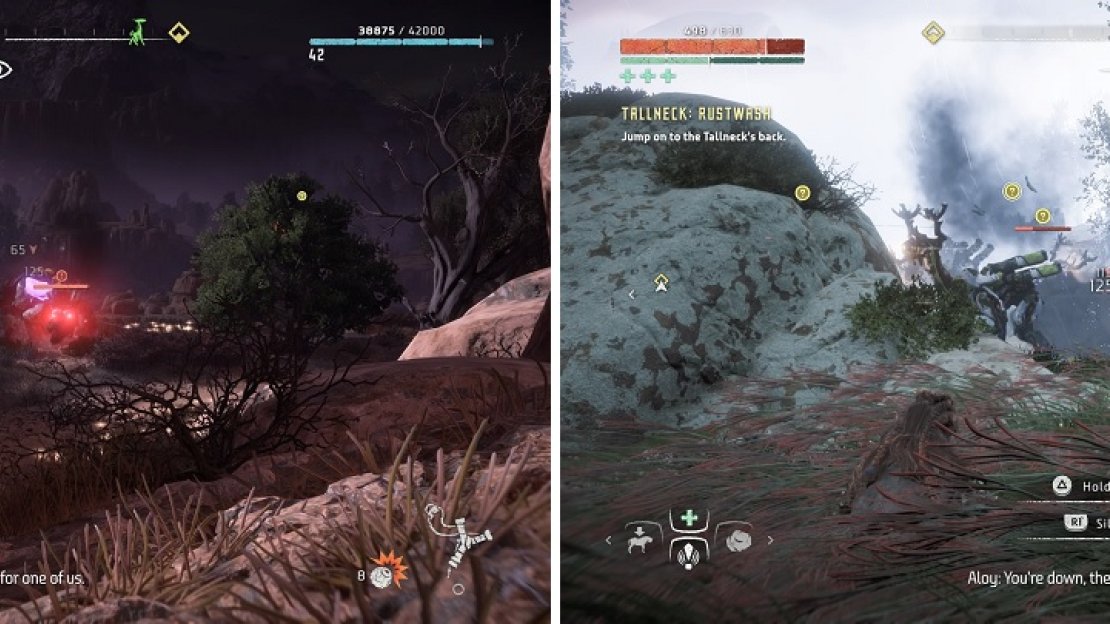
The Blast Sling is good for hitting multiple machines at once.
Rattler
The Rattler is an odd weapon and is essentially a shotgun, as you need to be up close to do anything with it. Each shot from any of the ammo types shoots five bolts at a time, meaning you can hit multiple times with each shot. However, it doesn’t do a lot of damage and to be any effective, you will need to be up very close, which is likely something you don’t want to do with the majority of the machines. You have Metal Bolts (normal), Shock Bolts and Freeze Bolts, all of which should be self-explanatory by now.


No Comments