The Greatrun Hunting Grounds is found not too far northwest of Daytower, the Carja fort that separates the eastern half of the map with the western half. It is a good idea to wait until you can purchase the Shadow Ropecaster in Meridian before you try these trials, as it definitely makes things a lot easier, since it takes less ropes to tie down a machine.
Parts Wrangling Trial
| Blazing Sun | Full Sun | Half Sun |
|---|---|---|
| 1:30 | 2:30 | 20:00 |
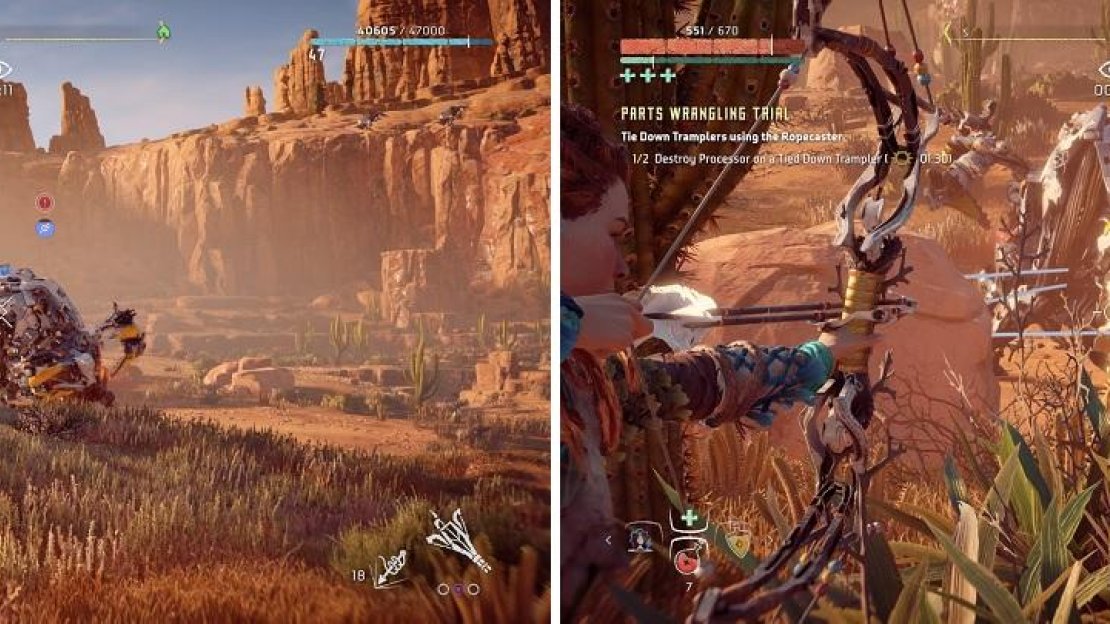
While not as easy as the Pace Trial, this one is not too hard. Your objective in this one is to tie down the Tramplers and then destroy three of their Processing Units, which is the large component on their bellies. With the Shadow Ropecaster, it takes 3-4 shots in order to disable a Trampler and once it’s tied down, you can easily hit its Processing Unit. Now, you should use something like Precision Arrows from the Sharpshot Bow, as they do big damage; if you’ve been to Meridian already, the Shadow Hunter Bow works wonders, too, especially with the Hardpoint Arrows it provides.
The Shadow Ropecaster is very useful for these trials (left). Use a double shot precision arrow on the processing units (right).
Note that once you attack the first Trampler, all hell can break loose, as the other Tramplers might attack you, plus the Glinthawks will also join in the fray. By now, you should have a bunch of Health/Full Health Potions in your inventory, so use them liberally. Tramplers use fire attacks, while Glinthawks use freeze attacks, but the Tramplers likely hurt more, so a Resist Fire Potion will also work wonders. Note that once you destroy the Processing Unit, it will cause a huge explosion, so don’t stand too close.
Pace Trial
| Blazing Sun | Full Sun | Half Sun |
|---|---|---|
| 1:30 | 2:00 | 20:00 |
This is probably the easiest of the trials at Greatrun, simply because you don’t need to kill anything. You need to loot three Watcher corpses before the Glinthawks manage to scavenge everything off of them. As soon as you start, take a quick look at the locations of the Watcher corpses. There should be at least five of them, four of which are on top of rock formations that you’ll need to climb to reach them; the other is on the ground level and pretty surrounded by machines. However, don’t waste too much time sitting at the top, as that gives the Glinthawks time to scavenge. Just keep running to each one and you’ll finish this with ease.
Tie Down Trial
| Blazing Sun | Full Sun | Half Sun |
|---|---|---|
| 2:00 | 4:00 | 20:00 |
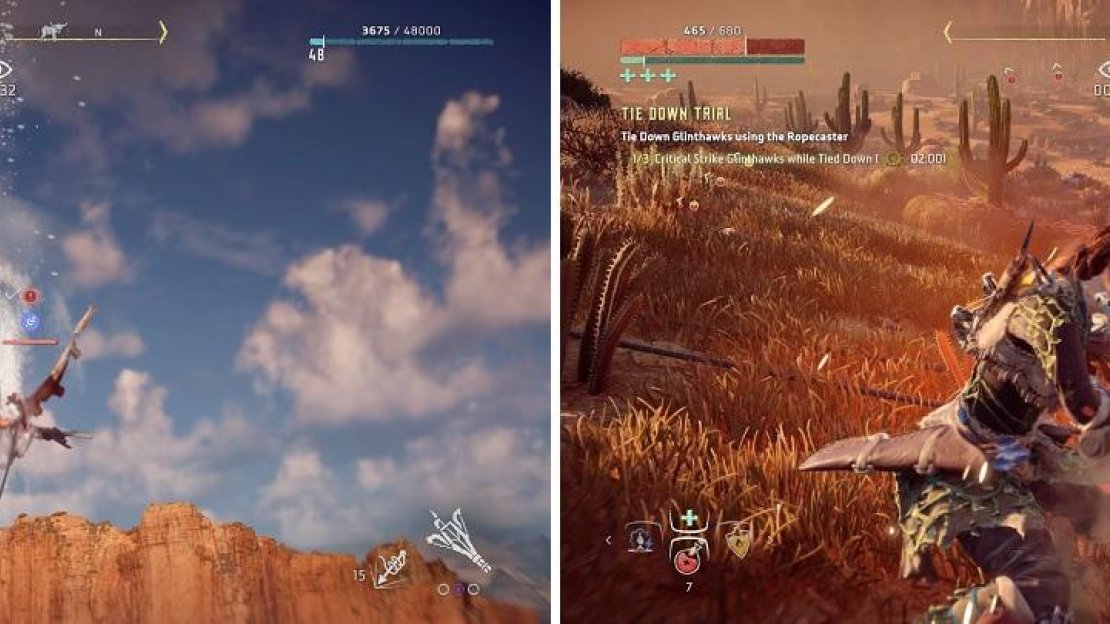
This can be a very frustrating trial, simply because Glinthawks are royal pains here and the Tramplers don’t really help, either. Your goal in this trial is to tie down Glinthawks with the Ropecaster and deliver three Critical Strikes on them. You will find this quite challenging for a number of reasons, one of which is that Glinthawks are hard to hit with the Ropecaster because of their movements. You will need to wait for them to come close enough to the ground, but there is another way to lure them.
Glinthawks are scavengers, like Scrappers, so when they see a dead machine, they will come to pick it apart. When you begin the trial, there should hopefully be a Glinthawk flying around. Hit this with a fire arrow or two to set it ablaze, bringing it down to the ground. You will need to wait, now, for the burning effect to wear off before you try to tie it down with the Ropecaster, as it will break free. Once it is tied down, you will need to wait a few seconds before the Critical Strike button prompt appears.
Glinthawks are annoyingly difficult to hit with the Ropecaster when flying (left). You’ll have to wait a few seconds before you can use a Critical Hit on them (right).
Another reason this trial is challenging is that the other Glinthawks are sitting atop a cliff on the opposite side of the area. So, if the one Glinthawk is flying about at the beginning, attacking it will likely attract the attention of the others (and the Tramplers, too), making things a big mess. Depending on the skills you have, it’s very possible to get two Critical Strikes on a single Glinthawk, but it needs to start flying back into the air before you can tie it down again.
The easiest way to complete this trial within the Blazing Sun time limit is to tie down the rogue Glinthawk at the beginning after grabbing its attention (preferably fire arrows and then waiting for the burning effect to go away), Critical Strike it once, wait for it to fly away and do it once more. If it dies on the first Critical, then the other Glinthawks will come and try to scavenge it, which is your cue to tie down that one. Once you get a good rhythm going, it shouldn’t take you long to get it within the time limit.


No Comments