

| Metal Flowers |
|---|
| Metal Flower - Mark III (H) |
| Metal Flower - Mark III (J) |
| Metal Flower - Mark II (C) |
Tallneck - Copper Deeps
Leave the Cauldron and follow the road back west to the nearby Campfire at the fork, then head down the unexplored road to the west, which then turns south and leads to another Campfire a short distance along. Again, you may be pestered by a Shell-Walker convoy along the way, so deal with them or avoid them as necessary. From the second Campfire follow the road west until you reach a fork, at which turn north, northwest.
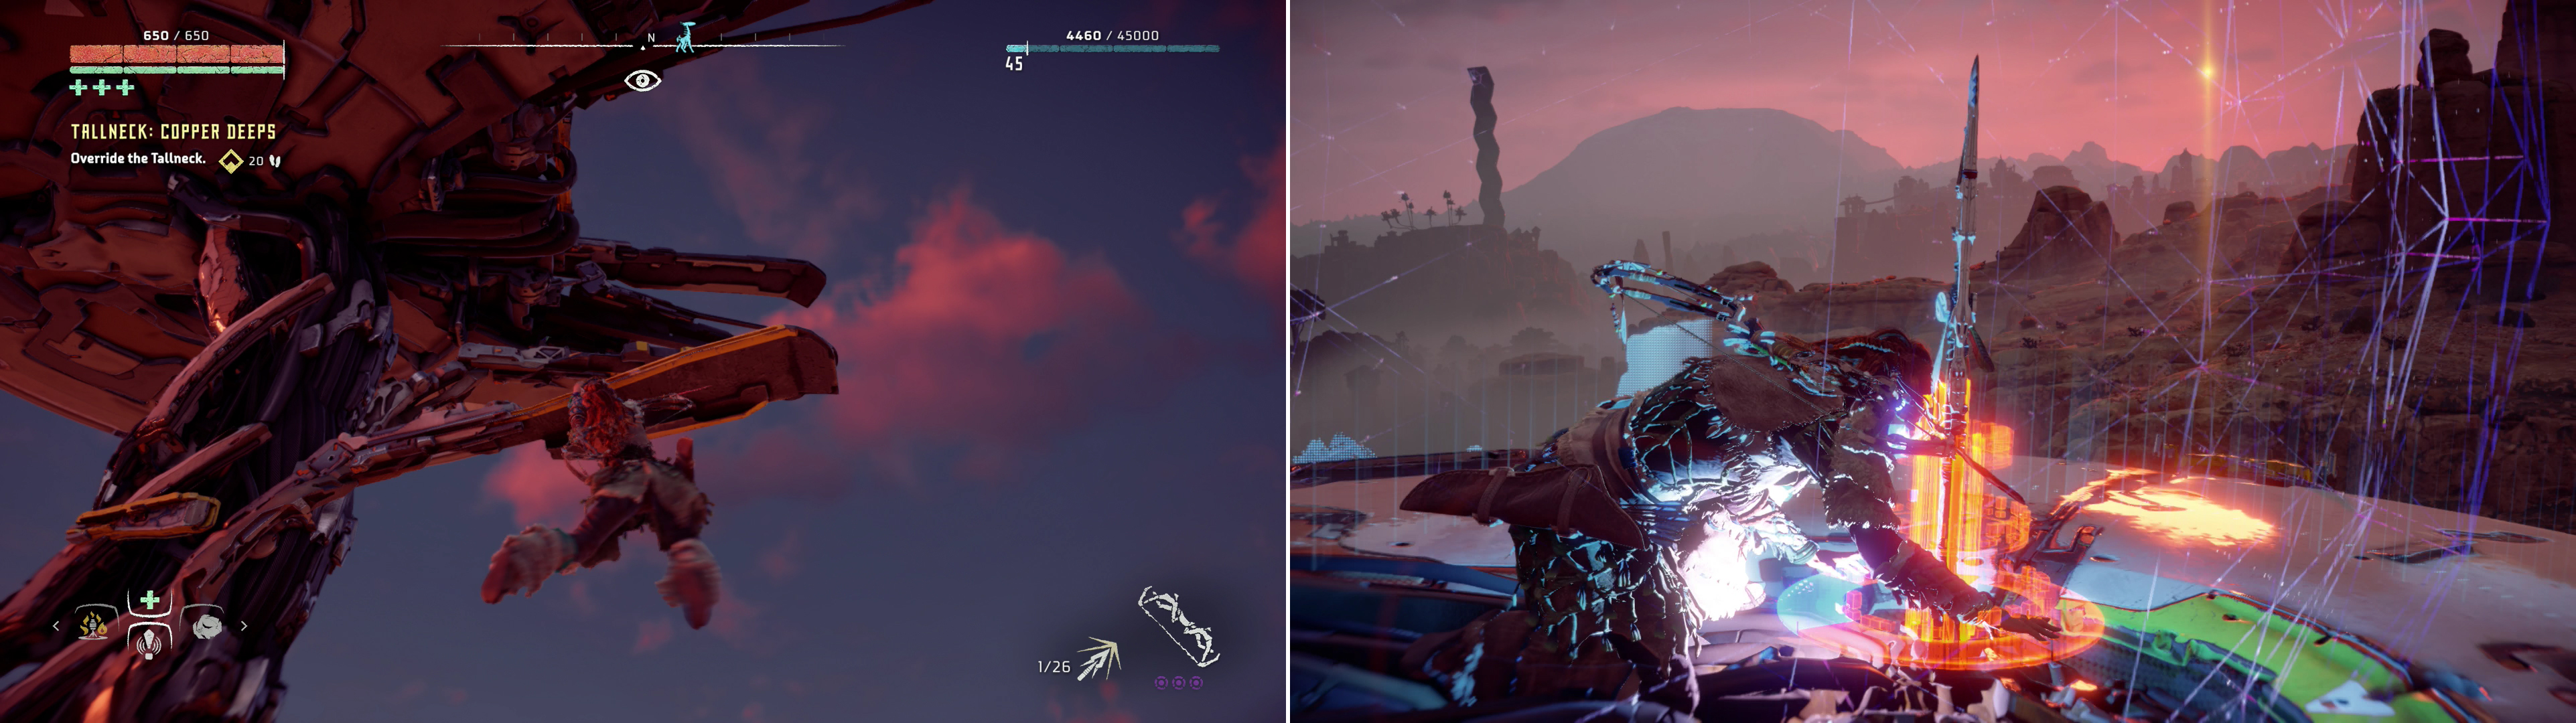
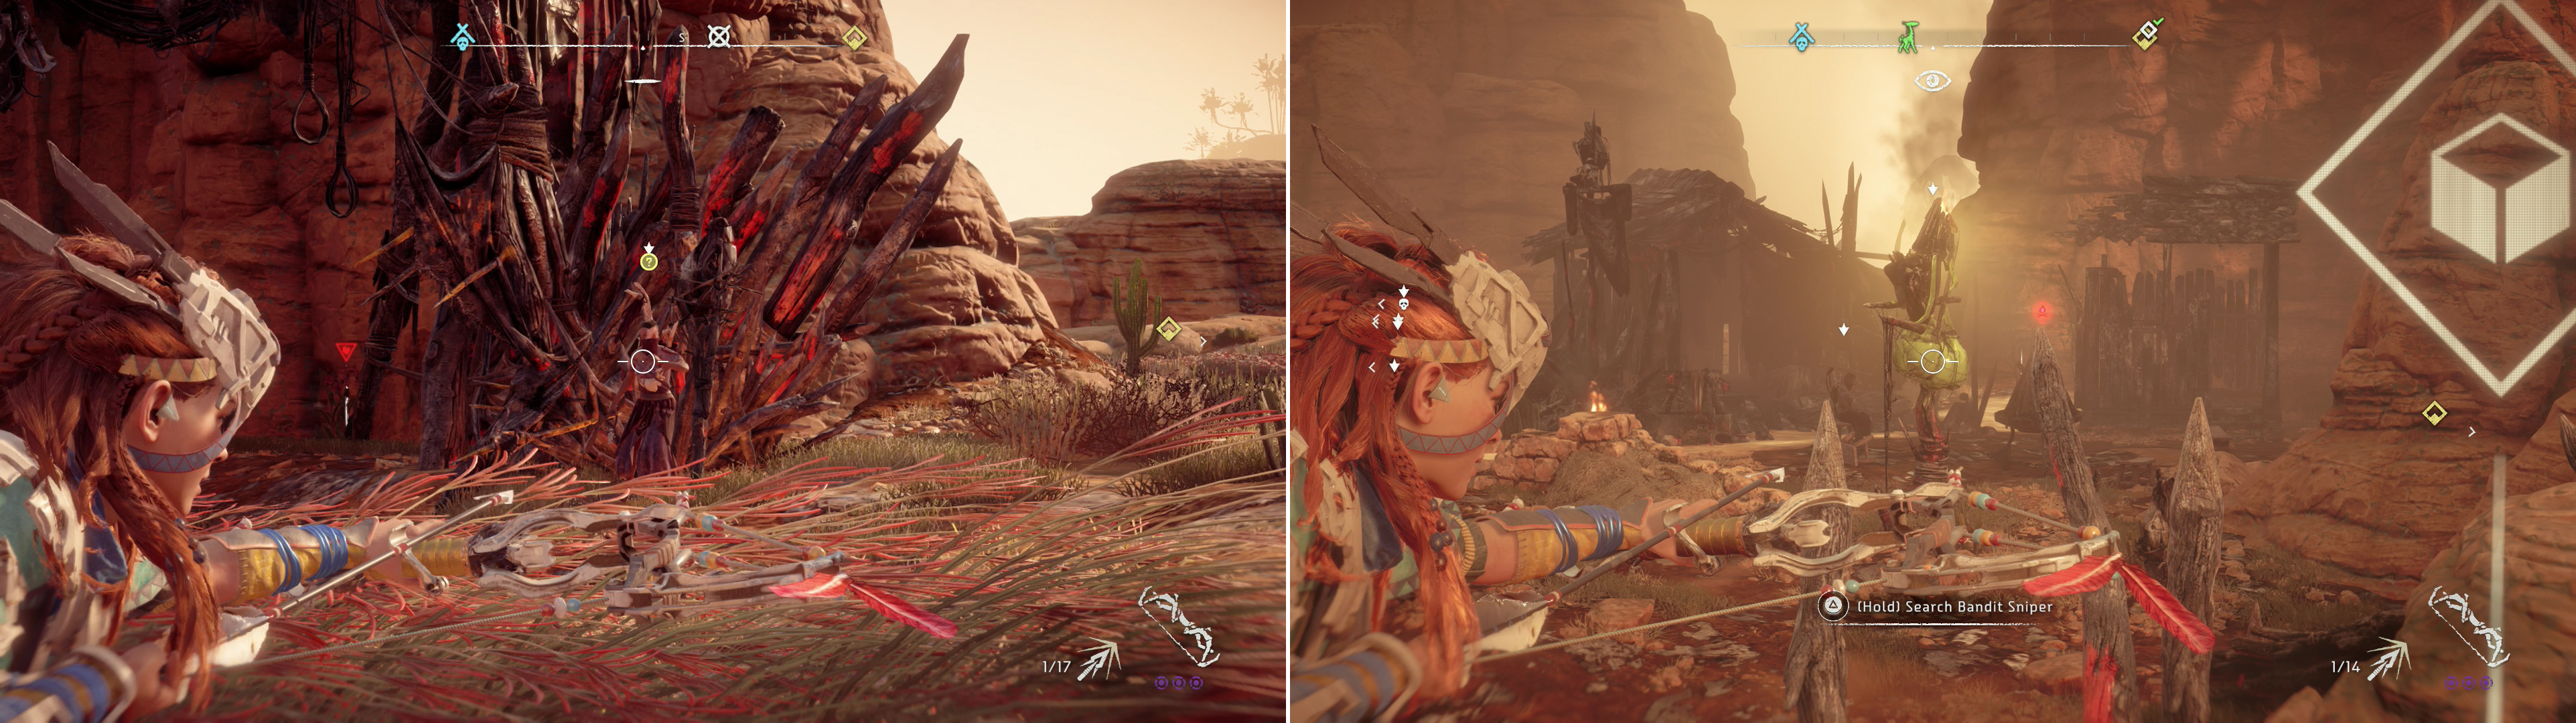
Climb the Tallneck’s antenna and other hand holds (left) and override the massive machine’s disc-head (right).
Eventually the road will lead you near a Tallneck, which obliviously circles around the waters to the west. In and around this lake you’ll find a variety of less benign machines, including Watchers, Snapmaws and Glinthawks, but more importantly there are two islands in the lake. Your goal should be to exterminate the machines and make your way to the southern of these two islands, more specifically to the southeastern end of the island. The Tallneck should pass by near enough to this spot to allow you to perform a running jump onto its back antennas, after which you need merely climb its massive neck to its disc-shaped head. Override the machine to gain intel on the southeastern quadrant of Carja territory, as well as the complimentary XP and +1 Skill Point for completing the climb.
| Objective | Rewards |
|---|---|
| For overriding the Copper Deeps Tallneck | 7,500 XP / +1 Skill Point / Map Revealed |
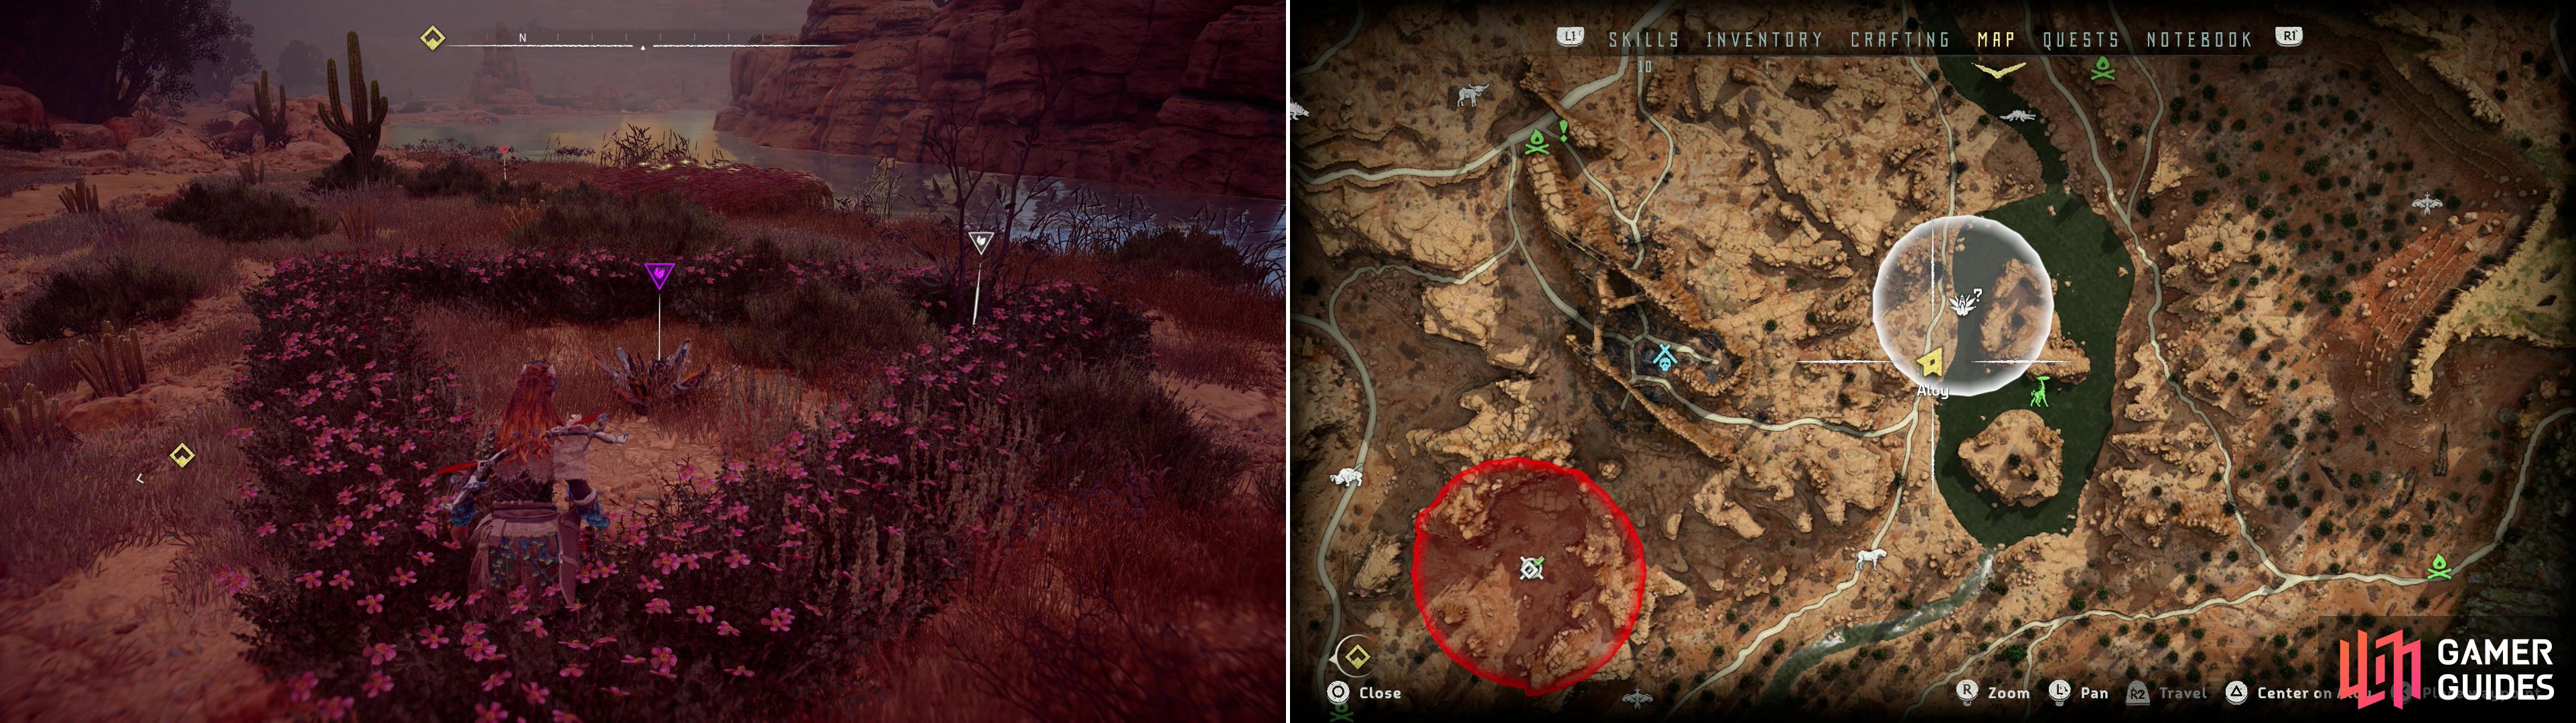
Find Metal Flower - Mark III (H) (left) at the location indicated on the map (right).
A Metal Bouquet
After overriding the Tallneck, swim to the western shore of the lake, then continue west to find a road running north/south. Ignore the fork to the west if you come across it - it leads to the Gatelands Camp Bandit Camp, but you’ll get there soon enough, albeit by a somewhat more circuitous route.
Instead, follow the road north and keep your eye on the shore to the east (your right) to spot Metal Flower - Mark III (H) , which is on the southwestern edge of its search area. Grab it, then continue following the road north, eliminating or evading some Snapmaws along the way. Eventually you’ll spot a bridge spanning the rather unimpressive river near you. Swim to the eastern shore and continue north under the bridge to locate - and obtain - Metal Flower - Mark III (J) .
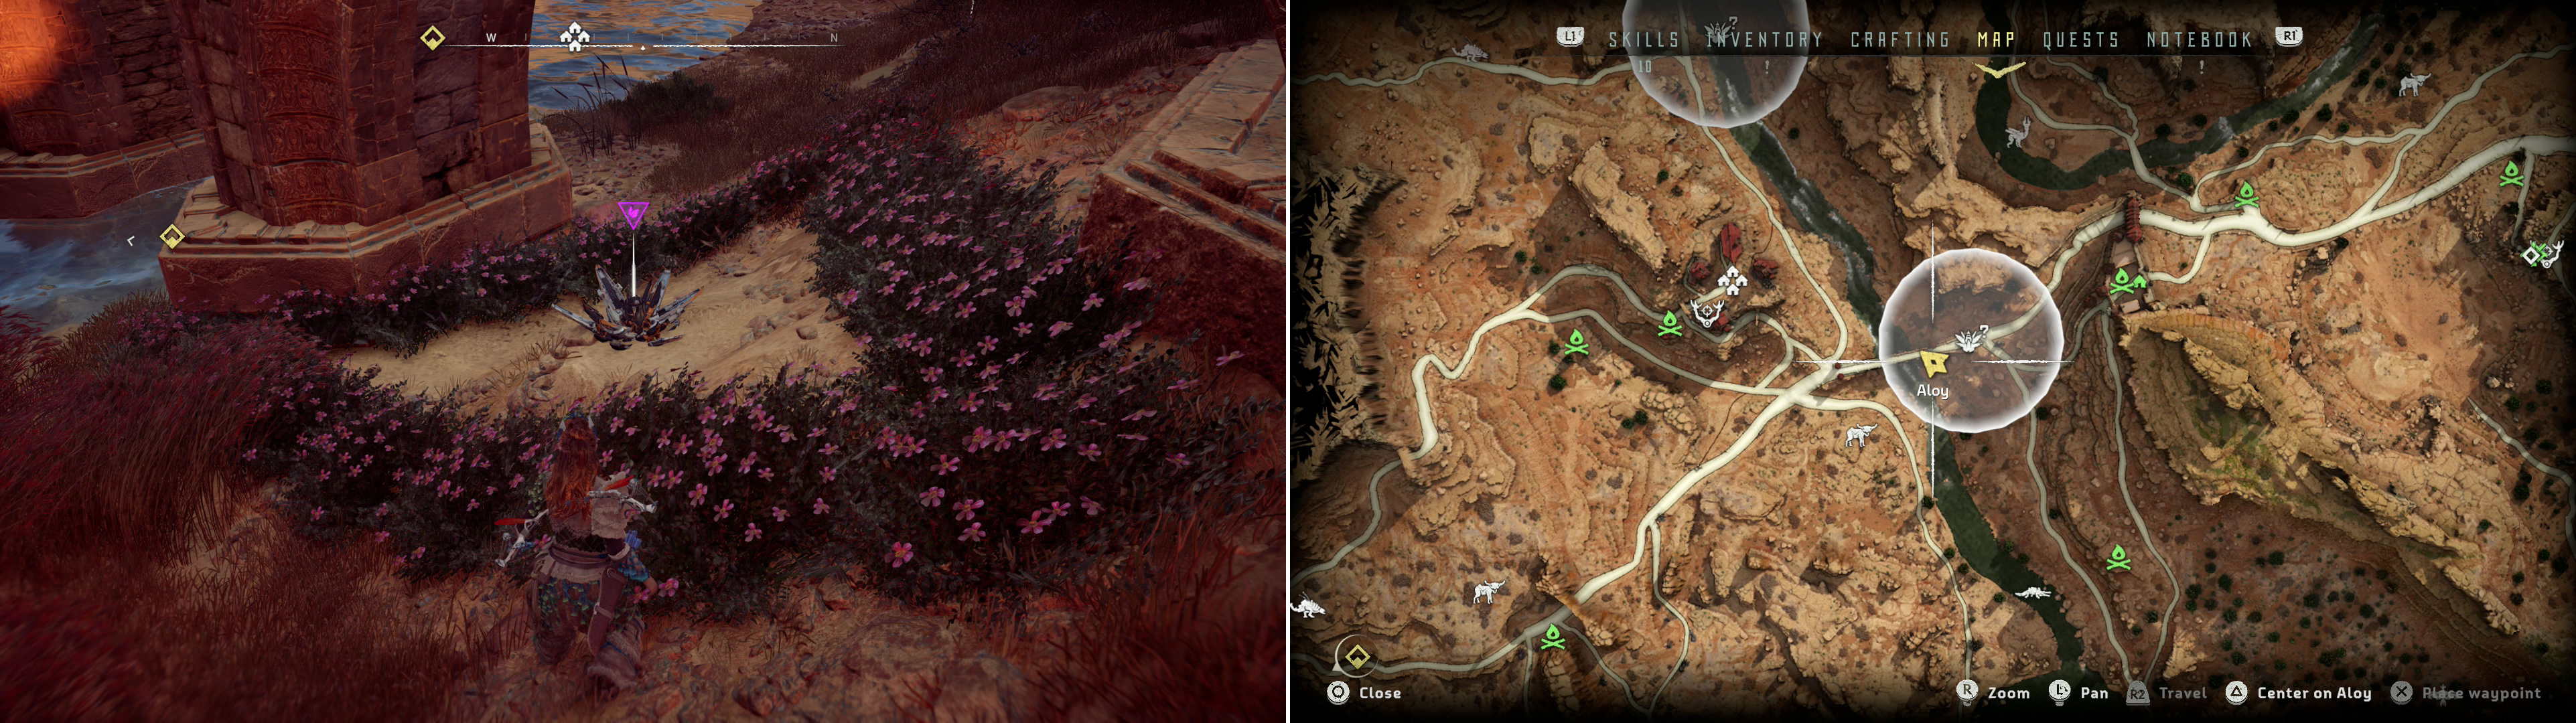
Find Metal Flower - Mark III (J) (left) at the location indicated on the map (right).
Grab the collectible, then swim back west across the river and mount a hill to reach the road the bridge services. From this bridge turn northwest to spot the town of Lone Light on a hill. There’s little to recommend this settlement right now, but if you need the services of a merchant, you can sell off scrap here.
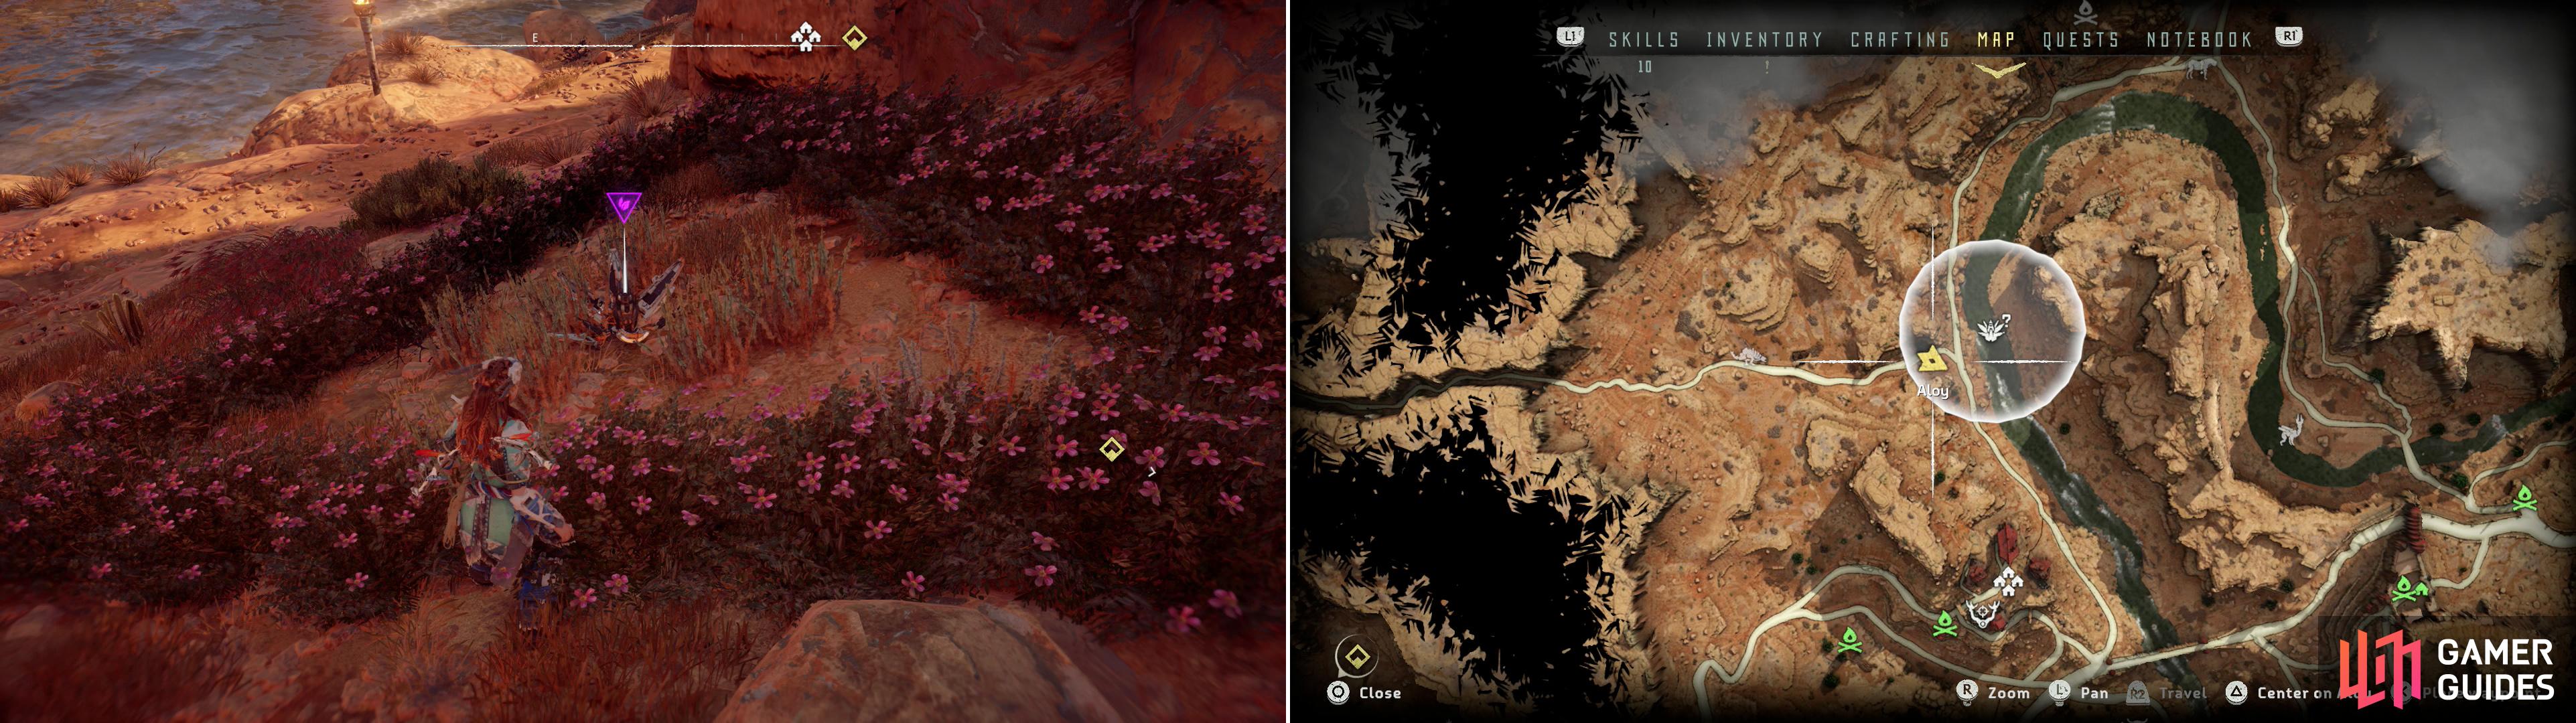
Find Metal Flower - Mark II (C) (left) at the location indicated on the map (right).
When you’re done doing business in Lone Light, rappel down a rappel point along the eastern edge of town to find a trail, which you should follow north until you reach a fork. At the fork, turn west and head uphill to find Metal Flower - Mark II (C) , right on the side of the road, in plain sight. Now that you’ve secured yourself a bouquet of Metal Flowers, it’s time to move on to the Gatelands Camp.
Circle the perimeter of the Bandit camp and pick off any foes that present themselves (left) then climb onto the wall along the southern end of camp to find the alarm in easy shooting range (right).
Gatelands Camp
Return to the roads southeast of Lone Light and follow one to the southwest until you reach a Campfire at a fork. If you didn’t talk to him earlier, you’ll find Nil here, who spouts the same story as he would have at the Devil’s Thirst Bandit Camp, and will accompany through this camp, as well, if you let him.
On the good chance that he’s not here, however, just continue down one of the two roads leading south to the Gatelands Camp. You know the drill - use your Focus to scan for and mark the locations of Bandits, then get to work picking them off with your Sharpshot Bow. The Bandits at this camp are far weaker than the last two you cleared, so eliminating them should be relatively trivial. It’s also fairly open for a Bandit Camp - you can devastate the camp by simply approaching each entrance and sniping the Bandits there. There’s no good reason at this point in the game that you shouldn’t treat the enemy here with contempt, the only thing you have to be wary of is possibly getting caught by a returning patrol.
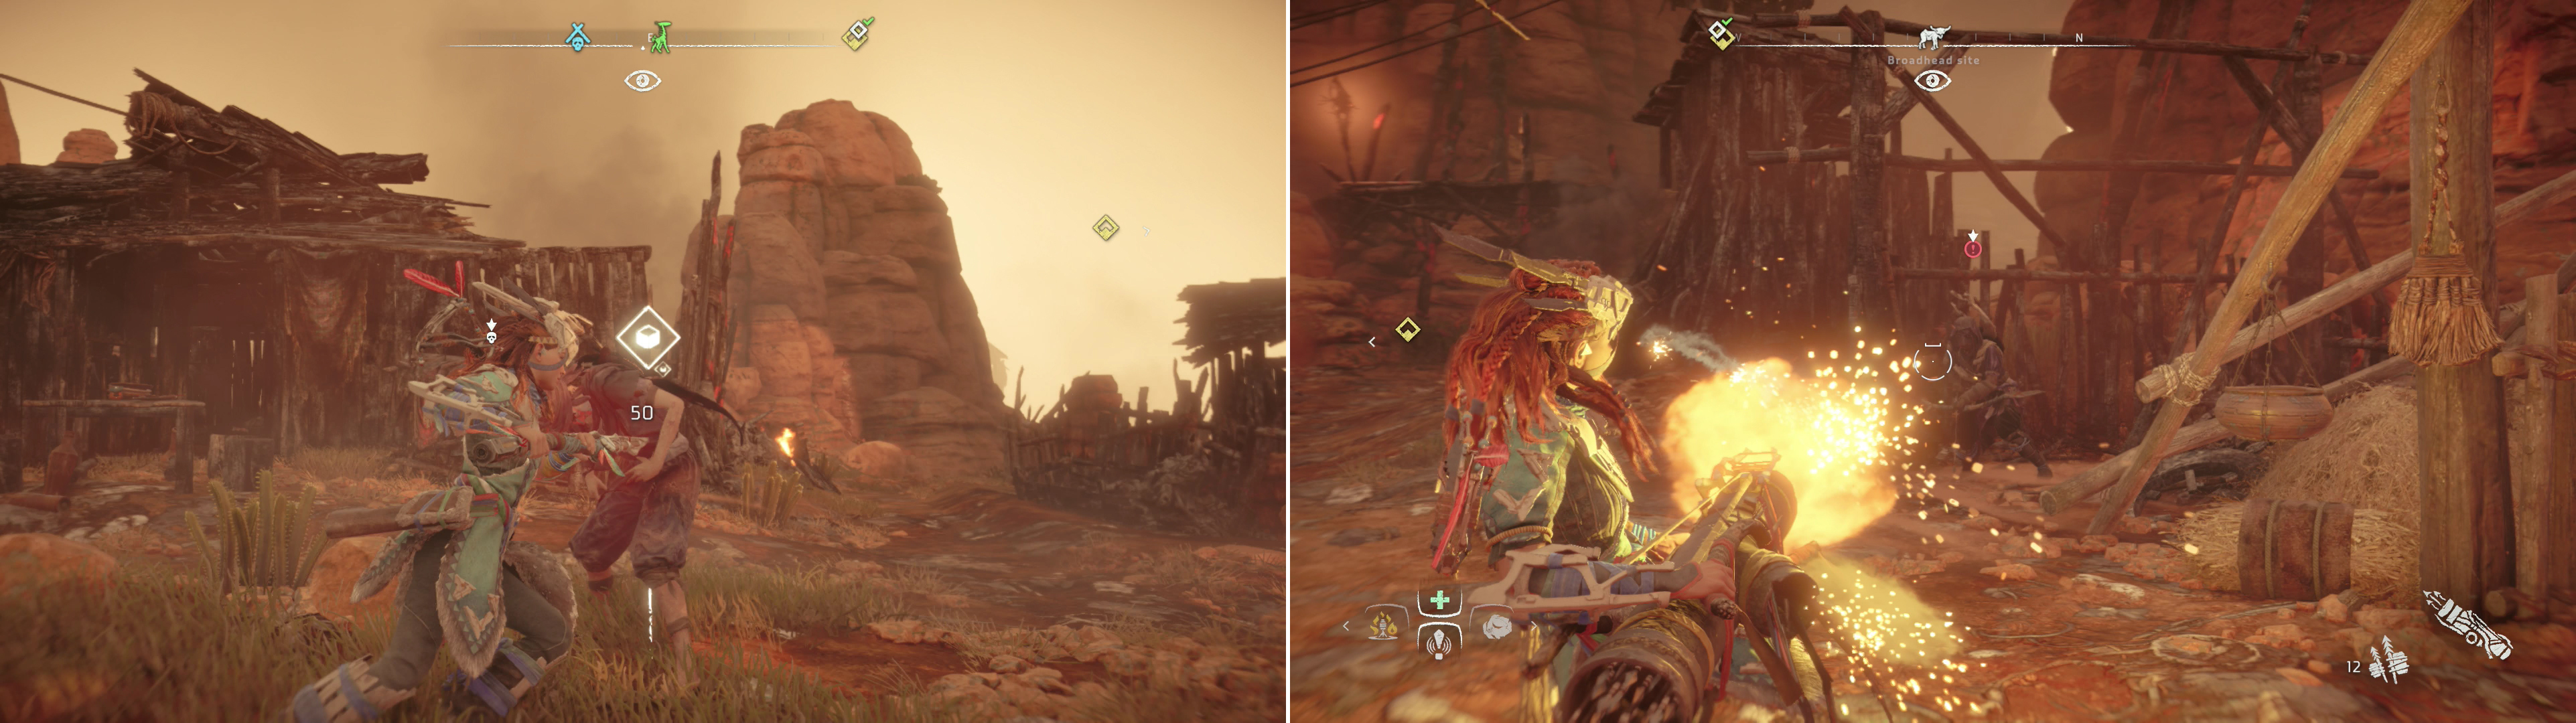
Clearing the interior of the camp will require a more hands-on approach (left), and as usual, commandeering a heavy weapon to finish things up is always good fun (right).
Snipe the guards at both the northern and northwestern entrances to the camp, then circle around to the southern end of the camp by heading south from the northwestern entrance until you see a Bandit standing guard on a wall. Kill him, then climb up to his post, where you’ll be in clear sight of the alarm. Take it out, then proceed to exterminate the rest of the camp -there’s one “elite” unit in this game, a Bandit Heavy, but nothing that Double Shot or Triple Shot can’t take care of. Other than that, there are the obligatory pair of prisoners along the eastern end of the camp you can free.
Once the final Bandit dies, return to Nil by the Campfire to the north, if necessary, otherwise, get straight to looting and perusing the wares of the merchant lured by the newly captured settlement.
| Objective | Rewards |
|---|---|
| For clearing the Gatelands Bandit Camp | 10,000 XP |
No Comments