

| Training Dummies |
|---|
| Training Dummy X Training Dummy XI |
Sounds of Civilization
You again have free reign of Mother’s Embrace, so you want to stock up on more supplies (make good on those expended Fire Arrows and Shock Wires, perhaps?) and complete some sidequests (assuming you already haven’t), now’s a fine time to do so. Especially be sure you have a fine stock of Fire Arrows and components to make more.
When you’re ready to move on, return to the northern end of the valley, where you’ll find Mother’s Heart, just northeast of the first Campfire you found outside of Rost’s mountain abode, and just northwest of the first bridge you crossed. You’ll find Rost standing for you along the trail leading to the city, who will tell you to seek out one “High Matriarch Teersa” inside the city. After one final chat, Rost will drop a painful revelation before leaving you to the matter at hand.
Well, looks like you don’t have much of a future outside of the Nora tribe, so you’d better make a good showing at this Proving, eh? Head across the bridge to the gates of Mother’s Heart where, after some drama, you’ll be allowed inside. Teersa - your benefactor - doesn’t stick around for long however, and she’ll hint at some inter-tribal politics before telling you about some “old friend” of yours.
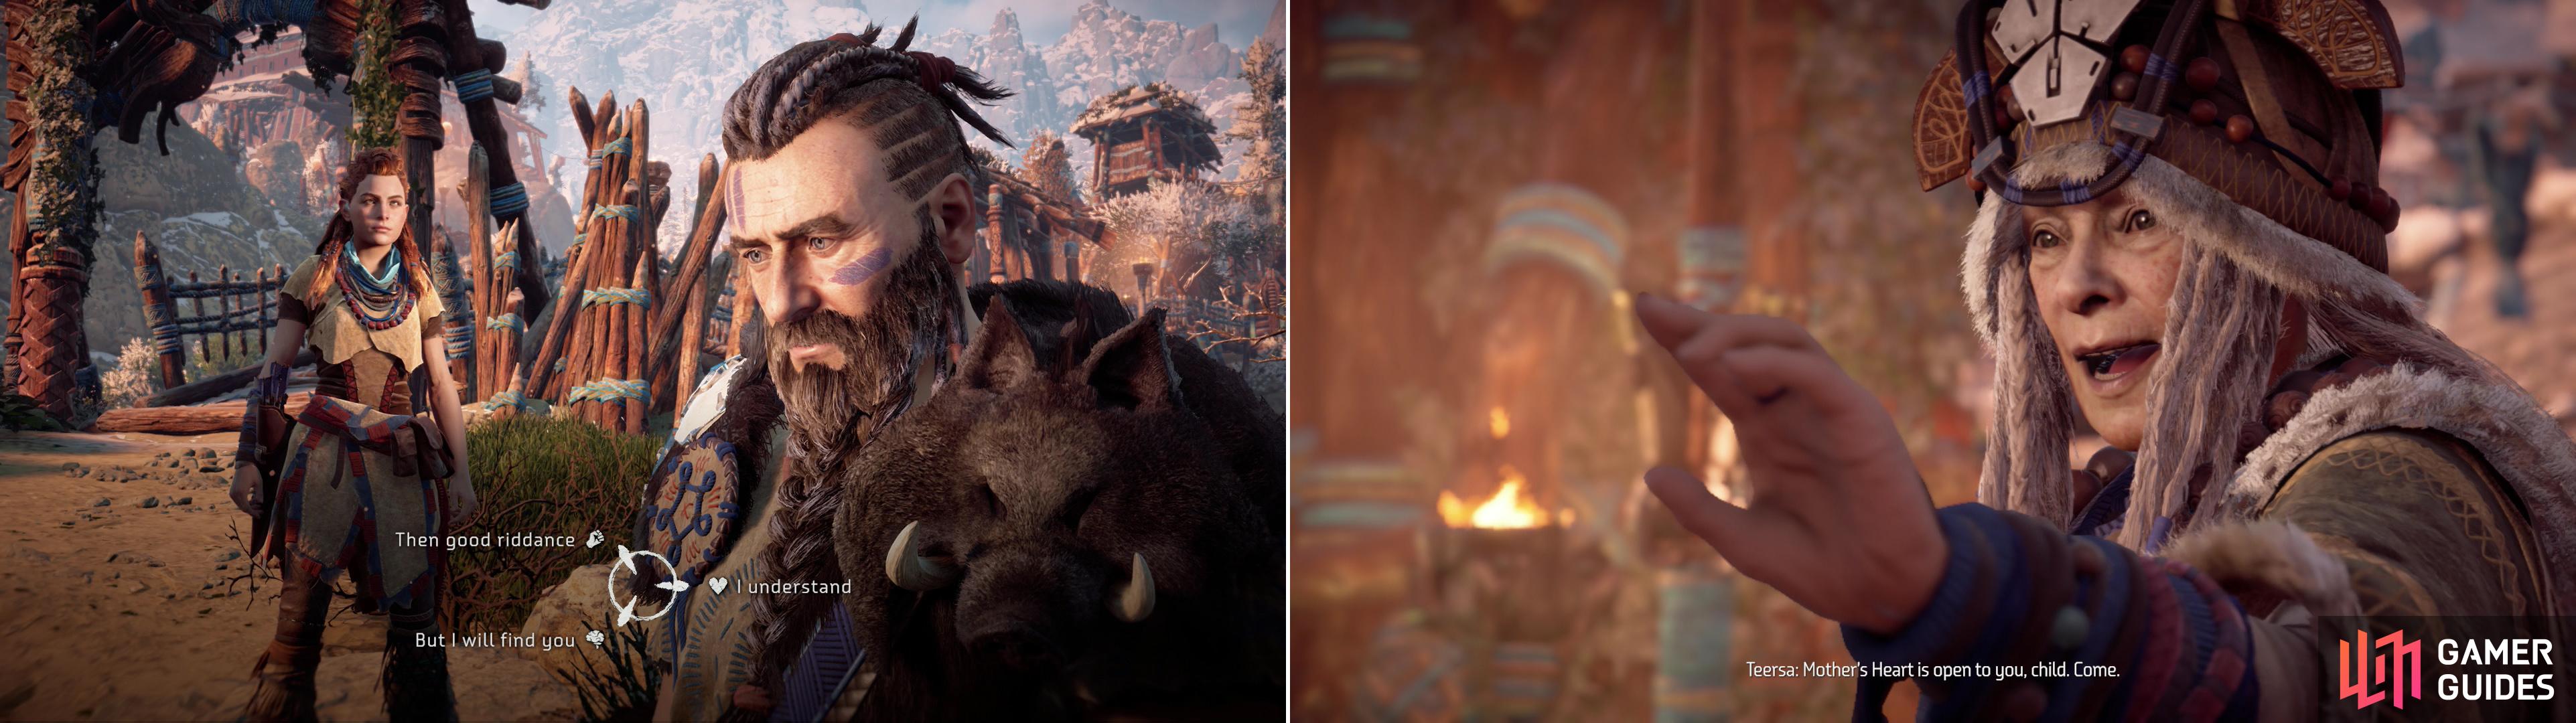
Rost will reveal his future plans to you, giving you the opportunity to make another trialogue decision (left). After some initial trouble at the gate a friendly High Matriarch will ensure you’re let inside (right).
Old Friends
There are plenty of people celebrating, far more than Aloy has ever seen in one place, just as Rost promised. As for as interesting gameplay goes, there’s little to talk about save the Supply Crates hidden about. Head uphill to the east and save at a Campfire, then smash the nearby Training Dummy X . Another training dummy ( Training Dummy XI ) can be found on the other side of the nearby house, to the northeast.
Maim the two inanimate objects, then continue uphill, heading northeast, then north from the Campfire to find a man shouting out for you. Talk to this man, this Teb, to find out that it’s the guy you rescued as a child. He’s apparently got a long memory and, honestly, probably a bit of an infatuation with Aloy. After all, who sews together an outfit for a girl he barely knows, whom he hasn’t seen in over a decade? Creepy people, that’s who. Still, it is to your benefit, as you can claim the aforementioned gift - a Nora Brave outfit - from him. It doesn’t have any stats above your current outfit, but it does have a modification slot. Claim and equip the gift and Teb will give you a bit of information about outfits before talking a bit about the visit from the Carja tribe that has the Nora tribe all up in arms. You can buy more outfits from Teb if you want, but it’s really an unnecessary expenditure right now. On the other hand, he is offering Free Sample Box, so… might as well?
Leave Teb’s company and continue uphill to the north, then northwest through a dining area. Pass by a Nora Matriarch busily indoctrinating children with nonsense, cross a bridge and you’ll hear another merchant calling out to you, which just so happens to be Karst, who is giving you one last chance to do some shopping. He doesn’t sell anything new but he does have another Free Sample Box in stock. These merchants might not be very good at their jobs. Score a second freebie, then continue west to find a crowd gathered outside the Matriarch’s Lodge.

Reunite with Teb, the brave Aloy saved in her childhood (left) and he’ll give you a hand-crafted outfit (right).
Explanations From Erend
Approach the stage outside the lodge and you’ll witness an expression of the uneasy tribal relations between the Carja and the Nora, before an Oseram tribal named Erend calms the crowd… and dumps a lot of backstory on you. As the priest babbles, another tribal will capture Aloy’s interest. Scan him (you’ll automatically enter Focus), then talk to this interestingly-adorned tribal to learn… well, precious little before you’re interrupted by Erend. Exhaust his dialogue options to learn about Olin (the man with the malfunctioning Focus), the Carja and their history with the Nora and their previous, blood-thirty king, and perhaps most importantly, the derangement of the machines. It’s a lot to take in, but the amount of information Erend has makes it worth putting up with his sleaziness.

Chat with Erend and he’ll drop a great deal of information on you (left), then question Olin about your shared technology (right).
The Blessing Ceremony
When you’re done talking to Erend, head downhill to the east, southeast, cross a bridge, then turn southwest and cross another bridge to reach the Blessing Ceremony. Make you way over to the stage where the High Matriarchs stand, then, at Teersa’s prompting, take your spot in the ceremony. When prompted you’ll have the choice to light your prayer lantern in honor of your mother, yourself, or Rost… you know, the only other human who has ever really given a damn about you your entire life?
Dedicate the lantern how you wish, then take the opportunity to talk to Teersa, who is just as good at telling you nothing as Rost was. You can, however, learn a bit about the Proving and the matriarchal structure of the Nora, for what that’s worth. You can also talk to the nearby Carja priest, Irid, who will shed some light (pun totally intended) on the ways of their Sun-god. Finally talk to Olin, who will continue to be evasive, ultimately answering little and disappointing Aloy with his lack of transparency.
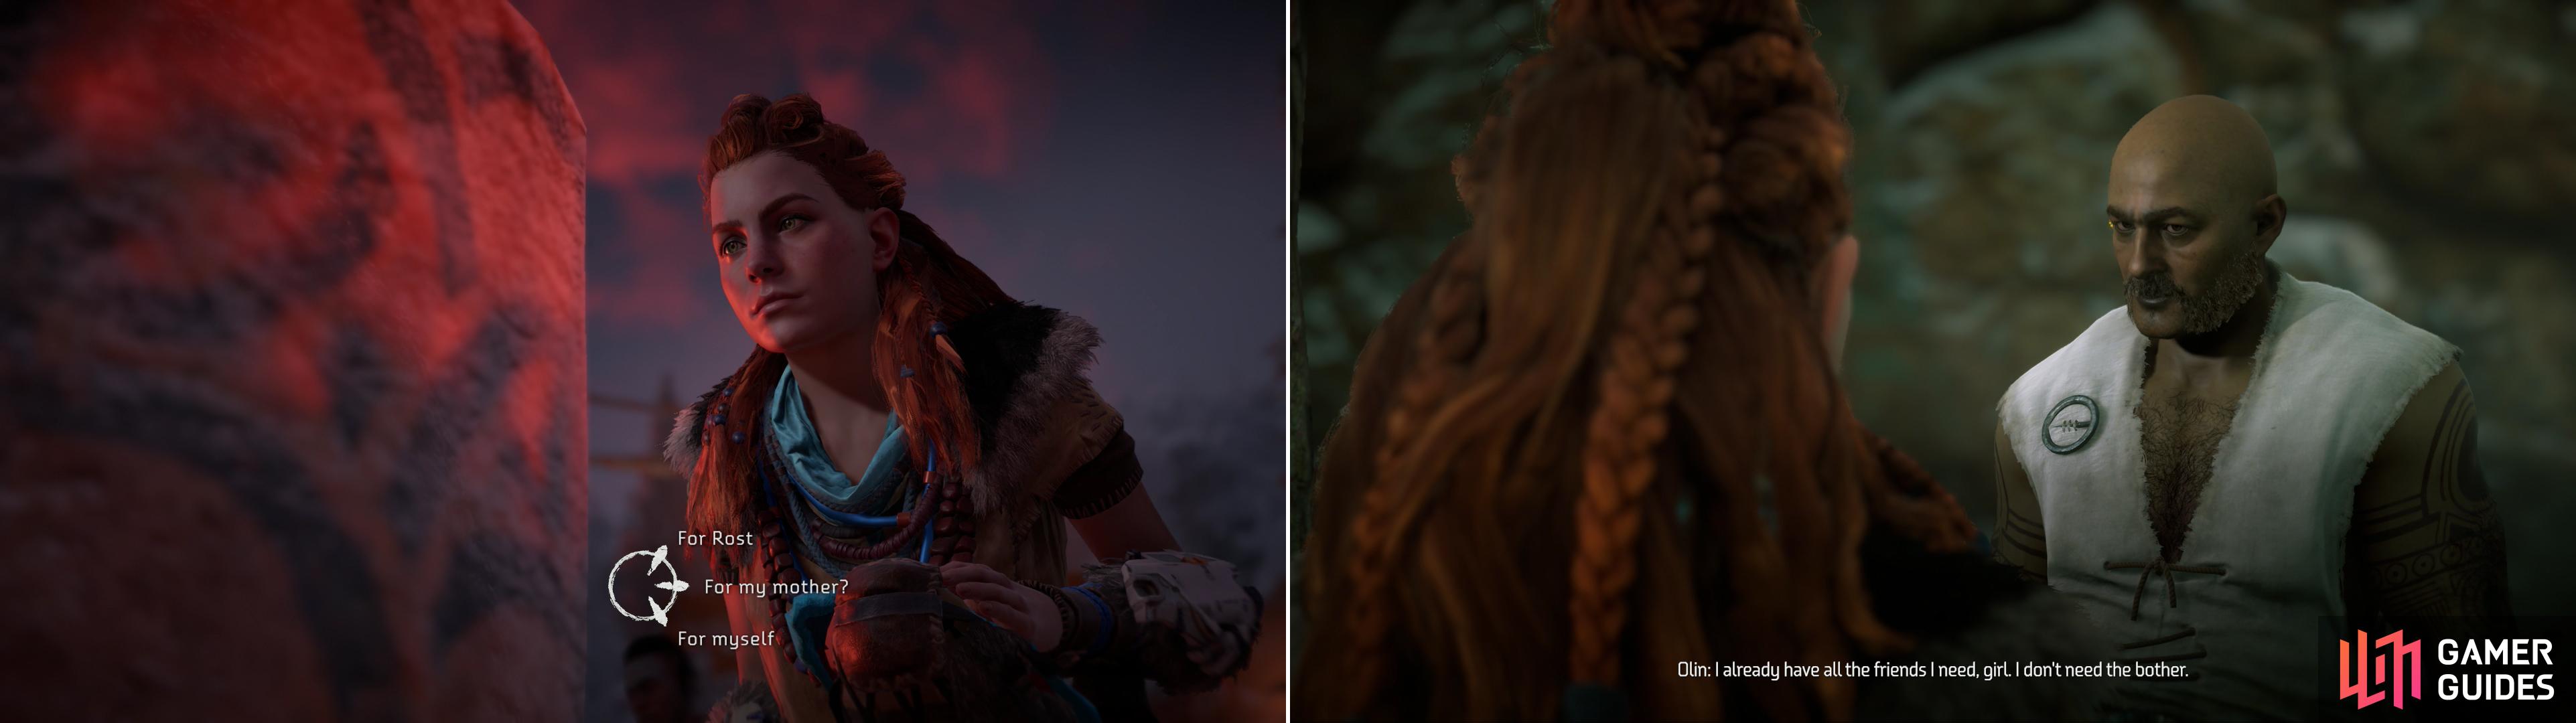
Dedicate your prayer lantern as you please (left) then continue questioning the evasive Olin (right).
A Bast From the Past
Oh well. Busy day tomorrow, no time to waste sulking over some shady outsider with a broken Focus. Cross the bridge to the northeast, then turn southeast to reach the southern gate of Mother’s Heart, where you entered the city. From here turn east and head uphill to the Campfire you lit earlier, near which is the Hunter’s Lodge you’re looking for. After a rather adversarial exchange with the a guard named Resh outside you’ll find that it’s no less hostile inside. Approach Bast and, when given a choice of responses, pick what you will. Remember, though, you catch more flies with honey than with vinegar… plus Aloy’s retort is sufficiently biting even with the HEART option. Afterwards talk to Vala, if you wish, then interact with the bed near her to get some rest, where you’ll have the opportunity to make another tripartite choice.
| Objective | Reward |
|---|---|
| For enduring a day in Mother’s Heart | 2,000 XP / +1 Skill Points |

In the Hunter’s Lodge you’ll meet another, less friendly face from the past (left), after which chat with Vala before finally getting some sleep (right).
No Comments