Cauldrons are mysterious places that are built into the mountains of the world, where you will usually find a dungeon rife with mystery and danger inside. There are only four Cauldrons in the game and each one is completely different than one another, although they do share some similarities. In the Core area of each one, you will find some strange structure that you can override and upon doing so, earn the ability to override new machines out in the world. Once you clear every Cauldron, you will be able to override every single wild machine in the world, except for corrupted ones.
Cauldron SIGMA
Once you reach Mother’s Crown, you can talk to Dral, who mentions something called a Cauldron. These mysterious places are an enigma, as it isn’t known what exactly it is. Some say it is where the Machines are made and others believe it is home to the Metal Devils, but either way, it is dangerous and guarded by Machines. The particular Cauldron Dral happened upon is to the north and a little west, built into the mountain. It is marked with an up arrow on your map and you basically just head north from Mother’s Crown to reach it.
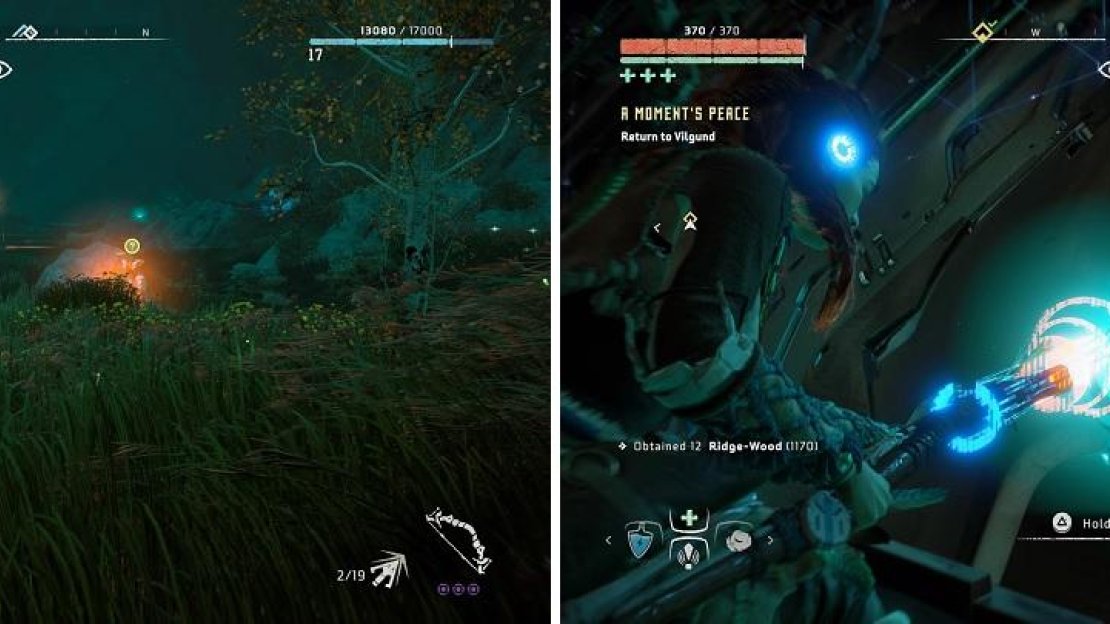
You will find some machines guarding the entrance to SIGMA (left). In order to enter, you have to override the door (right).
Out front will be a nice little welcoming party, some Watchers and Scrappers. Use the nearby tall grass to dispose of the Watchers, then you can sneak up behind the Scrappers while they’re busy to stealth kill them. Once the coast is clear, walk up to the very large door to find the spot to override it, opening it. Pass through the large room and at the end of the path ahead, there will be a large shaft that you can rappel down. Note that once you go down, you’ll have to finish the entire Cauldron before you can head back out to the open world.
When you reach the bottom, look behind you for a supply crate, then follow the only corridor you can, being careful of a pit with a beam across it. Cross over it and continue, until you see a note in-game about the large, red triangular object being used for stealth. Shoot it with an arrow and the vent will continually release gas that you can use to hide. You don’t really need it to stealth kill the Watcher ahead, but you will be using some shortly.
You’ll enter a room that has some of those vents previously mentioned, as well as two Watchers patrolling the floor. Use the vents as cover to impale the Watchers, then head down the eastern corridor to appear in a natural environment, which is short lived. Turn north and then west to spot another passage, leading to a ladder, will will bring you you to another large room. Approach the strange contraption at the end to find out you can override it. Do so to form a bridge, letting you cross the gap.
Loot the supply crate, then follow the southern passage to eventually reach another door to override. There will be another supply crate to your south, so snatch the goodies inside and look around the room. You should see some kind of container rail coming from the north and going south. When it passes overhead, jump up and Aloy will grab onto the bottom rungs, taking a scenic tour of this mysterious place. Once you finally land, look to the north to spot some Watchers and also look for another container rail going across, with some bars on their sides.
Grab onto one and ride it across the short gap to find a supply crate, then look south/southwest to spot some pipes that lead to a ledge above you with another supply crate. Using Lure Call, you can turn the Watchers’ attention towards you and then snipe their eye to score a lethal blow. Take the high ground as you go north, riding the container across. To your north are more Watchers and a potentially new Machine called a Shell-Walker. This contraption carries a crate on its back, which you can shoot off and loot, in addition to its normal drops.
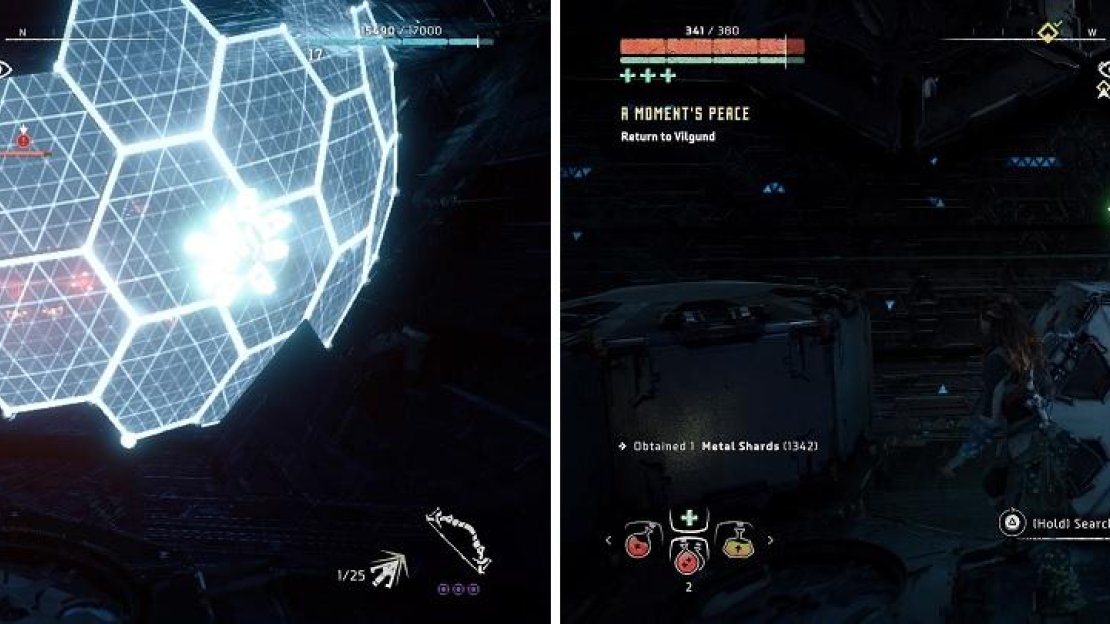
The Shell-Walker has a shield to block your shots (left). Knock off its crate to gain some nice loot (right).
However, it can reattach the crate if you take too long, using its lightning gun hand. It has long-range capabilities with its lightning gun (big claw on its right) and a shield it can erect to block your attacks (its left hand). Lastly, it has a power generator underneath its body, making it a bit difficult to hit, but hitting it will employ an explosion and disable all of its shock attacks. When ready, use your bow to take out all of the Watchers, leaving the Shell-Walker for last. Once the coast is clear, there’s quite a few supply crates you can loot around the area.
From the bridge on the ground level that crosses into this area, look up and to the east to spot some yellow footholds. Climb those to get to a supply crate, then drop back to the ground. Looking at your map, spot the Y-shaped intersection and go northeast, spotting the supply crate to the left of the ramp, at the base, next to a vent. Ascend the ramps to the top and bypass the override thing to find another crate hidden among some cargo. Backtrack, override the contraption to make a bridge, loot the supply crate just past the bridge and continue northwest.
There will be a minor drop, another crate and then a zipline. Take this to get to a wall with some footholds and at the top, create another bridge and take it to a natural-looking room. Rappel down and look around for some more supply crates, then when you’re ready, stand on the one platform and jump to grab the other. Continue through this tunnel and you’ll eventually reach the core, where you will spot two Watchers encircling the center portion of the room, which is housing a Fire Bellowback.
Rappel down and either take out the Watchers, or override them both, as they might prove useful in the upcoming battle. To bring down the forcefield, look through your Focus to find some discharge pylons. Climb to the top of one of these to find a machine to override, which will let loose the Bellowback. Before you do that, however, use the peaceful time to lay down some traps, such as Shock Wires or explosive ones. The Sharpshot Bow will be a very useful weapon here, as it does more damage than the regular bow.
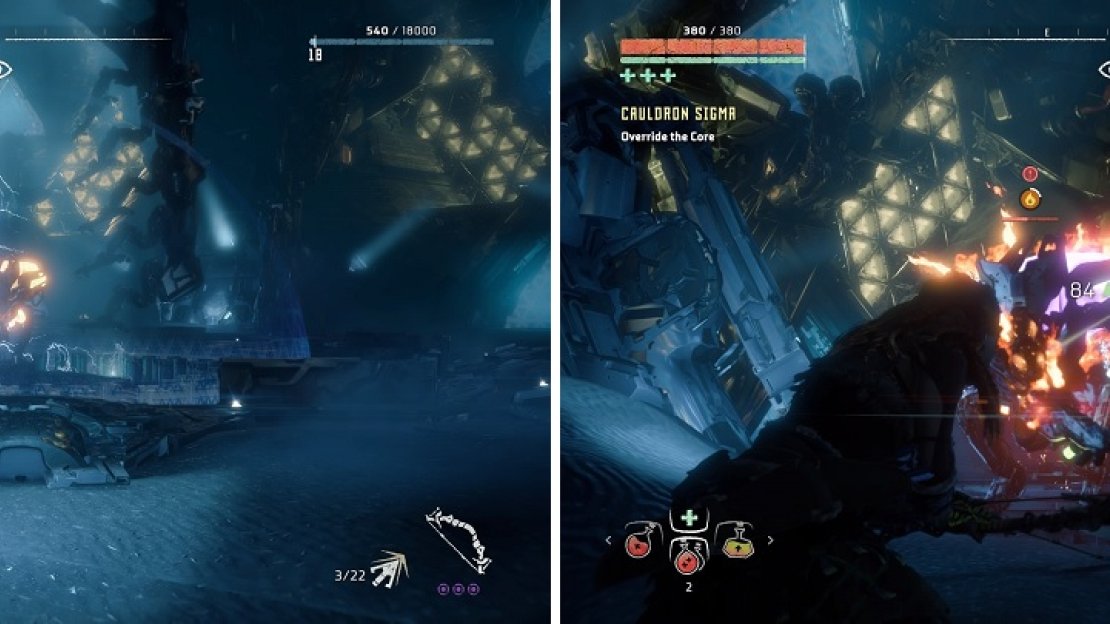
Once you’ve overridden the pylon, all of them will sink into the ground, giving you a bigger arena to fight against the Bellowback and three new Watchers. Quickly take out the Watchers, then turn your attention to the Bellowback. It has three important components, a Blaze Canister on its belly, a large cargo sac on its back and a gullet on the front. The canister is hard to hit, so ignore it, as you can do some big damage with the other two components. The sac allows the Bellowback to spit fireballs at you in an arc, which explode when they hit the ground.
The machine inside of the bubble will be your final opponent in the Cauldron (left). Target the gullet and sac on the Fire Bellowback (right).
The gullet, on the other hand, allows the Bellowback to shoot fire similar to a flamethrower. The former attack is a lot more dangerous, so target the cargo sac first, making sure you aren’t too close when it breaks, as an explosion happens. After destroying both of the above components, it will likely resort to its lunging attack, which you can easily roll out of the way to avoid. Once the Bellowback is down, a pillar rises out of the ground, containing another override point. Do this to gain the ability to override more machines, and receive your other rewards.
| Rewards |
|---|
| 4,000 XP / +1 Skill Points |


No Comments