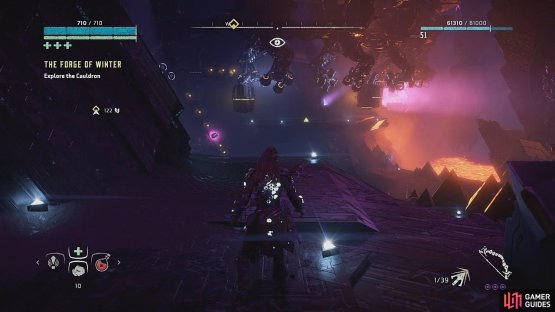
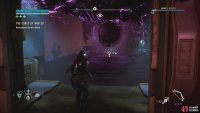
Drop down to the platform below and head left, grabbing the supply crates along the way, until you reach the large purple tunnel leading into the next room.
Help Aratak and Ourea cross the Antechamber
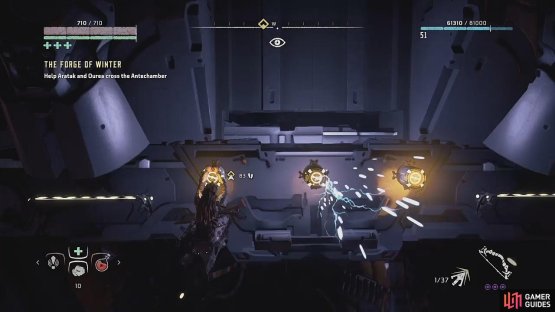
Above you is a container rail heading through to the far-left side of the room – this is where you need to go, but there is a broken vent blocking the way. In order for Aratak and Ourea to get through, you need to close the vent to disable the sparks and the steam. Dispose of the Watcher prowling below first and seek out the glowing yellow handholds. There’s some Daemonic corruption squirming on one of them that you need to shoot off with your arrow before you can climb.
(1 of 2) Take out the Watcher on the floor below
Take out the Watcher on the floor below (left), The container rail will take you over the broken vent; climb the glowing handholds to reach it (right)
Make your way up and traverse right but watch out for the sparking handhold along the way. Time it carefully to get across, then drop down on to the platform below.
(1 of 2) Time the jump over the sparking handhold
Time the jump over the sparking handhold (left), Drop to the platform below to reach the conveyors (right)
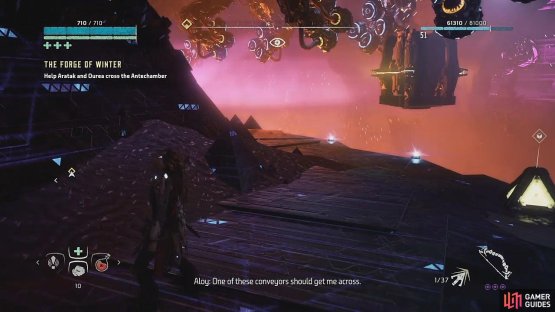
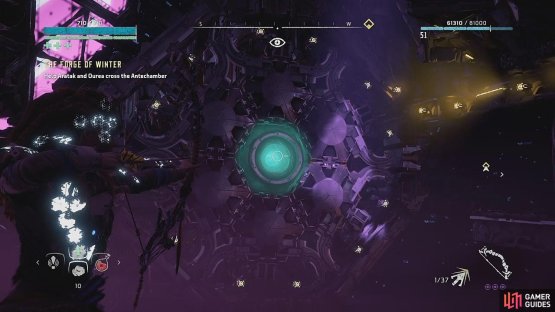
From here you can grab hold of one of the passing conveyors which will take you over the top of the vent. It’ll only take you so far, but it’ll get you past the vent, so drop down on to the floor and go over to the left side of the room towards the giant turbine. Fire an arrow into the middle of it to redirect it clockwise and follow the handholds around to the next platform. Drop down to override the panel and fix the vent that’s blocking the path. This will allow Aratak and Ourea to pass through to your side.
(1 of 2) Traverse the turbine and around the wall
Traverse the turbine and around the wall (left), and drop down to override the panel (right)
When you’ve done this, a Daemonic Shell-Walker will appear below. It’s only a Lv 28 machine, but you should dispose of it anyway. Aratak and Ourea can help you dispatch it easily.
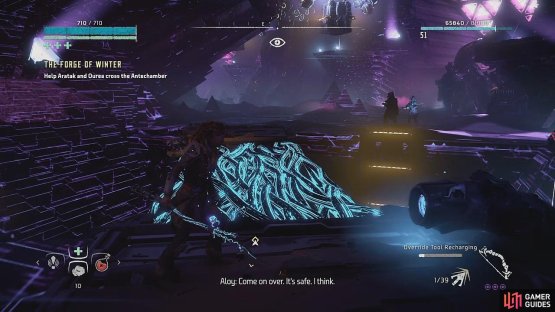
Now you need to go back to the start to climb the handholds and jump on to the conveyor again, just as before. This time, riding the container rail will take you all the way through to the other side of the room. Drop down once you reach the purple door to override another valve and activate a bridge for your friends. Aratak will blast the purple door to let you through into the next room.
(1 of 2) Ride the conveyor again to reach the other side
Ride the conveyor again to reach the other side (left), Activate the bridge for your allies to cross (right)
Activate the Console
Once inside, you need to override the console to open the ancient door. CYAN, the facility’s AI, will send out a message regarding its loss of control to the Daemon. If you recall the systems created by Dr Sobeck in the Zero Dawn project, you might recognise HEPHAESTUS’ name.
Explore the Cauldron
Go through the door and directly in front of you will be a supply crate and Audio Datapoint – Induced Coma just behind it. To the right will be another large door for you to unlock, leading you into the machine production area.
Help your Allies cross the Production Area
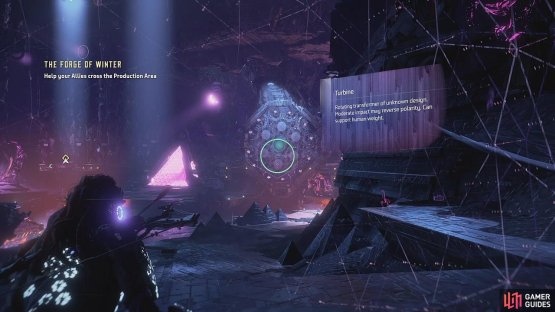
There are numerous Frostclaws being created in this room, as you can see from the amount passing by as you enter. But don’t worry too much – you won’t have to suddenly face one of them coming to life and chasing you around the room. You will, however, have to be cautious of Watchers, Shell-Walkers, and Scorchers, and there’s plenty of them. Proceed how you will, but the aim is to reach the turbine directly opposite on the other side of the room. If you manage to take down a Scorcher and knock off its Mine Launcher, you can then use this weapon against the rest of the machines.
(1 of 2) The Production Area
The Production Area (left), Head for the turbine on the right side of the room (right)
On the way to the turbine will be a panel to override and create a bridge – do this, then traverse the wall until you can drop down by the purple tunnel on the other side. Then head down the slope to the next panel to activate a bridge for Aratak and Ourea. Aratak will once again blast open a path for you.
Explore the Cauldron
As soon as you go through there’ll be a datapoint for you to pick up on the right – Text Datapoint – MIE Assessment. Continue forward and follow the path right and around until you reach the bottom (there’s a spotlight pointing you in the right direction). There’ll be a ledge for you to hang and drop from. Jump over the stream of lava to reach the console on the other side. Activate the Console to listen to CYAN speak again before being recaptured, then go through the door once it has opened. Your objective will revert back to Explore the Cauldron, and on the left of the corridor will be Audio Datapoint – The Swarm.
Help your Allies cross the Recycling Area
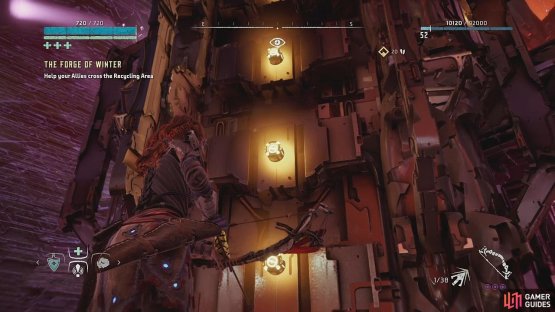
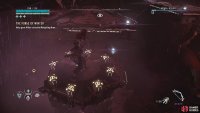
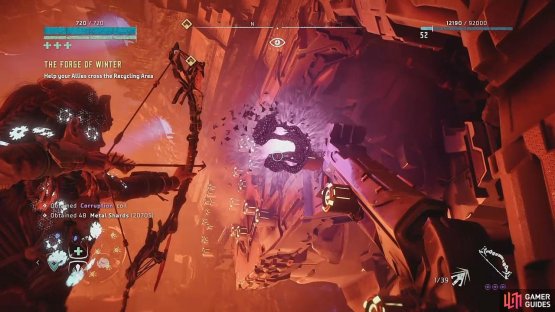
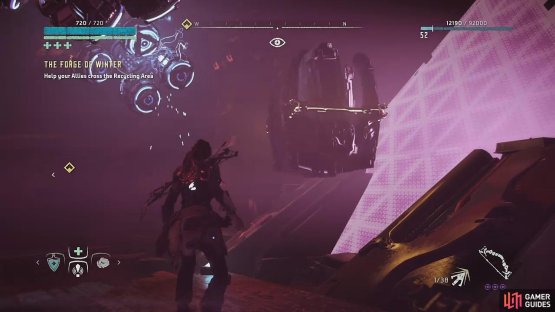
Coming into the next room at the end of the corridor, go left to the Tallneck head and rappel down to the floor below where there will be a single Watcher scouting the area. Go behind the central structure to find the glowing handholds – and get rid of the Daemonic corruption – and follow them around to the next platform.
(1 of 2) Rappel down from the Tallneck’s head
Rappel down from the Tallneck’s head (left), Climb the central structure (right)
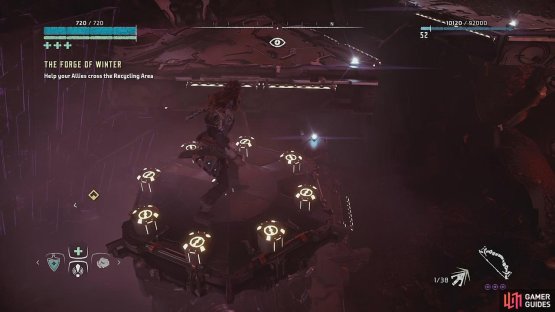
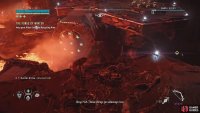
To the left will be a small container of loot to collect, and to the right will keep you on the initial path. There is a piston moving up and down – stand on it to ride it up to the next area where you’ll need to ride a second one to an upper platform. Watchers are scouting the area, so dispose of them however you feel is best.
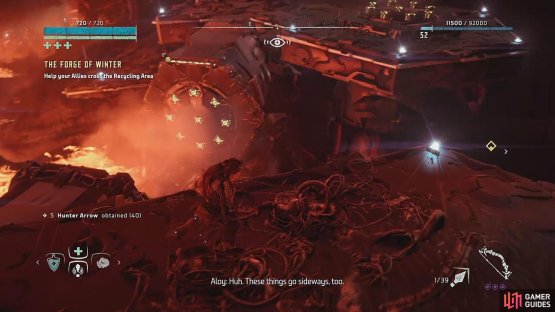
The next piston you come to moves sideways. Wait until it extends to run across to the other side, and then ride the next piston up in order to jump over to the rotating turbine.
(1 of 2) Take the vertical pistons to the upper platforms
Take the vertical pistons to the upper platforms (left), and the horizontal piston to the other side (right)
Follow the handholds across to reach the platform with a panel for you to override. Now go back to the bottom of the piston and look for the other pistons continuously moving in and out of the walls.
(1 of 2) Look for the pistons shooting out of the walls
Look for the pistons shooting out of the walls (left), Remove the corruption to start climbing (right)
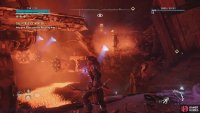
Jump down to the floor below and make your way over – collect the purple resource first and be sure to destroy the Daemonic corruption interrupting your path across the glowing handholds. Continue to follow the linear path around the room until you’re finally on the middle platform.
From here, jump to the next horizontal piston to reach another purple resource supply crate, and then follow the path around until you see a container rail. You need to jump on to one of the conveyors and ride it back into the first room where Aratak and Ourea are waiting for you. Let go of the conveyor to drop to the platform below where the waypoint marker is and override the panel to activate the bridge.
(1 of 2) Reach the container rail
Reach the container rail (left), Ride the conveyor back to the first room (right)
Turn around to follow the waypoint to another Daemon corrupted door and have Aratak blast open the pathway.
In the corridor will be a supply crate on the right and Audio Datapoint – Last Goodbye on the left – pick these up and continue. At the end of the corridor, where it has been destroyed, is a Text Datapoint – Blast from the Past. Drop down and head for the next Daemon corrupted door.
Activate the Source Node
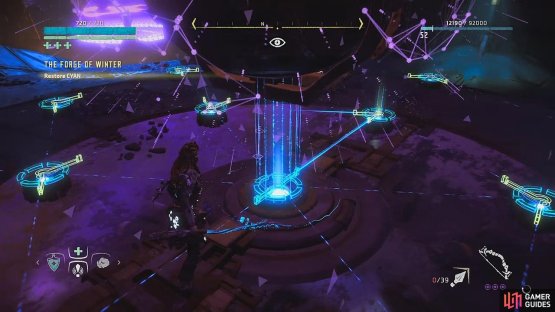
When you enter CYAN’s room there’s a Text Datapoint – CYAN Access lying on the floor as well as a few supply crates scattered around. Grab these and then get to work on the source node puzzle.
(1 of 2) CYAN’s room
CYAN’s room (left), Override the AI to complete the source node puzzle (right)
Restore CYAN
When the puzzle is complete you’ll have overridden HEPHAESTUS, granting CYAN enough control to speak with you about how to destroy the facility and stop the Daemonic threat.
Go to the Cauldron Core
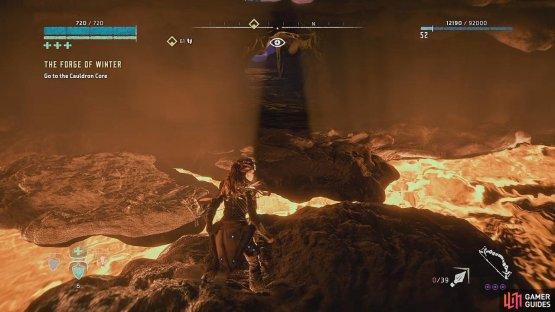
Move down off the platform towards the flow of lava below. You need to jump across the rocks to find the tunnel that leads to a control tower on the other side. There are supply crates scattered around the room, so be sure to loot them and stock up on anything you might need for what’s about to come next. Destroy or Override the Control Tower to engage in the toughest fight of the DLC.
(1 of 2) Jump across the rocks to find the tunnel
Jump across the rocks to find the tunnel (left), Disable the Control Tower (right)
Kill the Fireclaw
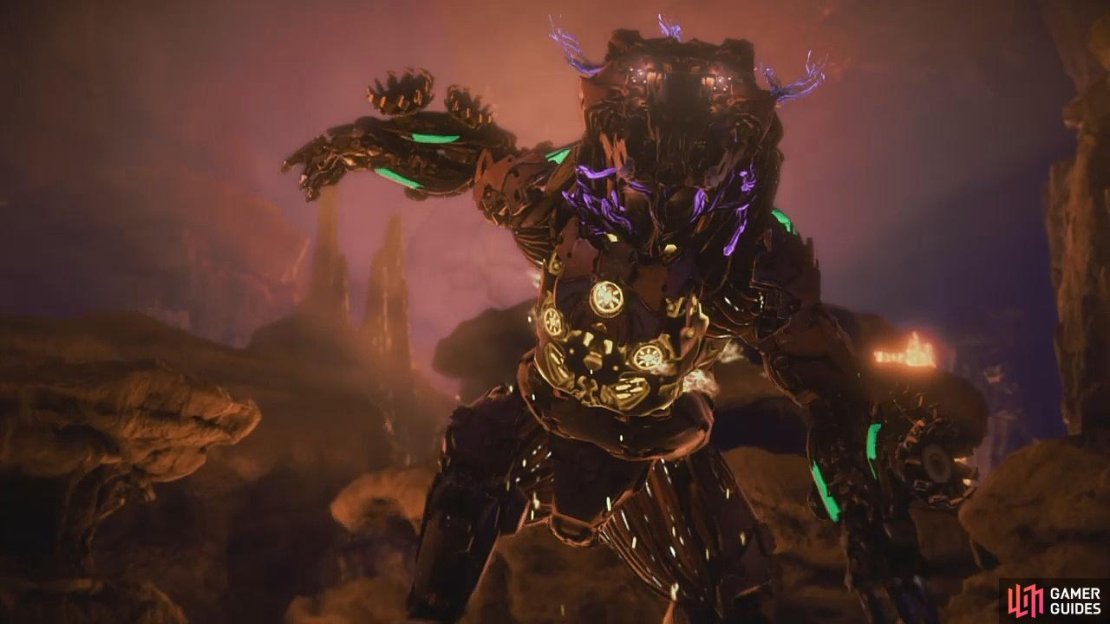
At Lv 55, the Fireclaw is deadly, much more than its counterpart, the Frostclaw. With freeze exchanged for fire, its attacks are brutal, and with its focus solely on you, it is completely relentless. It has a huge amount of armour and can move incredibly fast with a 3-5 swipe combo melee attack. It has many other attacks, too, all catered to dealing great damage to your health. The Fireclaw has a charge attack and a move that grabs and bites Aloy, as well as being able to slam the ground and force lava to shoot out of the rocks wherever you’re standing. Additionally, just to be more frustrating, it can pick up a rocky plate from the ground and try to crush you with it – you’ll be doing a lot of sprinting and rolling during this fight! It’s definitely worth considering having the Shield Weaver outfit equipped if you have it.
Although the weak points on a Fireclaw are the same as a Frostclaw, it’s actually useless to try and destroy the Fire Unit sitting firmly on its chest due to such formidable armour. Instead, you can aim for the Power Cells on its back, and the Fire Sacs on its shoulders. If you can disable these, you can prevent it from using any of its fire attacks and cause serious damage to its health. You can also try to hold it down with your ropecaster while attempting to inflict as much damage as possible to its armour. Using Freeze damage against it throughout will hopefully slow it down some while also causing damage over time.
Other machines will turn up throughout the fight, but Aratak and Ourea will clear those for you. More annoyingly, Control Towers will continue to pop up and gradually heal the Fireclaw’s health with each pulse, forcing you to momentarily abandon the fight to disable them.
The battle is a long one, but with patience and some perseverance, you’ll make it through. And there’ll even be some awesome modifications for you to loot from the body when it’s over.
Override the Cauldron Core
Activate the cutscene to free CYAN from HEPHAESTUS.
Escape the Cauldron
You’ll have control again for only a few seconds as you lead Aloy out of the room before being engaged in another immersive cutscene.
Return to Ourea’s Retreat
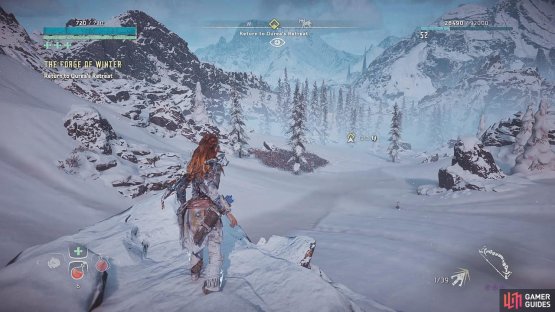
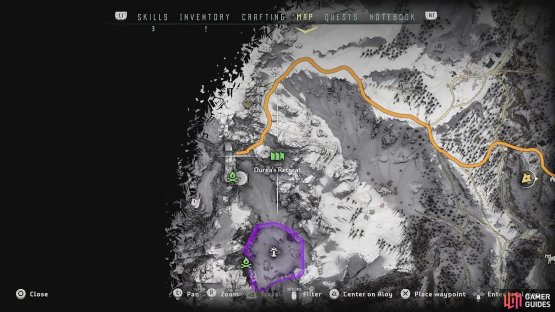
Once the cutscene is over and you have your new objective, you’ll have control of Aloy outside in the world again. From here, it’ll be much easier to fast travel straight back to the retreat unless you want to go the long distance on foot.
(1 of 2) You’ll be outside in the world again
You’ll be outside in the world again (left), so head back to Ourea’s Retreat (right)
When you get there, there’ll be another cutscene before you are prompted with two final tasks: Talk to Aratak and Talk to CYAN.
Speaking with CYAN will engage you in a long conversation that provides a lot of information and detail about what CYAN is and how she is connected to Zero Dawn. Gather all the information you want and head outside to Aratak.
When the final cutscene is over, you can at last return to the game’s vast open world and the many other activities available to you.





















No Comments