

| Training Dummies |
|---|
| Training Dummy XII |
| Training Dummy XIII |
Riding Robo Horsies
Whether Resh likes it or not, the gate is now open, so make use of the Corruptor’s courtesy and return to the valley. Save your game at the Campfire outside of Mother’s Watch, then talk to the nearby merchant… at the very least to claim another Free Sample Box. Good stuff - and the price is right! Next, search east and west of the Campfire to find Training Dummy XII and Training Dummy XIII near the Mother’s Watch palisade. Score.
Your next stop should be the “Strider Site” to the northeast… you know, where you hunted your first Striders earlier? Despite Teb’s warnings, these beasts aren’t any more alert or dangerous than they were earlier, you need merely isolate one of them, sneak up behind it undetected, then hold down [Triangle] for a moment to gain control of the machine.
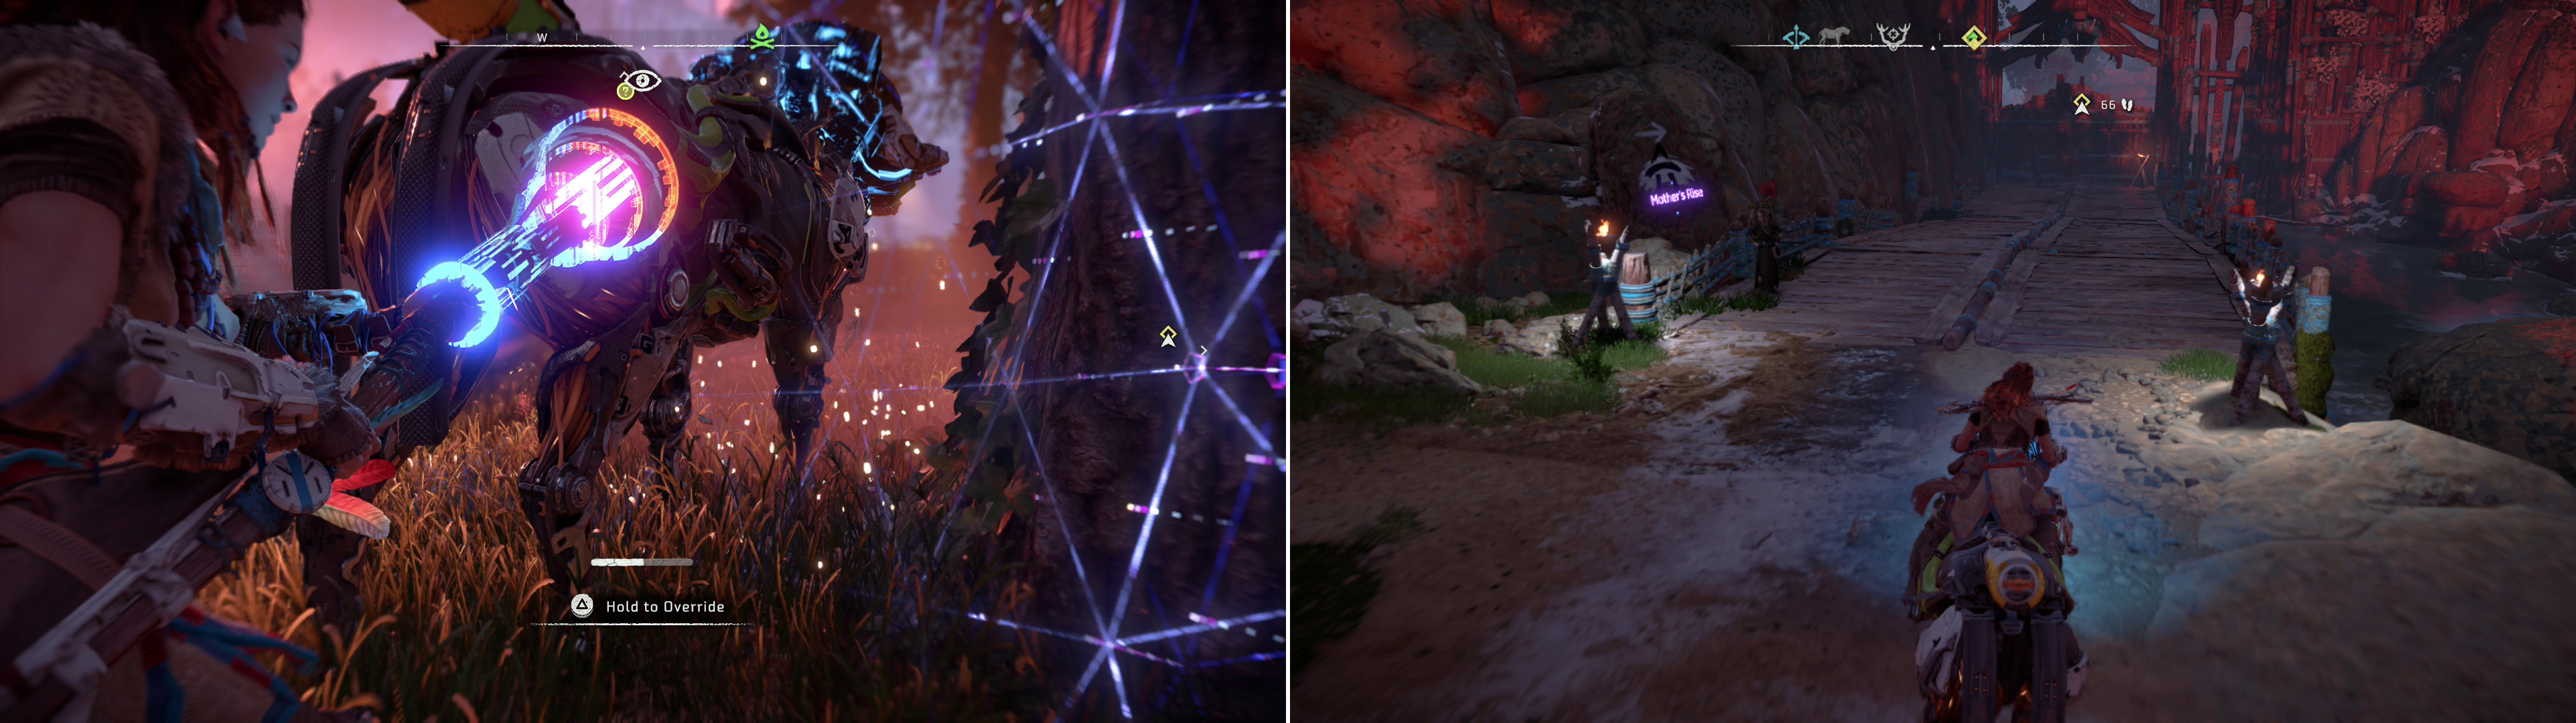
Use the device you got from the Corruptor to override a Strider (left), then ride it to the Main Embrace Gate (right).
Once done, mount your new Strider friend by pressing [Triangle]. Use the [Left Analog] to cause the machine to walk in the desired direction - slowly, while holding down [X] makes the Strider walk somewhat faster. You can press [X] a few times quickly to speed the Strider up, while holding down [X] thereafter will maintain its current speed. Press [Circle] to slow or stop the machine, [R1] will perform a melee attack (bow controls work as usual - [L2] to aim, [R2] to fire), while pressing [Triangle] again will cause you to dismount.
Merchants, Missing Mothers, and the Main Embrace Gate
The joy of riding a robo-horsie is not one to be underestimated. Indeed, indulge yourself by following the road south of Strider Site to the east, and at a four-way fork continue east, then southeast until you reach a bridge leading to the Main Embrace Gate. Along the western end of this bridge is a merchant, and unlike the last few merchants, this one sells a variety of new weapons for you, including the Ropecaster, the Rattler, the Blast Sling (capable of firing Blast Bombs!), the Carja Tripcaster (an upgrade over your ordinary Tripcaster, it can deploy Blast Wires), a Carja Sharpshot Bow (can fire Tearblast Arrows - very good for removing machine parts), and a Shadow Sling (can fire Shock Bombs, Fire Bombs and Freeze Bombs).
There are also new outfits you can buy, although they’re prohibitively expensive, and like the weapons may require you to trade resources you don’t have yet. If you somehow have an absurd amount of Metal Shards to unload, you can also gamble on some Modification Boxes - the Very Rare quality ones will set you back a whopping 1,350 Metal Shards. Finally, and perhaps most interestingly, are her “Special Items”, which in this case includes four maps: the Map - Metal Flowers, Map - Banuk Figures, Map - Ancient Vessels and Map - Vantages. Purchasing these maps will mark the rough locations of these collectibles for you, and is well-worth doing when you have the items (and paltry amount of Metal Shards) required.
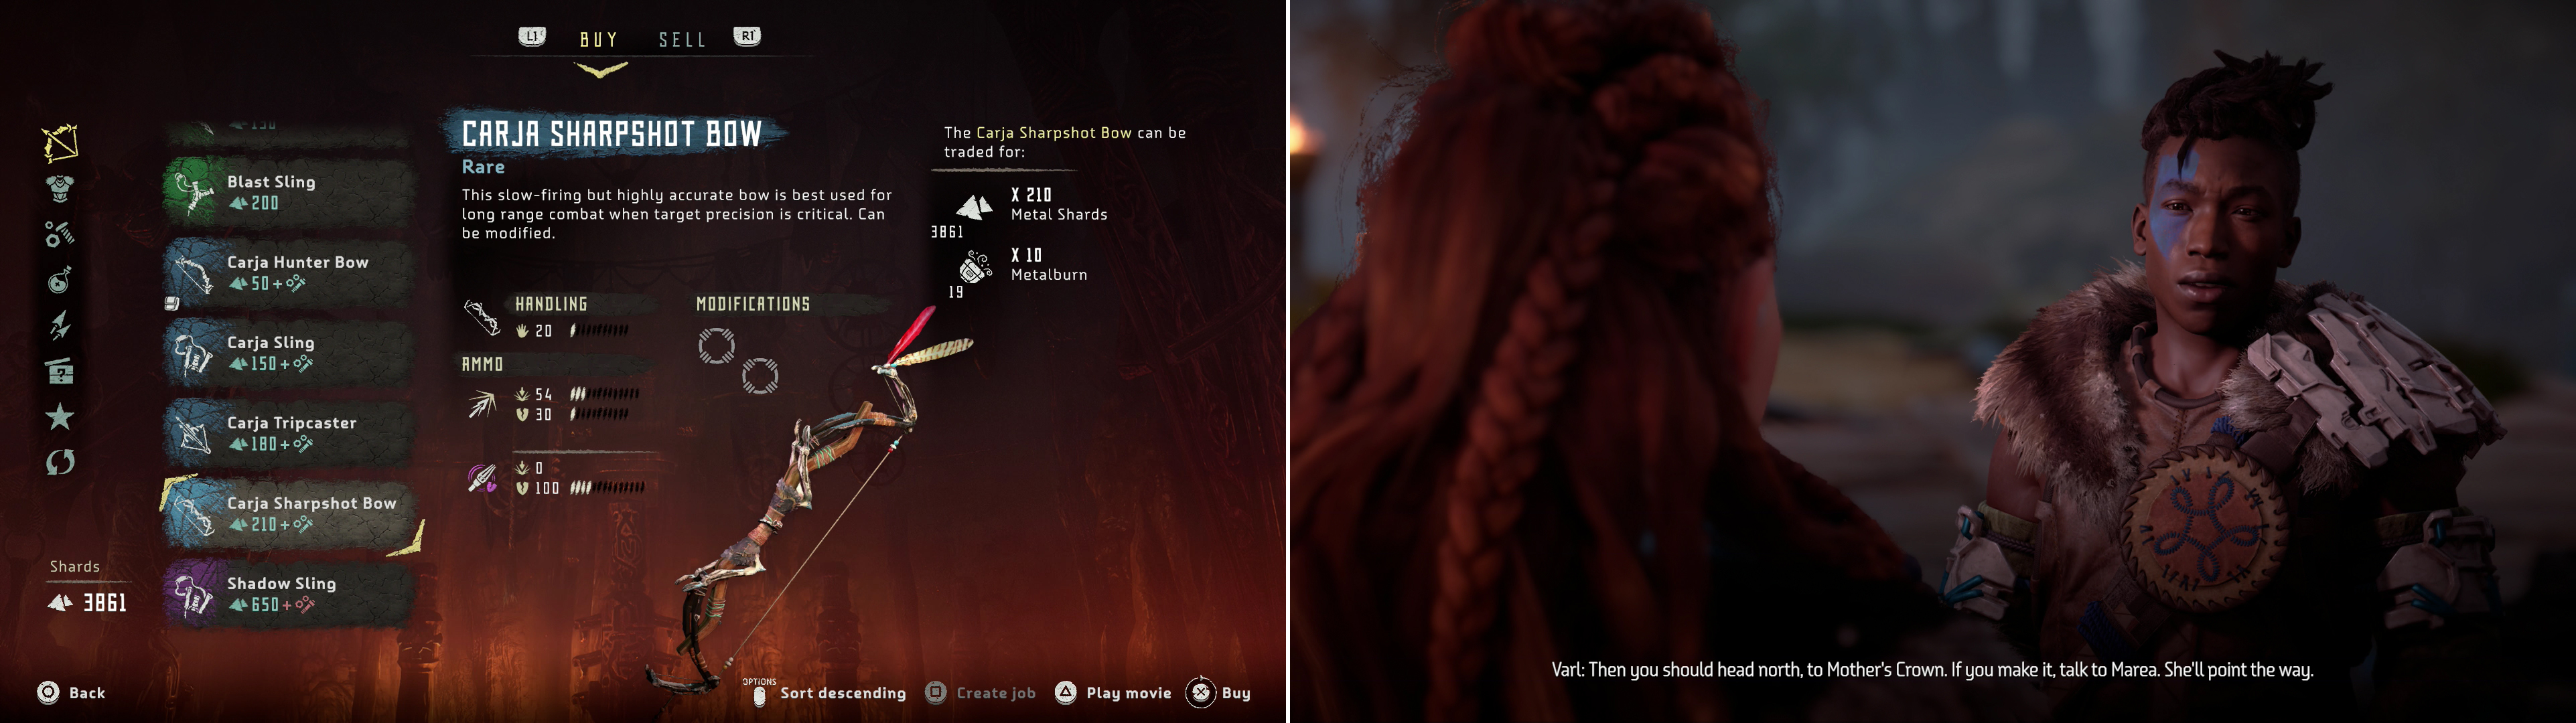
Purchase some new weapons from the merchant near the Main Embrace Gate (left), then talk to Varl outside (right), who will ask you to track down his mother - the Nora War-Chief.
When you’re done shopping continue east across the bridge and exit the gate to find Varl and his braves, who are busy dispatching some corrupted machines. After that job is done he’ll talk to you, and tell you to seek out someone named Marea, who can be found at Mother’s Crown. Exhaust his dialogue options and go to leave and he’ll make a request: find Sona, the missing Warchief, who should be around the War Party massacre site. It’s not just in the tribe’s best interests to find her, but yours as well - nobody wants Resh to keep his job.
No Comments