| Metal Flowers |
|---|
| Metal Flower - Mark III (E) |
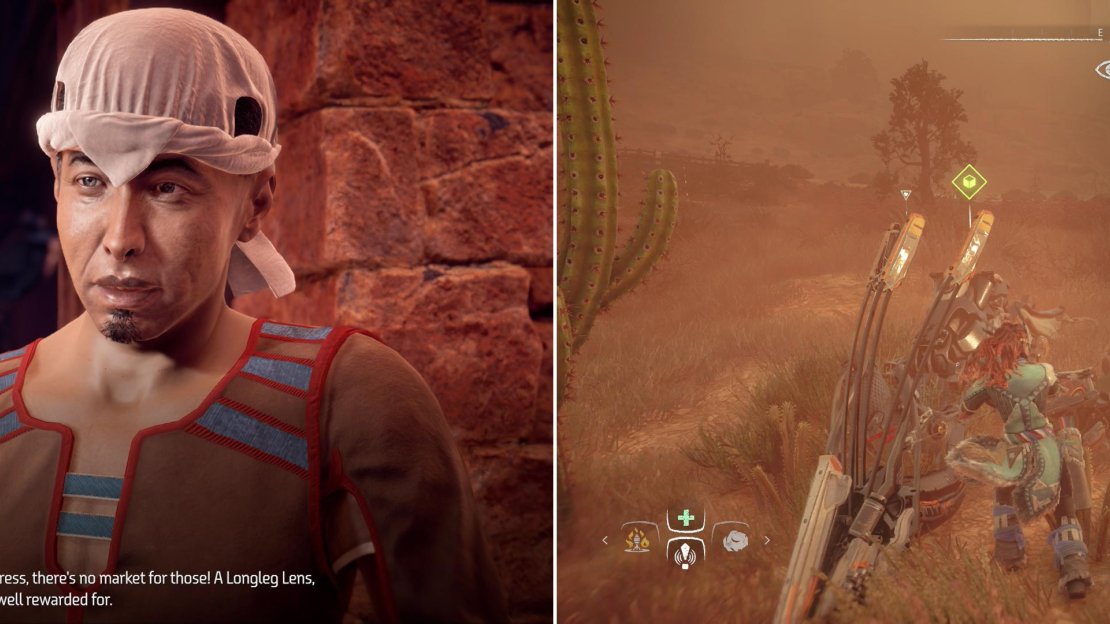
Two merchants squabble over what resources they want (left), to appease them both, collect a Snapmaw Lens and a Longleg Lens (right).
Demand and Supply
There are still a few quests left to do around Meridian, or rather, in the docks southeast of Meridian. Still, it’s close enough for inclusion. Ride the elevators down or fast travel to the Campfire near the elevators, then head east, southeast to find Lorund and Smiling Raning standing near the docks. Talk to them and endure their bickering to ultimately get two different requests… kind of. Lorund wants a Snapmaw Lens, Smiling Ranin wants a Longleg Lens, and since it doesn’t look like their bickering will cease any time soon, it’s easier to just appease them both.
There are plenty of places to go hunting for Snapmaws and Longlegs - you can find both near the river north of the Greatrun Hunting Grounds, to give one example. When you have both parts (they’re both uncommon drops, so it shouldn’t take too long) return to the two bickering merchants for your reward(s).
| Objective | Rewards |
|---|---|
| For gathering machine parts | 2,500 XP / +1 Remarkable Reward Box / +1 Generous Reward Box |
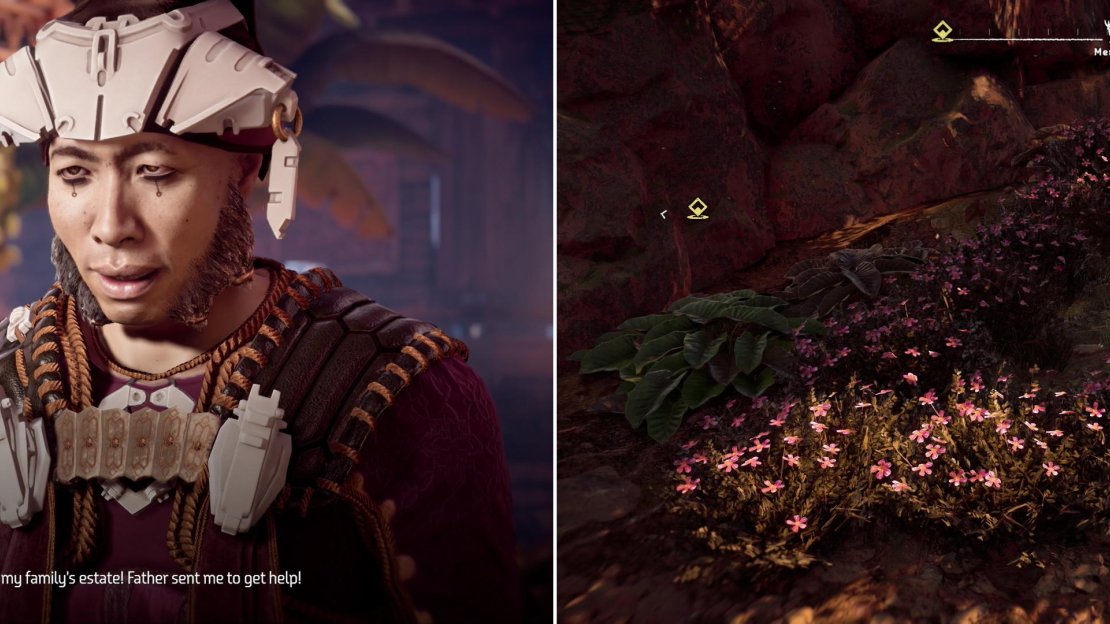
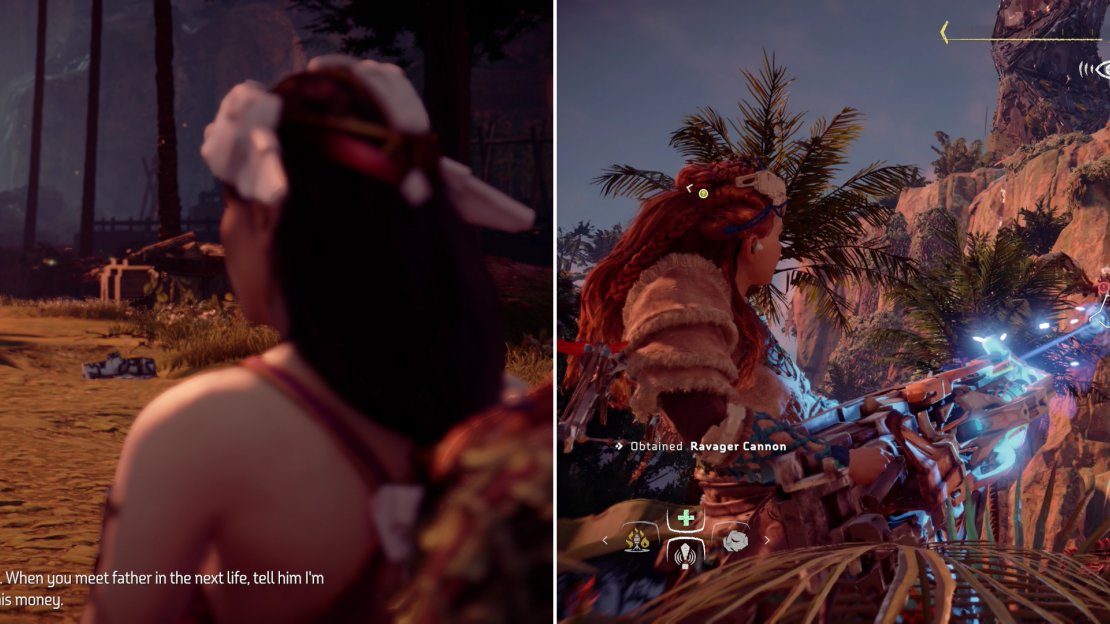
Ranaman is desperate to solicit whatever aid he can (left). On the way to his father’s estate you can pick up Metal Flower - Mark III (E) (right).
Fatal Inheritance
There’s another quest you can do here which is a little less open-ended. Make your way northwest to the road, then follow it through the town to the southwest until you see a Carja man arguing with an Oseram guard. Approach the man -Ranaman - and ask him what his troubles are. Seems that his opulent family mistake lies outside the Sun King’s power to defend… which really says a lot of about how much Carja power has declined. Anyways, it was attacked by machines (a Ravager and some Watchers, by his story) and since he can’t get the king’s men to help rescue his family’s wealth… er… his family and servants, he’ll gladly allow you to do the job.
Continue down the road through town to the southwest, then head uphill to the west, southwest and pass through an arch and cross a bridge to find a Campfire. From this campfire continue down the road to the south, past a Strider Site, and at a fork turn west. Yes, this is opposite the quest marker, but there’s a collectible worth grabbing nearby. Search the southern end of the rock formation west of the road you just traveled down to find some hand-holds, but be wary of Stalkers prowling around. If you find some, you know the drill - Shock Arrows to stun them, then impact damage arrows to damage them (tearing off their Stealth Generator is optional). Anyways, climb to the top of this rock formation to find a merchant and Metal Flower - Mark III (E) .
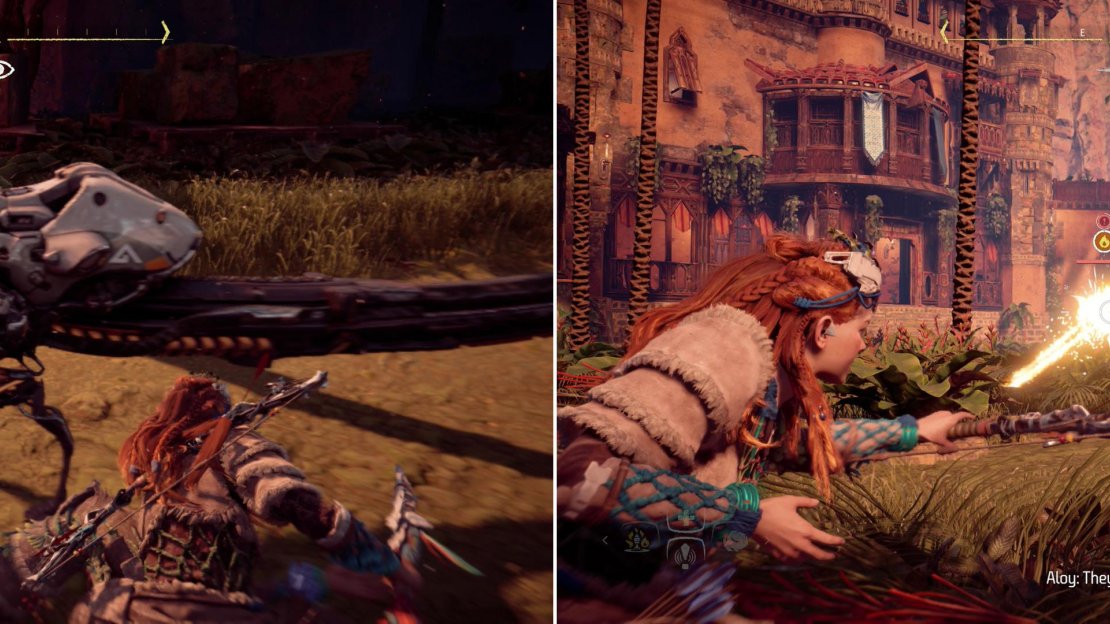
At the estate, take down the Watchers sneakily, if possible (left) then target the isolated Ravager (right).
Use the rappel point northeast of the Metal Flower and continue south down the nearby road to the fork, this time, however, head east. Shortly you’ll reach another fork near a river. Cross the shallow, easily-fordable river and follow the road beyond to the southeast, past a Charger Site and to another fork - and another Campfire. From here follow the road east, then north to reach Ranaman’s estate.
Just like Ranaman said, you’ll find several machines prowling the estate - two Watchers and a Ravager. There’s plenty of tall grass you can use to silently eliminate the Watchers, and the Ravager… well, you know the drill. Fire Arrows and/or shoot off the Ravager Cannon. Once the machines are dismantled, make your way northeast into the estate house, where you’ll hear somebody screaming from behind a sealed door. Use your spear to pry the door open, then talk to Daradi, sole survivor on the estate.
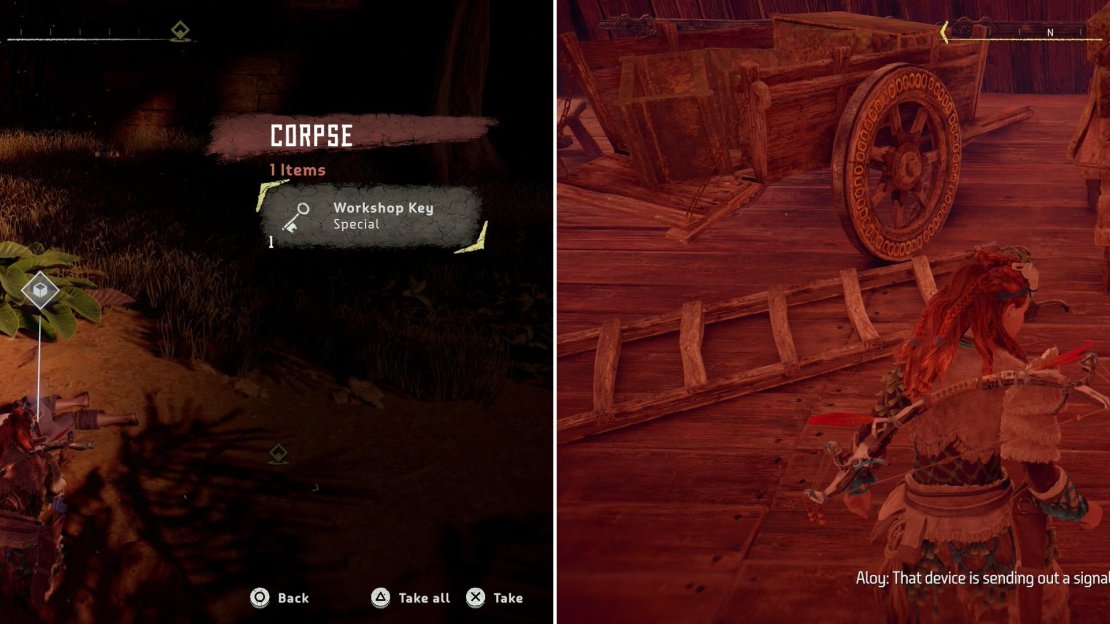
Search a body to find the Workshop Key (left) then investigate the Workshop to find the catalyst for the machine attack (right).
Listen to her story, then exit the house and head southeast to find a body with a “Workshop Key” on it. Grab it, then head west to the aforementioned workshop, the key to which you now possess. Circle around to the southern side of the workshop, open the door, then scan a blinky, noisy Unknown Device - which probably lured the machines here.
Ranaman will show up to claim his guilt (left) and after a bit of karma, put down the Glinthawks that arrived after Ranaman (right).
Deactivate the device and exit the workshop and head back east to find Daradi outside the estate. Chat with her and the culprit will show up, before getting himself killed in a most amusing way. Dispatch three Glinthawks, then return to the estate house and talk to Daradi, who will reward you for resolving this family squabble.
| Objective | Rewards |
|---|---|
| For investigating the machine attack at the estate | 2,500 XP / +1 Remarkable Reward Box |
No Comments