Time to leave Daytower behind and with it, any semblance of Nora territory. From the Campfire south of Daytower head north, northeast down a slope to reach a gate, beyond which is a mountain trail. Follow the road south, then west, southwest to reach a fork, at which point continue west, southwest between two stone pillars and along a rough path that ultimately terminates at a zipline. Ride down to the trail below and continue downhill to the northwest, where the white snow and green grass of Nora territory will give way to the arid oranges of Carja territory.
A vast new area lies before you, with plenty of new machines to fight and collectibles to gather. Your goal, of course, is to reach Meridian in your pursuit of Olin and the cultists who attacked you at the Proving, and while it’s not too much trouble to simply sprint through the desert to reach Meridian, you’ll be missing out on quite a bit of XP, treasure and collectibles. That being the case, the following sections will concern themselves with the business of exploring your way to the southwest.
Ropecaster and Running Trials
Continue on the road to the northwest until you find the Greatrun Hunting Grounds, where you’ll find the standard complimentary merchant and Campfire. If you don’t have a Carja Ropecaster, you’ll need to buy one to complete these trials. You’ll also need the Critical Hit skill. When you’re ready, talk to the Keeper, who apparently is straight out of some Saturday morning cartoon. Let him explain the three different trials to you, then it’s time to get to business.
| Parts Wrangling Trial Time | Reward |
|---|---|
| 20:00 | Half Sun Box |
| 2:30 | Full Sun Box |
| 1:30 | Blazing Sun Box |
| Pace Trial Time | Reward |
|---|---|
| 20:00 | Half Sun Box |
| 2:00 | Full Sun Box |
| 1:30 | Blazing Sun Box |
| Tie Down Trial Time | Reward |
|---|---|
| 20:00 | Half Sun Box |
| 4:00 | Full Sun Box |
| 2:00 | Blazing Sun Box |
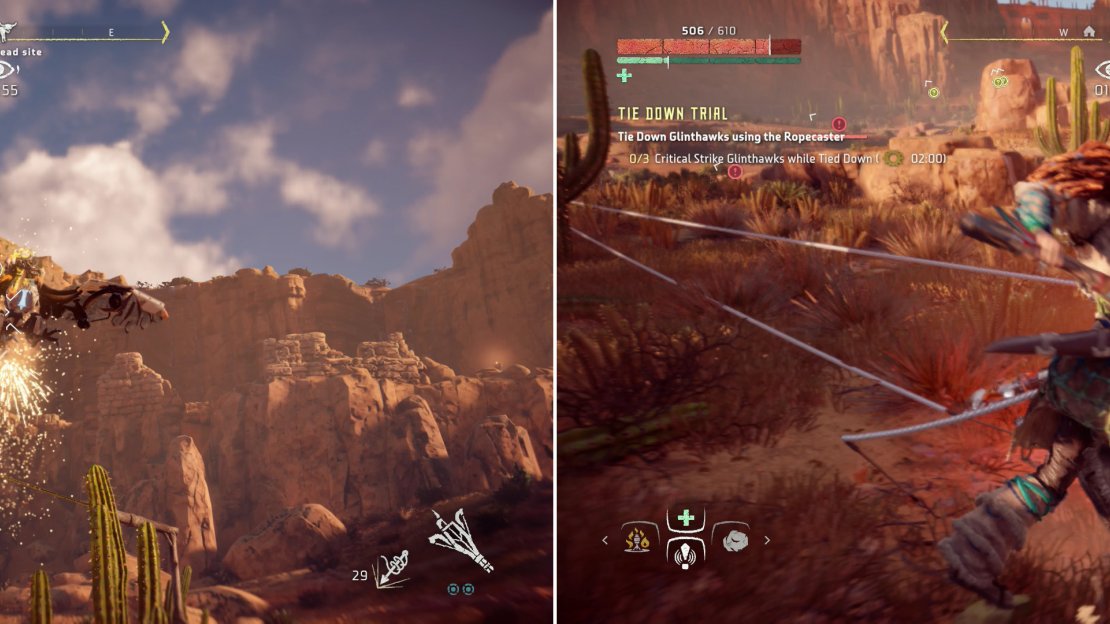
Pop a Glinthawk with a few Ropecaster lines (left) then try to score a Critical Strike or two on it while it’s grounded (right).
Parts Wrangling Trial
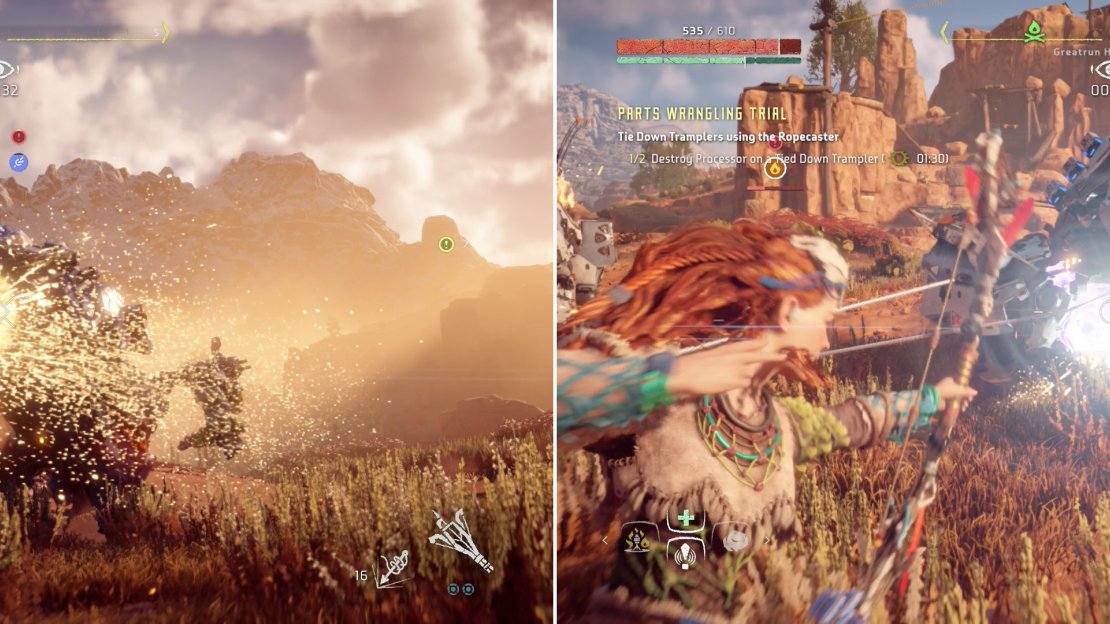
By far the easiest of the trials, your task here is to simply use the Carja Ropecaster to tie down two Thunderers and shoot off their Processing Units. Simply zipline down, shoot one with four or five Tie Rope Medium rounds, then use your new Shadow Hunter Bow’s Hard Point arrows to dislodge your prey’s Processing Unit. You’ll be harassed by other Thunderers and possibly Glinthawks while you do this, of course, but you can heal, so remain steadfast and you’ll succeed with ease.
Pace Trial Time
While this one originally won’t seem challenging, the Glinthawks have some tricks that can frustrate you. Namely, if you take too long they’ll successfully harvest the Watcher you need, removing it from the field. If bothered, they’re also fond of simply flying away with the fallen machine. This trial, then, is simply a matter of picking the right route.
Elevated Watchers should be your goal, so start things out by taking the zipline near the keeper (the southernmost of the two) and when the line ends, head southwest towards a stone column ahead. Ascend using the ledges and handholds marked with white and yellow and loot the Watcher, then drop down (don’t fret any possible fall damage - again, you can heal) and make your way west, southwest to another column. The third and final Watcher you should go after is far to the north, northwest, northwest, on another column with some wooden structures you can climb on its southern side. Loot all three Watchers and you’re good to go.
Tramplers will take more Ropecaster shots (left), but once they’re tied down, their Processor is easily destroyed (right).
Tie Down Trial
Easily the worst trial at this Hunting Grounds, if not at all Hunting Grounds, Glinthawks are obnoxious foes at the best of times, and when there’s a flock of them joined by Tramplers in a time trial… it’s a recipe for frustration. Without the Carja Ropecaster you might as well not even bother, and if it’s still proving difficult, consider waiting until you get the Shadow Ropecaster. Modding these weapons with Tear modifications will help, as will buying Banuk Ice Hunter Heavy armor. Consider those preparations and note that you must, of course, also have the Critical Hit skill.
When you’re ready, descend to the lowlands and target a Trampler’s Processing Unit (its… udders?). A well-modded Shadow Hunter Bow with Triple Shot should be able to destroy it in one shot, after which the Trampler will slowly burn to death. Speed up the process with arrows and wait for the Glinthawks, who won’t be long in coming. You’ll have to endure Glinthawk and Trampler attacks, of course, but there isn’t much room for finesse, anyways.
Shoot a Glinthawk as it comes to feed (or attack) with the Ropecaster and when it gets tied down, go near it and wait for the Critical Strike prompt. It can be picky about where you stand, so move around. After landing it, shoot the Glinthawk with another Ropecaster and go for another Critical Hit on the same downed Glinthawk - the only way you’re likely to accomplish this challenge. Immediately go after another Glinthawk and take it down to score your third Critical Strike. Sounds simple, but you’ll be attacked by Tramplers and Glinthawks the entire time, so keep dodging when necessary and hope for the best.
| Objective | Rewards |
|---|---|
| For earning a Blazing Sun Rank in all three trials | 52,500+ XP / +1 Skill Point |


No Comments