A Seeker is Born
After enduring some visions Aloy will wake up in a strange place, and after contemplating her loss on the Proving ground, she’ll realize that her Focus is also missing. Spurred into action by its absence (she might be addicted to Focus…) she rouses to action. Head through the doorway to the north, northwest, then turn east, northeast into another room, where Aloy will find her clothes and her Focus.
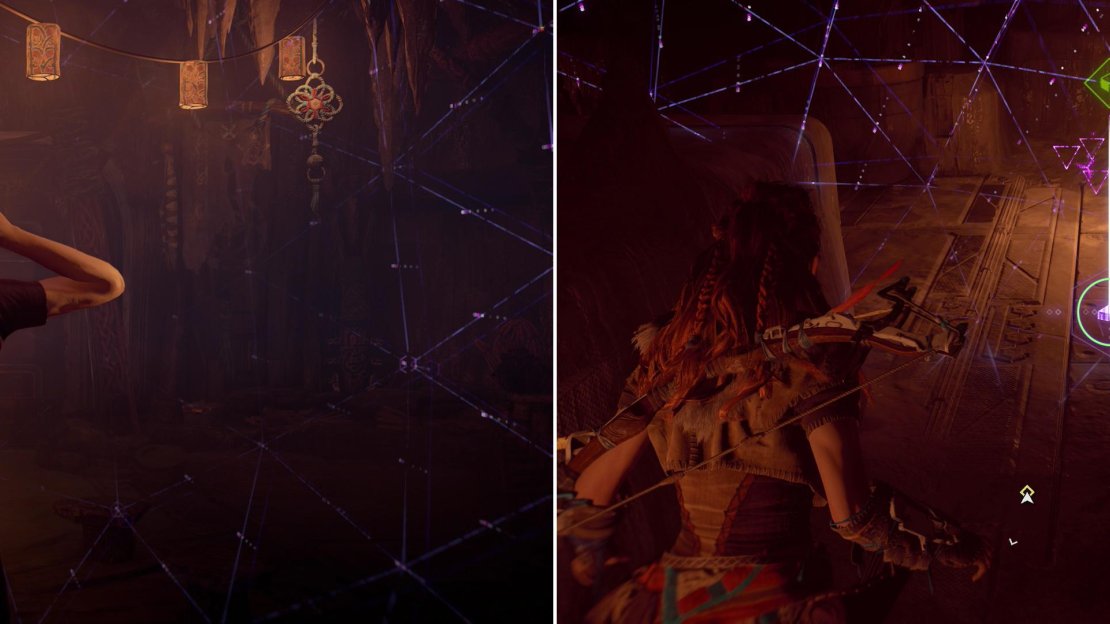
Reclaim your Focus (left) then search the interior of the mountain to find a Power Cell (right) - one of five units you’ll need to claim potent armor much later on.
Now that you have your precious, precious Focus back, continue through a door to the east, north-east to reach another chamber. Note the three new doors branching off from this room - your gear lies to the north, northwest, in a room full of candles (who lights all these things, anyways? Must take hours…), but first go through the opposite door to the south, southeast where you can scan a Power Cell on the floor. This Power Cell (and its as-of-yet undiscovered fellows) are the key to obtaining a potent suit of armor later on, so you’re going to want to hang onto this…
With the Power Cell in your possession, turn around and enter the room to the north, northwest. Pick up your equipment and - after messing around with the Focus she captured from the Leader - Aloy will have a close encounter with Teersa. Follow the High Matriarch through the complex and she’ll lead you “The Great Chamber”, the place where you were born, supposedly. Aloy will throw superstition to the wind and interact with some old world technology, but ultimately the encounter just raises more questions than it answered. Teersa, however, helpfully misinterprets the encounter and Aloy, willing to grasp at straws, goes along with it.
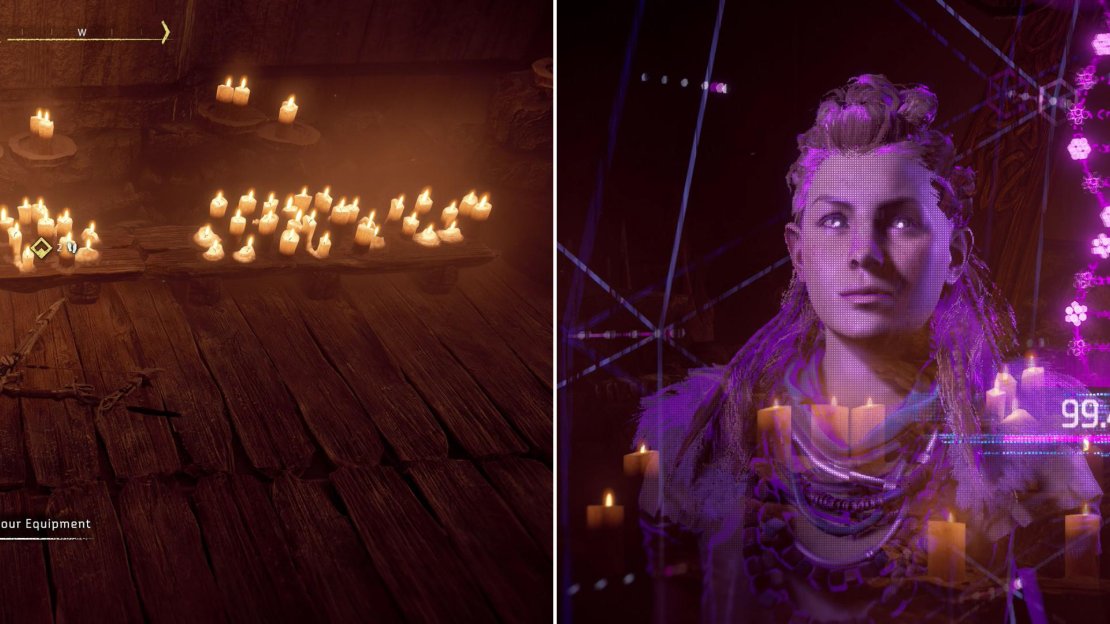
Recover your equipment (left) after which Aloy discovers some startling information on a captured cultist Focus (right).
Follow Teersa and listen to her complain about the Nora tribe’s recent woes, which clearly she thinks you can help resolve. You know, because All-Mother said so. Still, her plan is still better than what the other matriarchs have in mind, vague and misguided as it is. Once outside the three High Matriarchs will argue, but fortunately Lansra will be outvoted two-to-one, and the title of Seeker will be bestowed upon you… which basically means you can leave Nora territory without being exiled. Not like threat of being exiled was likely to deter Aloy anyways.
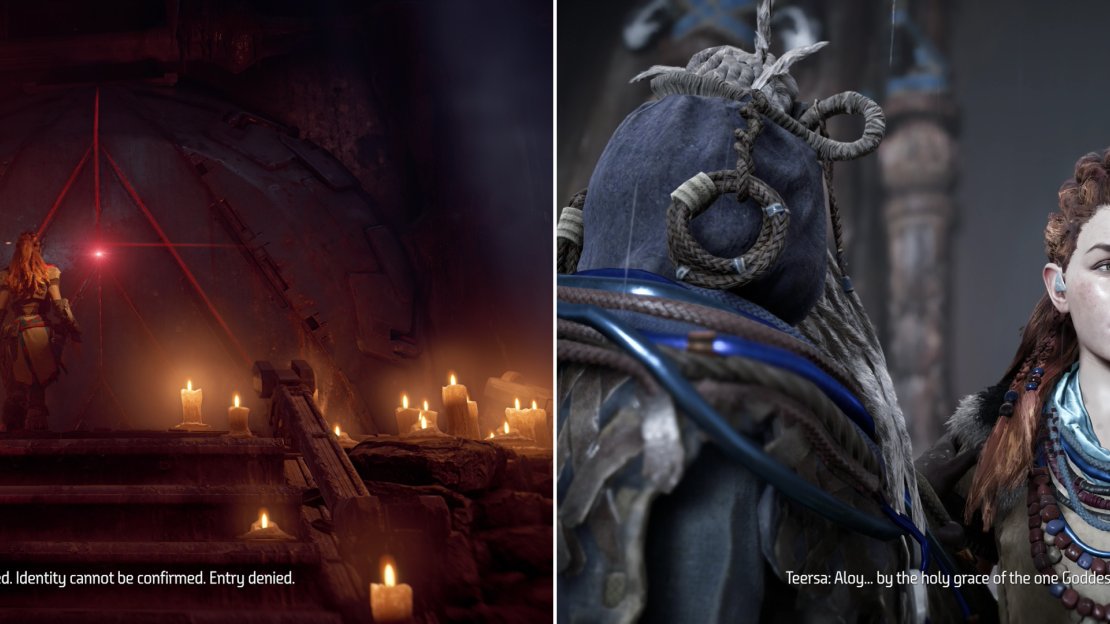
When some “corruption” leads to All-Mother reject Aloy, Teersa will use her religion to interpret the event (left), ultimately culminating with Aloy being granted the title of Seeker (right).
Exhaust Teersa’s dialogue options (whatever advice she gives is heavily tinged by superstition, of course) then continue downhill in a northerly direction. Consider scouring the area for Medicinal herbs if your pouch is depleted and craft some Fire Arrows, as you’ll need them again shortly. You might also want to consider crafting some Detonating Blast Traps and/or some Blast Traps, if you have the resources. The former explodes after taking damage (shooting it with an arrow or two should do the trick) while the latter explodes based on enemy proximity. Friendly-fire is possible with both, so make sure you’re not caught up in your own traps.
Pass through a gate and you’ll reach the village of Mother’s Watch, where you can find plenty of Medicinal herbs, Ridge-Wood, and a few Supply Crates - all yours for the taking. You’ll also find Teb standing near the northern gate, and the fact that he’s taking up temporary guard duty says a lot about the state the Nora tribe is in right now. Chat him up to learn more about how the Nora tribe was routed and the new dangers that likely await outside of the embrace, as well as Warchief Sona’s disappearance and Resh’s subsequent promotion. On that note, climb a nearby ladder to find Resh atop the wall, who is still none too fond of Aloy. After some less-than-friendly banter (and another three-choice dialogue option - trialogue option?) you’ll be distracted from your petty animosity by a mutual threat.
Boss Battle - Corruptor
A Corruptor - The Demon - approaches, and it brings with it a herd of corrupted Striders, which will soon break through the gate. You only have so much time to prepare, and keep in mind that any preparations you make are likely to be triggered by the Striders, which will lead the charge. Still, putting some Detonating Blast Traps in a wedge opened towards the gate will thin their numbers considerably, provided you space them out enough.
When the machines break through, you should focus your attention on the Corruptor, which is by far the greatest threat - the braves that help you fight with largely be able to handle the Striders, but if you see an opportunity to dispatch a Strider with a melee attack (perhaps one that’s focusing on a brave?) well… nobody would blame you for thinning the herd.
The Corruptor is a massive quadruped which is relentlessly aggressive and quite agile, capable of strafing with considerable speed and leaping large distances. In the latter case, its very body serves as a weapon, as it’s not shy about leaping onto foes. This is but one of its many attacks, however, as it also has a Grenade Launcher and a Spike Launcher attached to its head, capable of shooting incendiary missiles and corruptive spikes, respectively. Not only can both of these attacks cause a damage-over-time effect, but they pollute the ground even when they miss. On top of that the Corruptor has a tail which it will employ in vicious scorpion-like frontal stabs and leaping whip attacks. It can also hurl boulders with its tail. If you’re not dodge-rolling constantly, expect to be taking damage. Fortunately none of it’s attacks are overwhelmingly power, so you should be able to heal up just fine.
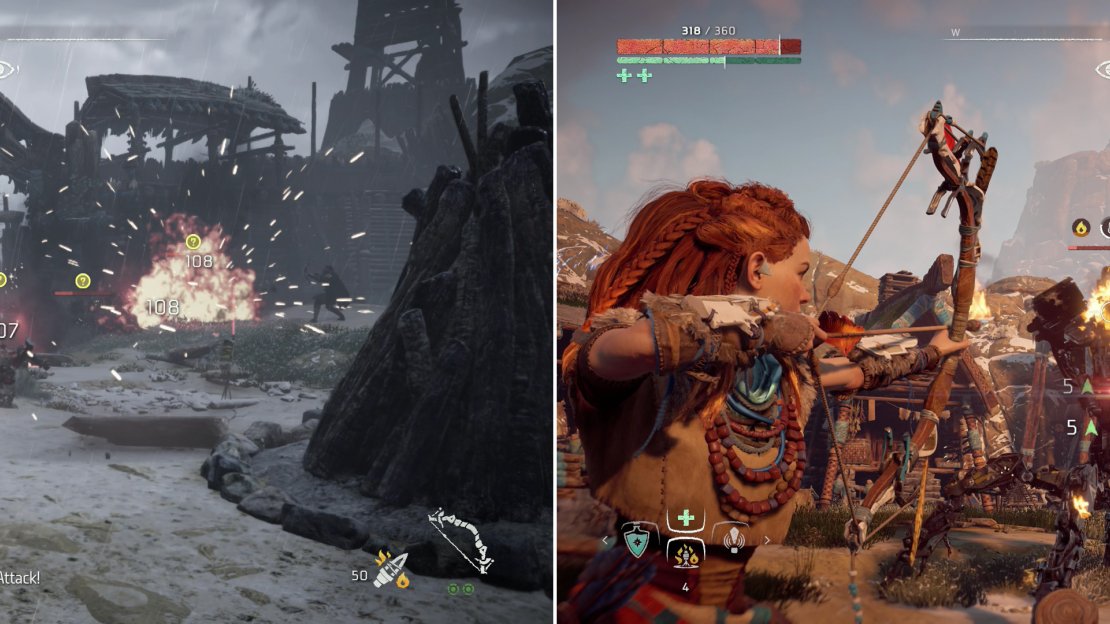
Setting up traps near the gates can help thin the herd (left). Pelt the Corruptor with Fire Arrows until it overheats and exposes its vulnerable Heat Core (right).
While the launchers can be knocked off the Corruptor, in practice, that feat is probably beyond the capability of your Hunter’s Bow right now, so instead focus simply on shooting it with fire arrows. With some persistence (keep an eye on the fire elemental circle and watch it fill up!) this should cause the machine to overheat and expose its Heat Core, where it’s most vulnerable. Continue shooting its Heat Core to more quickly dispatch the Corruptor.
After the battle, search the Corruptor and Aloy will - with the help of her Focus - discover the component the suspects allowed the Corruptor to control the Striders. She’ll take it for herself, Teb will gush, and Aloy will be free to return to the valley and test out her new toy.
| Objective | Rewards |
|---|---|
| For destroying the Corruptor | 3,500 XP / +1 Skill Point / PSI Overrides |


No Comments