

| Text Datapoints - Machines |
|---|
| M/RHO: Core Log 653Z |
Tactics for Tramplers
Arguably the most difficulty Hunting Grounds in the game lie behind you, and with any luck, you’ll have left victorious, or at least with a few more levels. In any event, it’s time to move on, and what better way to follow up a new Hunting Ground than with a new Cauldron? From the Greatrun Hunting Grounds head due south to find a road, which leads southeast. Along the way you’ll need to be wary of Tramplers and the Glinthawks who prowl along the cliffs to the west.
Speaking of which… time to talk about Tramplers. You’ve probably seen enough of them during the trials earlier, but during those trials your objectives rarely revolved around engaging them. For acquisition machines, they’re rather aggressive, preferring to charge at danger and hound it relentlessly thereafter. In addition to their charge, they can create a fiery explosion (centered on themselves) and shoot a shockwave along the ground. Primarily, however, they’re close-to-mid-range combatants.
Although their body is weak to fire and they have a Power Cell to target, it’s hard to seriously recommend those targets, as there’s a much more alluring Processing Unit on their underside. Knock this target out and the machine is done for - initially taking massive damage, before slowly dying from damage-over-time. You can, of course, speed up the process by shooting at their horns, which are vulnerable, high-damage, easily hit targets on their head. For how easy they are, it’s worth noting they can drop Very Rare (purple) quality modifications.

Destroy the Watchers outside Cauldron RHO (left) then descend into a pit to find a subterranean door you can override (right).
Cauldron RHO
Follow the trail southeast, then south, dealing with the Longlegs that lurk along the road. Eventually you’ll reach a fork with a Campfire near it, and you may also have the luck (misfortune?) of encountering a Shell-Walker patrol in the area. More interestingly, however, is Cauldron RHO, which lies a short distance down the road to the east, southeast. Approach the signature triangular door and dispatch several Watchers outside, then note the chasm that separates you from the door to the Cauldron.
At the edge of the cliff outside of the Cauldron turn east and drop or climb down several ledges, cross a cylindrical “bridge” and continue downhill to reach a rappel point. Defy gravity, common sense, and the very purpose which gloves were created for to reach lower ground, then continue heading down through the caverns outside of the Cauldron until you reach a triangular metal door that leads into the Cauldron’s interior. Use your trusty spear to override the door, then head on inside the Cauldron.
Head down a short hallway and take out an unwary Watcher. Ironic, right? The path ahead ends at a rotating turbine with numerous hand-holds on its outer rim. Shoot the turbine’s glowing blue center to reverse the direction in which the turbine spins, then rid the turbine to reach the southern end of the room. Continue south, southeast into a natural cavern, looting a Supply Crate along the way, then turn south, southwest into a triangular wire-tunnel and override a door at the end.
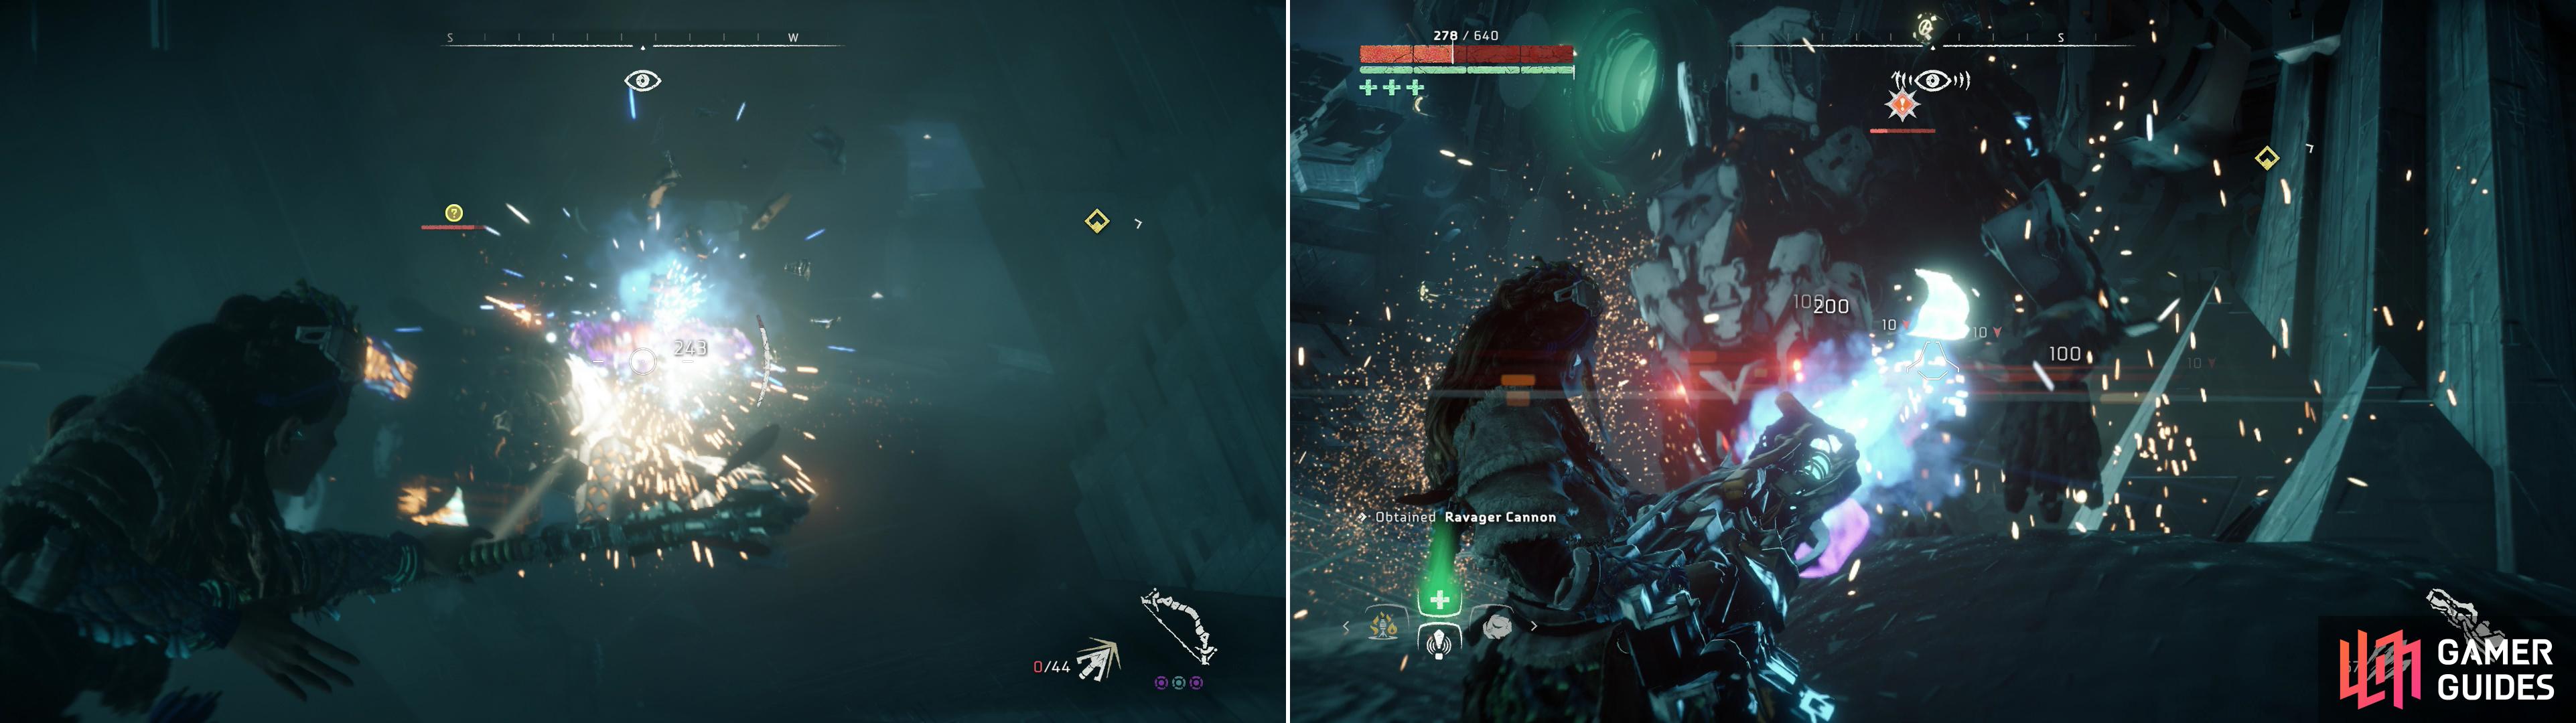
As usual, you shouldn’t view Ravagers as a threat (left) as much as an opportunity to grab a Ravager Cannon (right).
Beyond this door is a large room with a few spinning turbines and several Watchers roaming about. Fortunately, there’s also a vent nearby which producing steam you can take cover in. Oh, yeah, and there’s a Ravager down here, too. Fun. Dispatch the Watchers, then eliminate the Ravager - expect them to be relatively common foes from now on. You should know how to do it already, shoot off their Ravager Cannon and use that against the machines, or just be happy that the Ravager can’t use it against you. In addition, pummel it with Fire Arrows until you trigger burning damage-over-time, which does great damage to Ravagers.
Once the machines are dead, turn southwest and shoot the turbine, then ride it to the west. There’s no ledge to leap on, however. Instead you’ll need to jump to a hovering cargo crate, then ride that a bit until there’s safe ground below. Drop down, turn northwest, then override a Network Uplink to deploy a bridge. Ride a turbine to the west, then override a second Network Uplink to tear down a section of the wall of light barrier to the south. Shoot the nearby turbine and ride it back east, cross the bridge you deploy earlier, then get back on one of the floating cargo crates and ride it through the fragmented wall of light and drop down onto a ledge to the southwest.
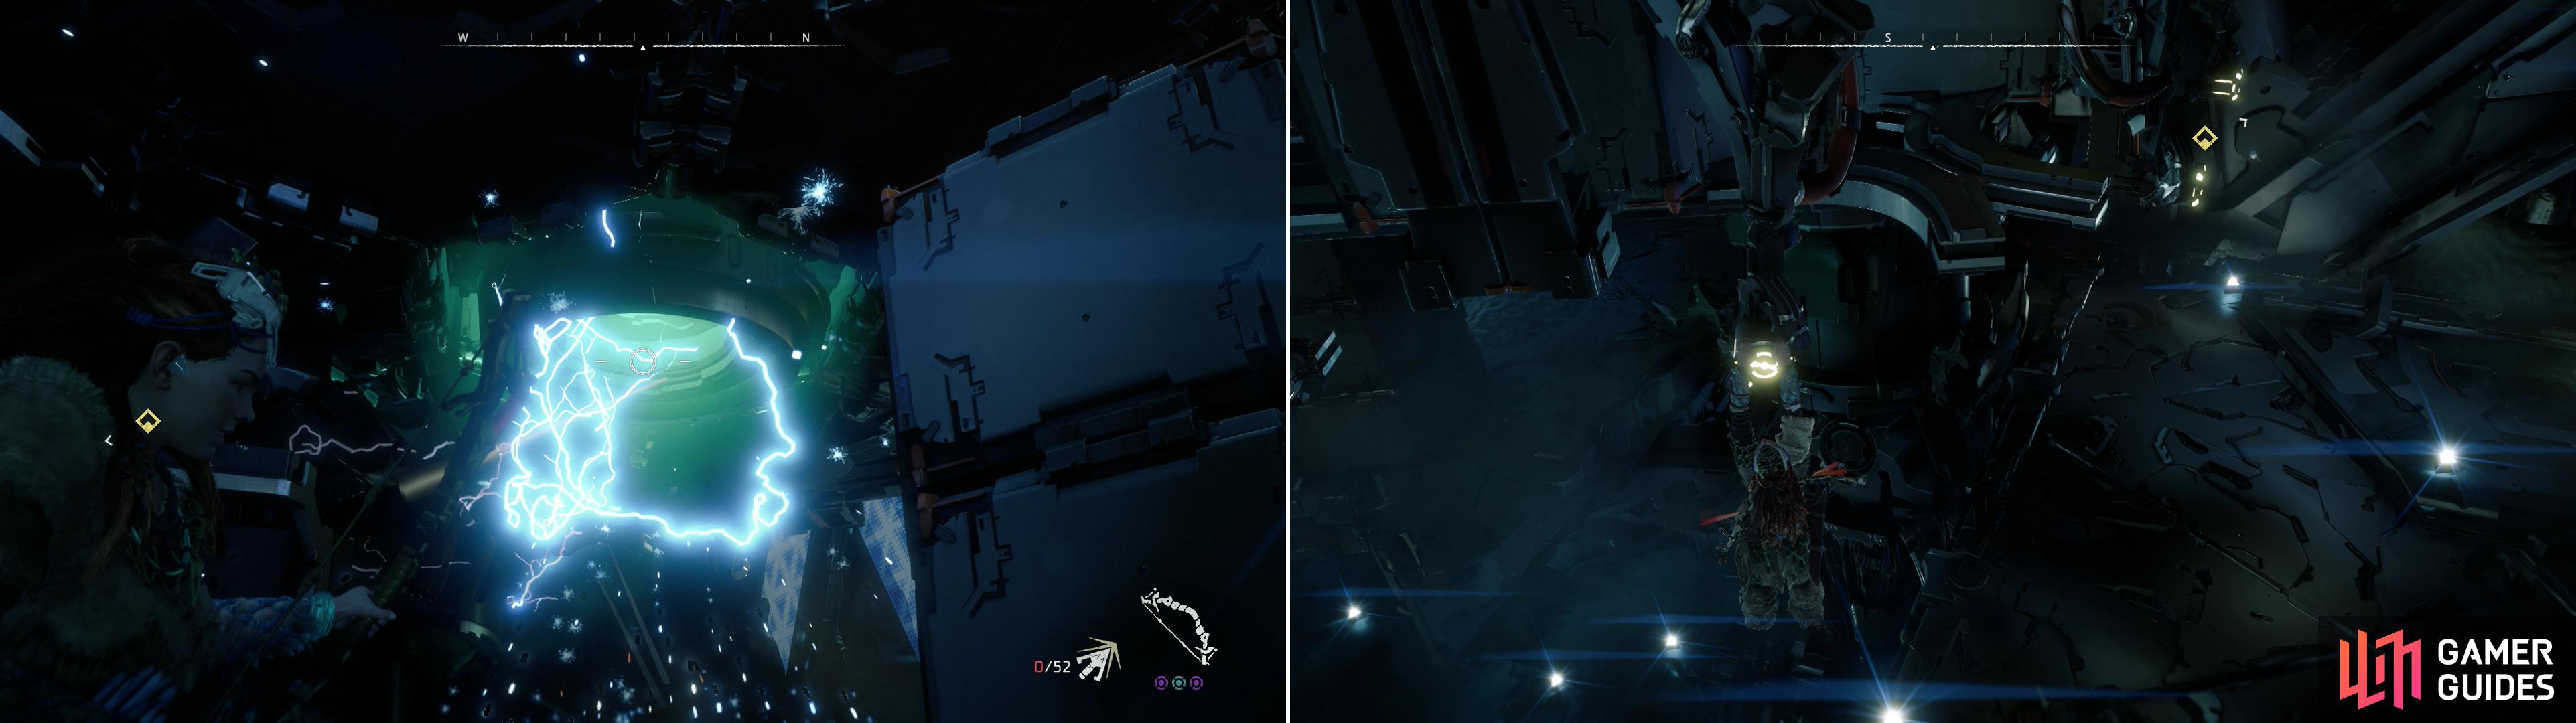
Shoot the center of spinning wheels to reverse their direction (left) then ride the hand holds on them in the desired direction (right).
Turn north west and note that beyond some stacked Shell-Walker cargo crates is a ledge, above which a turbine spins. You can shoot the turbine and ride it to the northwest, or you can just get a good running jump and leap the gap. Once you’re on the other side of the chamber head through a triangular wire-tunnel to the south, southwest and continue until you reach a chamber where several Watchers prowl. Use some vents to provide cover which you can use to take down the one Watcher on this elevated ledge, then continue south to find some ramps that lead down to the lower, western end of the room, where you’ll find more vents you can use to eliminate another pair of Watchers.
When the Watchers no longer keep their vigil, note some hand-holds above the ramp you descended down, which you can climb to reach a tunnel that leads to three Supply Crates. Yum! There’s another Supply Crate in the larger chamber where the Watchers prowled, opposite a door to the west you can override, near a pool of water. Speaking of which, you can override the door when you’re done exploring to continue deeper into the Cauldron, but there’s another, arguably better choice.
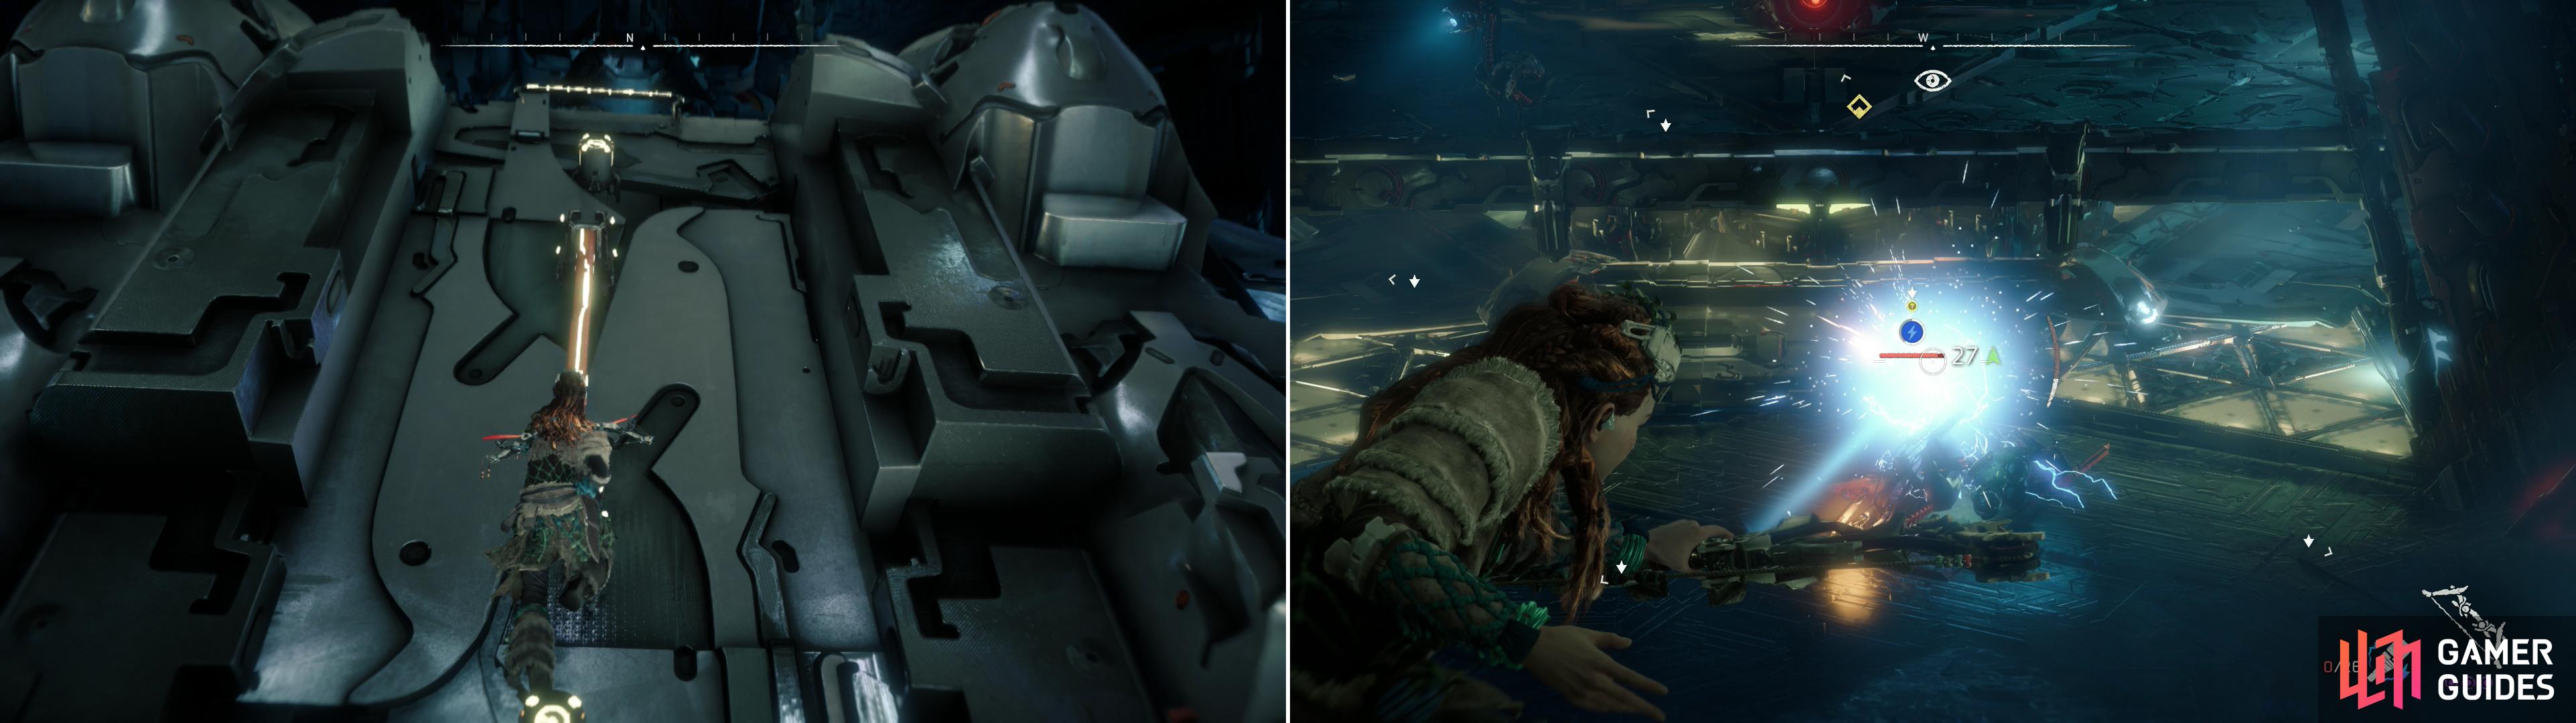
Climb some hand holds to reach an elevated ledge (left) from which you can pick off the numerous machines below (right).
From the door you can override turn northeast to find some hand-holds on the wall, which lead to a ledge with two more Supply Crates on it. More importantly, you’ll find a triangular door southwest of where you climbed onto this ledge, which ultimately leads to the same room the door below leads to, albeit on a higher, safer ledge from which you can engage in ranged combat with the machines below.
Either way you choose, there are quite a few machines in this room, including several Watchers, a few Longlegs and a Ravager. From the higher ledge, all of them can be easily eliminated in various ways - brute damage via Precision Arrows and Triple Shot works, although using Shock Arrows on the Longleg’s Power Cells is easily a better option for them. Don’t get too cocky, though, as all the machines can retaliate with ranged attacks of their own, but if you’re patient and avoid shooting at suspicious machines, you can pick apart the machines below at your leisure.
Demolish the machines, then search the northeastern end of the chamber to find a turbine, which will lead to a ledge containing a Supply Crate. Meager rewards, but better than nothing. Search the western end of the room to find a Network Uplink, which will deploy a bridge leading to the elevated central platform. Work your way around to the eastern side of the pumping mechanical organ here to find a Field Generator, which you can override to take down a light barrier to the north, northwest.
Make your way up a ramp to the north, northwest and through a downed section of light barrier to find two turbines, which you can use to reach a far ledge. Continue northwest down a ramp, jump a gap, then climb up a ledge to find a Supply Crate. Continue up a ramp to the north and proceed in that direction until you reach a Network Uplink, which will deploy another bridge, beyond which is a triangular tunnel leading northeast. Head down the tunnel and turn north, dive into some water below then head down a wire tunnel to the west, beyond which is the Cauldron core chamber.
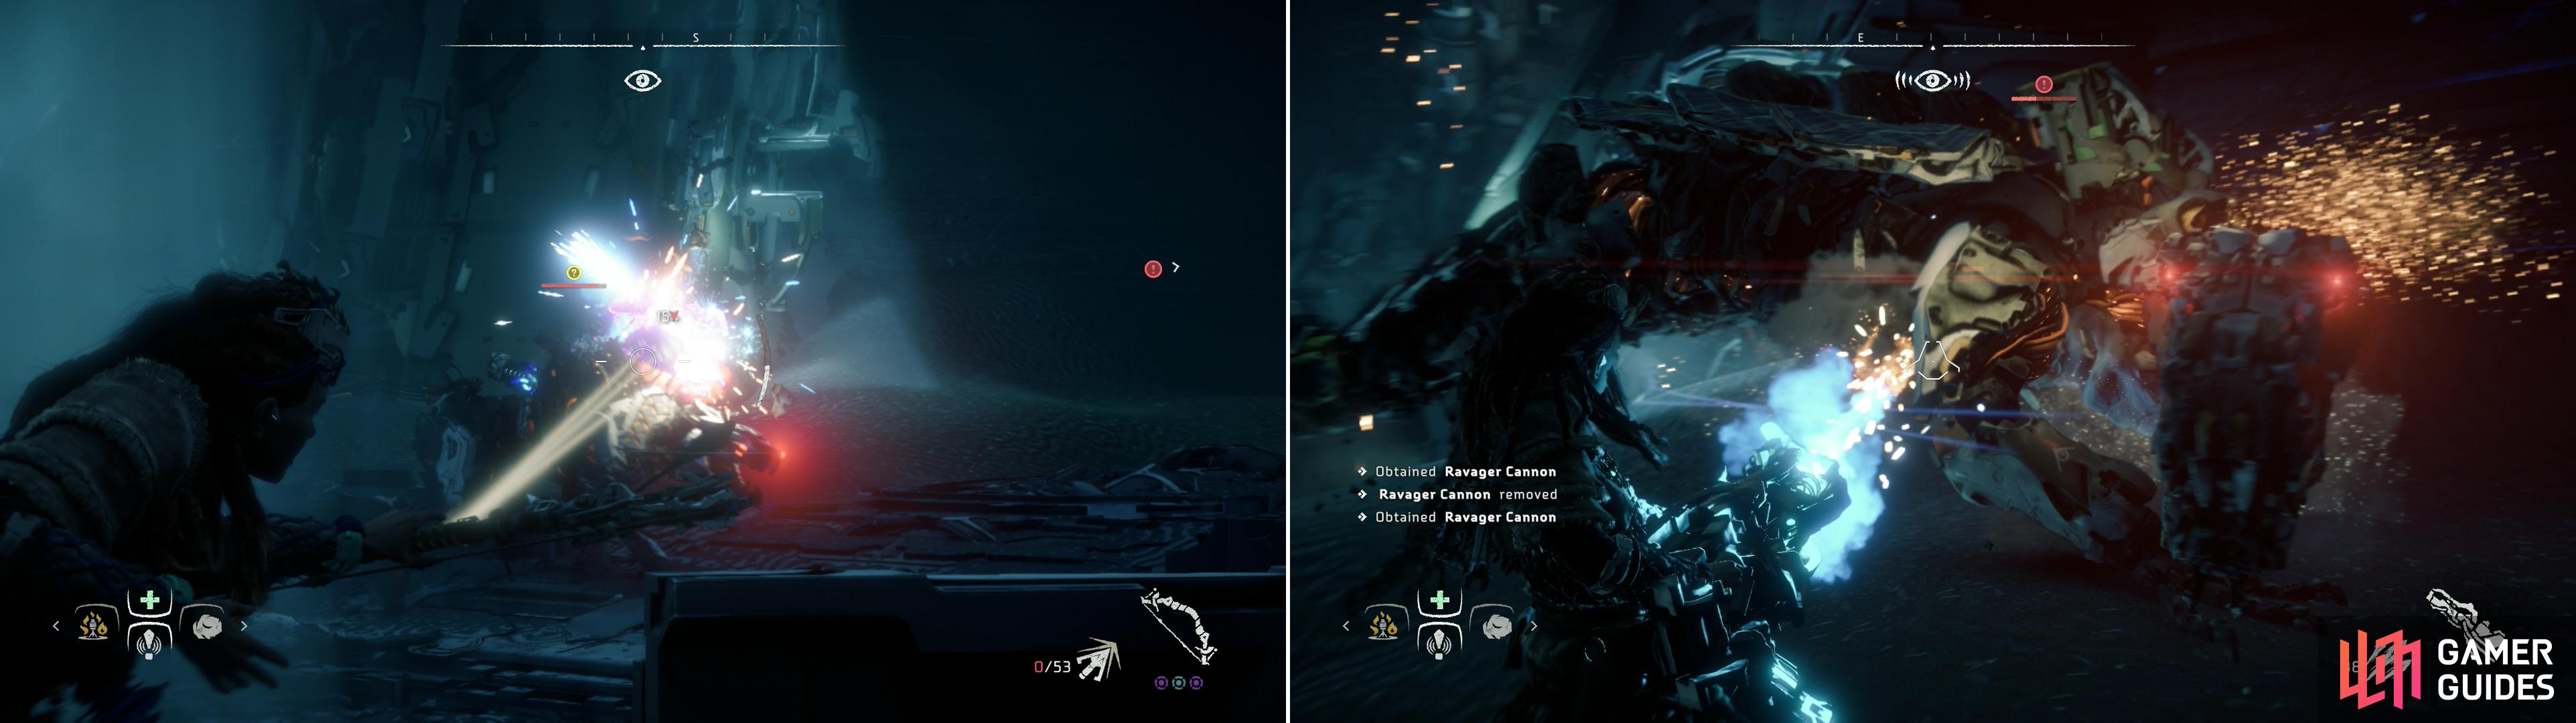
Guarding the Cauldron Core are a Snapmaw and a Ravager, the latter of which possesses a tool you can shoot off (left) and turn against the machines (right).
You know the drill, rappel down to the lower level and destroy some Watchers patrolling around a bubble light barrier, loot some Supply Crates and gather some medicinal mushrooms, if necessary, then climb one of the three towers and hack the Discharge Pylon. Your foe in the core this time is… a Snapmaw? Yeah, not a very potent machine this time. It’s joined by a Ravager, but both machines are weak to fire damage, so simply pelting them with Fire Arrows and waiting them out is a fine strategy. That Ravager Cannon is also tempting - if you can dislodge it, you can make short work of both machines. If you can stay hidden, Corruption Arrows are yet another option, just pluck away at your favored target and let the machines take care of themselves.
However you go about it, loot the downed machines, then override the Cauldron Core to complete this Cauldron, and get yourself the RHO override codes. You can now override Tramplers, Shell-Walkers, Longlegs, Ravagers and Snapmaws. You’ll also log the Text Datapoint - Machine “M/RHO: Core Log 653Z” . After hacking the core, you’ll automatically ride an elevator to the top of the Cauldron. Simply head north and override another Network Uplink to deploy a bridge, giving you easy egress from Cauldron RHO.
| Objective | Rewards |
|---|---|
| For overriding the Cauldron SIGMA Core | 6,000 XP / +1 Skill Point / RHO Overrides |
No Comments