

| Audio Datapoints | Audio Datapoints |
|---|---|
| Comms Log: Lt. Murell | So Sorry! |
| Comms Log: Sgt. Guliyev | Code Nexus Reminder |
| Comms Log: Cpl. Mills | Edited and Approved 1 |
| Comms Log: Sgt. Wandari | Edited and Approved 2 |
| Log: Cpl. Acosta (A) | I Believe in You |
| Log: Cpl. Acosta (B) | Please Reply! |
| Reminder. Again. | Unit Status Report |
| Just a Little Longer | Securecom EVZD-XX1X011X |
| Text Datapoints |
|---|
| Log: Cpl. Sarai (A) |
| Log: Cpl. Sarai (B) |
| USRC Deployment Records |
| Biosphere Degradation |
Logging the Past
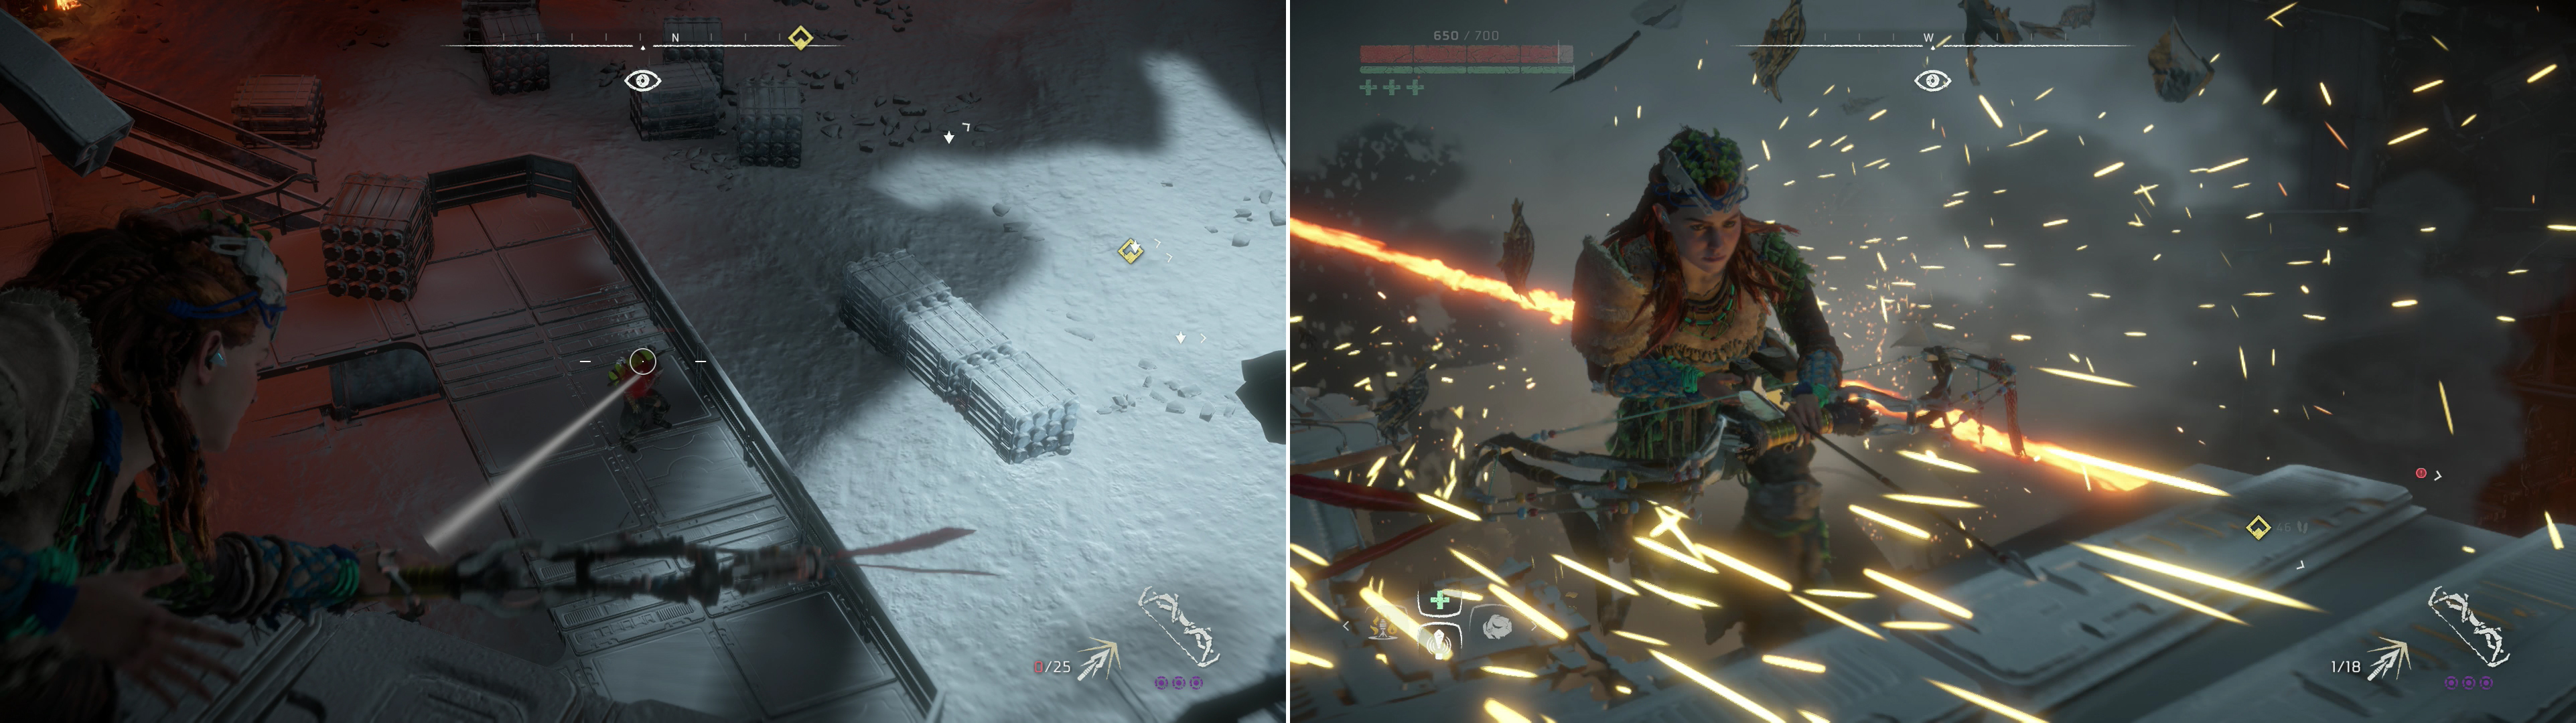
From the Campfire southeast of the Grave-Hoard, make your way along a road to the west, then north, fighting off or evading the Glinthawks that patrols the skies. Continue past the ruined old-world weaponry and into the Grave-Hoard, the ice which previously blocked the entrance having apparently melted at the needs of story progression. Inside you’ll find a Corrupted Watcher, an elite Cultist, and a less Cultist. Dispatch the Watcher stealthily, then make your first shot on the Cultists count - the elite is the tougher target, but nothing that a Triple Shot from a Sharpshot Bow can’t fix.
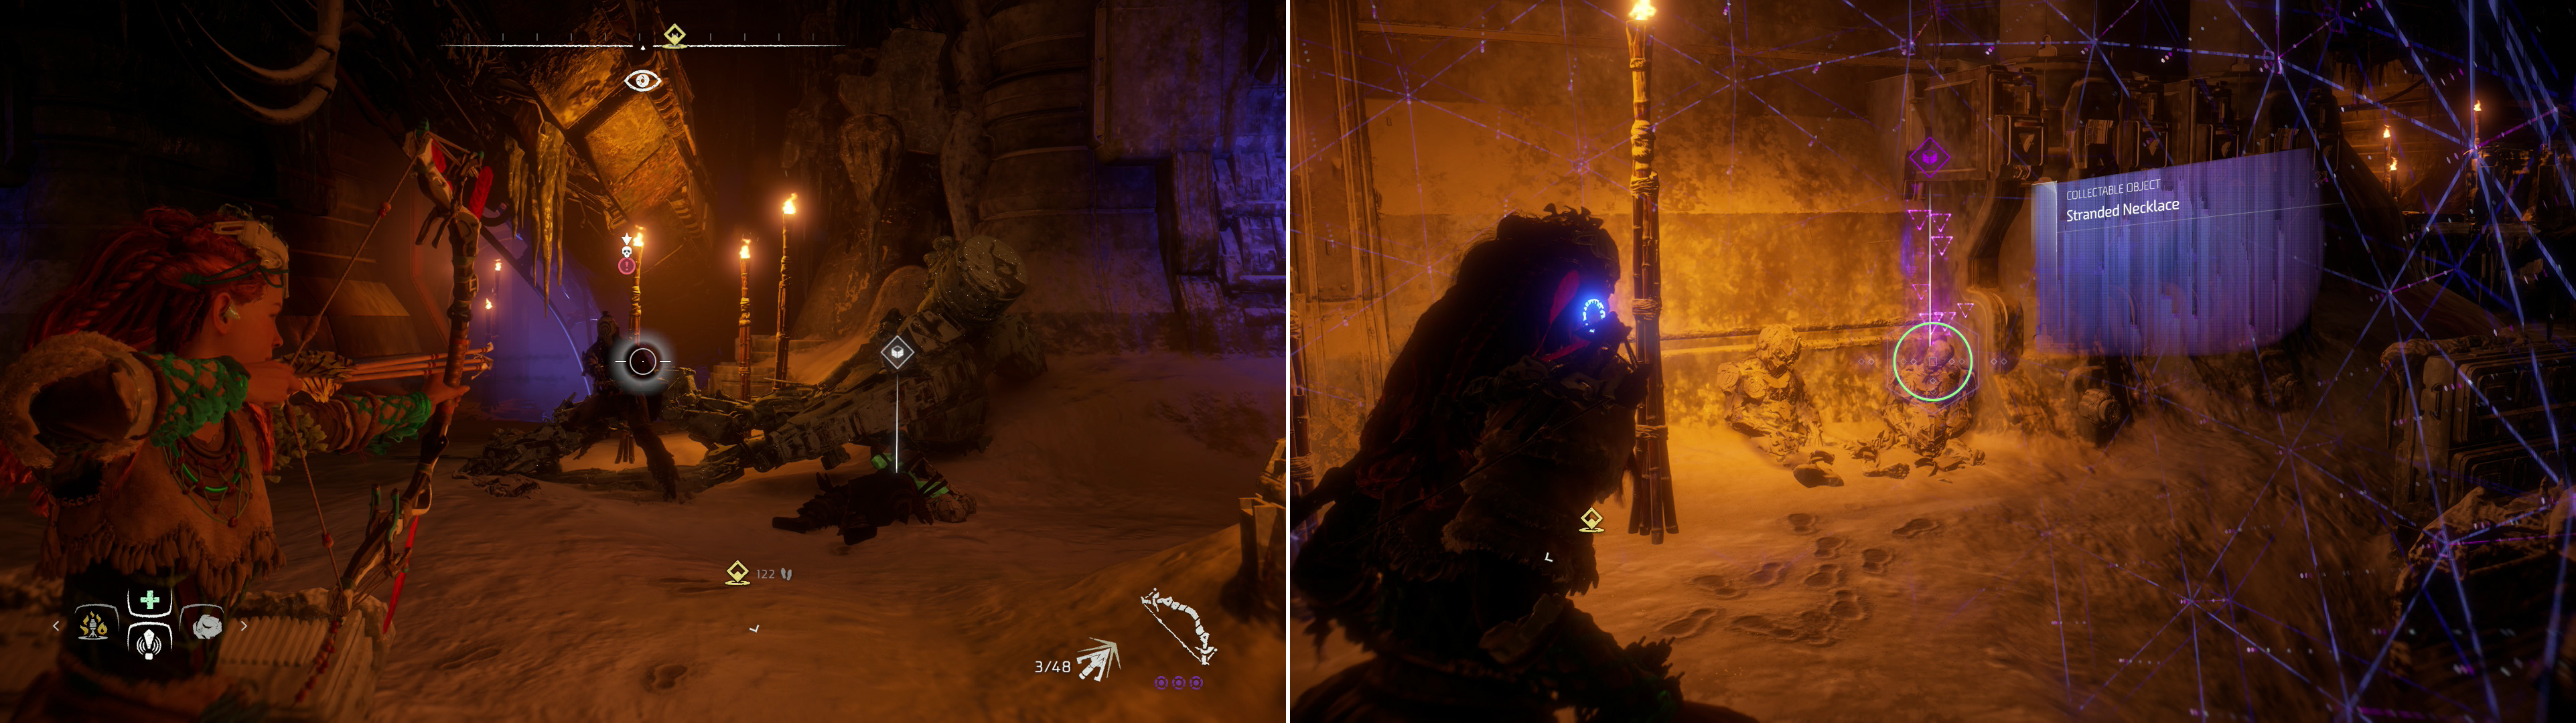
Put down the Cultists and their Corrupted Machines (left) and be sure to grab the Stranded Necklace before you descend further into the Grave-Hoard (right).
When the enemies are dead, scan around to find four Audio Datapoints: “Comms Log: Lt. Murell” , “Comms Log: Sgt. Guliyev” , “Comms Log: Cpl. Mills” and “Comms Log: Sgt. Wandari” . Yep, this place is going to be thick with exposition, just like Maker’s End was. When those are all logged make your way west, then north around a defunct tank, where you can find the Stranded Necklace on a corpse.
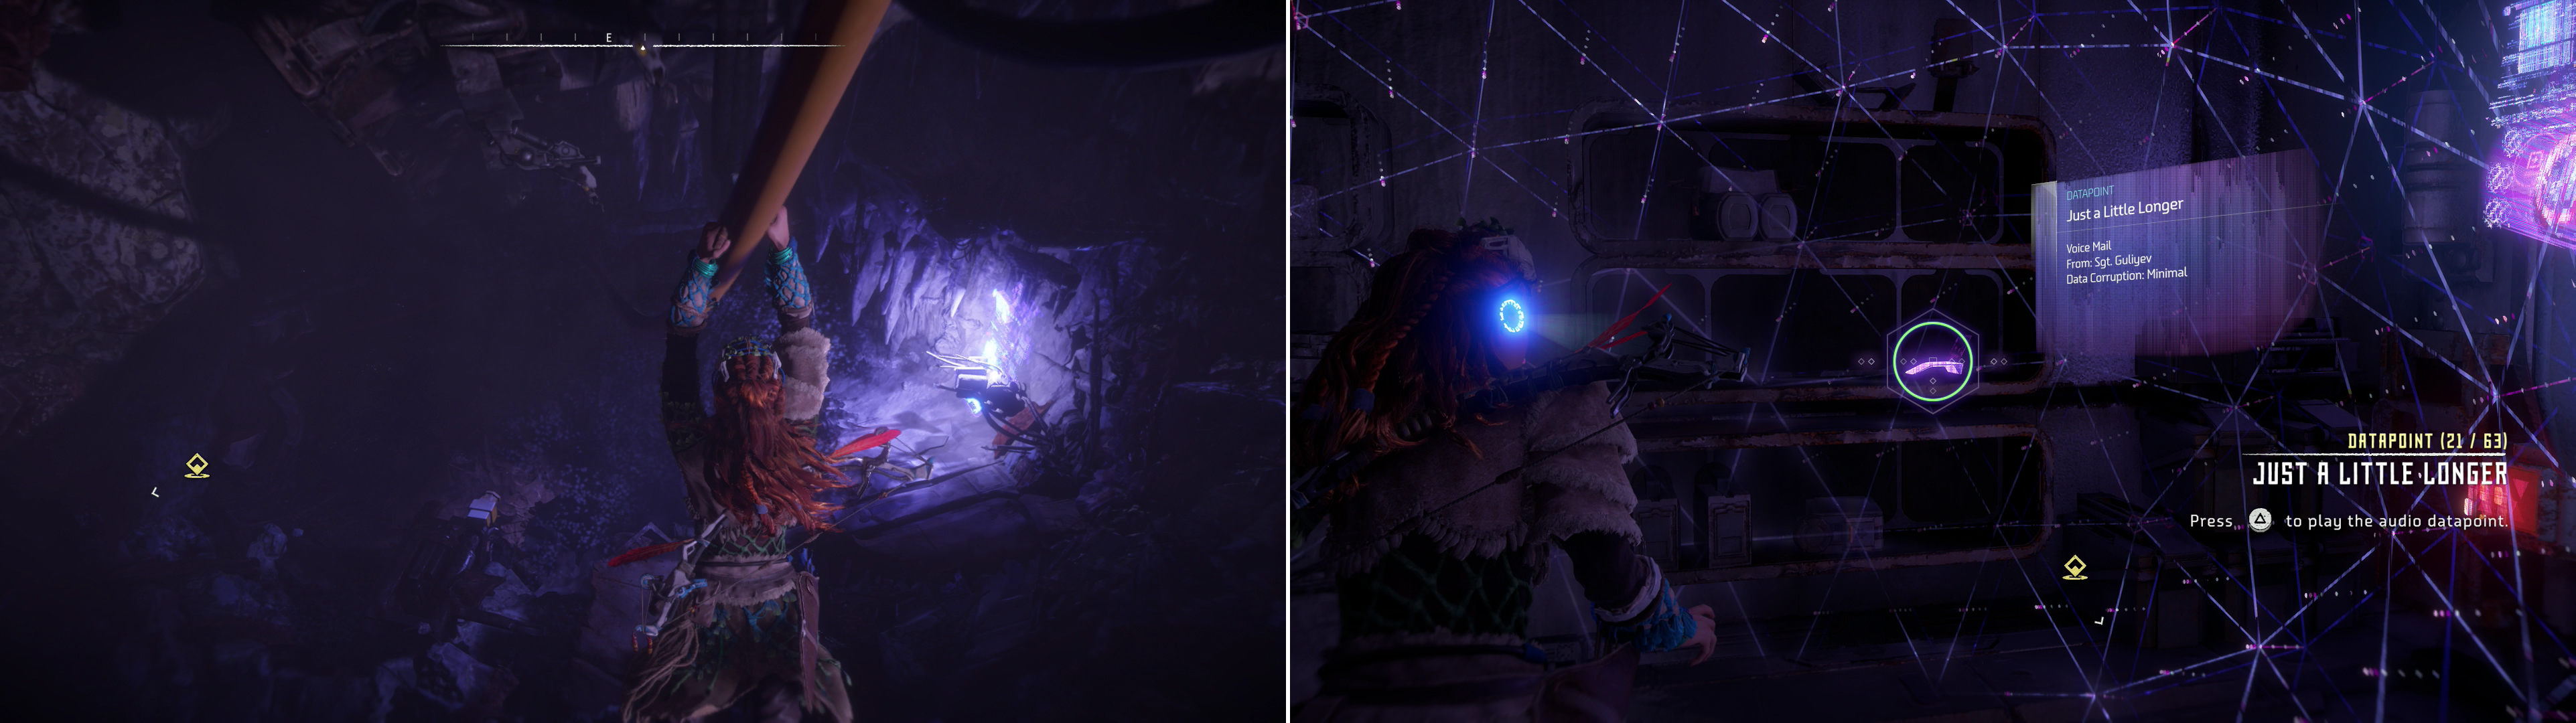
Use conveniently-placed wires in lieu of ziplines (left) and scan numerous datapoints throughout the ruins (right).
Make your way back east and search north of the entrance to the Grave-Hoard to find a pit with a convenient wire running along the roof, which you can use as a zipline. Take the one-way trip down and continue northwest into the ruins of a barracks, where you can log the Audio Datapoints “Log: Cpl. Acosta (A)” and “Log: Cpl. Acosta (B)” . Next turn northeast and continue a short distance through the ruins to reach a fork. Turn east, southeast to find the Audio Datapoint “Reminder. Again.” then enter a room to the northeast to find two more Audio Datapoints: “Just a Little Longer” and “So Sorry!” .
After nearly doubling your log of Audio Datapoints, head into a room to the northwest and ignore a hole with another wire you can misuse as a zipline and continue northwest into some rooms wherein you’ll find the Text Datapoints - Quest “Log. Cpl. Sarai (A)” and “Log. Cpl. Sarai (B)” . When you’ve gathered those, return back southeast and use the improvised zipline to proceed further into the depths of the installation.
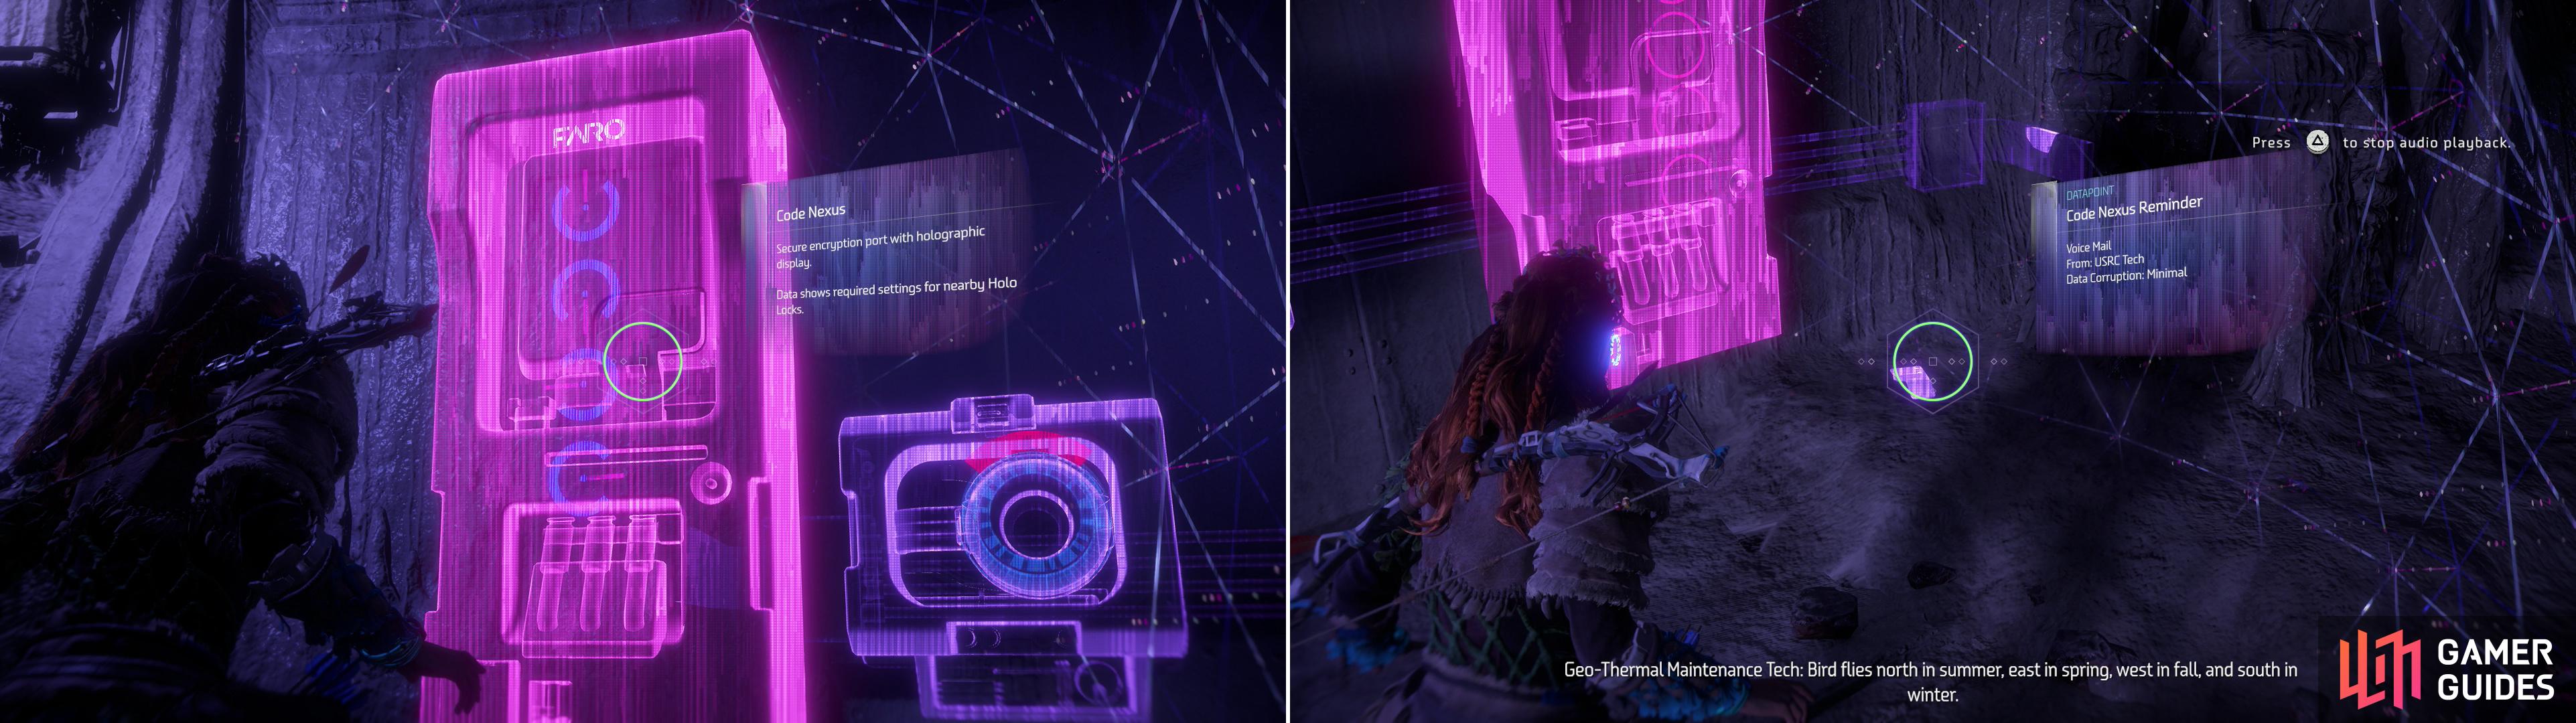
Two of the codes can be found by scanning nearby Code Nexuses (left) while a third must be gathered from a nearby datapoint (right).
Restoring Power
From where you land continue northwest and scan a door to find out that… well, it’s locked. Or rather, the power is cut. Same thing, as far as you’re concerned. You can scan the ground nearby to find the power cables underground leading to the devices you need to manipulate… but the area is linear, so it’s really a foregone conclusion. Just head west from the door until you reach a circular chamber, where three sets of Holo Locks can be found. You should remember these from the prologue - circular locks with four orientations. Align each lock in the correct position and you’ll restore that line of power. Do so three times and you can continue deeper into the complex.
First, pop up your Focus and scan the Code Nexus to the west to learn the correct pattern for the first lock. All you need to do is get a good running leap on a beam to reach the walkway on the other side of the room and turn the Holo Locks to match the Code Nexus. From the nexus, from left to right, orient the locks up, down, left and right to complete this first puzzle.
Next make your way to the southern end of the walkway you’re on and look southeast to spot a beam below you. Jump over to it (hope the auto-jump does its thing!) then drop down to the walkway below. Turn northwest and scan the Audio Datapoint “Code Nexus Reminder” to learn the combination, then turn your attention to the nearby Holo Locks. Again, from the left to the right (furthest from to closest to the Code Nexus) align the Holo Locks as follows: up, right, left and down.
Finally, make your way counterclockwise along this walkway and pass a ladder to find the third set of Holo Locks. Scan the Code Nexus to find that the direction indicators are now blank, instead of pink, which… doesn’t really make this any harder. Again, from left (closest to the Code Nexus) to right (furthest from the Code Nexus) align the Holo Locks as follows: up, up, down, down. With all three Holo Lock sets solved, climb the ladder you passed earlier and return to the previously sealed door, which you can now open.
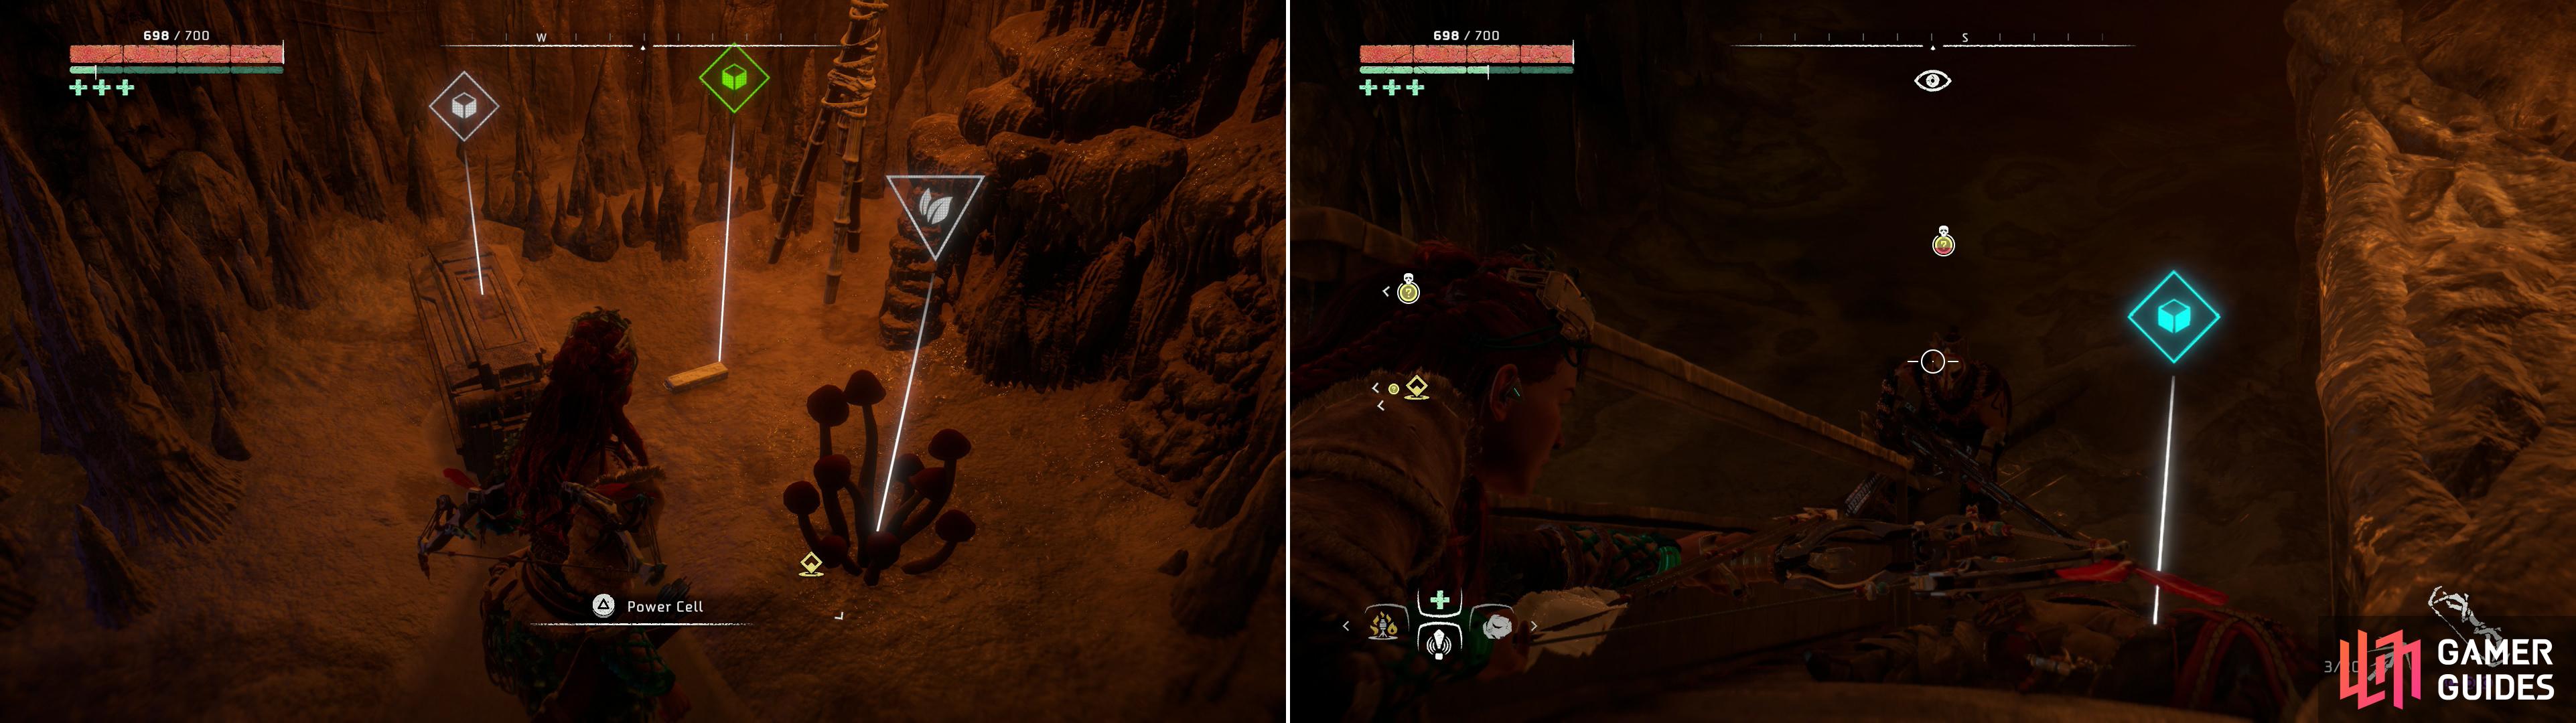
After restoring power to the door, pick up the Power Cell on the ground (left) then proceed to clear the room beyond (right).
Cultists in the Complex
Go through the open door and grab whatever Medicinal Mushrooms you need, loot the Supply Box, and most importantly, grab the Power Cell lying on the floor between them. That’s four out of five. Once done, continue east to reach a chamber occupied by numerous foes, including two elite Cultists, many lesser Cultists and a Corrupter Scrapper. There’s no grass to hide in, but fortunately they’re not fond of following you into the hallway where you found the Power Cell, which serves as a fine bottleneck, in any event.
Sneak into the enemy-infested room and consider placing some traps on and near the stairs - the enemy can really only reach you from the east, and the stalagmites and stairs provide plenty opportunities for Blast Tripwires to punish overly inquisitive foes. Once done, pick off one of the Cultists with your Sharpshot Bow and retreat back into the hallway. If they follow, they do so at their own peril. If not, you can just fire upon another foe. It’s almost embarrassing how effectively several Blast Wires will dispatch the enemies in this room.
When they’re dead, loot them and the structures nearby, then continue east to find a yellow beam projecting out over a pit. You know what this means: jumping time! Get a good running jump and grab a ledge to the east, then turn north, northwest to find some more hand holds you can leap over to. Do so, then climb to the north to reach another intact section of the installation… well, intact compared to the ruins you just leapt and climbed though.
In a room to the north you’ll find no fewer than five Audio Datapoints: “Edited and Approved 1” , “Edited and Approved 2” , “I Believe in You” , “Please Reply!” and “Unit Status Report” , then exit the room and head west into a command center, where you’ll need to activate a Holo Projector to view a projection of the globe. Sylens will pester Aloy and accuse her of having a flaw, which, of course, is absurd, as omniscient Aloy already worked out the shape of the planet. Anywho, scan the Text Datapoint - Quest “USRC Deployment Records” on a table to the south, then head through a doorway to the north.
Snipe the Cultists around the Deathbringer (left) but don’t draw its attention before you rappel down, as the massive machine will destroy the walkway you’re on (right).
Boss Battle - Deathbringer
Ignore all the side chambers and continue through another door to the north where you’ll be treated to a cutscene. Cultists messing with ancient machines that are best left undisturbed, as usual, except the fruits of their labors pay off better this time - the Deathbringer they activate isn’t weak and immobile.
That said, Deathbringers aren’t the most dangerous of machines, despite their name. First things first, though, scan and mark the locations of the Cultists, then pick them off with a Sharpshot Bow. Don’t get cute and provoke the Deathbringer, however, as its heavy weapons will destroy the walkway you’re on, bringing you down to the ground… and there’s no armor that mitigates gravity.
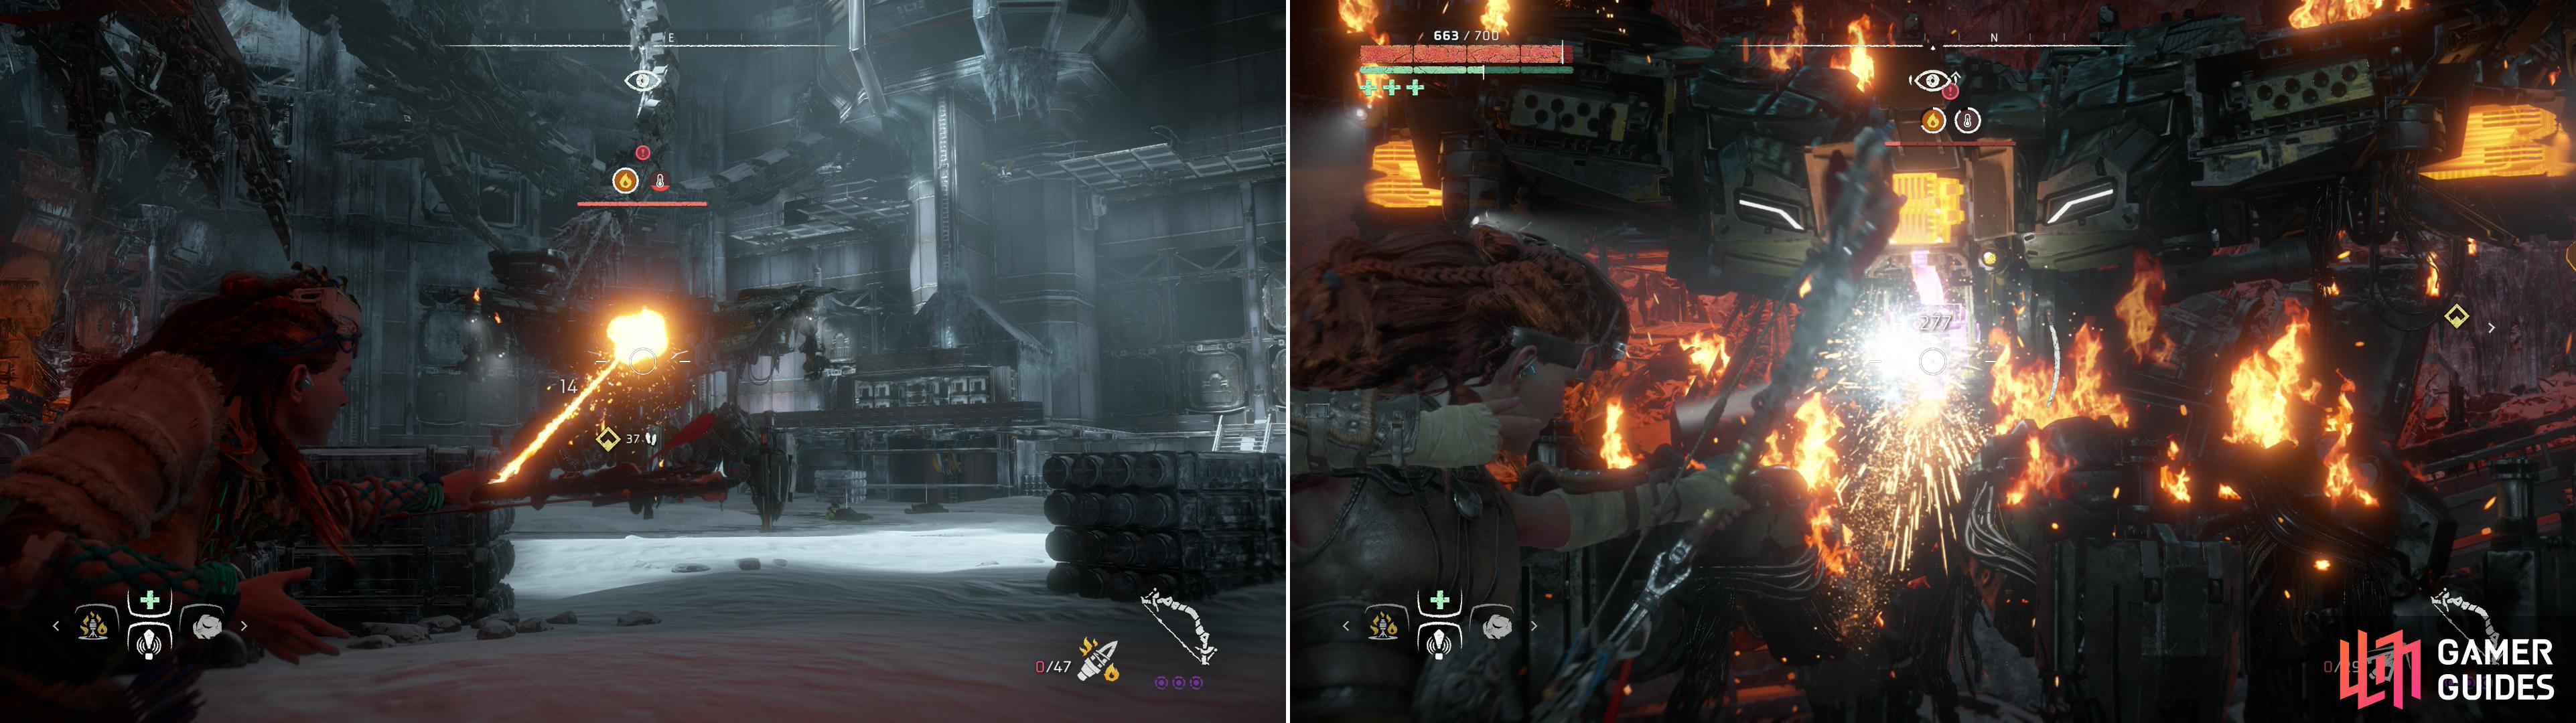
Fire damage will force the Deathbringer to expose its more vulnerable components (left) which can be targeted for heavy damage (right).
Pick off the Cultists, then use a rappel point to get down to the ground floor, where you can safely engage the Deathbringer. At a glance, there’s plenty of cover down here, however most of it won’t stand up to the Deathbringer’s weaponry for long. Speaking of which, the Deathbringer is bristling with weapons, including a Repeater Cannon Turret, a Flame Thrower, a Grenade Launcher, a Gun Turret, a Swarm Launcher and a Heavy Gatling Turret. Simply put, you’re not going to detach them all, and you might as well keep your distance and strap on that Oseram Arrow Breaker Heavy armor.
Fortunately, Deathbringers are weak to both shock and fire damage, and in the latter case dealing enough fire damage will cause it to expose its Cooling Rods, its Core or its Heat Vents, all of which can be targeted with an impact damage weapon for big damage. You can also just take pot-shots at its always-exposed weapons to deal big damage that way, too.

Watch a hologram from the distant past (left) then concoct a plan with Sylens outside (right).
Put down the Deathbringer, then loot it for its juicy mods. There are also the Cultists and some Supply Crates which can be plundered for other, trivial loot. When you’re ready head through a door to the southwest and down the hallway beyond, turning west when you must and entering a room wherein you’ll find the Text Datapoint - Quest “Biosphere Degradation” . Once that’s logged turn to reach a conference room with another Holo Projector you’ll need to activate. Watch the ghosts of ancients re-enact their struggles, then turn southwest and log the Audio Datapoint “Securecom EVZD-XX1X011X” .
Some questions answered, new questions asked, the mystery is still far from being solved. Make you way through a doorway to the south, which kindly opened as the story progressed, and climb a ladder to find yourself outside. After another holo-chat with Sylens the two of you will stumble on your next destination… but first, you need to eliminate the threat posed by the Eclipse Focus network. This ends “The Grave Hoard” and begins “To Curse the Darkness” . To get down, you’re expected to use a wire to the east as a zipline… and hope things go well. Or you could just hop onto the massive metal tentacle nearby and fast travel wherever you wish. Your call.
| Objective | Rewards |
|---|---|
| For exploring the Grave-Hoard | 9,000 XP / +1 Skill Point |
No Comments