Prove Yourself to the Werak
Aloy and Ourea both wish to journey into Thunder’s Drum, but Aratak refuses as chieftain to give you permission. It seems Ourea wants you to challenge Aratak in order to take his place, but first there are a few things you have to do. There are four main objectives before you can challenge him, and you only need to complete two of them to move on with the quest.
We suggest Clear out the Bandit Camp and Repair and Override the Tallneck. Repairing the Tallneck will of course disperse the fog from the map, which is always useful, and clearing out a bandit camp is rather straightforward and can be completed in no time at all. You can always head back across the map later to Complete a Trial at the Hunting Grounds, and you can Talk to Sekuli (she’s back in Song’s Edge) but you will have to take some time away from the main quest line to find the pigments she needs for her paintings. This can also be done in your own time after the quest line is complete, so no need to worry about that for the time being. We spoke to Sekuli anyway, just to get the ball rolling on that for later - the objective will change to Gather Pigments and Deliver them to Sekuli.
Repair and Override the Tallneck
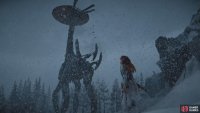
First things first: let’s get the fog cleared. There’s a single Tallneck in the Cut but it has somehow gotten stuck in the side of a mountain and frozen. According to Ourea, it hasn’t been active for a very long time.
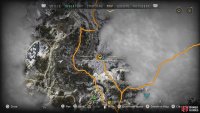
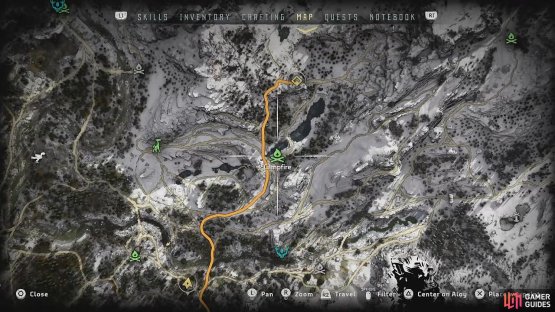
When you leave Ourea’s retreat, fast travel straight to Song’s Edge. You’ll be able to speak with Sekuli first if you wish, and it’ll be faster on foot from here to reach the Tallneck in the Frostfigures. Check the map for the blue Tallneck symbol and mark it with a flag for better direction; you’ll need to take the same path you used to find Naltuk earlier on and then cut off to the right a little.
(1 of 2) Head to the Tallneck not far from Song’s Edge
Head to the Tallneck not far from Song’s Edge (left), Repair the collapsed machine (right)
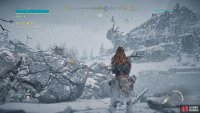
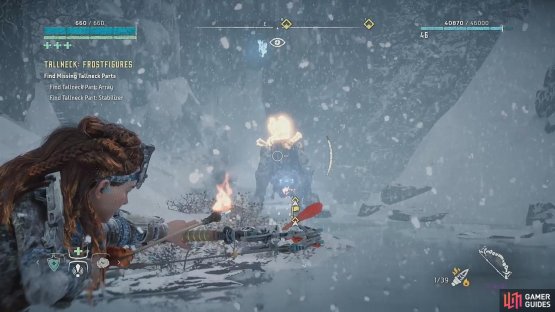
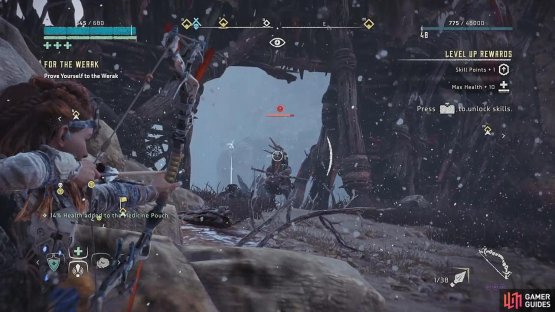
Upon arrival you’ll notice the large machine’s head poking out of the cliff face. Activate Tallneck: Frostfigures from the quest menu to see your objective to Approach the Tallneck. You’ll probably have noticed right away that there are other machines in the area and you’ll be prompted to Kill the Scavengers before you can get any closer. Take out the Daemonic Scrappers and Glinthawks to complete the objective, and then Scan the Tallneck for Damage. You’ll discover that there are three main components missing from the machine that need to be recovered: Array, Stabilizer, and Actuator. So now it’s time to Find Missing Tallneck Parts.
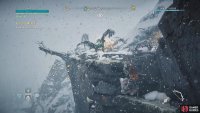
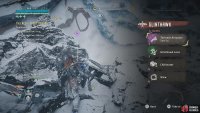
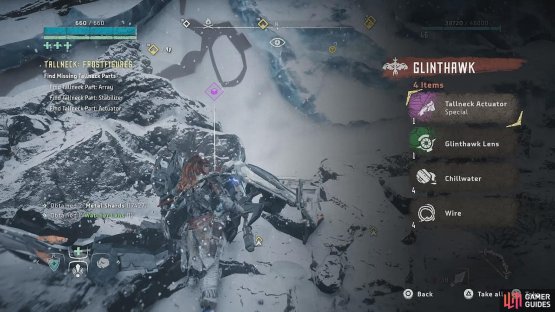
There’s a pair of Watchers scouting nearby so keep an eye on those, but from where you’re standing with the Tallneck you can climb up the mountain to its right to find a nest of Glinthawks above. One of the Glinthawks will be carrying the Actuator, so take them out to scavenge their corpses for it. There is also a Resist Freeze weave modification in their little scrap heap, so be sure to pick that up, too.
(1 of 2) Climb the cliffs to find the Glinthawk nest above
Climb the cliffs to find the Glinthawk nest above (left), and take them out to find the Actuator (right)
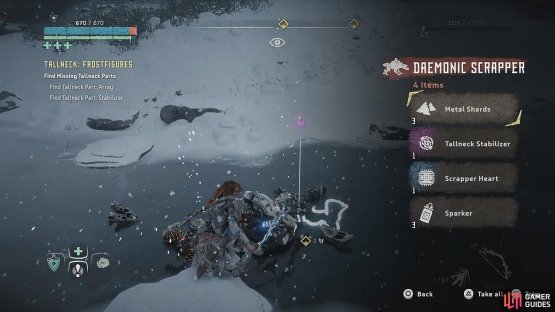
From here, head down towards the frozen river at the bottom – there’s a cave entrance in what appears to have been a waterfall. There are a few Scrappers in the area, but they should ignore you for the most part. Your main focus is to take down the Scorcher prowling the river. Be aware, however, that the Scorcher does not hold the Stabilizer that you came down here for. Rather there’s a Scrapper inside the cave that carries it – you just have to get past his big brother first. There is also some additional loot inside the cave as well as Bluegleam.
(1 of 2) Fight the Scorcher to get inside the cave
Fight the Scorcher to get inside the cave (left), Take out the Scrapper to loot it for the Stabilizer (right)
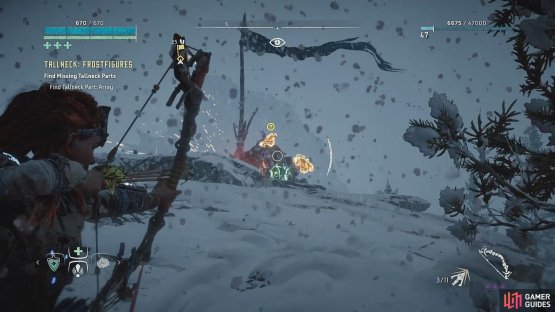
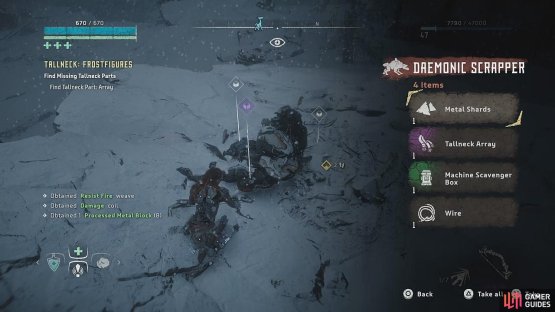
Those other Scrappers in the area? Head towards them now, in the cluster of trees, for the Array. There’s a Scrapper drilling into a small scrap heap by a flag pole – that’s the one you need. Once you have the last part, you’re ready to Repair the Tallneck.
(1 of 2) Take out the Scrapper by the flag
Take out the Scrapper by the flag (left), Loot it for the final component, the Array (right)
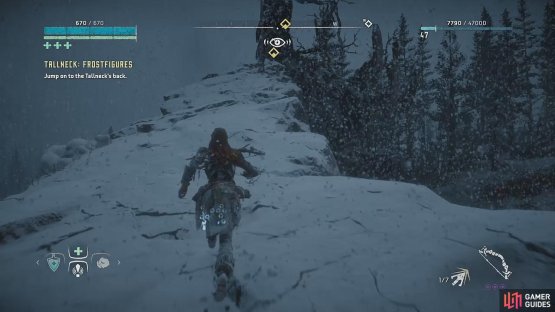
When you’ve reattached all of the components to the frozen machine, Activate the Tallneck by overriding it at the base of its neck. A cutscene will occur where you can watch as the Tallneck springs back to life and dislodges itself from the rock. Once you have control again, you’ll need to Jump on to the Tallneck’s back as usual - you can do this by running straight to the rocky platform ahead of you. If you miss, just wait a few minutes for it to circle back around. Override the Tallneck and you’re all set! The fog has cleared from the map and now it’s time to overtake that bandit camp. You’ll also receive Datapoint - Observer Log US-W-10 for your efforts.
(1 of 2) Watch the Tallneck come to life
Watch the Tallneck come to life (left), and use the rocky platform to jump on its back! (right)
Clear out the Bandit Camp
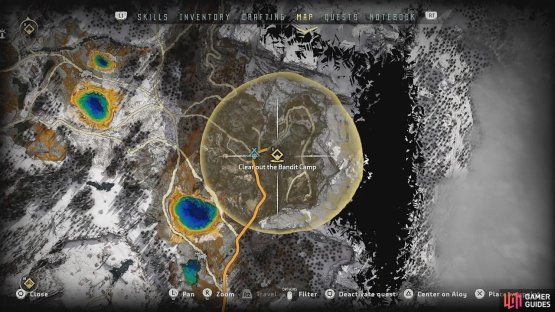
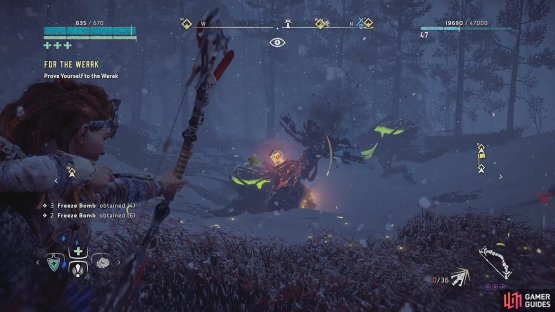
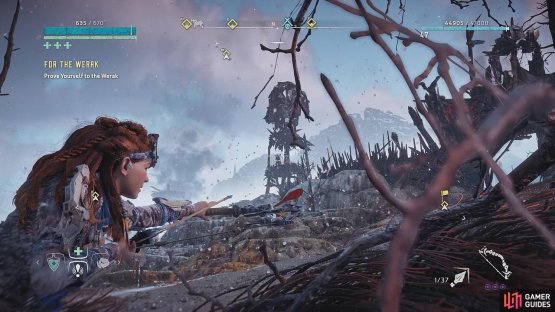
You’ll have to get there on foot if you haven’t activated a campfire closer to the objective, but follow the waypoint marker and you’ll make it there just fine. There will be plenty of machines along the way, and you can avoid most of them if you really want to but it might be worth taking out the control tower that stands not too far from the camp. It’s surrounded by three Daemonic Fire Bellowbacks so be cautious in how you decide to disable it.
(1 of 2) Head to the Stone Yield Bandit Camp
Head to the Stone Yield Bandit Camp (left), Take out the Control Tower and Fire Bellowbacks along the way (right)
Once you go over the small hill you should be able to see the watchtowers of the camp in the distance – head straight towards it to unlock Bandit Camp – Stone Yields in the quest menu. Your objective, of course, is to Kill the Bandits, and once you’ve taken out the marksman on the watchtower and the others at the front gate, you’ll be prompted to Kill the Bandit Leader.
(1 of 2) Take out the watchtower guards
Take out the watchtower guards (left), as well as those at the front gate (right)
Make your way through the camp to the next area and use your Focus to highlight the whereabouts of the alarm. You should disable this first and then proceed to dispose of more bandits. There’s a lot of them, so take your time.
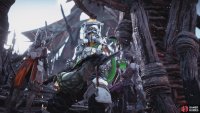
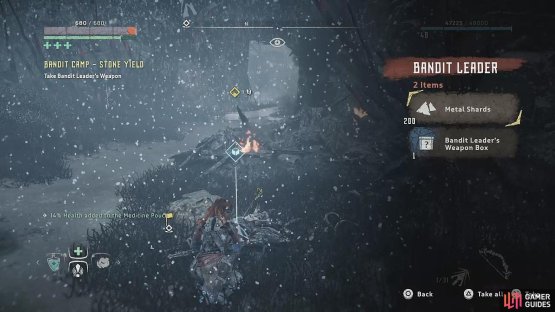
Keep making your way through the camp until a short cutscene occurs to introduce you to the Bandit Leader. He has some kind of flamethrower contraption and stands at Lv 37 in comparison to his Lv 15 buddies. If you wait in the long grass long enough, you should be able to stealth kill at least two of his cronies – you’ll have to get creative with everything else. The leader’s attacks are quite deadly so feel free to run away and hide to regain some health. Otherwise, pummel him with fire damage and aim to destroy the blaze canisters on his back – they power up his weapon but take off a significant portion of his health when they explode. When he’s finally dead you can Take Bandit Leader’s Weapon and add it to your weapon inventory.
(1 of 2) The Bandit Leader
The Bandit Leader (left), Take his weapon as a reward (right)
Once you’ve reclaimed the campsite, Aloy will mention something about it being time to challenge Aratak. Make sure to activate the campfire before you leave.
Go to Song’s Edge
Fast travel back to the settlement and seek out Aratak sitting in the same place you first spoke to him. To Challenge Aratak all you have to do is interact with him which will engage you in a cutscene between Aloy, Aratak, and Ourea. When the cutscene is over, you’ll speak with Ourea before the challenge begins.
(1 of 2) Interact with Aratak to activate a cutscene
Interact with Aratak to activate a cutscene (left), as well as begin the next stage of the quest (right)
Go to the Frostfigures
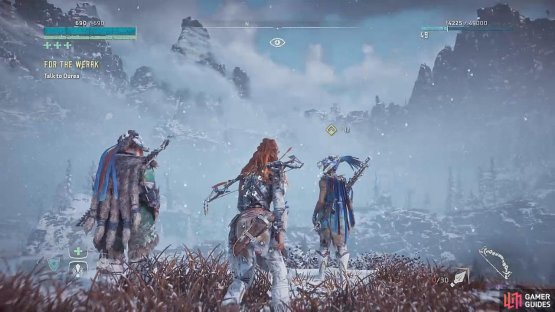
If you activated a campfire near the waypoint then simply fast travel, otherwise it’s a fairly short distance to go on foot. Simply follow the path until you see a fire-lit balloon with Aratak and Ourea standing in the distance.
(1 of 2) Fast travel to the campfire East of the Tallneck
Fast travel to the campfire East of the Tallneck (left), Aratak and Ourea will be waiting at the end of the path (right)
Talk to Ourea
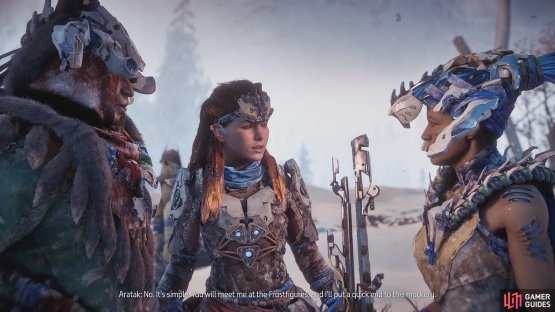
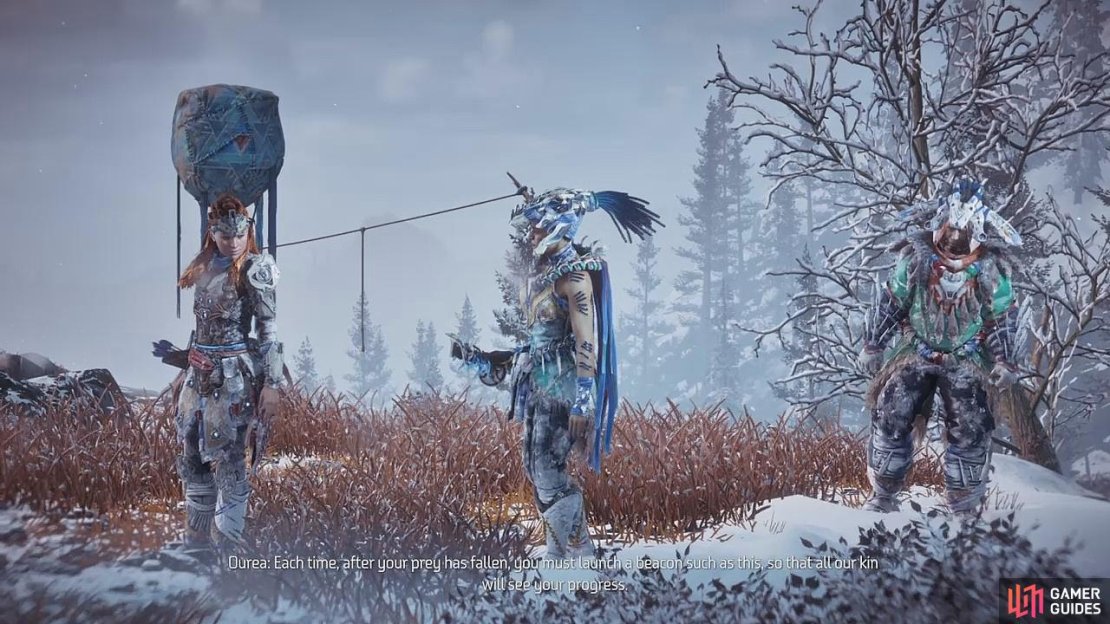
In the next cutscene Aratak will try to persuade you to stand down from the contest, but he will not allow you into Thunder’s Drum otherwise. Ourea will proceed to explain the contest rules and the gist of it, as Aloy says, is to kill machines and launch the balloons. The first one to launch the third balloon wins the challenge.
Complete the First Challenge Before Aratak
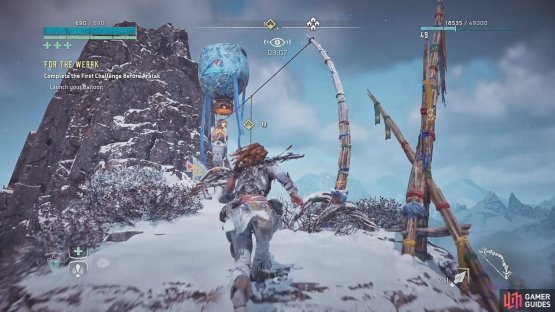
As soon as you have control again, sprint straight towards the cliffs ahead of you. There are a few places that mark the ascent, so grab the first handhold you see and climb. The way is marked by paintings but as long as you continue to make your way upward you’ll reach the top in no time. Once you get there you’ll be prompted to Kill the Machines – you have to take out the whole herd before you can continue. You’ll be against Watchers, Longlegs, and Grazers for this first round. You’ll then have to Launch your Balloon, but Aratak is right in toe with you.
(1 of 2) Make your way up the cliffs
Make your way up the cliffs (left), Launch the balloon as soon as the machines are destroyed (right)
Complete the Second Challenge Before Aratak
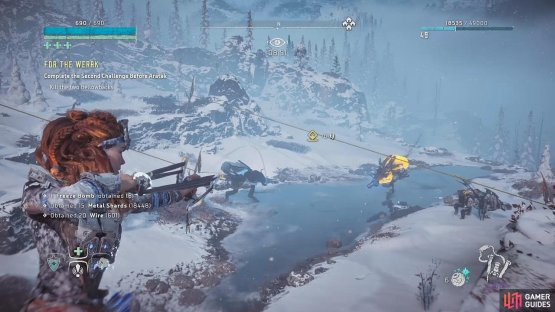
Rappel down the cliff into the clearing below where you’ll have to Kill the two Bellowbacks to continue. There are other machines prowling as well, and while they’re not important to the challenge they’re difficult to ignore. They make it harder for you to focus on the Daemonic Freeze Bellowbacks due to launching themselves at you unexpectedly and distracting you from your goal. Proceed however you wish as long as the Bellowbacks go down but remain aware of the Watchers and one very relentless Sawtooth.
(1 of 2) Kill the Fire Bellowbacks
Kill the Fire Bellowbacks (left), The second balloon rests on a rock with a blue painting (right)
Once again, you need to Launch your Balloon, so follow the waypoint marker to a rock emblazoned with a giant blue painting and climb up. Lift the balloon to see that Aratak is still right behind you.
Complete the Third Challenge before Aratak
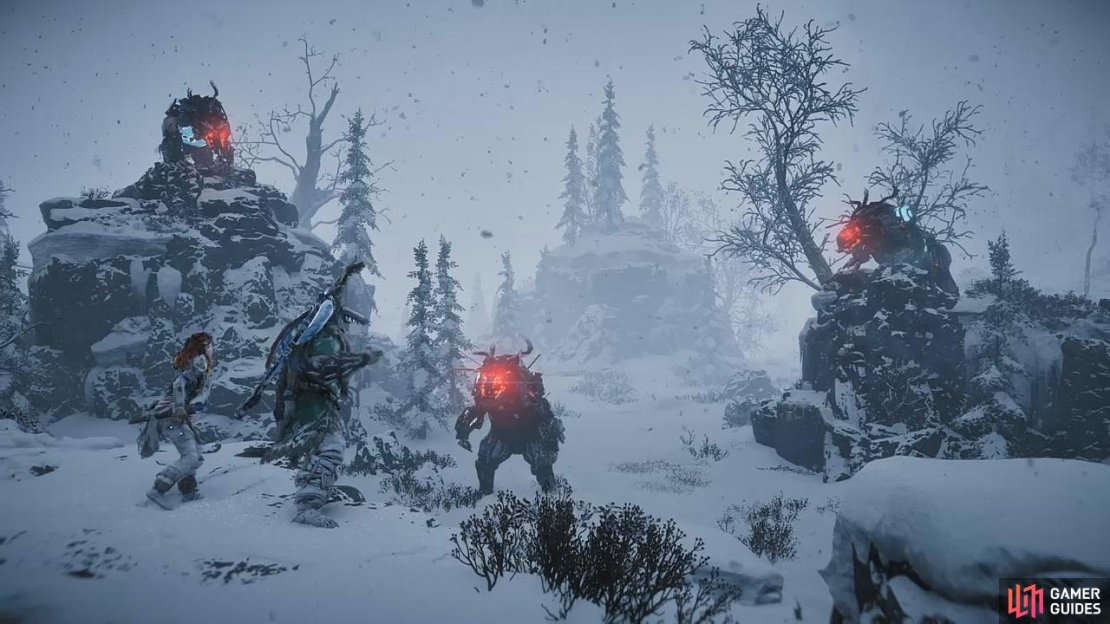
You need to Race to the Third Challenge Site, so take the zipline down the cliff and follow the path until you reach the valley. When you land, a cutscene will activate with Aratak rushing in to explain that something is wrong. You will be ambushed by three Frostclaws – if you thought one was bad, brace yourself.
Kill the Machines
There are plenty of rocky platforms and even ziplines to help you hide and escape the clutches of these large machines. You even have Aratak with you to help take down their health, but with three of them surrounding you, it’s likely he’ll only be able to hold the attention of one of them at a time, and not for very long. At this point, you’ll have to do whatever you can to keep a good angle on them long enough to knock off their amour. Run for your life and pummel them with fire.
Once the fight is over, Aratak decides that your battle was proof enough of your victory – you are now the Werak’s Chieftain. You’ll receive the Banuk Werak Chieftain outfit and a Banuk Weapon Box, along with a few other rewards.














No Comments