

| Scanned Glyphs |
|---|
| The Derangement |
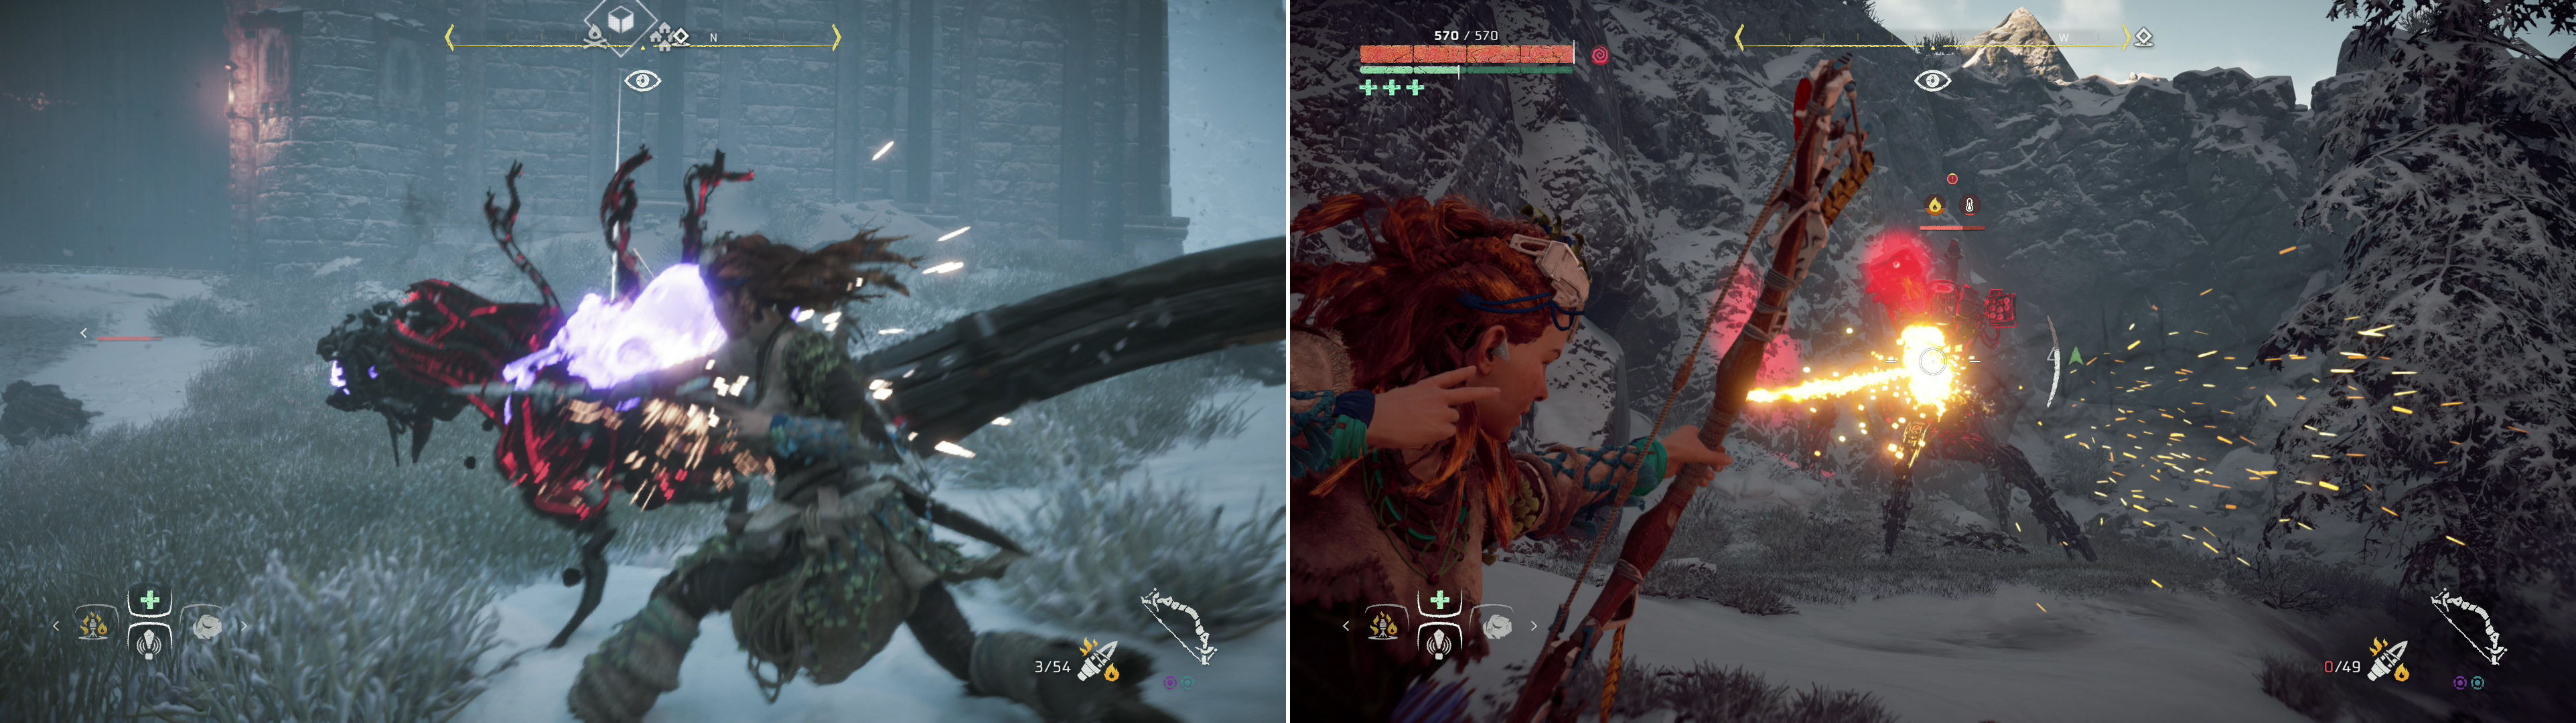
Disable the lesser machines assaulting Daytower (left) then focus your fire on the Corruptor (right).
Trouble at the Gates
Leave the Two-Teeth camp behind and make your way back to the Campfire in the west, then continue down the road to the northwest to reach the gates to Daytower. Unfortunately, you’re not the only one trying to get into Daytower, as two Corrupted Watchers a Corrupted Scrapper and a Corruptor, of all things, are busy attacks the fortifications. Try to eliminate the lesser machines first - it’s very likely they’ll busy themselves attacking the guards on the gate and leave themselves open for Silent Strikes. Failing that, Fire Arrows do a fine job. The Corruptor fights more or less the same as the last one, and the Carja on the wall will help you whittle the machine down, just pelt it with Fire Arrows until it falters, then approach the gates of Daytower to gain access. This finally ends the quest “A Seeker at the Gates” and begins “The City of the Sun”.
| Objective | Rewards |
|---|---|
| For gaining access to Daytower | 6,000 XP / +1 Skill Point |


Shopping at Daytower
As you enter, the Carja Guard who greets you will direct you to the fort’s commander, a man named Balahn. The way to Meridian now lies open before you, but before you press on, there’s some shopping to be done, some new quests to start and old quests to advance.
Head north through another gate to find a Campfire, then continue uphill to the north through an arch to reach the remarkably well-built plaza. Along the northern end of this plaza you’ll find a Merchant, who actually sells a few new weapons. Now’s a fine time to discuss more advanced weapon loadouts, since you finally have access to some high-quality weapons.
As you already know, more advanced versions of weapons tend to have more ammo options than lower quality ones (normal, Carja and Shadow being the grades). Not only that, but superior types of weapons tend to have more modification slots. A few types of weapons don’t follow this general rule (a Carja Ropecaster uses entirely different - superior - ammo compared to the original, for example), but more ammo types and more modification slots should be enough of a reason to compel you to upgrade.
Of course, the point of upgrading many of your weapons is to deliver new elemental payloads with them, and for peak efficiency, you’d ideally focus on using modifications to boost only one damage type per weapon. On something like the War Bow or Hunter Bow, this could be a little painful, as you probably don’t want to gimp one element in favor of another. The solution? Simply buy a second version of the same weapon! No reason you can’t have a Shadow Hunter Bow dedicated to dishing out fire damage and another one devoted to Tear damage.
With that out of the way, let’s get to the new weapons:
Carja Blast Sling (400 Metal Shards, Luminous Braiding x1):
Upgrading to the Carja Blast Sling will allow you to utilize Sticky Bombs, which do more damage and have a convenient five second fuse, allowing you to tag enemies unnoticed.
Carja Rattler (250 Metal Shards, Rich Meat x10, Fatty Meat x5, Bony Meat x5):
Horizon’s equivalent of the shotgun gets a boost, as the Carja Rattler can fire off Shock bolts in addition to Metal Bolts. For enemies that are weak to shock damage… well, there are probably better options for delivering this damage, but… hey, an upgrade!
Carja Ropecaster (200 Metal Shards, Echo Shell x6):
The odd-ball of weaponry, the Carja Ropecaster dispenses with the old Tie Rope Light ammo and replaces it with Tie Rope Medium ammo. Although the two ammo types appear to have the same stats, the heavier ammo will, in fact, do the same job in fewer shots, albeit with a higher crafting cost for the ammunition. Still, if it’s worth tying down in a fight, you probably want it working faster, so this is a worthy upgrade.
Carja War Bow (300 Metal Shards, Slagshine Glass x2):
Upgrading the the Carja War Bow finally adds the Freeze Arrow to your arsenal, an upgrade that’s long overdue. You’ve encountered a few enemies weak to Freeze damage already, and there are plenty more ahead - this gives you the means to deal with them more easily, and its purchase is a top priority. The frozen element may, in fact, be one of the more under-rated elements in the game - it’s especially useful against large machines, like the Thunderjaw, Stormbird and Rockbreaker. Simply freeze them with these arrows (or similar devices), then enjoy a x3 damage bonus against them. This can be simply overwhelming, especially when paired with something like… oh… say a Thunderjaw’s Disc Launcher?
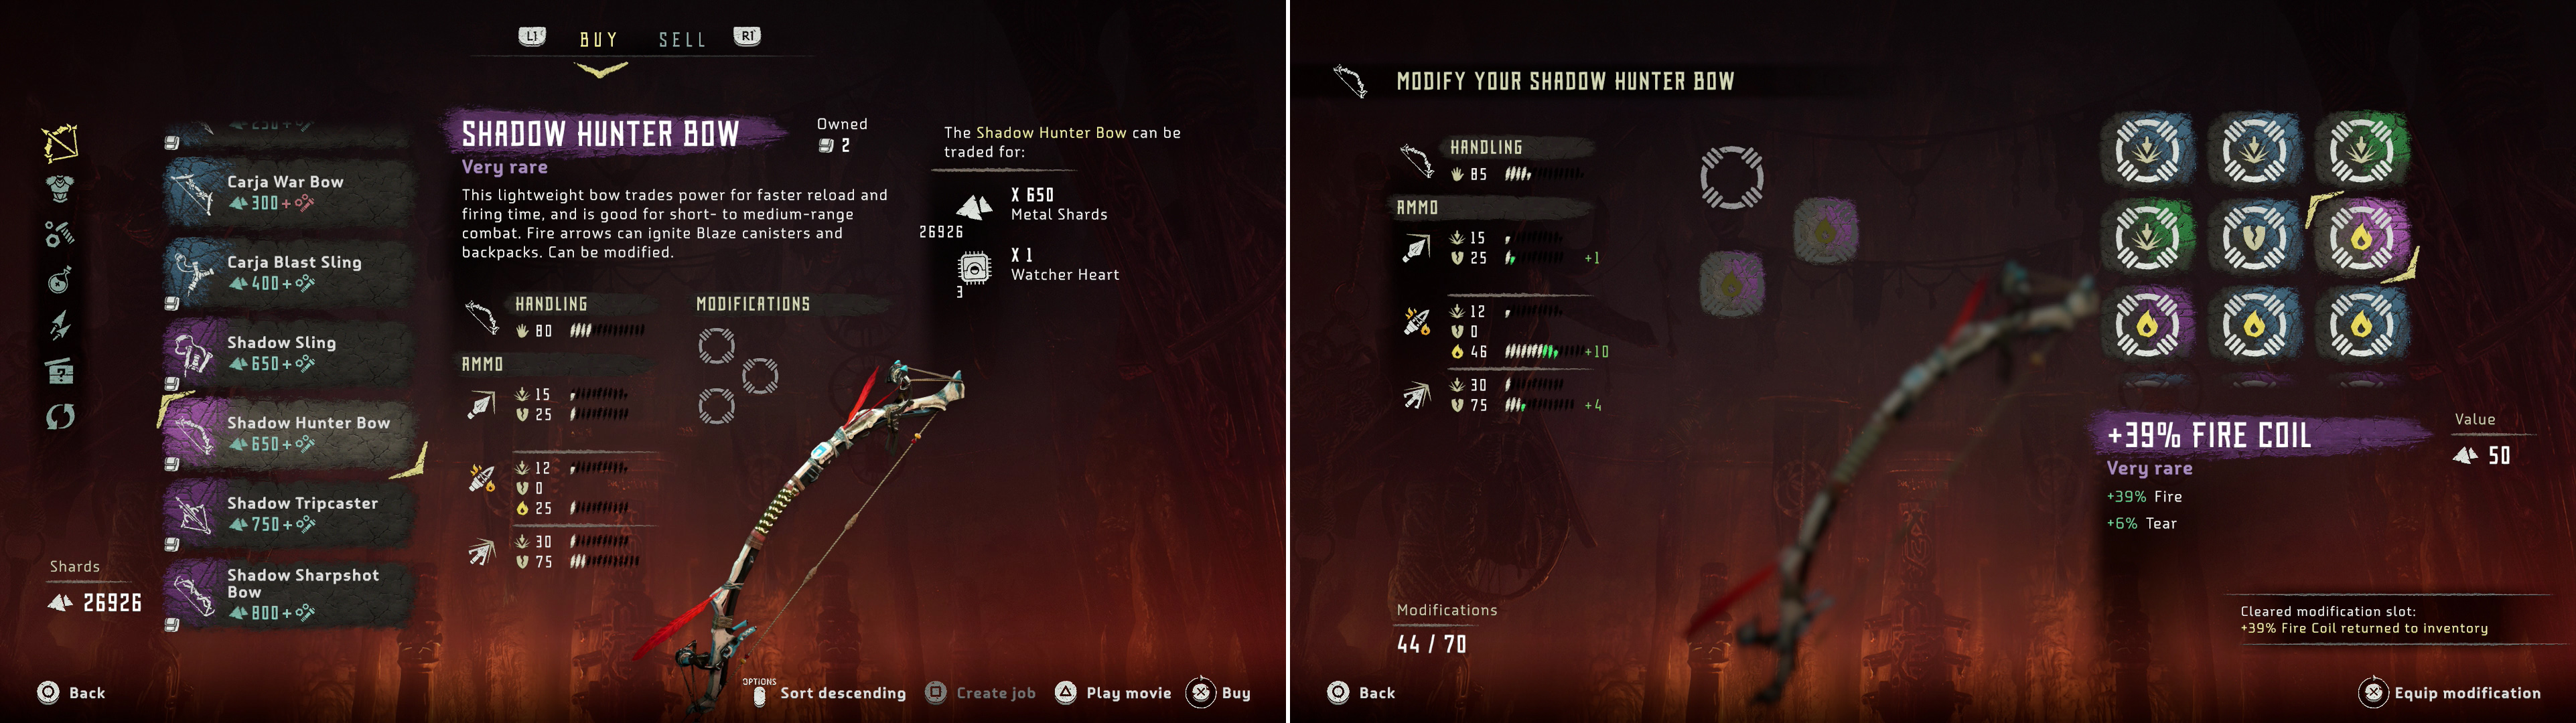
Shadow-grade weapons have three modification slots (left) with which you can modify different copies of the same weapon to focus on a specific type of damage (right).
Shadow Hunter Bow (650 Metal Shards, Watcher Heart x1):
Finally, an upgrade for your Carja Hunter Bow, and it’s a pretty damn good one. The Shadow Hunter Bow adds Hardpoint Arrows to the mix, which deal twice as much Impact damage and three times as much Tear damage over the old Hunter Arrows. Their crafting costs are higher, but honestly, Ridgewood and Metal Shards aren’t scarce components. Plus, with its three mod slots, the Shadow Hunter Bow really lets you start stacking up Tear damage and Fire damage mods to make a weapon of awesome potential.
Shadow Sharpshot Bow (800 Metal Shards, Sawtooth Heart x1):
The Shadow Sharpshot boasts the new Harvest Arrow ammo type, which has boosted Tear damage, but lowered impact damage. As the name suggests, it’s for dislodging machine components and rewarding you for doing so. As for general combat effectiveness, however, it leaves much to be desired, as the Shadow Hunter Bow’s Hardpoint Arrows have a significant Impact and Tear damage advantage, and as far as pure Tear goes, nothing beats the Tearblast Arrow right now.
Shadow Tripcaster (750 Metal Shards, Scrapper Heart x1):
The Shadow Tripcaster adds the Fire Wire to your arsenal, which… well, as its name implies will set fire to enemies that foolishly trip it. It’s another tool to achieve that end, but a well-modded Shadow Hunter Bow with Triple Shot Fire Arrows will arguably do the job much better. Still, three modification slots will boost your Tripcaster well, regardless of what wire you deploy.
Not only will buying these weapons give you more ways to dispatch foes, but they’ll also unlock various tutorials you can undertake to earn extra XP. All in all, you might have a good bit of grinding to do to get some of these weapons, but don’t feel compelled to go crazy with the Carja variants - you’ll get a chance to buy upgraded versions of those later. Be sure to get the Shadow Hunter Bow, the Shadow Sharpshot Bow and the Carja Ropecaster.
This merchant also sells a full compliment of Very Rare quality armor, and while some of these suits have been available before, up until now the Nora Silent Hunter Heavy armor was pretty much all you really needed. Now, however, you’ll need to look less towards stealth and more towards damage mitigation. Which suits of armor are worth buying? Almost all of them, really, but Oseram Arrow Breaker heavy armor, Nora Protector Heavy armor and Banuk Ice Hunter armor will probably see the most use. Besides, you’ve got to find a home for all those resist element modification, right?
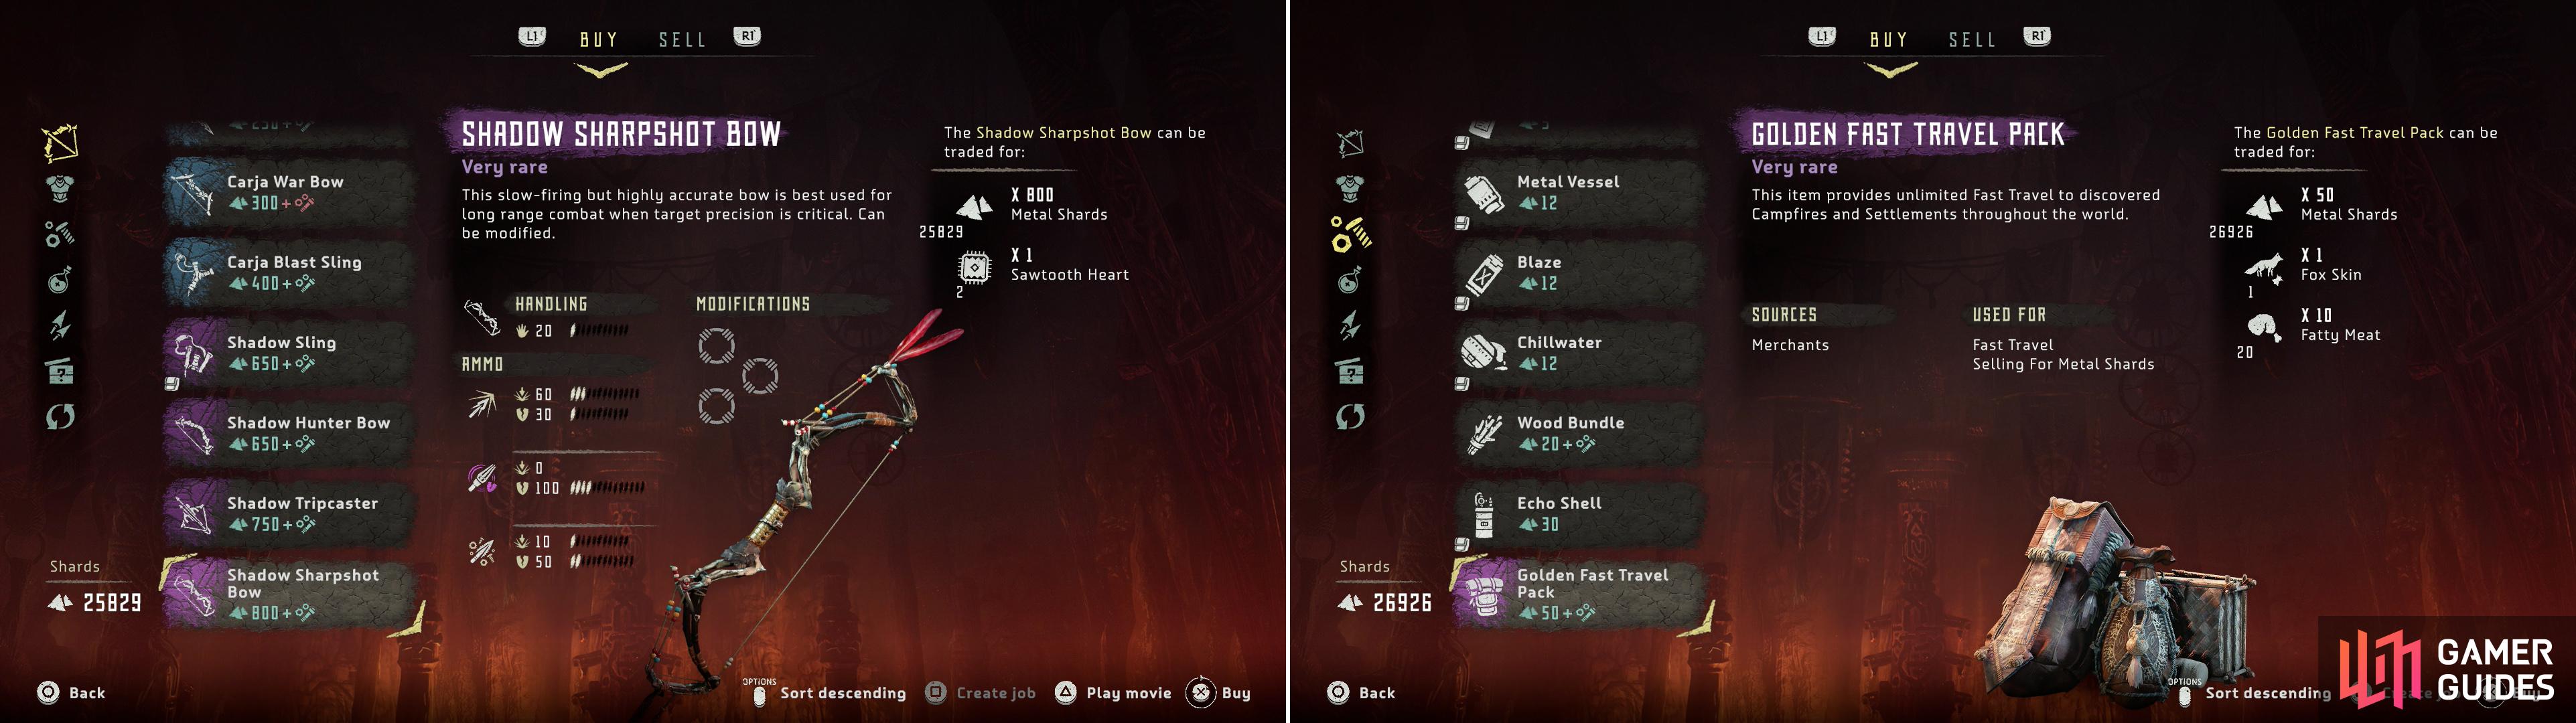
The Shadow Sharpshot Bow grants you unmatched ability to devastate foe from afar (left). The Golden Fast Travel Pack allows you to freely fast travel (right).
Lastly, this merchant also sells a Golden Fast Travel Pack (check the bottom of the merchant’s “Resources” tab), which allows for unlimited Fast Travel. It’ll make getting around simpler, and it’s a steal at 50 Metal Shards, one Fox Skin, and ten Fatty Meat.
Chatting With Carja
When you’re done shopping, turn west from the merchant and head up some stairs to find Captain Balahn. Talk to him and Aloy will ask about Nakoa and the road to Meridian, which opens up numerous dialogue options. Exhaust his dialogue to learn a few things: first, Nakoa caused a bit of an incident when she was here, but he’ll refer you to Prefect Zaid - yes, the same Zaid Nakoa is hunting. Second, the road to Meridian is not safe, but if you stick to the road, you’ll be somewhat safer than if you go exploring (not a chance!). Third, he’s got a job for you, if you’re interested. Hear him out to start the quest “In Foreign Lands”.
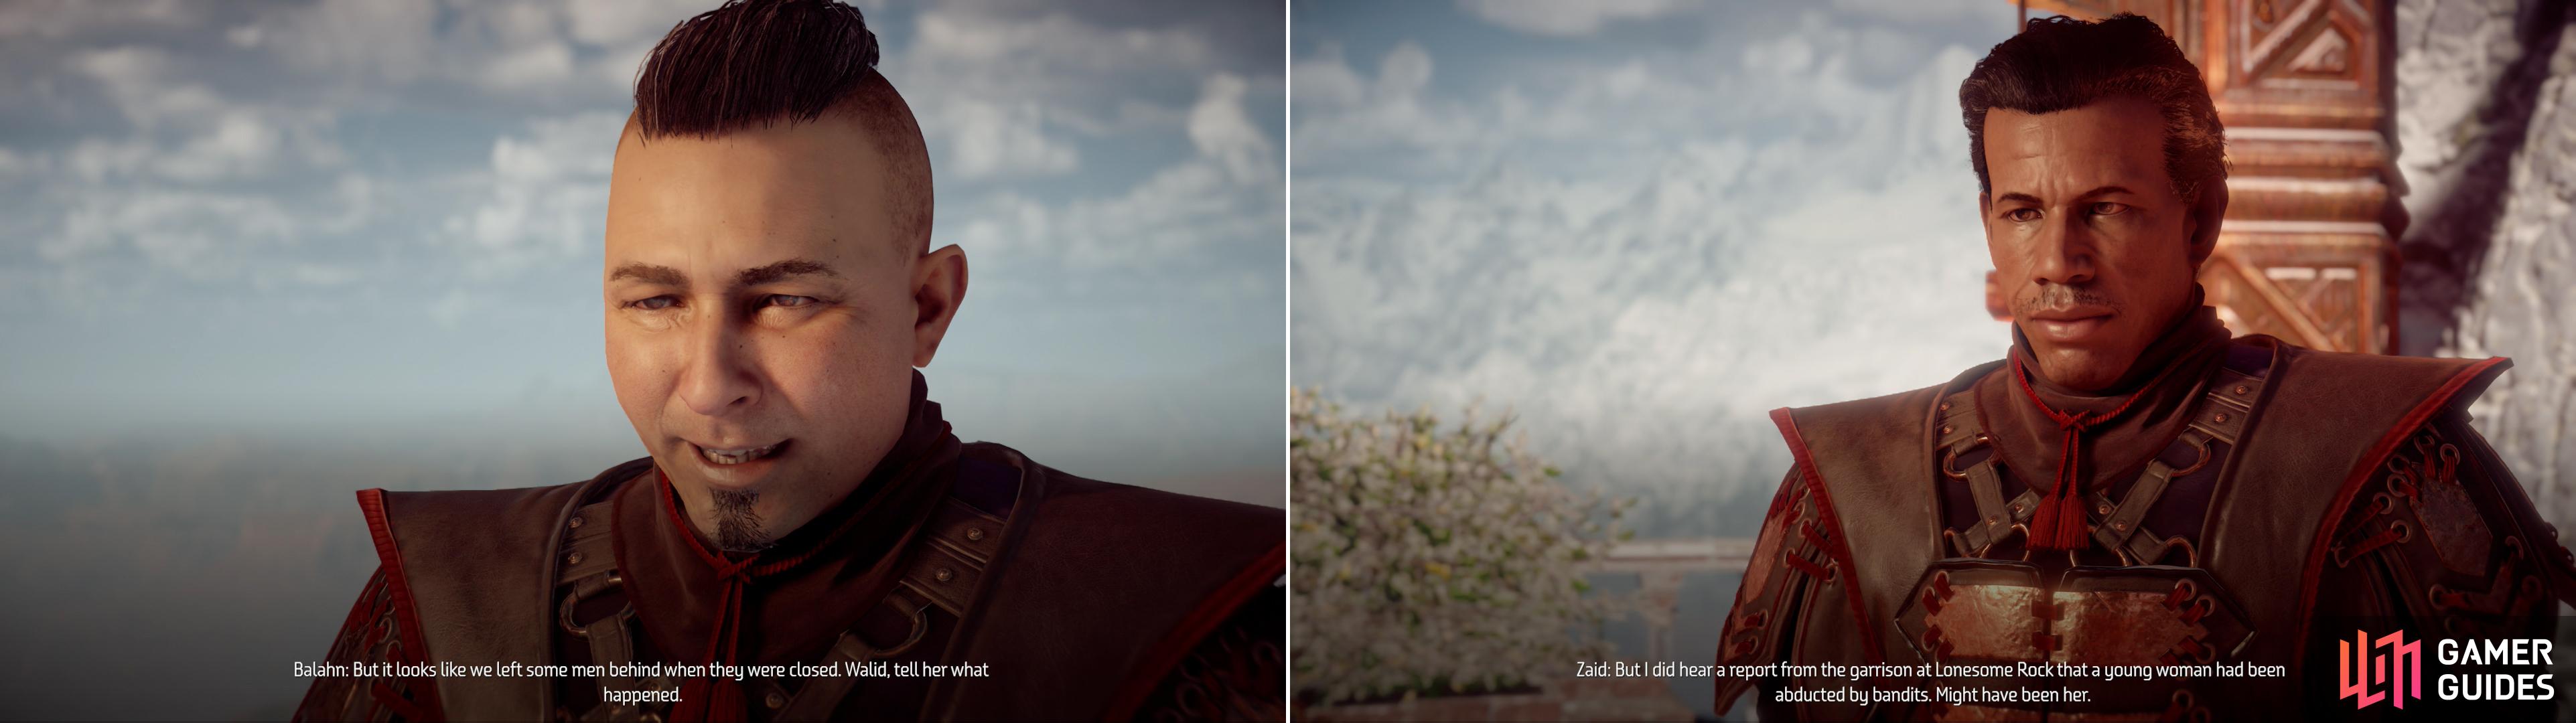
Captain Balahn just so happens to have a task for you (left) while Zaid will tell you that Nakoa might be able to be found deep in Carja territory (right).
You’ll get to Balahn’s quest in a moment, but first head east across the plaza and up two flights of stairs and scan some parchment on a table to get the Glyph “The Derangement” . Log it, then turn north to find Zaid, who will attempt to explain away the rumors of his supposed atrocities by simply attributing it that - mere rumors. Of course, this isn’t a very satisfactory response considering what he’s accused of, but right now it’s a matter of he-said-she-said, and… well, innocent until proven guilty, and all that. Plus, his restraint when dealing with Nakoa reflects positively. Zaid will ultimately point you to Lonesome Rock, where you might find more information about Nakoa’s whereabouts, and since this is a good bit closer to Meridian than Daytower, it’ll be a while before you resume this quest.
No Comments