Metal Flower
It’s time to wrap up the remaining bits on the map while you go on your way to GAIA Prime. Look for the campfire just south of the Tallneck in Sun-Steps and go there, only if you don’t have the campfire to the north of the Thunderjaw Site to the northeast. You not only have to contend with one Thunderjaw, but two of them, although you don’t really need to fight them to grab the Metal Flower. Speaking of that, it’s more towards the middle of the valley and it might be easier to come from the north. Use your Focus to find it, then quickly get in and out with Metal Flower - Mark II (E) .
Metal Flower
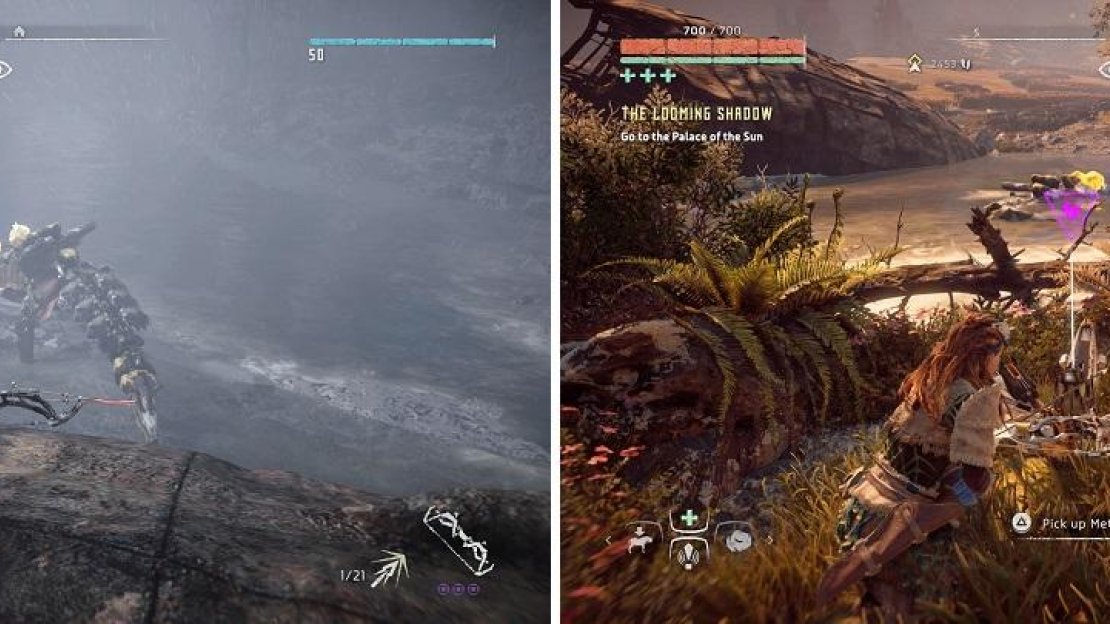
With that one out of the way, fast travel to the campfire right outside of Cauldron SIGMA. Go west and then northwest from there, continuing in that direction as you pass by some derelict windmills and eventually, another Thunderjaw site. Find the river past that and follow it to a body of water. You’re basically looking for a Snapmaw site to the northwest of the Thunderjaw, with what seems like a “bridge” connecting to a small island of sorts. The Snapmaws will be here and Metal Flower - Mark II (B) is on that same island.
You may have to kill a few Snapmaws to get to the Metal Flower (left). You may also be lucky and can just sneak up to grab it (right).
Metal Flower
From the previous Metal Flower, continue going northwest to find the Dawn’s Sentinel gate. As you exit to the west, go straight north and enter the valley there, downing some Scrappers. Keep going in the same direction and look out for a tree. Metal Flower - Mark II (A) is just past that tree.
Heap of Trouble
Return to Dawn’s Sentinel and follow the road to the west to a split, then go north and you’ll eventually arrive at a new settlement, Free Heap. Just north of the campfire inside of the town is a building with some stairs. Head up these and talk to Petra there to start the Heap of Trouble sidequest. It turns out some bandits and machines have been attacking the settlement, so she wants you to do something about it.
Start off by heading towards the bandit base by taking the northeastern exit out of Free Heap and going due east. Pass through the archway, but be careful of two patrolling bandits that might be just beyond that arch. Getting to higher ground is a very wise idea here, as you should be able to get a lot of good headshots on the bandits. Keep going around and use your Focus to make sure you got all of them. When you get far enough into the base, the objective will update to make you grab three Power Cells.
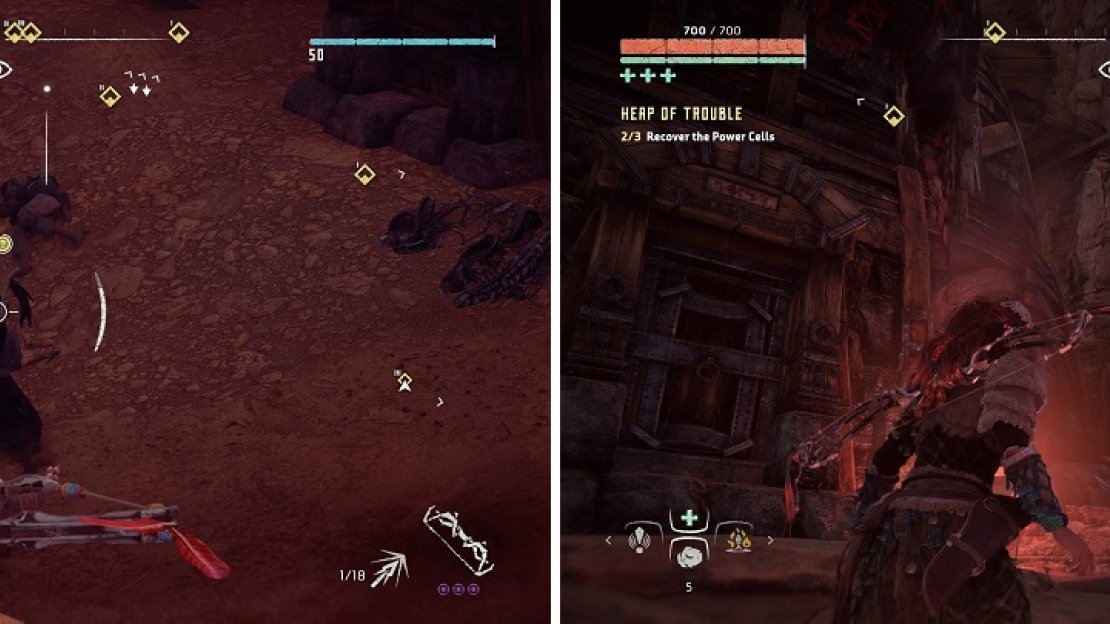
Two of them are on the ground and very easy to get, but the third is on top of one of the buildings in the back. Of course, grab the two on the ground first, then go in between the large building in the back that has a smaller structure next to it. Although it might be difficult to see, there are handholds here that bring you to the top of the building with the Power Cell. As you climb back down and head towards your next objective, you receive an ominous message from a bandit as he leaves.
Having the high ground will prove useful (left). You can scale the marked rock wall to reach the Power Cell on the roof (right).
Pay no mind to him and work on getting to the Scrapper Den, which is literally right next to the bandit camp. As with the power cells, you need to find three weapon parts, all of which are in Scrapper piles. One is in the southern part, while the other two are in the northern section of the den. There are a lot of Scrappers, obviously, but a good precision arrow to one of their two weak spots will finish them off quick.
Once you’ve gathered all of the parts from both sites, return to Petra with the goods. She’ll finish off her weapon, just in time for the raiding bandits. The Oseram Cannon is a fun little toy that fires off explosive rounds, but it’s a bit different than the weapons you’ve had access to thus far. Hold down L2 and then R2 to charge the cannon, then release R2 to unleash pain. The bandits attacking the settlement come from three different paths and start in waves, then come all at once. After a whole lot of dead bandits, you’ll be told to shoot down the bridge, which can be a little finnicky, but try to aim at the ground in between the supports. Once you knock the bridge down, the quest will be complete.
| Objective | Reward |
|---|---|
| For securing some weapon parts for Petra | 4,250 XP |
Hammer and Steel
There is one more side quest in Free Heap, with the questgiver close to Petra (it’s not really a big settlement), then it’s back to the main story. Speak with Kaeluf to learn that he switched places with someone from the village to go on a hunt for some Behemoths to obtain some cables from them. Of course, he regrets this decision, as he’s worried about whether the pair that was sent out is going to miss the herd or not, plus he’s a bit scared of Petra. You have an optional task to talk with Petra, who doesn’t offer a whole lot of anything to the situation, other than explaining what the cables are needed for.
So, despite the blanket statement of the pair of hunters being to the northwest, they are a bit ways away from Free Heap. You should have the campfire to the west of Free Heap, at the north end of the valley with two Thunderjaws, so go there. From that campfire, go north to the road and follow it west until you come to another campfire, where you want to go north/northwest from there. Eventually, you will come across two hunters arguing up by some large rocky arch, so head on up there and speak with them.
It turns out that Kaeluf’s suspicions were right, as they lost the herd, and you’ll have the choice to either go it alone or bring them along. Considering you’re up against three Behemoths and some Shell-Walkers, it might be easier to bring along some extra hands. Go back to the main road you used to reach here, look for the tracks with your Focus and follow the road southeast while listening to the two hunters bicker. Eventually, you will find the Behemoths, so get ready for battle.
Things can get hectic with six machines (left). Freezing the Behemoths works wonders in depleting their health (right).
You need a total of nine Behemoth cables and each one has three cables, so you do need to kill all three Behemoths. While it might be easier to concentrate solely on them, you also have three Shell-Walkers to worry about in this battle, so they should be taken out first. Aiming for their weak points should quickly subdue them, letting you go back to the Behemoths. Speaking of them, freeze them and then aim for their front loaders to do maximum damage.
The hardest part of this battle is managing the enemies and their attacks. Should one or two of them start running away, let them as they won’t go very far before rejoining the fight. That’s also why you told the two hunters to join in the fight, as they can help out a bit, mostly by being distractions, but any little bit helps. When you’ve finally killed all of the machines, loot the cables from the Behemoths. If you had the hunters join you, then you need to speak with them, where they’ll offer you a choice to bring the cables to Petra for you if you don’t want to do it yourself. If you did this thing solo, then bring the cables back to Petra to finish.
| Objective | Reward |
|---|---|
| For tracking down the lost hunters and getting the Behemoth Cables | 5,000 XP / +1 Generous Reward Box |


No Comments