| Ancient Vessels |
|---|
| Ancient Vessel - KZ |
| Metal Flowers |
|---|
| Metal Flower - Mark I (G) |
| Metal Flower - Mark I (E) |
| Text Datapoints - World |
|---|
| Holo-Haunting |
| Cram |
| She’s the One |
The cultists inhabiting Devil’s Grief may be smashed, but there’s still a bit to do around here, including picking up collectibles and perhaps taking on a new Bandit Camp. First things first, search the ground near some collapsed sections of wall just west of the Ring of Metal to find the Text Datapoint - World “Holo-Haunting” . Once that’s been logged, continue south to find a Campfire near the remains of old Denver Stadium - now the “Ring of Metal”, then from there head east to find a nearby trail, which you can follow south through the ruins, ignoring all forks until you reach a Campfire at the southern end of the ruins. You shouldn’t find many distractions on the way, although near the southern Campfire you will have to swim a bit to keep on the trail.
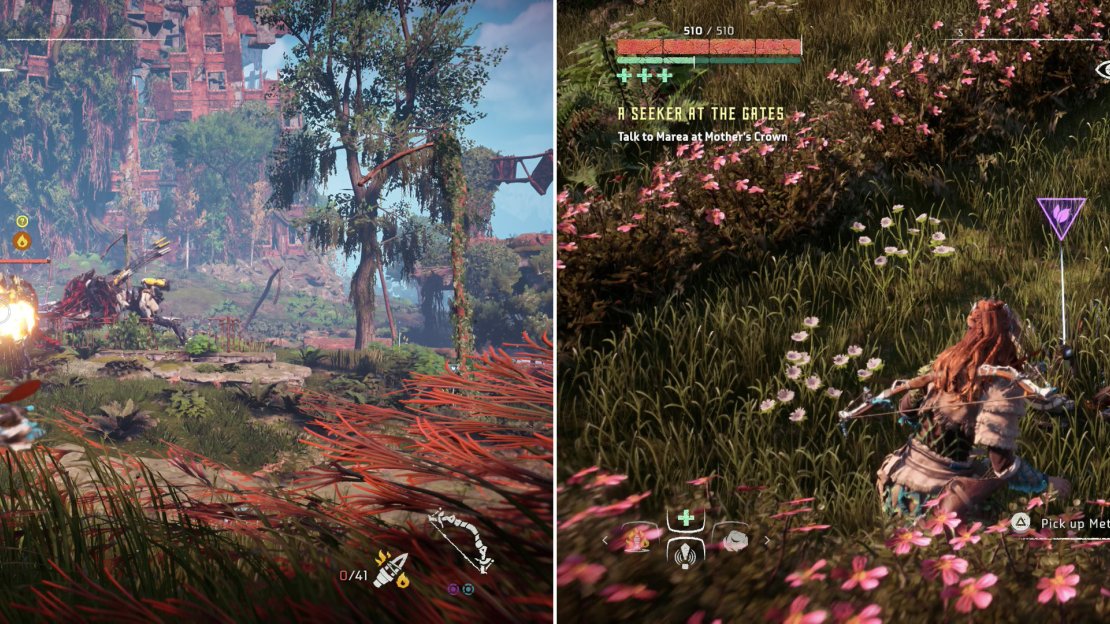
Against a pair of Corrupted Sawtooths, you’ll have to rely on their vulnerability to fire damage (left) or just ignore them entirely and sneakily grab Metal Flower - Mark I (G) right out from under their robo-noses (right).
Metal Flower - Mark I (G)
Once you actually reach the Campfire, however, it’s another story, as you can expect to find a pack of Corrupted Redeye Watchers frustratingly close to the Campfire, presumably guarding the remains of the old highway to the east. Exterminate them, be sure to save your game at the Campfire, then head northeast through some ruins and cross a stream to find a clearing where two Corrupted Sawtooths dwell. Now that… that’s a fight you have on your hands there. Fortunately you don’t actually need to fight them, as the item you’re looking for - the Metal Flower - Mark I (G) - is southwest of the Metal Flower icon on your map, past where the Corrupted Sawtooths prowl. There’s also plenty of high grass to hide in, to help make recovering this collectible less bothersome.
As for the Sawtooths… you’re probably better off ignoring them. The old trick of overriding one and using it to kill the other won’t work here. This makes your best bet performing numerous hit-and-run attacks on one of the two with Fire Arrows, using the tall grass nearer to them to launch the attack, which which you should roll back to the tall grass further away to avoid detection when they inevitably come searching. Focus on one like this and you can face the sole survivor more or less normally, keeping in mind the fact that Corrupted versions can handle much more abuse. This entire process is tedious and time-consuming, however, and it’s hard to see what you really gain from the exercise.
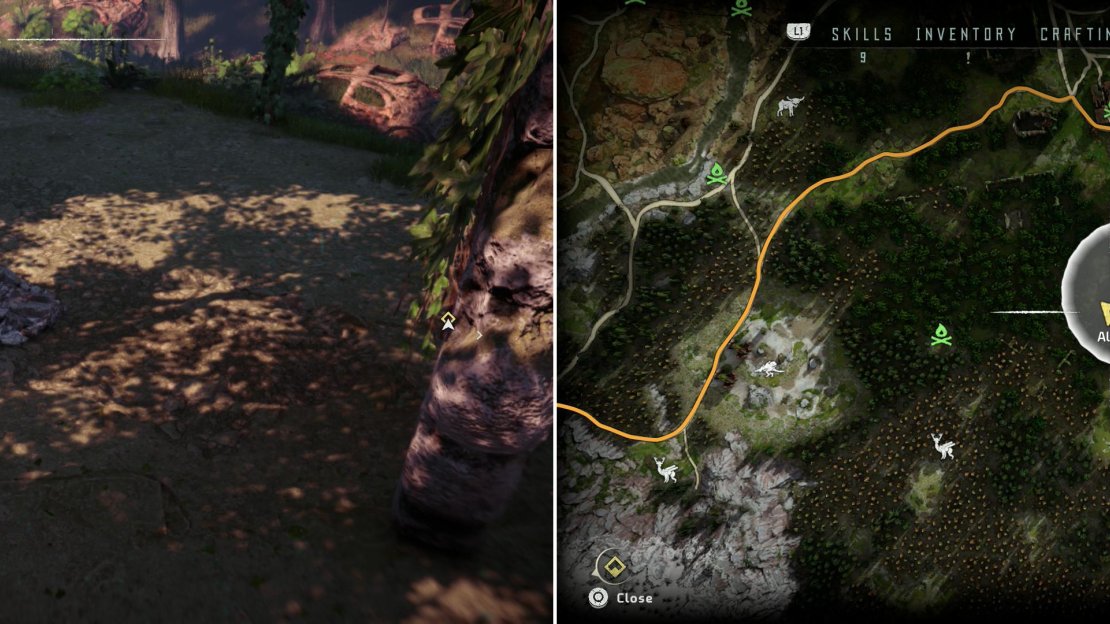
Kill the Corrupted Scrappers in the ruins and find Ancient Vessel - KZ in a pile of Ancient Debris (left) at the location indicated on the map (right).
Ancient Vessel - KZ
Head back southwest to the Campfire near the highway, and from there head west to return to the Campfire near the gas station, where you presumably rested before taking on Cultist Camp - South. Kill any machines that may have respawned and turn south, searching the first building to the east (your left) to find the Text Datapoint - World “Cram”.
Continue south until you reach the search area around the Ancient Vessel down here. Along the northern edge of this search area you’ll find some Corrupted Scrappers patrolling around. Exterminate them, then search the hill around which they prowled to find the Text Datapoint - World “She’s the One”.
Log that datapoint, then continue south, southwest around some ruins and make your way to the Ancient Vessel icon on your map… or as close to it as you can get. From here search southwest a bit to find “Ancient Vessel - KZ” in a pile of Ancient Rubble, along with other old world trinkets.
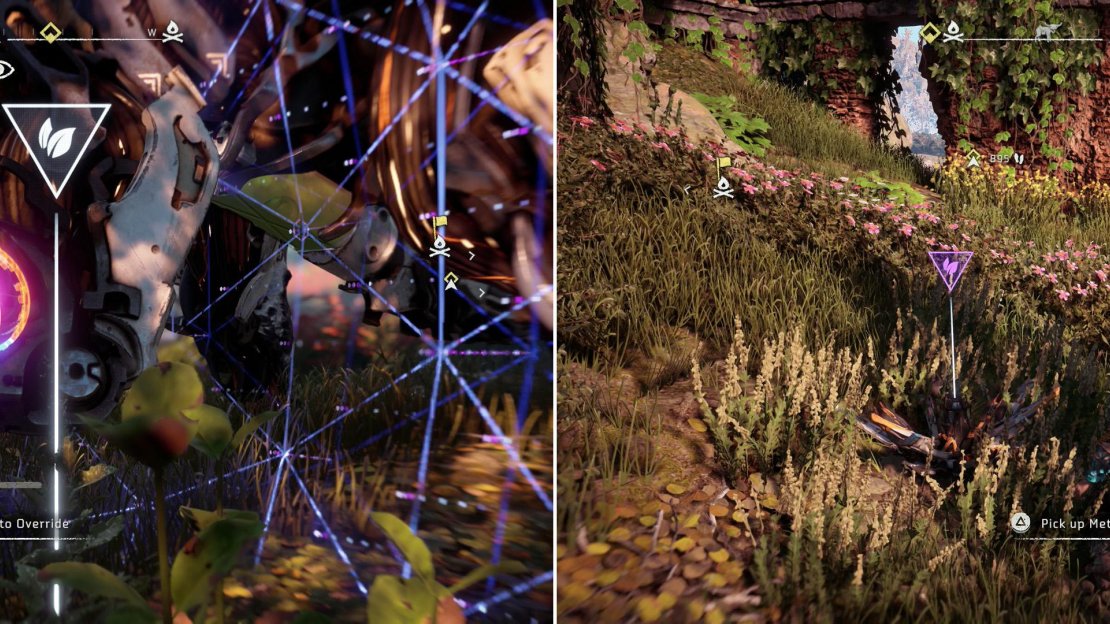
Overriding one of the two Sawtooths (left) near Metal Flower - Mark I (E) will make recovering your prize (right) much easier.
Metal Flower - Mark I (E)
From where you found the Ancient Vessel - KZ head west and slightly south through the woods to find a Campfire, at which turn north until you find some ruins south of a road. In these ruins you can expect to find machines - perhaps two Sawtooths, perhaps some Scrappers coming to scavenge the remains of a Sawtooth. Whatever you find, it shouldn’t be new, and there’s plenty of high grass to facilitate your inevitable victory. Once done, search the eastern end of the interior of the ruins to find that signature flower triangle marking the locations of Metal Flower - Mark I (E) .
Bellowbacks and Broadheads
Whew. That’s a whirlwind of collectibles, flowing into your possession! There’s more to be had further north, but before you run off, there are some new encounters that might as well be pointed out now, in a controlled manner. From these ruins where you found Metal Flower - Mark I (E) you can take a short trip to find two new enemies. To the southwest (west of the nearby Campfire) prowls a Freeze Bellowback, while to the northwest you’ll find Broadheads.
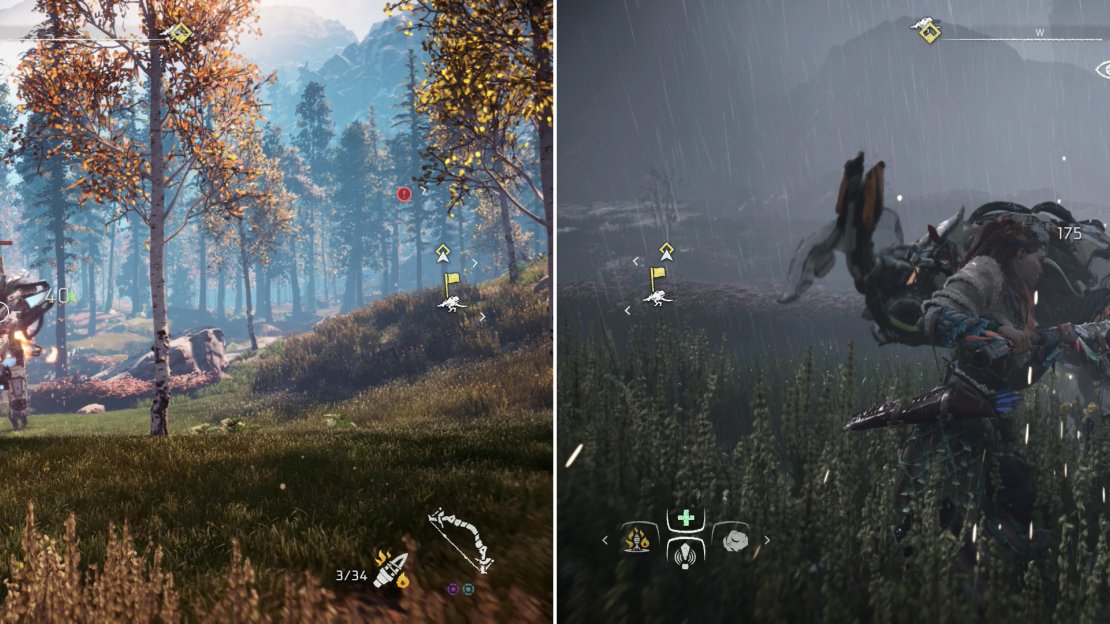
You can target the vulnerable Cargo Sac and Gullet of the Freeze Bellowback, or you can just pelt them with Fire Arrows (left). Broadheads, much like Chargers, are smaller herbivore-mimics that can be dispatched with Silent Strike (right).
The Freeze Bellowback is just like the Fire Bellowback, just with an elemental swap. Fire Arrows now become an ideal weapon, functioning well against both the traditional targets - the Gullet and the Cargo Sac - but against its body, as well. Of course, if you can get under it to deal freeze damage (not an easy feat at the moment) you can also target its Freeze Canister, but that’s not necessary to take this machine down. In fact, they’re so vulnerable to fire that simply pelting them relentlessly with Fire Arrows is actually a viable strategy.
Broadheads, on the other hand, have more in common with Chargers. They’re another type of herbivore-mimicing machine, this time shaped like a bull, and they’ll gladly employ those horns on their end to perform charge attacks. They’re also capable of frantically bucking and kicking at nearby threats, so… basically nothing you haven’t seen before. You can shoot off their horns by dealing Tear damage, or you can detonate their Blaze Canisters with Fire damage (or dislodge it with Tear damage).


No Comments