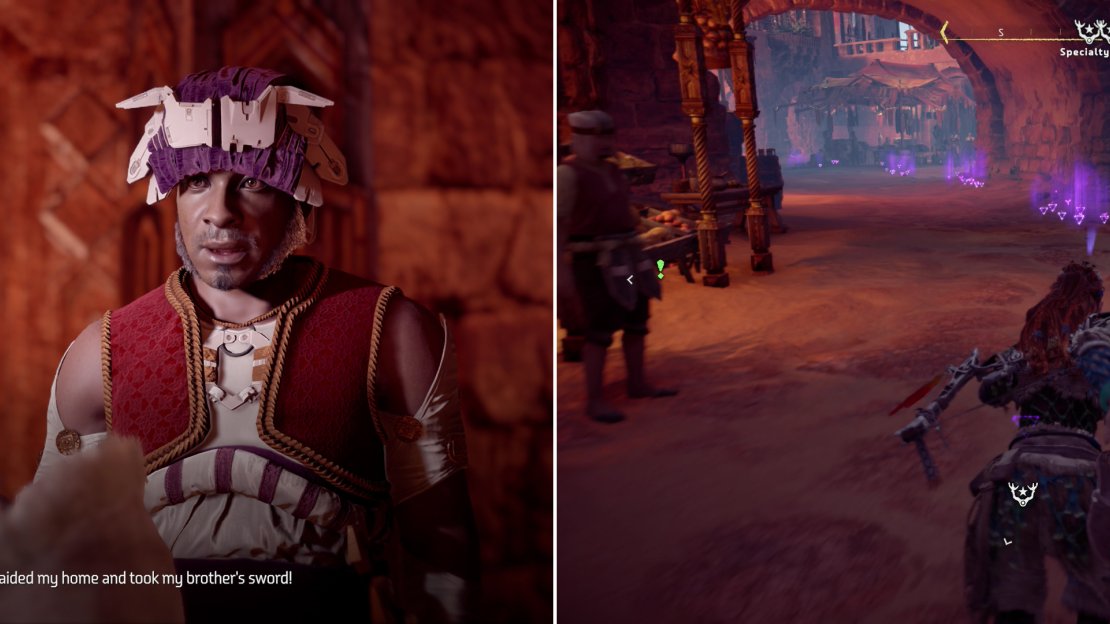
Talk to Ravan to learn about his plight (left) then track down the thief, who generously left a blood trail (right).
Tracking a Thief
Now that Meridian has been explored - excepting the Hunters Lodge and royal palace, but you’ll get to those later - it’s time to pick up some sidequests! There are two worth doing in town, and another in the docks nearby. The first is nearby, just northeast of the “Hunting Goods” merchant. Talk to a man named Ravan standing on the porch of his house and he’ll ask you to recover his brother’s sword, which was recently stolen by a thief.
Accept and talk to his Steward, who is nearby, busily sweeping the dirt. Sound productive. He’s got little of interest to say, so use your Focus to scan the Broken Window Lattice near where he’s sweeping, then highlight a blood track leading away from the house. Follow the comical amounts of blood left behind by the thief (even Aloy comments on the amount of blood!) until the trail ends, at which point talk to a nearby merchant named Keadi. After her testimony, continue southeast to Meridian’s elaborate balcony until you find a woman named Rokasha, whose story doesn’t match Keadi. Return to Keadi and after some threats she’ll buckle and reveal the motivation - and location - of this post apocalyptic Robin Hood.
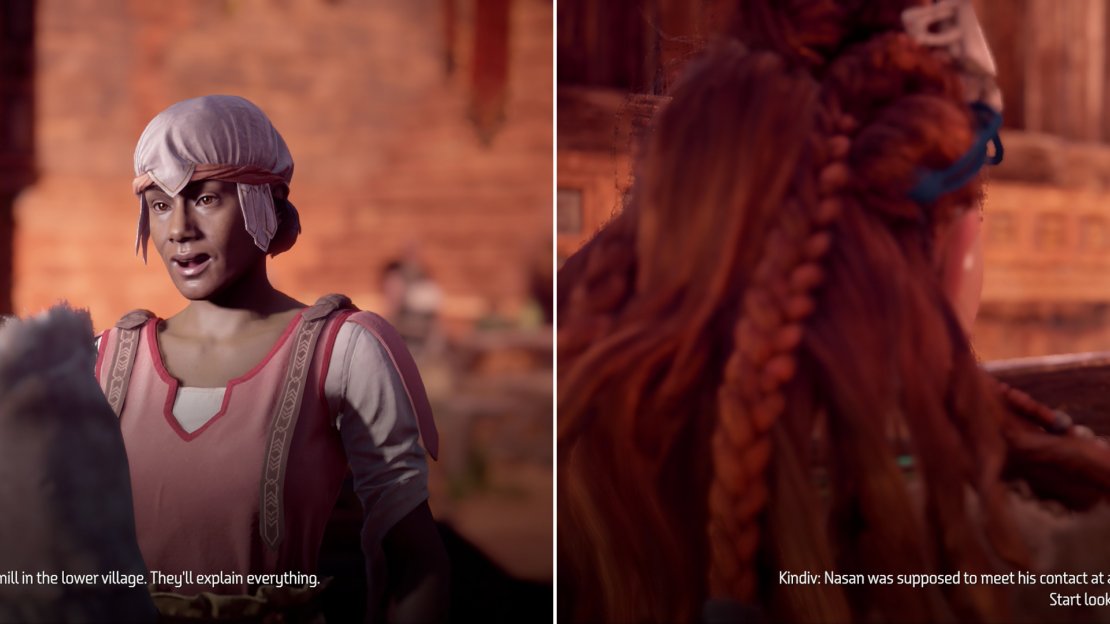
Eventually you’ll squeeze the truth out of a merchant (left) which will lead you to the lair of the thieves, who have their own request to make of you (right).
The watermill where you thief lurks is southeast of Meridian, and fortunately for you, thanks to the marvel of modern Meridian machinery, you need not run out and around the the city to reach it. From Keadi turn southeast and head under some arches to reach Meridian’s elaborate balconies, or rather, the road above them to the north. Make your way east on this somewhat less scenic path until you find some elevators, which you can use to ride to the docks below. Careful, humans, this is how it gets started… pretty soon you end up with robo-dinos eating your faces.
Anywho, when the elevator stops, disembark and you’ll find yourself near Meridians docks. Near the top of the elevators was a Campfire - so to with the bottom. Further more you’ll find the “Meridian Village” marker to the south, while to the northeast is the “Royal Maizelands” marker. The latter merits your attention for now, so ignore all the quests and distractions down here and make your way northeast until you reach a fork just beyond an irrigation ditch, after which turn southeast and cross a bridge spanning the river. After the bridge, at another fork, turn south, southwest and you’ll pass right by the watermill.
Inside you’ll find the thief - Kindiv - who will further explain his motivations, the classic benevolent thief routine. His deal is simple, you help him find his missing associate Nasan, and he’ll return the sword. Yeah, it’s a lot more work than Aloy really should be doing, especially since threats would probably work just as well, but the promise of Shadow Carja to kill and good deeds to be done are just too much incentive for her to turn down.
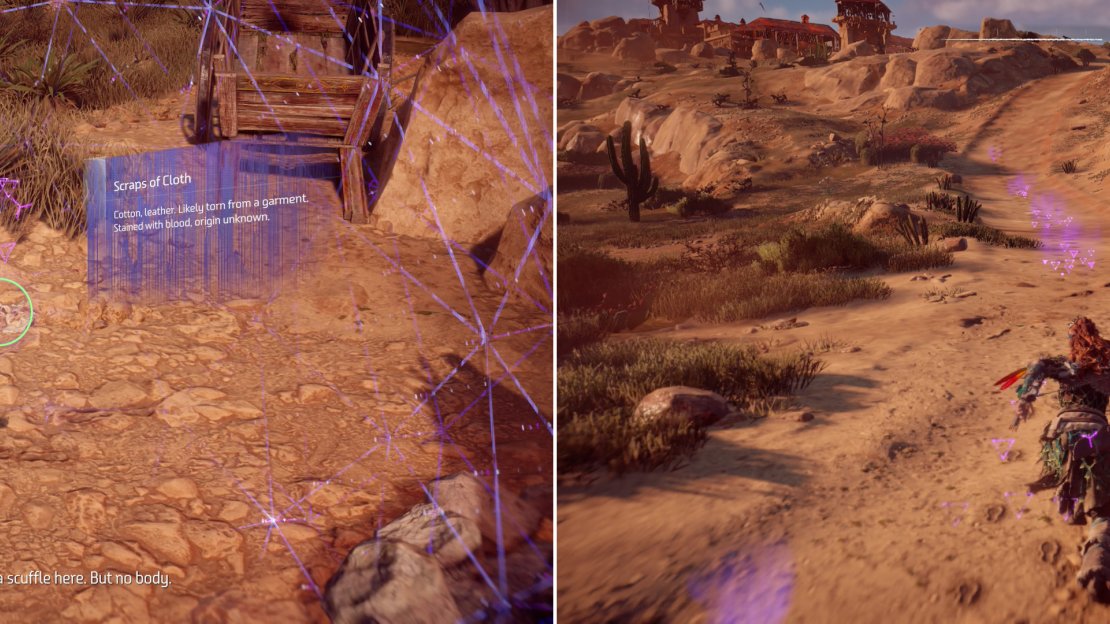
Use your Focus to scan the Campfire (left) then follow the trail you pick up to the west (right).
Rescuing Nasan
Your hunt for Nasan begins far to the north, past even where Erend awaits you. To get there, simply fast travel to the Campfire north of Cut-Cliffs (which you presumably discovered during the quest “The City of the Sun”) and continue north, crossing a river, passing Rockwreath (unmarked on your map) as you go. Ignore all forks for now and follow the road north, on the way discovering two more Campfires (the second one is near Erend, whom can be safely ignored) beyond which is another river that needs to be forded.
After fording this river in the north the road you’re on will bisect (and terminate at) another rod running east/west. Follow the road west until you find a Campfire, which is Nasan’s last known location. Scan and examine some Scraps of Cloth near the Campfire, then use your Focus to highlight a trail, which ultimately leads down the road to the west and southwest before terminating at a Shadow Carja fort. No mystery as to what happened here, eh?
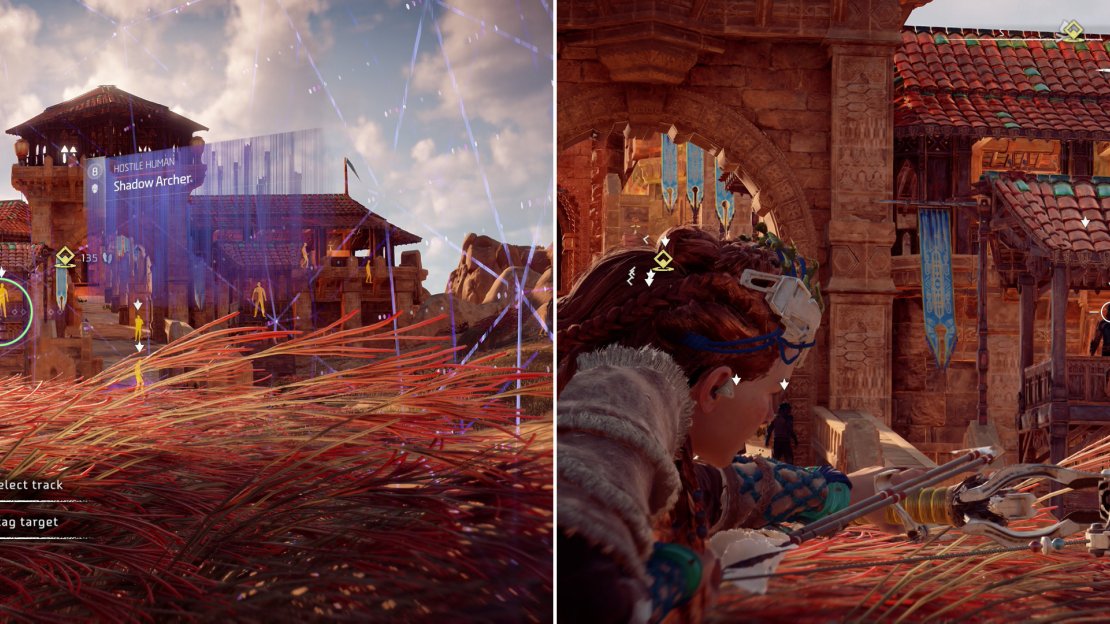
Scan and tag all the Shadow Carja (left) then pick off the outliers (right).
Channel Bandit-slayer Aloy, break out your Shadow Sharpshot Bow, take cover in tall grass (perhaps after eliminating some Striders) then get to work picking off the defenders. Be sure to scan and tag them with your Focus first and be wary of a few things: they’re rather strong, for non-elite human foes. Don’t expect your Shadow Sharpshot Bow to take them out in one hit, even with decent damage modification. Double Shot works fine to make up for this, but if they get suspicious, don’t expect them to remain in the fort - they’re not afraid to spill out the sides and come searching, and they may just blind-fire some explosive arrows at you. Fortunately, there’s a great deal of cover, so don’t be afraid to give ground, when necessary. In fact, the overly inquisitive nature of the guards here might just prove a benefit to you in your task, as their suspicious adventuring will bring more of them into your sight than otherwise would present themselves.
When all the initial targets are exhausted, abandon the front of the camp and circle around to the sides (east and west), where you’ll find more Shadow Carja to assassinate. There’s less cover here, and ultimately your ease with this task will be determined by how many foes you managed to pick off from the front. Only after continuing to chip away at the flanks of the base should you then infiltrate the base and finish off any of the hard-to-reach foes on the walls.
Assassinate the Shadow Carja in the keep (left) and take cover along a wall if they get wary (right).
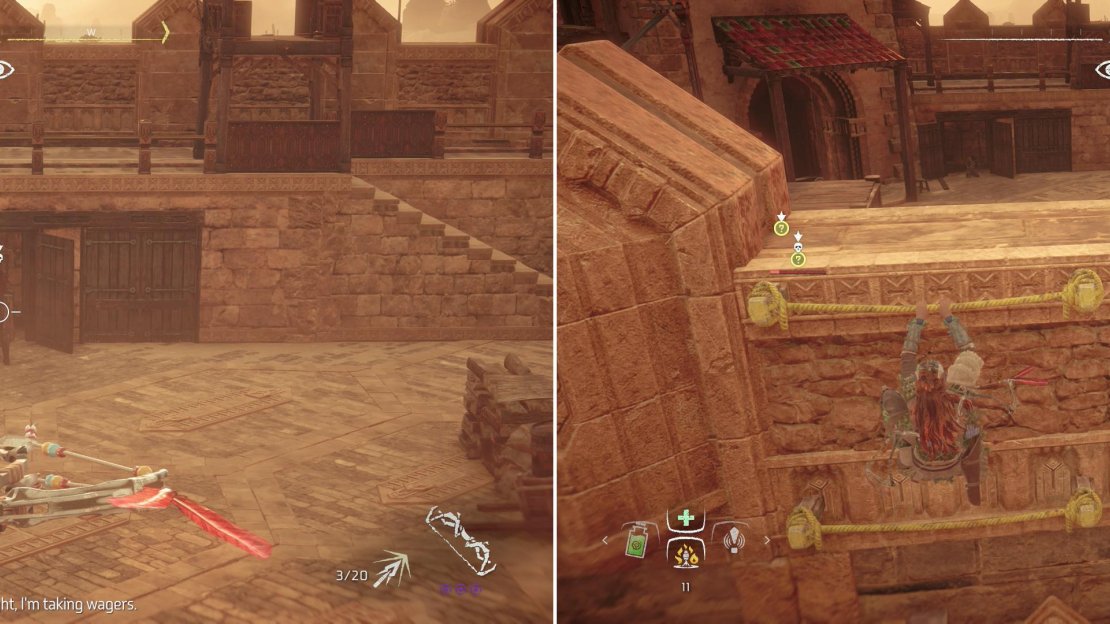
The next step is to proceed through the base to the south, where in a keep you’ll find more Shadow Carja. While the frontal approach seems simple enough, you can also circle around the edges of the keep to find numerous hand-holds you can use to climb the walls of the keep, and use that vantage to worry the enemies below. Order of operations is important if you wish to remain undetected, but if you get caught sniping from here, you can always just drop down the ledge and wait out their suspicions. Plus, even if you engage in a shoot-out you limit their responses strictly to ranged attacks, the damage of which you can mitigate with Oseram Arrow Breaker Heavy armor.
Destroy the foes below, including the sole threat - the Shadow Carja Heavy - then talk to Nasan, who was previously suffering from the attentions of the Shadow Carja. He’s not all that much the worse for wear, fortunately, and as soon as he’s freed he’ll lead the way on a quick escape from the fort. Follow him up the stairs to the east, climb onto the wall, then rappel down to the ground below. Awful generous of the Shadow Carja to let him keep his gear, no? Talk to Nasan on the ground and Aloy will strike a deal with the thieves, after which you need merely fast travel back to Meridian and talk to Ravan to finish this quest.
| Objective | Rewards |
|---|---|
| For recovering the stolen sword | 3,000 XP / +1 Remarkable Reward Box |
No Comments