You will encounter many different dungeons in Eiyuden Chronicle: Hundred Heroes, but none will be like the Hero’s Trial Ground. While you can open this around the middle of the main story, it’s best to wait until you’ve completed it before delving into it. The reason for this is that it’s considered a postgame thing, and doing it early will make the rest of the story quite easy. This page will detail how to unlock the Hero’s Trial, explain what it is, and offer strategies for the Ancient King.
Table of Contents
If you want to jump to a specific floor, or the more difficult Endless Mode, use the following table:
You’ll find the Hero’s Trial in the basement of your castle, after building the Mysterious Room.
Unlocking the Mysterious Room
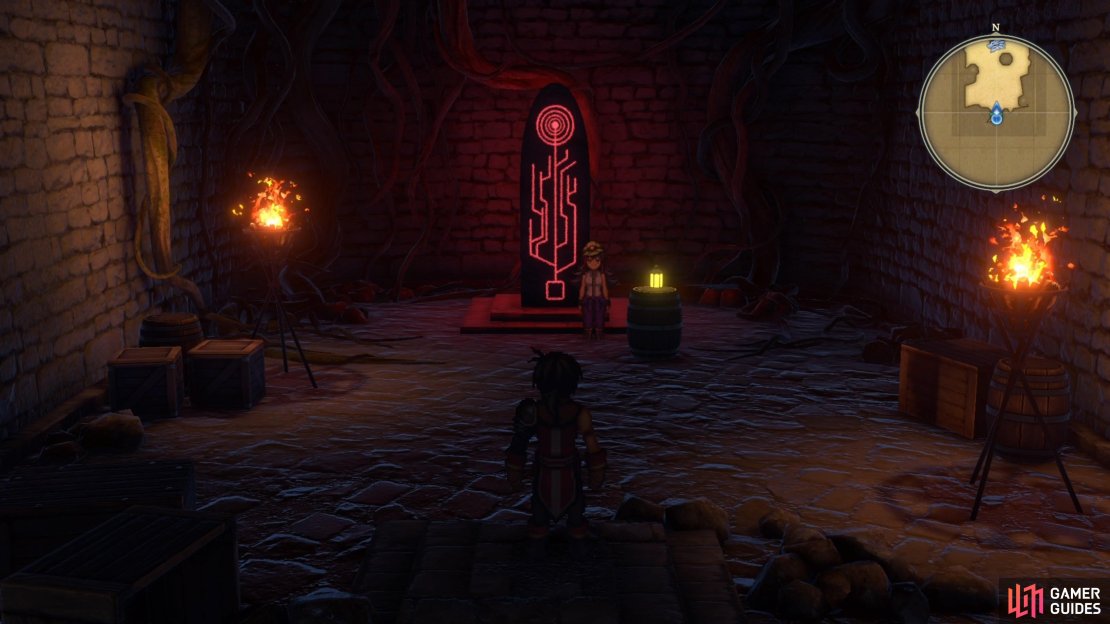
The Hero’s Trial Ground is something that you unlock via your castle’s blueprints. The node that unlocks it is called the Mysterious Room and will be available from HQ Level 3 onwards. You will need 1,960 HQ Funds, 5x Platinum Ore, 4x Excellent Lacquer, and x3 Dire Beastbone in order to build it. Once you do, you will have to go to the basement of your castle in order to find it, where you interact with the red, glowing tablet there.
If it’s open for you, then you will meet a NPC named Selbineth inside, who will instruct you on the very basics of the Hero’s Trial. Basically, the Hero’s Trial is a gauntlet that will consist of floors, with each floor being two battles against normal enemies, then a third one pitting you against a boss. There are a total of 26 floors and to get the Hero Beyond Time and Space trophy/achievement, you’ll need to clear them all. The bosses you face will all be from the main story, as well as some of the optional dungeons, except for the one on the 26th floor, who will be unique to this area.
You will also receive checkpoints after every fifth floor, where you can exit the Hero’s Trial and continue from where you left off. Lastly, your party will also be fully healed every fifth floor, but their status will carry over from battle to battle otherwise. There are two modes to the Hero’s Trail, Normal Mode and Endless Mode. The latter is unlocked after clearing Normal, and the enemies will gradually get stronger as you progress.
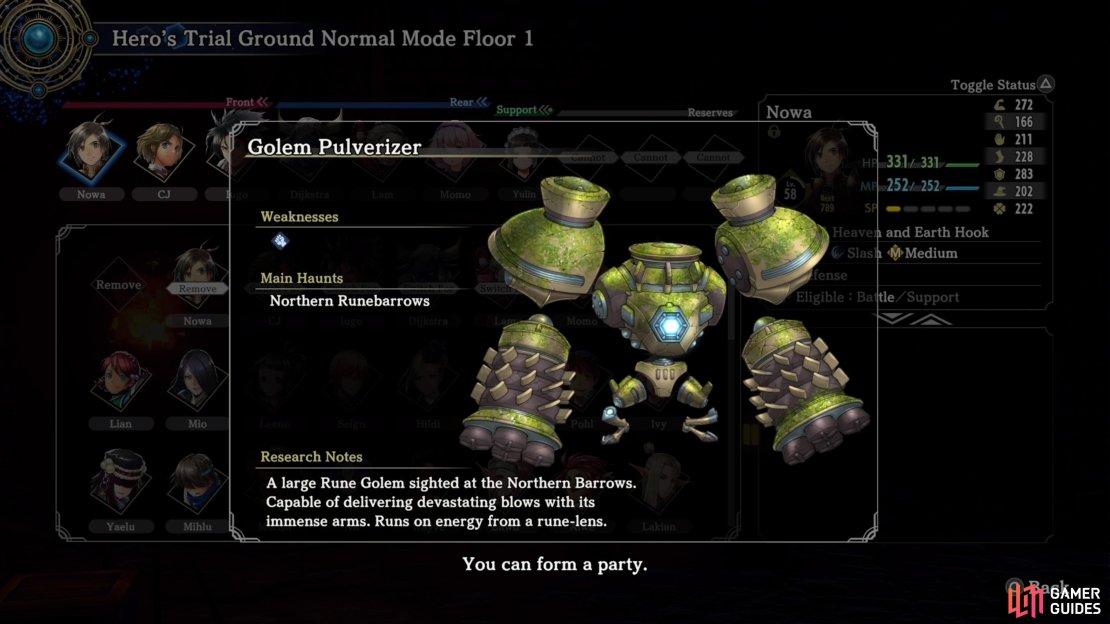
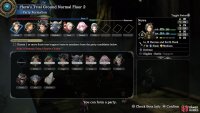
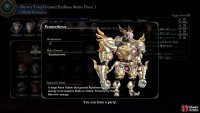
(1 of 3) You’ll see a brief description of the boss of each floor before beginning.
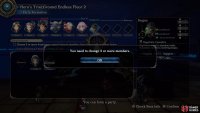
Lastly, in between each floor, you will be forced to put in a specific party member into the active party. This can be annoying, if you plan to use certain characters, but generally, there will be a Support-slot character you can substitute that shouldn’t break your main party.
Normal Mode - Floors 1-5
These are all of the bosses/enemies you will find on the first five floors of the Hero’s Trial. If you didn’t get the bestiary entry for Slaosha during the main story, this is another chance for you to do it. Other than that, mostly everything is about the same. The hardest boss in this first set is probably the Kogen/Yuthus/Zabi trio, depending on your damage output.
| Enemies 1 | Enemies 2 | Boss |
|---|---|---|
| Lizard x3, Hraesvelgr x3 | Wild Boar x2 | Nerthus |
| Plantvine x4 | Forest Ruler | Golem Pulverizer |
| Hardknock x2, Shadow Unicorn x2 | Pawn Demon x2, Spy Orb x2 | Astraea the Judge (and Slaosha) |
| Hellhound x5 | Bear Rider x2 | Ancient Seed |
| Rabbit Lancer x3, Rabbit Mage x3 | Rabbit Lancer x2, Death Tracker, Angry Bat x2, Rabbit Mage | Kogen, Yuthus, Zabi |
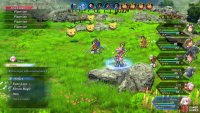
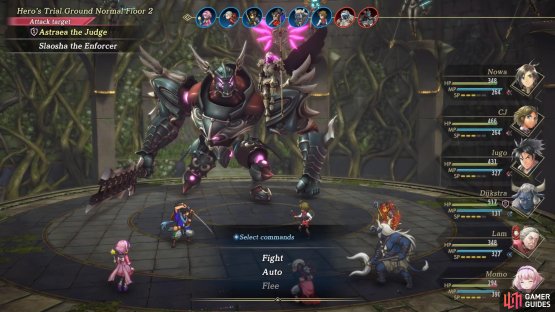
(1 of 2) The bosses during the Hero’s Trial will largely play out similarly to their normal counterparts.
The bosses during the Hero’s Trial will largely play out similarly to their normal counterparts. (left), Despite some of them having shields/armor, you can probably ignore them. (right)
Normal Mode - Floors 6-10
These are all of the bosses/enemies you will find on floors six through ten. The Pagurian doesn’t have its gimmick in here, so you can only target it. The Chimera does, though, but you should only use the Rune Tank whenever it uses Build Up.
| Enemies 1 | Enemies 2 | Boss |
|---|---|---|
| Aquasoul x6 | Remora x2, Nikkari, Salt Slug | Pagurian |
| Andromalius, Lesser Demon | Modified Specimen W_1155 | Chimera |
| Gigas x3 | Gigas, Desert Crab, Scorpion Assassin, Scavenger | Oyamatsumi |
| Sand Lizard x2, Sandworm, Veronite x3 | Cactus Predator x3 | Surkkamui |
| Thief (Knife) x2, Thief (Bow) x2 | Thief (Knife) x3, Thief (Bow) x3 | Hurstwine |
Normal Mode - Floors 11-15
These are all of the bosses/enemies you will face during floors 11 through 15. The SpookyBear-Revenant floor will have the lesser-powered version for the second battle, then the powered up version for the boss. This is the block where you will face the Goblomancer again, who will have Letus with him. Unlike the Chelonian Goliath fight, where you couldn’t defeat Letus, you will need to do it here, since the battle doesn’t end with the Goblomancer’s defeat.
| Enemies 1 | Enemies 2 | Boss |
|---|---|---|
| Corpse Rider x3, Corpse Witch x2 | Corpse Knight x2, SpookyBear-Revenant | SpookyBear-Revenant |
| Corpse Rider, Cursed Guard, Corpse Guard, Cursed Witch, Corpse Witch | Corpse Witch x3, Cursed Witch x3 | Maiden-Revenant |
| Azhdahag | Asterion | Goblomancer, Letus |
| Dragonewt Soldier (Spear) x5 | Heavy Modified Specimen B_1929 | Experimental Specimen A_0099 |
| Cursed Guard, Corpse Guard, Cursed Witch, Corpse Witch | Corpse Guard x2, Corpse Rider, Cursed Witch, Corpse Witch x2 | Samurai-Revenant |
(1 of 2) You’ll definitely want to keep an eye out for some boss encounters, as their damage can be pretty high.
You’ll definitely want to keep an eye out for some boss encounters, as their damage can be pretty high. (left), Gimmicks aren’t worth chasing during the Hero’s Trial, as they don’t scale at all from the normal versions. (right)
Normal Mode - Floors 16-20
These are all of the bosses/enemies you will face on floors 16 through 20. The Elder Dragon is the same two-stage fight as it was in the story, with the one attack in the second phase being a lot of damage. You can probably ignore the gimmicks for the Kraken and Fenrir fights, since you will likely be doing as much, or even more, damage as those do.
| Enemies 1 | Enemies 2 | Boss |
|---|---|---|
| Toadstool x2, Bushtamer, Dragon Viper x3 | Cockatrice (Adult) x2, Toadstool | Elder Dragon |
| Shell Octopus x6 | Savage Crab x2, Shell Octopus x2 | Kraken |
| Ice-Soul x2, Ice Golem | Assault Tiger x3, Sonic Wolf, Snow Boxer x2 | Fenrir |
| Hell Knight x3, Petit Gargoyle x2 | Soul Reaper x2, Lilith x2 | Dead Countess |
| Ripper Raptor x4 | Modified Specimen T_1965 x2, Imperial Soldier (Spear) x2 | Heinrich |
Normal Mode - Floors 21-25
These are all of the bosses/enemies you will face on floors 21 through 25. As you can see below, there are two Alde Dracare battles. The one with just the Specimen enemies is the normal form, while the other will be the evolved form. Other than that, you shouldn’t be facing anything different than from the main story.
| Enemies 1 | Enemies 2 | Boss |
|---|---|---|
| Modified Specimen T_1965, Imperial Soldier (Sword, Imperial Soldier (Bow) | Imperial Soldier (Spear) x3, Imperial Soldier (Bow) x3 | Chapell |
| Modified Specimen H_008 x6 | Synthetic Specimen C_0282 x4 | Alde Dracare |
| Synthetic Specimen R_0901 x6 | Ogre x3, Mine Orb x3 | Narungarde |
| Ogre x3, Imperial Soldier (Bow) x3 | Ogre x2, Mine Orb x2, Arch-Demon, Synthetic Specimen C_0282 | Alde Dracare |
| Watercat, Firecat, Windcat, Earthcat, Darkcat, Lightcat | Orbguard, Borschy, Trovegeist | Prometheus |
Ancient King Boss Guide
The 26th floor of the Hero’s Trial, which is the final one in Normal Mode, will pit you against the Ancient King, a new boss you haven’t faced prior to this. Before getting there, as usual, you will have two battles, the first of which is against an enemy called Helldogs, and the second against an enemy called Strangers. Both are nothing special, so just treat them like normal enemies. After dealing with them, it’ll be time to take on the Ancient King.
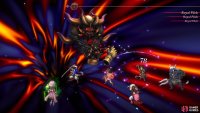
(1 of 3) Royal Flick can inflict random debuffs to the characters it hits.
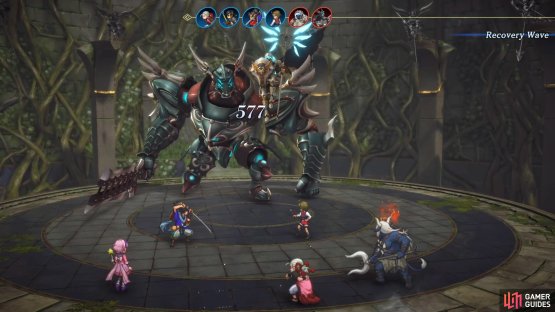
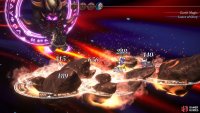
The Ancient King gets three actions per turn and you shouldn’t treat him like any other boss, as he has a variety of attacks. Royal Flick is a physical attack that hits a single target, but it can also apply a random debuff. This can be really annoying, especially if you don’t have any way to remove the debuffs, but it’s probably better to just ignore them. He also has access to all of the elemental spells of the sixth tier (except Water). The Fire, Earth and Light ones are the most dangerous, as they damage everyone.
In the cases of any spells that look like they hit multiple times, they are still only counted as a single attack. This is important, as you can bypass a lot of attacks by using Planet’s Rejection (fifth tier Earth spell), or Runeshard of Earth 5. That is one strategy for getting through this boss, if you feel like you don’t have the power to get through it. The only thing is that the Ancient King gets those three attacks per round, so it is possible that characters will receive more than one attack.
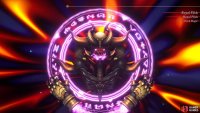
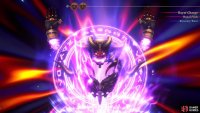
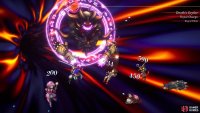
At some point during the fight, the Ancient King will summon a rune that spins behind him, indicating a second phase. While mostly everything will stay the same here, there is a big attack to keep a watch for here. If you see the Ancient King use Royal Charge, that means Death’s Scythe will immediately follow it. This attack hits your entire party for some huge dark damage, so if you have the spell to increase your dark resistance, it might help you survive. Since it requires Royal Charge, that is one action that isn’t your party taking damage, which is nice.
(1 of 4) At some point, the Ancient King will go into a second phase.
As far as what to use on the boss, it should go without saying that you can use about any attack. You probably don’t want to use dark-based attacks, though, since it tends to use a lot of those himself. If you managed to secure a Rune of Brilliance, put that on your best mage and use Lance of Glory to get some great damage against the Ancient King. As mentioned above, using the Planet’s Rejection spell (or Runeshard equivalent) might be a good idea once you reach the second phase, since you never know when you will see Death’s Scythe.
For successfully defeating the Ancient King, you will have cleared Normal Mode and unlock Endless Mode for the Hero’s Trial. In addition to this, you will also unlock the Cherry Petals Hot Springs item.
Endless Mode
So, what does Endless Mode do differently over Normal Mode for Hero’s Trial? First off, you don’t get any breaks at all during Endless Mode, including the free heal for your party every five floors. Additionally, you start with absolutely no items in your inventory, so you are basically surviving from enemy drops. Thus, it might be a good idea to have someone equipped with the Super Lucky Badge. Related to item drops, the bosses in Endless Mode will always drop their big item, so something like Prometheus, for example, will always drop the Rune of Tremendous Power and Rune of Arcane Magic.
Is it worth it to do Endless Mode? Well, if you plan on getting characters to level 99, especially Nowa for the Invincible Hero trophy/achievement, then you are in the right place. Note that the enemies will be more powerful than Normal Mode and while the bosses you face will be in a random order, you will always fight the Ancient King on Floor 26 in Endless Mode. After clearing that challenging battle, the dungeon will continue on like before, with the Ancient King being fought every 26th floor. There is really no reason to continue past the first iteration, though, since you don’t get any rewards past Floor 26.
(1 of 3) The bosses in Endless Mode will show up in any order.
Hero’s Trial Rewards
There are two sets of rewards that can be gotten from the Hero’s Trial, one from Normal Mode and one from Endless Mode. You will receive a reward from clearing every five floors in both modes, as well as one more for clearing the 26th floor in each mode. For Endless, you don’t get breaks, so you will have to do all 26 floors in one go.
| Floor | Normal Reward | Endless Rewards |
|---|---|---|
| Floor 5 | Primordial Scarf | Primordial Light Armor |
| Floor 10 | Sphene Bangle | Sphene Bangle |
| Floor 15 | Primordial Helmet | Primordial Armor |
| Floor 20 | Primordial Face Guard | Primordial Mail |
| Floor 25 | Primordial Robe | Primordial Shield |
| Floor 26 | Cherry Petals | Mark of a Hero |
The Primordial set of armor is very nice and some of the best in the game, although if you get all of them from here, then you don’t really have anything else to do in the game. Of course, if you played the game on Normal difficulty, then you can always go into New Game+ on Hard difficulty and bring over everything there. Congratulations, you’ve beaten the hardest content in the game!








No Comments