
This phase of the final mission in the game, Race Against Time, will begin after you hijack the Normandy and travel to Ilos. After some drama involving your deployment you’ll be dropped on Ilos, but not before Saren can escape into a sealed bunker below the surface of the planet. You need to find a way to get in there before Saren can find the Conduit!
| Codex Entries |
|---|
| Secondary - Planets and Locations / Planets: Ilos |
Joker will display his skill by deploying the Mako on Ilos.
Ilos: Upper Ruins
Ilos: Plaza
Despite the implied drama, you’re not actually timed, and there’s a lot of fighting ahead. Turn south and go up a ramp to reach the Plaza, where you’ll immediately be attacked by Geth Troopers and the odd Shock Trooper. Try to pick your foes off from a distance, as much greater threats await in the Plaza in the form of two Geth Armatures. They’ll only become active when you approach them, however, and there’s no reason to provoke them before you’ve cleared out all the Troopers.

(1 of 2) Defeat the Troopers in the Plaza while avoiding the Armatures.

Defeat the Troopers in the Plaza while avoiding the Armatures. (left), When the Troopers are defeated, focus on the Armatures. A maxed-out Lift will make them easier to deal with. (right)
After the Troopers are gone, approach the Armatures, then take them out. The cover is a bit tricky here, as most of the permanent blocks of cover are dangerously close to the Armatures, or at a bad angle, so you might be better off just strafing around. Use abilities like Overload, Sabotage and Lift to deal with them after, and avoid their main cannon blasts at all costs - a single hit can be fatal on higher difficulties.
When all the nearby geth are defeated, loot a Hardened Crate [Hard] near a tunnel you can’t access - it’s an egress, not an ingress. If you turn west and descend some ramps you’ll reach the Trench area, which has little to recommend it save some loot and more geth to kill. If you go south the path will fork, at which you can continue south to find another ramp leading to the opposite end of the Trench area, otherwise you can turn west then south to advance towards the Courtyard.
Ilos: Trench
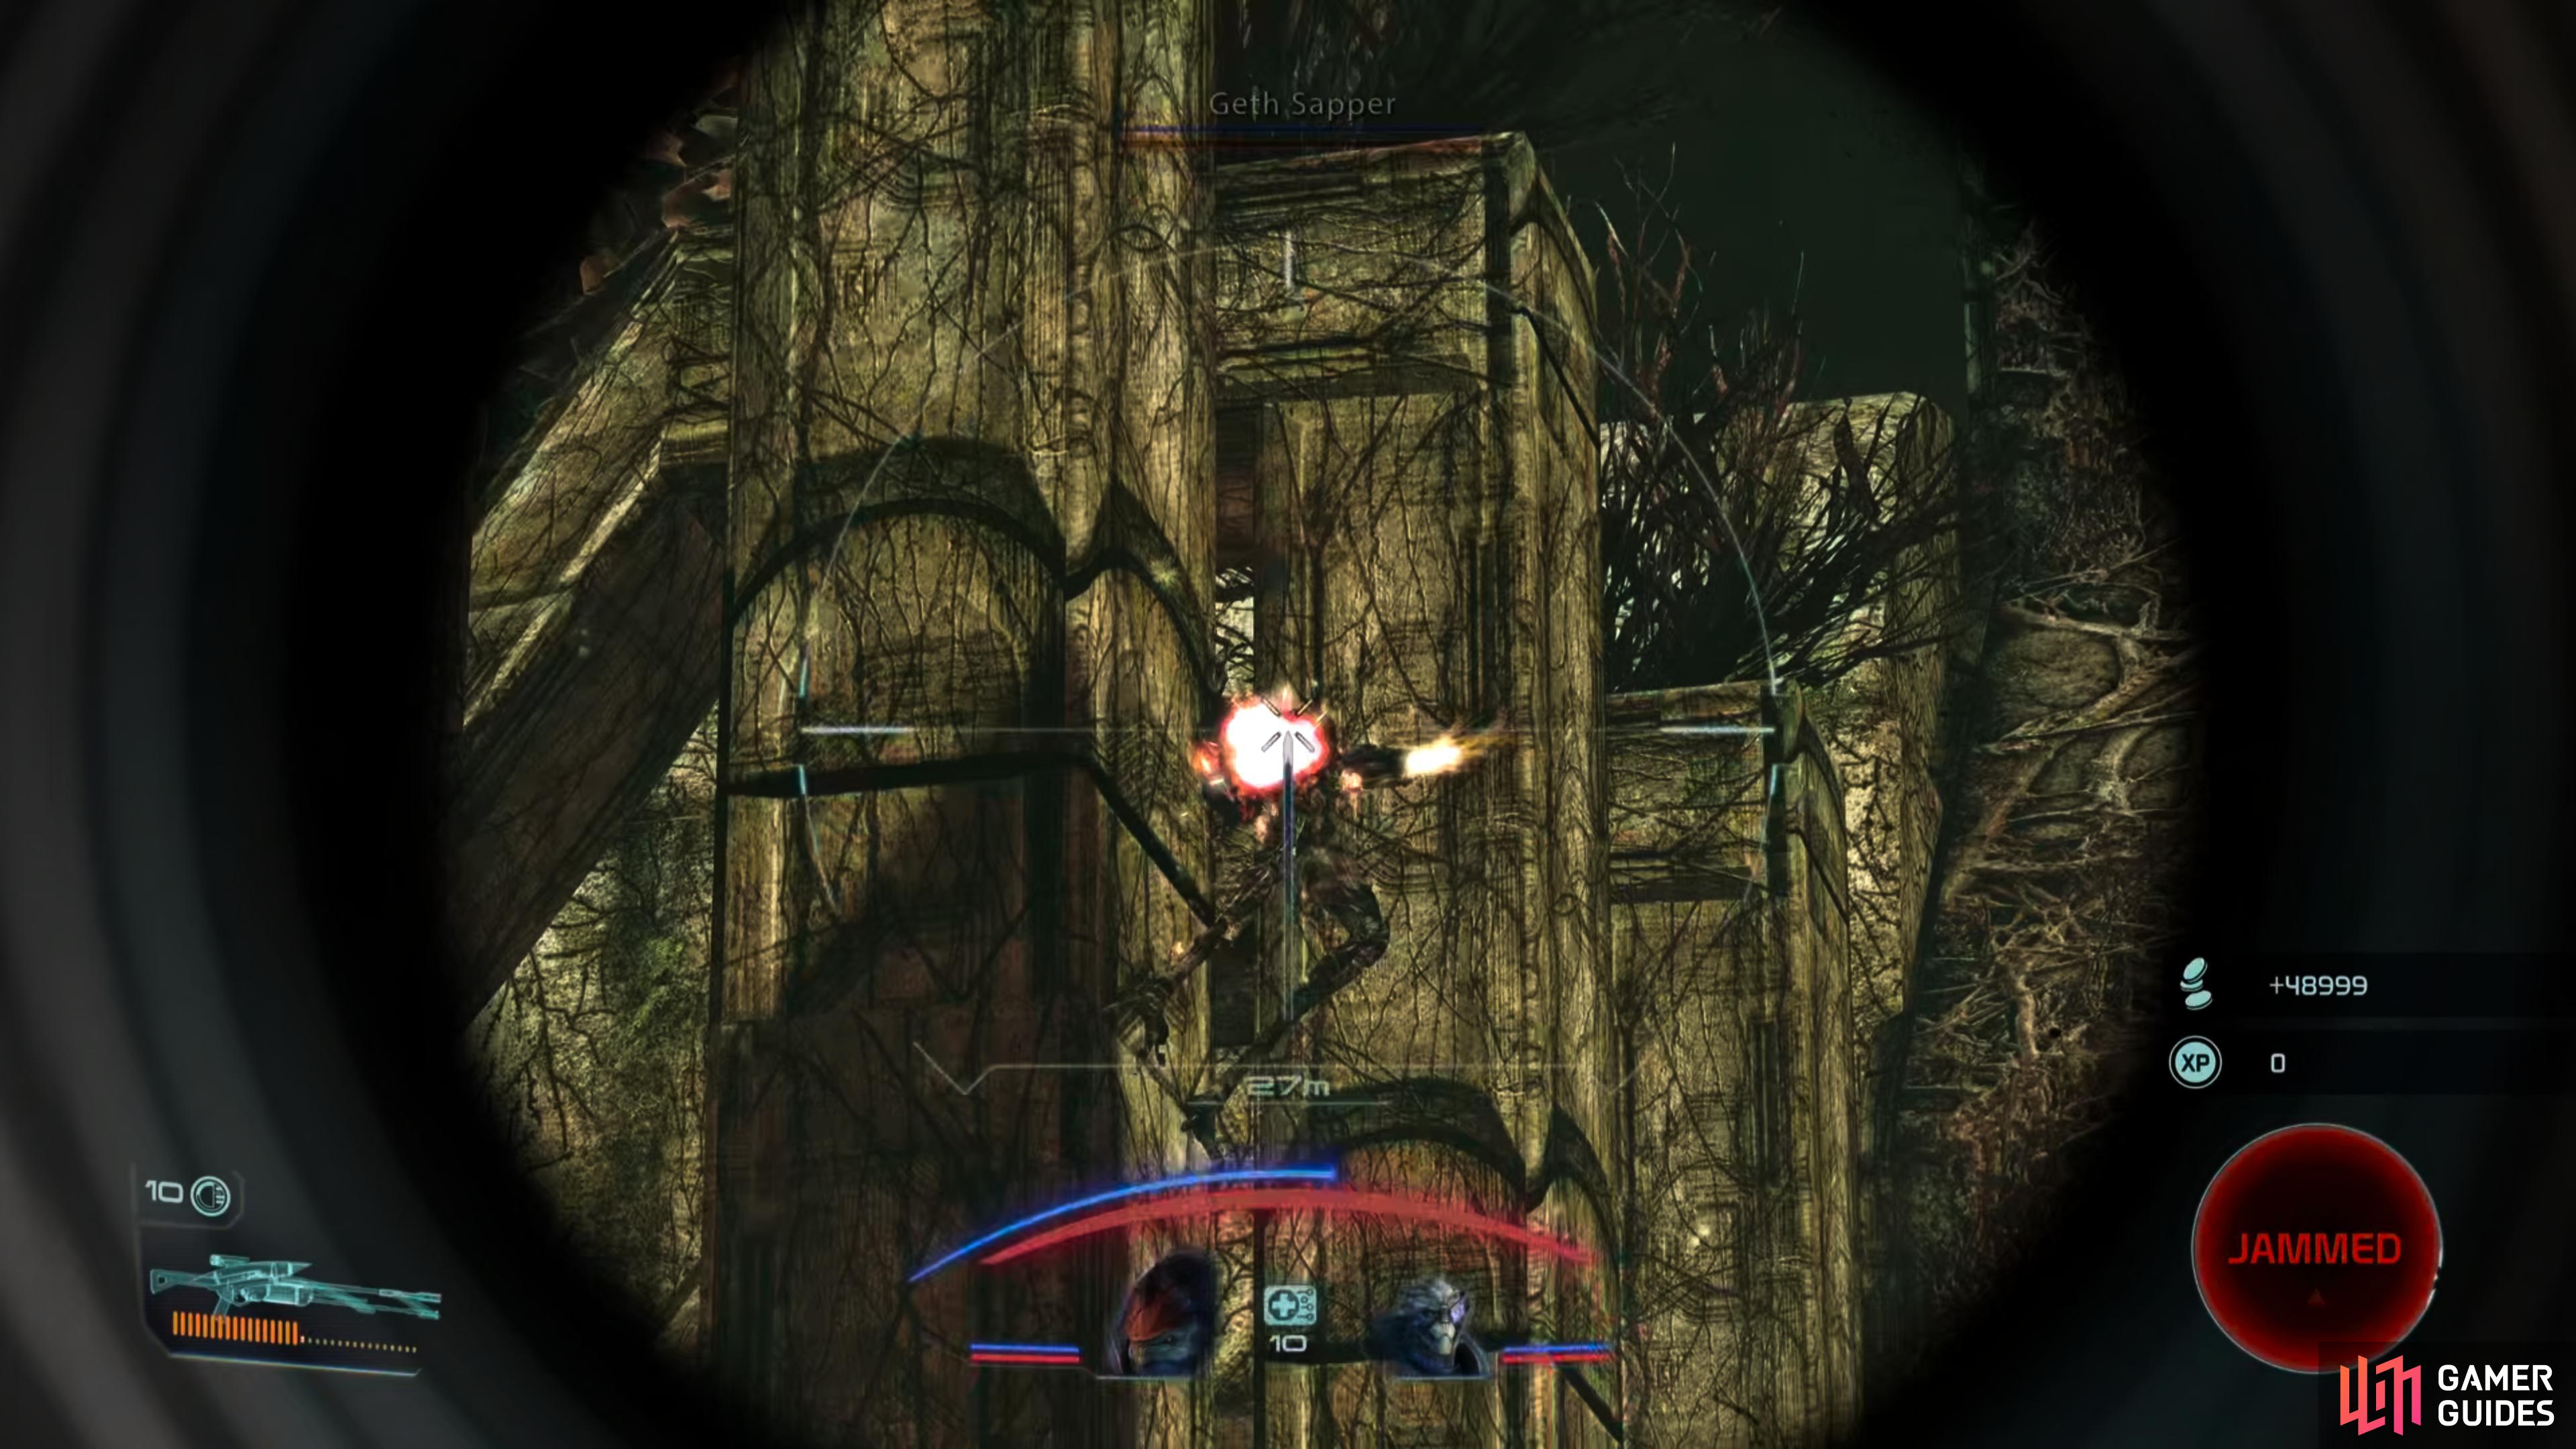
The Trench is optional, but it’s never too late for some loot and XP, right? Either way you go you’ll likely have to kill a straggling Geth Trooper or two on or near the ramp leading down into the Trench from the Plaza. At the northwestern end of the Trench (near where you’ll arrive if you took the west exit from the Plaza) you’ll find several Geth Sappers hopping around a large chamber. Snipe them from afar, then search a corner to score a Locked Crate [Easy].
East of here - in the area actually marked “Trench” on the map - you’ll find an Armature Control terminal [Hard], which isn’t much use if you already killed the Armatures above, but there’s no harm in hacking it anyways for the XP. Continue to the southeastern end of the Trench and surface back up to the southern end of the Plaza, then make your way north and west to reach the fork that leads to the Courtyard.


(1 of 2) From a ledge overlooking the Courtyard you can pick off the Troopers below.
From a ledge overlooking the Courtyard you can pick off the Troopers below. (left), Beyond that you’ll encounter some Sappers, which you can snipe from afar. (right)
Ilos: Courtyard
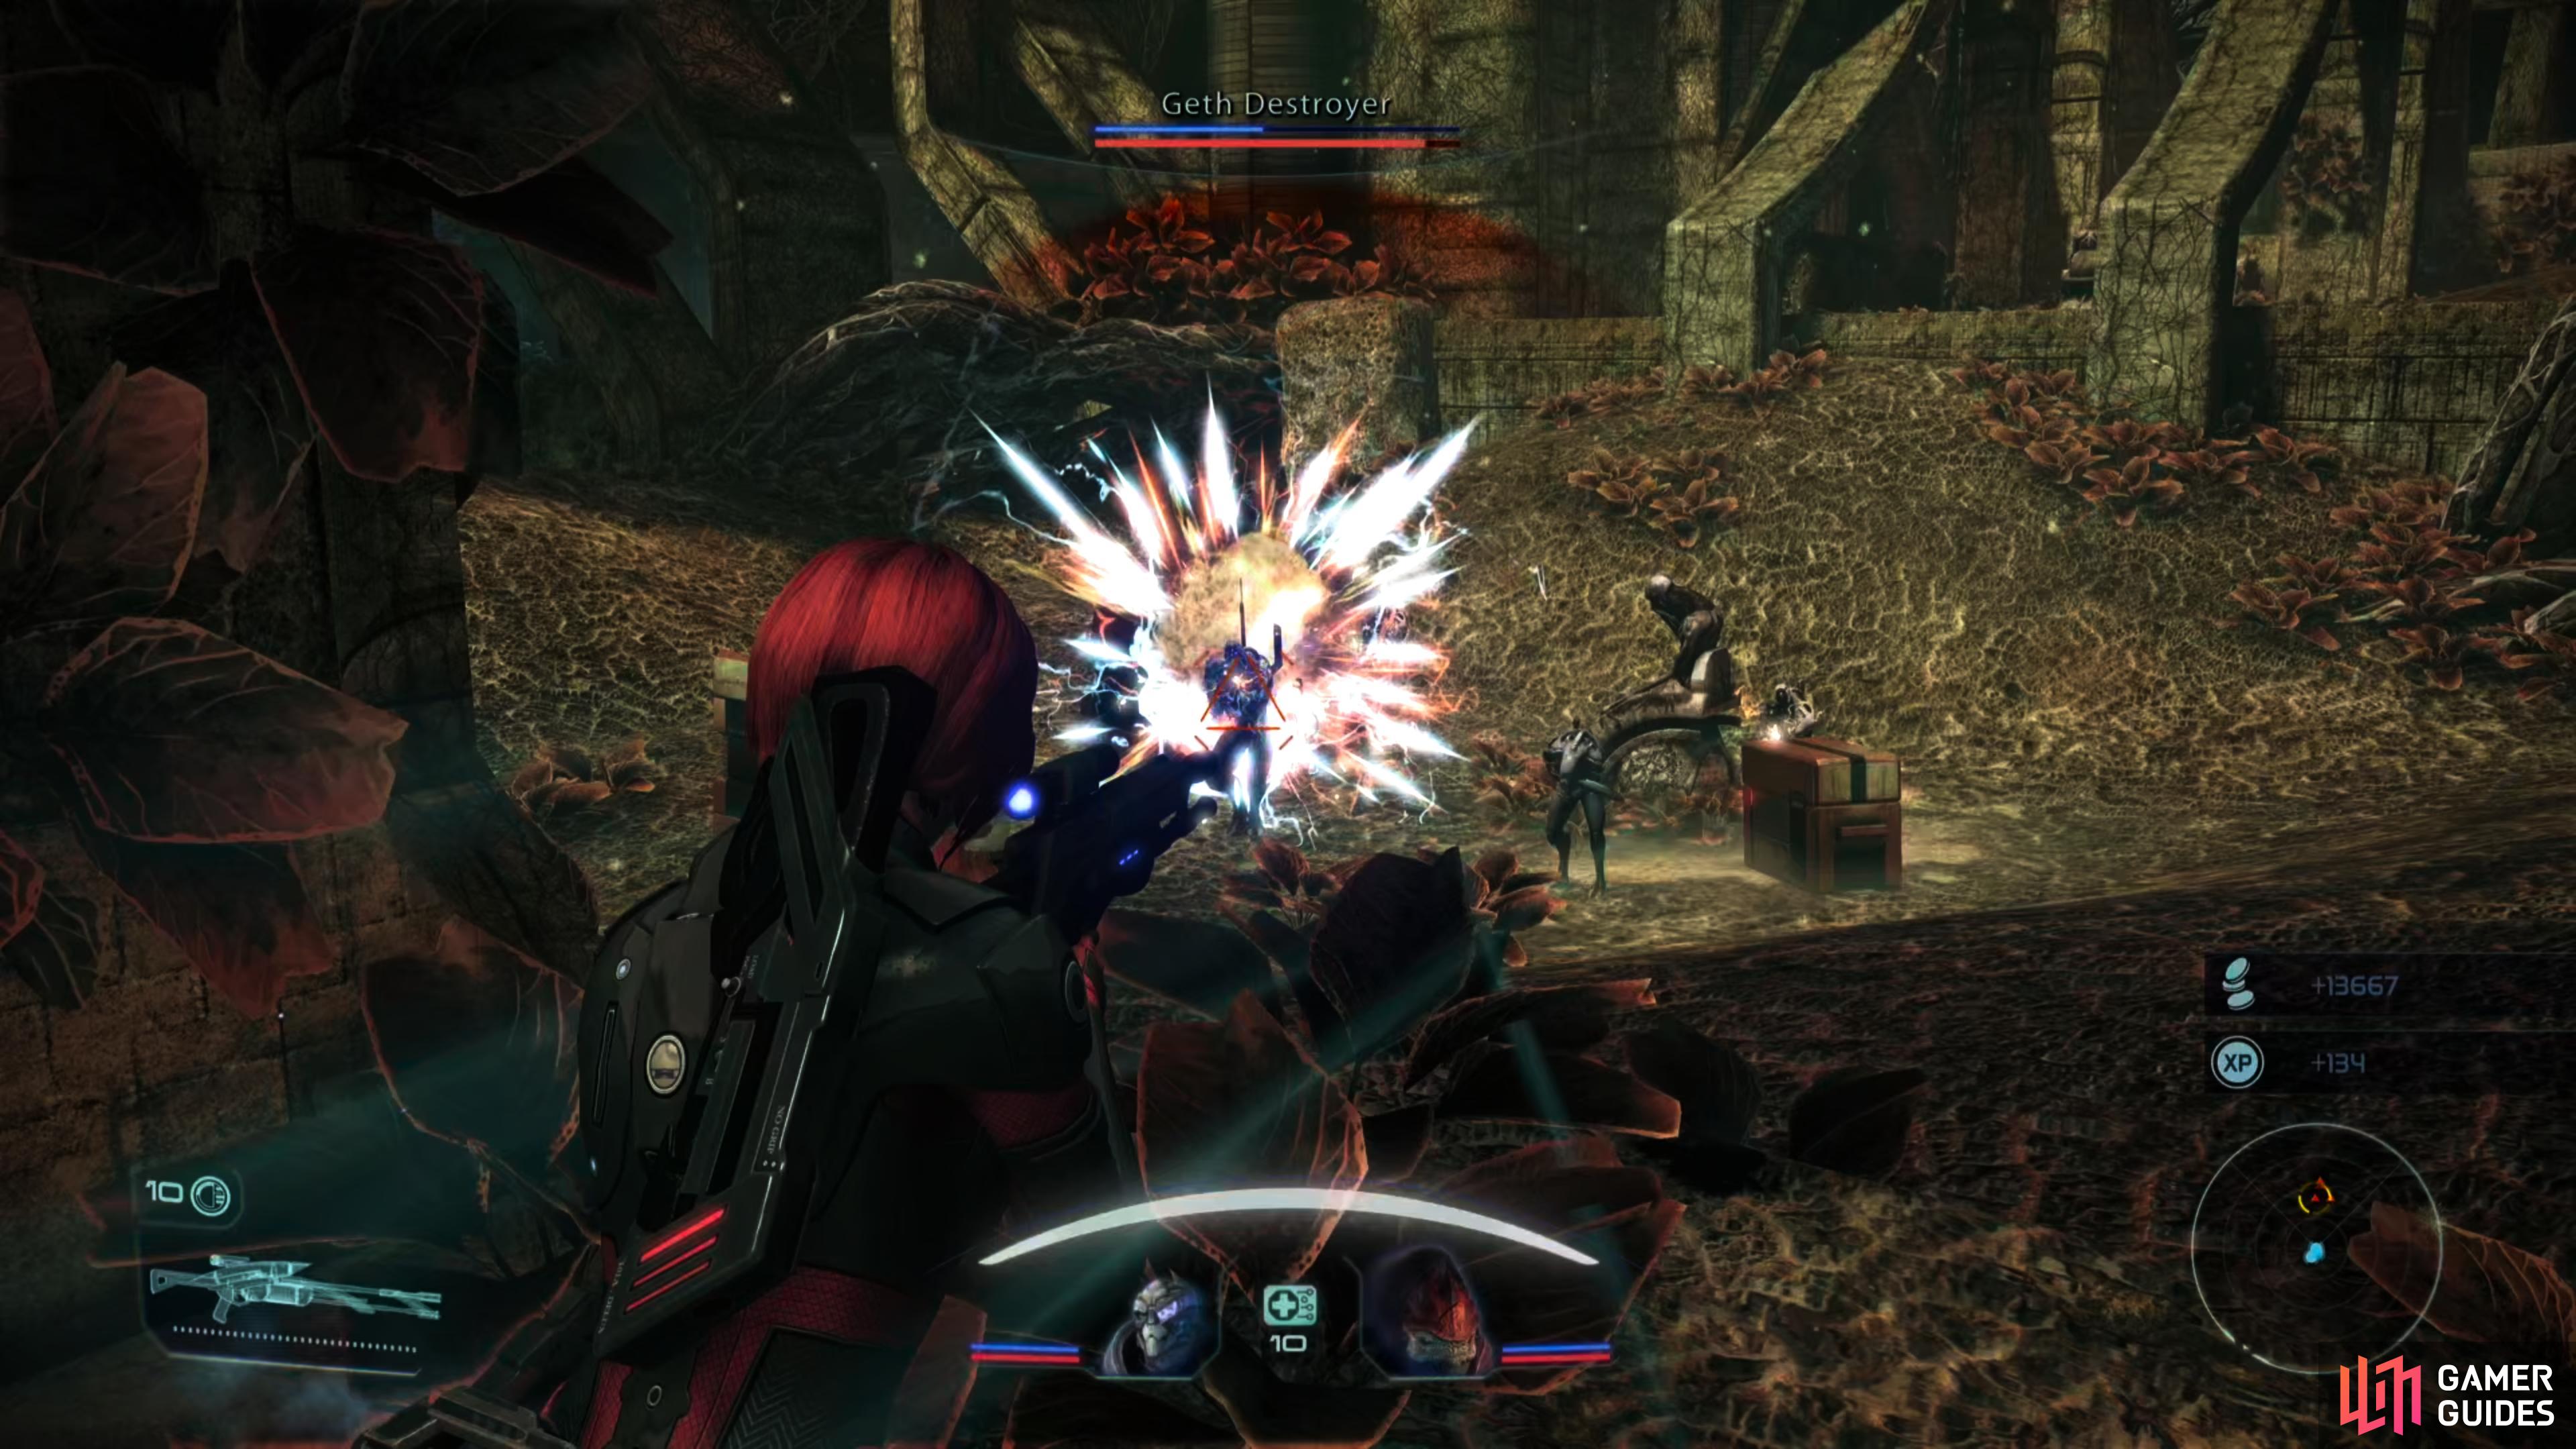
After clearing the Trench, head down the western passage towards the Courtyard, stopping to plunder a Crate on your way. Follow the path south, then east as it turns until you hit another fork. If you go south you can ascend a ramp to reach a ledge overlooking the Courtyard, where you’ll find numerous Geth Troopers and some Geth Destroyers.
This spot is advantageous because the enemy can’t reach you here, which defangs the Geth Destroyers significantly. While they can shoot you, you can always just back down off the ledge should you need to recover, making this an ideal sniping spot. Going west will also get you to the Courtyard, albeit without any of the aforementioned advantages. After you deal with the geth, continue on into the Courtyard, dispatch two more Geth Shock Troopers on a balcony to the east, then loot a Secure Crate [Average].
As you probably noticed while exploring the Courtyard, your radar is on the fritz, which usually only means one of two things: Snipers or Sappers. In this case, it’s the latter. Head down the trench at the eastern end of the Courtyard (passing under the balcony where you dispatch the two Shock Troopers just a moment ago, and when you surface, position yourself so that the Geth Stalkers in the clearing beyond can only attack you from a few positions, and even then, only by exposing themselves to clear counter-fire.
Pick the Sappers off and note a passage leading to an elevator to the west. Ignore it for now and backtrack to the trench under the balcony and search for a door to the east. Go through it, ride up the elevator to the balcony, loot a Secure Crate [Average], then head back down and go down the previously-neglected elevator behind the Sappers.
(1 of 3) You’ll find numerous powerful geth in the Security Station.
Ilos: Security Station
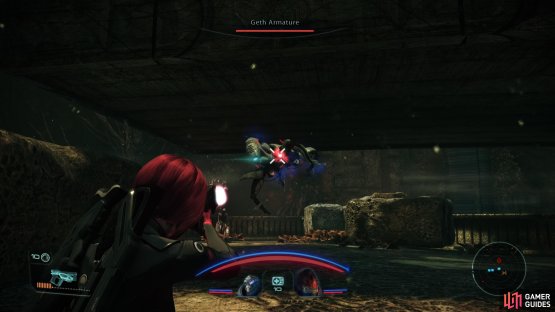
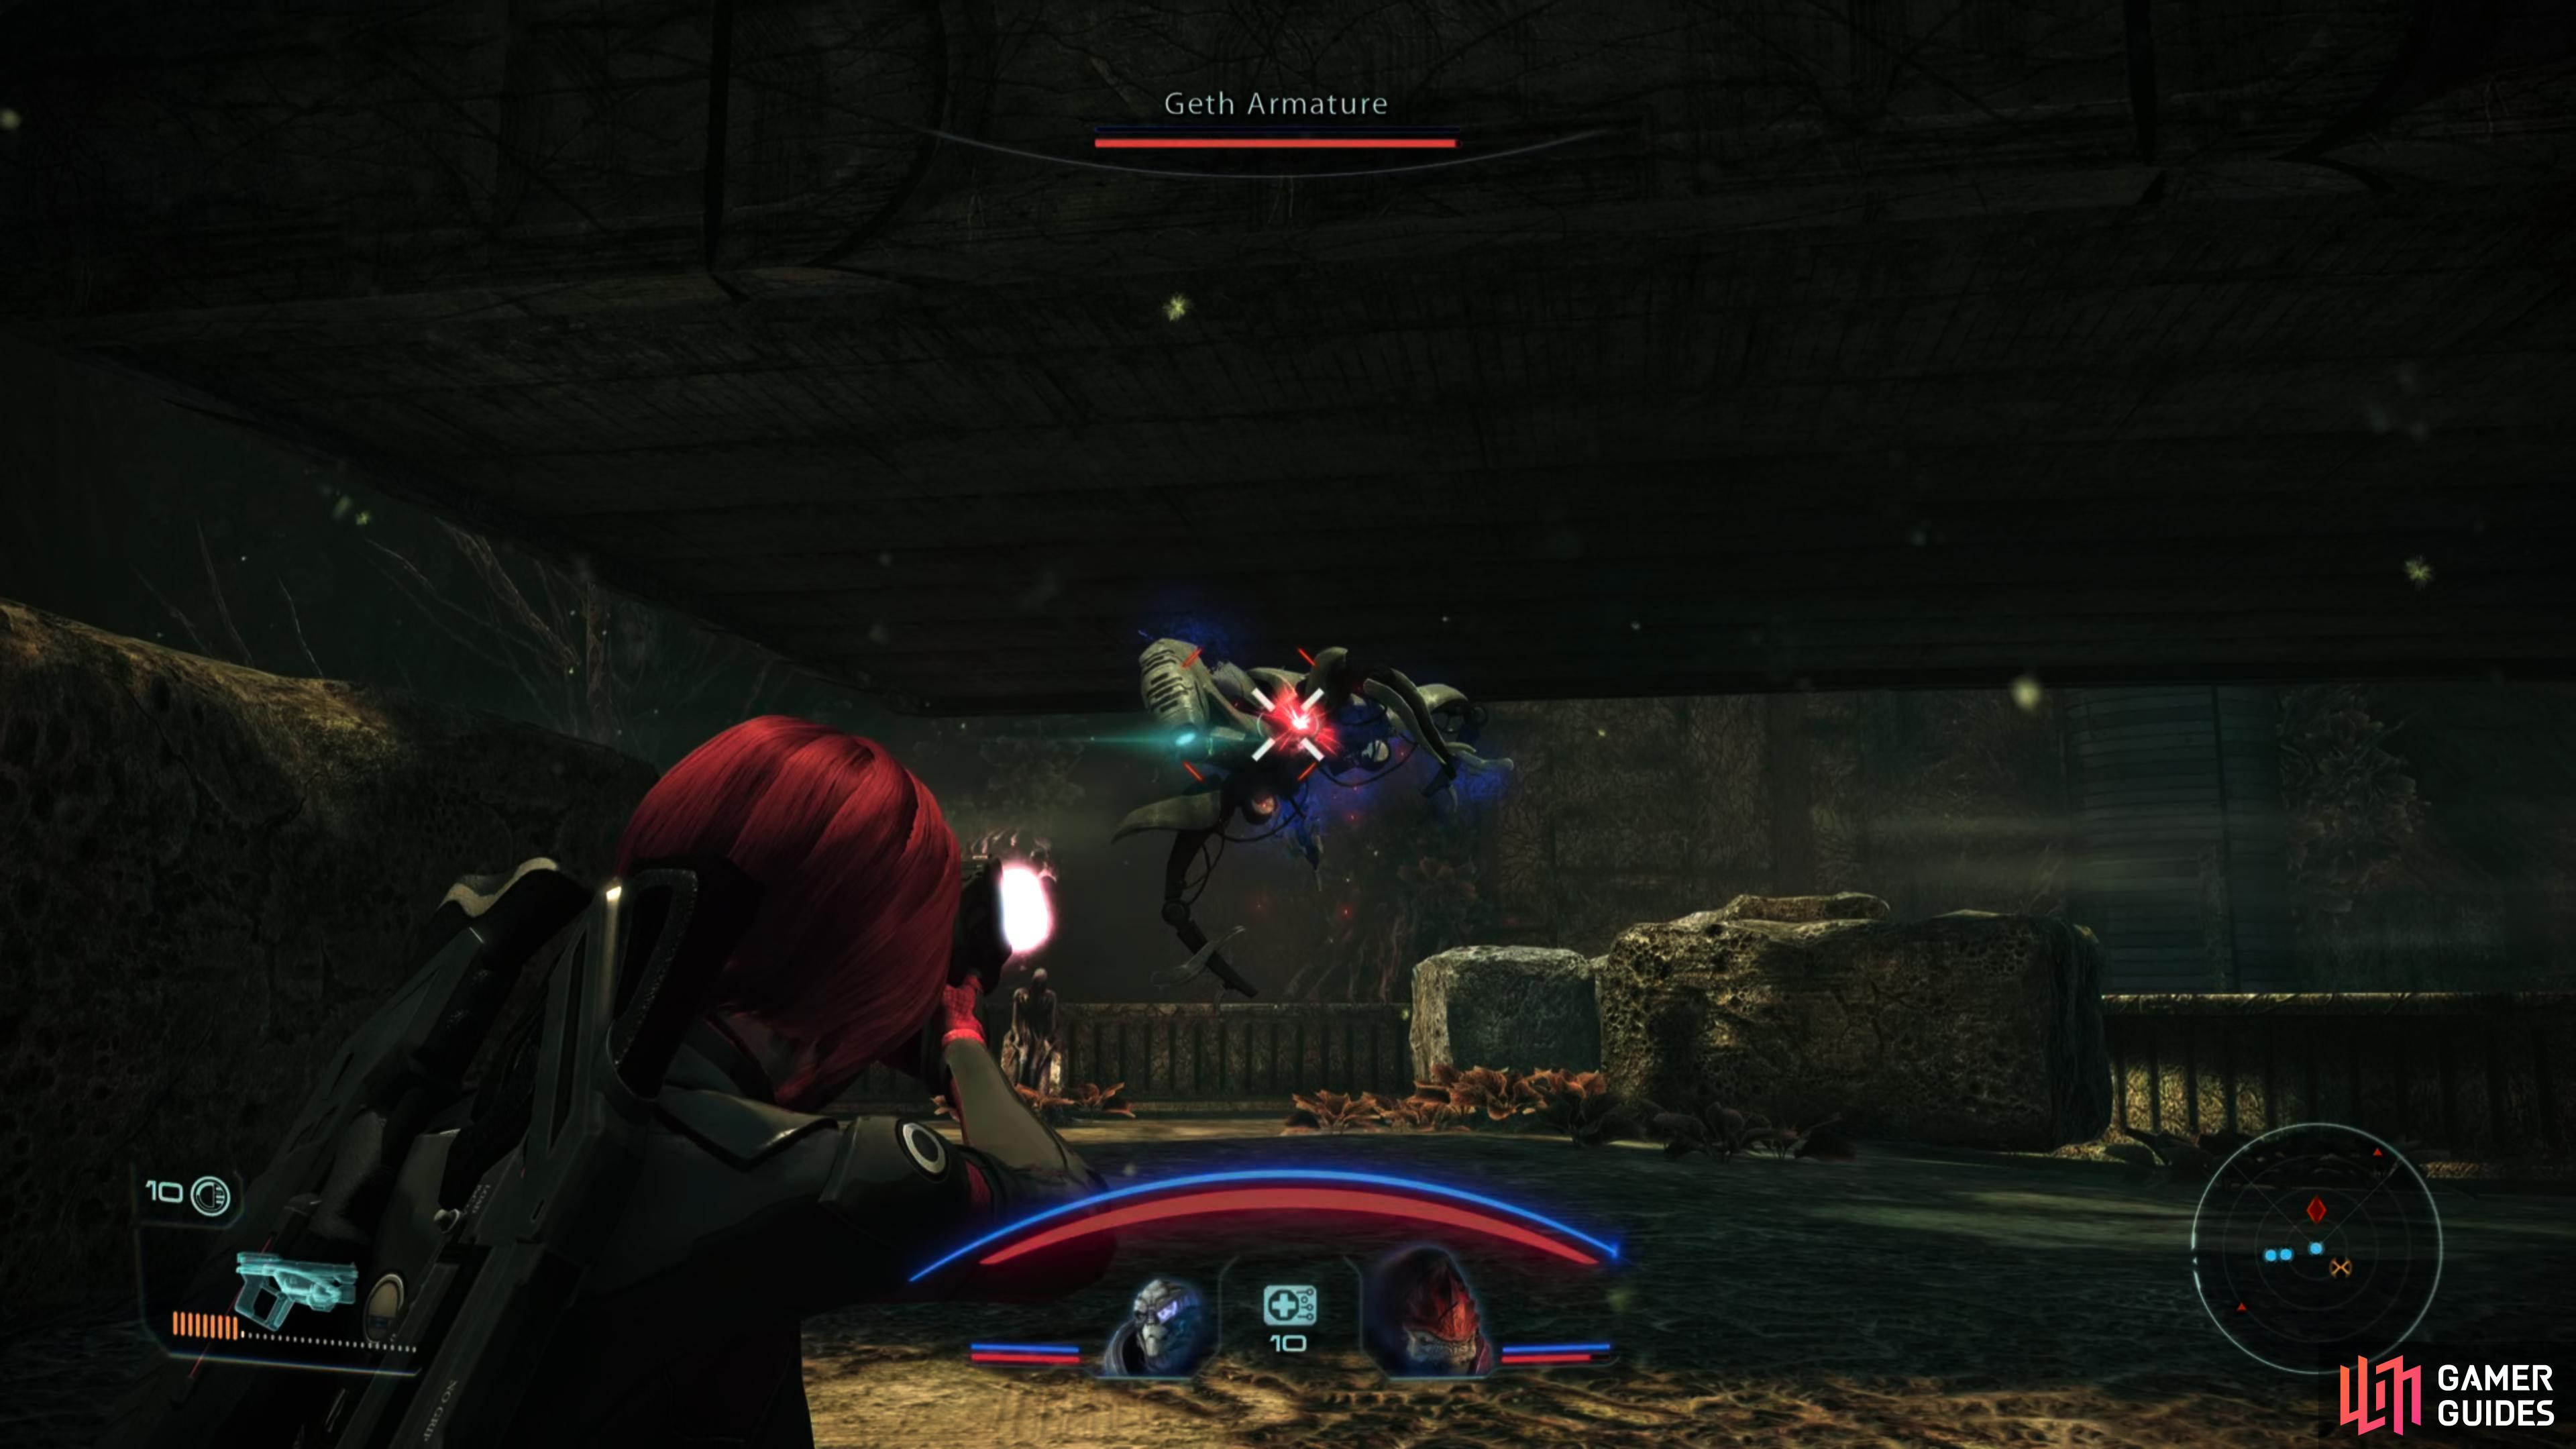
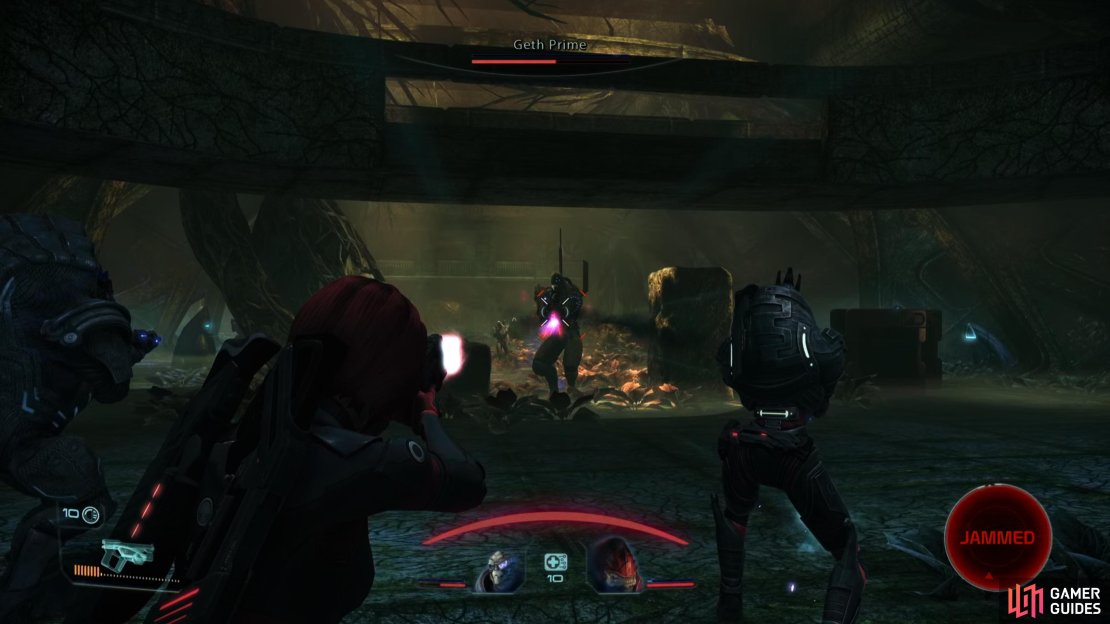
When the elevator stops, disembark and head north down a tunnel and be prepared for a fight when you reach the Armature Bay - the wide open clearing crawling with geth. You’ll face a few powerful foes here, surprisingly not including any Geth Armatures. Instead your enemies include a Geth Prime, a Geth Destroyer and Geth Shock Troopers, which are trouble enough.
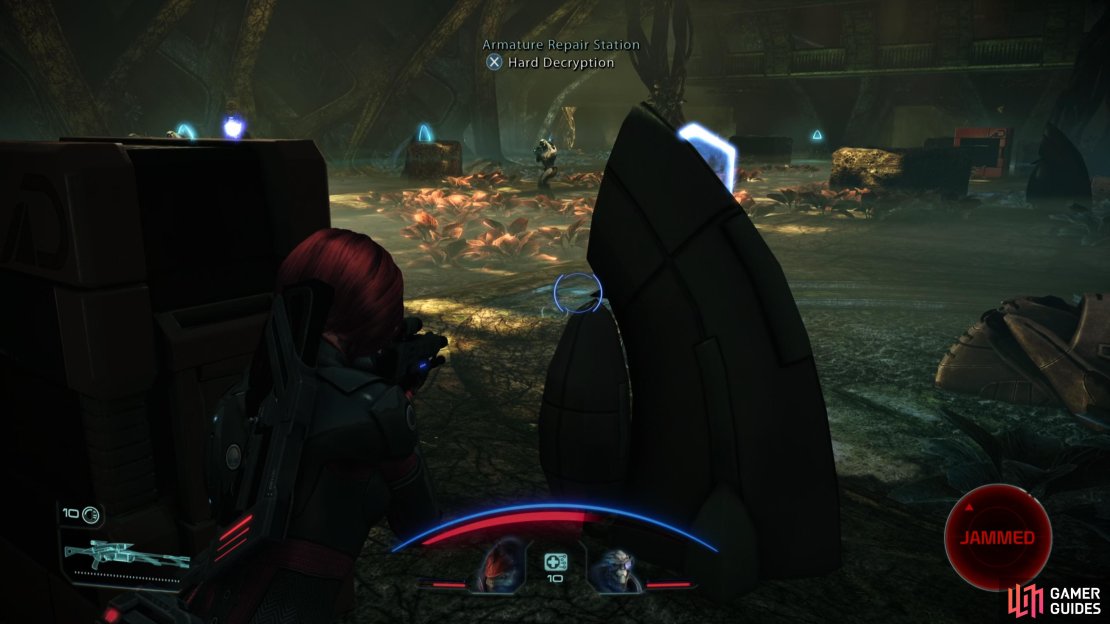
The role the deactivated Geth Armatures play in this fight are as opportunities, not enemies, as they can be reactivated by using various Geth Repair Stations [Hard]. The easiest one to access is just to the right (east) as you enter the courtyard, as a crate will provide you a significant amount of cover, potentially allowing you to waltz right up to it. If you can manage to activate even one of them, this fight becomes much easier, as does activating subsequent Armatures. Popping on Immunity will also make reaching the consoles much easier.
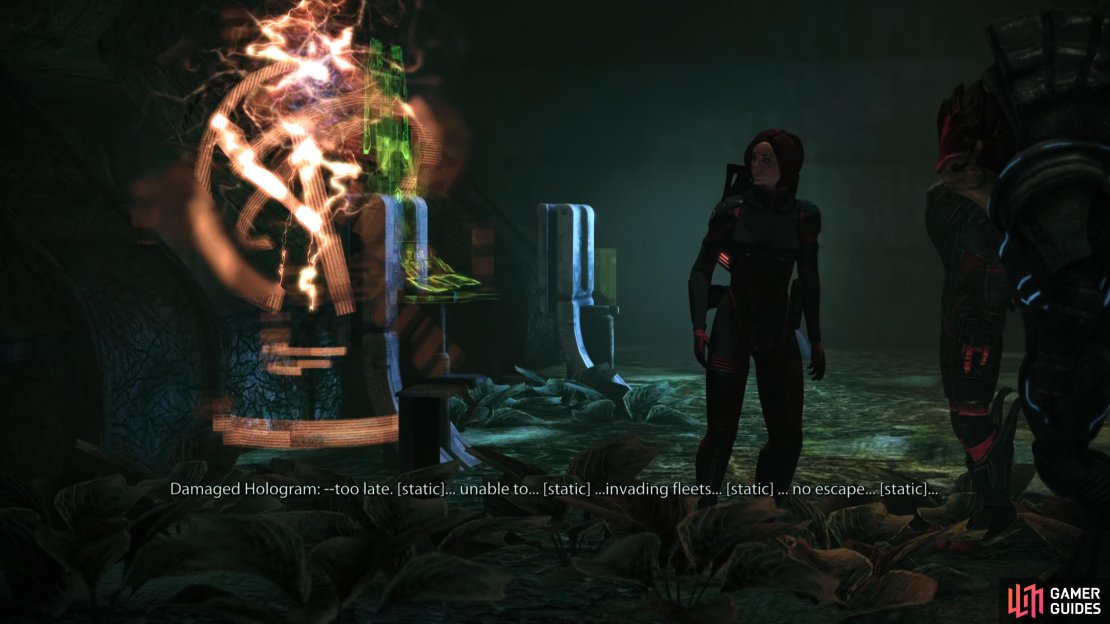
Deal with the geth however you can, then make your way to the northern end of the Armature Bay to find some ramps leading up to the Security Room. First search the northeastern corner of the Armature Bay to find a Hardened Crate [Hard], then go up to the Security Room and activate a Security Panel. After a rather gloomy ancient message, head back down to the Armature Bay and make your way down a tunnel to the north, which terminates in an elevator… an elevator which will take you back to the Plaza.
Convenient!
When you’re back in the Plaza, head north to return to the Mako, get in your tank, and drive it through the now unsealed bunker door.
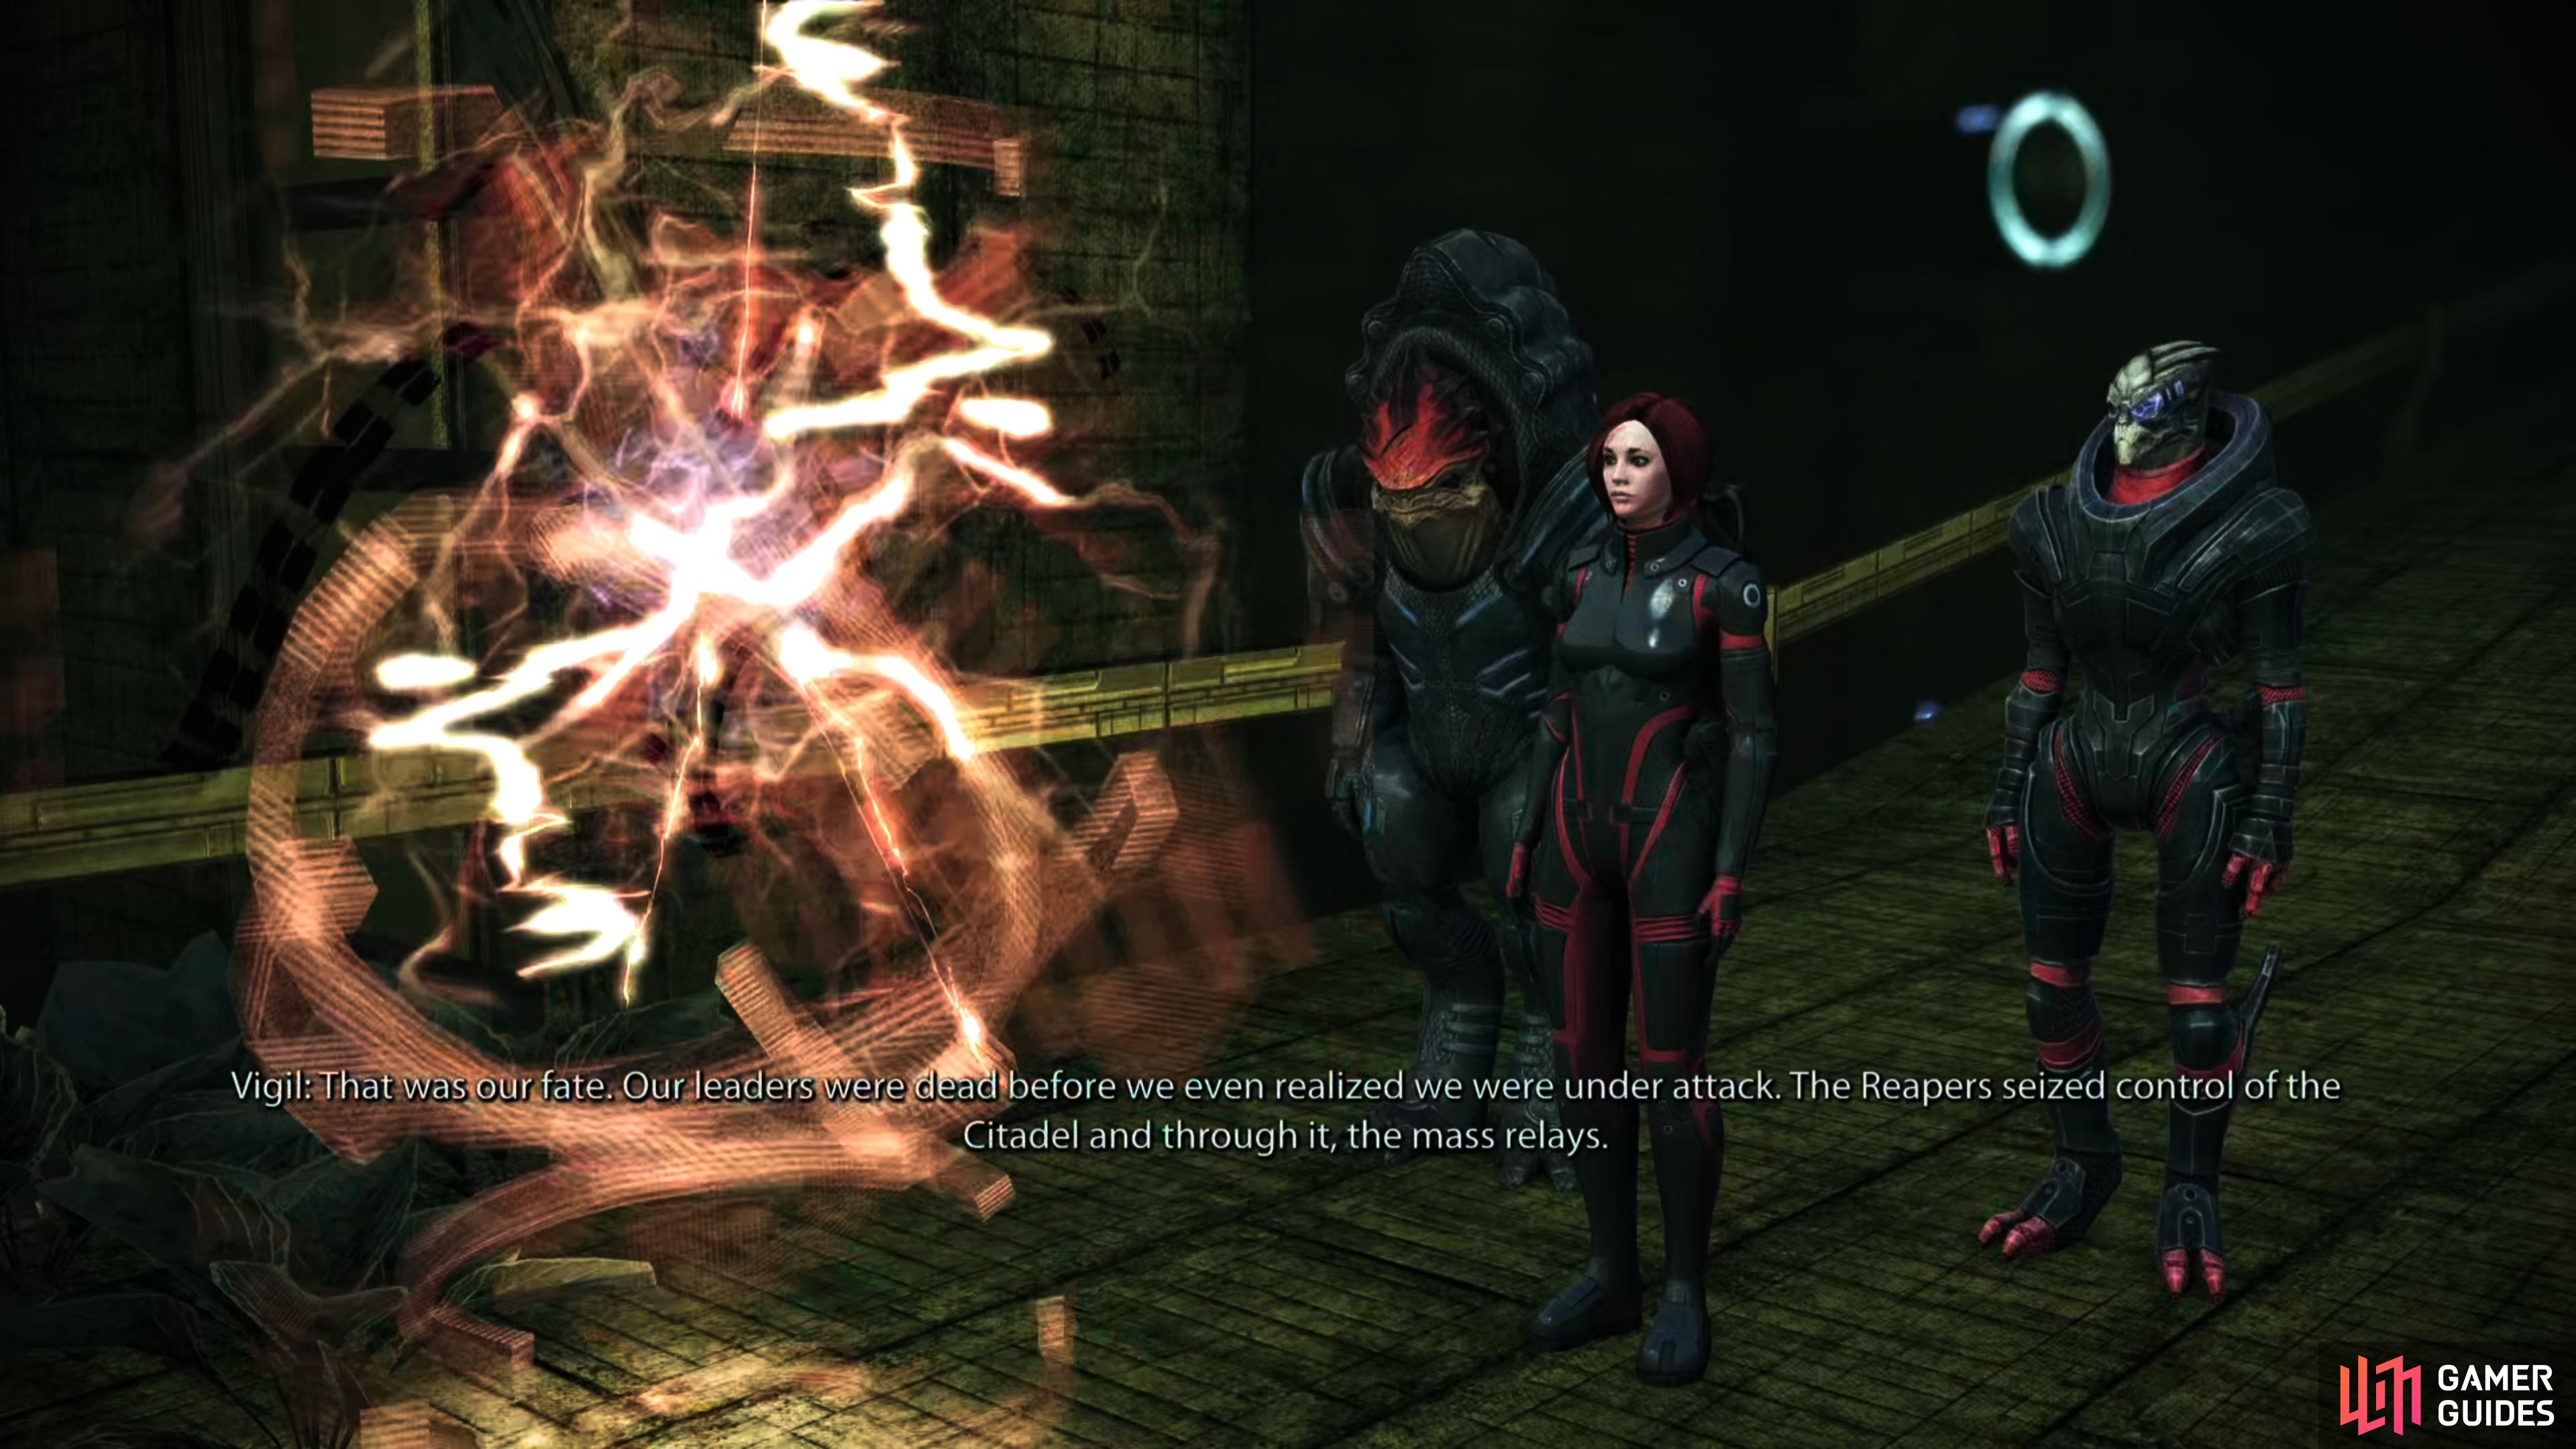
Vigil will expose a great deal of lore, setting the stakes for the upcoming fight.
Ilos: Archives
Behold, the final Mako section of the game.
Drive north down the linear path, killing a handful of Geth Rocket Troopers when you encounter them. Eventually your forward progress will be hindered by a barrier, prompting you to exit the Mako and go through a door to the east. Ride an elevator down and when it stops, head forward to encounter Vigil. Exhaust the Prothean VI’s dialog options for perhaps the greatest lore dump in the entire game, making it clear what exactly happened to the Protheans, what the Reapers have in store for all advanced organic life in the galaxy, and just how they plan to carry out their genocidal crusade.
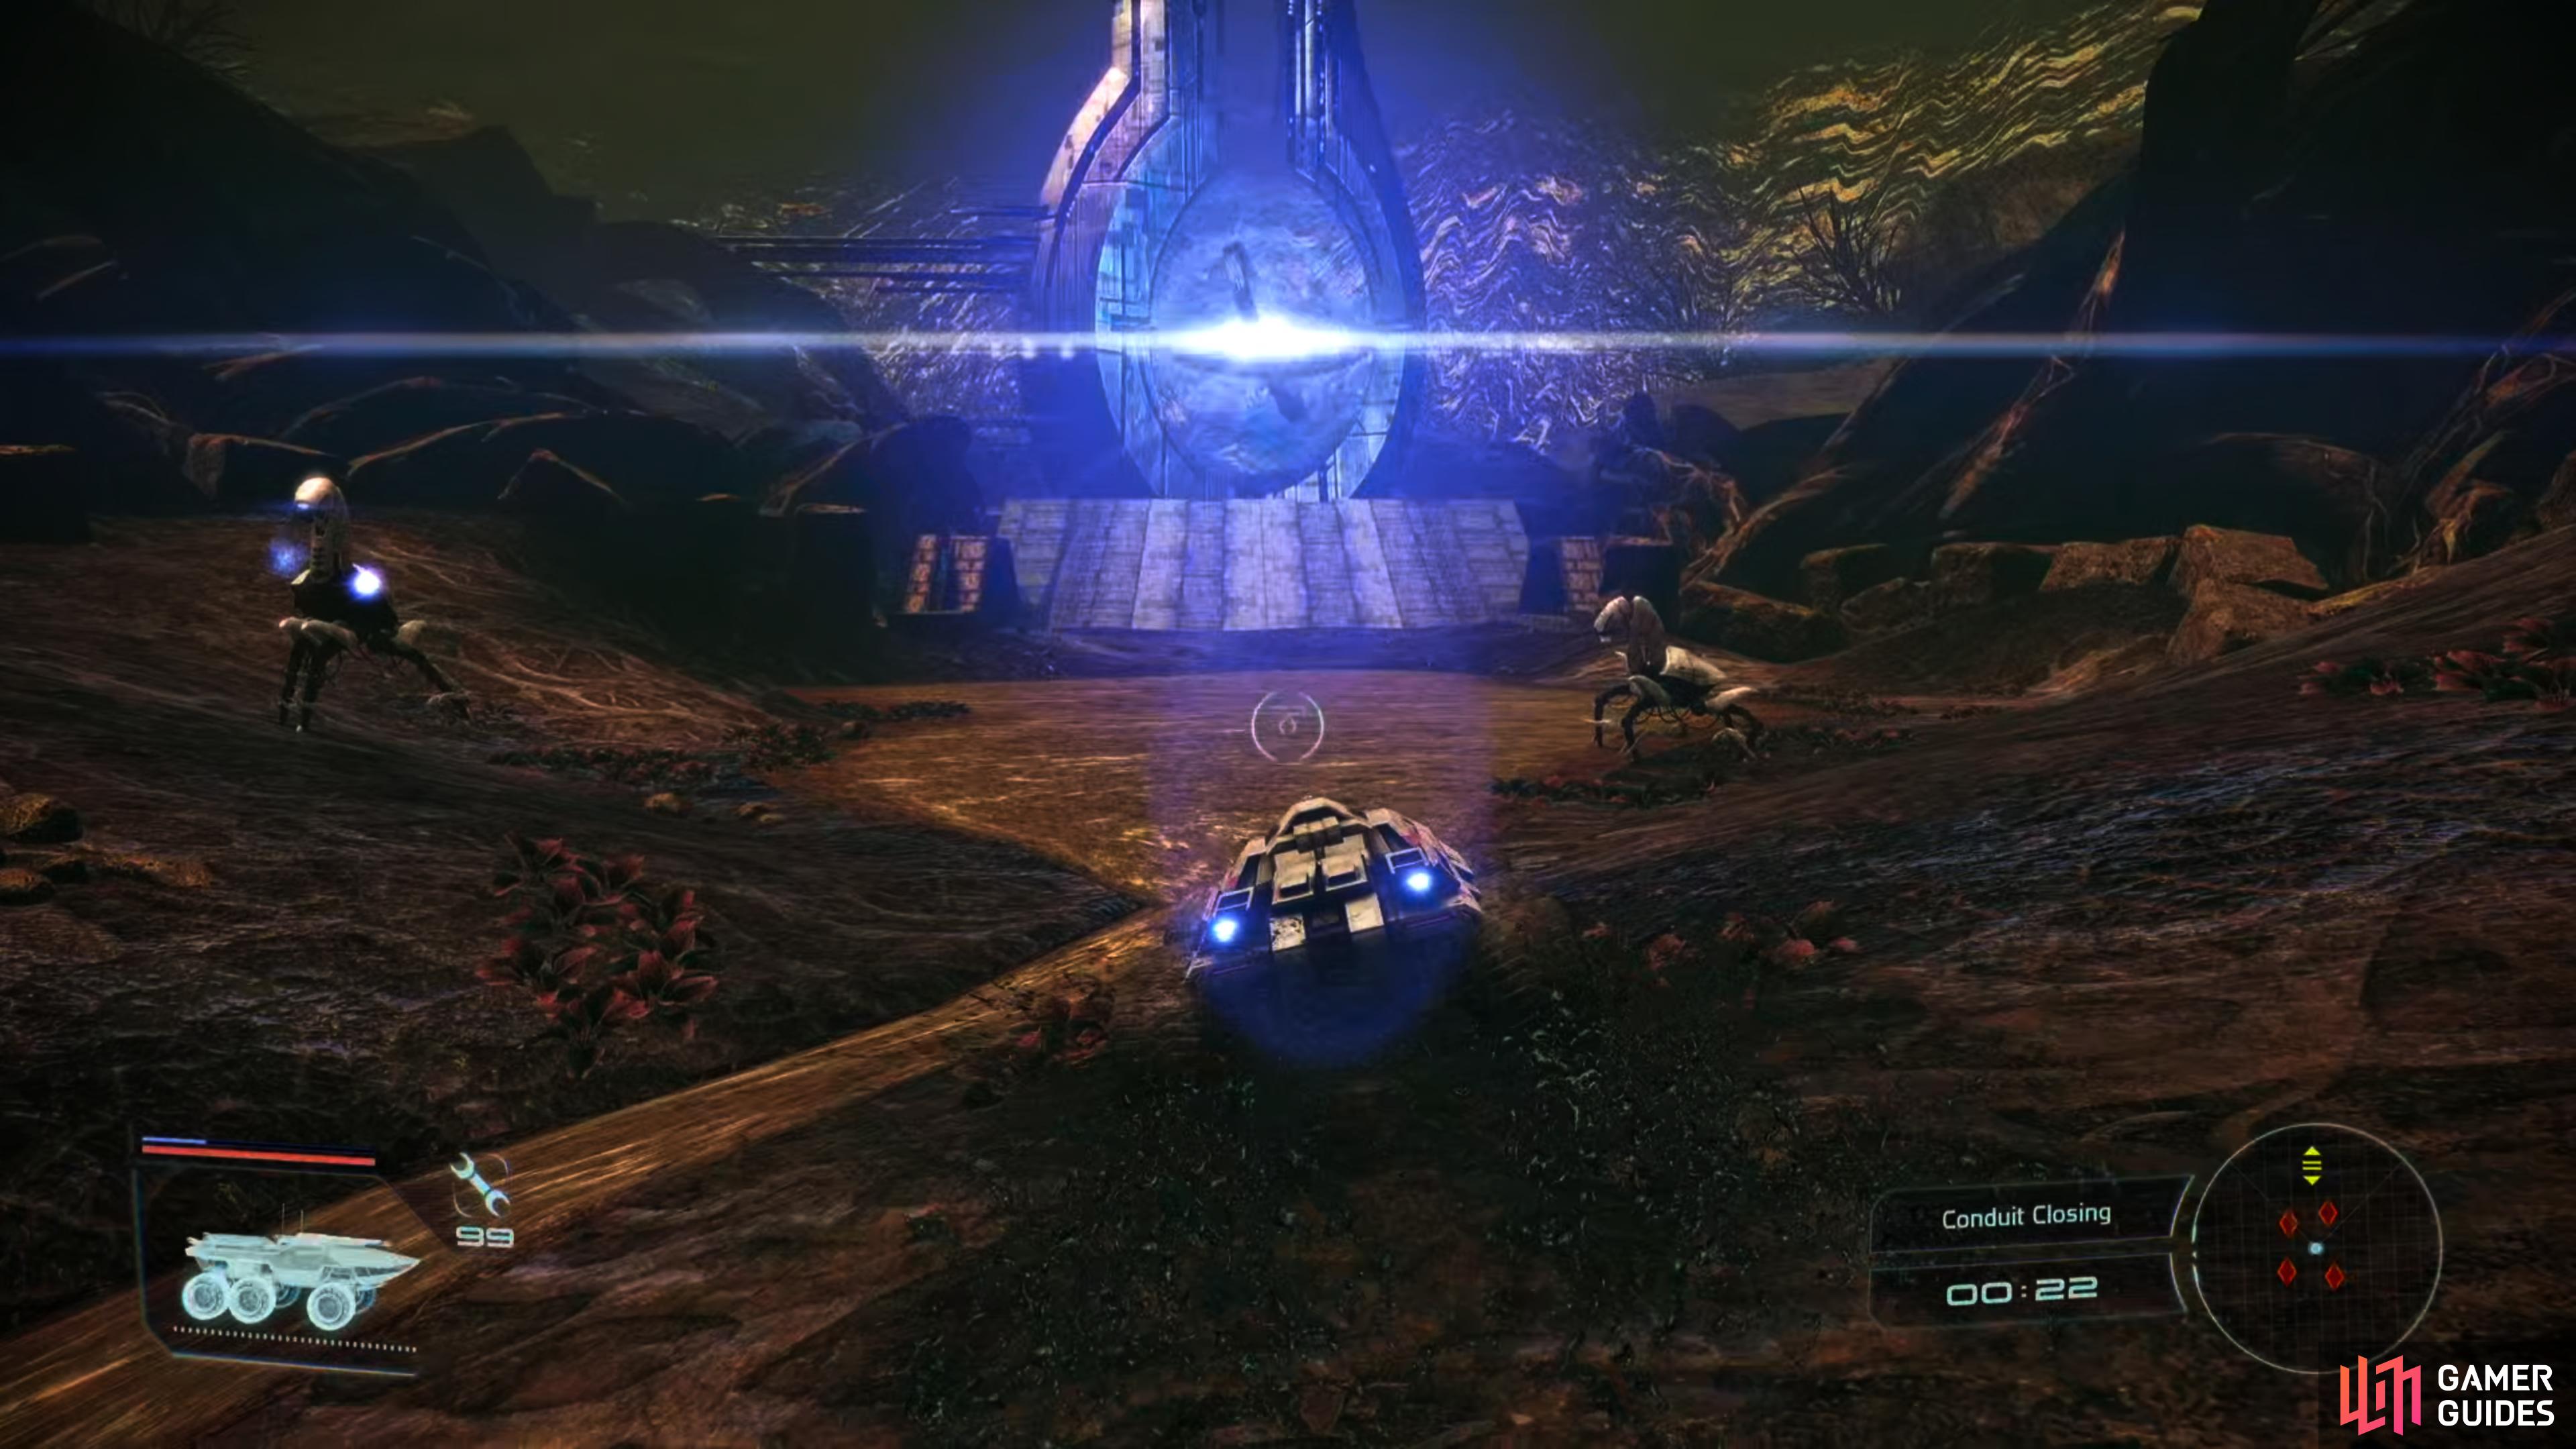
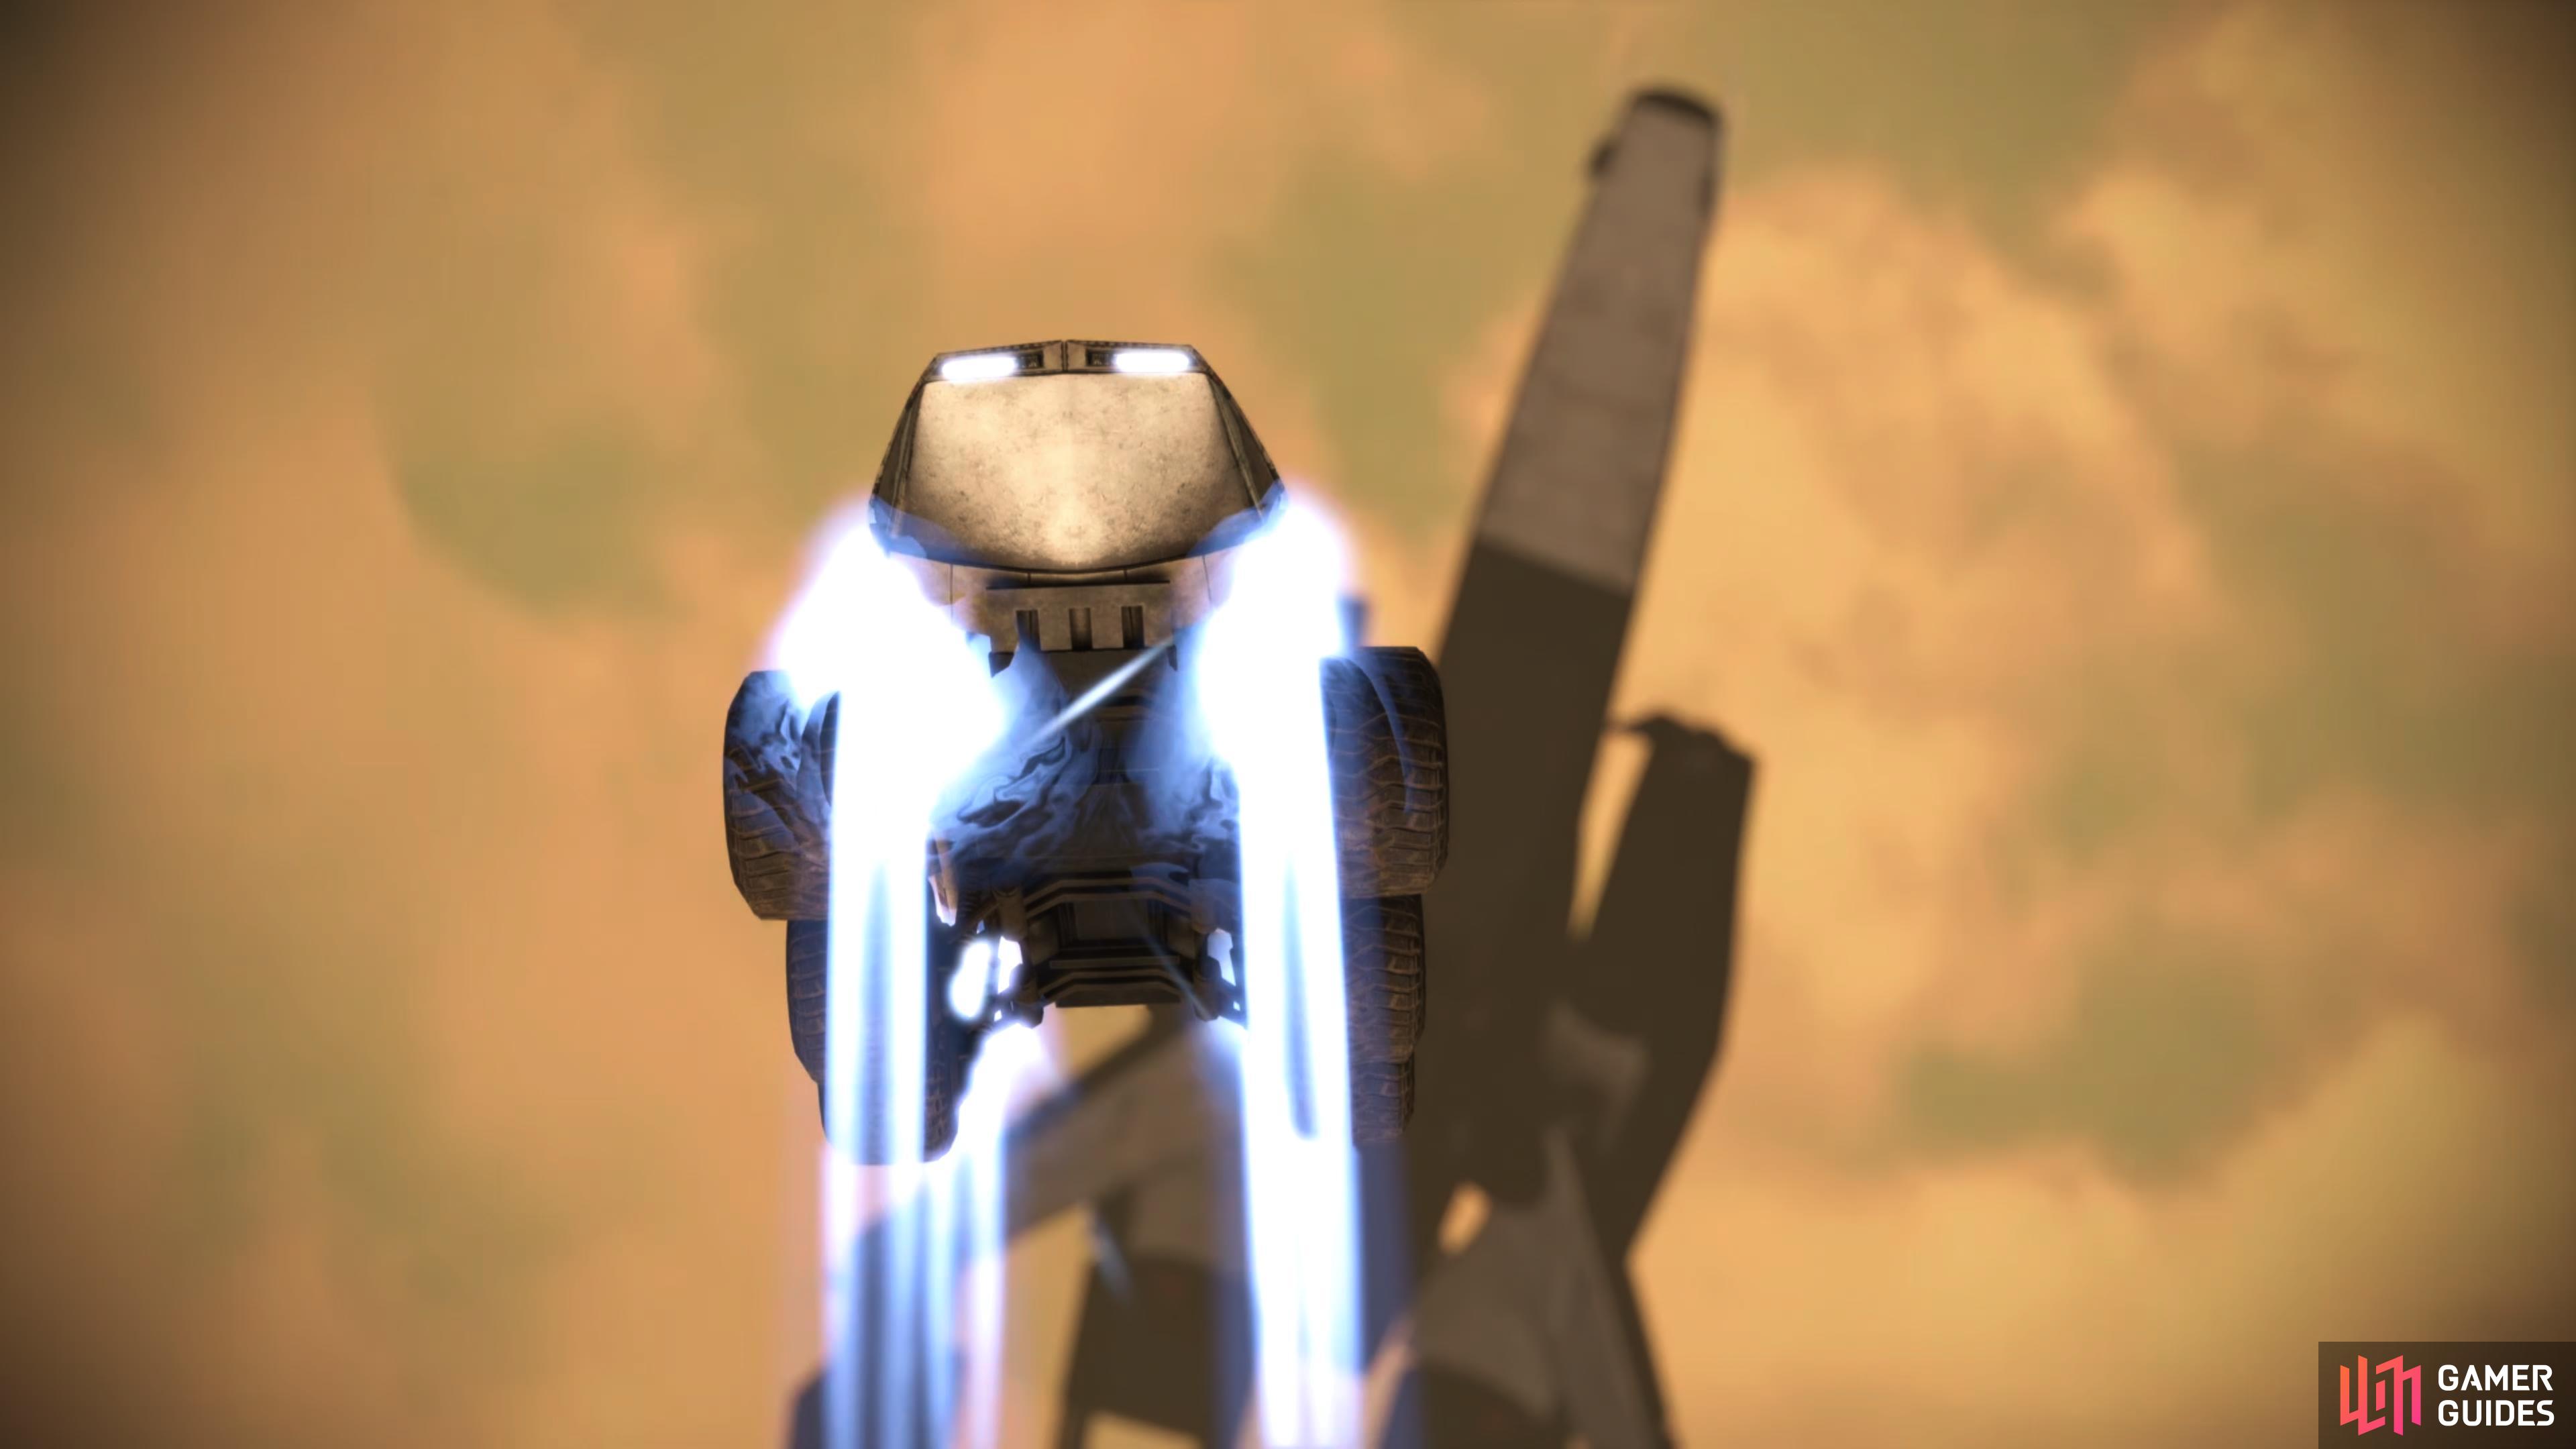
Ignore the Colossi and blitz towards the Conduit before time expires.
Ilos: Trench Run
After you’re done listening to Vigil’s expositional dialog, return to the Mako and keep driving. The path ahead is linear the whole way forward, and after smiting two more Geth Rocket Troopers you’ll turn west to enter the Trench Run area.
Drop off a ledge to reach the combat-intensive section of this final Mako run. The first batch of enemies you’ll encounter includes several groups of Geth Rocket Troopers and Shock Troopers, all presided over by a Geth Colossus. Pick off the Troopers, then keep ramming the Colossus to knock it down while feeding it machine gun and cannon fire. Cheap, but effective. Not our fault our tank is bigger and better than theirs. After that you’ll have a brief lull before you’re confronted by four Geth Rocket Troopers, then after another short drive you’ll encounter four more Geth Rocket Troopers.
Saren’s not sending his best.
Shortly after the second quartet of Geth Rocket Troopers you’ll finally spot the Conduit in the distance, and after some chatter and some scenes you’ll find that Saren stashed most of his armor in front of the Conduit.
You don’t have time to fight them. When you’re back in control you’ll have a mere forty seconds before the Conduity closes, and with it, your window of opportunity to save the galaxy. Ignore the Colossi lining the path ahead and just blitz towards the Conduit, using your booster as necessary. No sense in worrying about damage, either, as once the Mako has made it through the Conduit, it’ll have outlived its usefulness.
Reach the Conduit before it closes and you’ll return to the Citadel, hopefully in time for the stop Saren. For chasing Saren through Ilos you’ll earn the Meritorious Service Medal achievement.


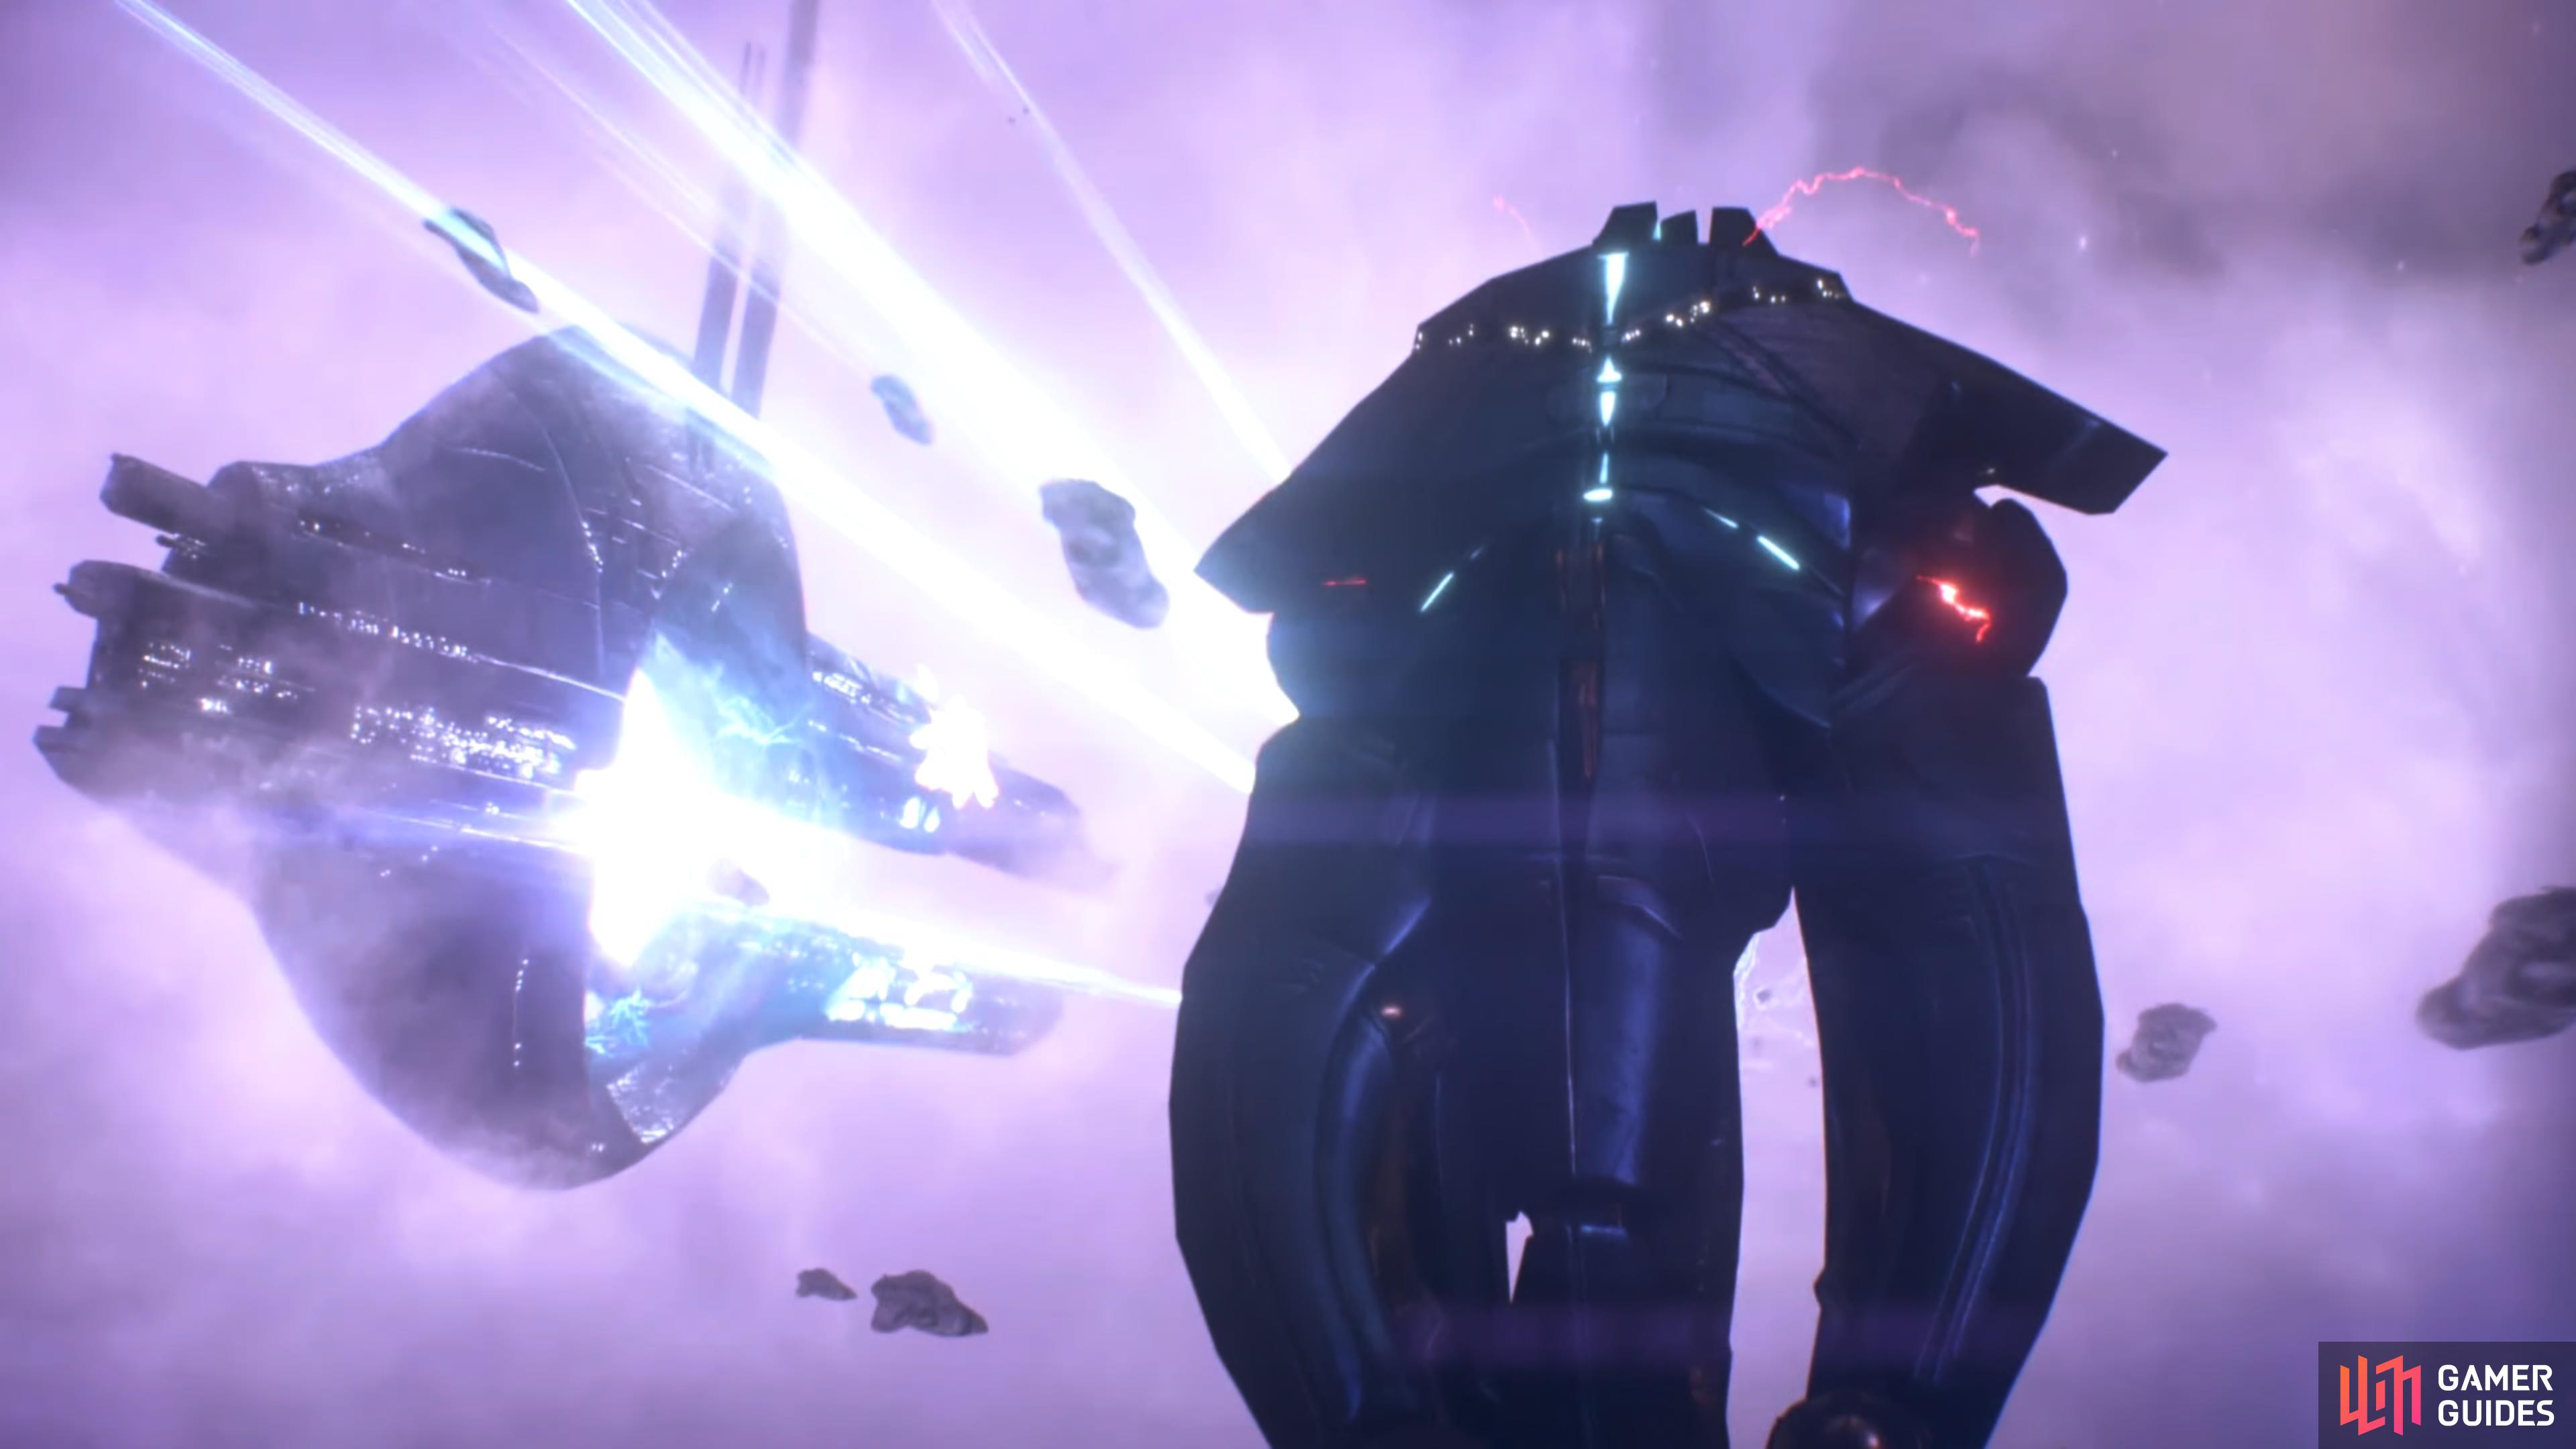
Sovereign and its geth fleet arrives at the Citadel.

When you are in sight of the conduit, and are racing against a countdown timer IGNORE THE ARMATURES &/or other enemies and head straight for the Mass Relay- without hesitation! The shields on the Mako should be sufficient enough to sustain any damage taken from enemy fire