
This section of the mission on Virmire will only begin after you reach the Salarian Camp and deal with some business there. You’ll get a chance to pick a new squad after that (down Kaiden or Ashley, and perhaps Wrex, depending on your choices back at the Salarian Camp) and will be tasked with a new objective: Infiltrate Saren’s base.
While your main task is simply to fight your way into the base, there is a sub-objective you can pursue; namely, while you fight towards the base, you can keep an eye out for opportunities to disrupt Saren’s defenses and make things easier for the other infiltration teams. If you have a look on your map, you’ll see a “Communications Tower” to the northwest of your starting position, a “Satellite Uplink Tower” further west, a “Refueling Station” to the north of the Satellite Uplink Tower, and finally your destination, the “Research Facility” along the far western end of the map.
While you’ll have to pass through the Satellite Uplink Tower en route to the Research Facility, actually doing anything to help Kirrahe is completely optional, and frankly, not very consequential either way. The sole exception to this is the Refueling Station, at which your actions will determine Kirrahe’s fate later on in the mission. For the sake of completionism, we’ll visit each point of interest and discuss your options there.

Defeat the geth guarding the Communications Tower,
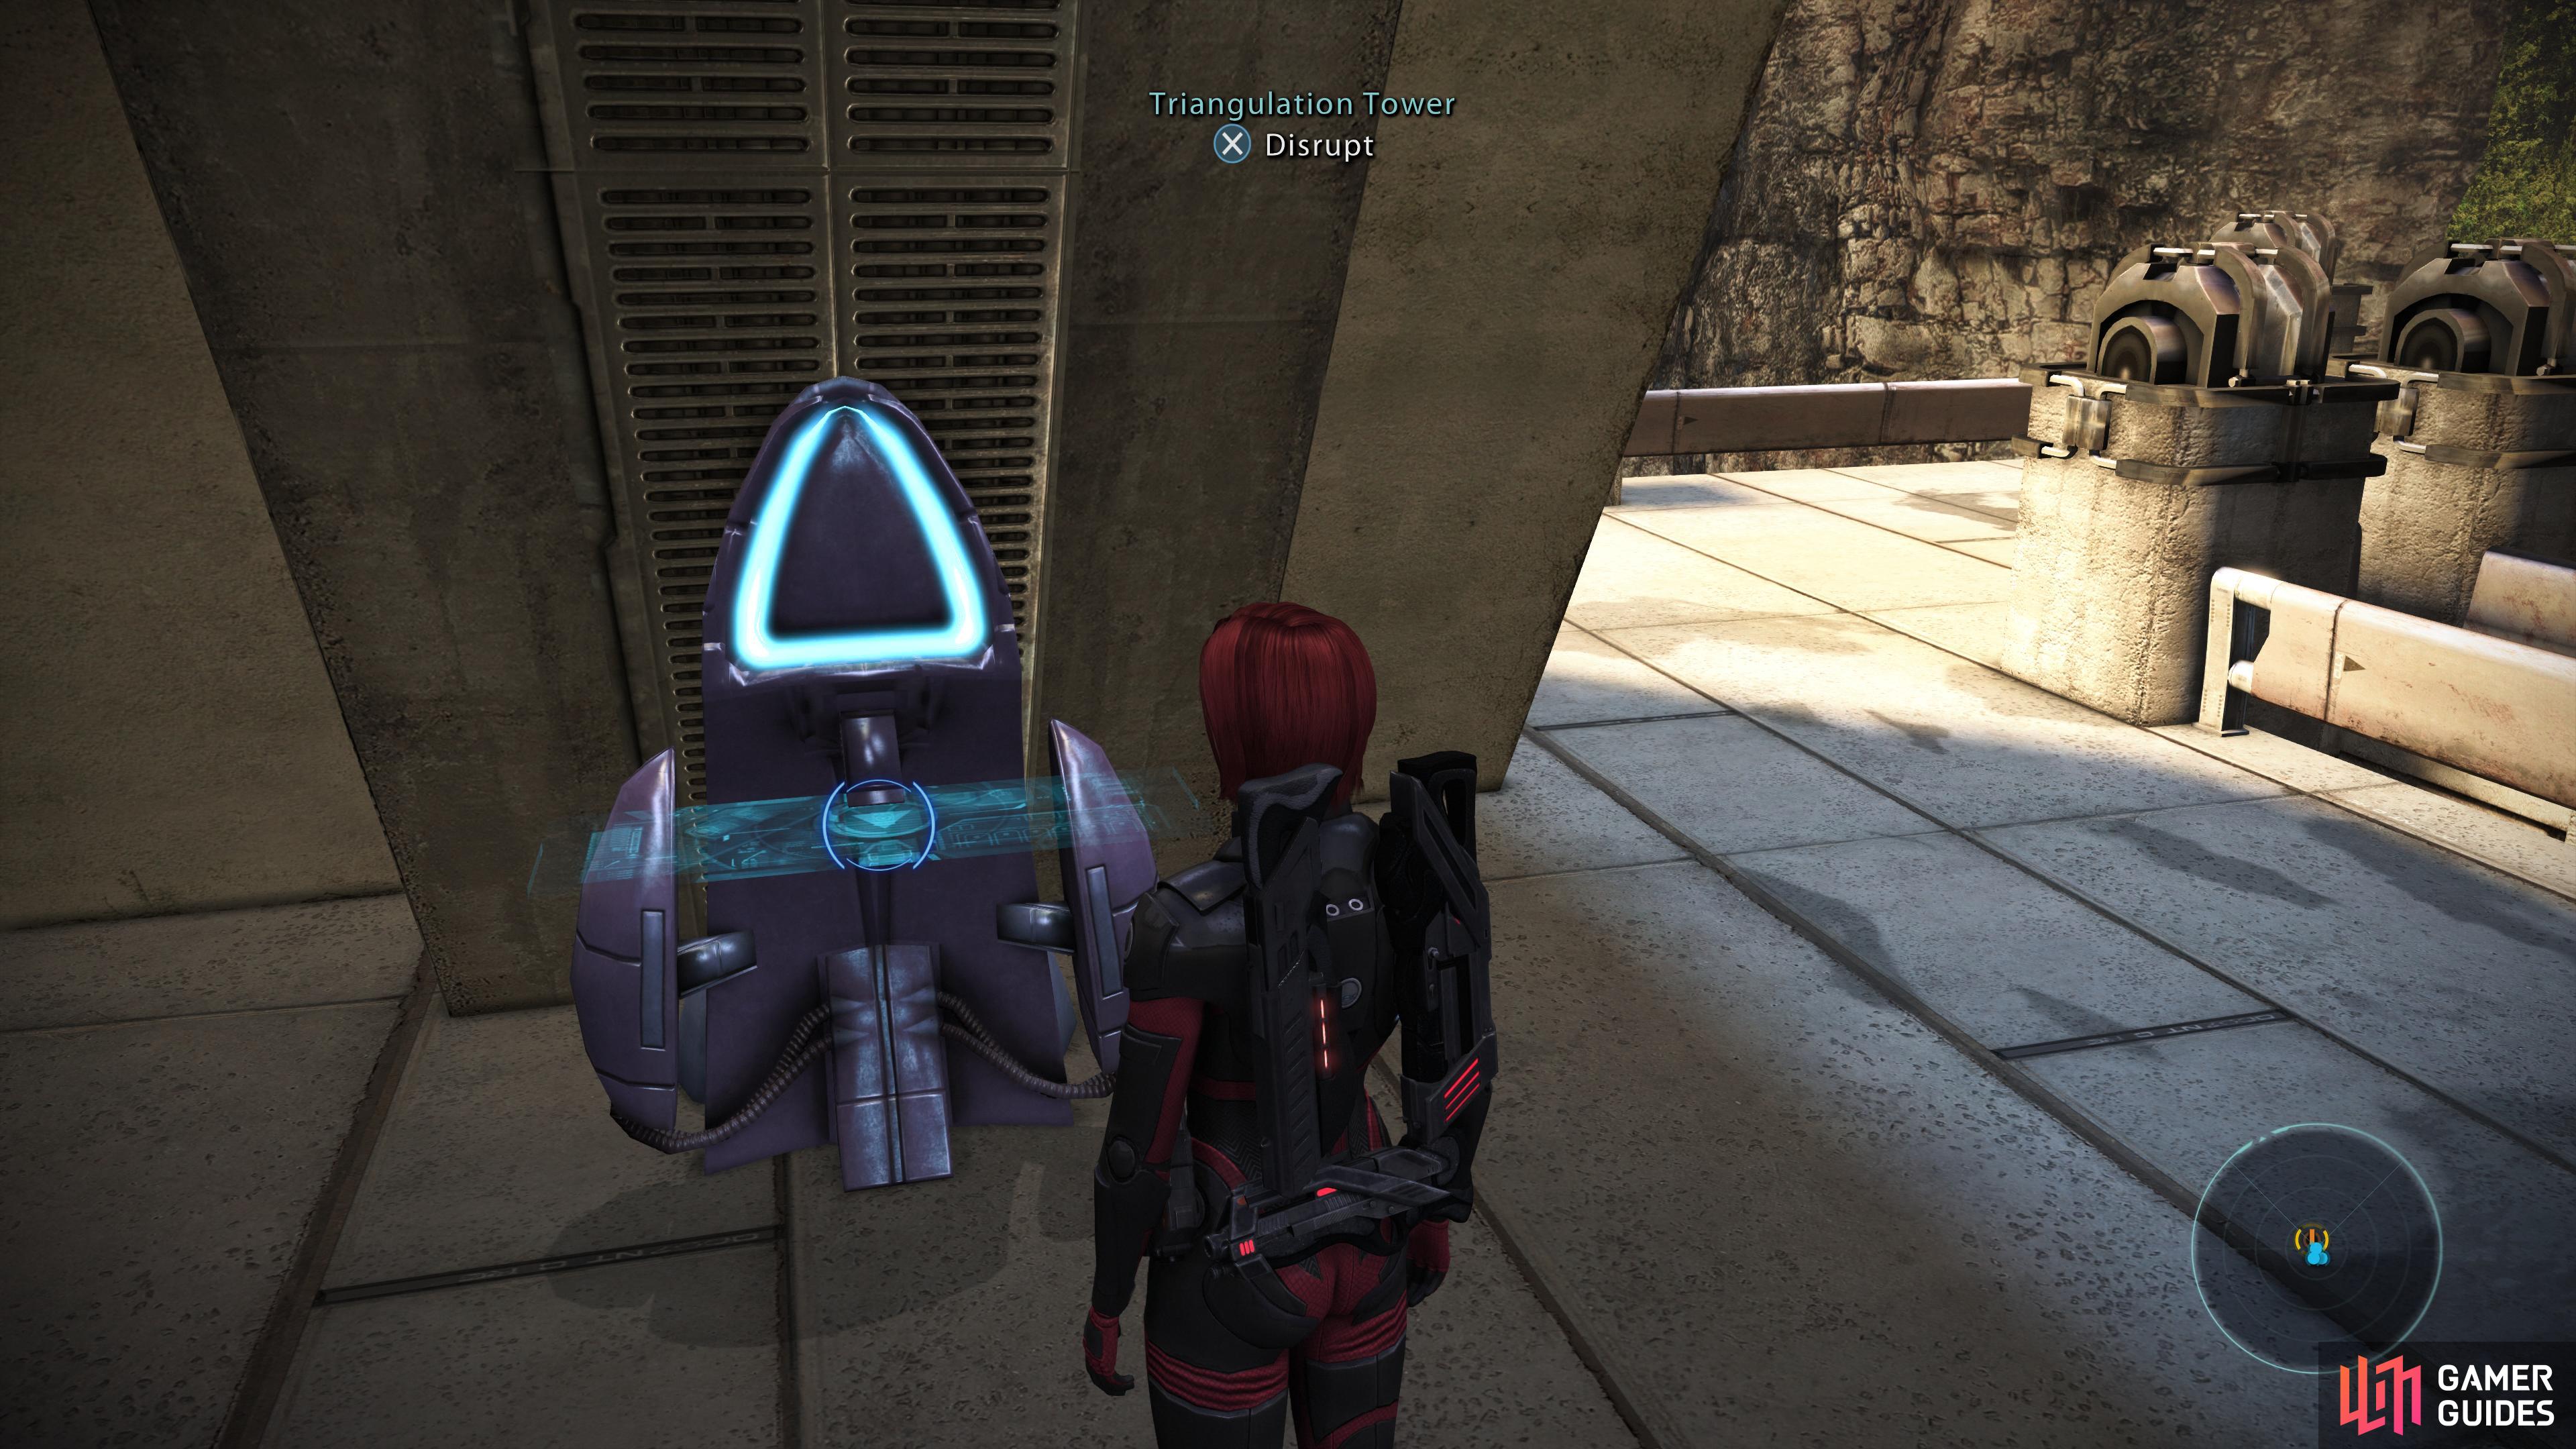
and deactivate enemy comms via the Triangulation Tower console.
Communications Tower
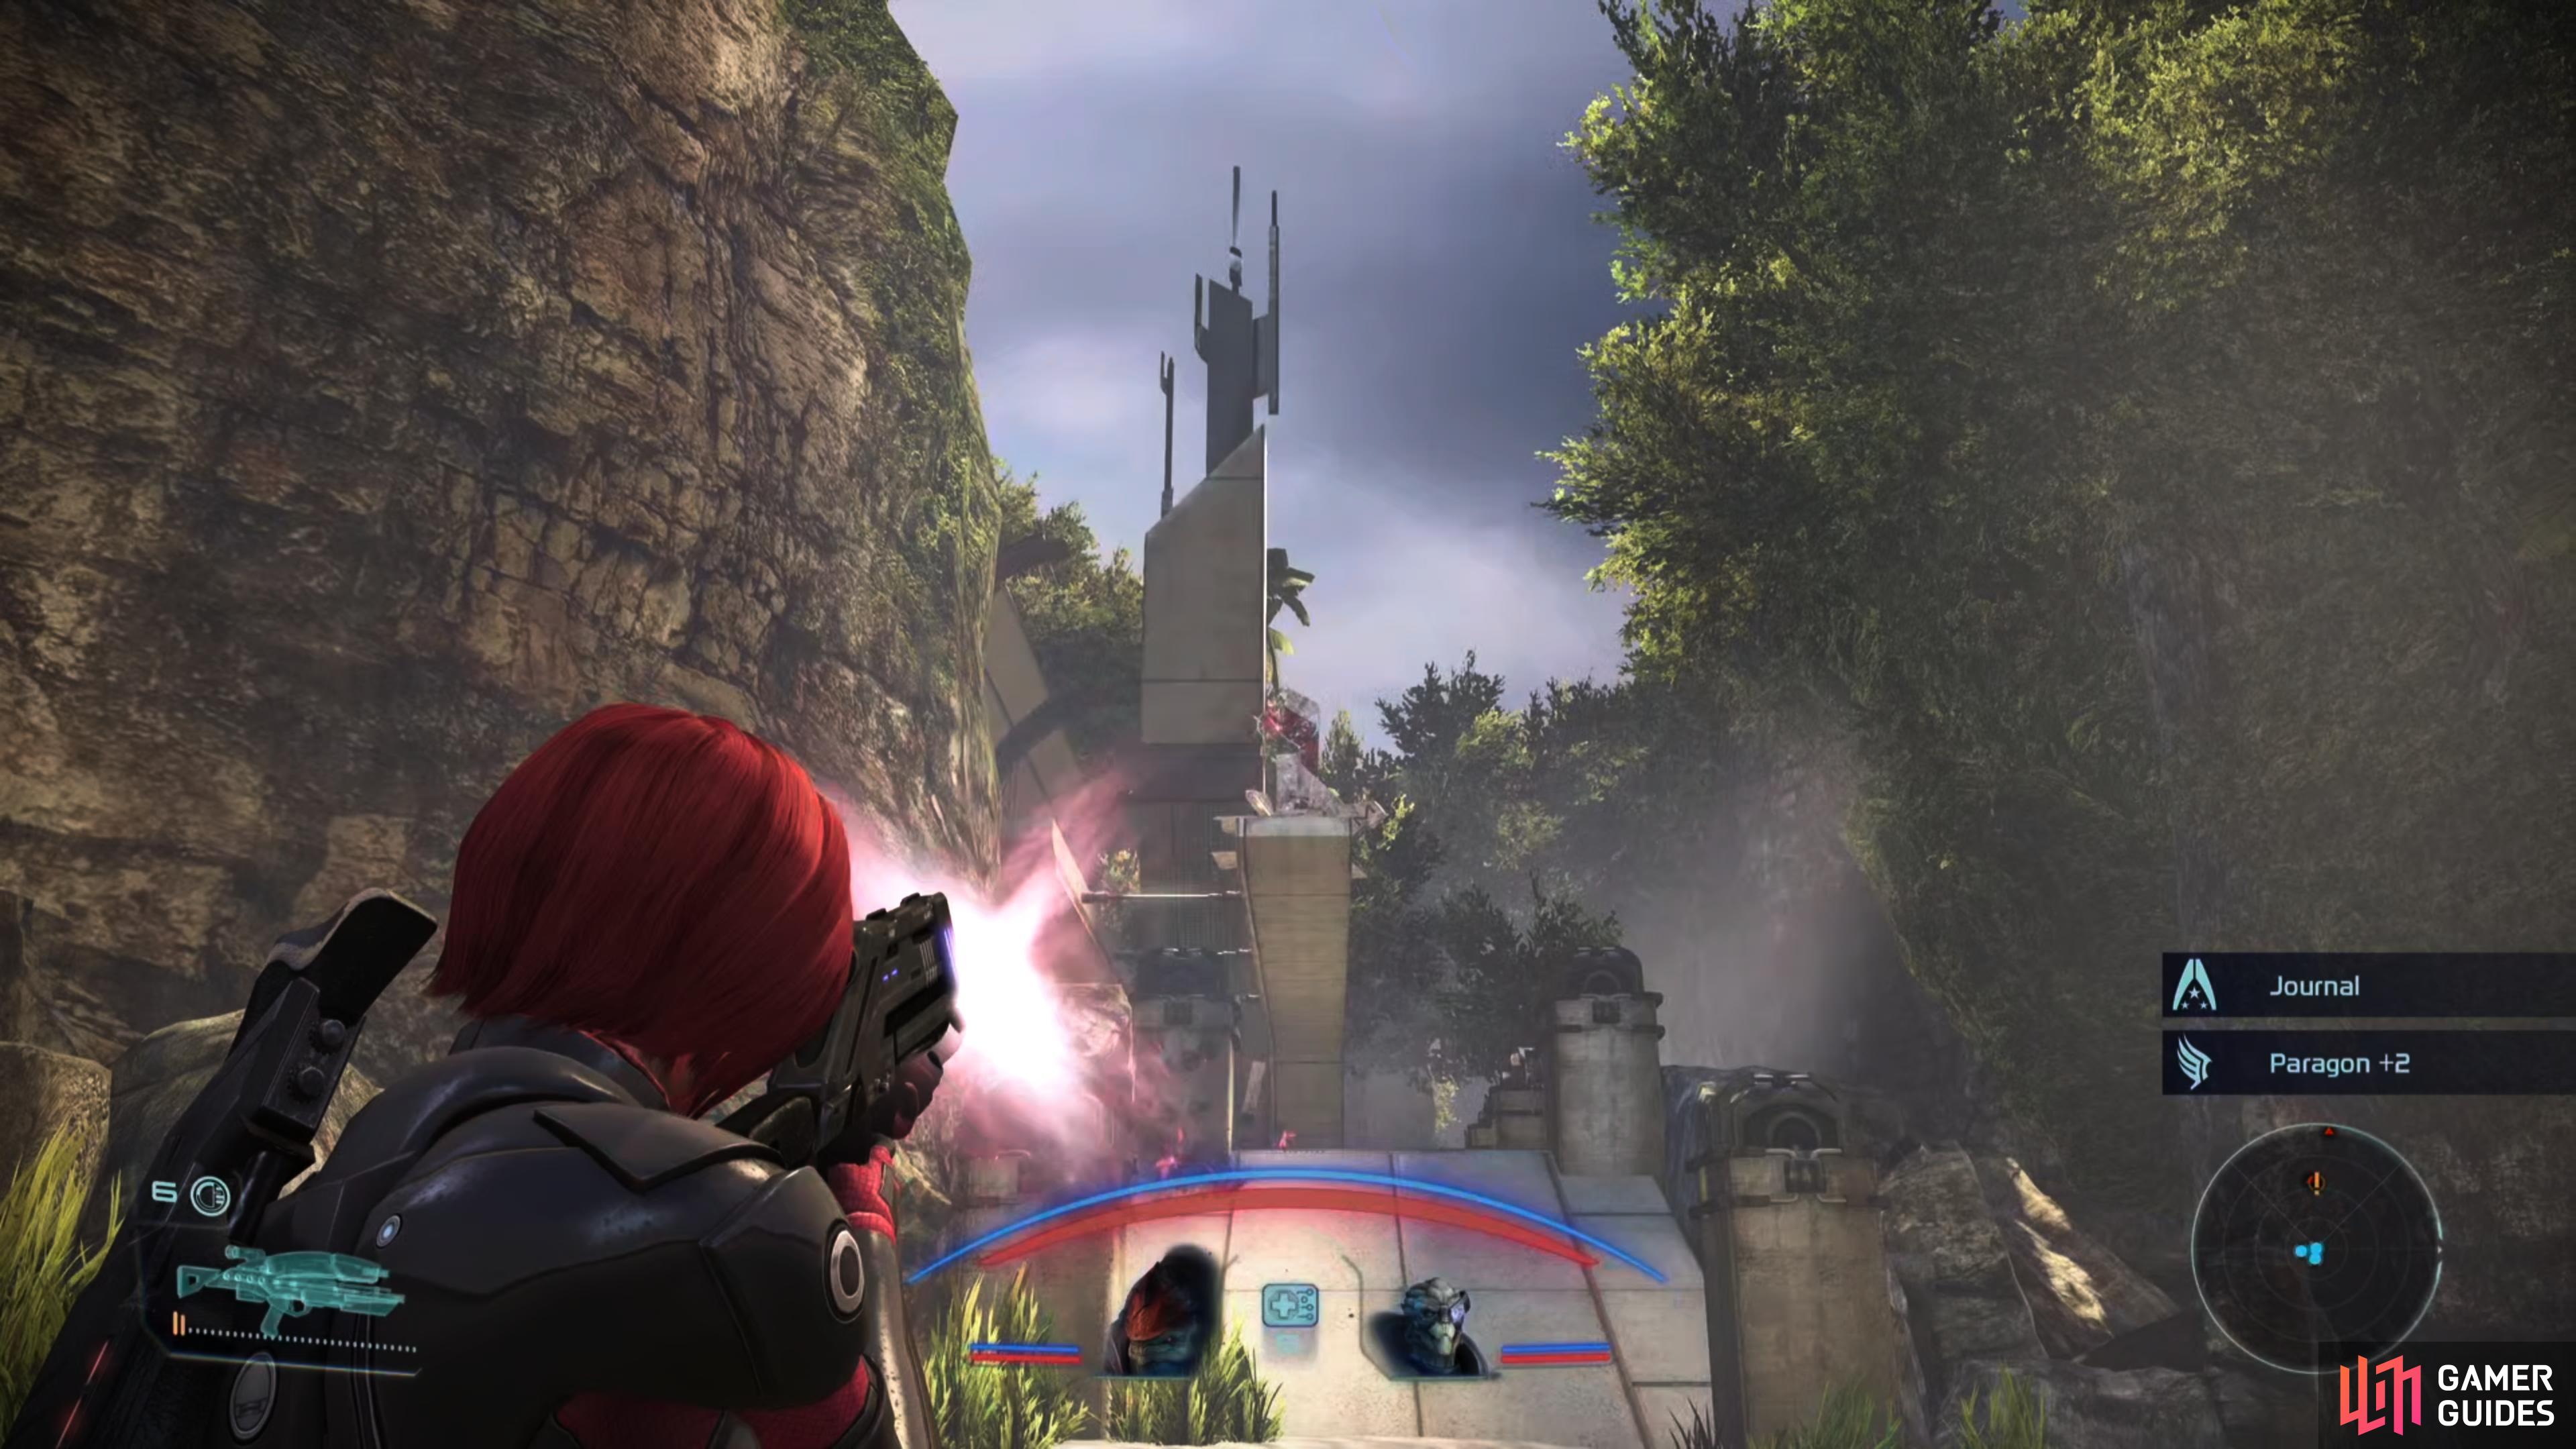
Make your way northwest, and when you reach a fork, stick right (north) to reach the Communications Tower. You’ll find various geth Troopers in and around the Communications Tower, including normal Troopers, Shock Troopers a Sniper and a Geth Destroyer. Take them down, ascend a ramp to the upper part of the Communications Tower, loot a Weapon Locker [Easy] then disrupt the Triangulation Tower console. This doesn’t actually affect the outcome of… anything, but you will hear some positive feedback from Kirrahe and earn Paragon +2.
| Paragon/Renegade |
|---|
| Paragon +2 |

In addition to geth, you’ll find krogan defending the Satellite Uplink Tower.
Shoot down the Satellite Uplink after dealing with the garrison, assuming it wasn’t destroyed during the fight.
Satellite Uplink Tower
Onto the next point of interest, and this one is mandatory, as all routes lead through the bottleneck that is the Satellite Uplink Tower. From the Communications Tower, head south and take the first right (west), scrap any geth you find, then note a fork ahead. It doesn’t matter if you head southwest or west, both will lead to the same area - a watery clearing outside of the Satellite Uplink Tower.
On the Satellite Uplink Tower structure you’ll find more geth resistance, although this time the geth will be joined by a Krogan Warrior. A sign of things to come. If he charges, use biotics to immobilize him, then shoot him down. Once cleared, look at the roof to find a Satellite Uplink structure, which, assuming it wasn’t destroyed when you were clearing out the garrison, you can destroy with small-arms fire. This will earn you more approval from Captain Kirrahe and Paragon +2, although it doesn’t affect the outcome of this mission in any way.
| Paragon/Renegade |
|---|
| Paragon +2 |
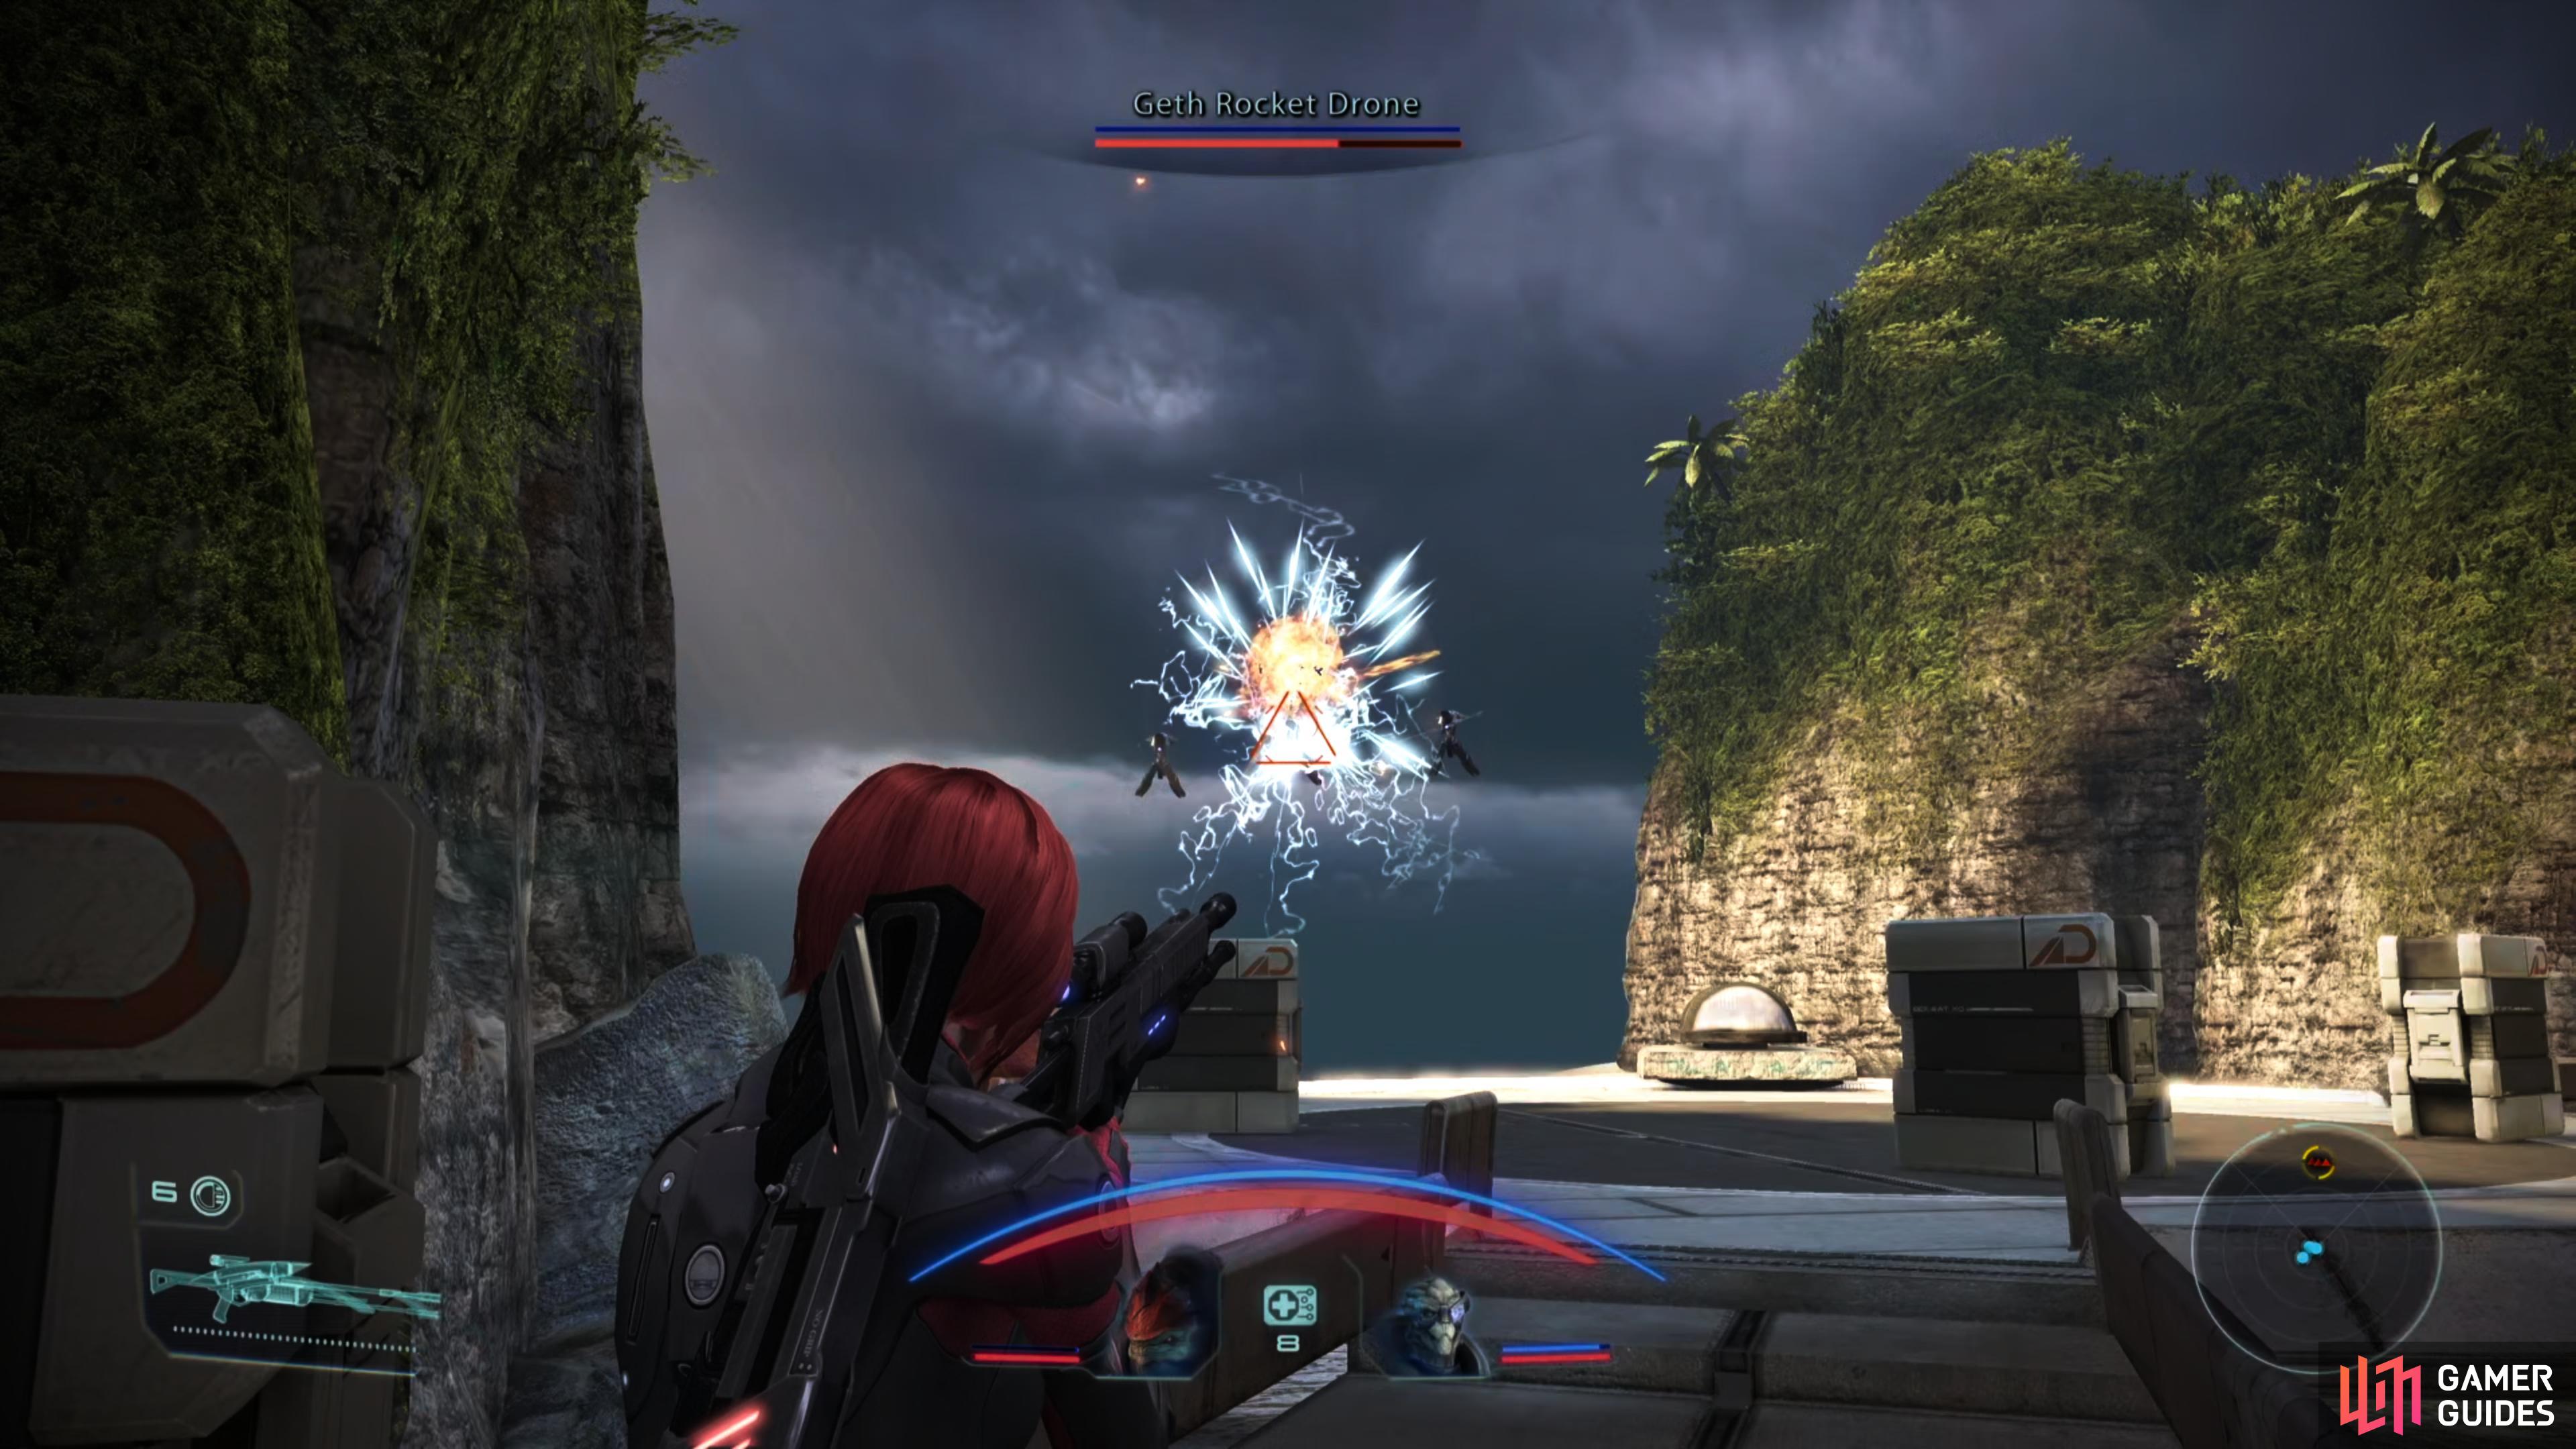
Destroy the geth flyers at the Refueling Depot.
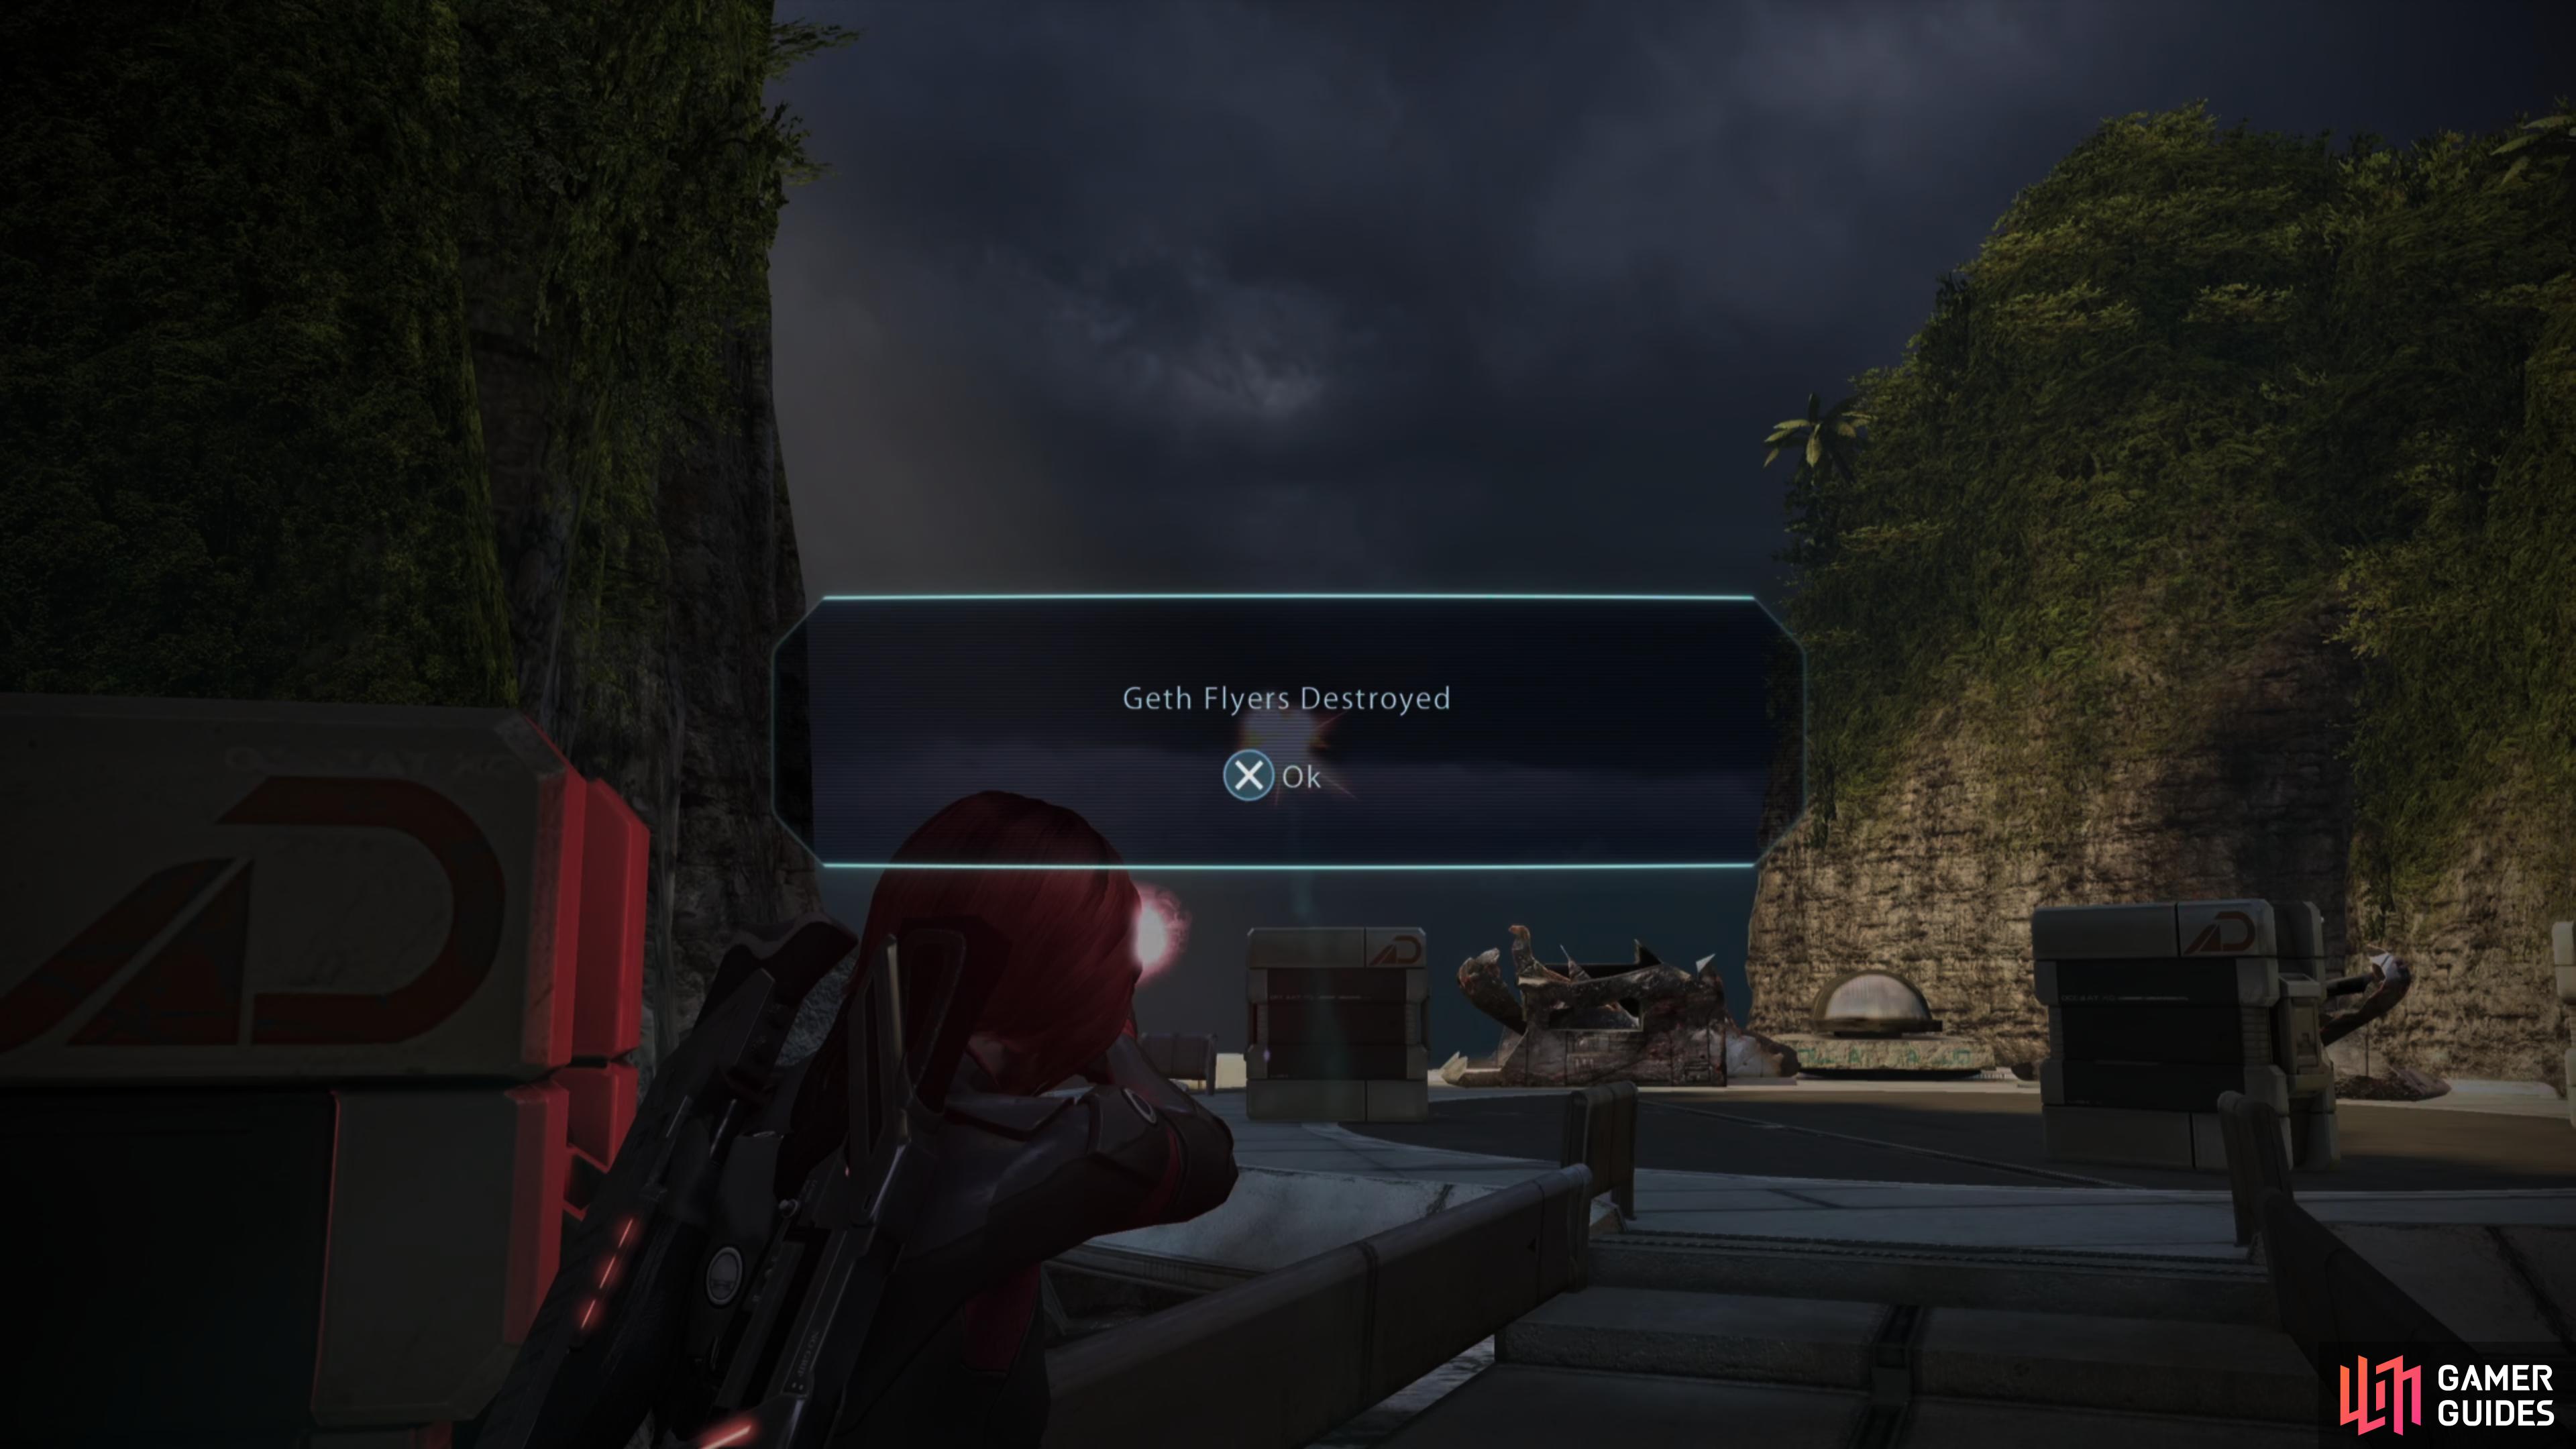
You’ll get direct confirmation when you manage this - it’s the only thing you need to do to keep Captain Kirrahe allive.
Refueling Platform
Loot an Aid Station if you need to, then continue west on the elevated walkway, ignoring any ramps leading down to the beach until you reach a circular platform. Four paths branch off from there, including the way back to the Satellite Uplink Tower (east). If you go into a cave to the northwest you’ll find a window overlooking the base, which is of dubious utility, but at least you can score an Upgrade Kit, while if you go south you’ll find another platform where two Krogan Warriors guard a Crate.
Taking the northern path, then, is the most interesting route, as it’ll lead to a platform occupied by some geth, and further north you’ll find the “Refueling Platform” - one of the few objectives of consequence in this area. Above the platform you’ll find numerous geth drones, both of the Assault and Rocket variety. Destroy them all and you’ll get a notification about the deed, as well as Paragon +8. This is the only requirement for keeping Captain Kirrahe alive; if the flyers are dispatched, Kirrahe will live, if not, not.
| Paragon/Renegade |
|---|
| Paragon +8 |
To see what long-term impact Kirrahe’s survival has, check out the Keeping Captain Kirrahe Alive page.
Whether you go to the northern entrance,
or southern entrance, you’ll find a Security Console that allows you to send more enemies Kirrahe’s way, or decline to do so and bear the burden yourself.
Research Facility Entrance
Now that you’ve cleared the optional objectives, make your way west to the Research Facility, which is guarded by some Krogan Warriors and Geth Snipers. Clear the exterior platform, then note there are two doors you can go through, a door to the north, and a depressed door to the south [Easy]. Both will get you into the base, albeit to different starting areas. Before you worry about any such decision, however, loot a Storage Locker [Easy] along the wall near the northern entrance, and a Crate just opposite the ramp leading to the southern entrance.
If you go through the southern door (descend a ramp to reach the beach to find this door) you’ll enter via the “Virmire: Detainment Level”. Pass through some sewers, put down some “Indoctrinated” salarians, loot a Technician Kit and open a door via a Security Console. This door will ultimately lead to the Storage Room area.
Alternatively if you go through the northern door you’ll just… go down a ramp to reach a walkway leading to some more doors, which can be opened via another Security Console. This route will get you into the base via the Warehouse route.
You don’t miss out on anything either way, so whichever route you choose isn’t too impactful. If you go through the northern route you’ll just have to work your way southwest to the “Security Office”, while if you enter via the southern route you’ll need to make your way northeast to the “Security Office”.
You’re not locked in to a particular route until you interact with the aforementioned Security Consoles, whereupon you’ll be told you can draw security away to Kirrahe’s location, or leave them be so you can deal with the enemies yourself. The former will earn you Renegade +9 while the latter will score you Paragon +8. Neither option affects the outcome of the mission in any way save for some radio chatter.
| Paragon/Renegade |
|---|
| Paragon +8 or Renegade +9 |
No Comments