
This mission starts as soon as you set foot on the Citadel, and encompasses much of your first trip here. For the sake of organization, however, we split it into distinct phases: before your first meeting with the Council, then the two sub-missions Citadel: Garrus and Citadel: Wrex. This page will discuss the events after completing the three aforementioned pages, when you have finished recruiting Garrus and/or Wrex (ideally both) and are ready to confront Fist about the data needed to expose Saren.
After you’ve recruited either Garrus or Wrex you’ll be able to go after Fist, who is holed up in Chora’s Den. If you make your way through the Upper Wards at this time you should get a Codex Entry, and it’s also not a bad idea to talk to Emily Wong to start the assignment Reporter’s Request, as it heavily overlaps with the upcoming encounter with Fist.
| Codex Entries |
|---|
| Secondary - Ships and Vehicles / Starships : Dreadnought |
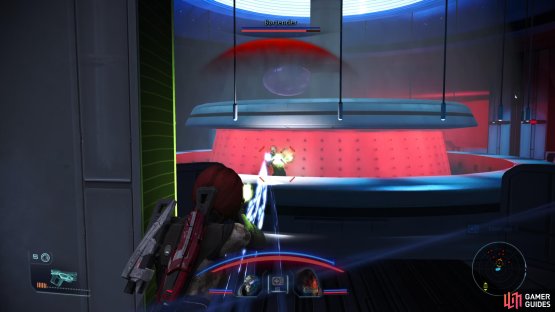

(1 of 2) Fight your way through Chora’s Den.

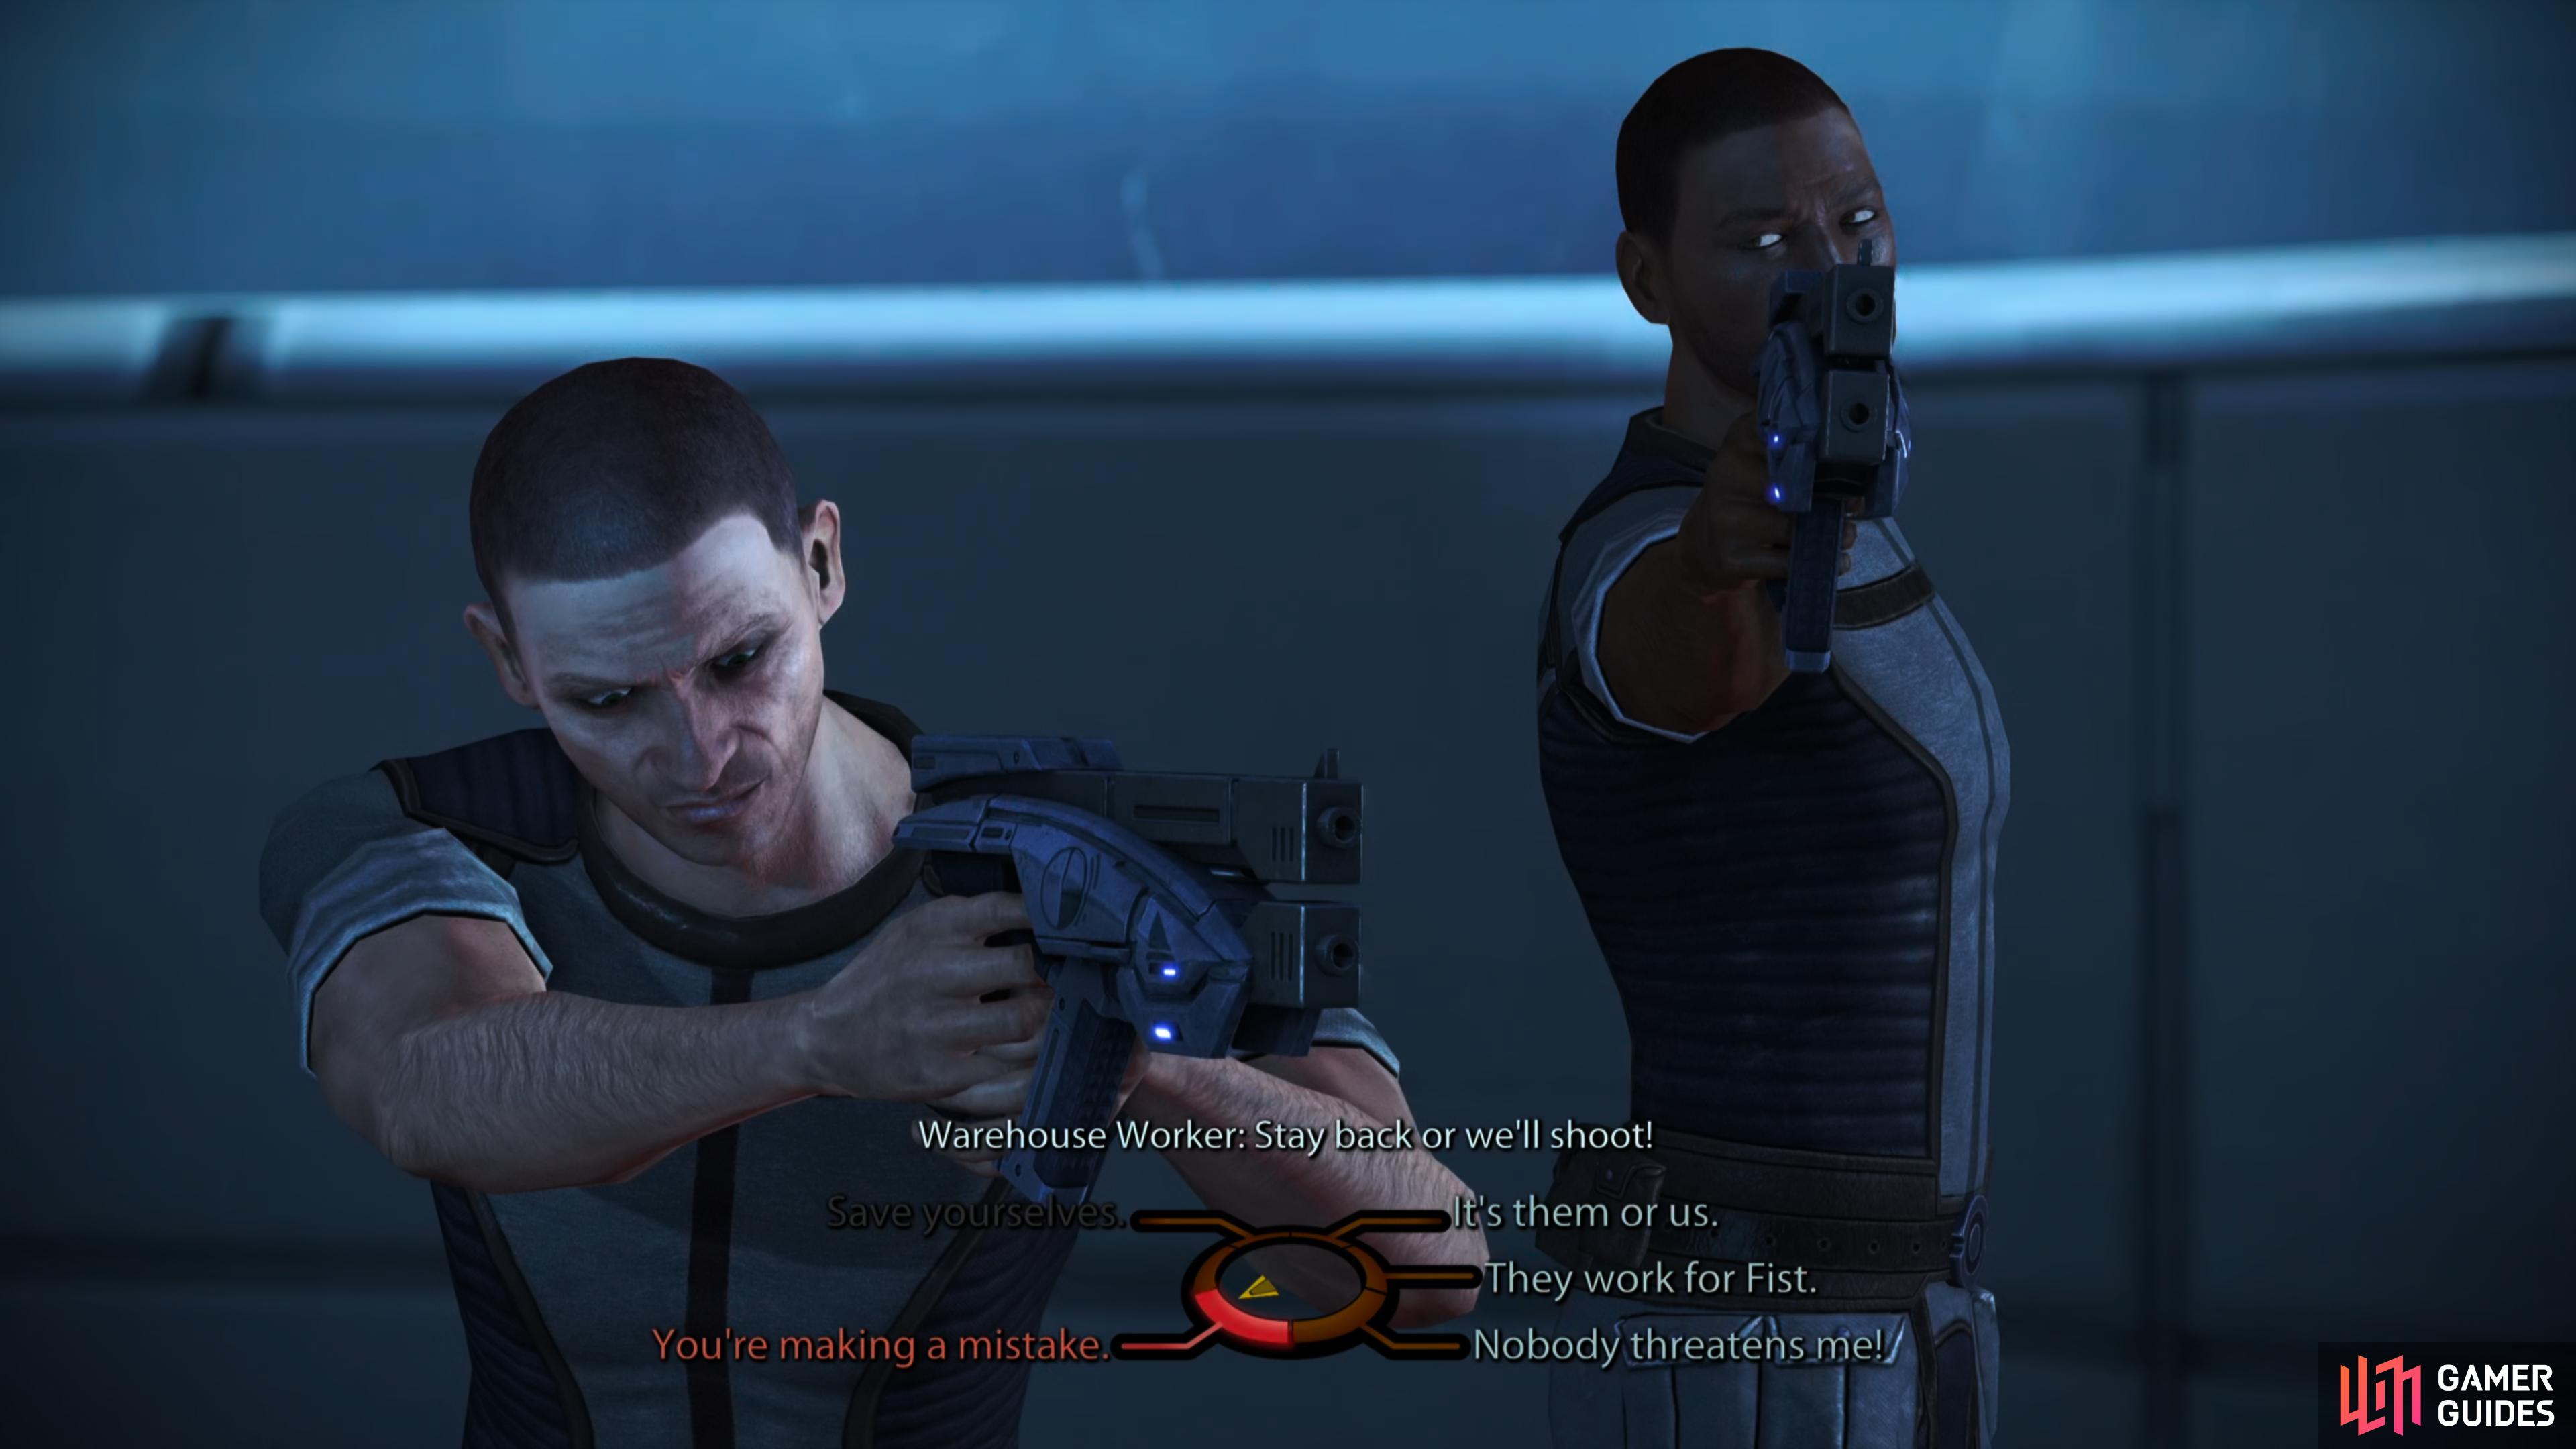
Fight your way through Chora’s Den. (left), If your Charm/Intimidate scores are high enough, you can attempt to talk some Warehouse Workers out of Shepard-assisted suicide. (right)
Assault on Chora’s Den
Whether you have one new alien or two at your disposal, make your way to Chora’s Den, where you’ll find the highest concentration of enemies you’ve yet encountered. While your foes are indeed numerous, they’re also not prone to adventure, content to remain in position and allow you to pick them off one at a time. The only two foes you need to be wary of at the start of the encounter are a thug on top of the bar who won’t leave cover, but may play spoiler as you move through Chora’s Den and a krogan bouncer who will used abilities, has health regeneration, and has a penchant for charging at you when provoked. Make sure you have all your abilities ready before engaging the krogan so you can debilitate him and take him down.
Put down all the enemies that present themselves, then go through a door into the back rooms, where you’ll encounter two warehouse workers. If you don’t have sufficient ranks in Charm/Intimidate, the two will just run off and start firing, forcing you to put them down. If, on the other hand, you have at least three ranks in Charm or Intimidate, they’ll make the wise decision to talk before firing. This allows you to pick a Charm/Intimidate option, both of which will convince them to leave and earn you Paragon +2 or Renegade +2 in the process.
| Paragon/Renegade |
|---|
| Paragon +2 or Renegade +2 |
| Charm/Intimidate |
|---|
| If you have at least 3 ranks in charm Shepard will tell the workers that this would be a good time to seek employment elsewhere. Their response is actually fairly humorous, and worth a go. |
| If you have at least 3 ranks in Intimidate, you can point out that you just wasted fifty guards. They’ll realize that two is fewer than fifty and decide that they don’t stand a chance against Shepard. My, how Shepard likes to exaggerate… |
Put the warehouse workers down or scare them off, then loot a Weapons Locker [Easy] before going through another door, beyond which lies Fist’s office.
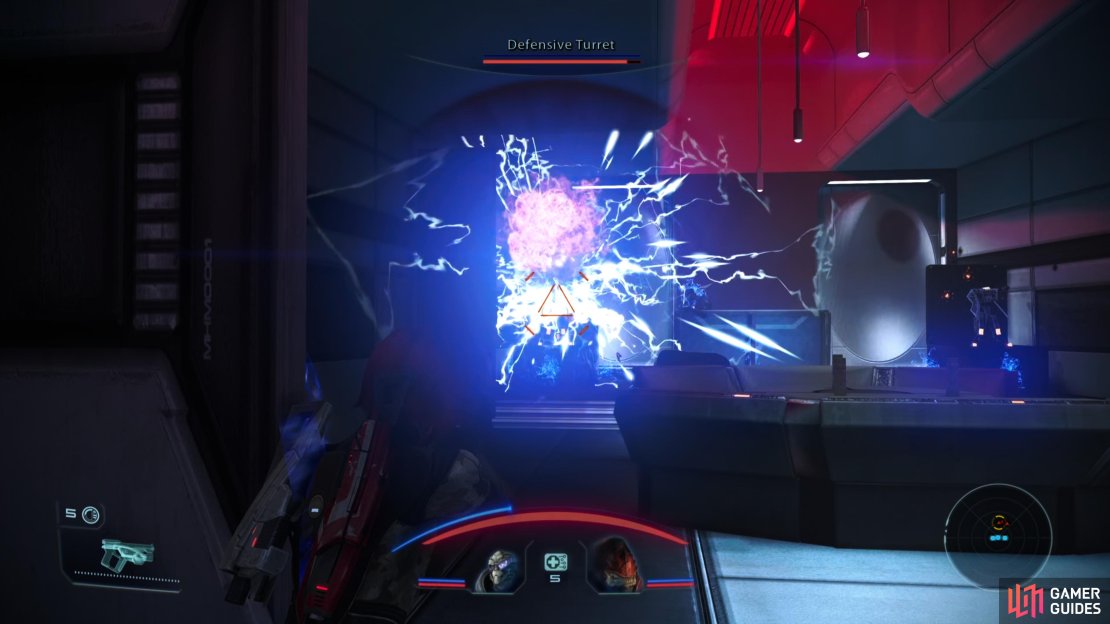
(1 of 4) Throw the kitchen sink at the turrets Fist activates - once they’re destroy, Fist will surrender.
Boss: Fist
Fist might have been stupid enough to bring the wrath of the Shadow Broker on his head, but he’s not stupid enough to engage you in a three-on-one fight, opting instead to activate a pair of turrets. These weapons will demand you take cover, and punish you severely should you peek out. That said, neither they nor Fist are advancing, so you can just wait for your abilities to cool down and pop them off as they become ready, ideally concentrating fire on one turret to bring it down.
Once you defeat Fist - or his two turrets - the fight ends. You’ll get the information you need about the quarian regardless of what you say, and if Wrex is in your party, he’ll intervene and put Fist down, just as he promised he would. If not, you’ll get a choice: Execute Fist, or let him go. You’ll get Renegade +2 if you execute Fist, or if you respond with ”He deserved it.” after Wrex kills him. There is no Paragon alternative.
| Paragon/Renegade |
|---|
| Renegade +2 |
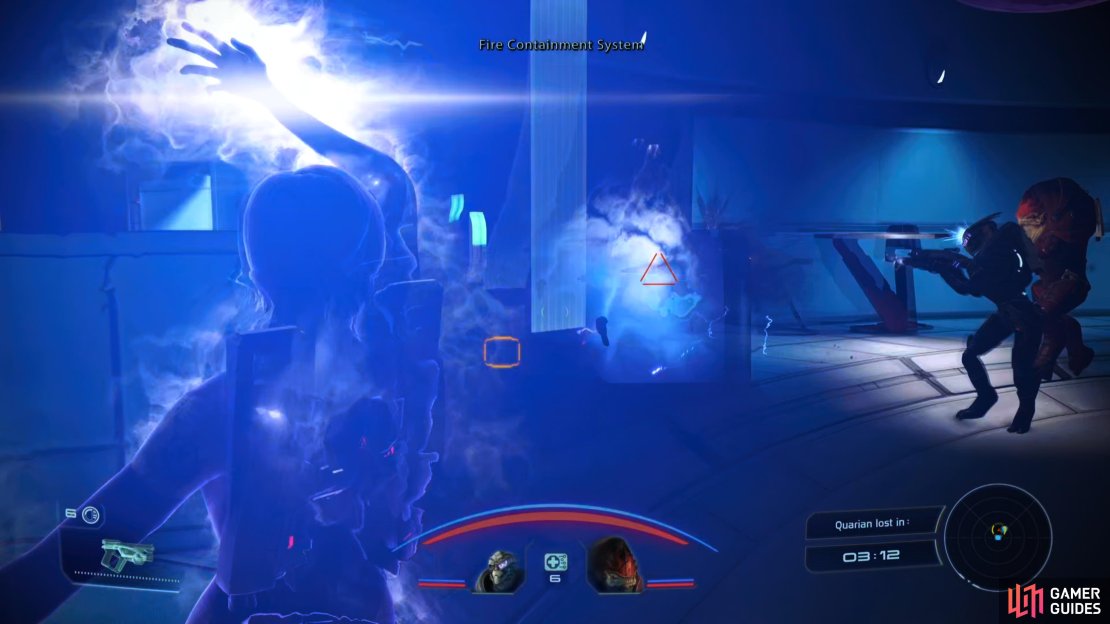

(1 of 3) Quickly fight your way through the thugs in Chora’s Den - use abilities liberally and try to flank with your allies to flush your foes out of cover.
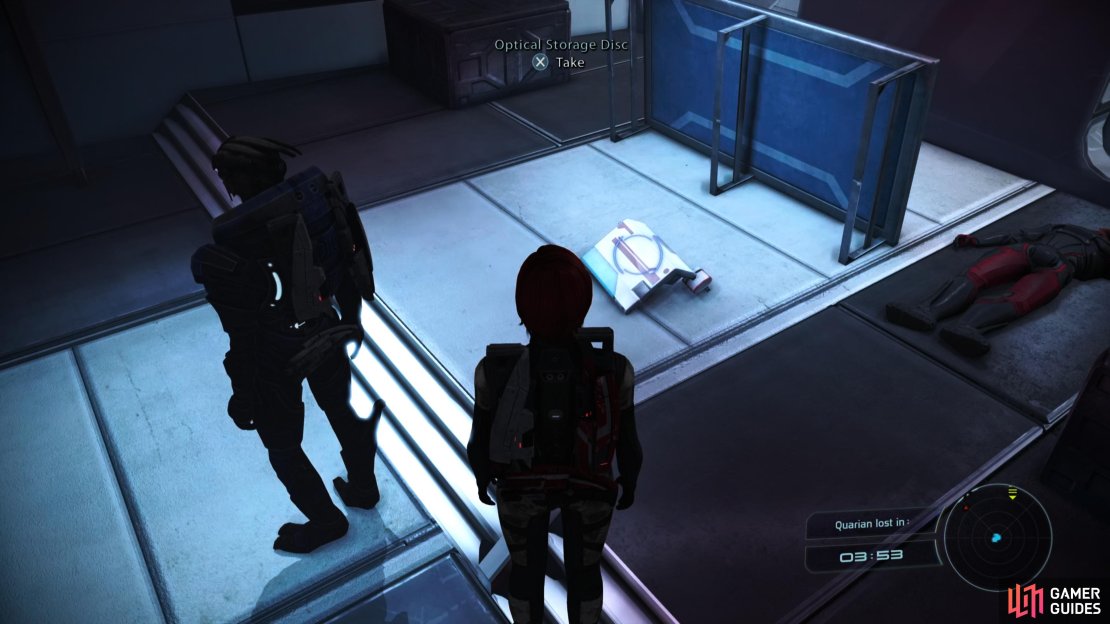
Rescue Tali
You now have 4:00 to reach the quarian before she falls into Saren’s clutches, courtesy of Fist’s duplicity. Quickly grab the Optical Storage Disc off the floor (this is what you need to bring Emily Wong for the assignment Reporter’s Request and loot a Wall Safe [Easy] before heading back to the bar, which has now been repopulated with enemies.
It’s not as busy as it was the first time through, but you have to fight more aggressively to escape in a timely manner. This can be tricky in higher difficulties, especially if you haven’t been spreading your talent points out and unlocking abilities (as opposed to specializing). Make good use of your squad by focusing their fire on targets that foolishly expose themselves (press [Up] on the d-pad while aiming) and use your abilities on the few thugs content to hide. If necessary, deploy sturdier characters like Wrex or Ashely to flank your foes, which at the very least will draw them out of cover so you can hit them with abilities.
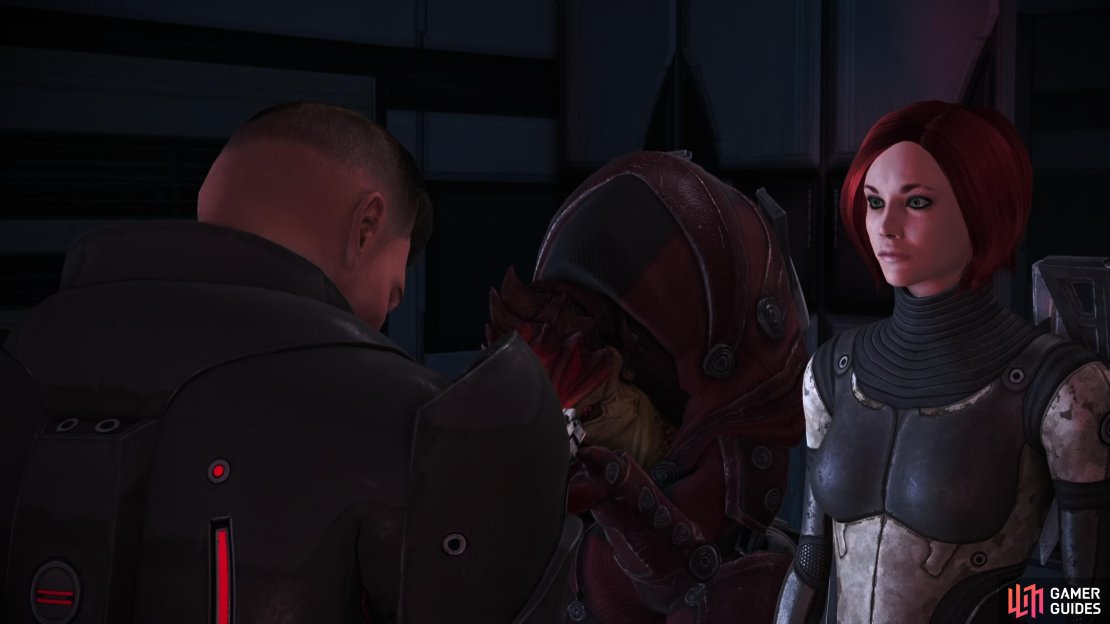
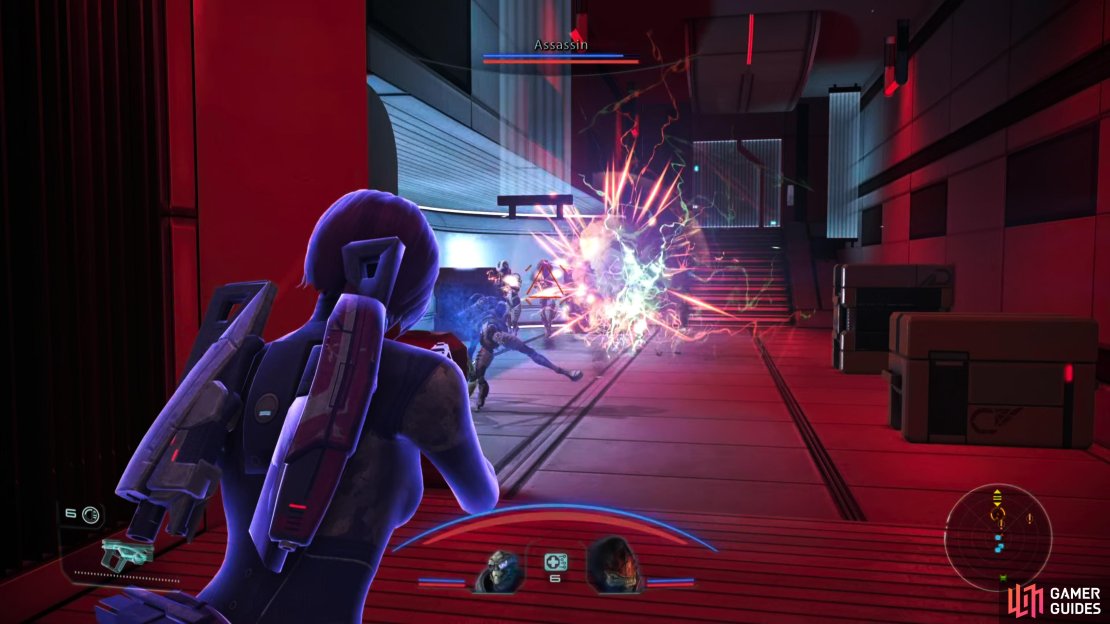
Put down the half dozen or so thugs in Chora’s Den, then exit the bar, go through the doorway to the southeast to reach the fast travel terminal, then turn left (east) and go upstairs. You’ll find Saren’s assassins meeting with the quarian, and after a short scene the quarian will become rightfully dubious of the exchange and showcase her technical expertise. Sadly, her efforts aren’t reflected when the fighting starts, and you’ll have to put down a turian and two salarian assassins.
Start out the fight by unleashing all the abilities you have, as it’ll likely take down at least one of your foes, making the remainder of the fight much easier. Be wary of your foes, who will use abilities like Overload on you, dealing damage and overheating your weapon.

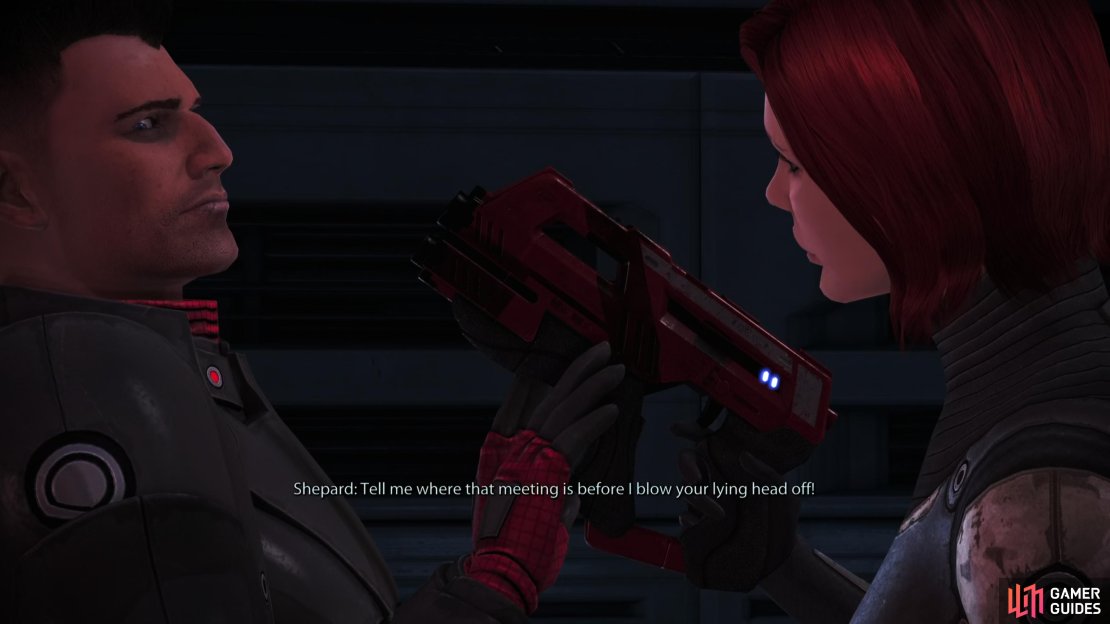
(1 of 2) After you rescue the quarian, you’ll get the intel you need to expose Saren,

After you rescue the quarian, you’ll get the intel you need to expose Saren, (left), and the quarian - Tali - will join your squad. (right)
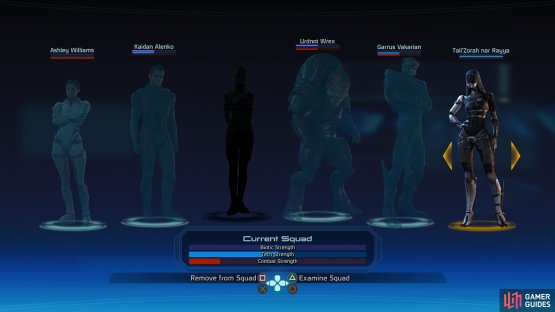
Once your foes are down you’ll have a chat with the quarian. Say whatever you wish and you’ll end up escorting her to Udina’s office for more chatter. Her evidence against Saren is a bit too convenient, but damning nonetheless. Say what you wish and you’ll end up recruiting the quarian - Tali - to your cause… whether you want her or not.
| Codex Entries |
|---|
| Secondary - Aliens: Non-Council Races / Quarian: Pilgrimage |
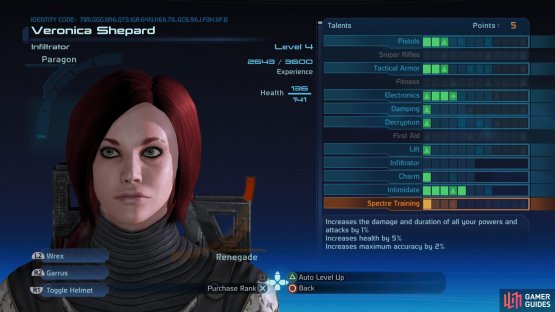
(1 of 2) After exposing Saren, you’ll be inducted into the ranks of the Spectres,

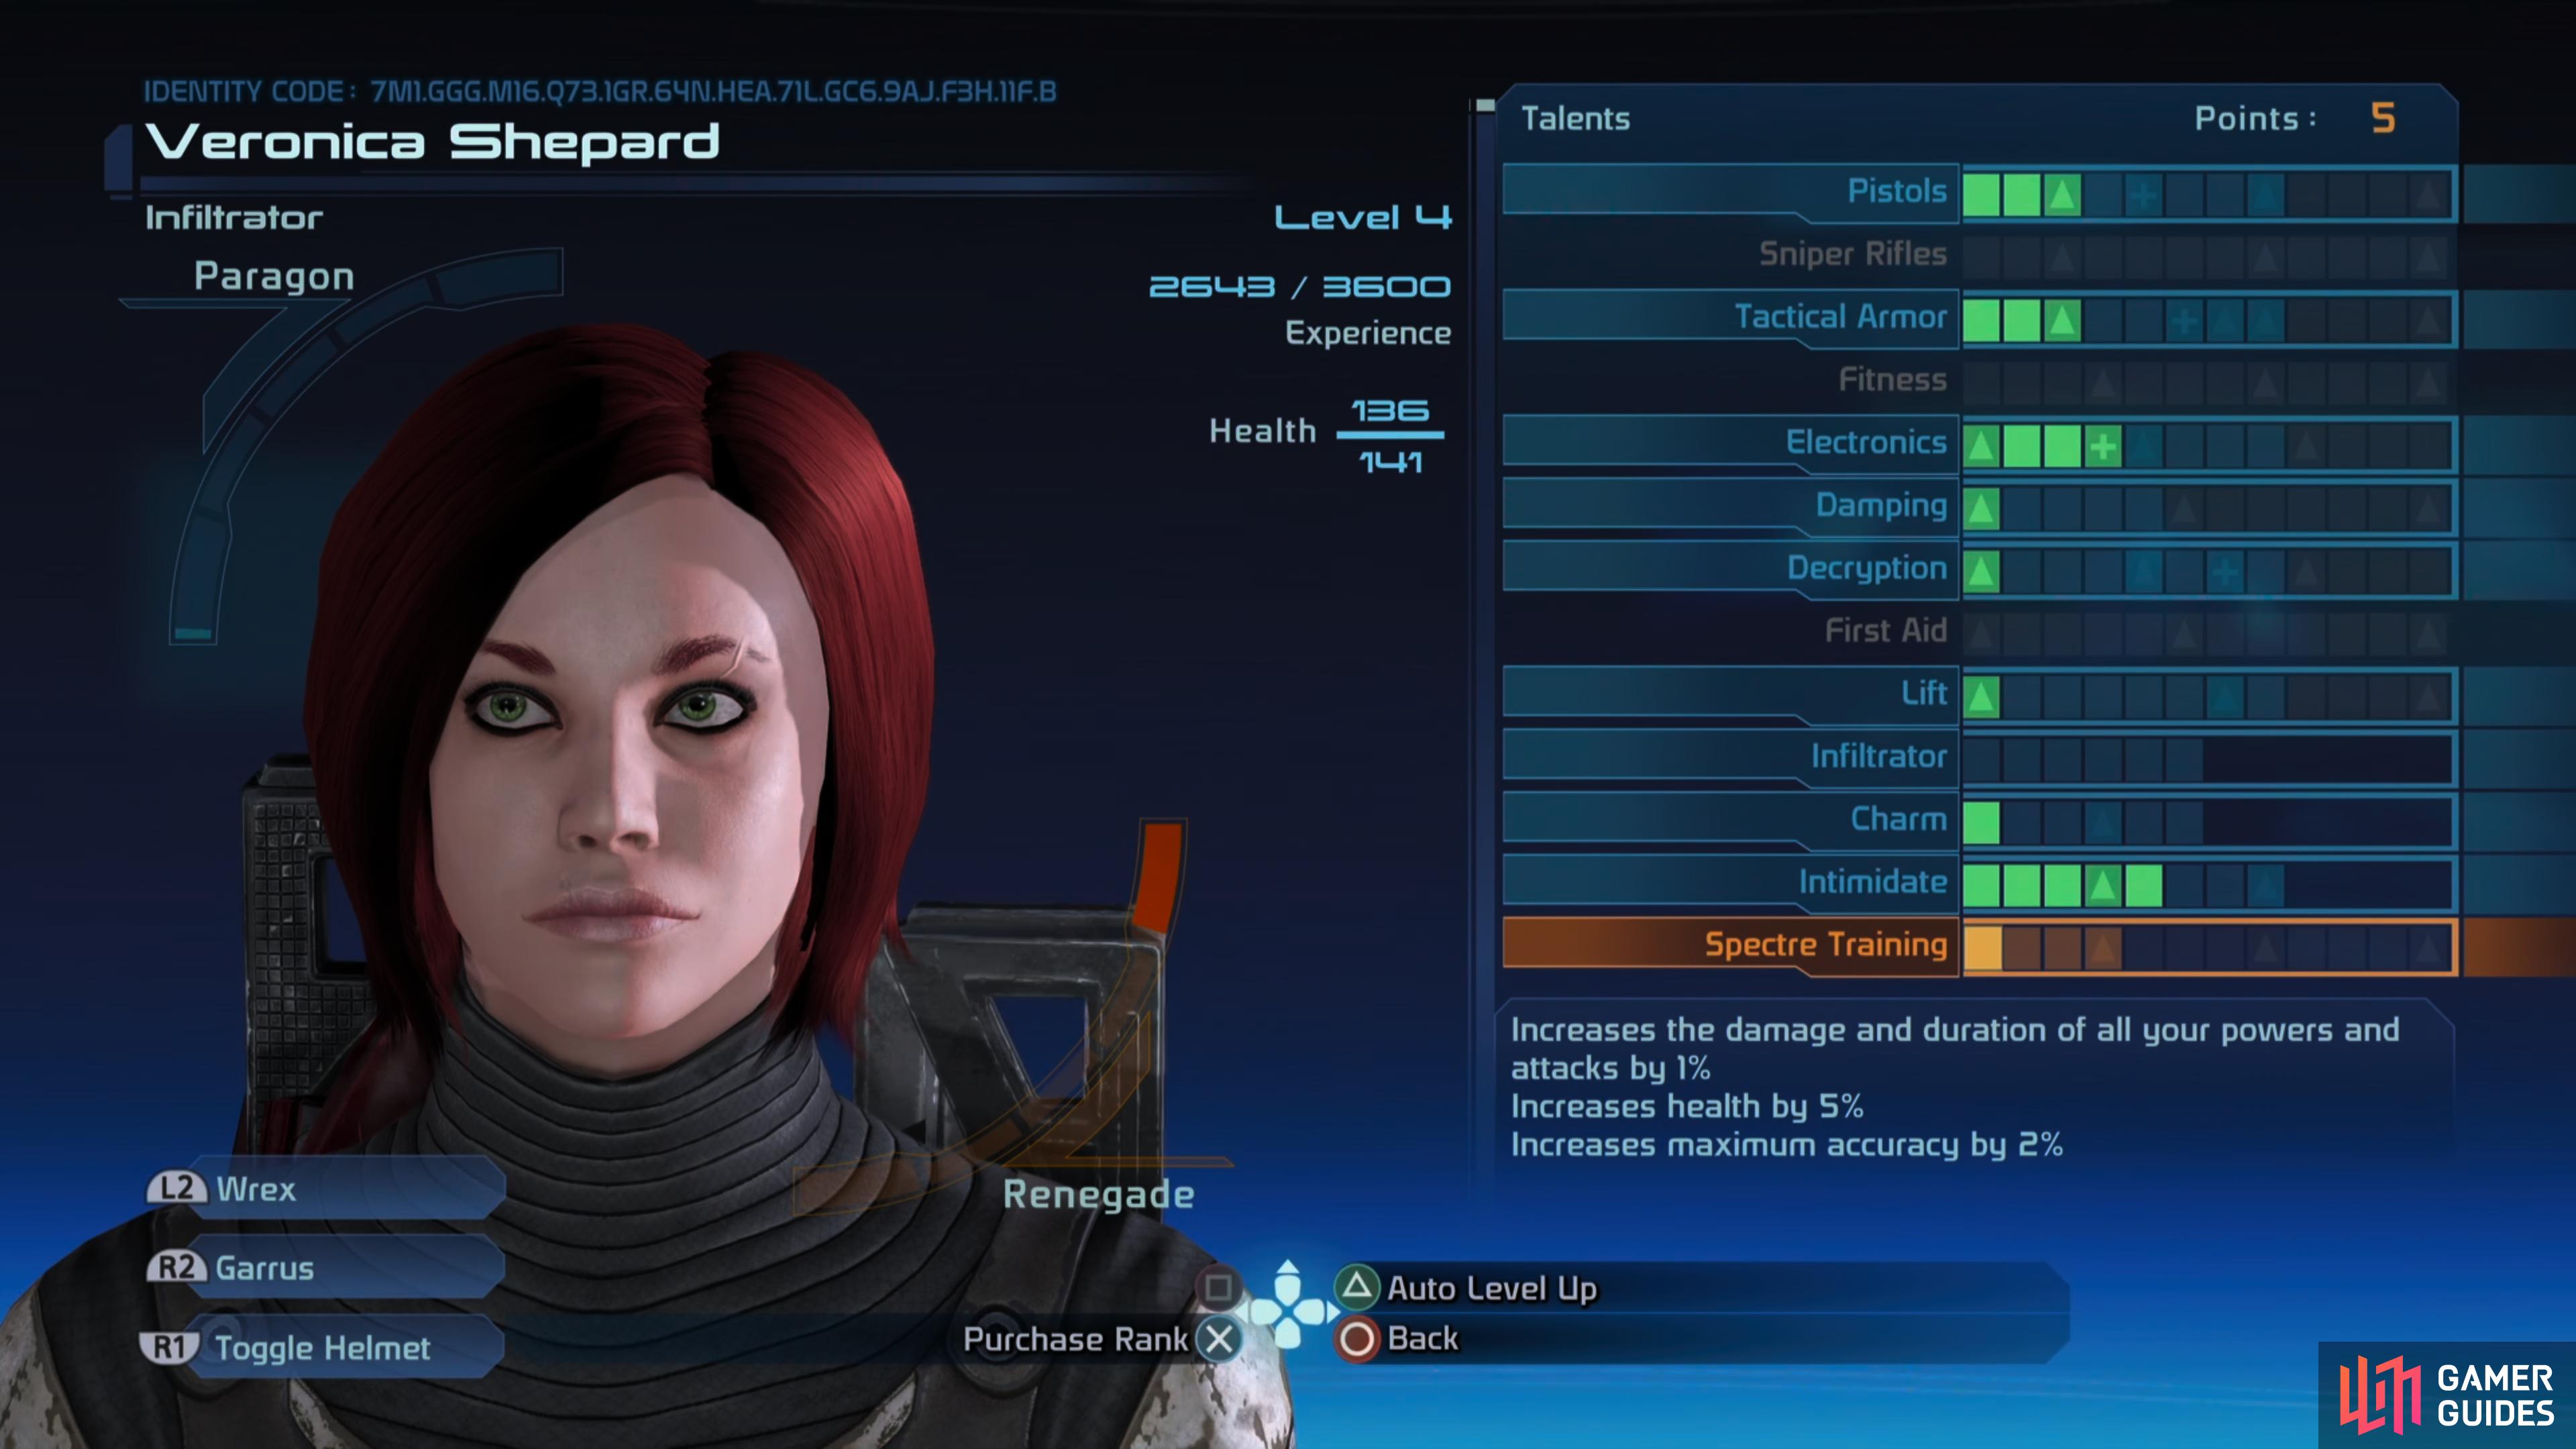
After exposing Saren, you’ll be inducted into the ranks of the Spectres, (left), which will unlock the Spectre Training talent. (right)
Exposing Saren
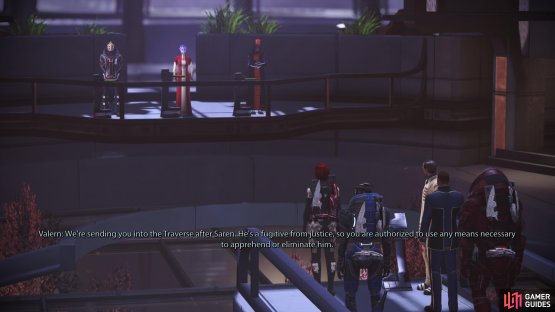
With all that resolved, all you have left to do is meet with the Council again. Once again there are new assignments you can start, but be patient - we’ll deal with them shortly. For now, return to the Citadel Tower and meet with the Council, who are rather more inclined to take your claims seriously now that, you know, you actually have evidence.
After some rather quick deliberation, Saren will be demoted, Shepard will be promoted and given carte blanche to track the rogue turian Spectre down. Former Spectre, anyways. Befitting your new status you’ll unlock the Spectre Training talent, which mostly revolves around the Unity ability. This ability revives fallen comrades at absolutely no cost to you. Otherwise, the Spectre Training tree provides marginal boosts every character will find useful: damage, duration, health and accuracy boosts. You’ll also earn the Spectre Inductee achievement at this point.


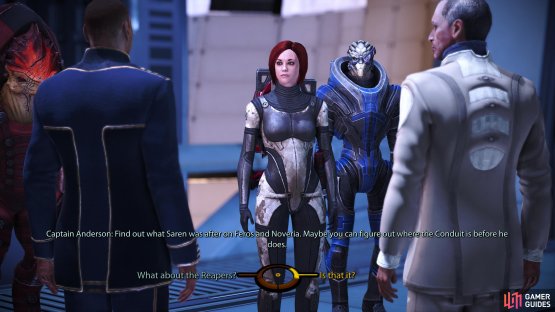
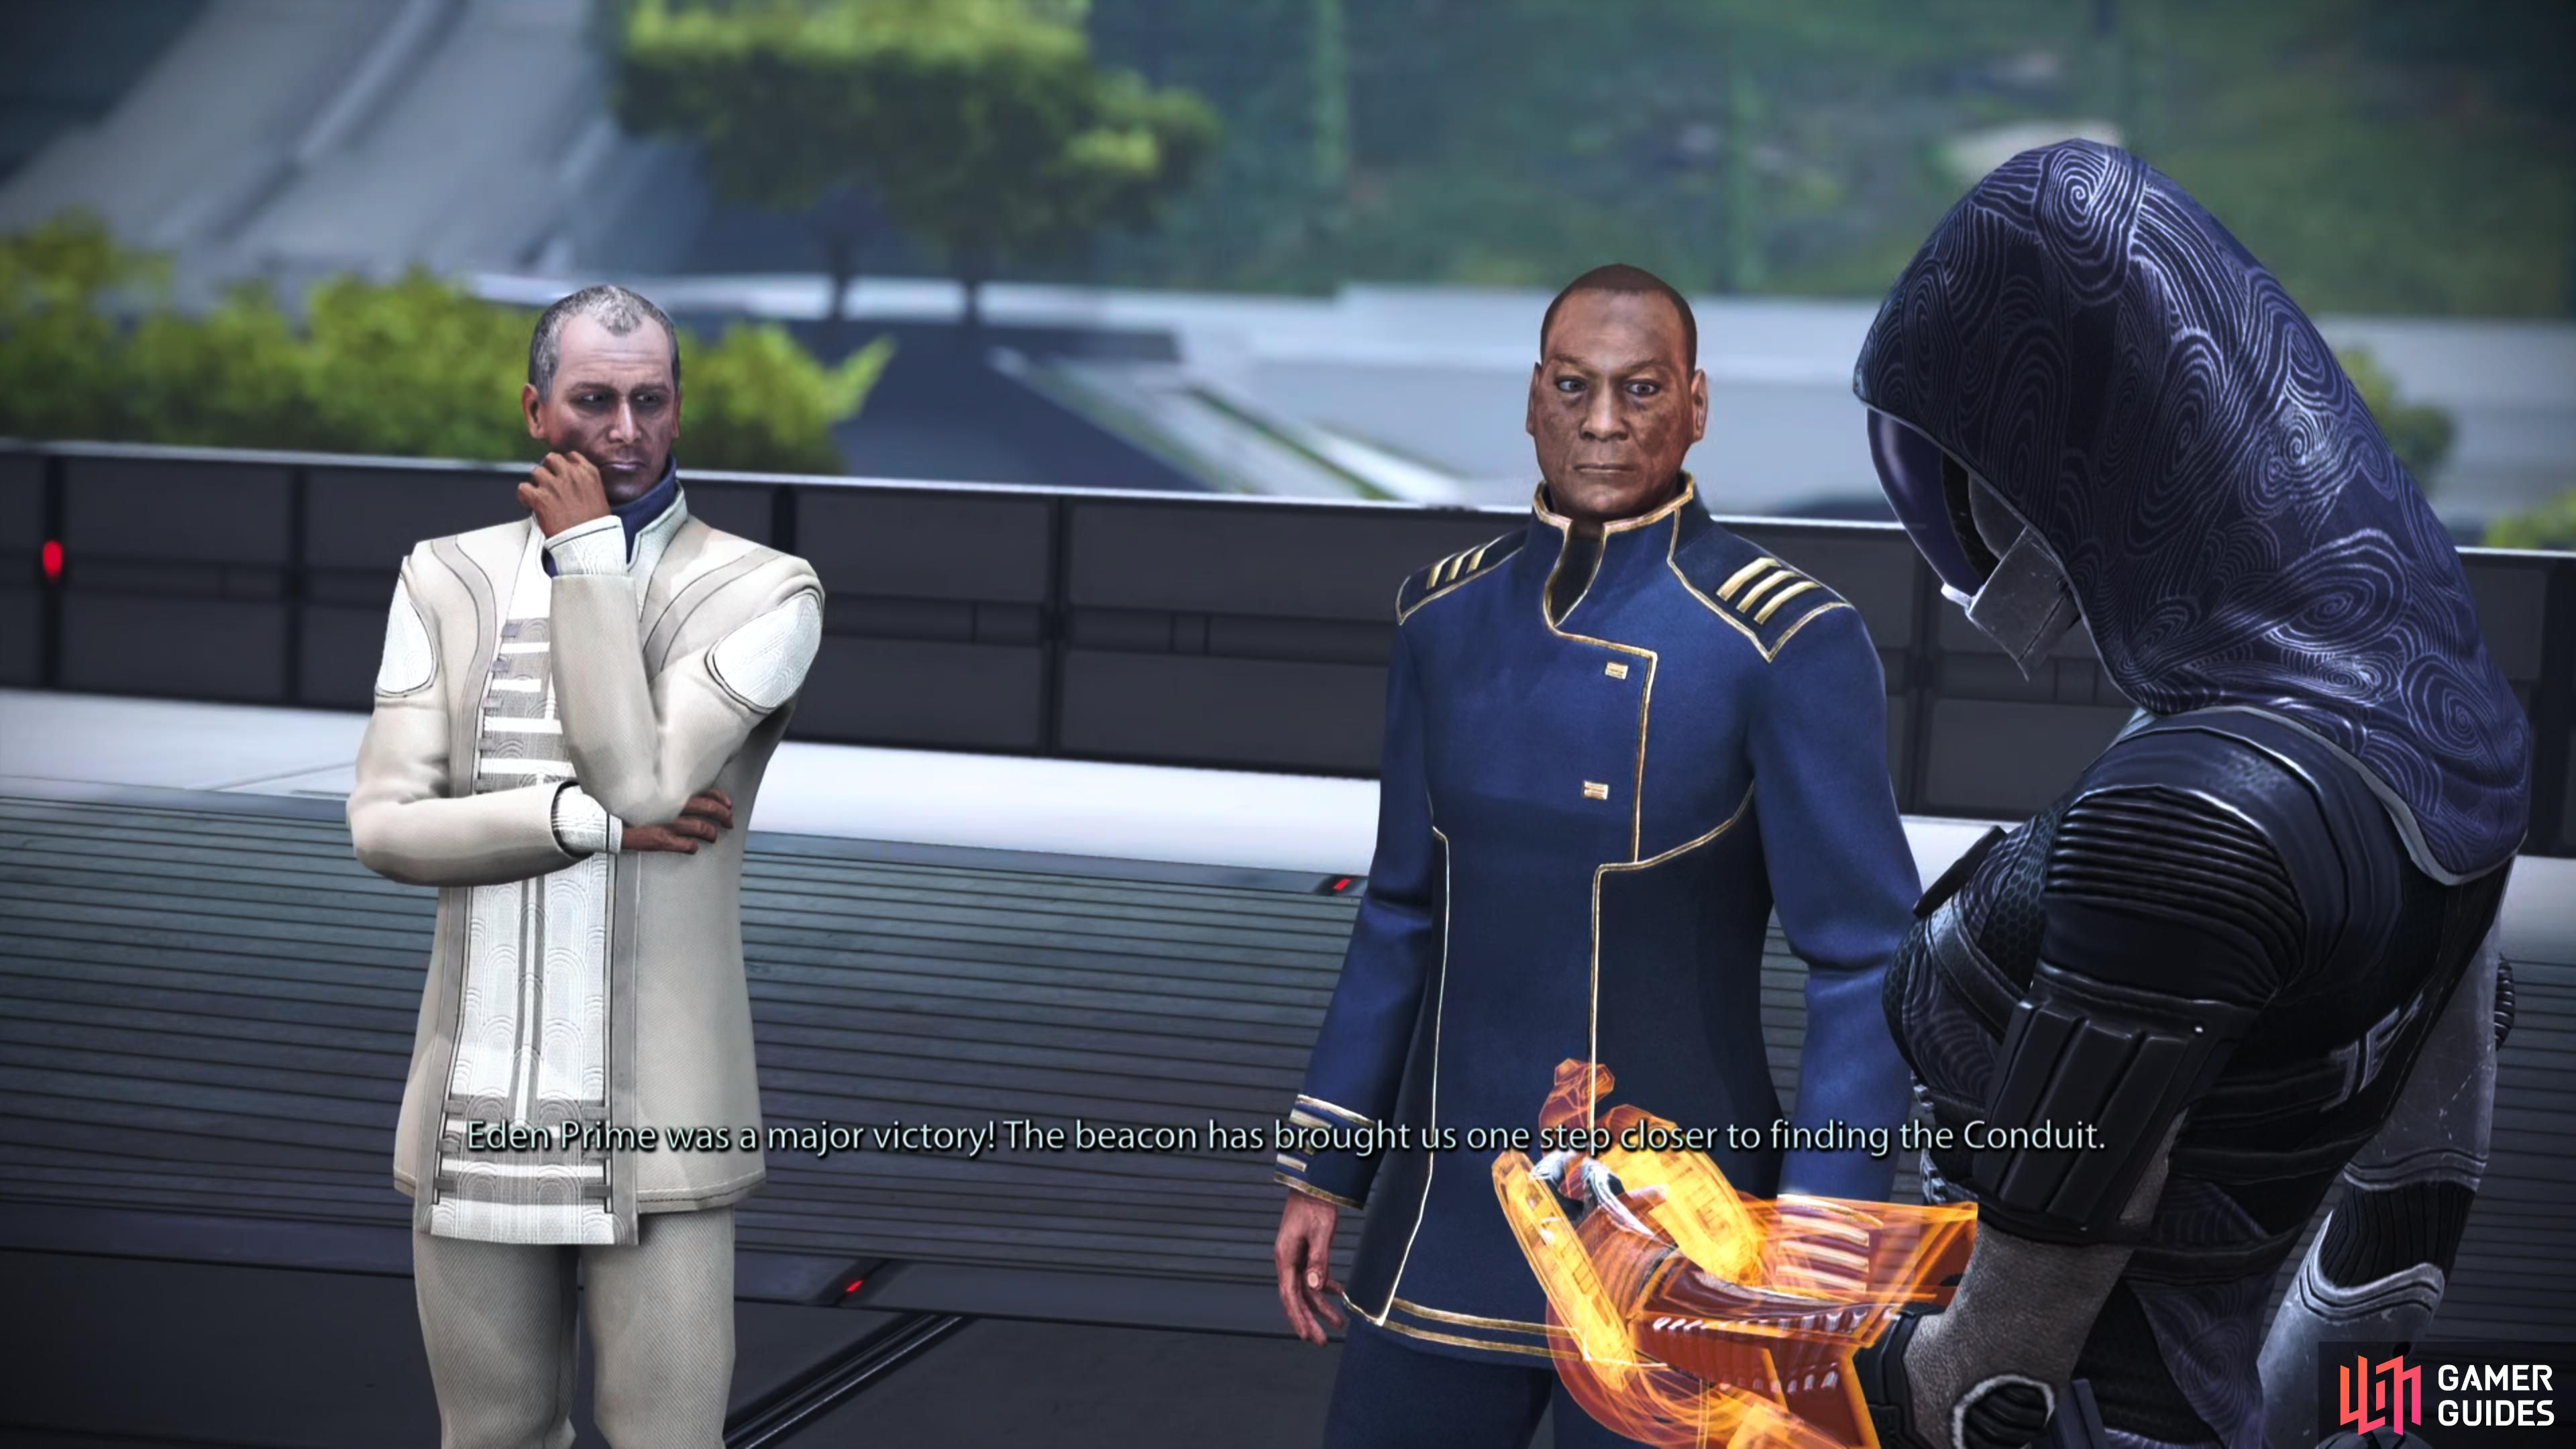
(1 of 2) Talk to Udina and Anderson to get leads on geth activity in Feros and Noveria.


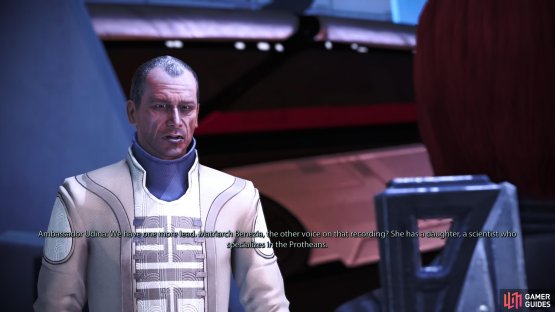
Talk to Udina and Anderson to get leads on geth activity in Feros and Noveria. (left), You’ll also learn about Liara, a Prothean expert located somewhere in the Artemis Tau cluster. (right)
Almost done. All you have to do now is head to C-Sec Academy in the Wards and use the elevator in the middle of the area to reach the Docking Bay, where the Normandy is moored. Talk to Anderson and Udina outside the Normandy and you’ll be given command of the Normandy, as well as leads to three points of interest: Feros, Noveria and Artemis Tau (Liara’s Dig Site/Therum), the latter of which is where Matriarch Benezia’s daughter, Liara can be found. Not only is she a person of interest due to her relationship with one of Saren’s minions, but she’s an expert on the Protheans. Pick the Paragon responses to score Paragon +2 and the Renegade responses for Renegade +2.
| Paragon/Renegade |
|---|
| Paragon +2 or Renegade +2 |
After Udina leaves, talk to Anderson again and exhaust his dialog options to learn about his backstory, particularly his past involvement with Saren and the points of interest mentioned above. Not really any opportunity to shift your alignment, but there’s plenty of Codex Entries to gain:
| Codex Entries |
|---|
| Primary - Aliens: Non-Council Races / Batarians |
| Primary - Planets and Locations / Planets: Feros |
| Primary - Planets and Locations / Planets: Noveria |
| Primary - Planets and Locations / Uncharted Worlds |
There’s still plenty of things to do on the Citadel, if you care to explore the place properly and deal with various Assignments (side quests). These will be covered shortly in the page Citadel Exploration, but first, let’s board the Normandy and take care of business there, after which you can decide whether you want to press on with the main story (and if so, which mission you want to undertake), whether you want to return to and explore the Citadel, or if you just want to roam around space and scan and survey various planets.
No Comments