
The final phase of the final mission in the game, Race Against Time, it’ll start as soon as you reach the Conduit on Ilos.


(1 of 2) Defeat some Husks on the Presidium,


Defeat some Husks on the Presidium, (left), then talk to Avina to gain some intel. (right)
Presidium
Ah, poor Mako… our loyal steed served us well. Its driving days are over.
Loot a Medical Kit near the moribund Mako, then turn east and you’ll find the Avina terminal outside of the elevator leading to the Citadel Tower. Approach and kill three Husks that are lowered off their spikes, then talk to the badly damaged Avina terminal to glean what intel you can.
Ride up the elevator to the Citadel Tower until Saren intervenes. Looks like you’re going on a bit of a spacewalk.

Sovereign interfaces with the Citadel Tower.
Citadel Tower: Maintenance Shaft
Lots of fighting up ahead. Hope you’re ready!
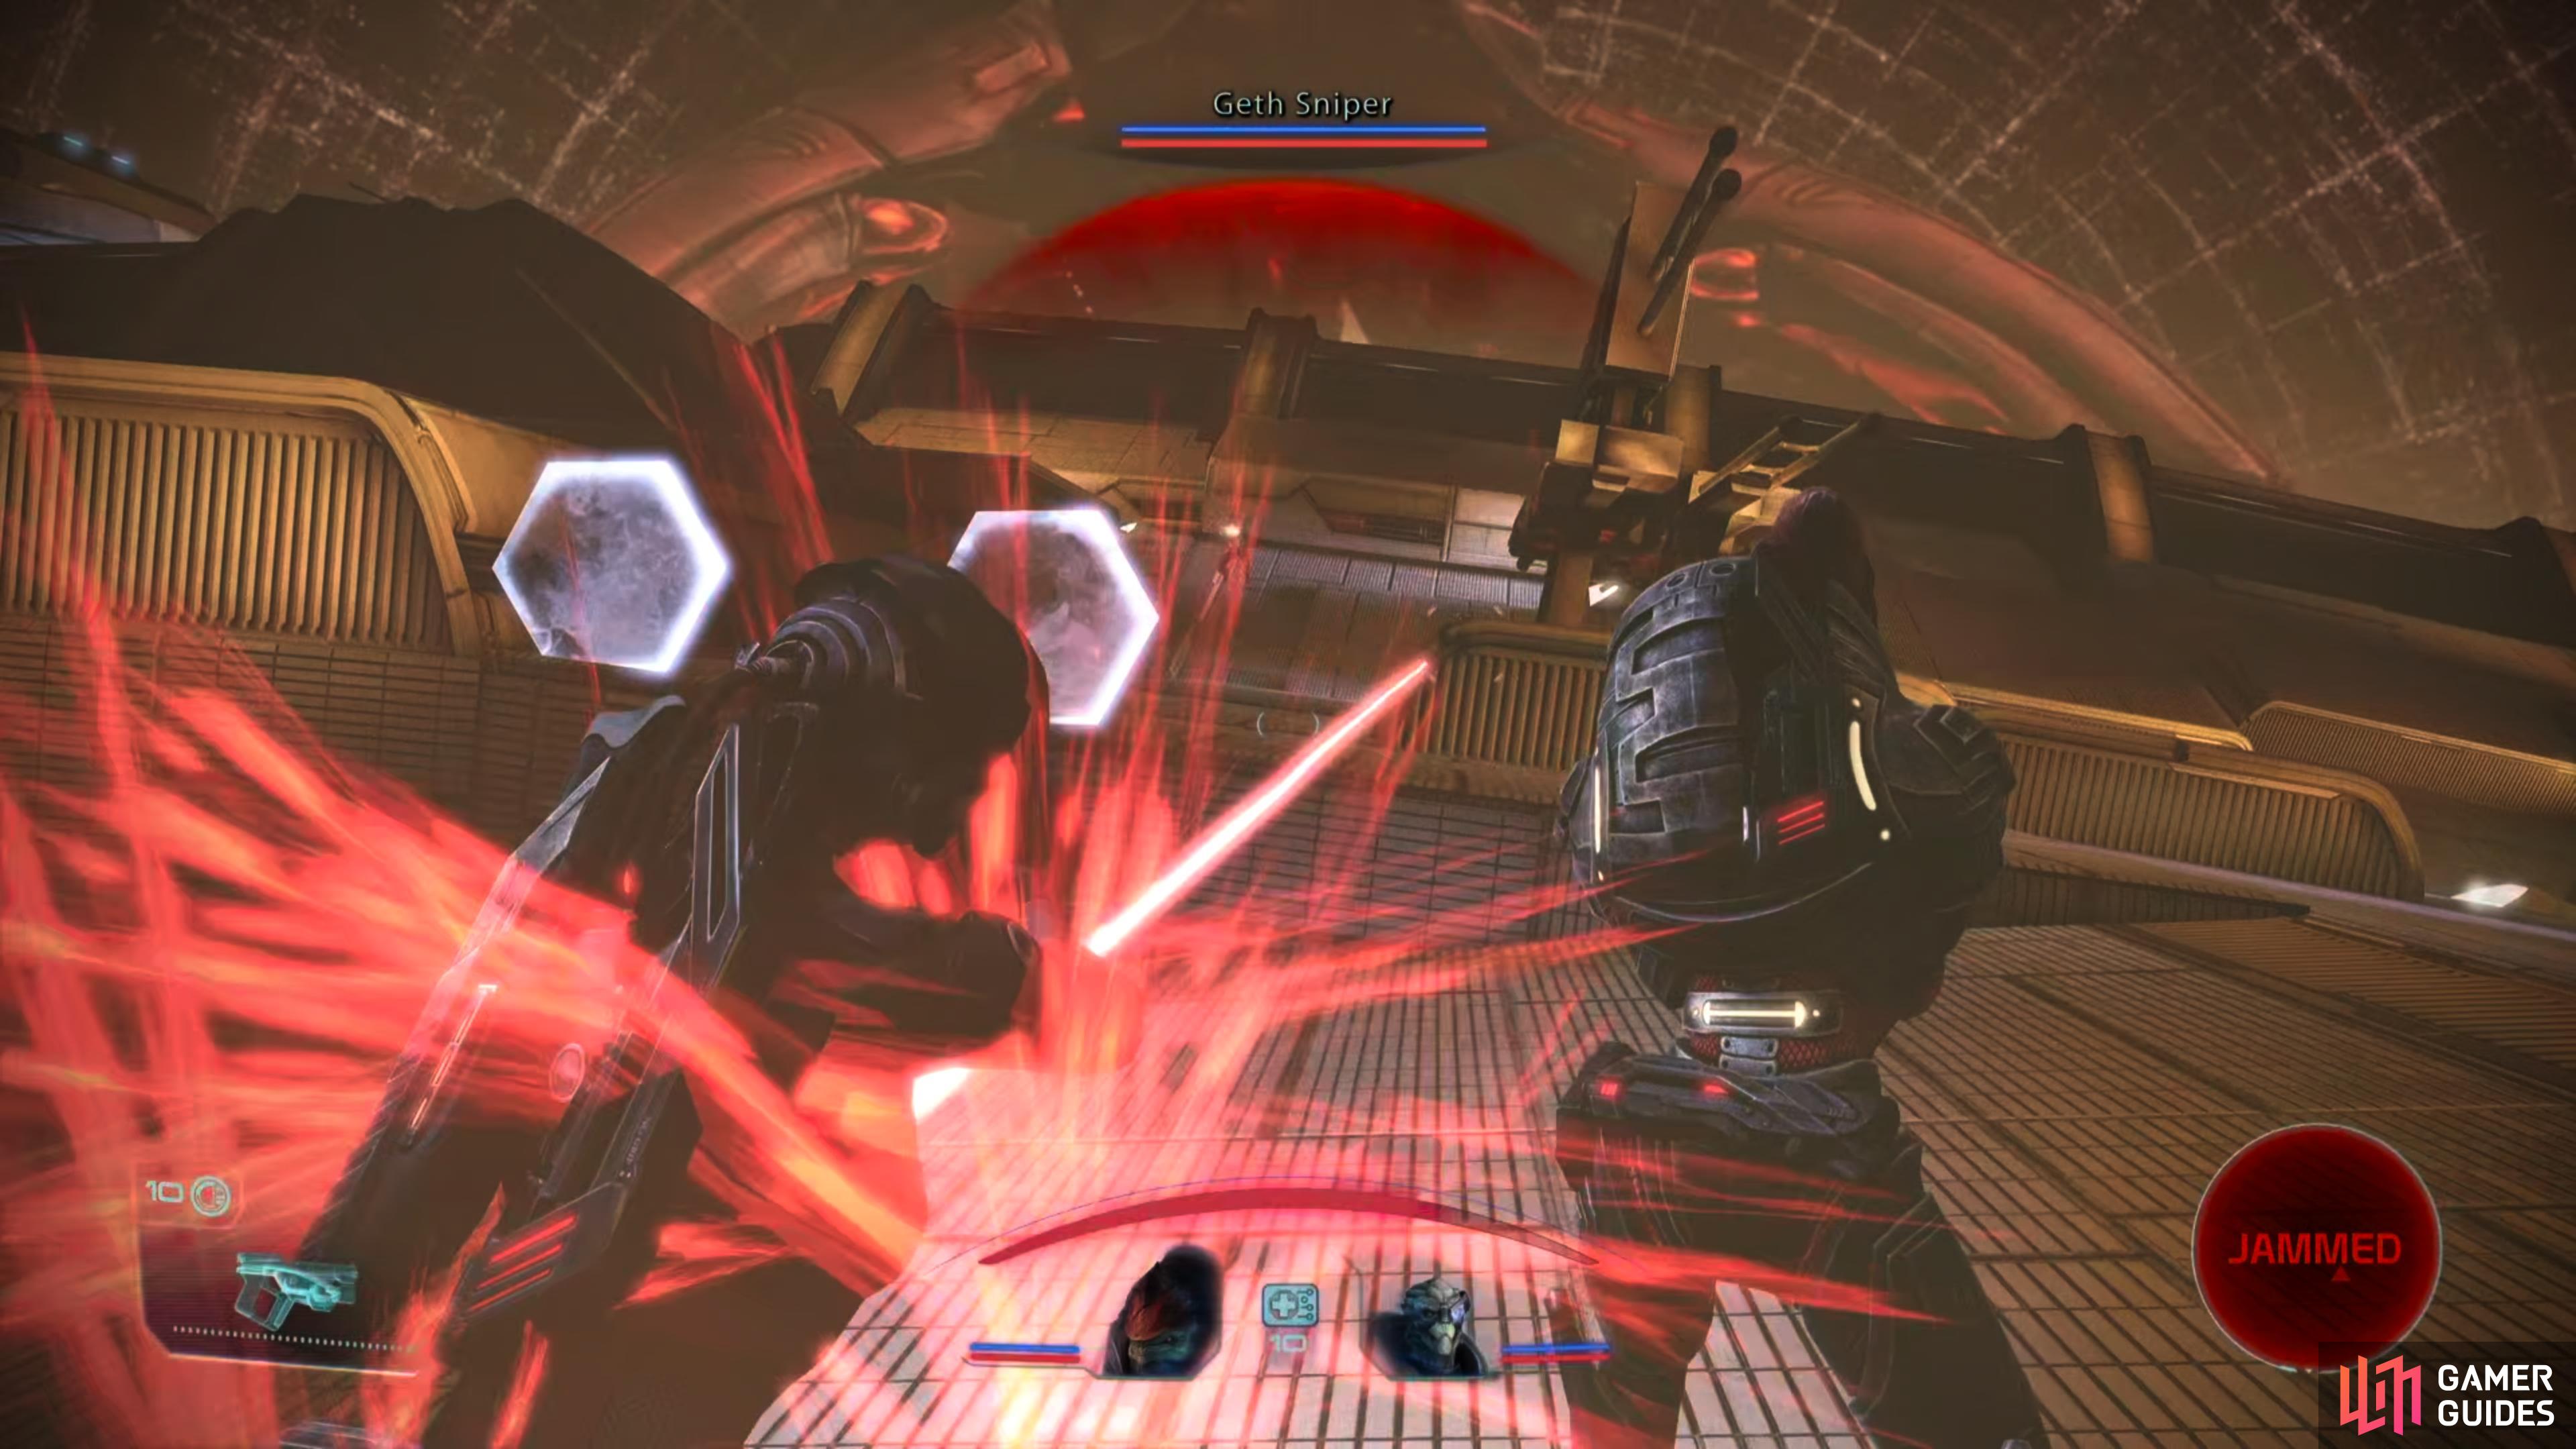
The route ahead is mostly linear, so press on to the south until, after descending a ramp, you’re ambushed by some geth. You’ll need to fight through several Geth Troopers, a few Rocket Troopers, and a Shock Trooper. Nothing you haven’t done before, and there’s plenty of cover.

(1 of 2) As you advance along the outside of the Citadel Tower you’ll fight through hosts of geth mingled with the odd krogan.

As you advance along the outside of the Citadel Tower you’ll fight through hosts of geth mingled with the odd krogan. (left), Charging enemies are especially vulnerable to biotics, which can send them flying to their demise. (right)
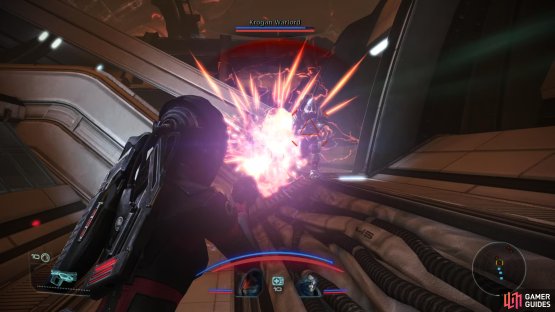
Ascend another ramp and you’ll be greeted by another Geth Trooper, but this disposable minion is just an appetizer, as the real threats lurk behind it. These include a Krogan Warlord and a Geth Destroyer. They’re not novel foes, but they are fond of charging, they’re dangerous in close quarters. Unfortunately for them, the terrain doesn’t favor them, and leaves them particularly vulnerable to our common countermeasure: biotics. An overzealous attacker may, if properly assisted by biotics, find themselves propelled out into space where they’ll perish even should they survive your biotics and gunfire.
Neat.
One thing to be wary of, however - the longer you wait, the more Geth Destroyers will show up. They don’t seem to be infinite in number, but if you press forward you may only have to face one or two, while if you wait in the tunnel where they spawn you could end up facing half a dozen. Use this knowledge to fight as many or as few as you want.

(1 of 2) Fight your way up a barrier-studded ramp to reach the Exhaust Plain,
Fight your way up a barrier-studded ramp to reach the Exhaust Plain, (left), but be wary of Snipers and Rocket Troopers atop the ramp. (right)
Citadel Tower: Exhaust Plain
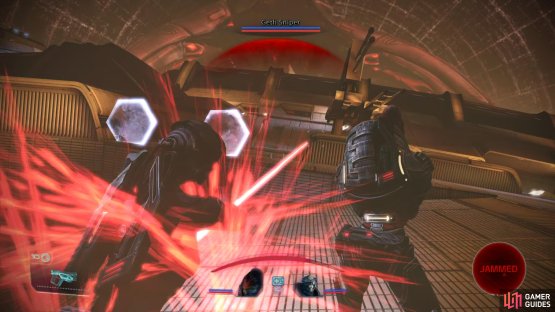
Fight through the heavies, then turn right (east) and struggle up a barrier-studded ramp. Some Geth Troopers and Shock Troopers will contest your ascent, and you should be wary as you advance, as a Rocket Trooper and a Sniper lurk over to the left (south).
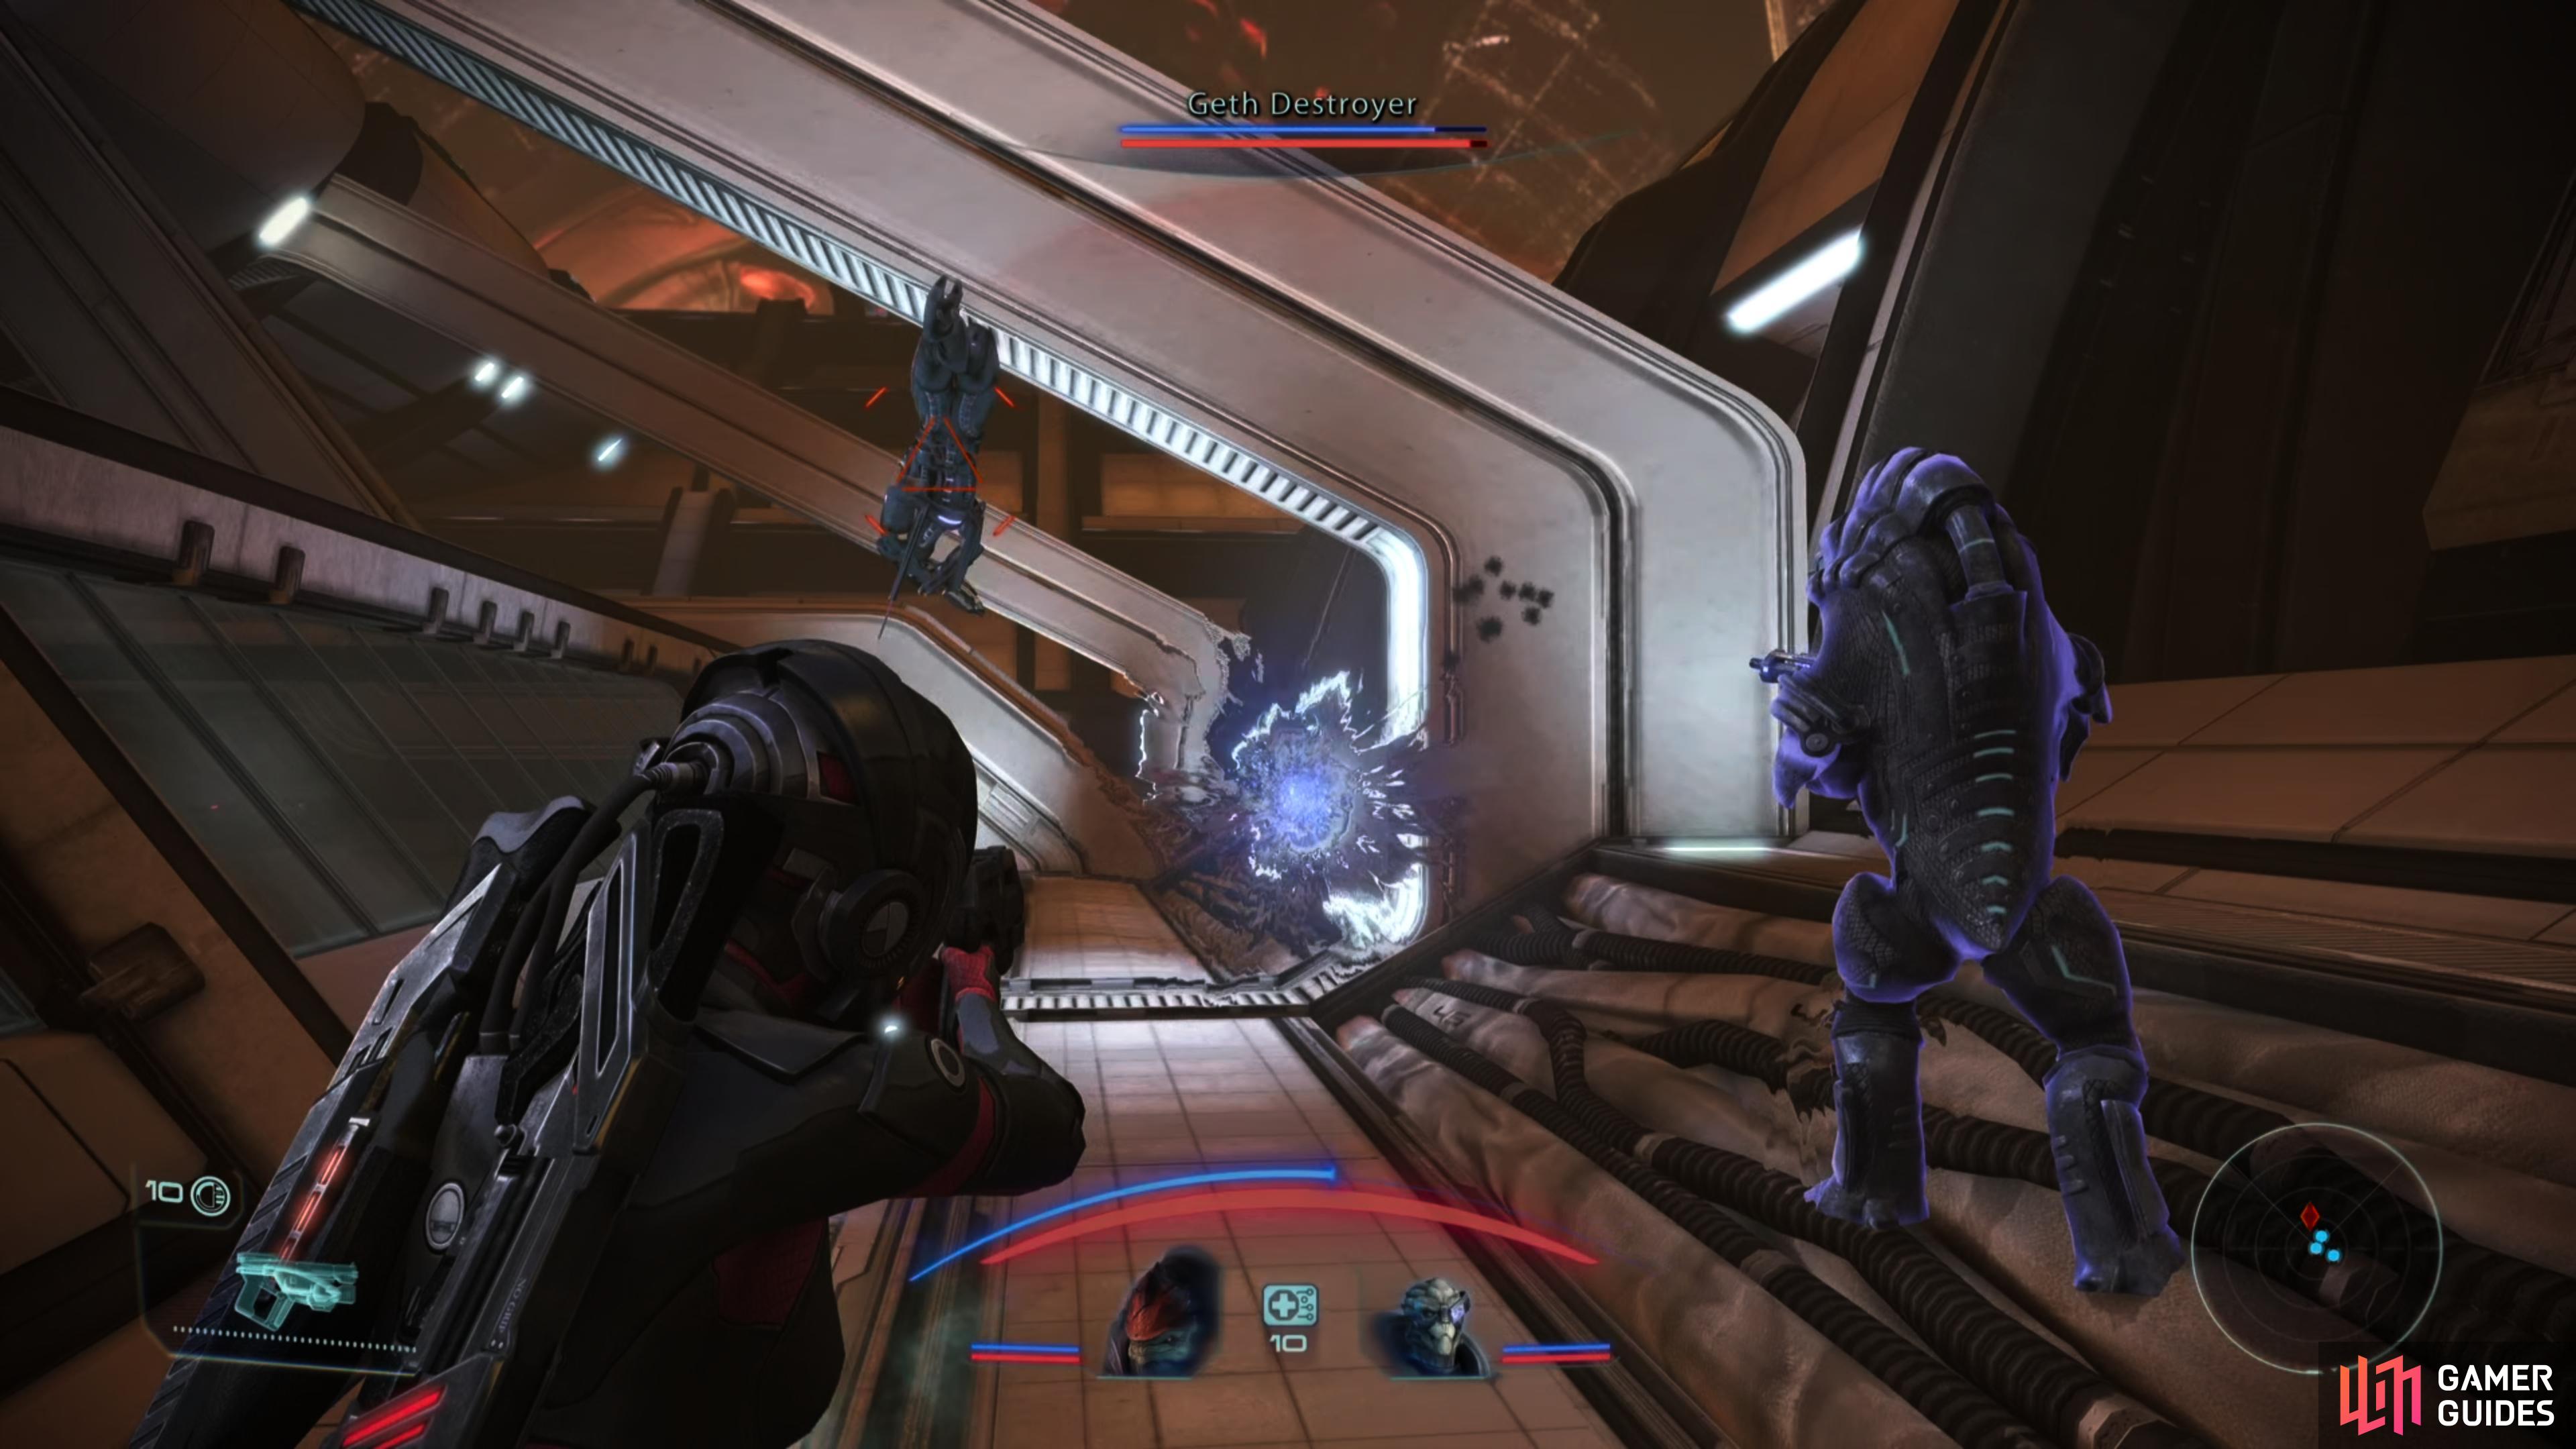
Clear out the geth atop the ramp, then head south and round a corner to reach a passage guarded by some Geth Shock Troopers and a Geth Destroyer. At least one Geth Destroyer, anyways, as they’ll keep spawning if you’re too timid to advance. Once again, the numbers aren’t infinite, but you can fight quite a few of them if you wish.
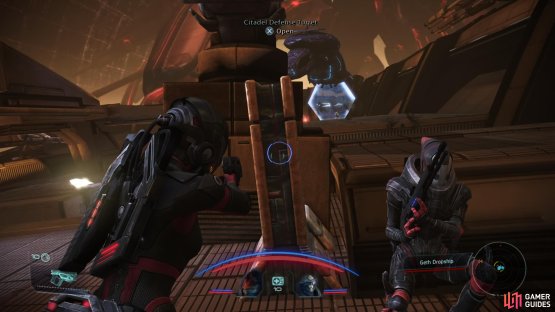

(1 of 2) Activate a trio of Citadel Defense Turrets,

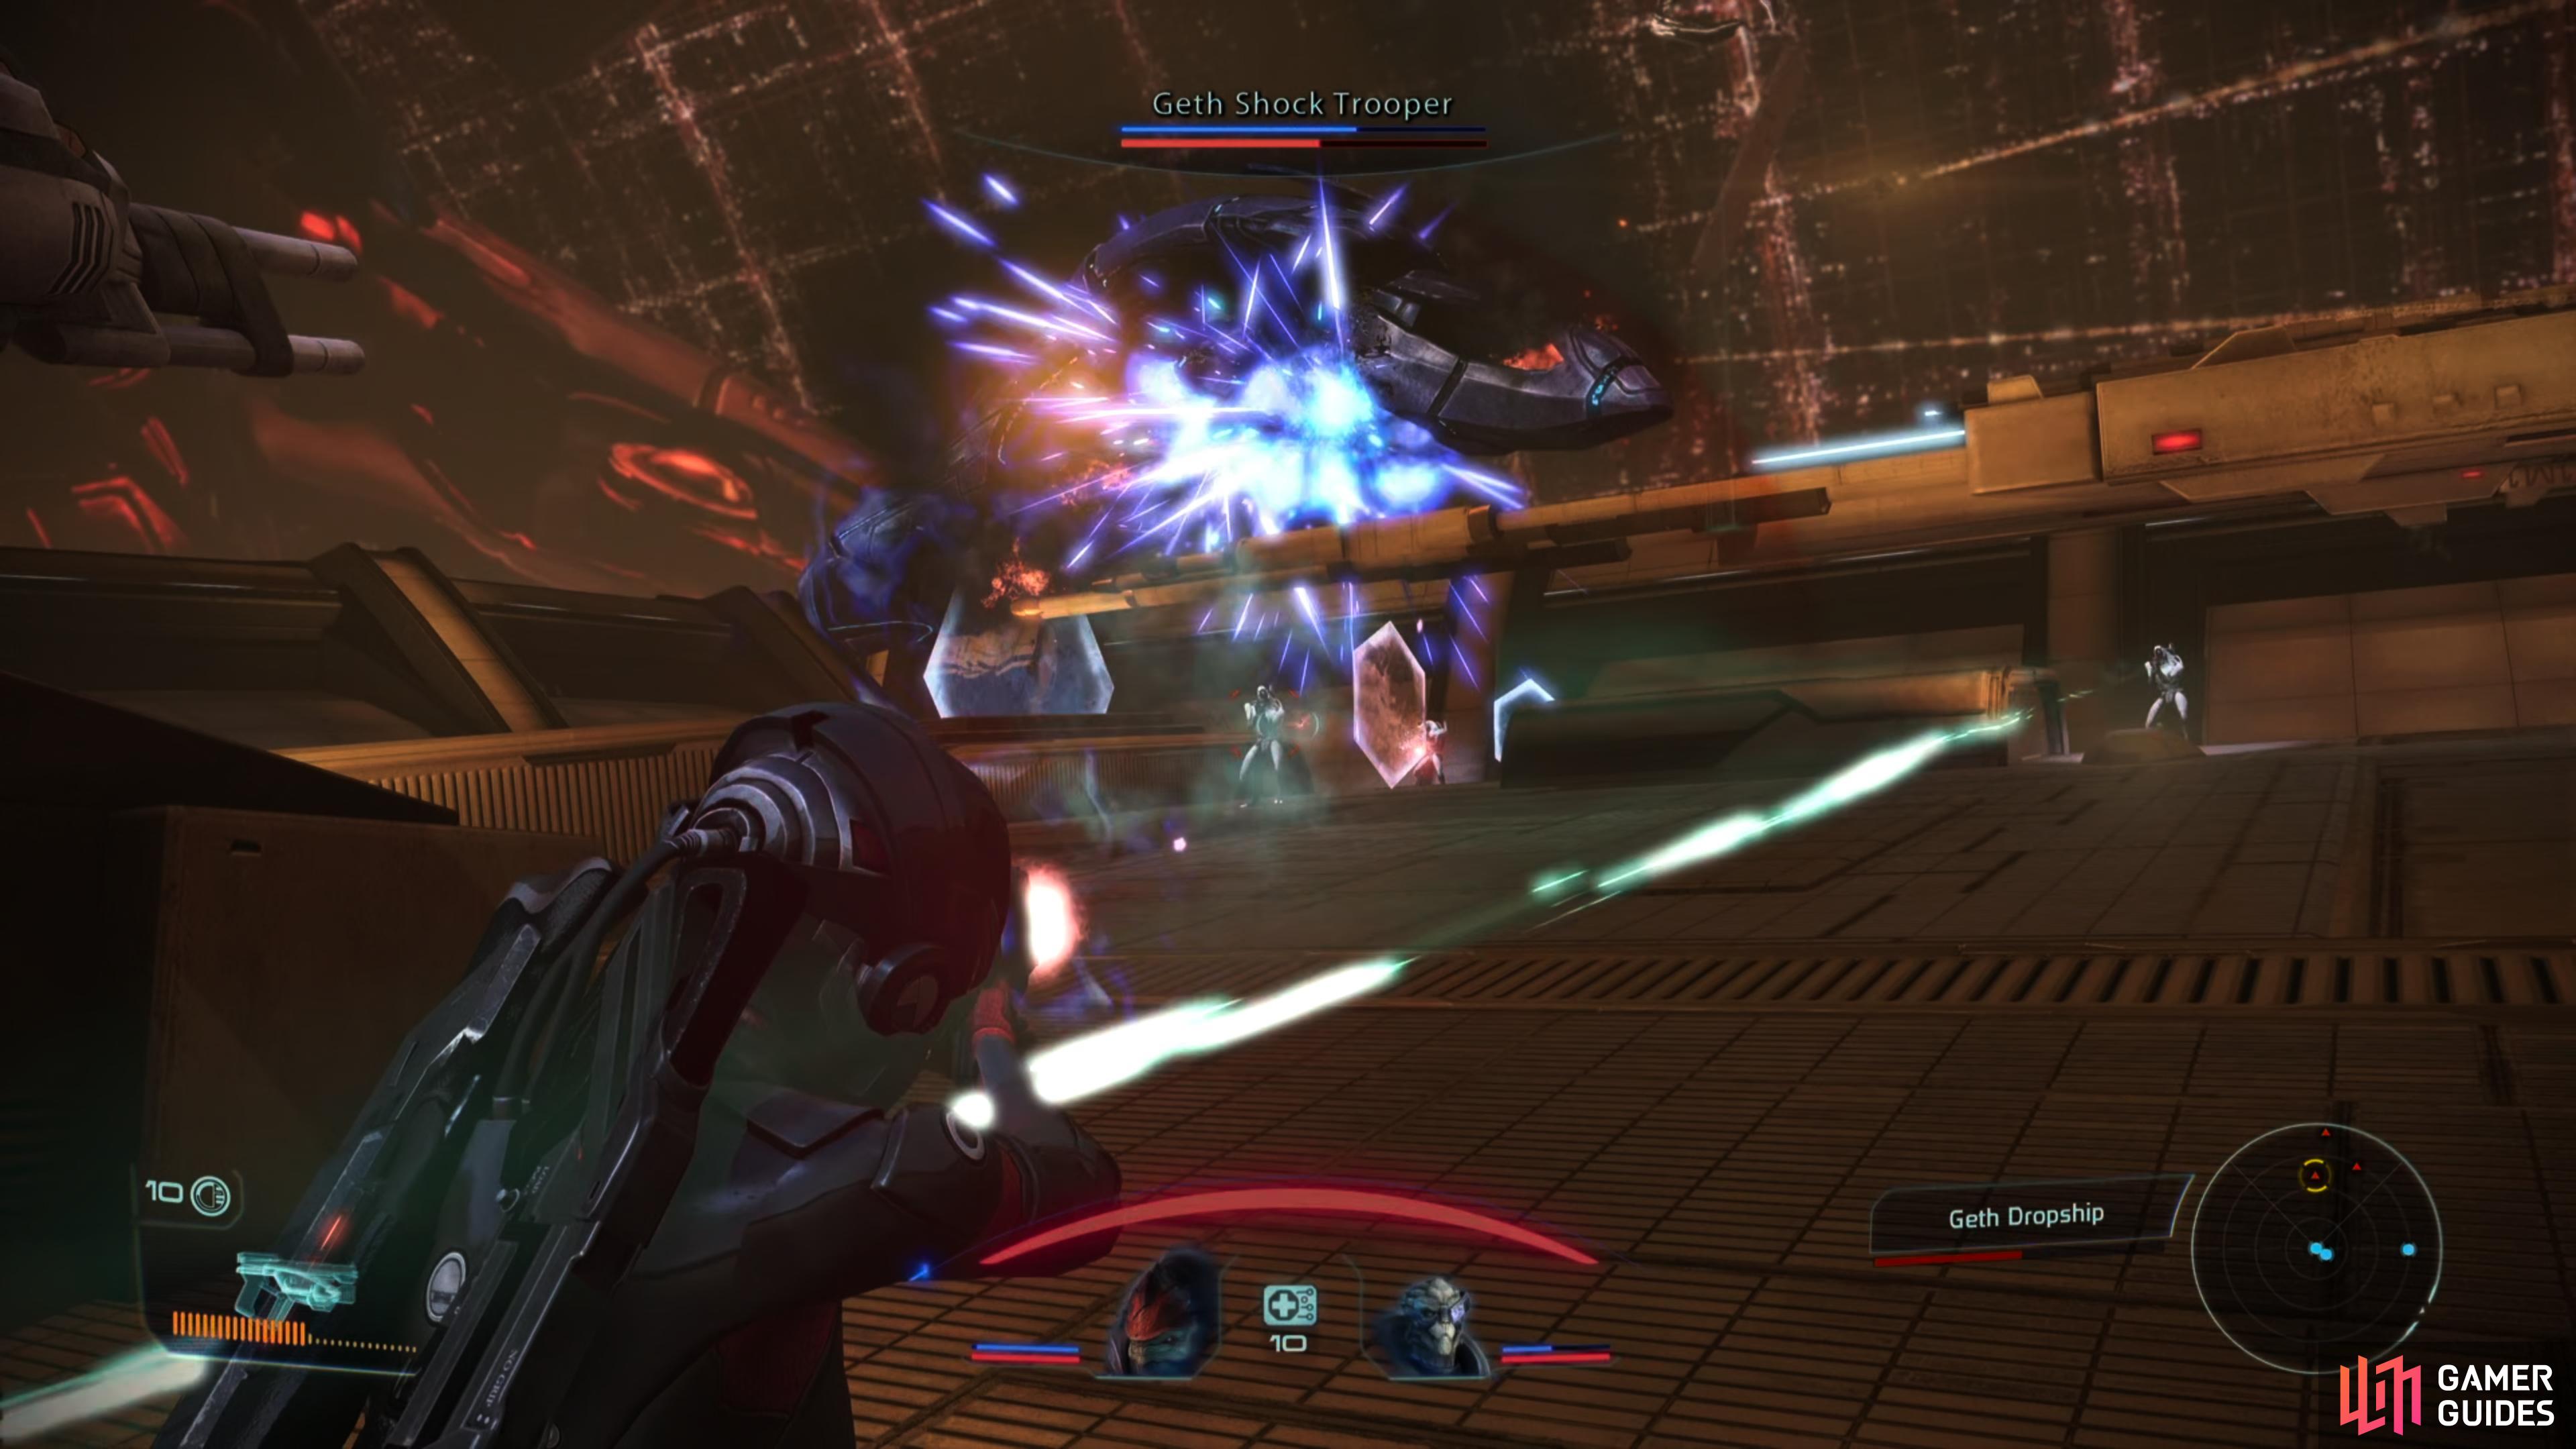
Activate a trio of Citadel Defense Turrets, (left), then pick off geth until the dropship is destroyed. (right)
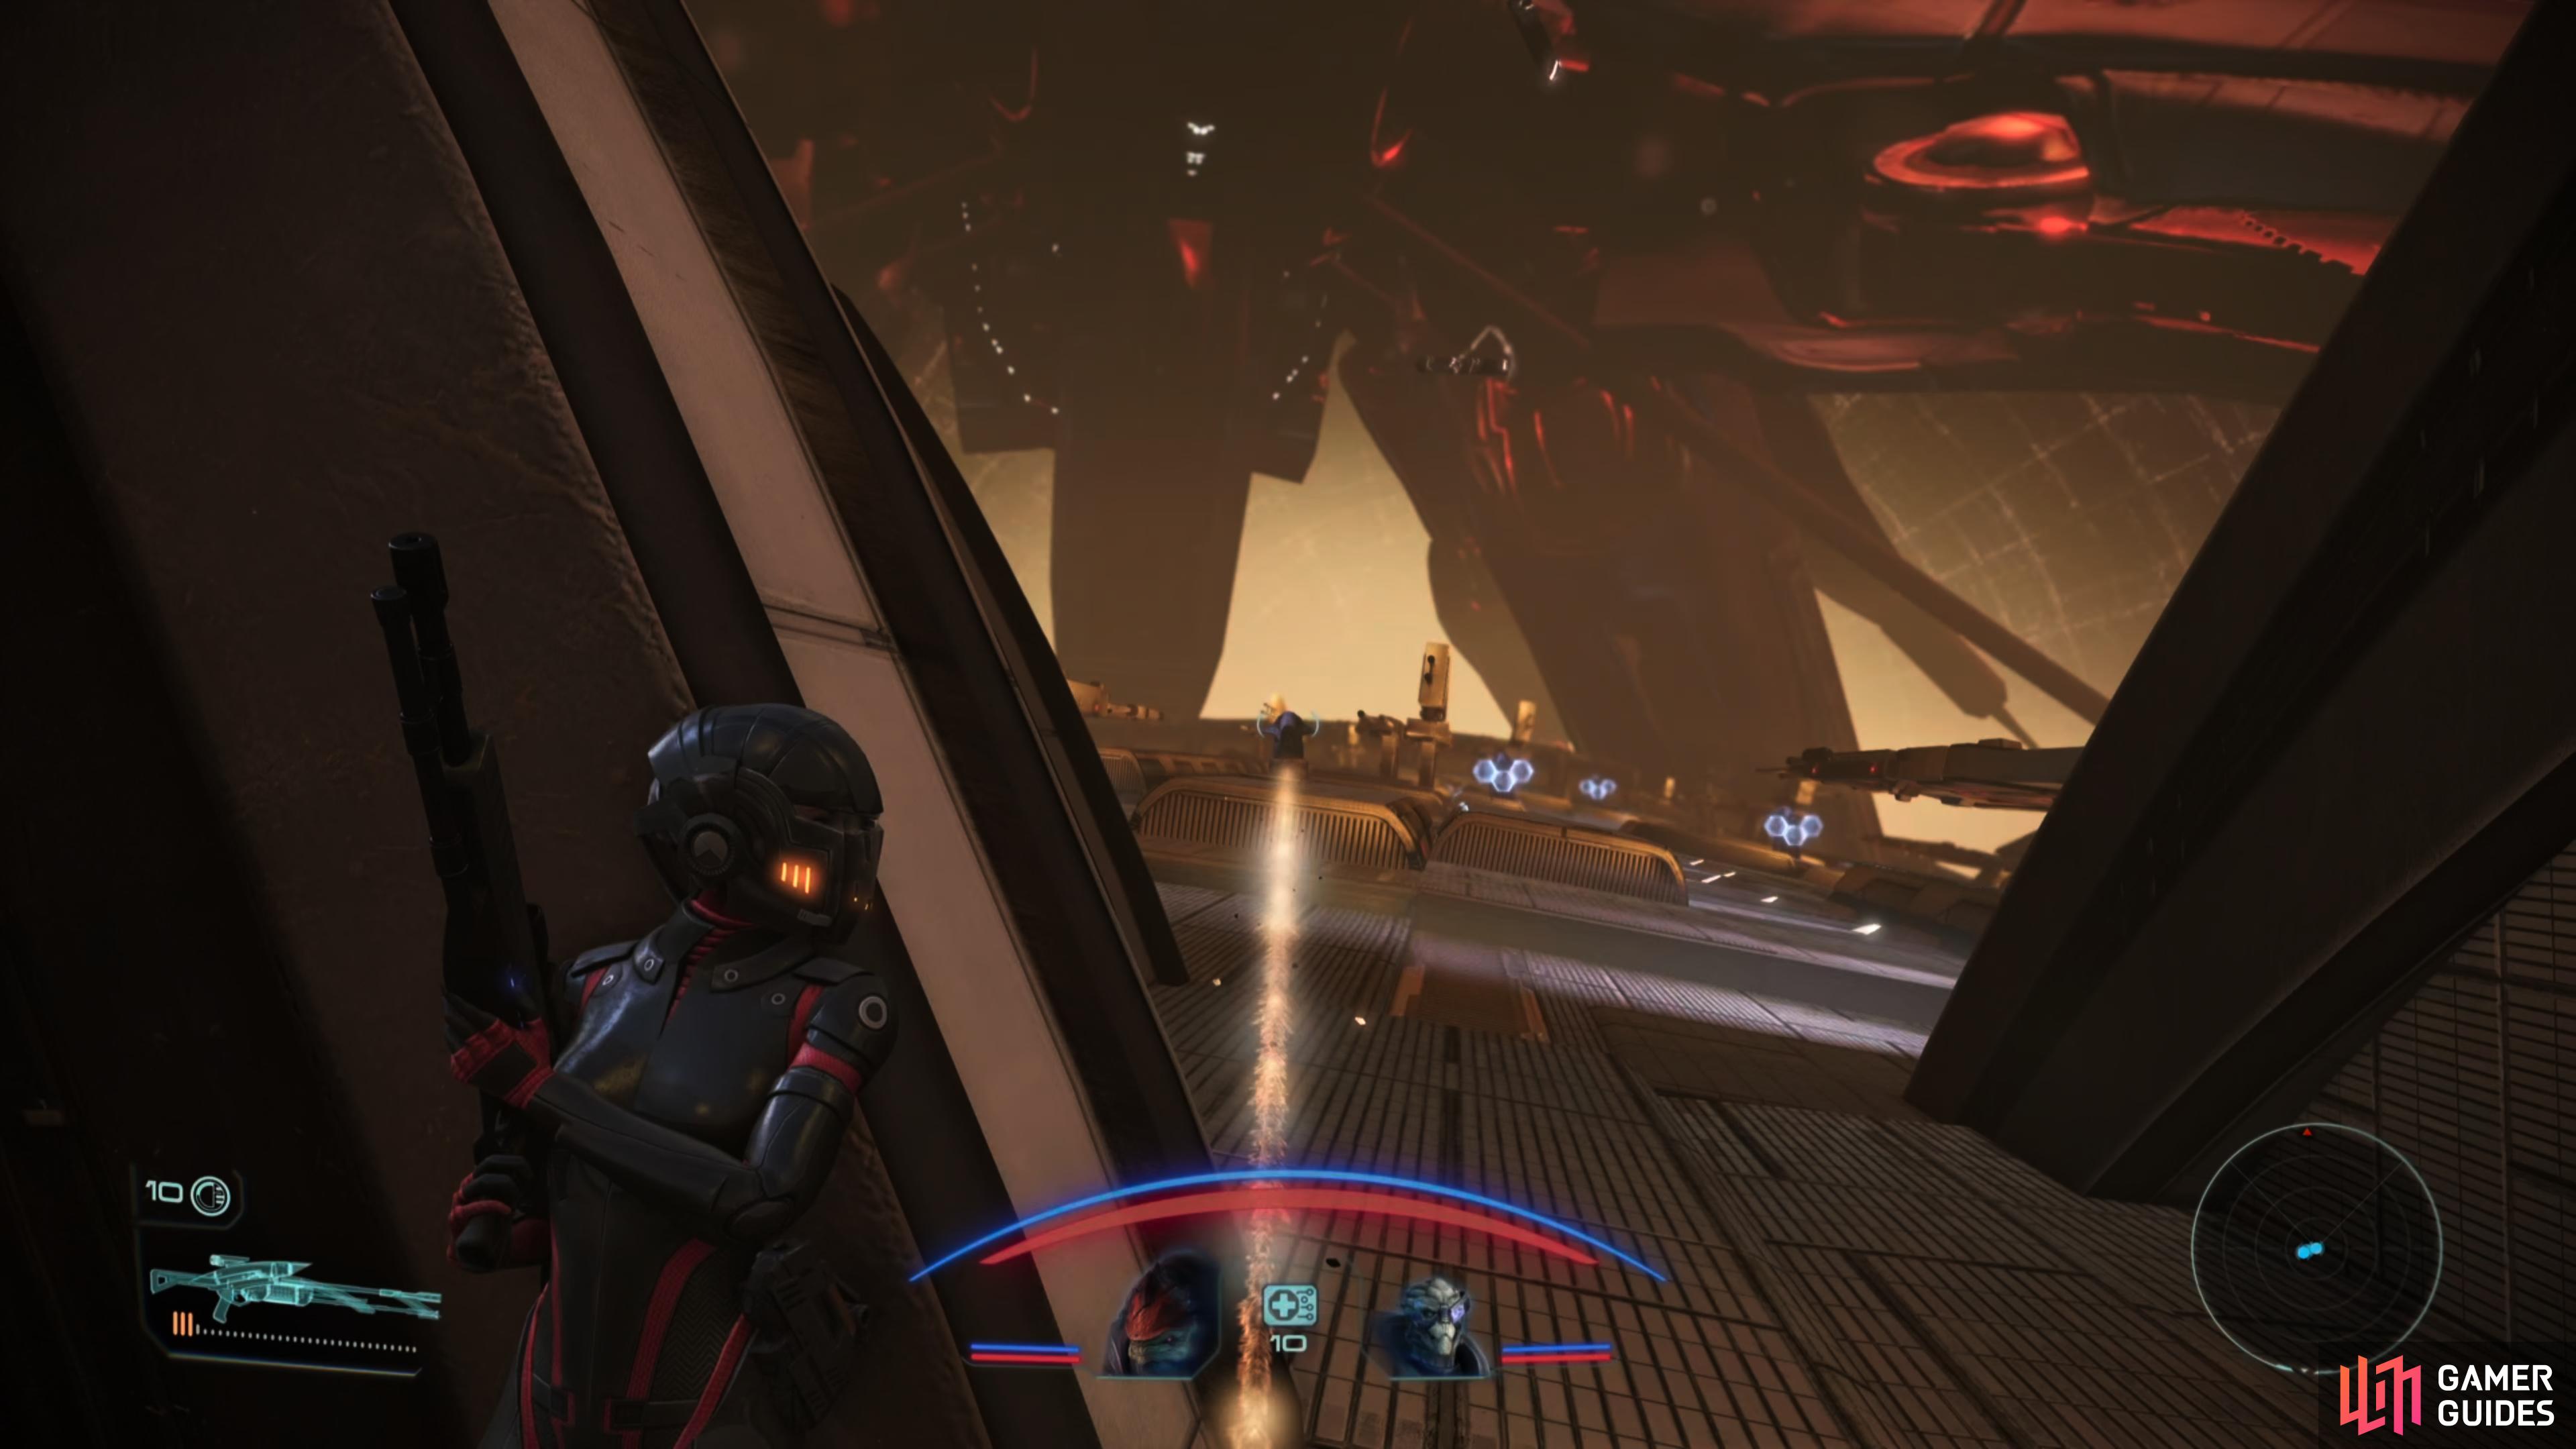
Press on down the passage and turn right (south) to reach a clearing where a Geth Dropship will show up and start deploying Geth Shock Troopers. To drive off this menace you’ll need to activate Citadel Defense Turrets, the first of which is directly ahead. The other two will require you to venture east [Average], then south. The more turrets you activate, the sooner you’ll rout the dropship, so ignore the Geth Shock Troopers as best you can, get those turrets running, then idly dispatch geth until the dropship falters.
Citadel Tower: Exterior Defense Grid
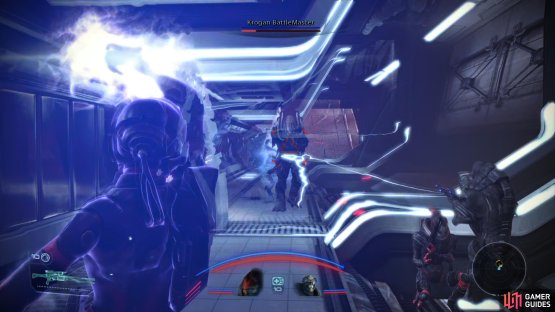
Continue southwest past where the dropship loomed and round a corner to the right (west) to find your path barred by two Krogan Warriors. Prod them with sniper fire and abilities from afar, and if they charge, chastise them with biotics. After they fall, they’ll be replaced by a Geth Juggernaut and a series of Geth Destroyers, the latter of which will keep spawning one at a time until you advance far enough down the passage or their numbers are depleted.

(1 of 2) The last stretch of the tower run - the Exterior Defense Grid - will force you to bypass a battery of turrets,

The last stretch of the tower run - the Exterior Defense Grid - will force you to bypass a battery of turrets, (left), or a mixed squad of Krogan Warriors, Warlords and a Battlemaster. (right)
Seize the passage, then round a corner to the left (south) to find the eponymous “defense grid”, which consists of numerous turrets. These ones don’t have a dropship to focus on, however, and so they’ll take out their aggression on you, instead.
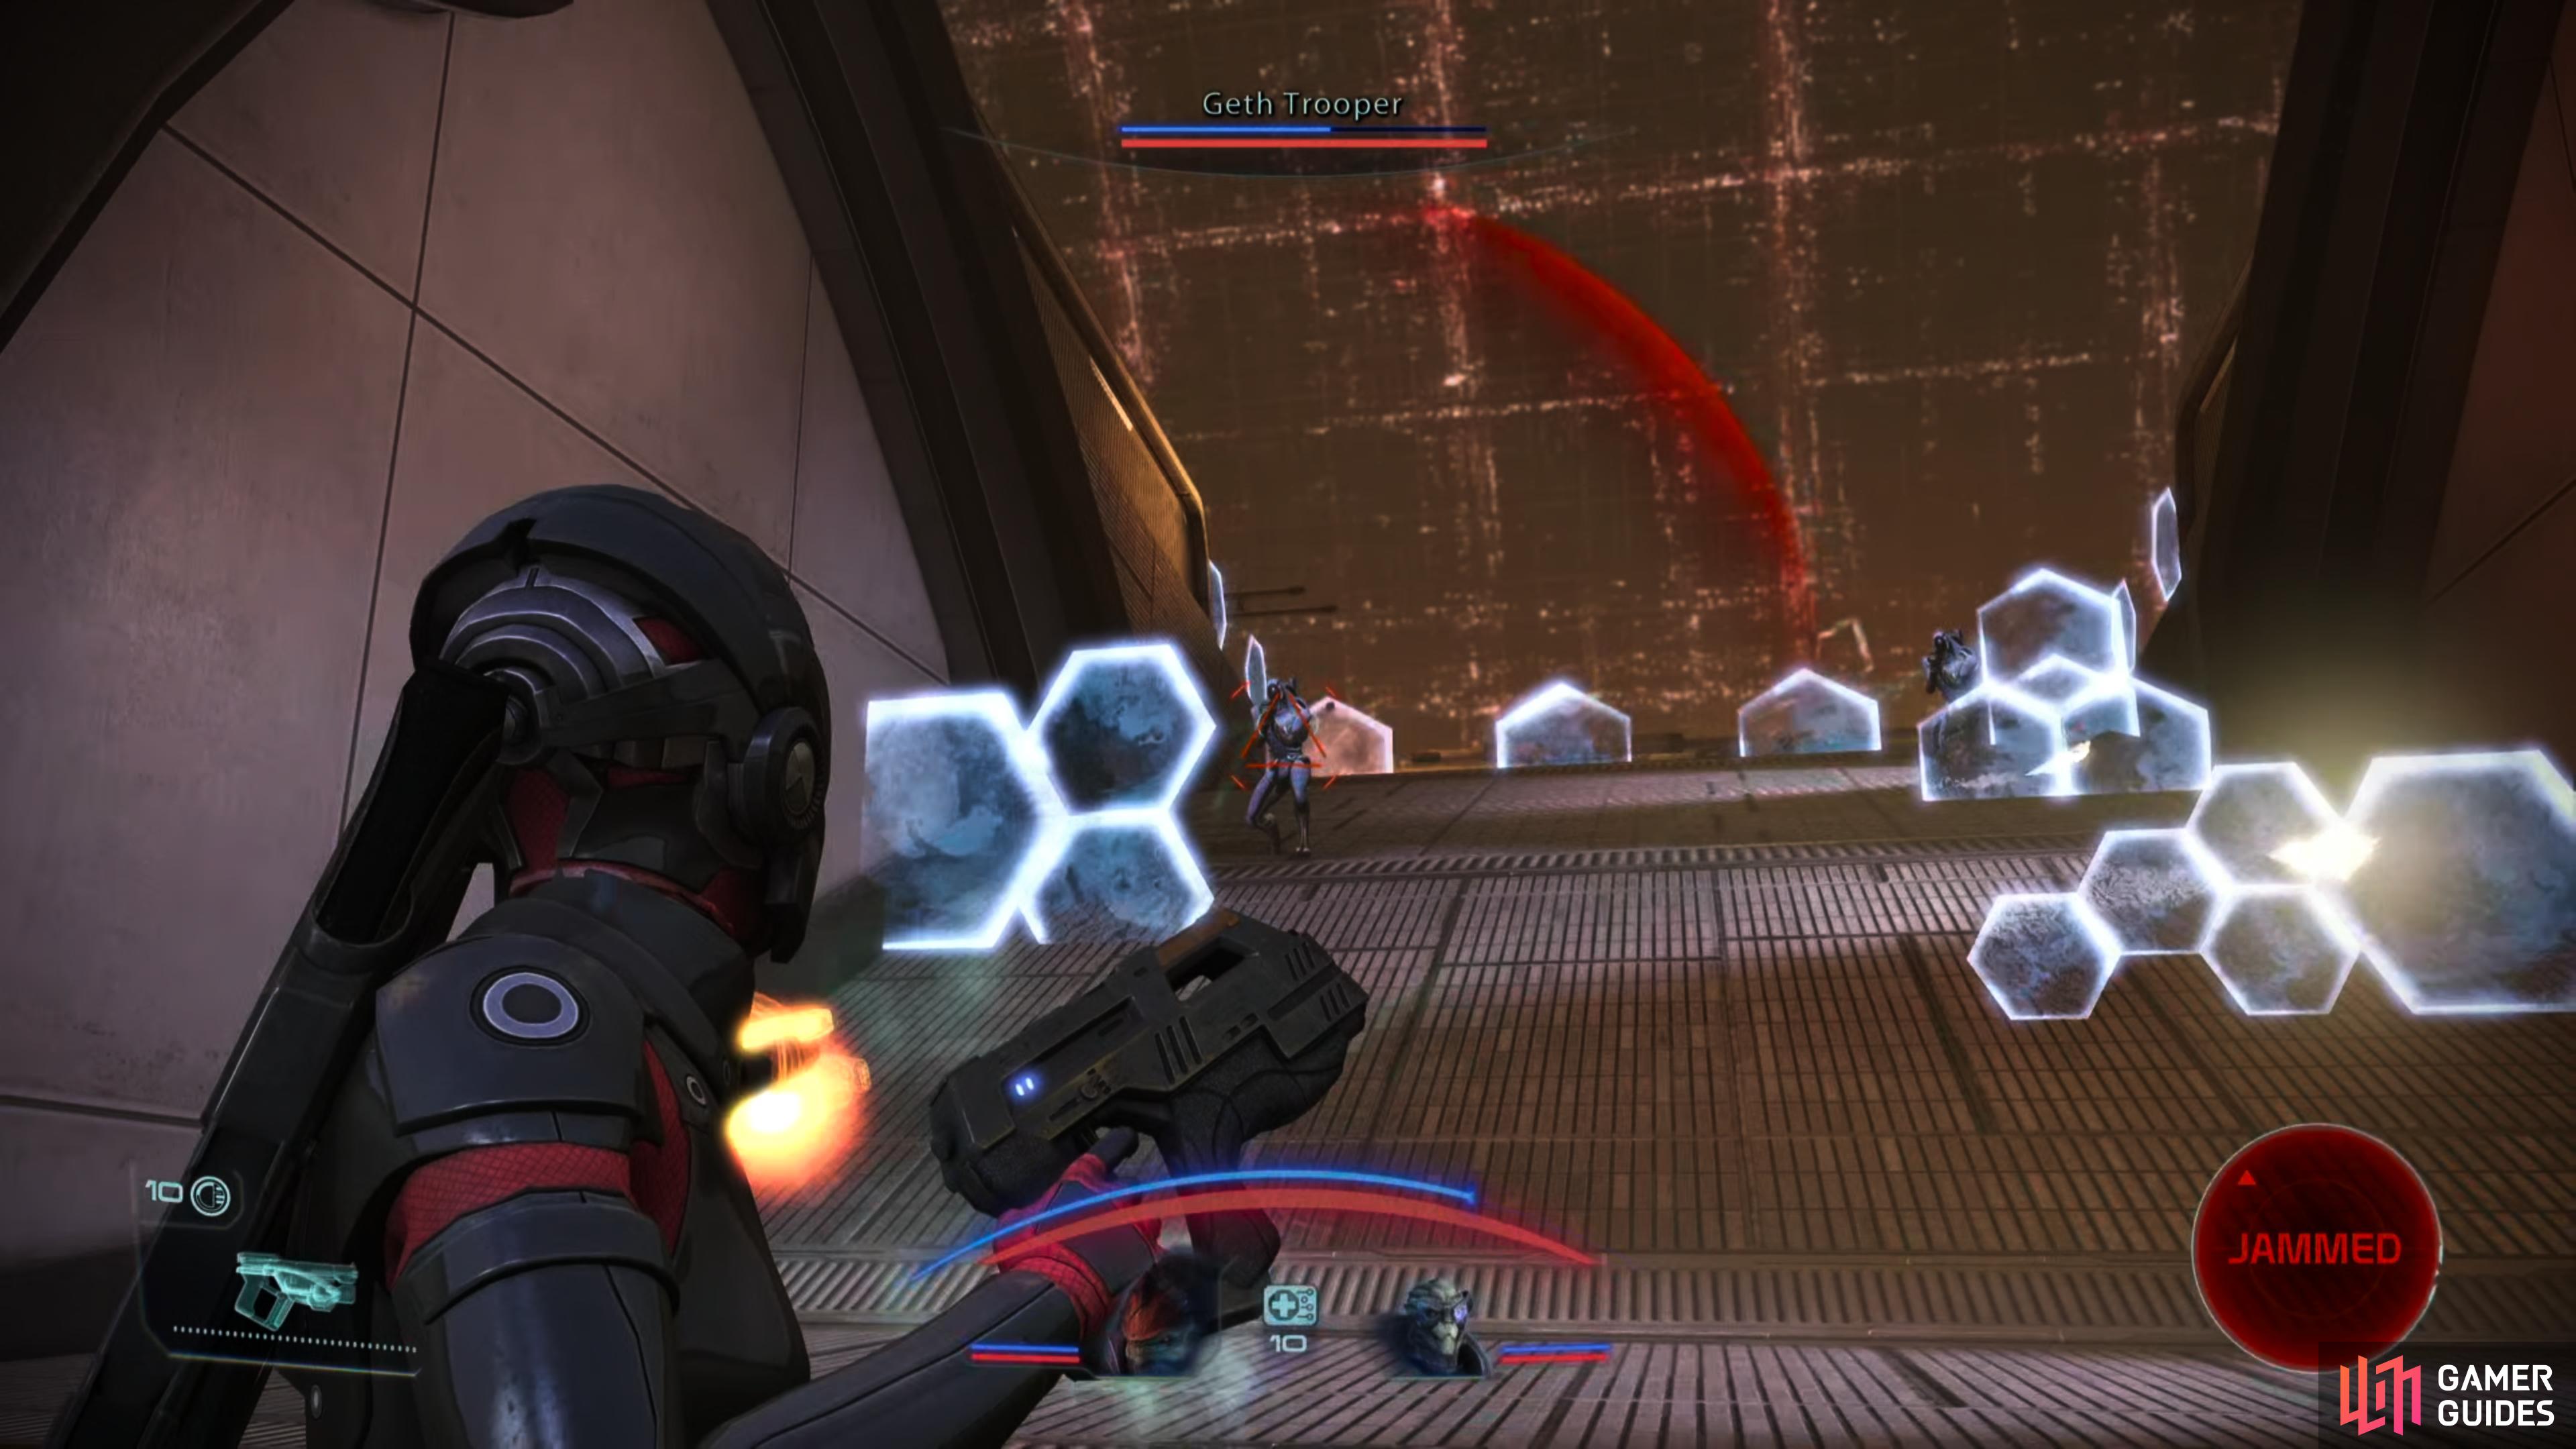
You have options here, for the first time during this phase of the mission. You can either destroy the turrets - standing back and picking them off with a sniper rifle while dodging their rockets is easy enough - or you can press forward, avoid the turret fire, and seek to escape down a ramp to the left (east). Be wary of several Geth Troopers that occupy the ground ahead of the turrets - they’ll keep their heads down until you advance, so try not to get surprised by them.
If you clear the turrets and Geth Troopers, you can ignore the side path to the east and just continue south until you find another, more distant ramp leading down to the east. If you take the first passage to the east, you may avoid the turrets and reunite with the elevator shaft, but continuing south along the elevator shaft has its own complications, as you’ll find yourself opposed by two Krogan Warriors, two Krogan Warlords and a Krogan Battlemaster, the last of which is capable of using biotics. Defeating the turrets and going down the ramp behind them will carry you past the krogan.
In other words, pick your poison.
Whichever route you take, once you’re past your chosen foes you’ll find an Access Hatch, which will take you to the interior of the Citadel: Tower.


(1 of 2) If you select a series of Charm/Intimidate checks,


If you select a series of Charm/Intimidate checks, (left), you can talk Saren into freeing himself from Sovereign’s control. (right)
Showdown with Saren
You know where this is going to end. Where else could it end? Advance south to the Council Chambers, delaying only to loot a Medical Kit and kill a nest of Geth Troopers and Shock Troopers along the way. Now is not a bad time to equip some Tungsten Rounds VII, if you have them. There are two potential fights left, but only one is mandatory, and you’ll be facing a whole lot more synthetic foes than organic ones.
Approach the Council Chambers and you’ll find yourself in another confrontation with Saren, although this time your dialog options can have an effect on things. Advance the dialog until you get Charm/Intimidate options; you’ll have to select a series of three Charm/Intimidate checks, all of which require nine ranks of Charm/Intimidate to pass. If you do, however, Saren will finally seize control back from Sovereign and spare you the trouble of putting a bullet in his head. Well, temporarily, at least.
| Charm/Intimidate |
|---|
| If you have 9 ranks in either Charm or Intimidate, you can convince Saren to free himself from Sovereign’s control. |
| Paragon/Renegade |
|---|
| Paragon +24 or Renegade +25 |

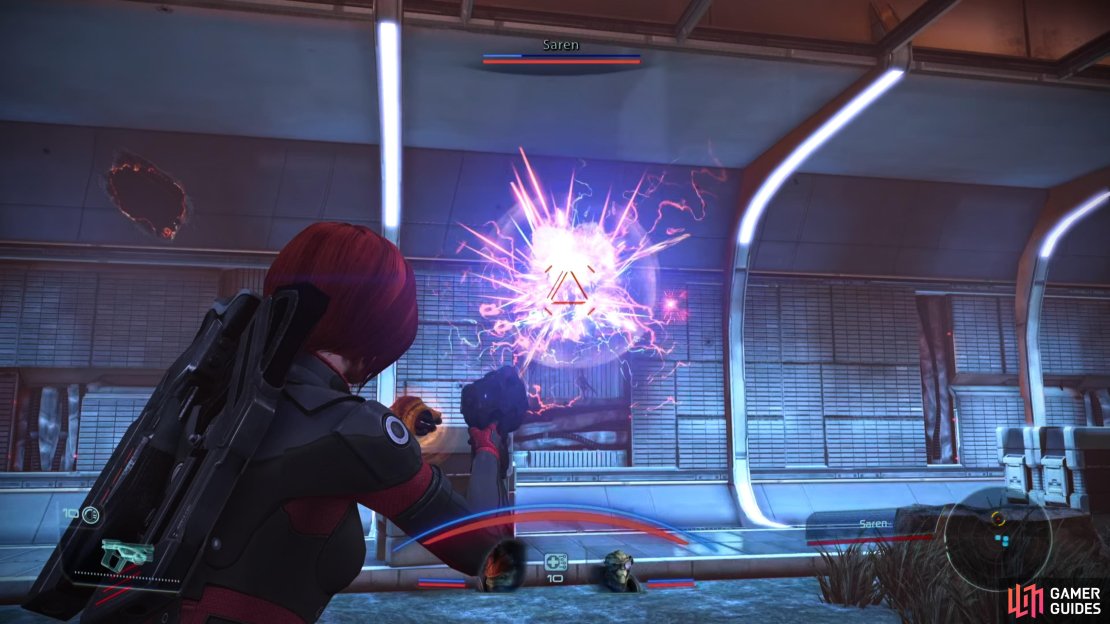
(1 of 5) Just like last time, hitting Saren with Sabotage and Damping will significantly constrain his offense.
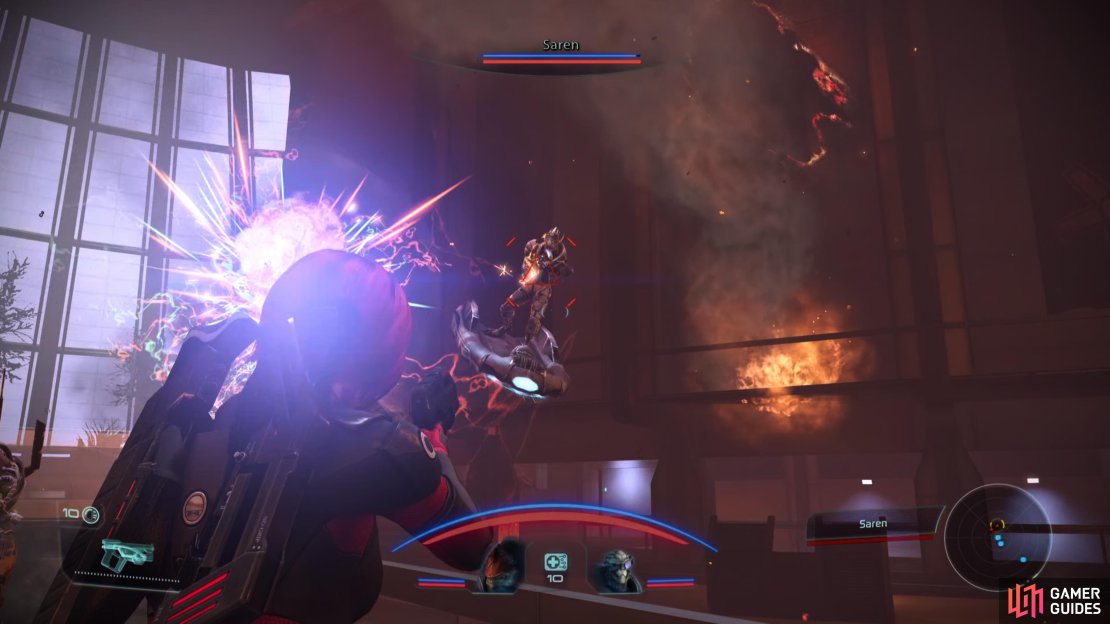
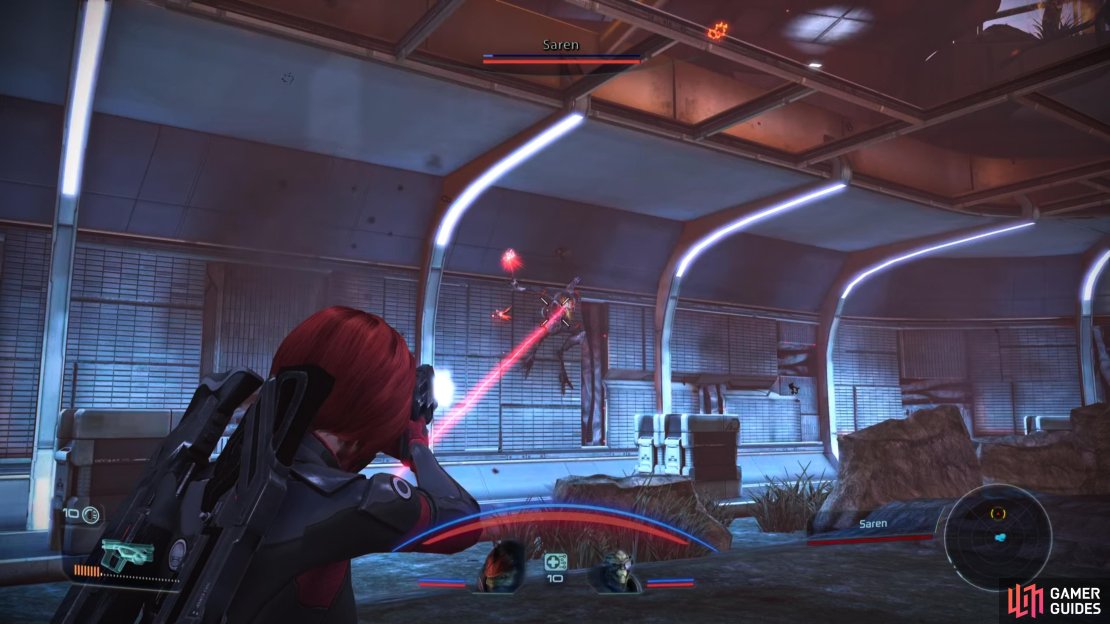
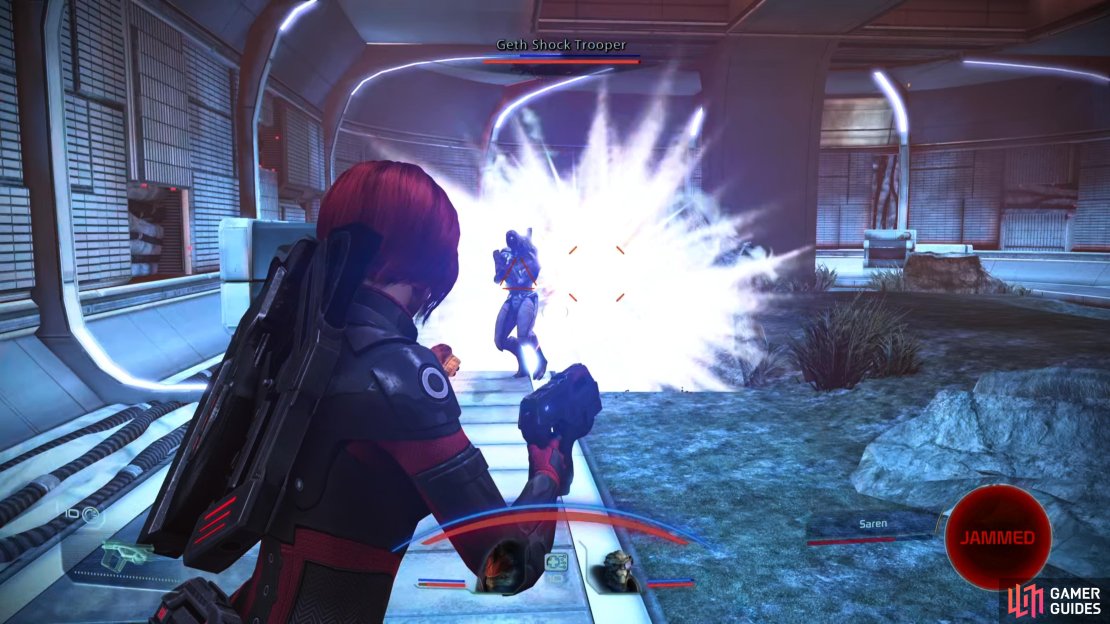
If you can’t talk Saren out of a fight, you’ll have to deal with him the old fashioned way. This fight is nearly identical to the battle on Virmire. He’s still got his hovercraft that makes him immune to biotics, he’ll still summon a host of geth to distract you, and he’ll still use tech attacks, rockets and assault rifle fire to cause you grief.
The geth are even easier to deal with this time around, just be sure to advance towards Saren and fight him around the Council Chambers. This should, in practice, limit the number of geth that’ll arrive to assist Saren. Stairs are difficult for robots, apparently. Any that do arrive you should focus on and dispatch quickly, and since they’ll effectively bottleneck themselves on the stairs, this should be a simple matter.
As for Saren himself, the same strategies apply. Constantly pelt him with Sabotage and Damping to squelch his offense and save your weapon powers for when his shields are done to chip away at his health when the possibility presents itself. He’s more offensively proficient this time around, firing longer volleys of rockets, but you can always retreat to the galleries to the east or west should you need to find cover.
Defeat Saren, then head to the end of the bridge and activate the Control Panel .
(1 of 3) Make a call on the utilization of Alliance forces,
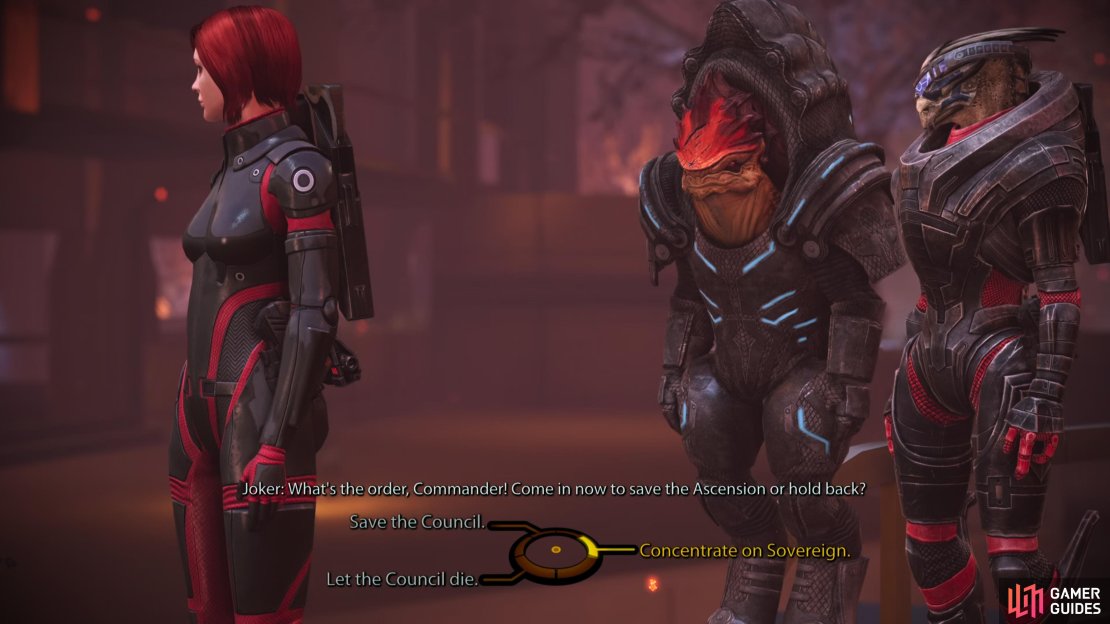
The Council’s Fate
Now that you’re in control of the Citadel, you’ll be able to contact Joker, and you’ll be presented with a choice: risk the Alliance fleet to save the Council, or hold back, muster your strength, and wait until the path is clear to Sovereign.
Two of your three choices will result in the Council dying: “Concentrate on Sovereign.” / ”Let the Council die.” while responding with ”Save the Council.” will achieve the opposite effect. You’ll gain Paragon +28 if you choose to save the Council, Renegade +29 if you command their demise, or Paragon +8 and Renegade +9 if you pragmatically (rather than maliciously) choose to let the Council die.
For more information on the long-term consequences of this choice, check out the Save the Council or Not page.
| Paragon/Renegade |
|---|
| Paragon +28 or Renegade +29 or Paragon +8 and Renegade +9 |
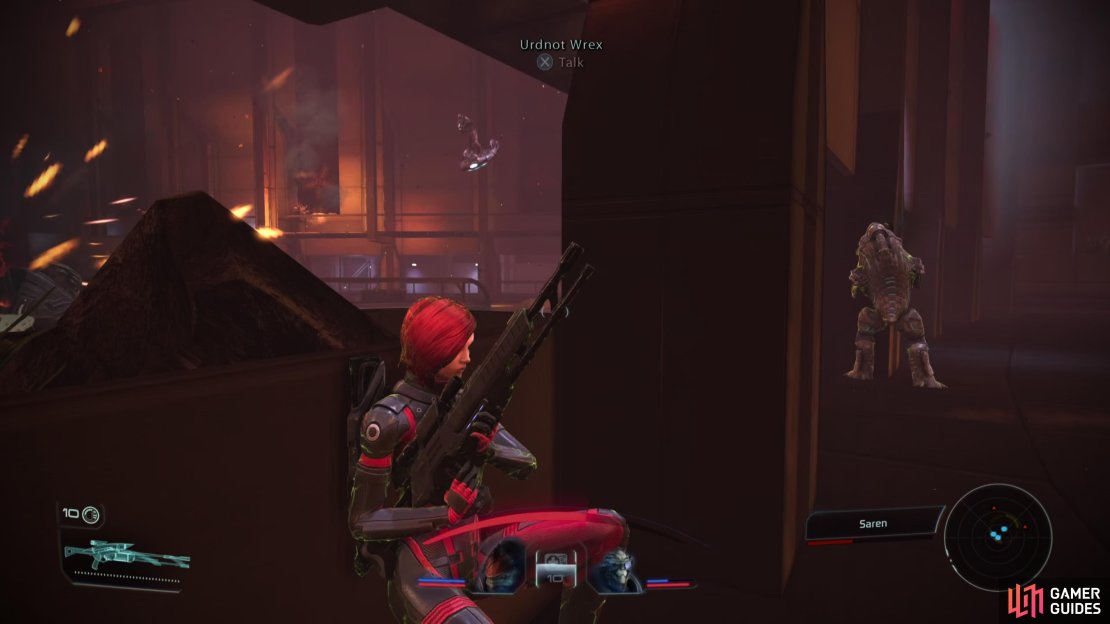
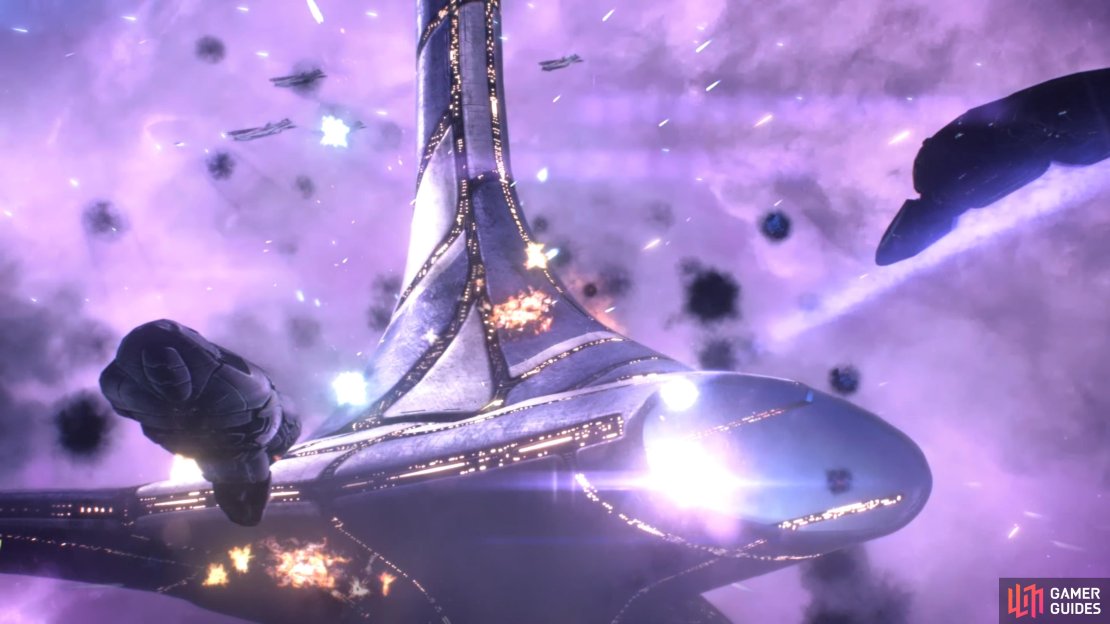
Make your decision and watch the fallout. Unfortunately, Saren’s not quite dead… or rather, his organic demise was rendered moot by Sovereigns implants, which were apparently quite extensive… perhaps even moreso than Saren himself realized.
Whatever the case, Sovereign has himself a husk, and while it may not be the ideal weapon, Sovereign intends to use what’s left of Saren to put up a fight.

Sovereign will take control of Saren’s extensive cybernetic remains in a last ditch effort to seize victory from the jaws of defeat.
Final Battle: Sovereign-Saren
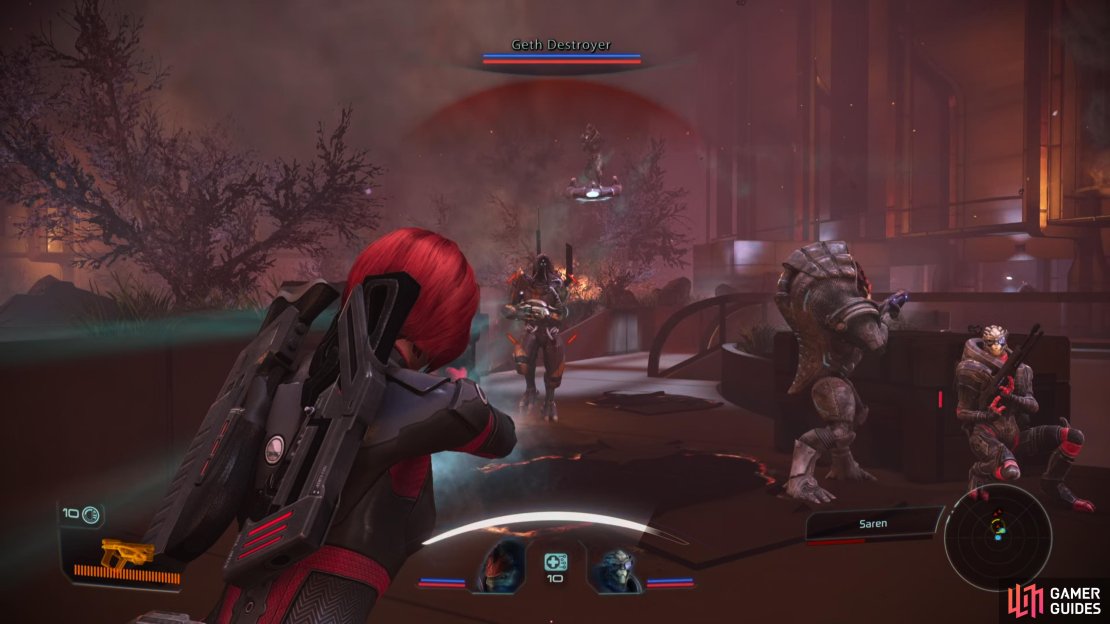
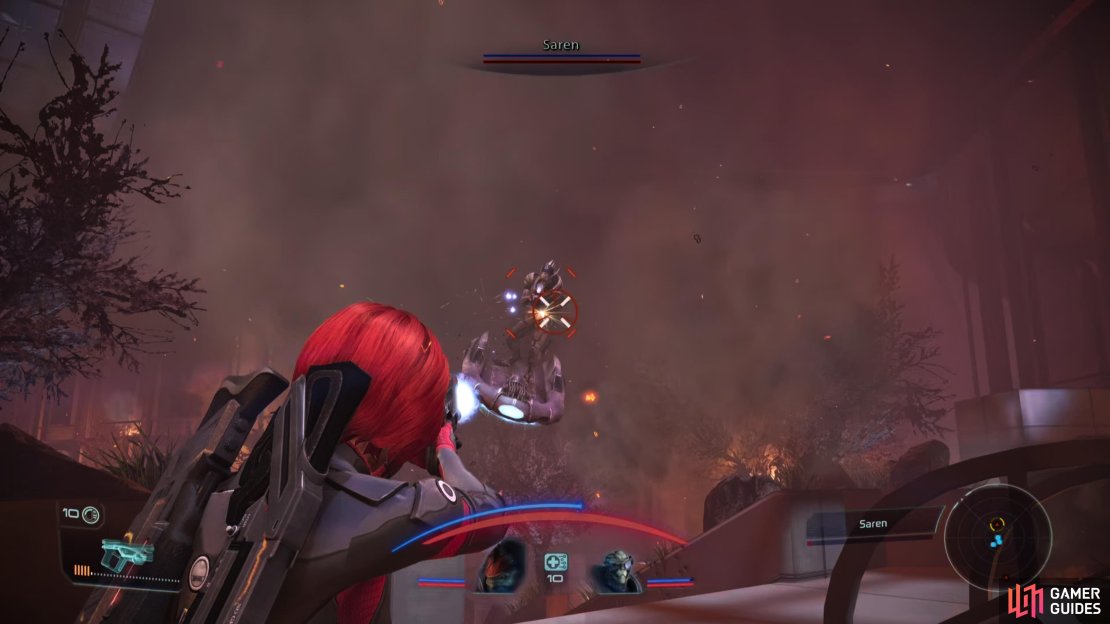
Saren - or rather Sovereign - is now reduced to a Husk, but he’ll fight a lot of like a Geth Sapper. Lots of leaping around and generally being a nuisance, but Sovereign-Saren’s lasers will inflict debuffs similar to Sabotage and Damping. His primary forms of offense are fighting a barrage of rockets and summoning geth periodically. Old habits die hard, eh?

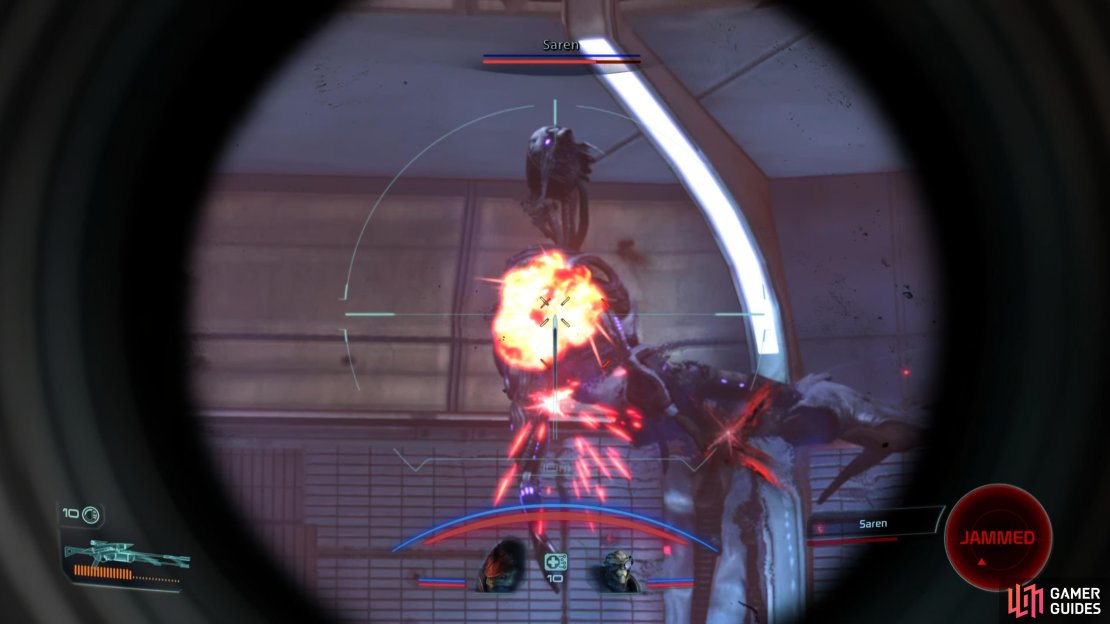
(1 of 5) Use debuffs like Damping and Sabotage to keep Sovereign-Saren off-balance.
This form of Sovereign-Saren has one fatal weakness - it’s not immune to biotics. A maxed out [Lift}(https://www.gamerguides.com/mass-effect-1-legendary-edition/guide/talents/biotic/lift) will have full effect on Sovereign-Saren, rendering it helpless for several moments. Two biotics can all but keep Sovereign-Saren locked down throughout the entire battle, and if you have sniper rifles with High Explosive X ammo, even when Sovereign-Saren is freed from your biotics you’ll be able to bounce it around the battlefield with your high-impact rounds.
Use Sabotage and Damping every time you have them available to prevent Sovereign-Saren from doing the same to you and keep an eye on your radar so you don’t get surprised by geth reinforcements. When geth do show up, turn your attention to them quickly, command your companions to fire on them, and pay special attention to any Snipers, as they’re the ones most likely to cause damage spikes.
With the aforementioned strategy you can keep Sovereign-Saren locked down most of the fight and dispatch its reinforcements quickly. Just save your biotics and weapon abilities until Sovereign-Saren’s shields are gone and keep it suspended and vulnerable while you unleash your weapon abilities into your foe, working to quickly tear away chunks of Sovereign-Saren’s health bare. The fight will be interrupted when Sovereign-Saren’s health is at about half, and the scenes that play will give the Reaper-controlled husk time to recover its shields. Still, using the tactics above it’s quite possible to finish off Sovereign-Saren by the time the second wave of geth reinforcements arrive.
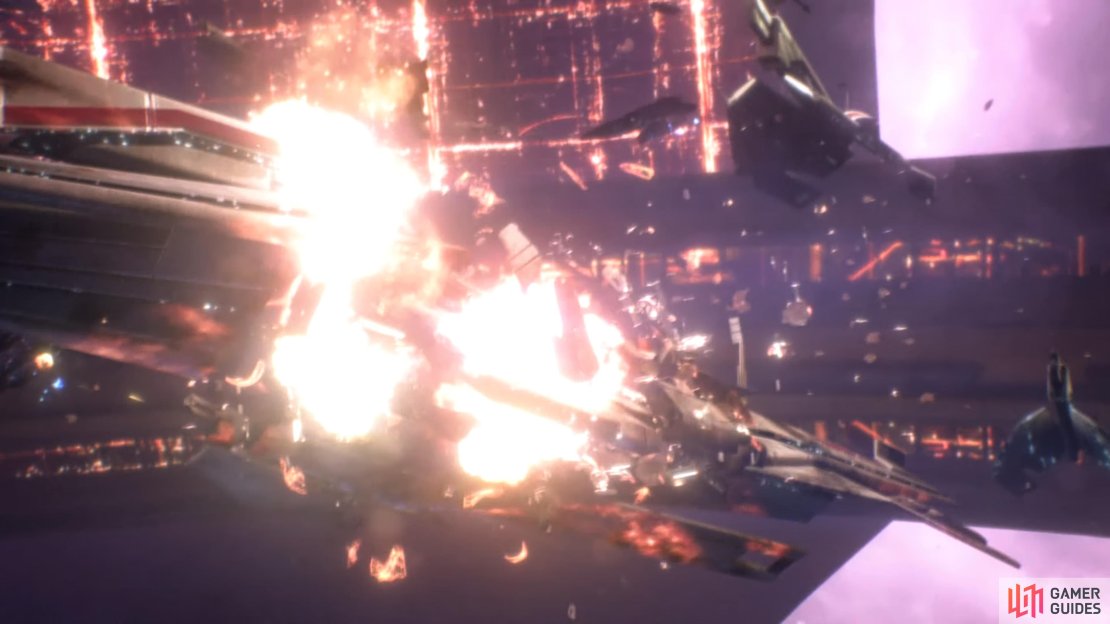
Prove to Sovereign that no amount of fancy hardware will make Saren a match for you, then watch the ending scenes.


(1 of 2) After the fight against Saren you’ll be asked for your input on who the first human Councilor should be, either by Udina,


After the fight against Saren you’ll be asked for your input on who the first human Councilor should be, either by Udina, (left), or by the Council, should they have survived. (right)
The First Human Councilor
After the post-fight scenes you’ll get some final dialog options. Depending on your choices regarding the Council you’ll be greeted by Udina and Anderson… and the Council, if they’re still alive. If the Council is dead, Udina will scheme to seize power while the other races are reeling from the losses suffered against Sovereign. If the Council is alive, they’ll voluntarily offer humanity a share in governing the galaxy. Either way, this newfound stature for humanity comes in the form of a Council seat, and you’ll be asked for your opinion on who the first human councilor should be: Anderson or Udina. The long term consequences of this choice can be found on the page Anderson or Udina for Councilor.
You’ll earn the Medal of Honor at this point, and possibly Insanity I, if you’ve been playing on Insanity difficulty.


Make your decisions and the credits will roll. Congrats! Onto Mass Effect 2!
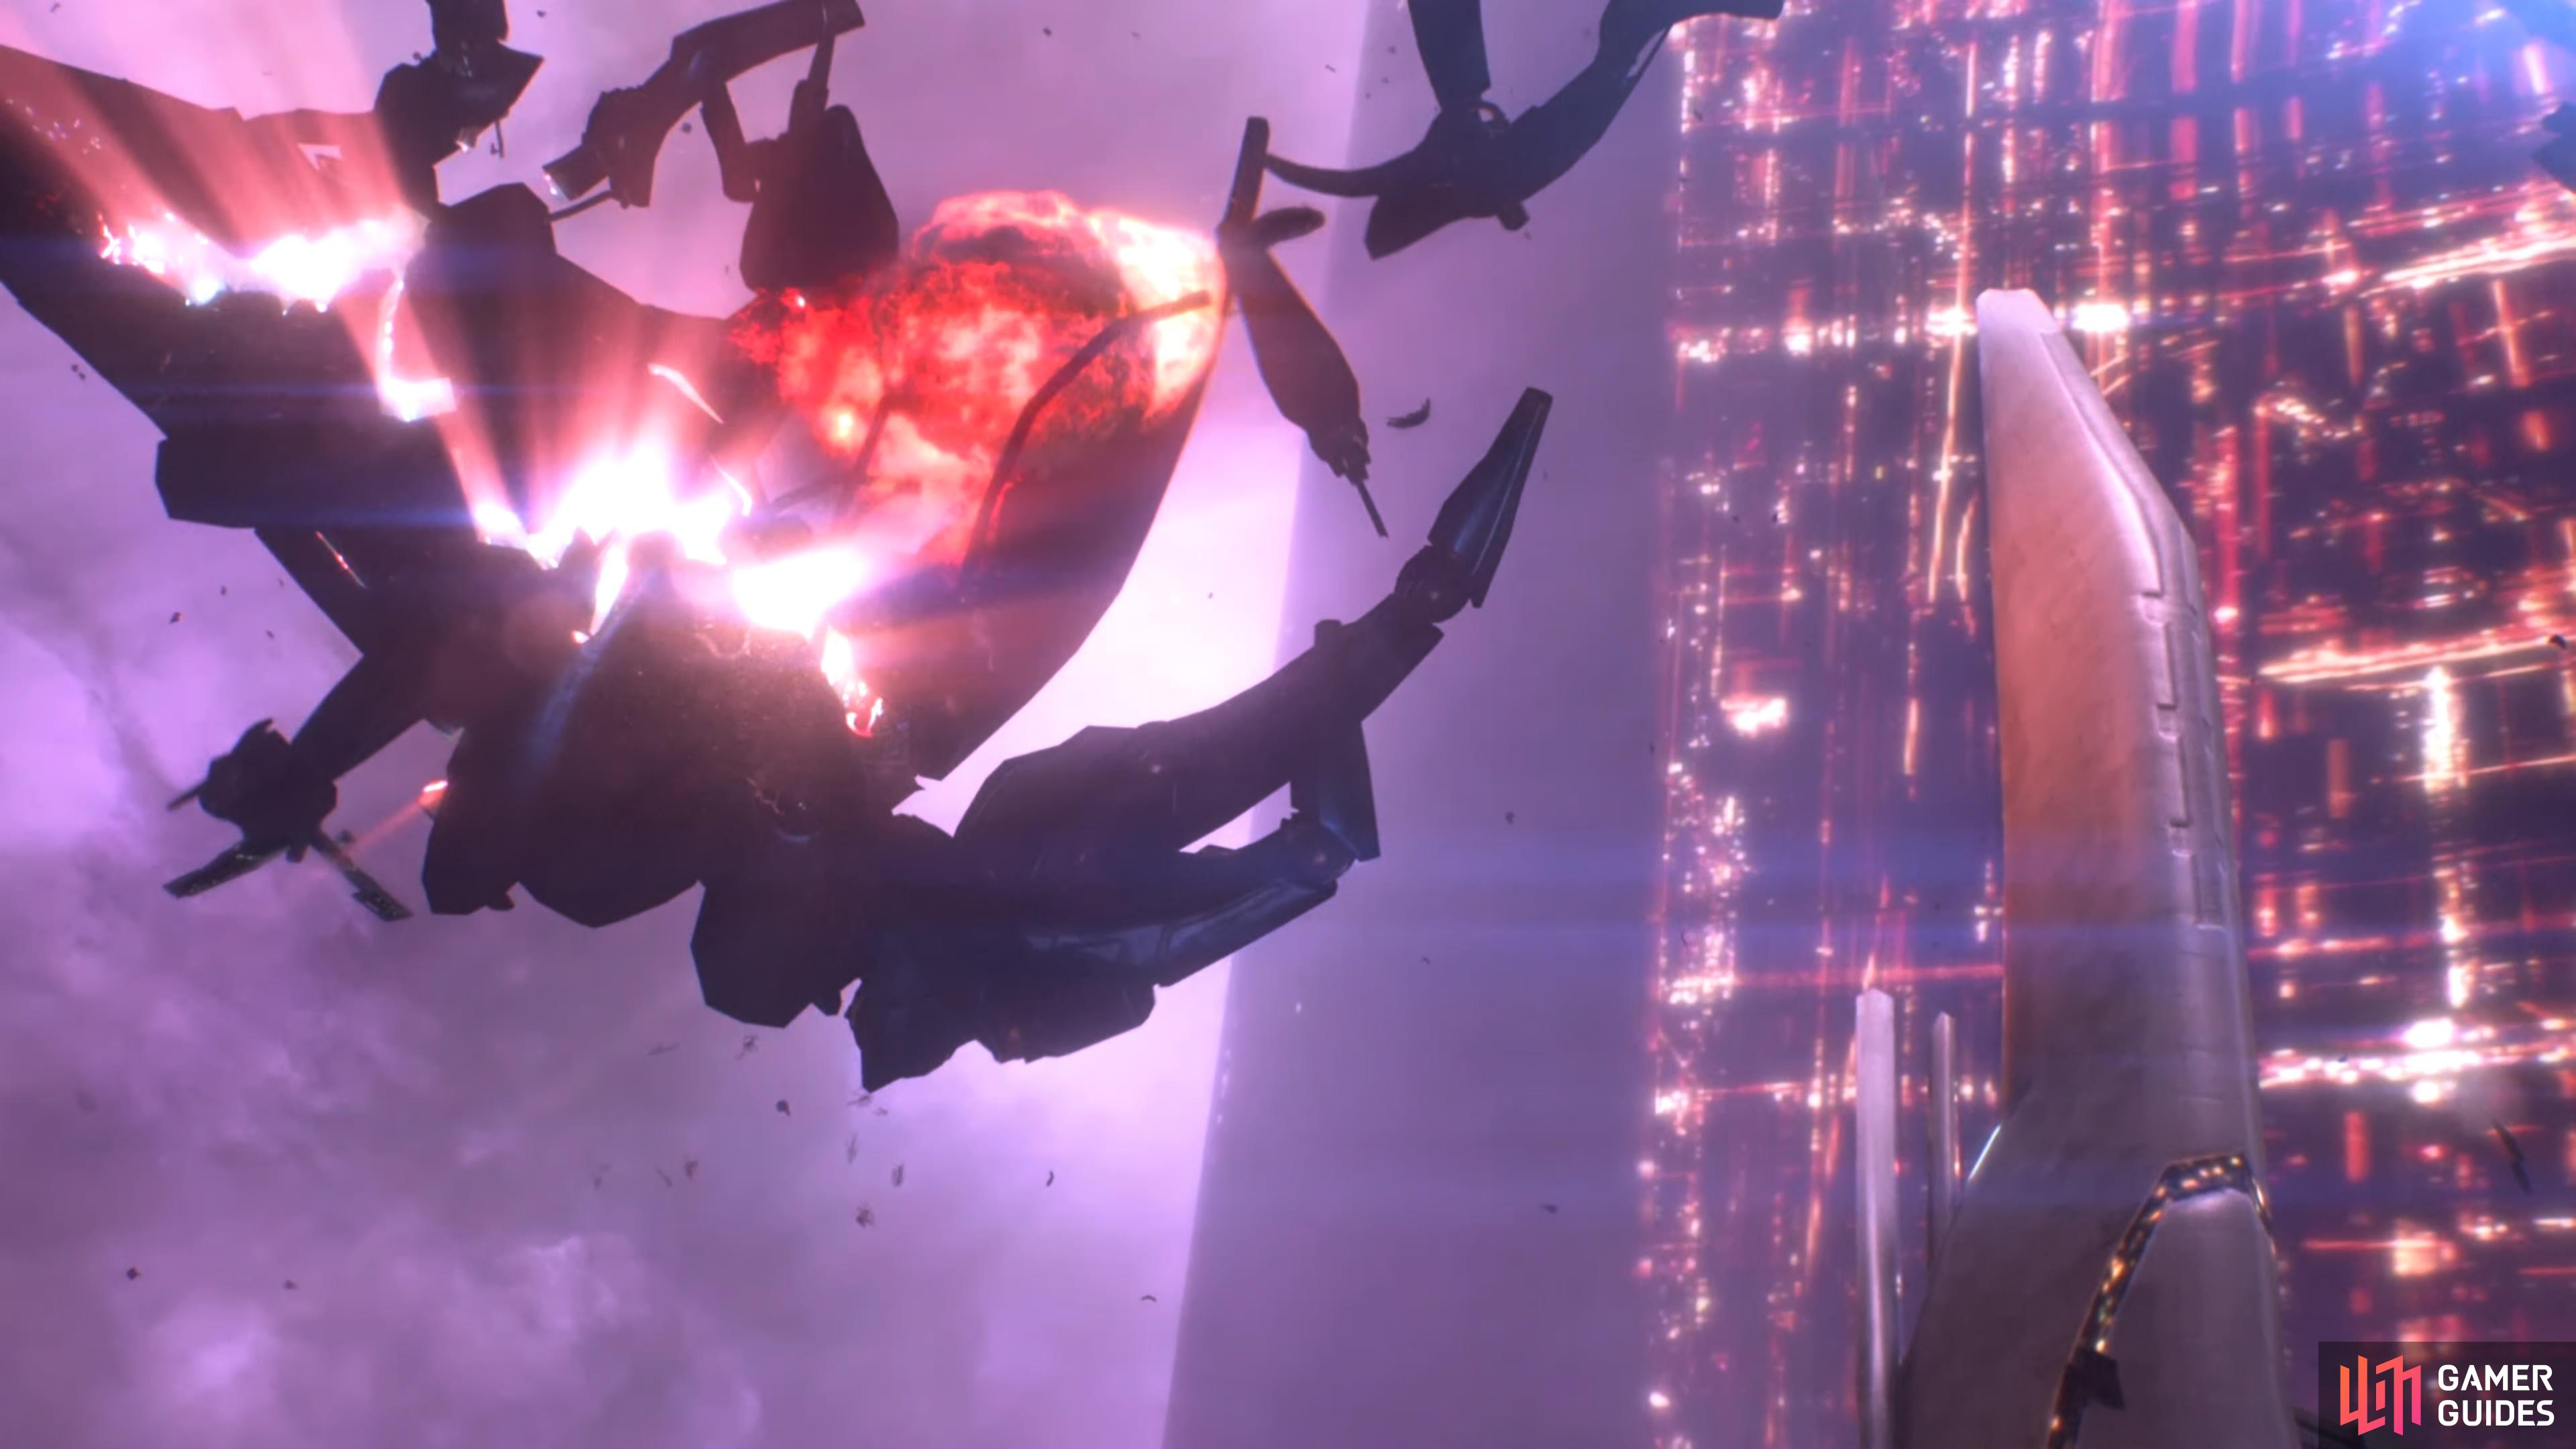
Your victory against the husk that was Saren will coincide with the destruction of Sovereign.
No Comments