The Citadel is a big place with lots of people to talk to, merchants with wares to peruse, Codex Entries to unlock and Assignments to start. If you’re following this walkthrough, we avoided such unnecessary matters on our first visit to the Citadel, but now that we’re done with our business there (for now) it bears going over.
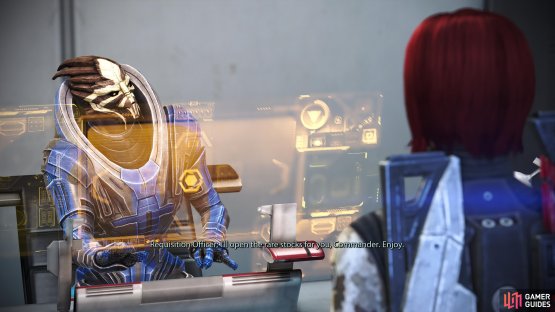
(1 of 2) You can buy equipment - including Spectre gear - from the Requisitions Officer in C-Sec Academy.
You can buy equipment - including Spectre gear - from the Requisitions Officer in C-Sec Academy. (left), Talk to Jahleed in C-Sec Academy to start “Jahleed’s Fears”. (right)
C-Sec Requisitions Officer
Disembark from the Normandy and head up the elevator to C-Sec Academy. When you arrive, head right (east) down some stairs to reach the Requisitions Office, where you’ll find the Requisitions Officer. He’s one of the two merchants who will sell Spectre gear (the other being the Requisitions Officer on the Normandy), and while this should be available to you, it’s well out of your price range. Definitely something worth saving up for. You can also buy the Aldrin Labs License from him for a mere 100 credits, which we suggest you do not buy. The more junk licenses you have, the more difficult it’ll be to get items from better manufacturers.
Citadel: Jahleed’s Fears
Return upstairs to the Atrium, then continue up some more stairs to the west to reach C-Sec Offices. Take your first right (north) to enter a large room where you’ll find a volus named complaining to a C-Sec officer. Talk to this volus, Jahleed, and he’ll tell you about some death threats he’s imagining. Agree to help him to start the Assignment Citadel: Jahleed’s Fears.
(1 of 2) Hack a [Hard] terminal to start the assignment “Person of Interest”,
Hack a [Hard] terminal to start the assignment “Person of Interest”, (left), then examine various objects in Traffic Control for Codex Entries. (right)
C-Sec Offices and Traffic Control
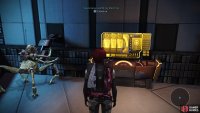
After you’re done with Jahleed, search the eastern of two offices to the south to find a computer [Hard] you can hack to learn about one “Helena Blake”, starting the assignment Person of Interest in the process.
Next head upstairs to reach the “Traffic Control” area, where you’ll find three “Tracking Terminals” and a “Weapons Locker” you can examine, all of which yield Codex Entries.
| Codex Entries |
|---|
| Primary - Weapons, Armor and Equipment / Small Arms |
| Secondary - Ships and Vehicles / Starships: Cruisers |
| Secondary - Ships and Vehicles / Starships: Fighters |
| Secondary - Ships and Vehicles / Starships: Frigates |
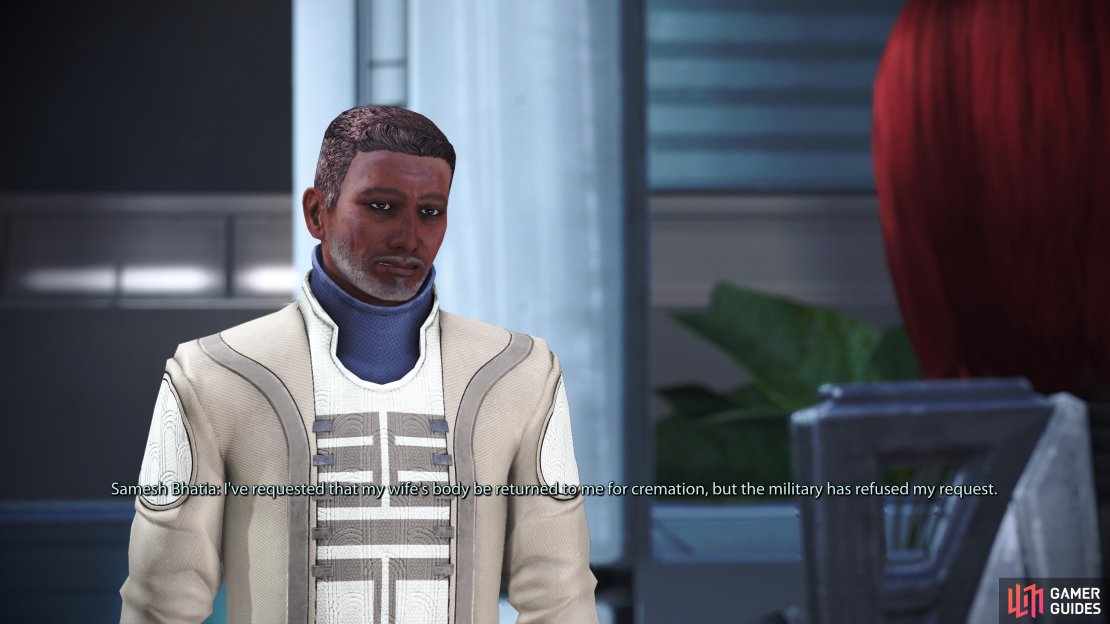
(1 of 3) Talk to Shamesh Bhatia in the Embassies to start “Homecoming”,
Presidium: Embassies
Make your way back down to the Atrium and ride the elevator up to the Presidium, where you’ll find yourselves just outside of the Embassies. Quite a few things to do here:
-
Head up a ramp and talk to Avina for some Codex Entries.
-
Talk to Shamesh Bhatia to start the assignment Citadel: Homecoming.
-
In Udina’s Office you can talk to Anderson (he shouldn’t be saying anything new) and hack a “Computer Console” [Easy] to read an “Alliance Patrol Report”, starting the assignment Unusual Readings.
-
Enter a room across the hall from the C-Sec HQ and examine two “Diplomatic Archives” to gain some Codex Entries.
-
In the C-Sec HQ you’ll find Executor Pallin, who has little of import to say. On the other hand, hack a “Computer Console” for a “Diplomatic Advisory Warning”, which starts the assignment Strange Transmission.
| Codex Entries |
|---|
| Primary - Aliens: Non-Council Races / Volus |
| Primary - Technology / Computers: Virtual Intelligence (VI) |
| Secondary - Citadel and Galactic Government / Citadel Conventions |
| Secondary - Citadel and Galactic Government / Treaty of Farixen |
(1 of 2) Visiting the Asari Consort will earn you an assignment of the same name,
Visiting the Asari Consort will earn you an assignment of the same name, (left), while taking to Helena Blake will allow you to pick up the assignment “Hostile Takeover”. (right)
Presidium: Consort Chambers
On the southeastern end of the Presidium you’ll find the Consort Chambers, where you’ll find an asari named Nelyna controlling traffic. Talk to her or attempt to enter and you’ll learn that the asari consort is in high demand, indeed, although the consort herself seems to take interest in you and grants you an audience. Head to the back room and talk to Sha’ira to start the assignment Citadel: Asari Consort.
Leave the Consort Chambers and head west towards the Emporium, stopping to use another Avina station along the way for some Krogan/Rachi related Codex Entries, most of which you should already have.
| Codex Entries |
|---|
| Primary - Aliens: Extinct Races / Rachni |
Presidium: Emporium and Bank
Continue west from the Consort Chambers and the Avina terminal near the krogan memorial to reach the Emporium and a little first on, the Bank.
-
In the Emporium you’ll find a hanar named Delan who will sell your various goods, most notably the Sirta Foundation License, which you should probably avoid purchasing. You’ll get a Codex Entry for exhausting Delan’s dialog options.
-
You can also find Helena Blake standing nearby, whom you may have heard about if you hacked the [Hard] terminal in the C-Sec Academy. Talk to her and pick the Renegade responses whenever possible for Renegade +2 (there’s no Paragon alternative) then accept her proposition to start the assignment UNC: Hostile Takeover, which replaces Person of Interest.
-
The Bank is less interesting, housing only Barla Von, a volus you may have come into contact with during the mission Citadel: Wrex. He wasn’t terribly interesting back then, and he hasn’t become more interesting since.
| Codex Entries |
|---|
| Primary- Aliens: Non-Council Races / Hanar |
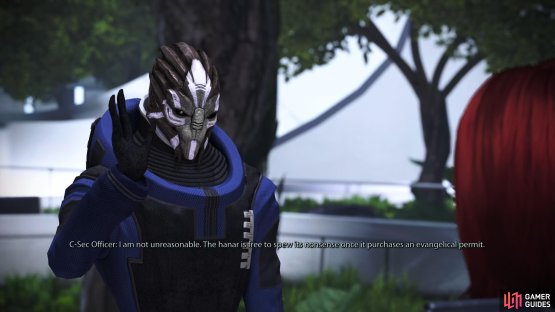
(1 of 2) Talk to a disgruntled C-Sec Officer to start the assignment “Presidium Prophet”.
Talk to a disgruntled C-Sec Officer to start the assignment “Presidium Prophet”. (left), Avina terminals - like the one near the Citadel Tower - will often yield Codex Entries. (right)
Presidium: Wards Access (Presidium Plaza)
From the Bank, continue west and when the path splits near a rapid transit terminal, turn right and cross a bridge to the north. This will lead you to a hub area that connects to the Embassies (east), the Citadel Tower (west) and the Wards (downstairs to the north).
-
You should also find a C-Sec Officer arguing with a Preaching Hanar. Talking to them will start the assignment Presidium Prophet.
-
From the Presidium Plaza, make your way west to reach the elevator leading to the Citadel Tower. Talk to another Avina variant for more Codex Entries, then ride up the elevator to the Citadel Tower.
| Codex Entries |
|---|
| Primary - Aliens: Non-Council Races / Keeper |
| Primary - Technology / Mass Relays |
(1 of 3) Talk to Garroth in the Citadel Tower to start the assignment “Privateers”,
Citadel Tower
The Citadel Tower will have become somewhat more interesting following two meetings with the Council:
-
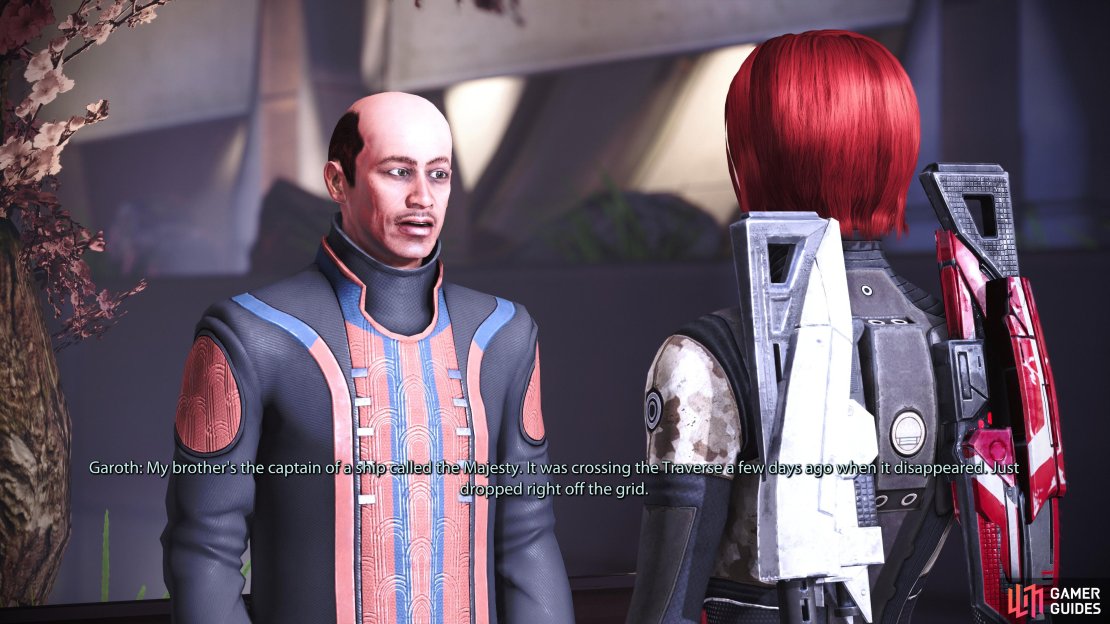
Talk to a man named Garroth to start the assignment UNC: Privateers. If you agree to help him the first time you talk to him you’ll gian Paragon +2, if you decline you’ll gain Renegade +2. This doesn’t affect the assignment at all, in the latter case you can talk to Garroth again and accept.
-
If you didn’t talk to Jahleed in the C-Sec Academy, you’ll find a salarian named Chorban examining a Keeper. Talk to him to start the assignment Citadel: Scan the Keepers. You can also get a Codex Entry about Keepers from Chorban if you don’t already have it.
-
Find Rear Admiral Kahoku, who is arguing with a terminal. Talk to him to start the assignment UNC: Missing Marines.
| Paragon/Renegade |
|---|
| Paragon +2 or Renegade +2 |
Wards
The Presidium has now been explored, time to hit the Wards. Use a rapid transit terminal to return to the “Wards Access” area on the Presidium and head downstairs to reach the Wards.
When you arrive, head forward (south) through a door, ignoring the door to the right (west) which just leads to the Alleyway connecting to Chora’s Den. Once through the door turn left (east) to find two routes:
-
You can head downstairs to find Officer Lang and an elevator leading to C-Sec Academy. Neither should be terribly interesting to you anymore. You can, however, find a “Public Extranet Terminal” you can investigate for a Codex Entry.
-
Continue east past the aforementioned stairs to find the Med Clinic where you (presumably) rescued Doctor Michel during the mission Citadel: Garrus. Head inside and talk to Doctor Michel to start the assignment Citadel: Doctor Michel.
-
Opposite the Med Clinic, examine the “View of Nebula” in the distance to get a Codex Entry.
-
West of the hallway leading back to the elevator to the Presidium you’ll find Emily Wong, who will give you the assignment Citadel: Reporter’s Request, assuming you didn’t start it earlier during Citadel: Expose Saren. The aforementioned assignment and mission are heavily intertwined.
| Codex Entries |
|---|
| Secondary - Citadel and Galactic Government / Citadel Station: Serpent Nebula |
| Secondary - Technology / Communications: Administration |
(1 of 3) In Flux, talk to Rita to start “Rita’s Sister”,
Wards: Flux
West of the hallway leading to the elevator to the Presidium, just across from (north of) Emily Wong you can find stairs leading up to Flux.
-
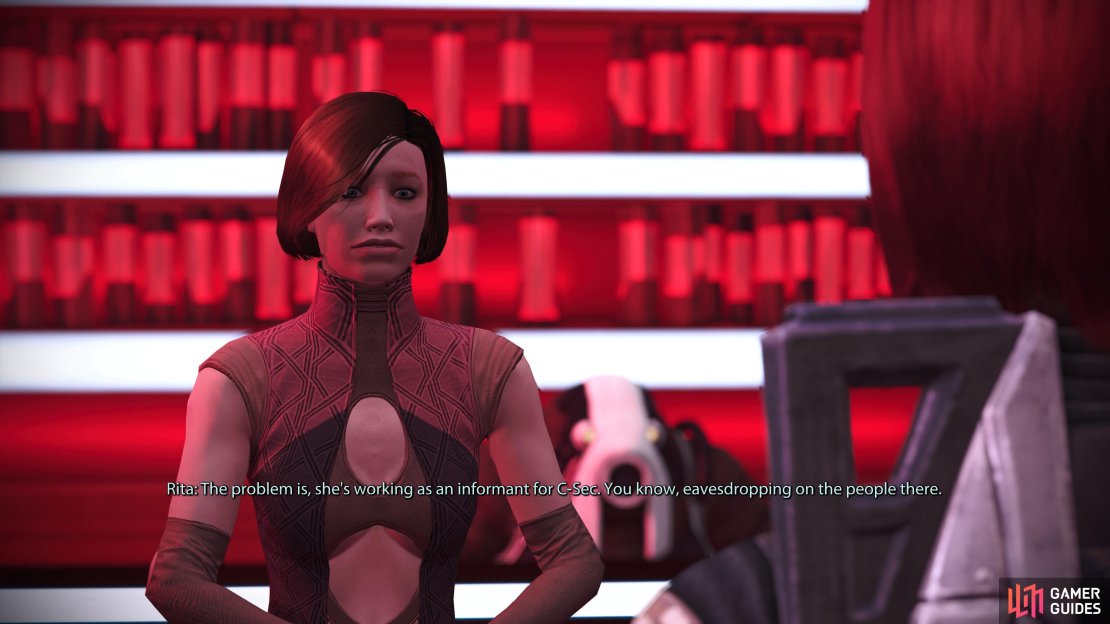
Head inside the club and talk to a woman named Rita standing at the bar to start the assignment Citadel: Rita’s Sister.
-
Make your way upstairs to find various Quasar machines (see below). Don’t waste your time on them, instead making your way to the western wall to find a “Suspicious Gambling Machine” near a Keeper. Examine the former to start the assignment Citadel: Signal Tracking.
-
Leave Flux and re-enter (go all the way down to the Wards area where Emily Wong stands/stood) and you’ll witness a salarian get forcefully evicted from the club. Talk to this salaraian, Schells, to start the assignment Citadel: Schells the Gambler.
Wards: Market
Head west from Flux to reach the Markets, of which there are two levels:
-
In the upper market you’ll find Expat, a volus merchant who will sell a Medigel Upgrade and the Elkoss Combine License. Pass on the license.
-
Near the stairs to the lower level of the markets you’ll find Conrad Verner. Talk to him to start the assignment Citadel: The Fan.
-
In the lower market you’ll find a salarian merchant named Morlan, who will sell a Medigel Upgrade, a Grenade Upgrade and the Elanus Risk Control License. Yet again, we pass on this license.
That just leaves Chora’s Den, which has nothing new going on inside. There are a few assignments that’ll take you here, but those are covered in their own assignments pages.
With that, you’re done in the Citadel. Complete what assignments you can/care to do and when you’re ready to move on, return to the Normandy. Now is a fine time to explore the galaxy, scanning and surveying planets for loot and XP, to complete assignments, or to tackle one of the three missions at your disposal: Therum, Feros or Noveria.


![Hack a [Hard] terminal to start the assignment “Person of Interest”,](/assets/guides/229/me1_citadel_exploration_person_of_interest_start.jpg)


![while you can hack a terminal [Easy] in Udina’s office to start “Unusual Readings”,](/assets/guides/229/me1_citadel_exploration_unusual_readings_start.jpg)
![and another [Easy] in Executor Pallin’s office for the assignment “Strange Transmission”.](/assets/guides/229/me1_citadel_exploration_strange_transmission.jpg)








No Comments