
The second part of the mission Find Liara T’Soni, after you take the Mako through the Refinery you’ll find your way blocked by some rocks. The path forward is conveniently too narrow for the Mako, but just wide enough for you to pass on foot.


(1 of 2) Abandon the Mako when the road demands it and continue on foot.
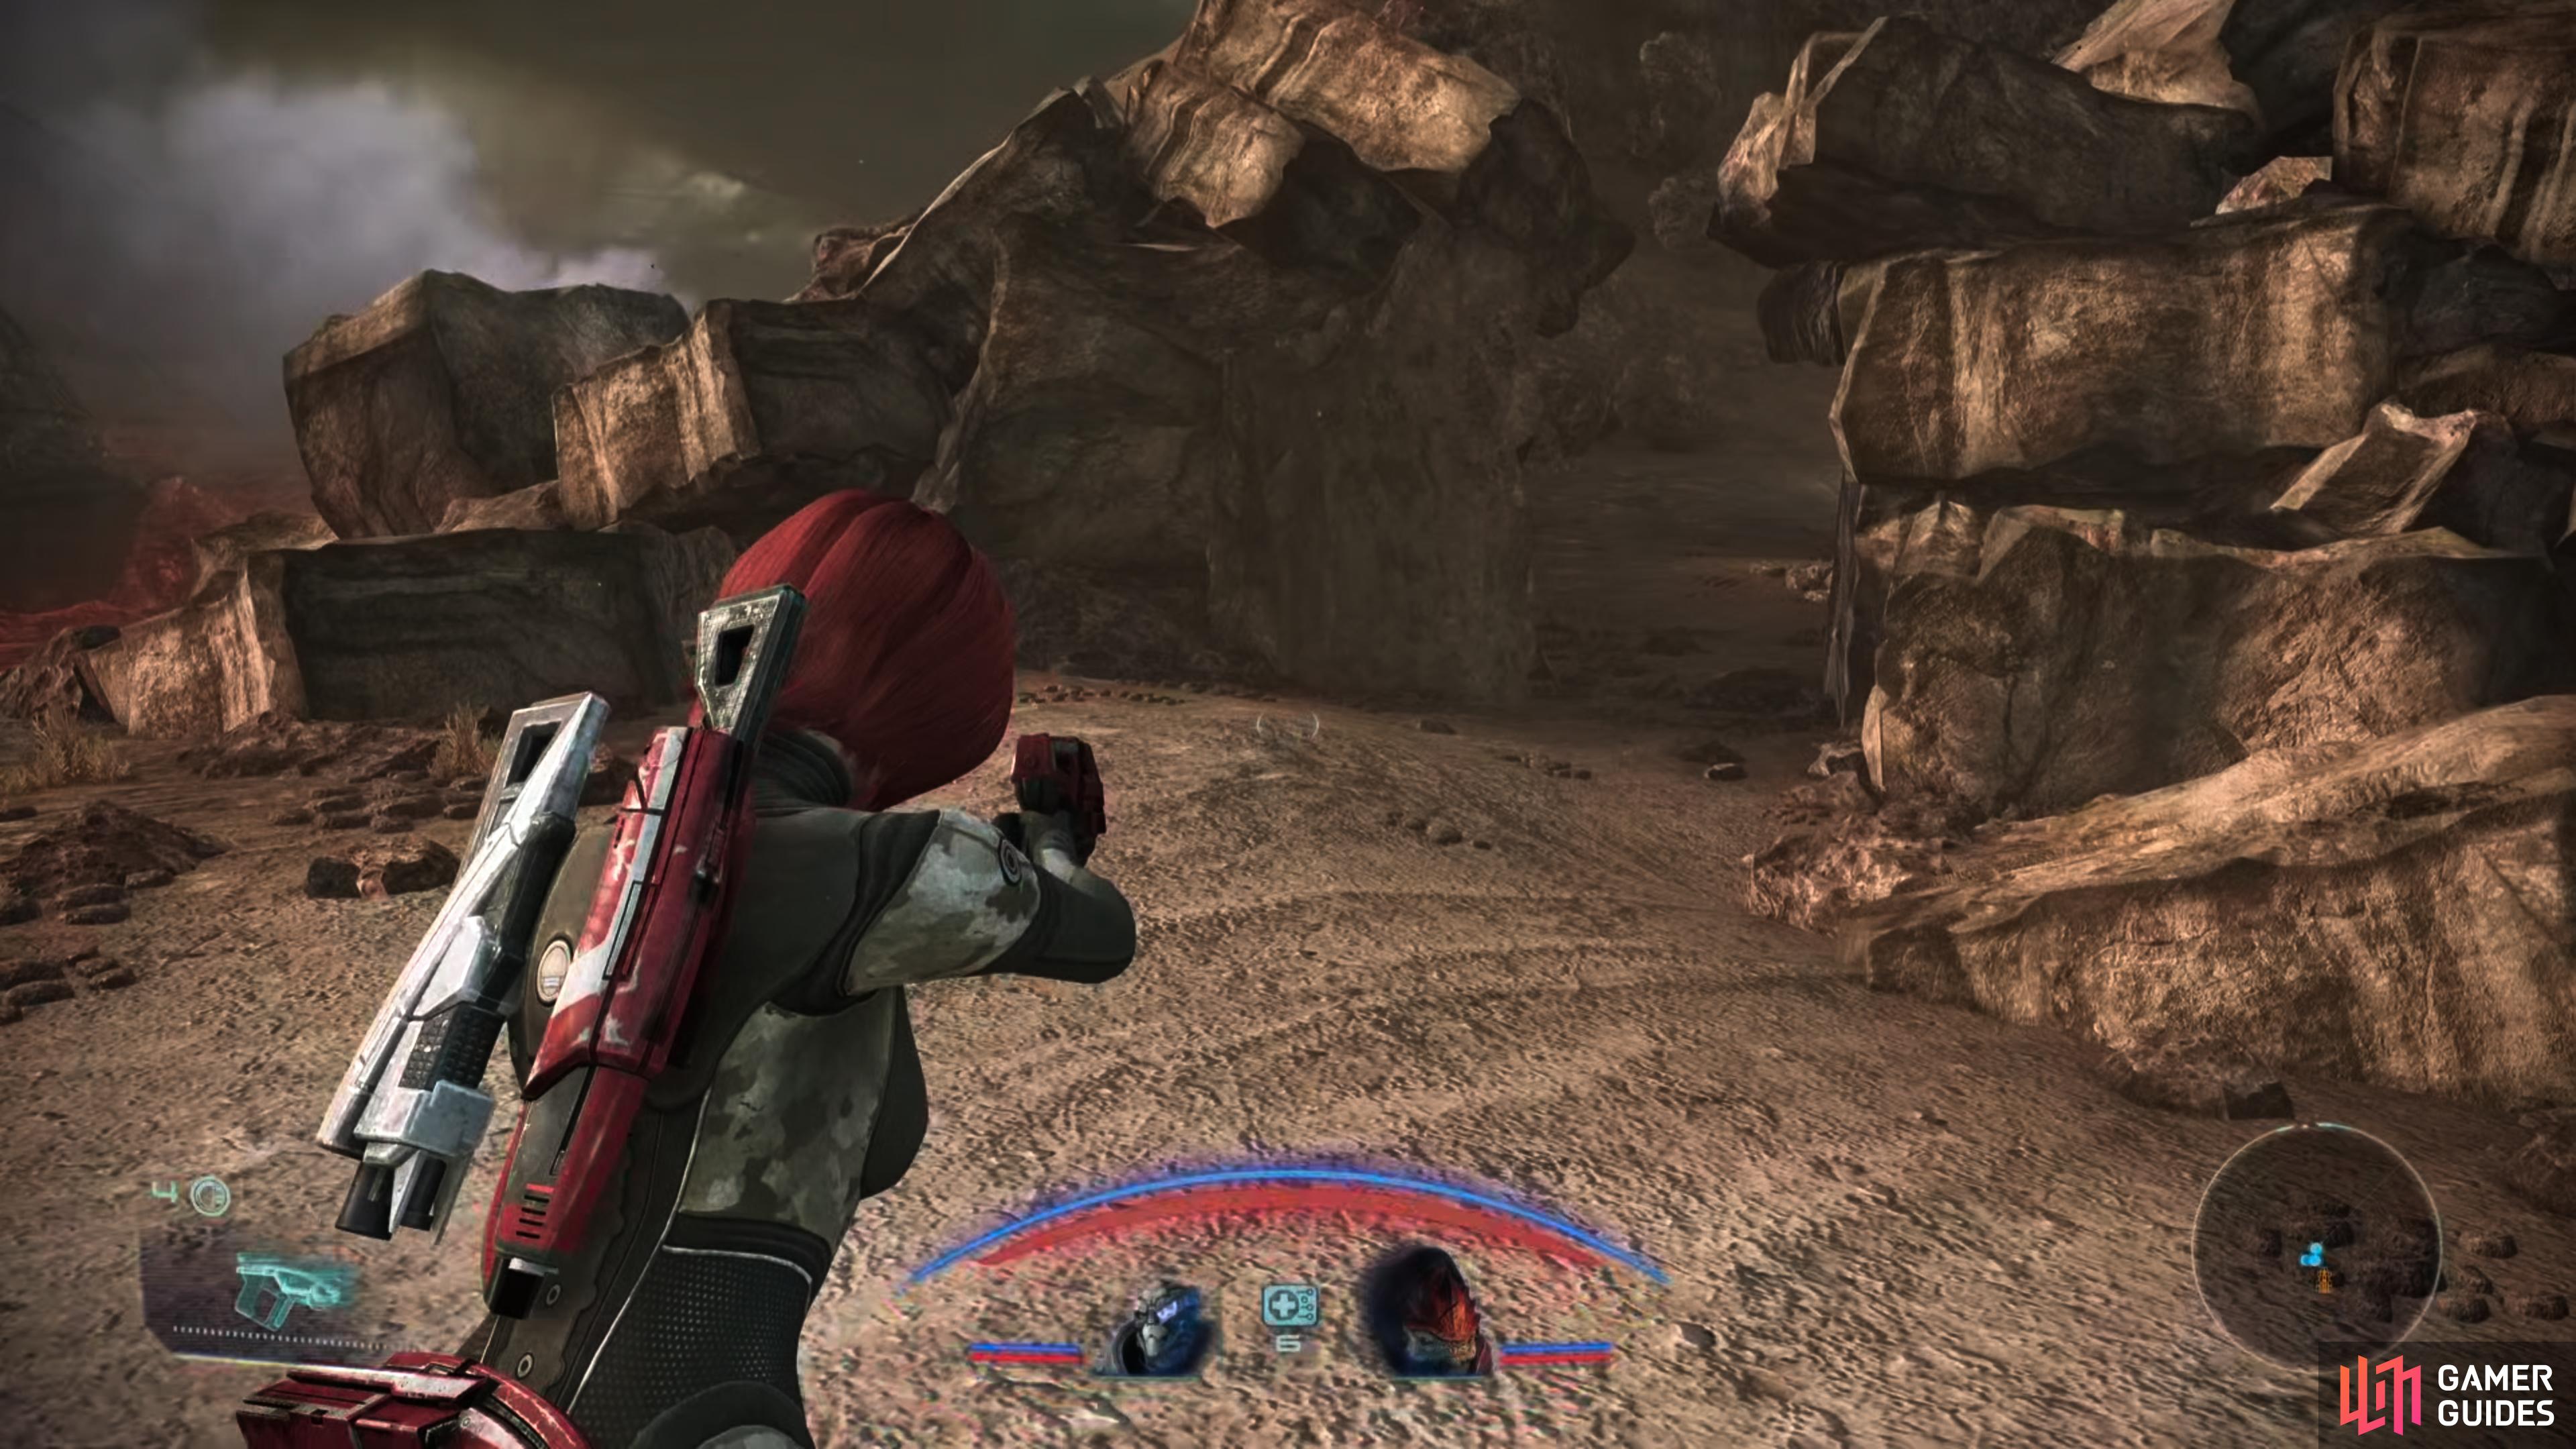
Abandon the Mako when the road demands it and continue on foot. (left), Your passage to the Mining Camp will be contested by many Geth Troopers. (right)
Nothing for it, leave the Mako behind and pass through the gap in the rocks and sprint forward to take cover behind some conveniently placed rock slabs, which will serve as cover against the two Geth Troopers and Geth Rocket Troopers up ahead. Gun them down, then continue east to find yourself in a larger firefight involving a Geth Sniper (on a sniper tower) some Geth Shock Troopers and a Geth Rocket Trooper, the latter of which isn’t above shooting at you from atop a ridge to the south. Counter-snipe the sniper, then pick off the troopers before working your way east, then south up the ridge.
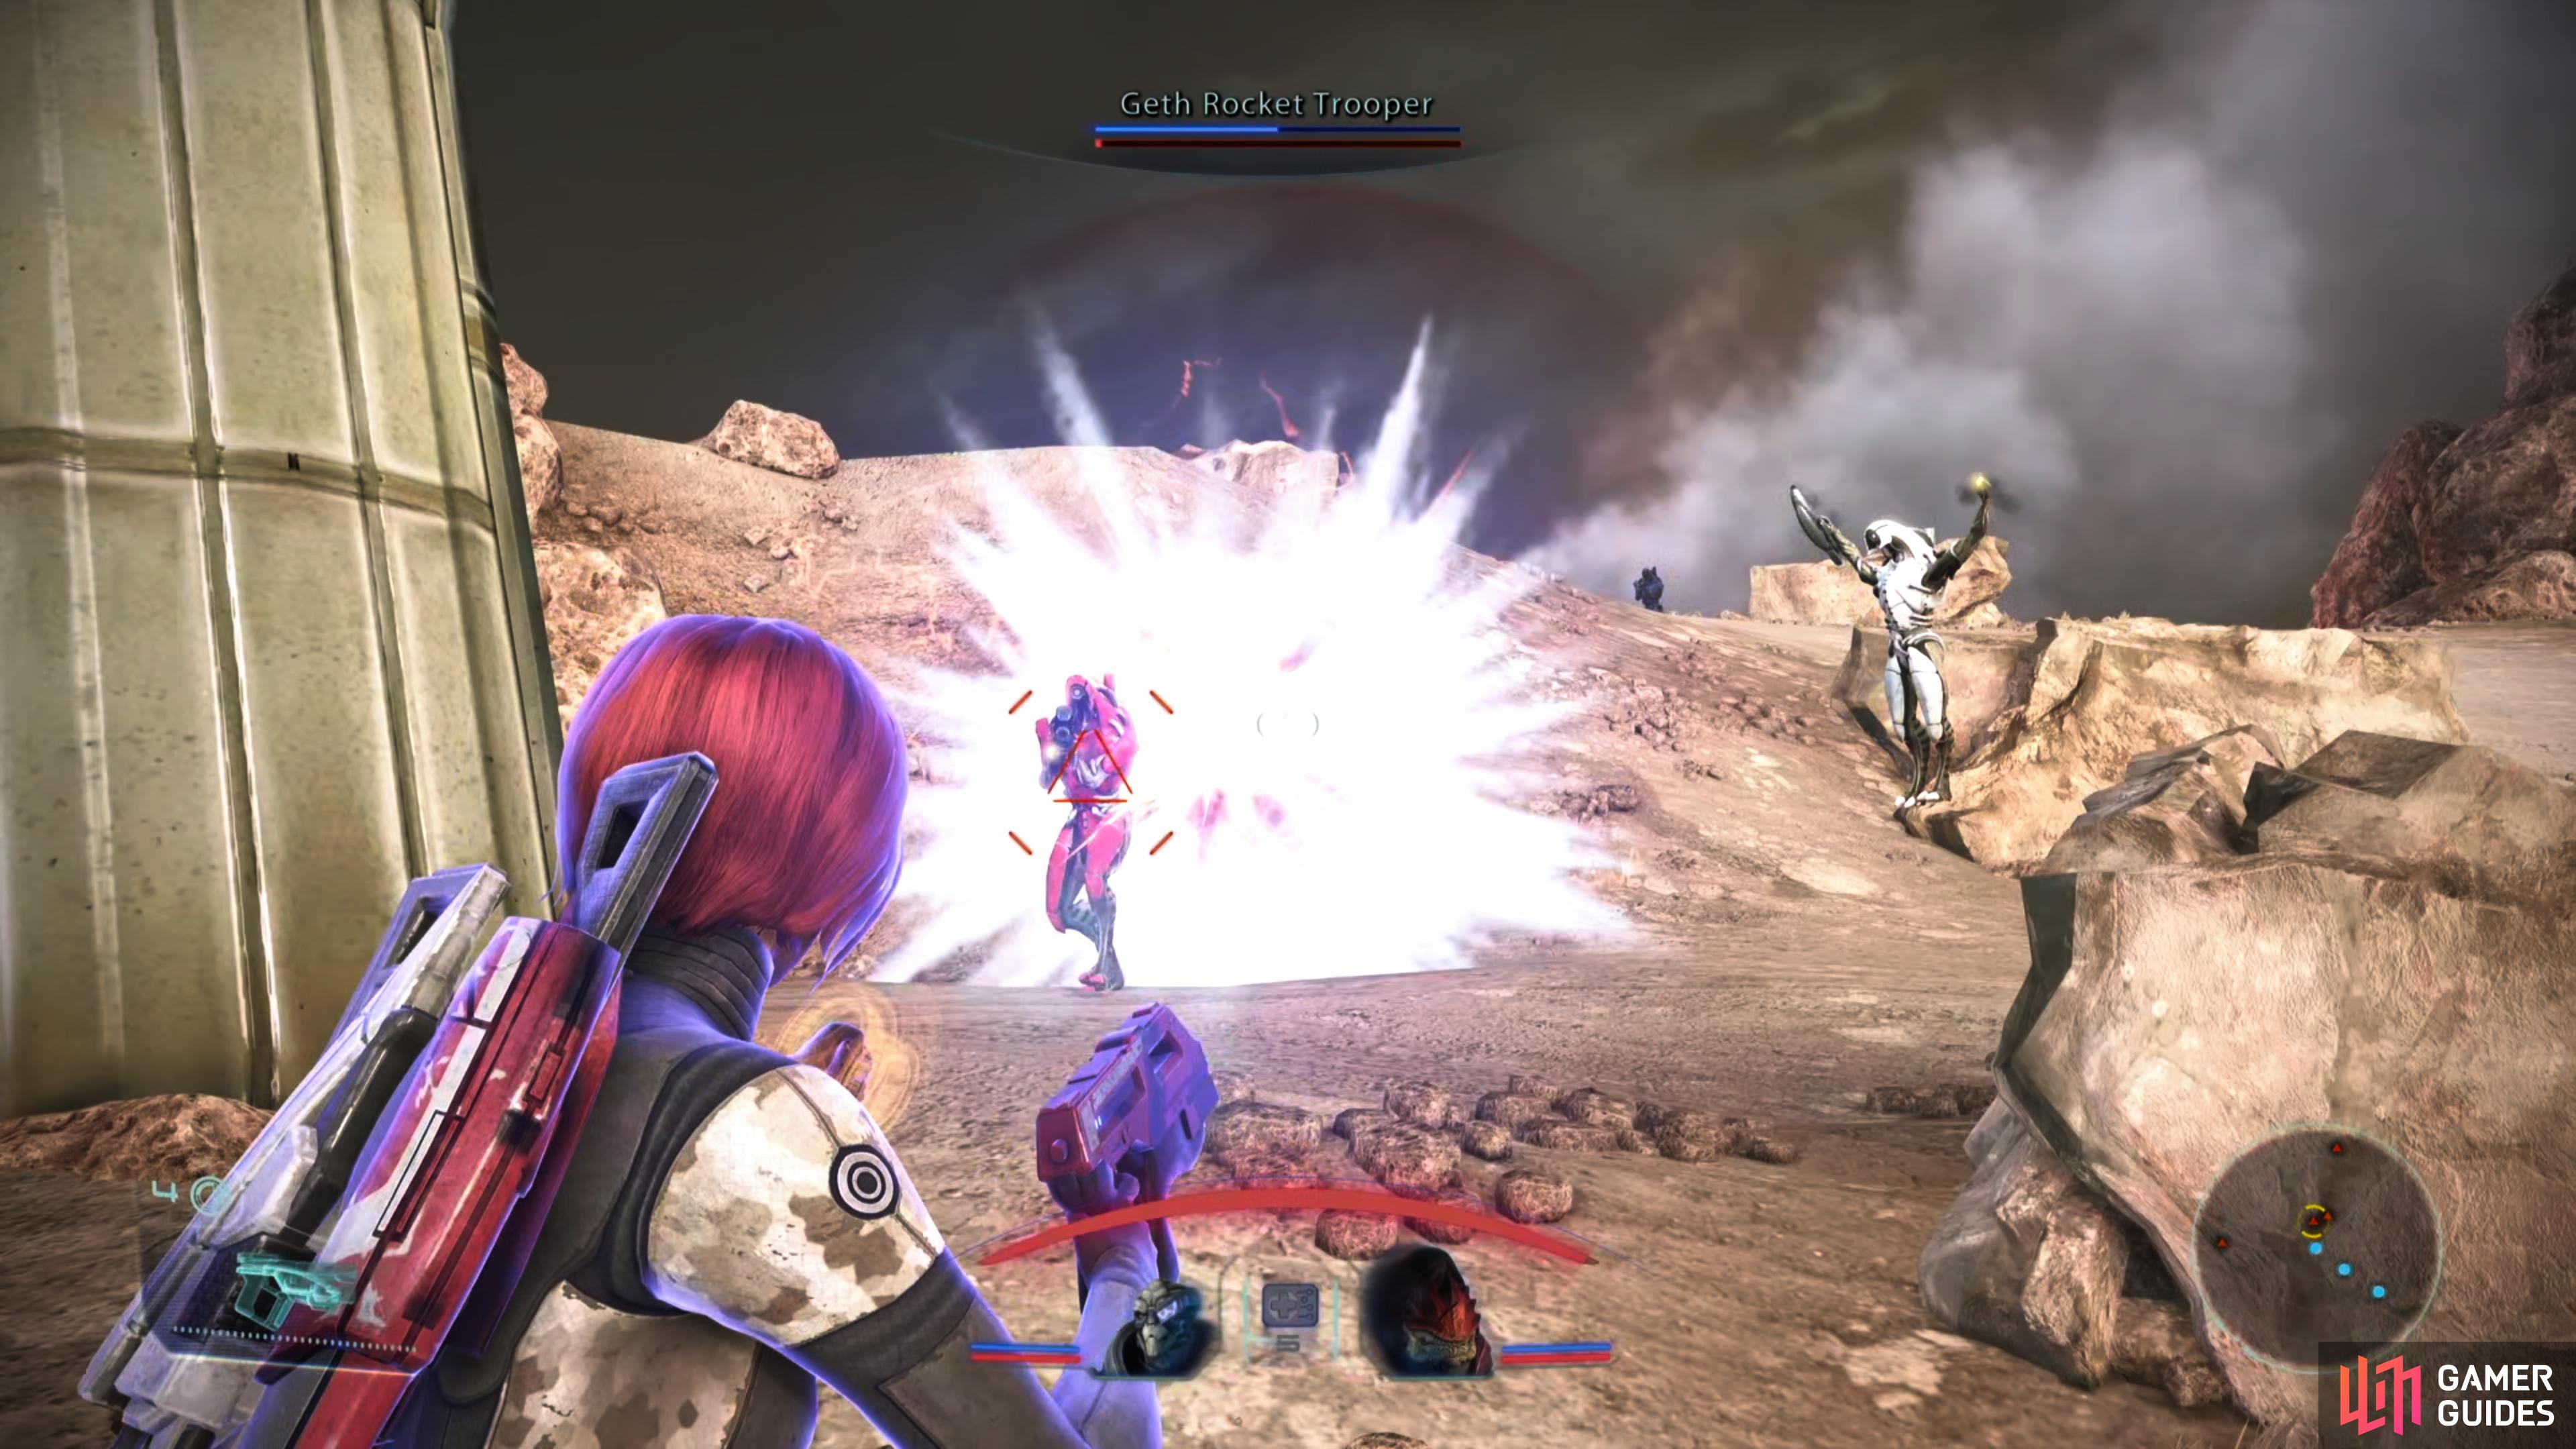
More geth will challenge you as you work your way uphill, including perhaps a pair of Geth Rocket Troopers, a Geth Trooper and a Geth Shock Trooper - varying depending on how many you picked off from below. Defeat all the geth that you come across and continue north until you reach the Mining Camp.
(1 of 4) Retreat to the side and pick off Geth Shock Troopers as they advance.
Therum: Mining Camp
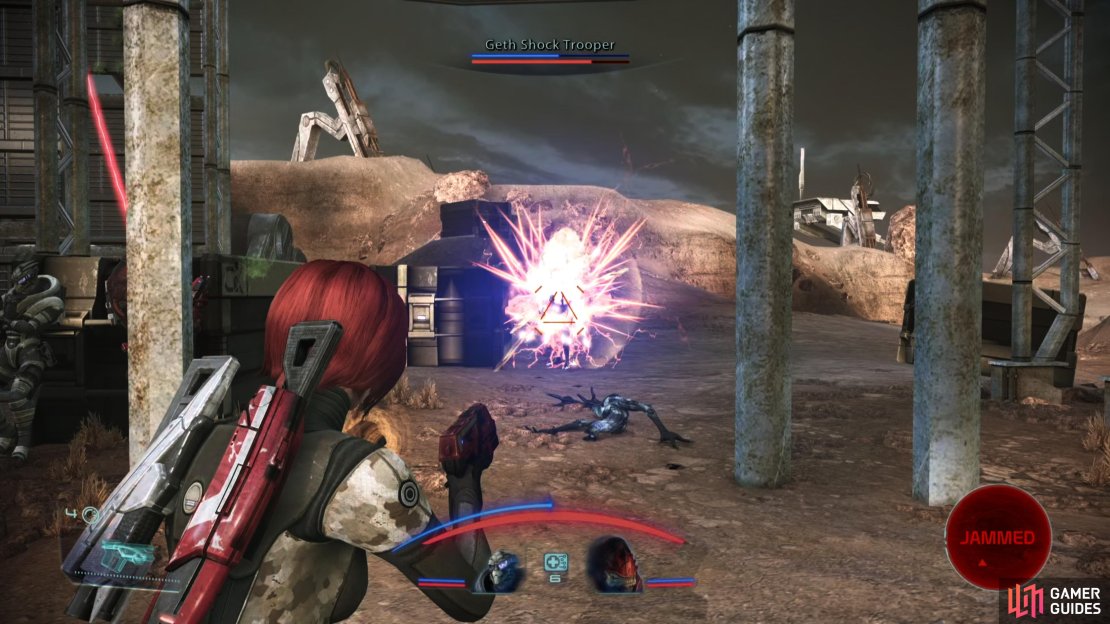
The Mining Camp atop the hill is the site of perhaps the largest battle you’ve participated in up to this point, and you’ll be introduced (via cutscene) to a new type of geth - the Geth Stalker. They’re obnoxious enough on their own, but a dropship will further complicate matters by deploying a Geth Armature (and us without our Mako!) and numerous Troopers.
| Codex Entries |
|---|
| Secondary - Aliens: Non-Council Races / Geth: Hoppers |
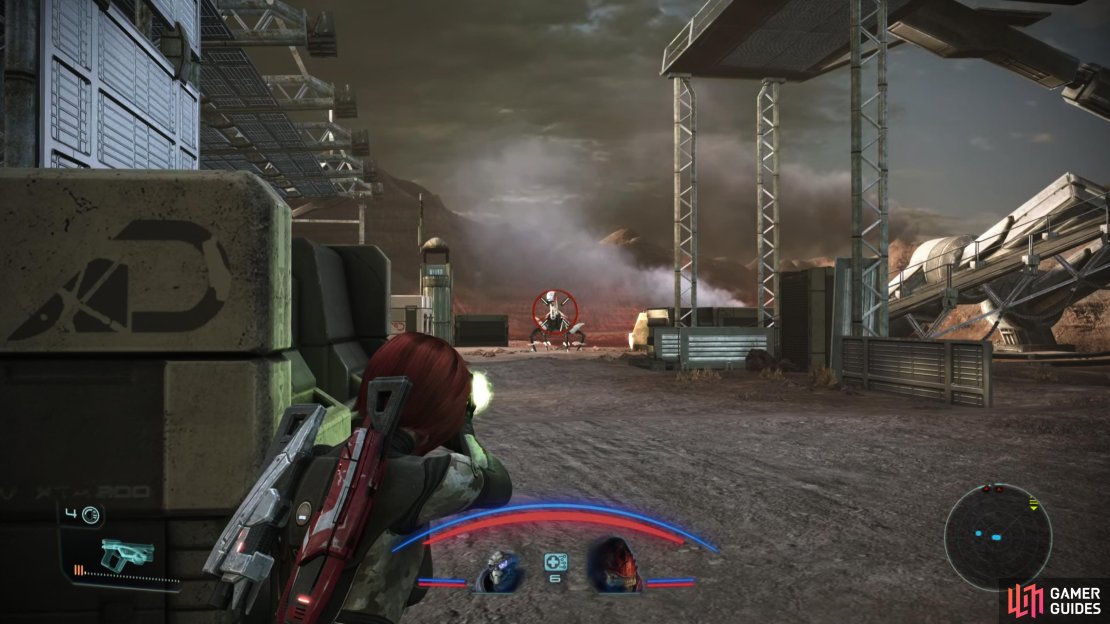
Immediately run off to the left (west) when the fight begins, as the Armature will not advance. This takes it out of the fight for the time being, and you really don’t want to have to worry about dodging armature cannon shots while dealing with everything else. Troopers will advance more slowly (although some will stay back to guard the Armature) so be prepared for them to show up.
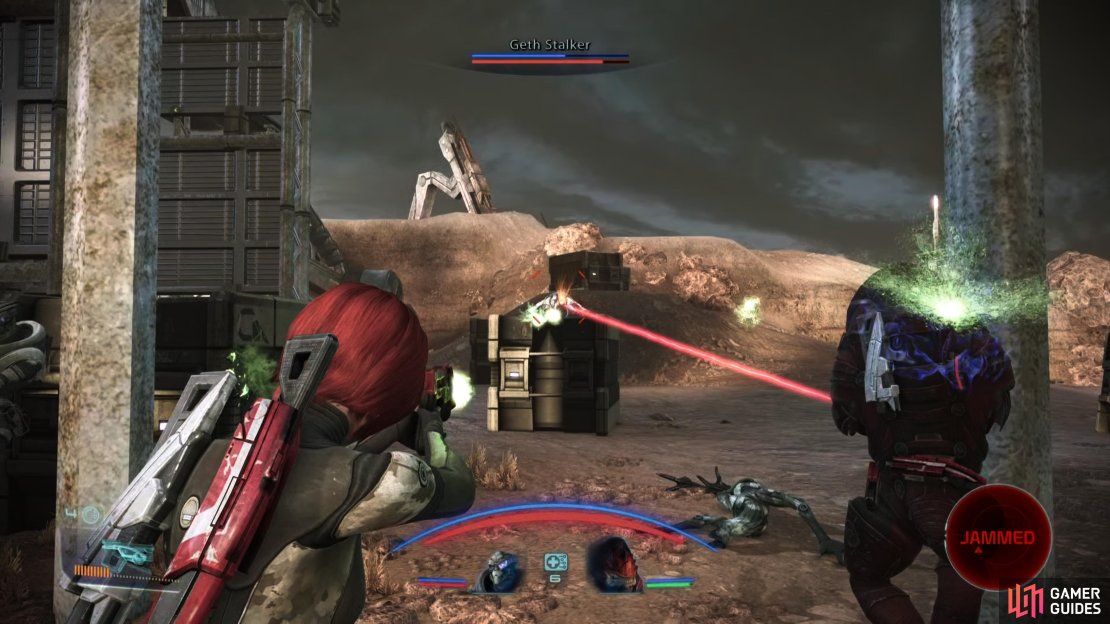
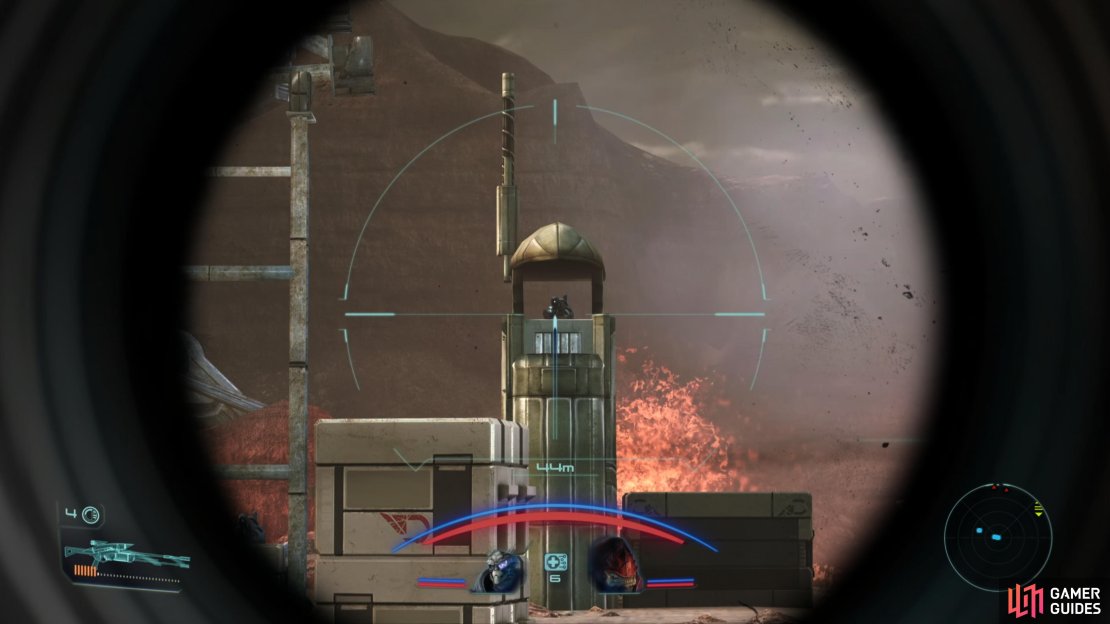
The most annoying, immediate threat, however, are the Geth Stalkers, frog-like sniper enemies which will jump around incessantly while taking the odd potshot at you. If you keep an eye on them, they’ll do a lot more jumping than shooting, and this makes it difficult to draw sustained fire on them, much less use abilities. Your best bet is to wait for them to start charging up their laser attack (it’ll have the same red laser beam and charge up sound Geth Snipers have) and try to hit them with an ability - preferably something like Throw, Lift or Singularity, which will leave them helpless… hopefully long enough to pick them off.
Once the Geth Stalkers have been dispatched, take cover behind some crates and look downrange at the troopers, sniper and Armature. The geth are disinclined to advance on you, preferring to stand behind cover. Fair enough, pay them back in their own coin; use a sniper rifle (or pistol, in a pinch) to pick off your foes. Assassinate and Marksman will speed this up, but there’s not a whole lot of risk here unless you’re careless and catch an Armature blast to the face. The only real danger you should face is if one of your treacherous companions decide to stand next to you and take Armature shots, the splash damage of which can be dangerous. Don’t let your idiotic companions compromise the mission and assign them to cover, then pick off the Geth at your own pace.
When you’re ready to move on, head up a ramp along the eastern edge of the Mining Camp to reach the interior of the Ruins.


(1 of 2) Be wary of some Geth Assault Drones, as their damage output can be brutal, and your companions are more keen to act as carpeting rather than combatants.
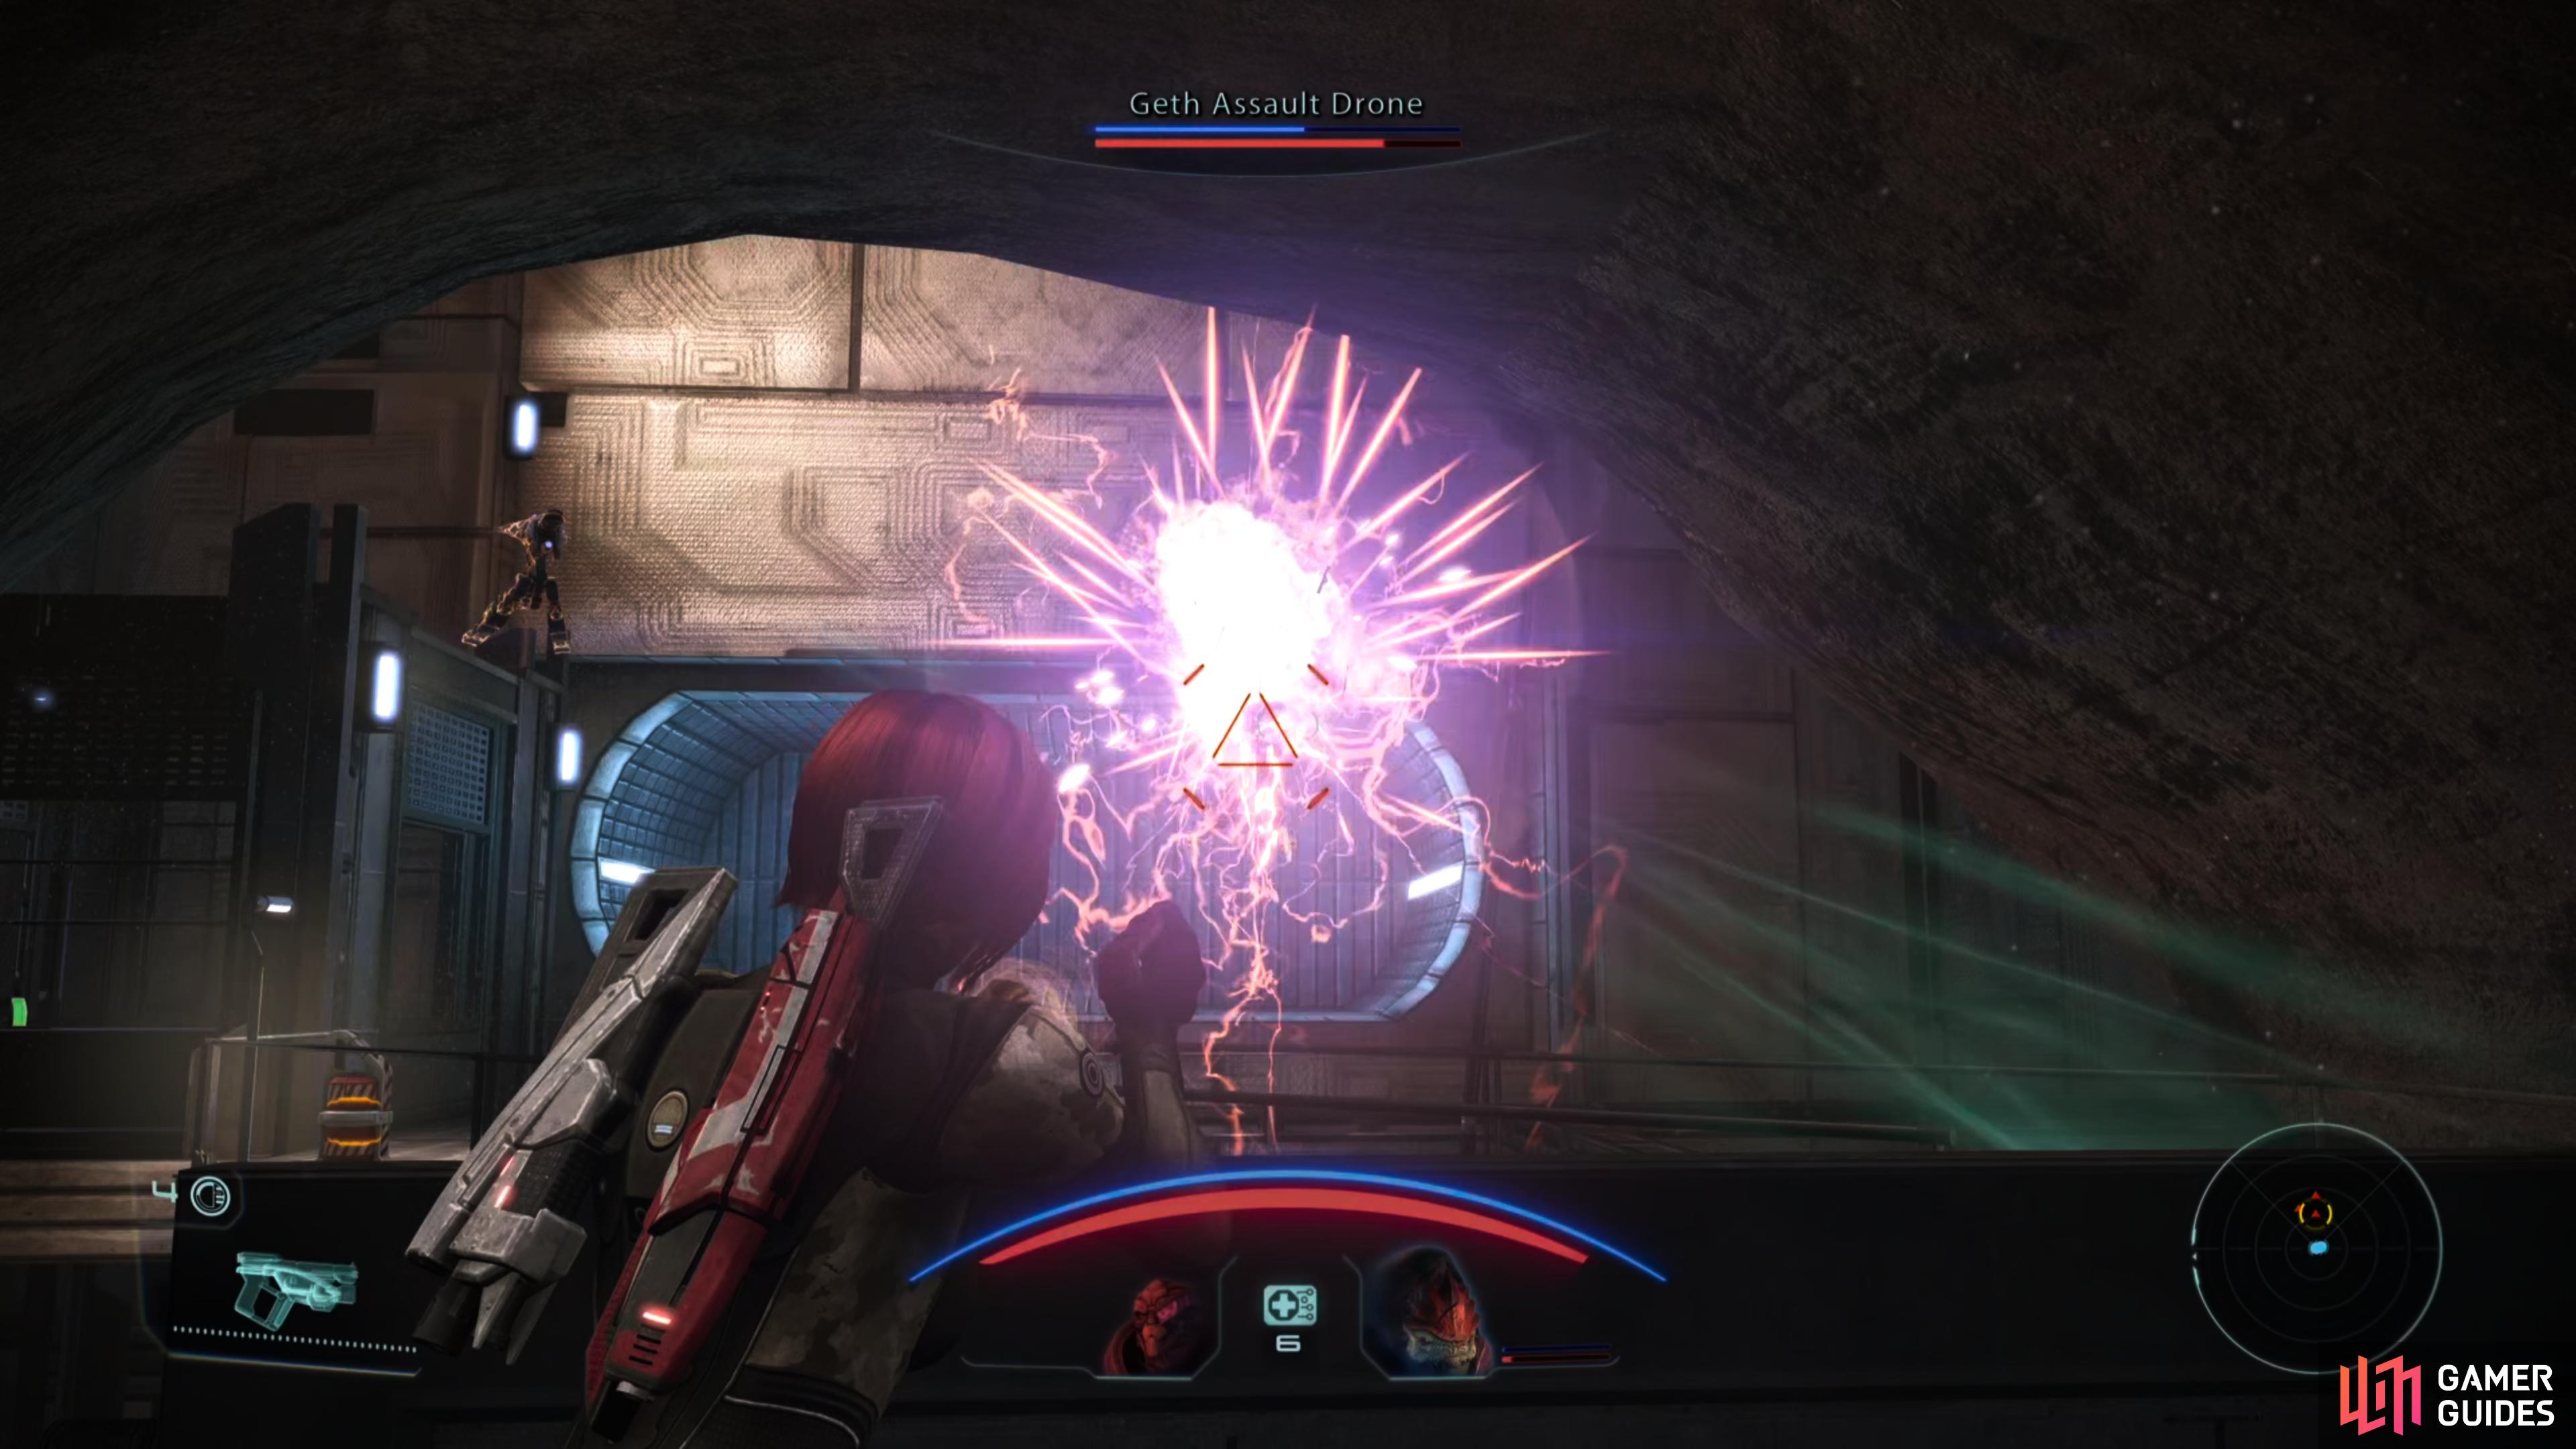

Be wary of some Geth Assault Drones, as their damage output can be brutal, and your companions are more keen to act as carpeting rather than combatants. (left), After riding a second elevator you’ll stumble across a trapped Liara. (right)
Therum: Ruins
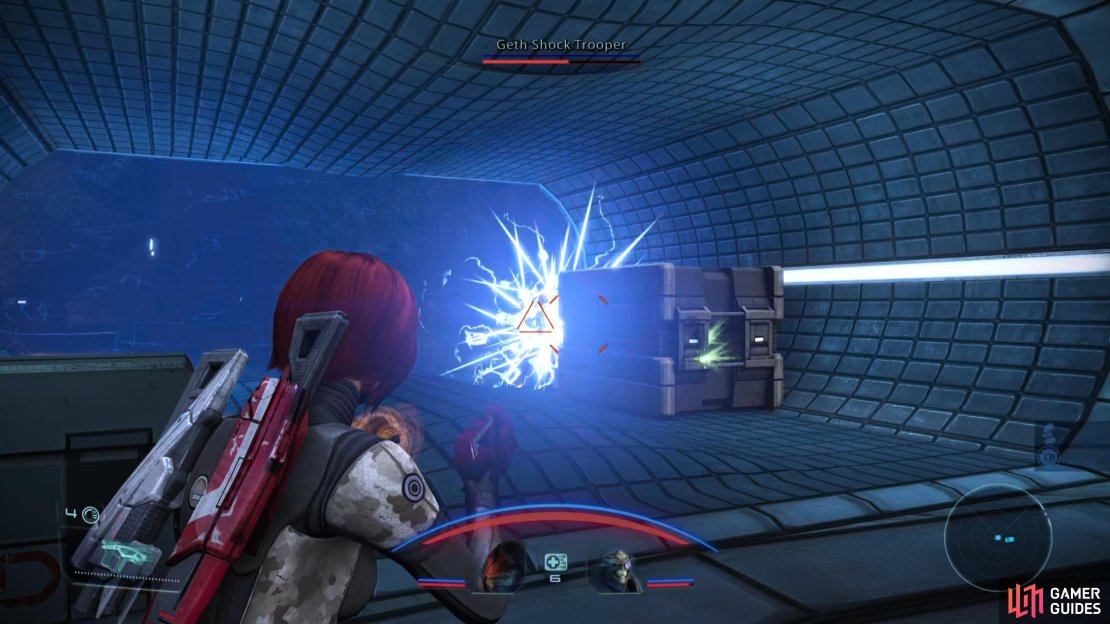
Head down the ramp to the east and scrap a Geth Shock Trooper in your way. You won’t have cover, and your squad is bottlenecked in a tunnel, so be fairly aggressive here to avoid any complications. Once out of the tunnel you’ll be on a metal walkway, with another Geth Shock Trooper and a Geth Sniper below you. You’re less cramped here, but cover’s not much better, so again, throw abilities at them to ensure they don’t cause trouble.
Once those geth are destroyed, follow the metal walkway until it leads to an elevator, then use said elevator to descend. When the elevator stops, immediately leave and seek cover behind a metal barrier outside, as three Geth Assault Drones will pop up from the depths and open fire. Your characters - Shepard included - can be fickle about taking cover in the elevator itself, and these drones can cut through your shields surprisingly quickly. Concentrate fire and use abilities to weaken the drones and hopefully take one out quickly, which will make taking out the others much simpler. As much damage as these drones can dish out, they’re not aggressive, so you can hide behind cover long enough for abilities to recharge and shields/health to regen, if necessary.


(1 of 2) Pick off the geth near Liara, who foolishly stand out in the open,
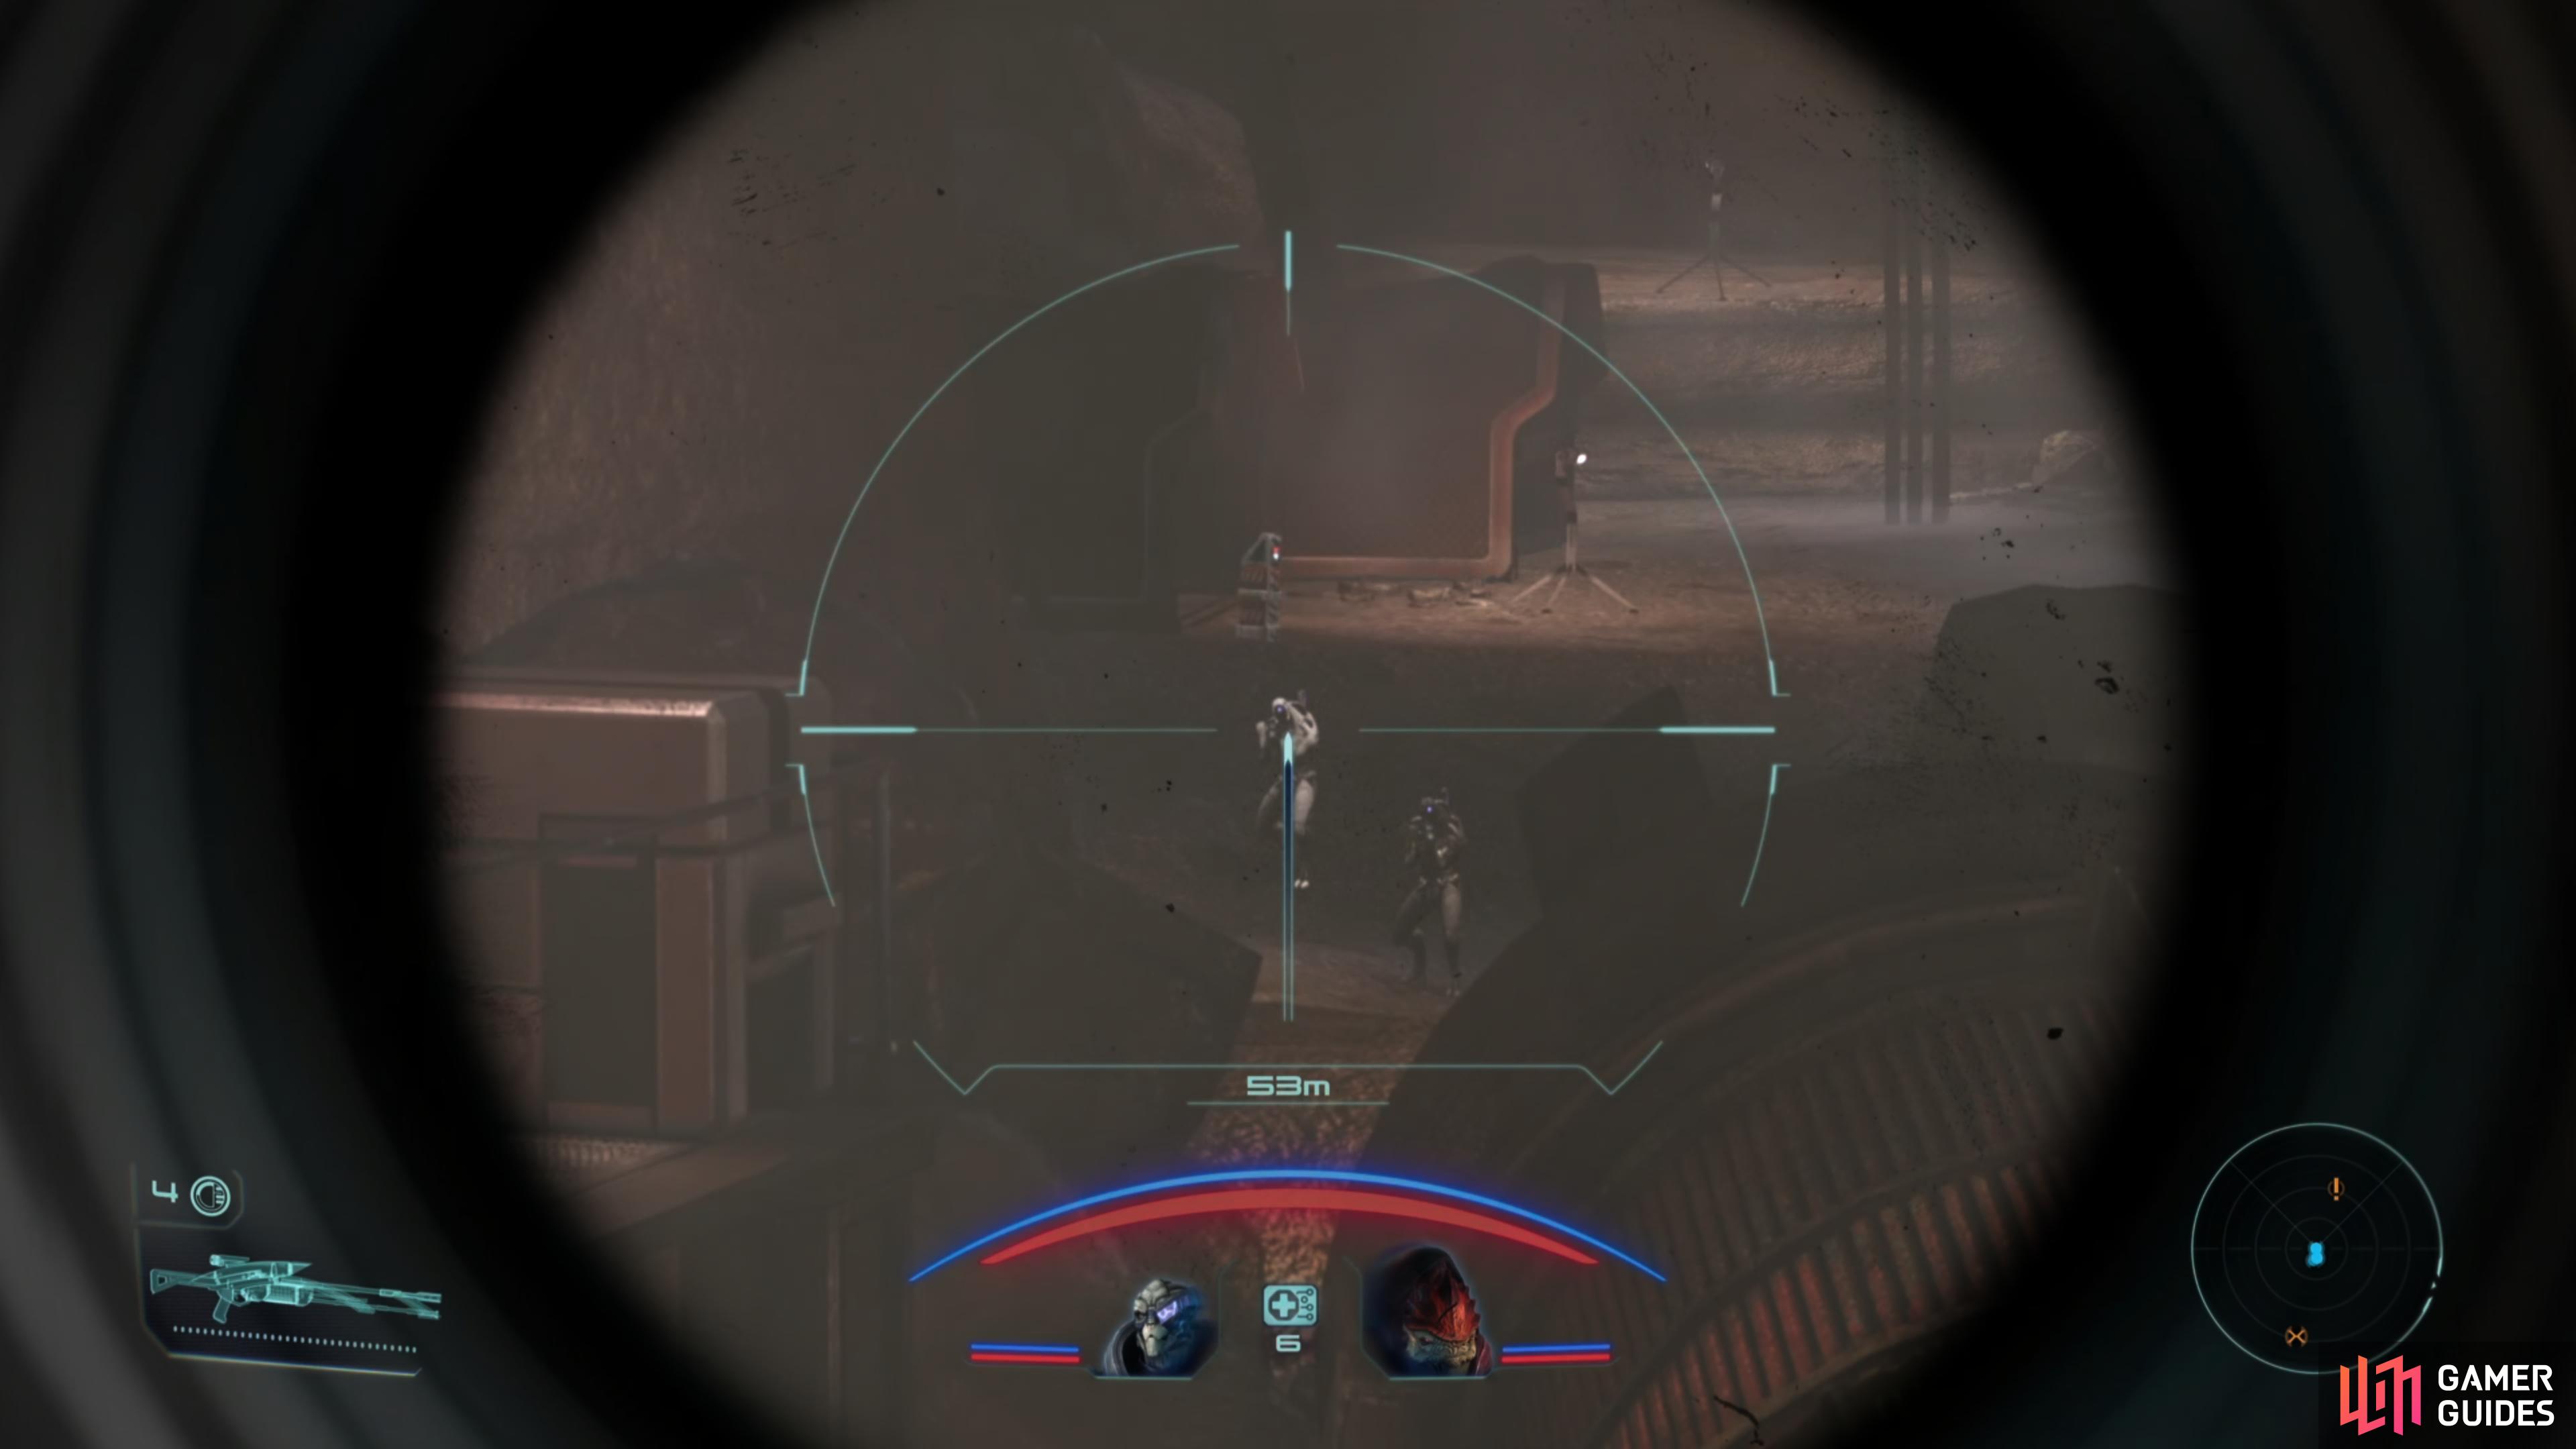
Pick off the geth near Liara, who foolishly stand out in the open, (left), then operate a mining laser to open up a path around the Prothean security. (right)
Therum: Rescue Liara T’Soni
Drop the drones, loot a Medical Kit near the elevator, then continue east to find… another elevator. Ride it down - as far as it’ll go, anyways - and hop off when it malfunctions. Drop down several broken sections of walkway and you’ll hear somebody calling for help.
Turns out to be an asari, who seems to have gotten herself somewhat… stuck.
After a moment you’ll find yourself talking to Liara T’Soni. Exhaust her dialog options and she’ll ask you to disable the Prothean security device she got trapped by. Your responses here don’t matter.
Turn west and look into the cavern beyond, where you should find several geth just… standing around. These include Geth Shock Troopers and Geth Rocket Troopers, and their lack of initiative should allow you to get the first strike - whip out your sniper rifle, take cover, and start picking the geth off.
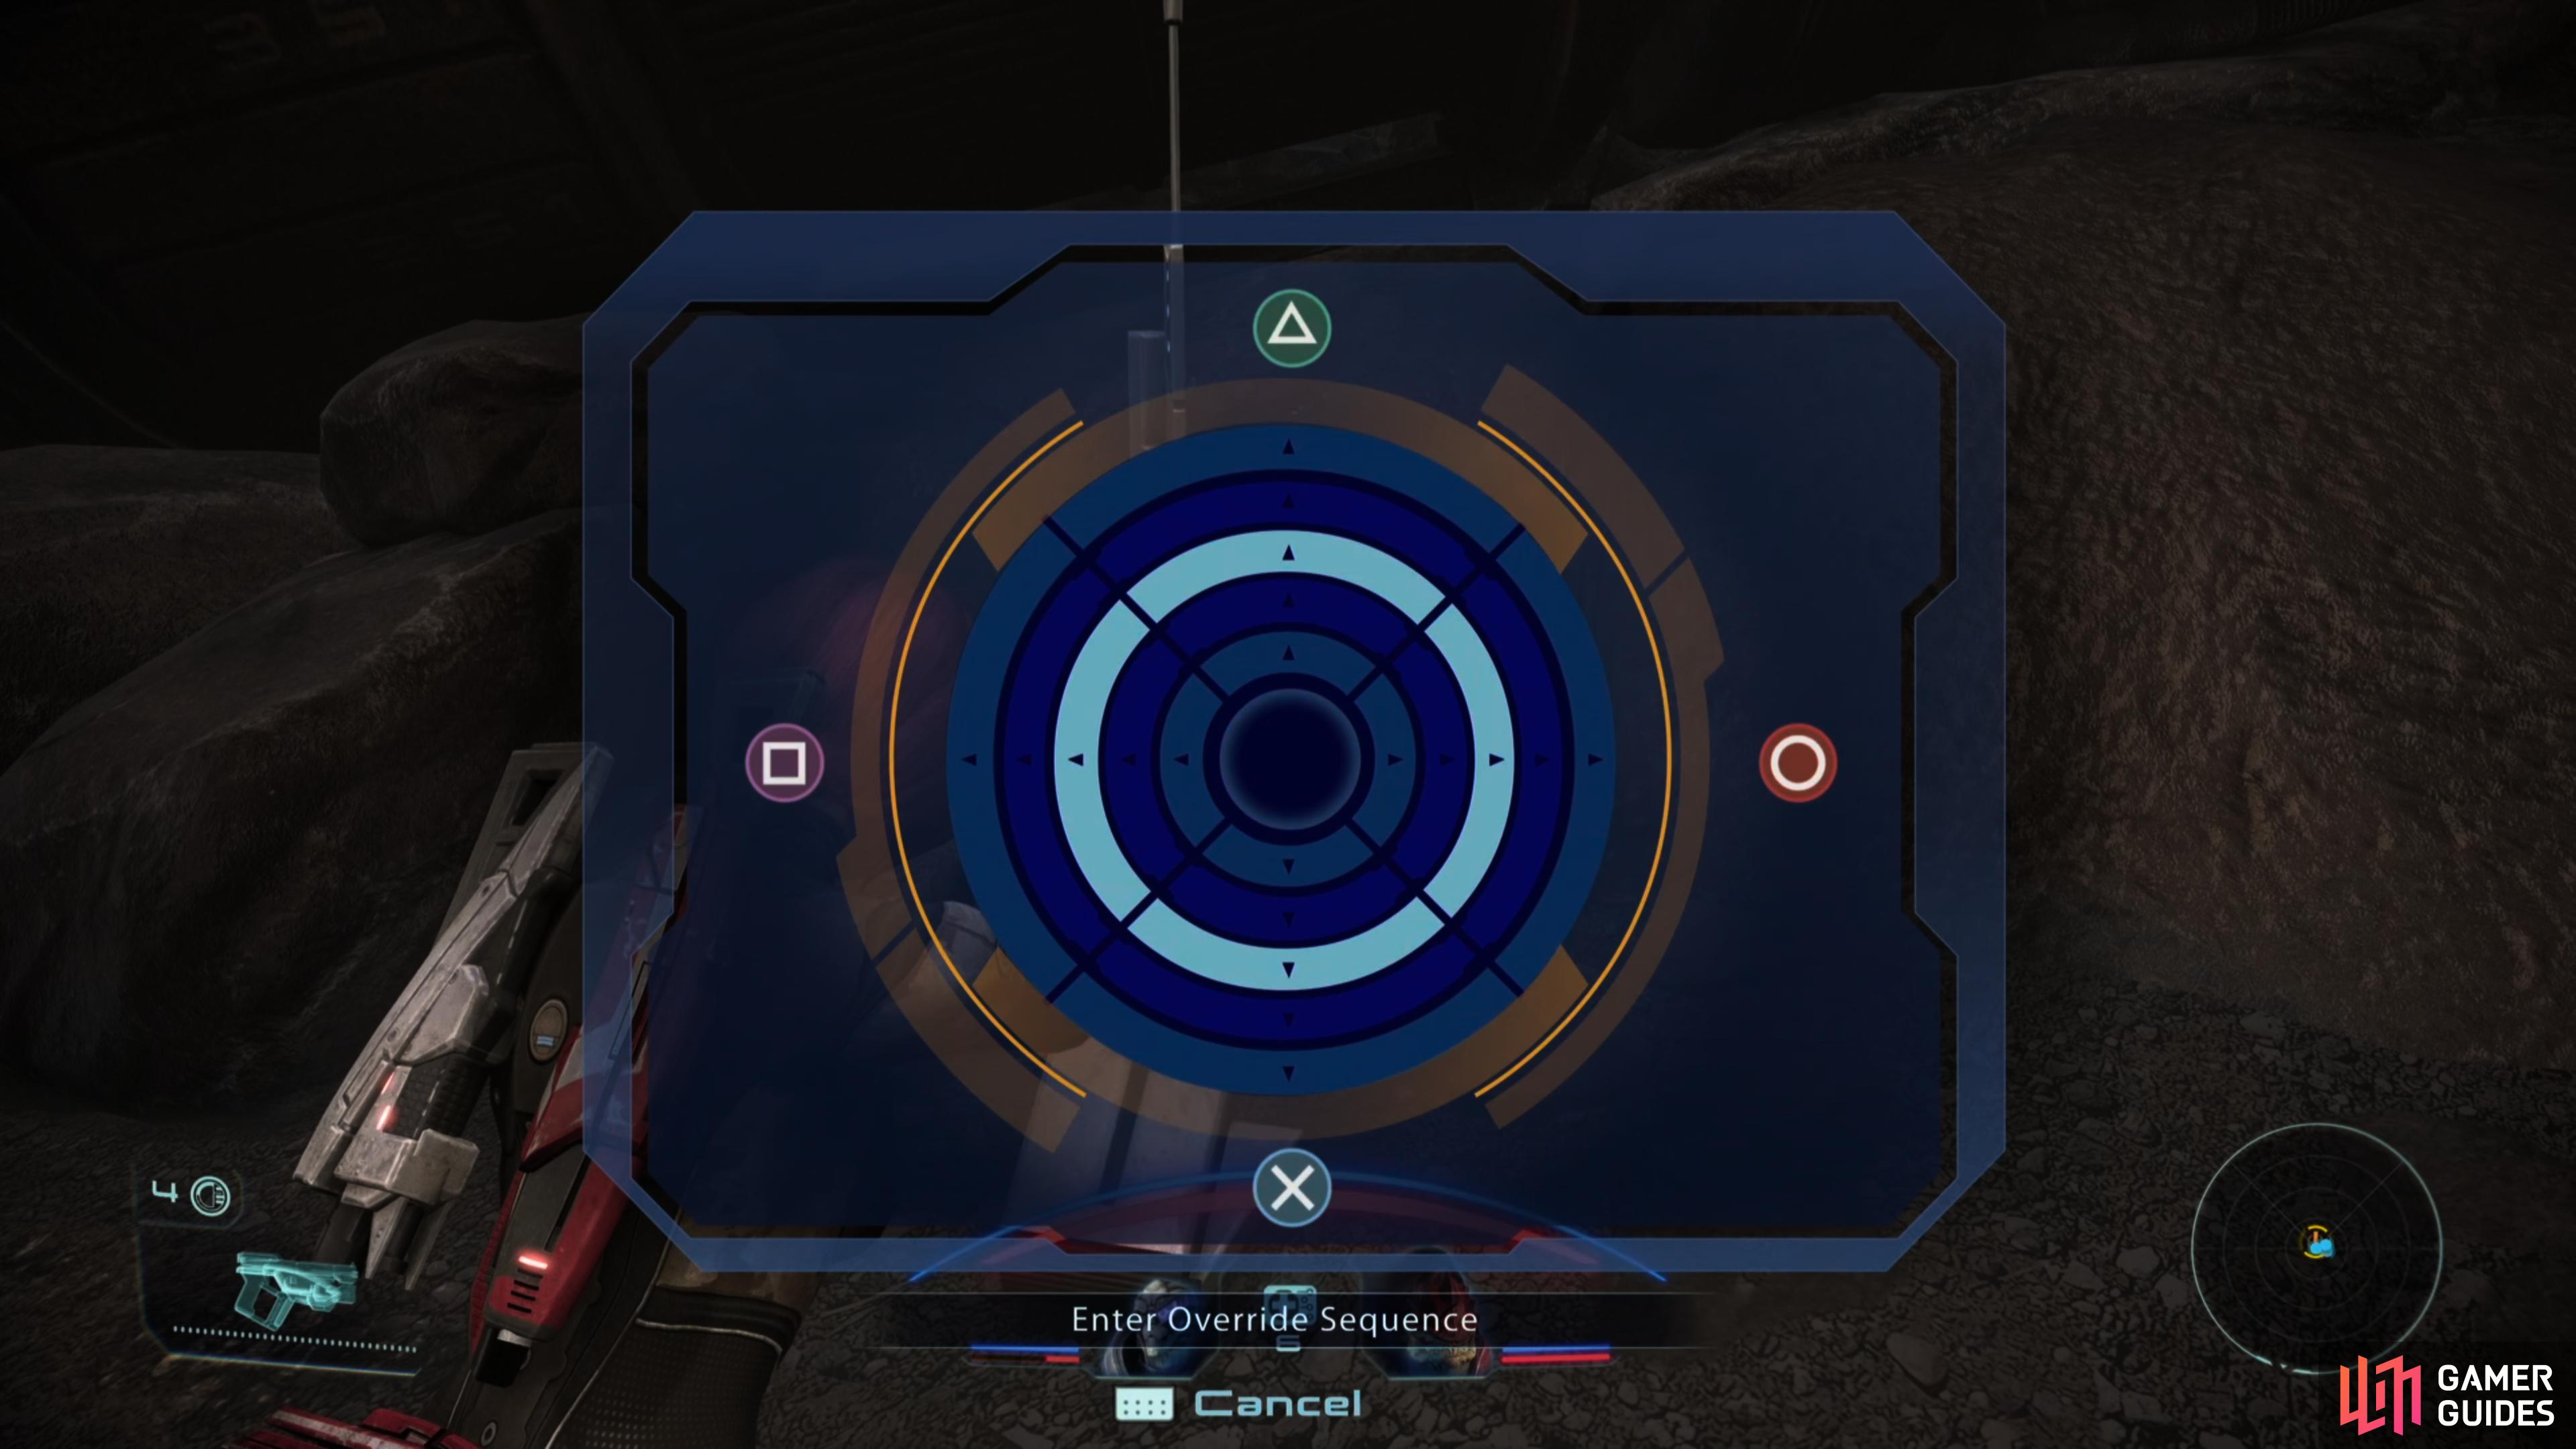
Clear them out or at least thin their numbers, then head down and mop up. You should spot some Mining Laser Controls, which is your key to rescuing Liara. Ignore it for now and continue exploring the depths of the cavern to find two tents, one of which contains a Storage Locker [Easy] while the other hides a Weapons Locker [Easy].
That you have that loot, return to the Mining Laser Controls and enter the following combination:
-
PlayStation: [X], [Square], [Circle], [Triangle], [Square]
-
Xbox: [A], [X], [B], [Y], [X]
Go through the hole you excavated and interact with a terminal to activate a lift, which will take you behind Liara. Approach and talk to the trapped asari, say what you will, and after some more chatter and scenes you’ll find yourself confronted by a Krogan Battllemaster and some geth. Say what you will here, a fight is inevitable.
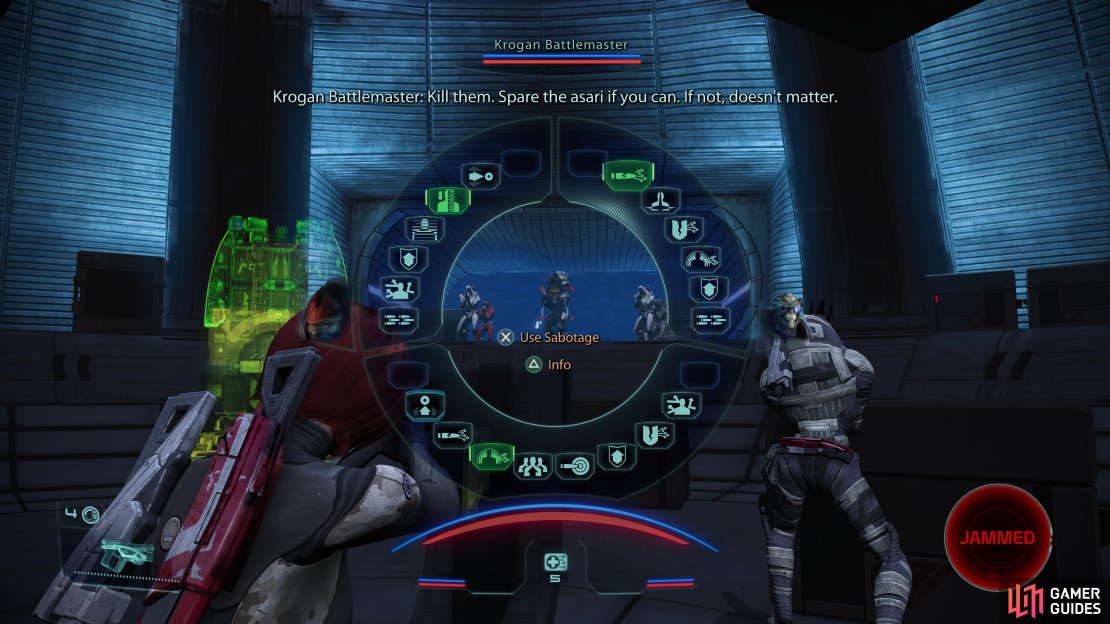
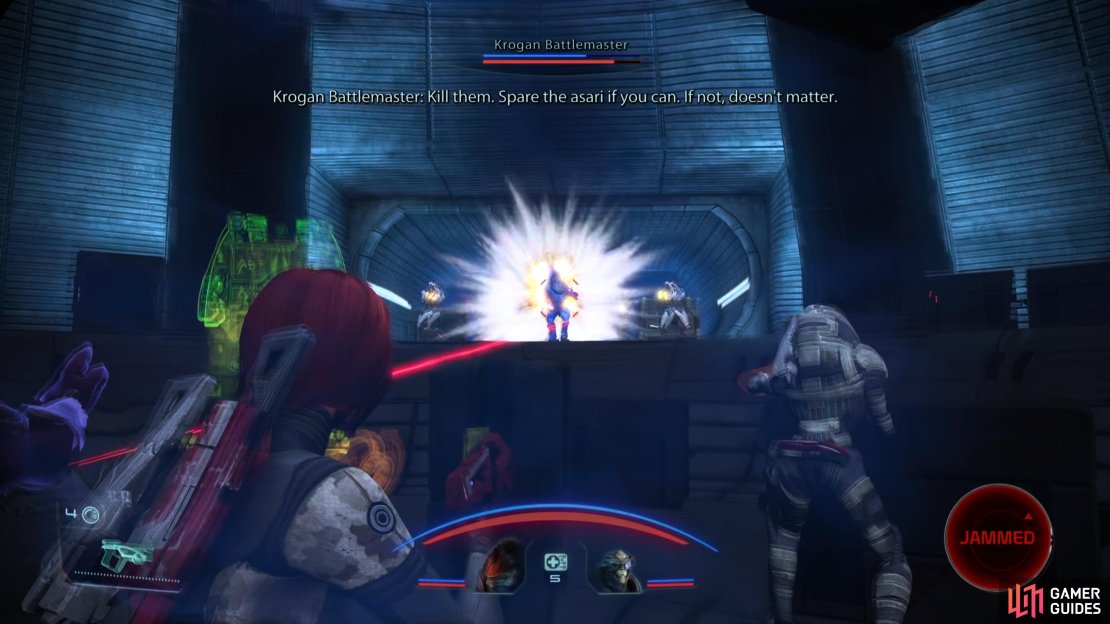
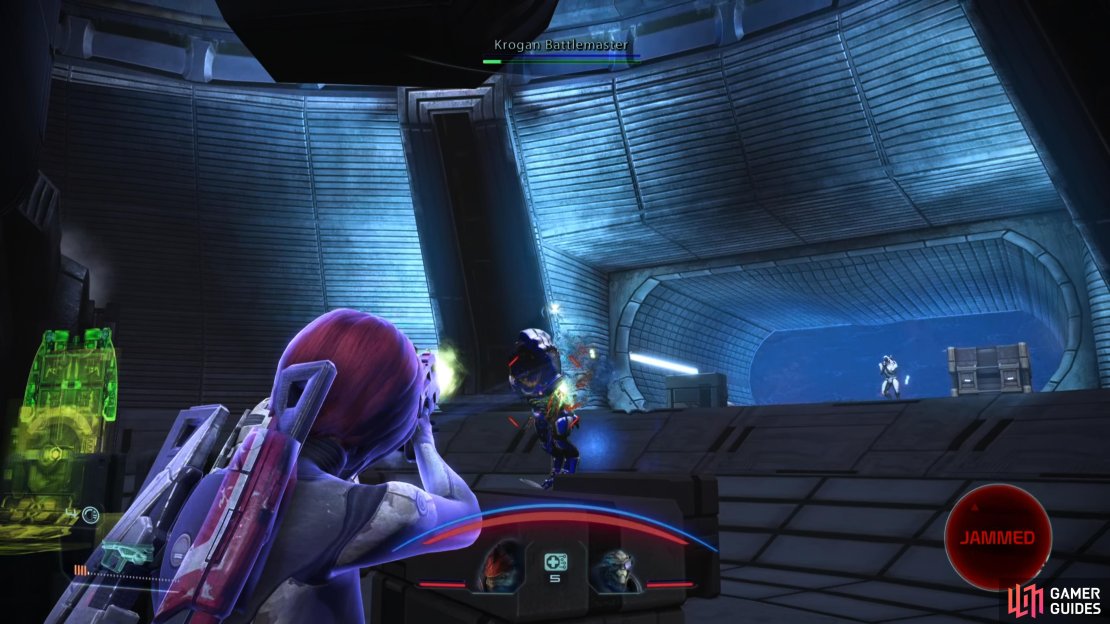
When the fight starts, immediately concentrate fire on the krogan. The geth are, as usual, complacent enough to stand back and take pot shots at you, but the krogan will charge, and he’s awfully resilient. Sabotage to hinder his weapon fire, Damping to stall his biotics are good ways to start out the fight (and any other direct damage-dealing ability, should you have one), after which you should immediately hit the Krogan Battlemaster with Throw/Lift/Singularity to take him off his feet. This, combined with a whole lot of gunfire should do the trick nicely.
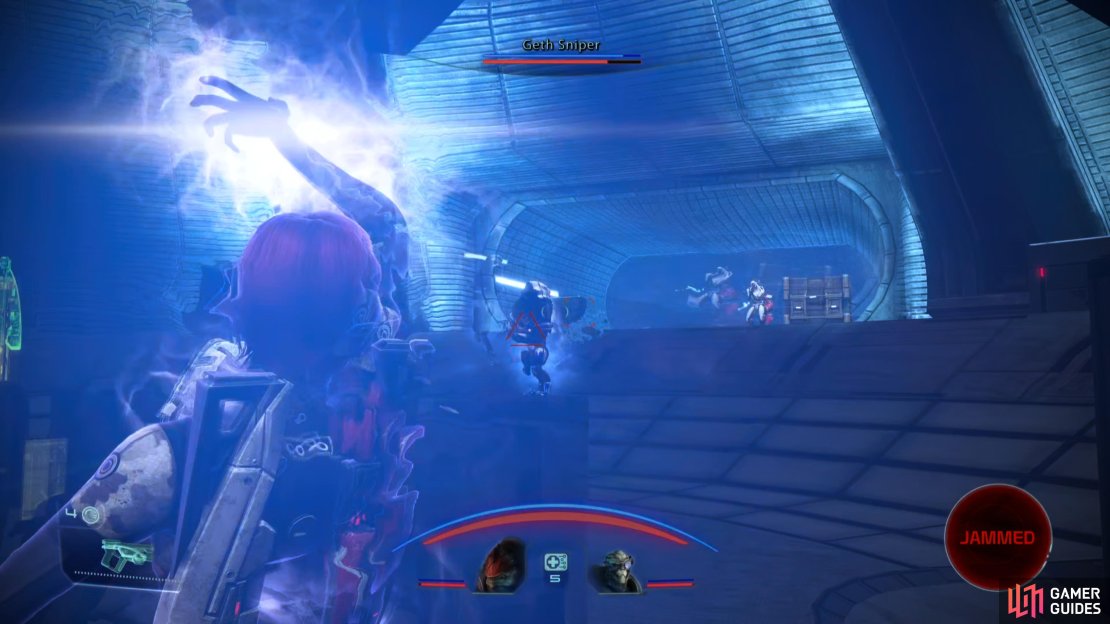
While this tactic works well even on higher difficulties, it should be noted that there’s some luck involved. If you don’t get these abilities off as soon as possible, things can go south real fast. Also, if the Geth Sniper and the Krogan Battlemaster target Shepard (the latter is not above using Carnage on higher difficulties), all your preperations may be for nothing. Fortune favors the bold, however, and combining your focus on the Krogan Battlemaster and taking him out as soon as possible has proven itself effective.
After the krogan goes down you can shelter behind cover, take a breather, wait for abilities to recharge, then flush out the geth at your leisure. When the last enemy falls you’ll get some scenes, after which you’ll find yourself back aboard the Normandy.
For finding and rescuing Liara, you’ll earn the Search and Rescue achievement.


No Comments