
Bring Down the Sky is the DLC mission for the first Mass Effect game. It’s entirely disconnected from the main narrative, has little consequence for future games and nothing in the way of new loot or gameplay. The early days of DLC were dark, indeed. Still, if you’re playing the Legendary Edition of Mass Effect, you’ll have access to this DLC from the moment you first acquire the Normandy.
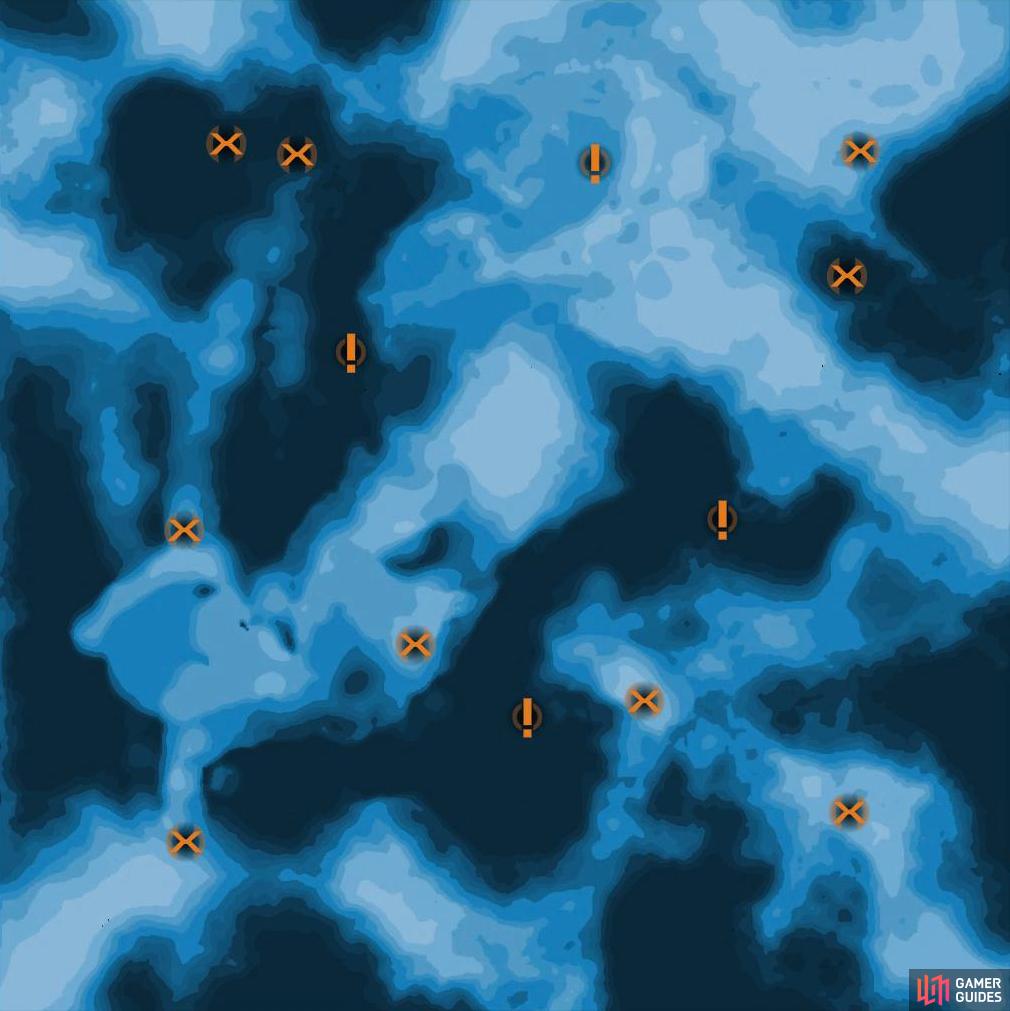
A map of Asteroid X57.
To start this DLC, travel to the Asgard system in the Exodus Cluster, which has little to recommend it save for Asteroid X57. Land on this rock to properly start the mission, receiving a transmission in the process that lays out the peril this asteroid represents. Looks like you have some fusion torches to hunt down.
Survey Station 3
When you’re on the surface of X57, you’ll see a fusion torch burning merrily to the east. Ignore it and drive uphill to the southwest to find a shack (Survey Station 3), outside of which you’ll locate the body of G. Mendel and a Technician Kit. Search them, then the shack, in which you loot an Aid Station and examine some Station Logs.
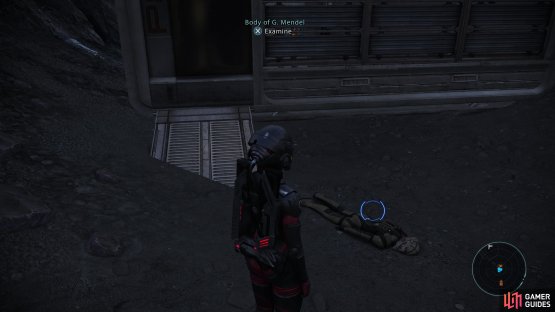

(1 of 2) Search the southwestern corner of the map to find the body of one G. Mendel near Survey Station 3.

Search the southwestern corner of the map to find the body of one G. Mendel near Survey Station 3. (left), Outside the first Fusion Torch Facility you’ll find numerous hostile turrets. (right)
Fusion Torch Facility 1
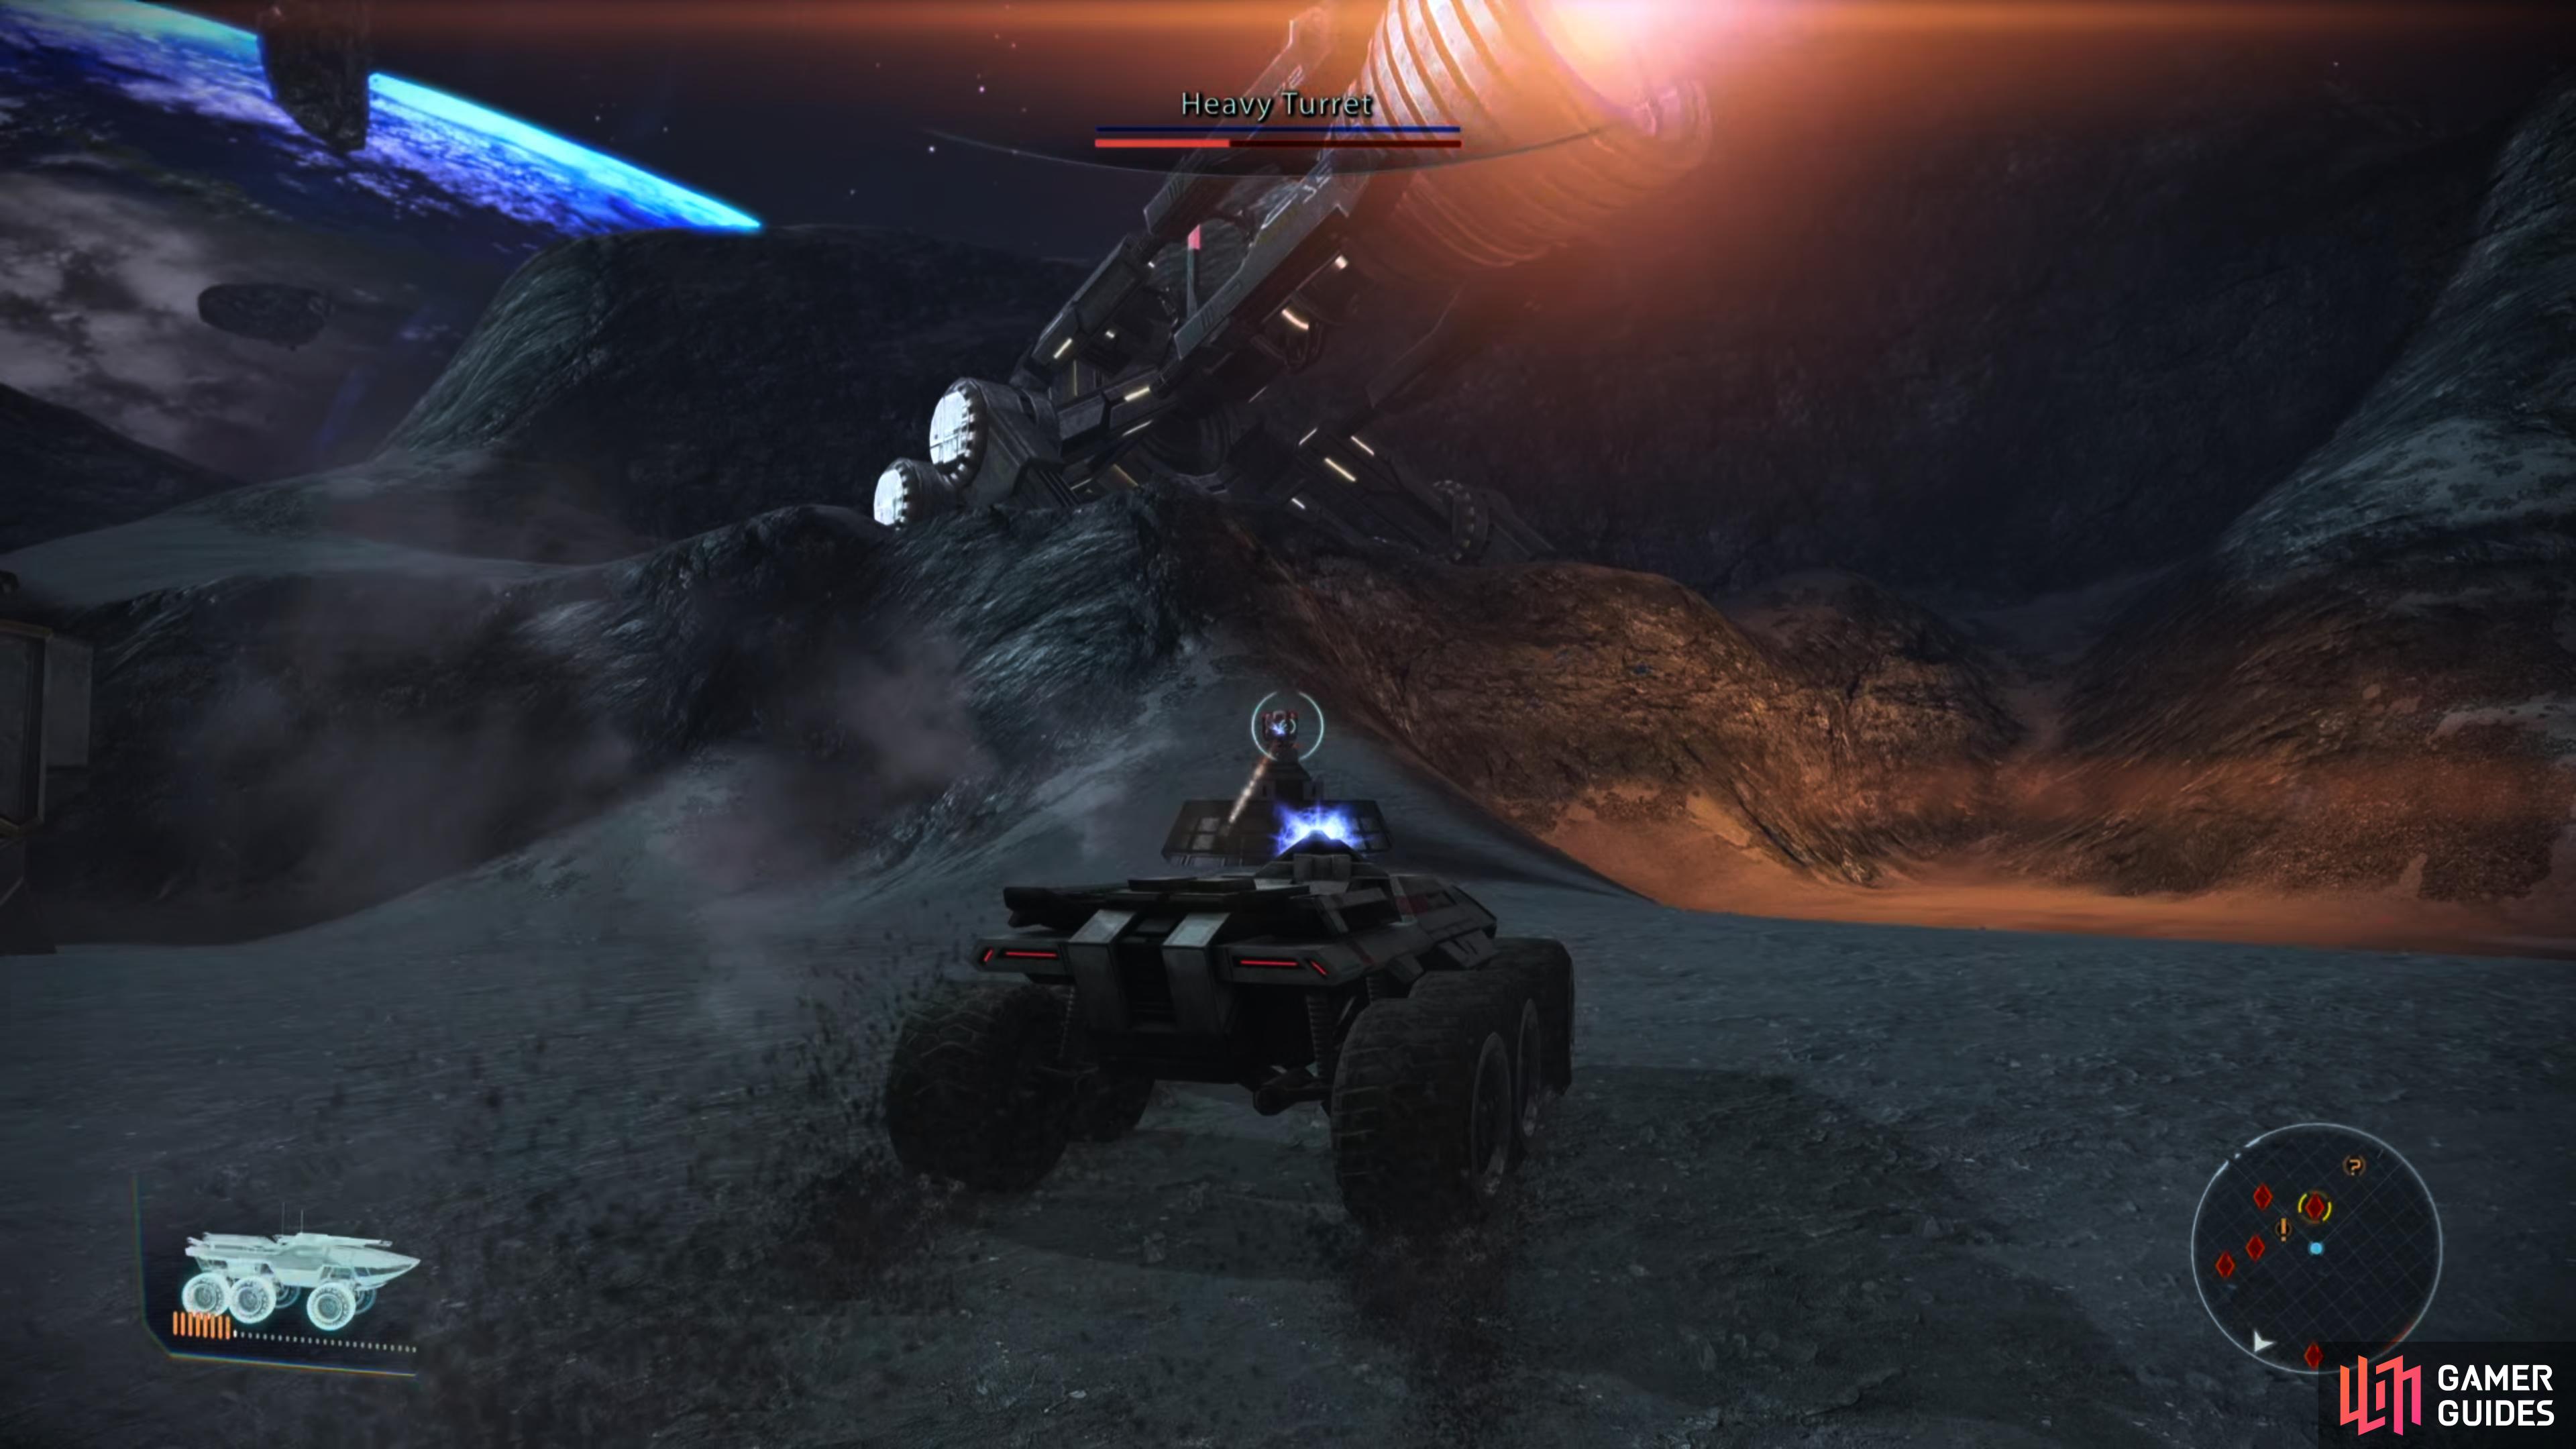
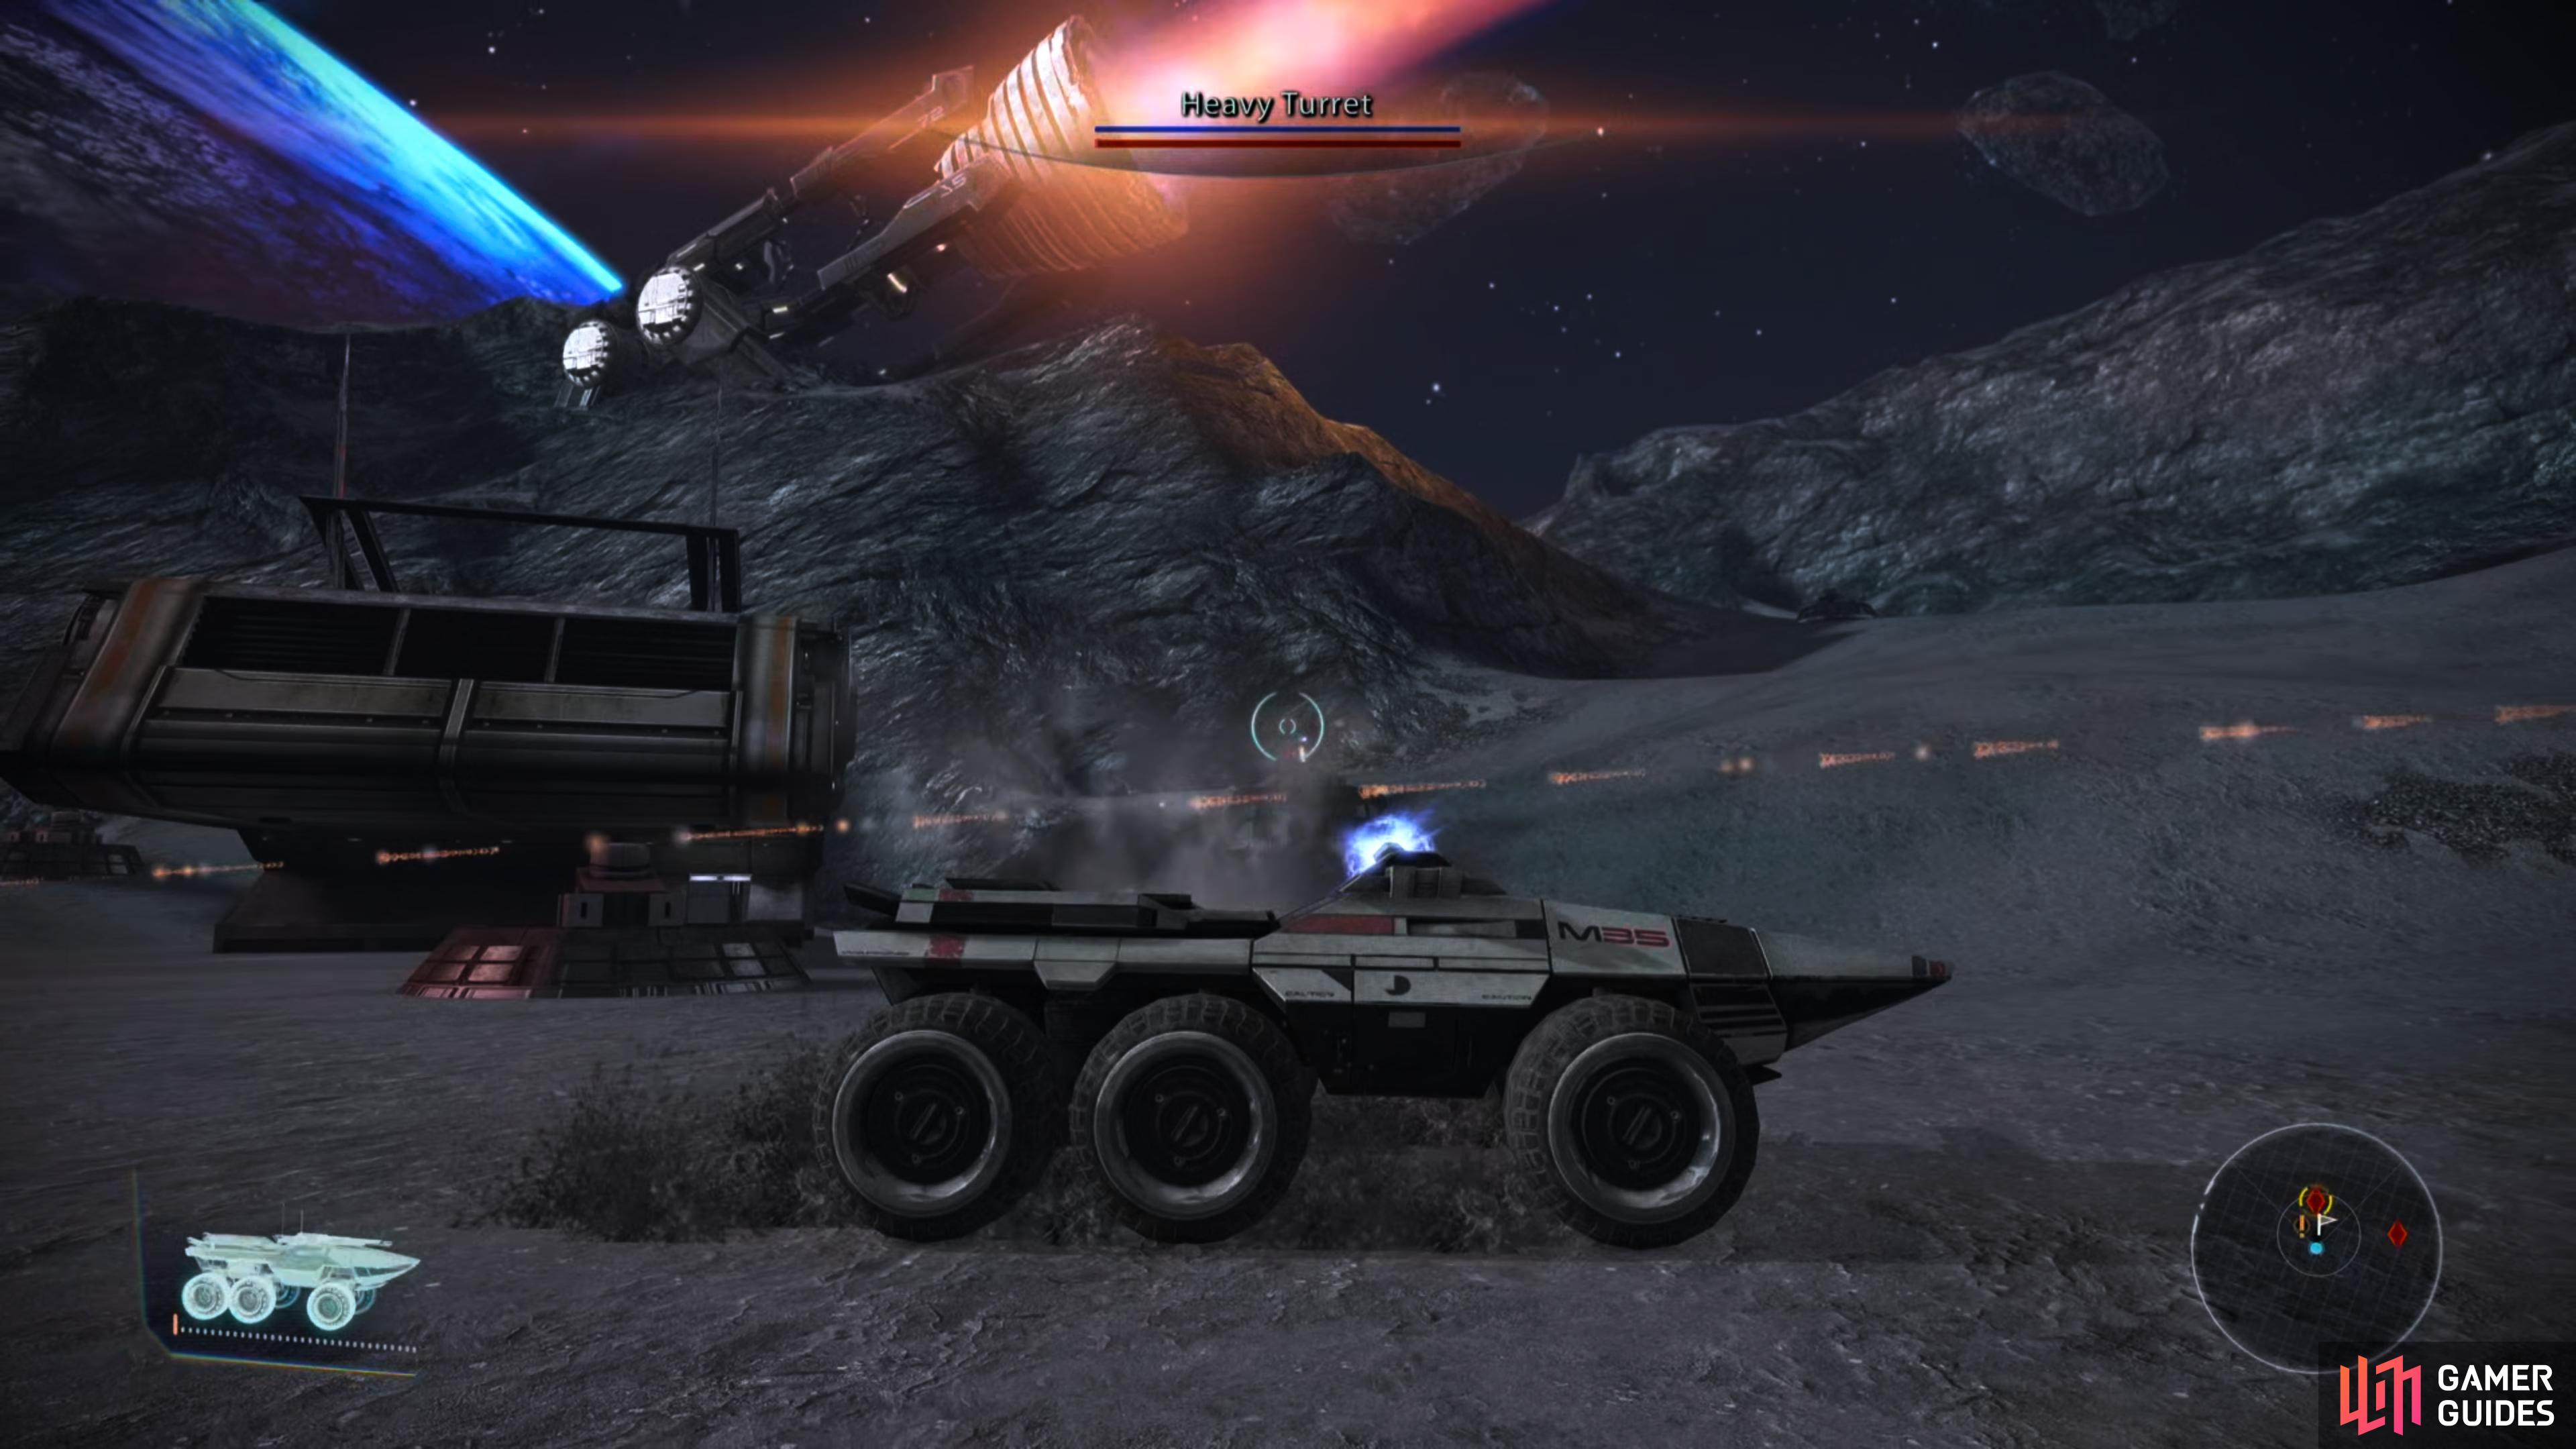
Return to the Mako and drive northeast to the facility housing the first fusion torch. Be wary, however, as when you approach some shielded Heavy Turrets will lower their defensive walls and attack. Keep moving and gun down the half-dozen or so turrets, then enter the facility.
Go through a door and you’ll find yourself in a fight with numerous Batarian Troopers along with a pair of Varrens. Use the doorway as cover and pick off the Varren, then counter-snipe a pair of Snipers - a fuel tank across the room will help take them out. These enemies are pretty standard, but they can use abilities like Immunity or Sabotage.

(1 of 3) Defeat the batarians inside Facility 1,
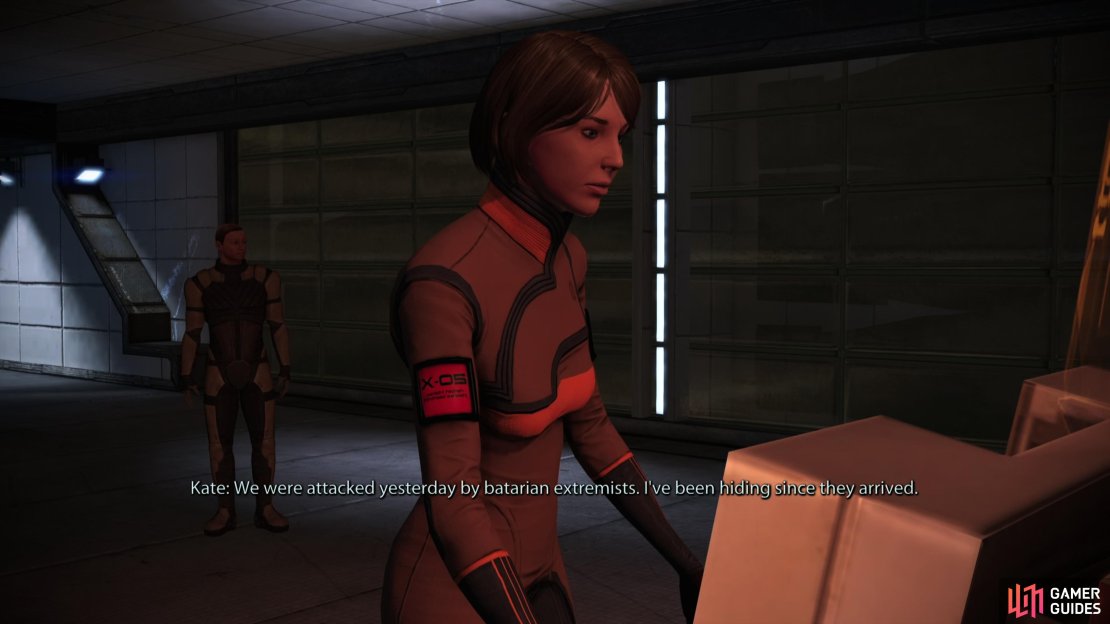
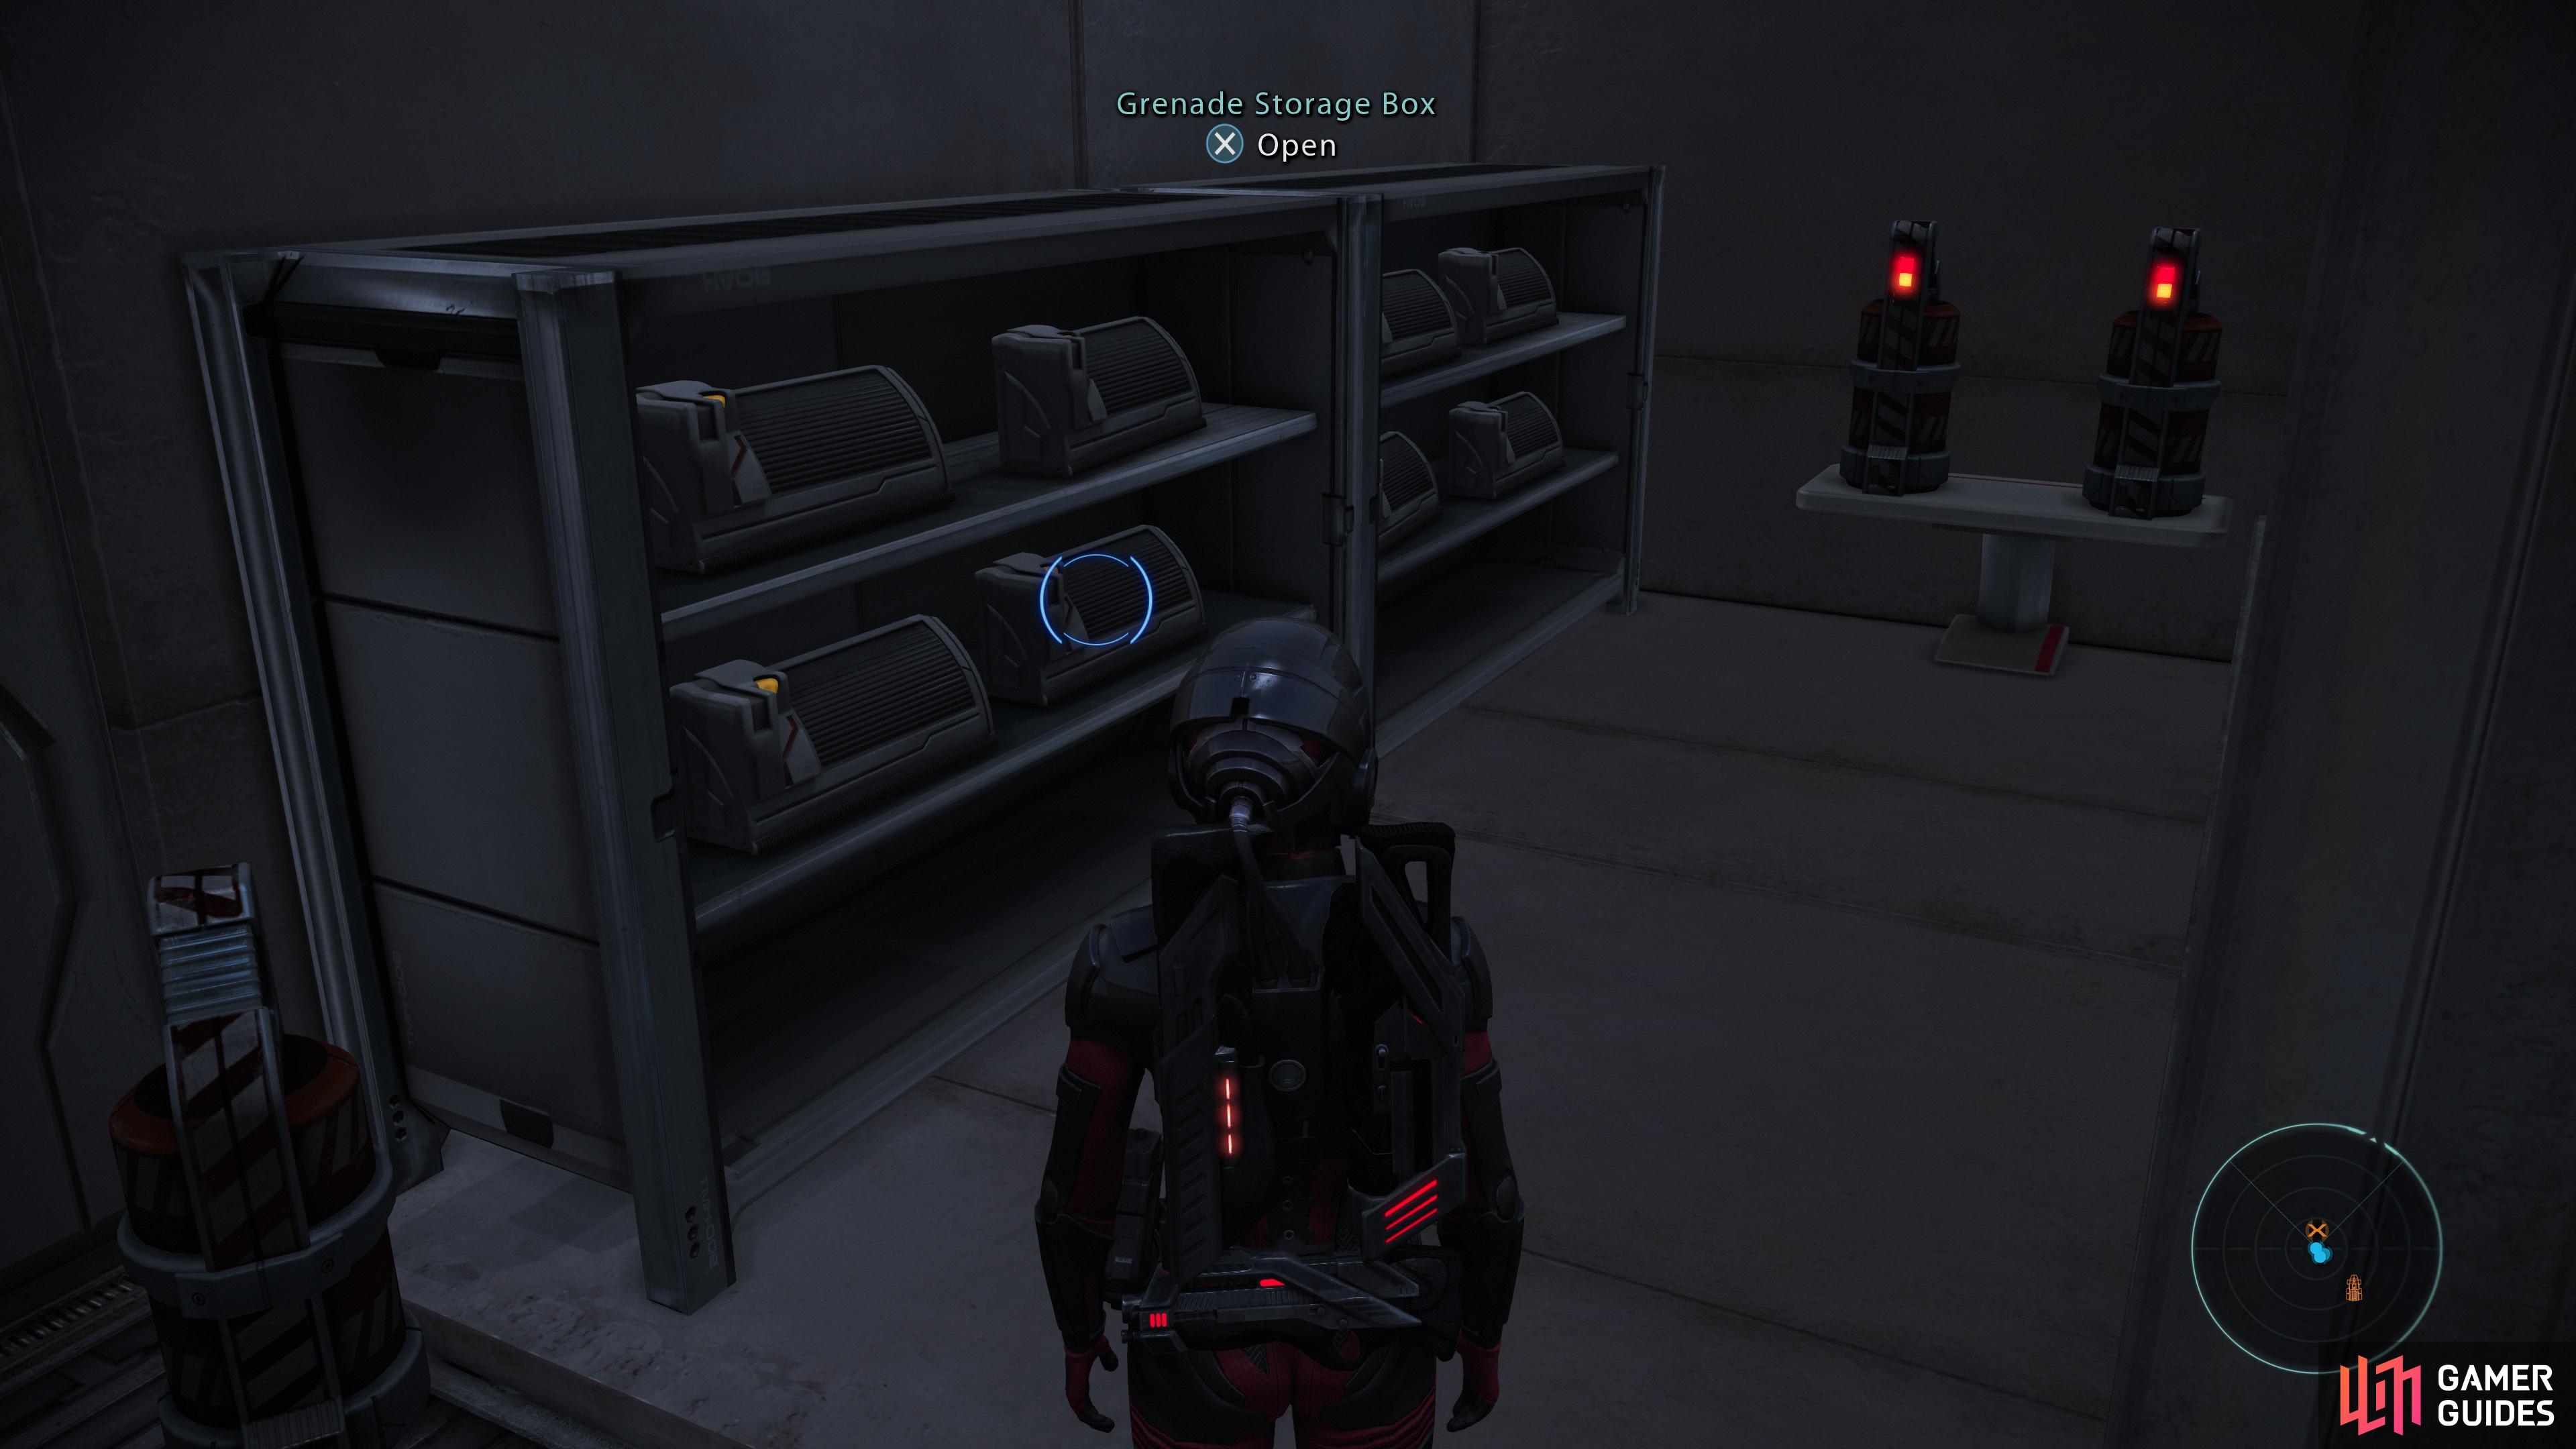
When the enemies are all dead, search the back room to score a Grenade Storage Box and a Storage Locker [Easy]. Next head upstairs and enter a back room, plunder a Secure Crate [Average], then disable the fusion torch via the Torch Control console [Easy]. After doing so you’ll chat with your mysterious contact, a local engineer named Kate Bowman, who will give you a tiny bit of intel on the situation.
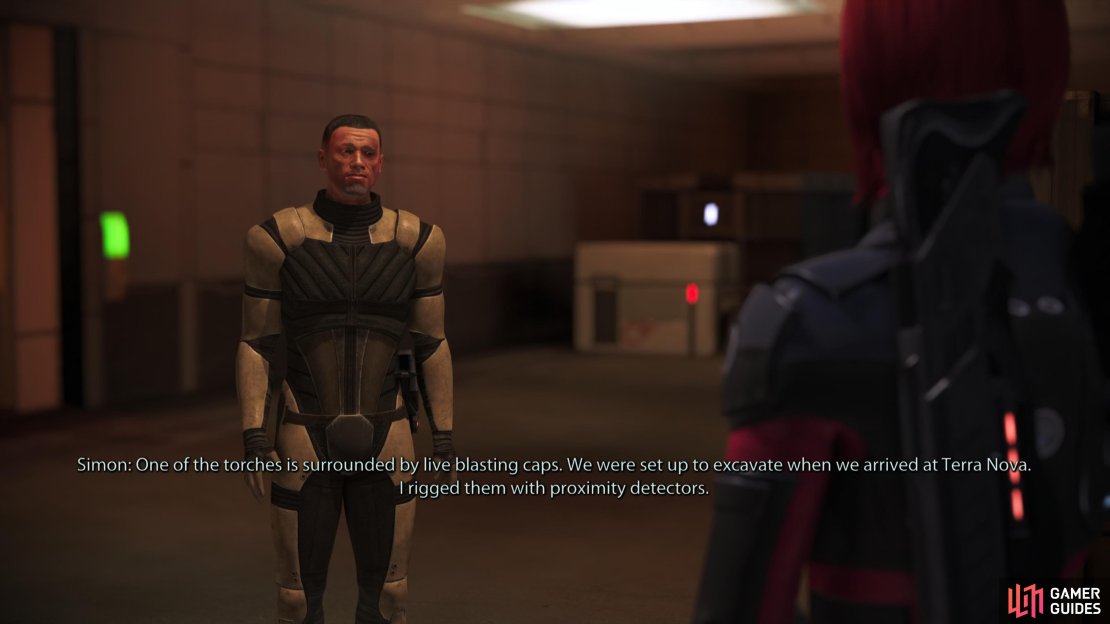
Make your way back downstairs and exit the facility, where you’ll have a close encounter of the incompetent kind with a survivor named Simon. We’re all lucky kinetic barriers are a thing. After you’re done chewing him out, he’ll reveal the stakes. The Batarians - whatever their motivations - are piloting X57 towards the nearby colony on Terra Nova, and should the asteroid strike the planet, millions of people will die. Exhaust his dialog options and you’ll learn the name of the batarian terrorist leader - Balak - and you’ll be informed of some blasting caps - proximity mines - near one of the fusion torch facilities. This will start the assignments X57: Two Missing Engineers and X57: Avoid the Blasting Caps.
Once fusion torch is down, three more to go. But before we head to the second fusion torch facility, let’s clear some nearby map markers, first.
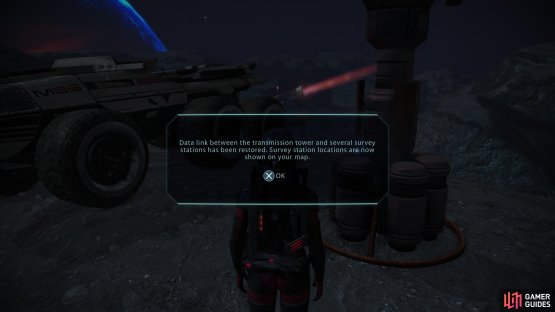
(1 of 2) Activate a transmission tower to reveal the locations of the Survey Stations,
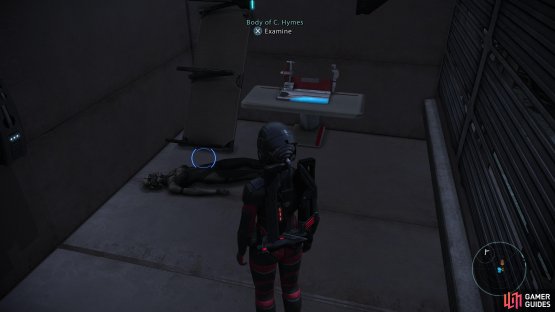
Activate a transmission tower to reveal the locations of the Survey Stations, (left), then visit Survey Station 1 to find the body of C. Hymes. (right)
Transmitter Tower
Northeast of your starting location - northwest from the first (southern-most) fusion torch facility you’ll find a Transmitter Tower on a mountain. Reactivate it to reveal the locations of Survey Station 1 and Survey Station 2 on your map, which can be found in the southeastern and northwestern corners of the operational area.
X57 Radio
Should you need some… ambiance… for this whole “stop the terrorists” mission, you can find a mountain just northeast of the first (southern-most) fusion torch facility. Atop this mountain you’ll find the X57 Radio station, which you can search for an Aid Station, then reactivate to get some tunes playing. Alas, the range leaves something to be desired…
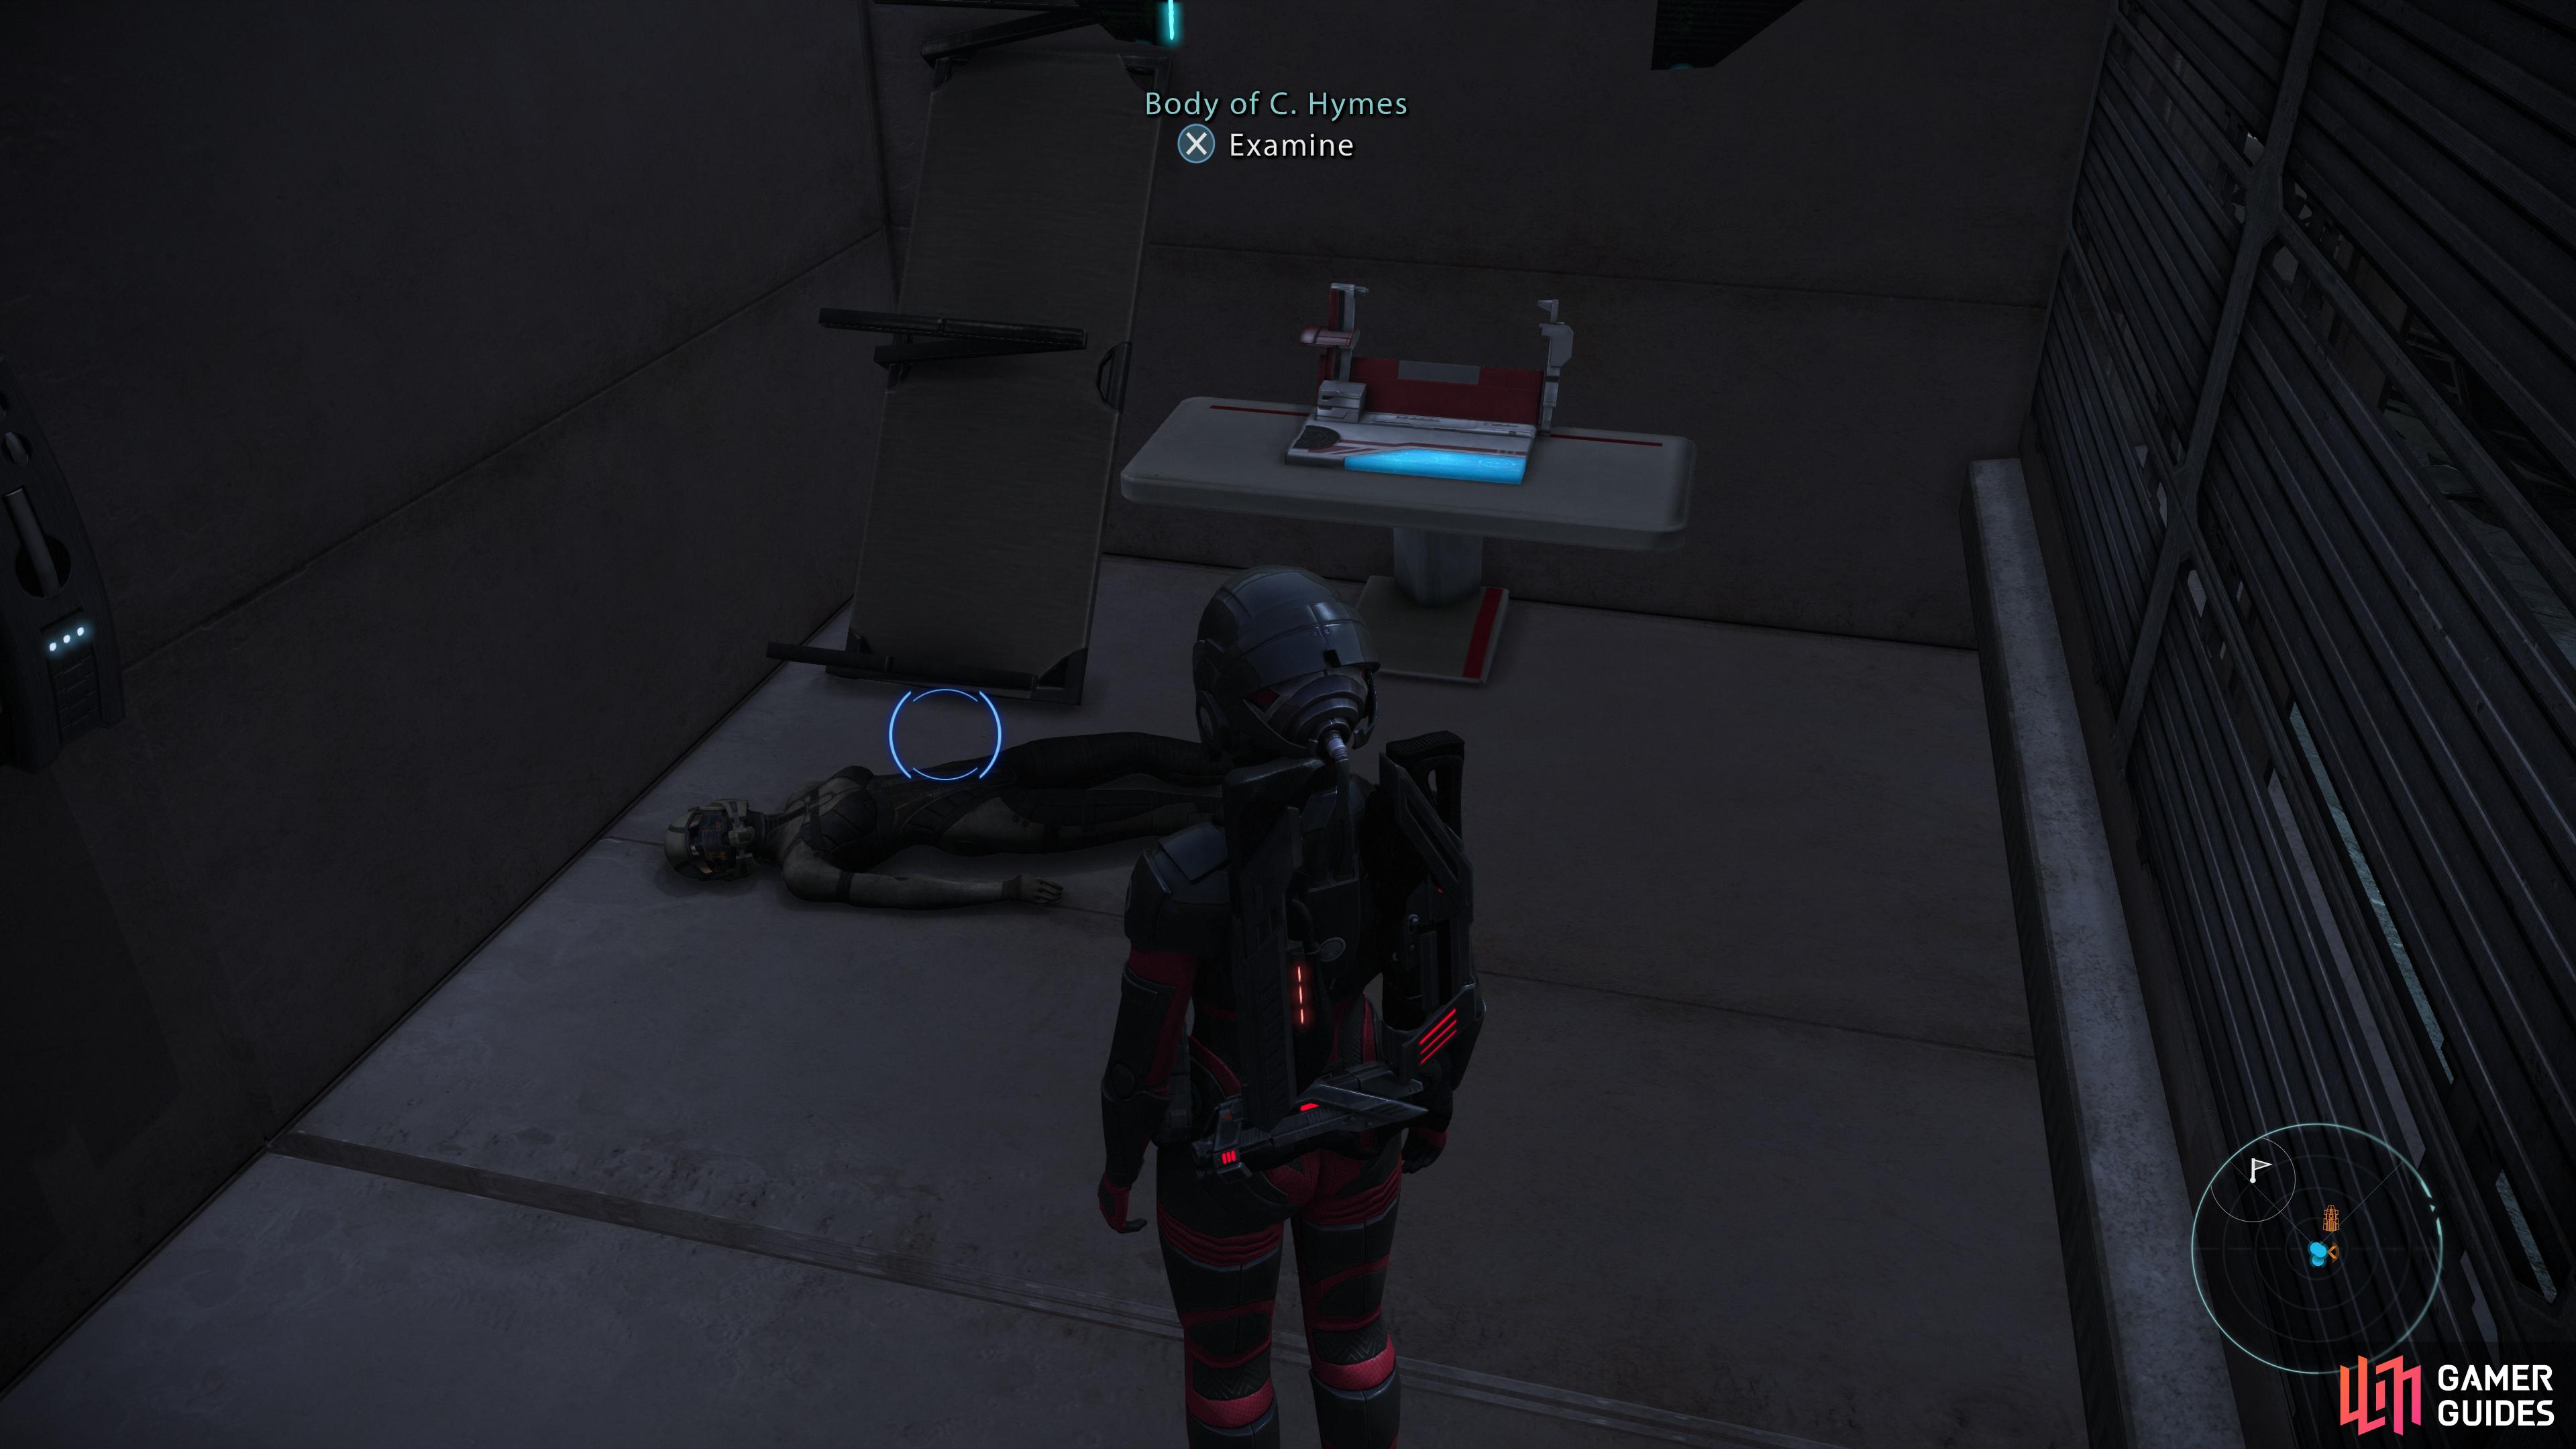
Survey Station 1
In the southeastern corner of the operational area you’ll find Survey Station 1. Outside of the shack you can score a Secure Crate [Average], while inside you’ll find an Aid Station and the body of C. Hymes, one of the engineers Simon asked you to find. Doesn’t look like there’s going to be a happy end to this assignment.
(1 of 2) Mind the beacons and dispatch the turrets outside of Facility 2,
Mind the beacons and dispatch the turrets outside of Facility 2, (left), then head towards Facility 2 on foot, keeping your distance from the blasting caps. (right)
Fusion Torch Facility 2
The second fusion torch facility can be found northeast of the first one, just east-of-center on the map. To get there, you can just follow the lowlands north and east from the first facility. When you see a line of beacons on the ground, you’ll know you’re in the right area - if the exhaust from the torch itself isn’t obvious enough.
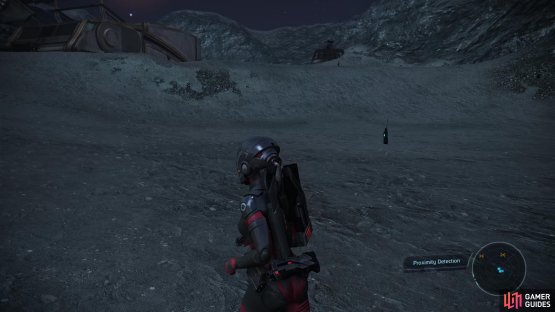
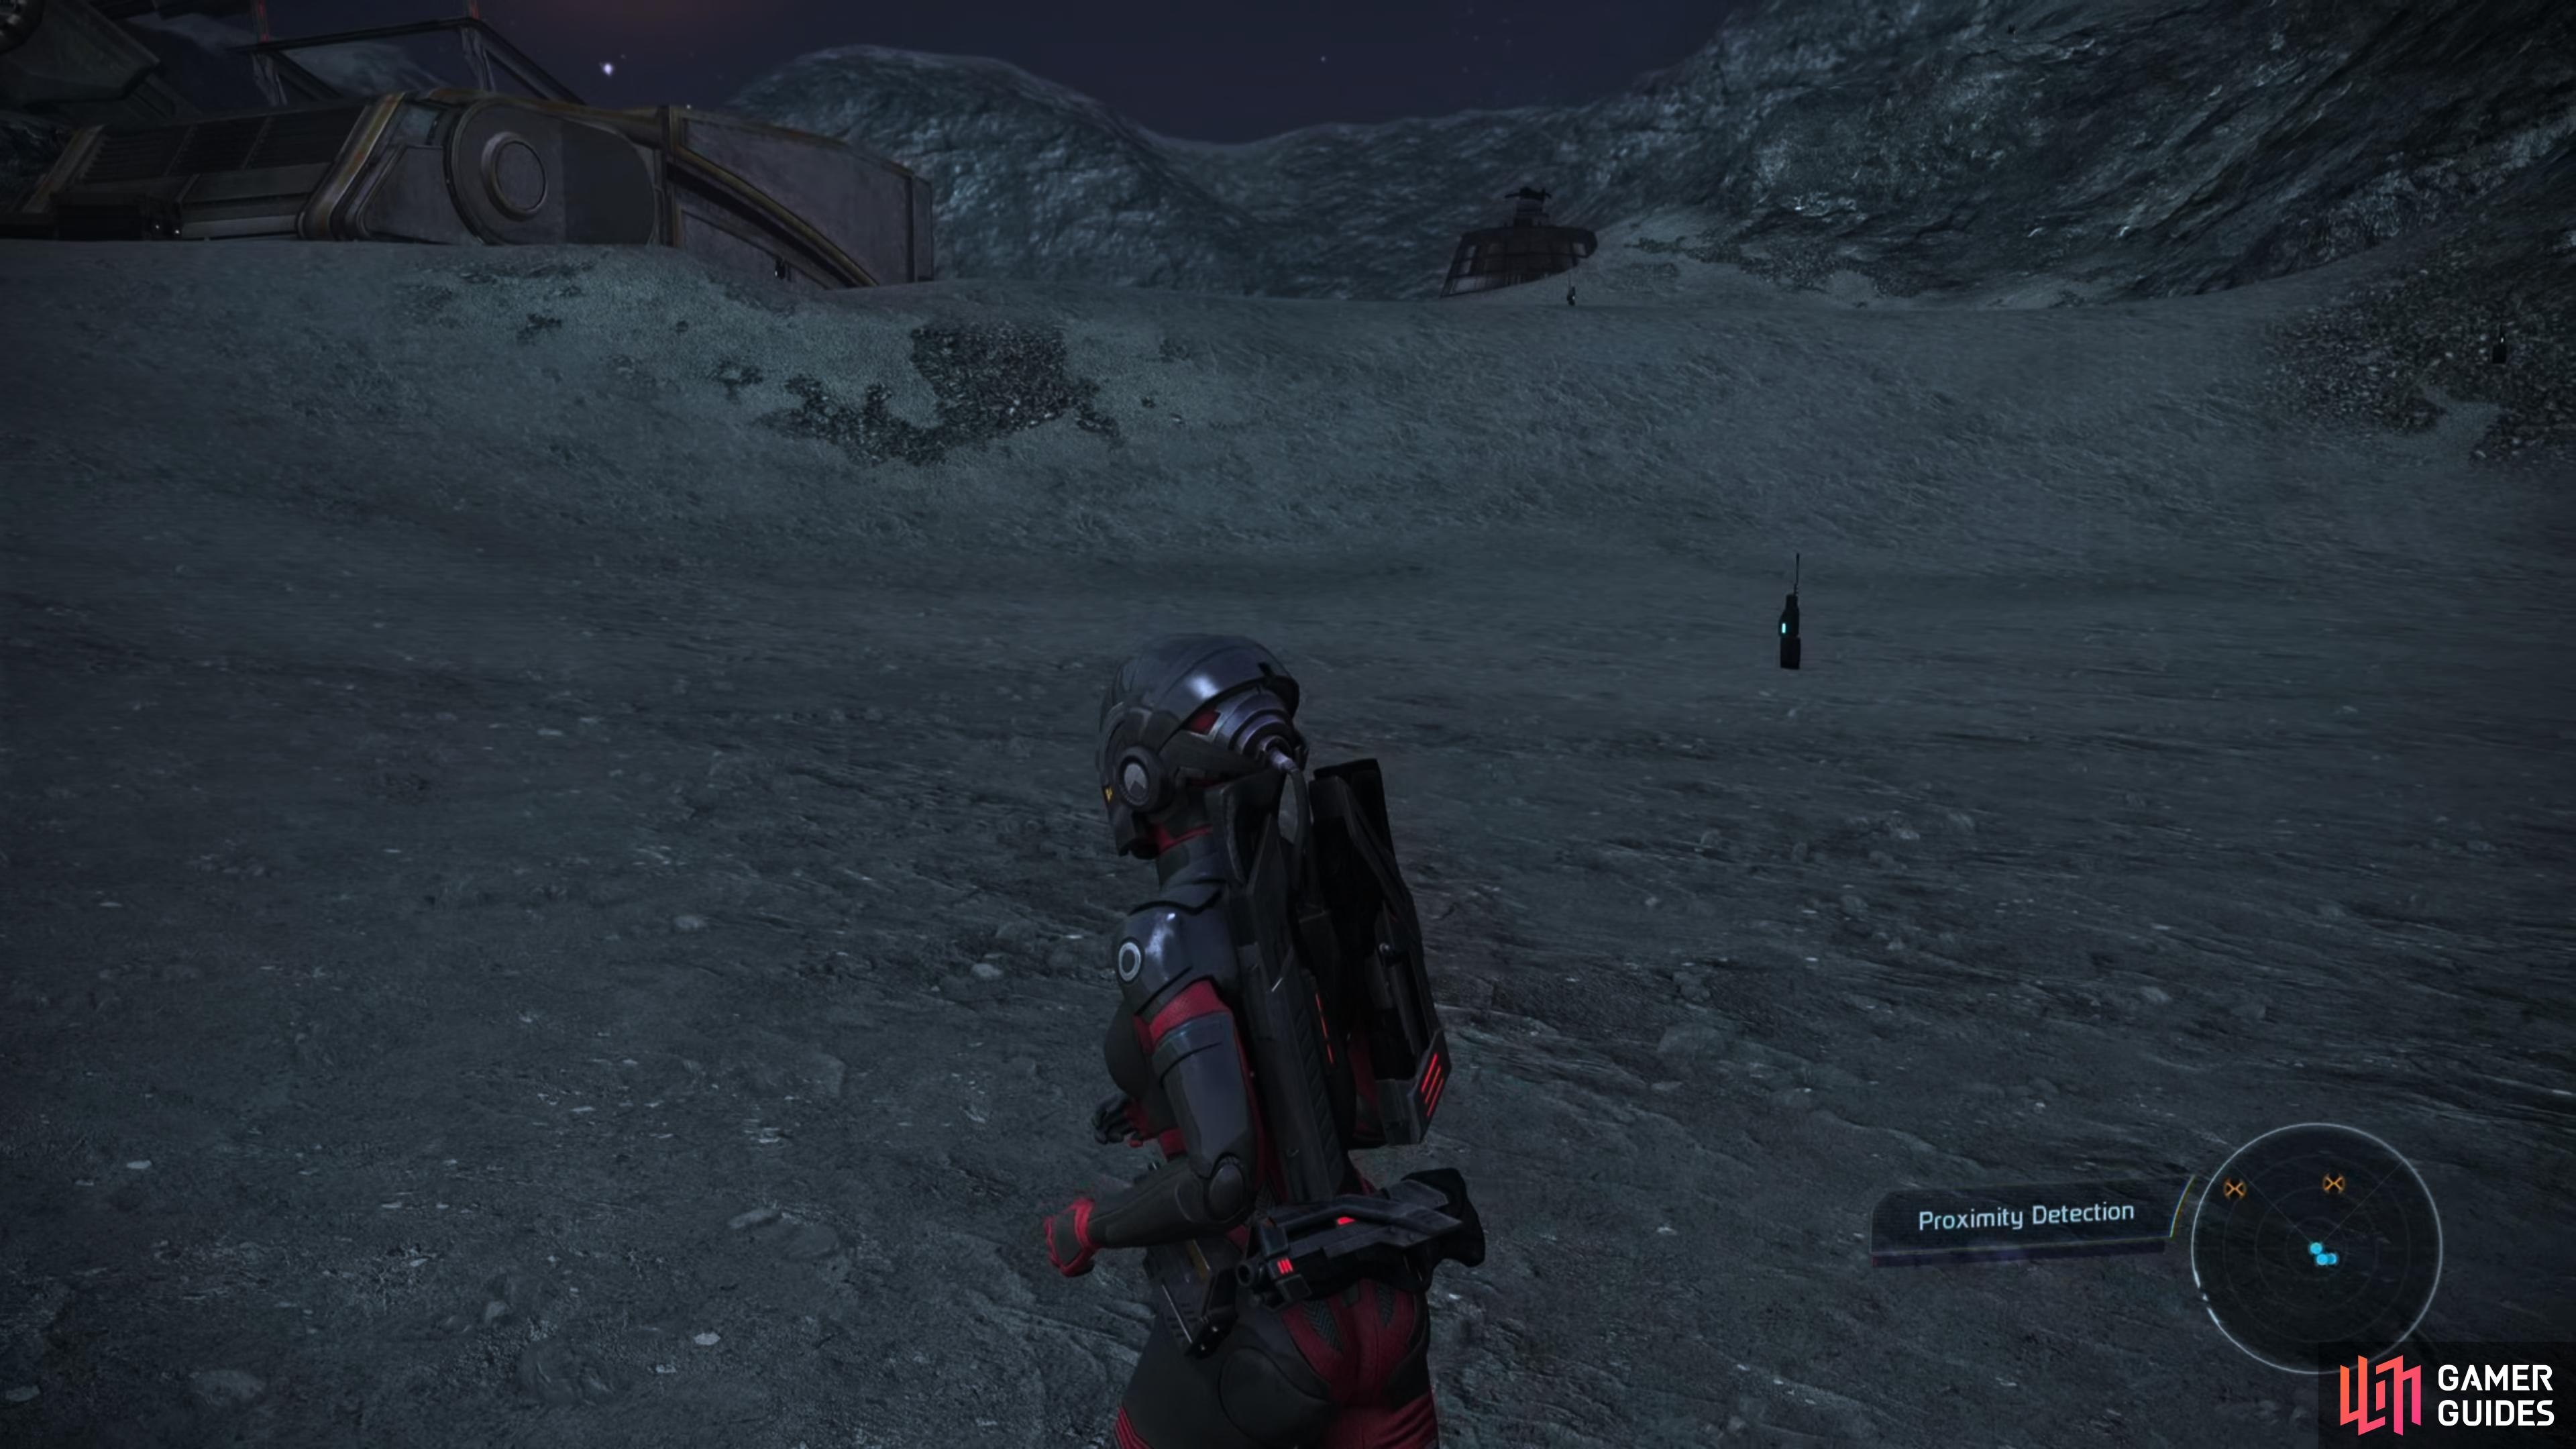
Just like last time, several shielded Heavy Turrets surround the facility, but the beacons should give you pause. These indicate the presence of blasting caps, and you should keep the Mako a respectful distance away from them, lest you fancy an impromptu trip back into orbit. Avoid the beacons and gun down the turrets, then abandon the Mako and advance on the facility on foot. The beacons themselves aren’t the danger, of course, the blasting caps beyond them are, and you’ll recognize them by the rotating devices in the ground. Keep your distance and mind the “Proximity Detection” meter on the bottom right of the screen… and no, you can’t detonate them with gunfire.

(1 of 2) Defeat a group of batarians guarding the exterior of the facility,
Defeat a group of batarians guarding the exterior of the facility, (left), then put down some more batarians inside Facility 2. (right)
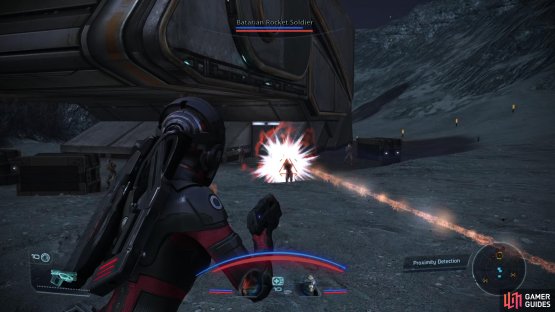
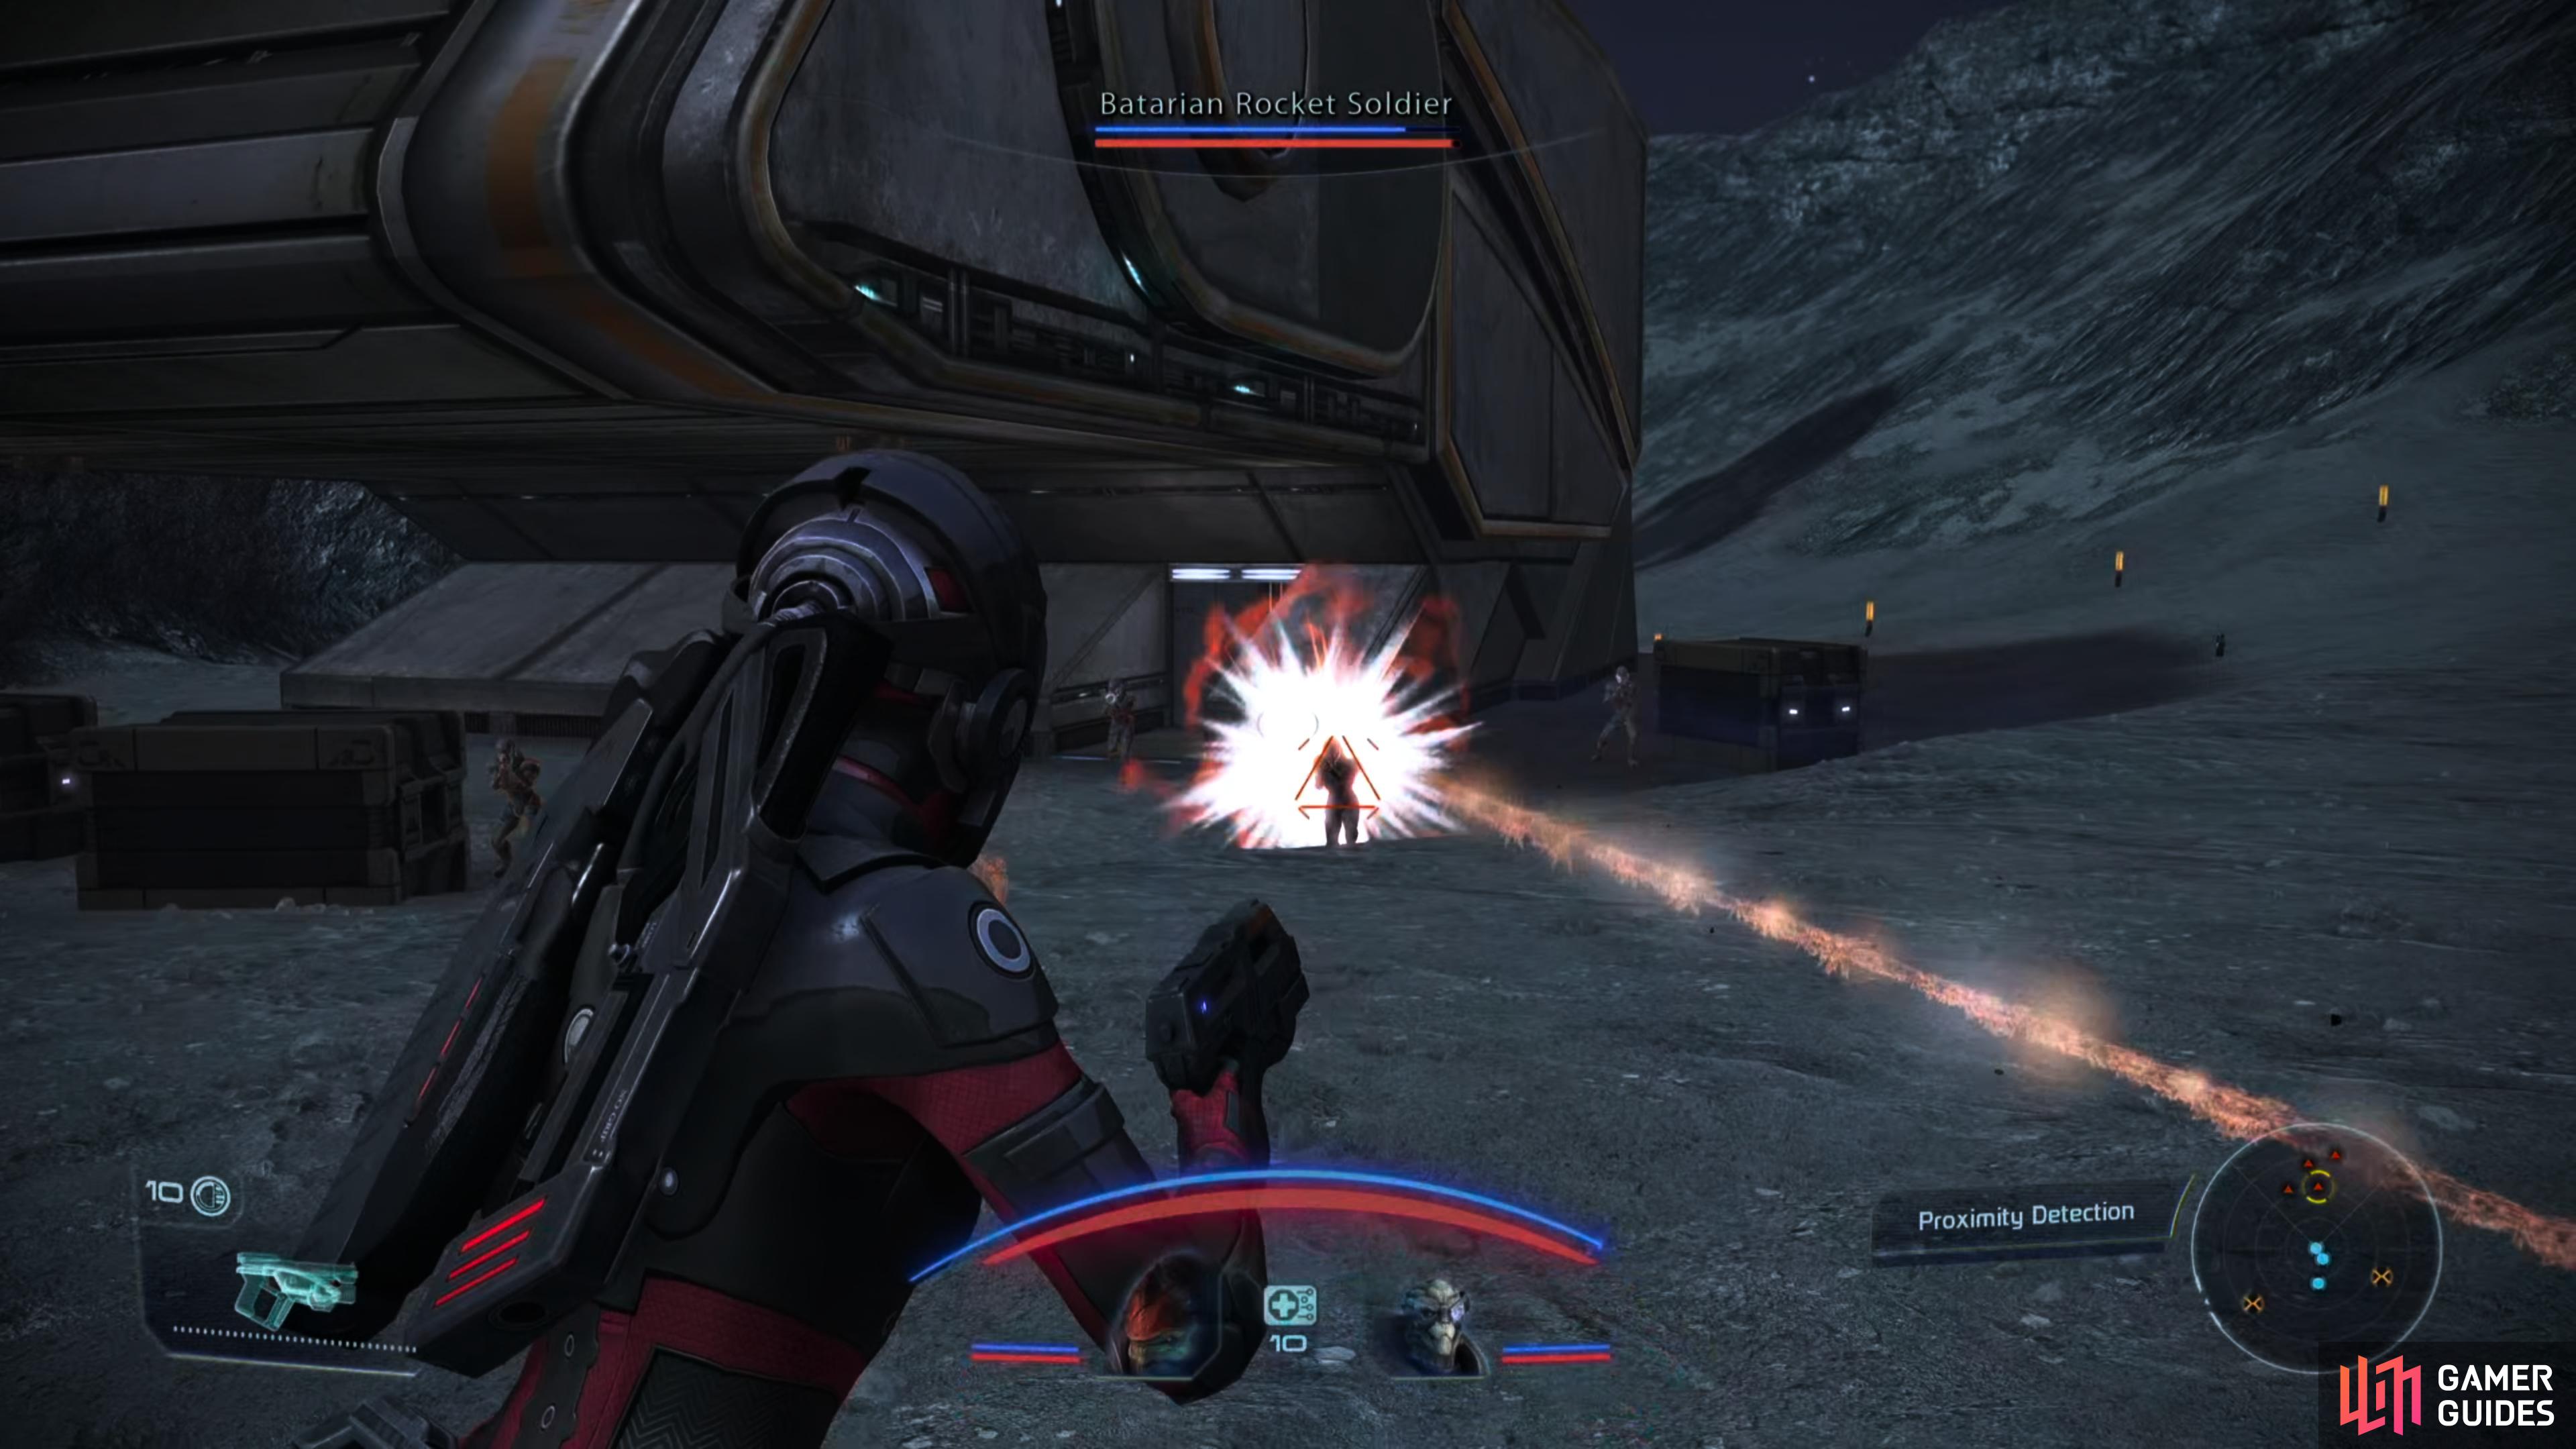
Bypass the blasting caps and you’ll reach the facility, only to be greeted by some Batarian Troopers and Rocket Soldier near the entrance. Gun down the batarians and using the Blasting Cap Controls near the facility entrance to disarm the blasting caps. Huzzah!
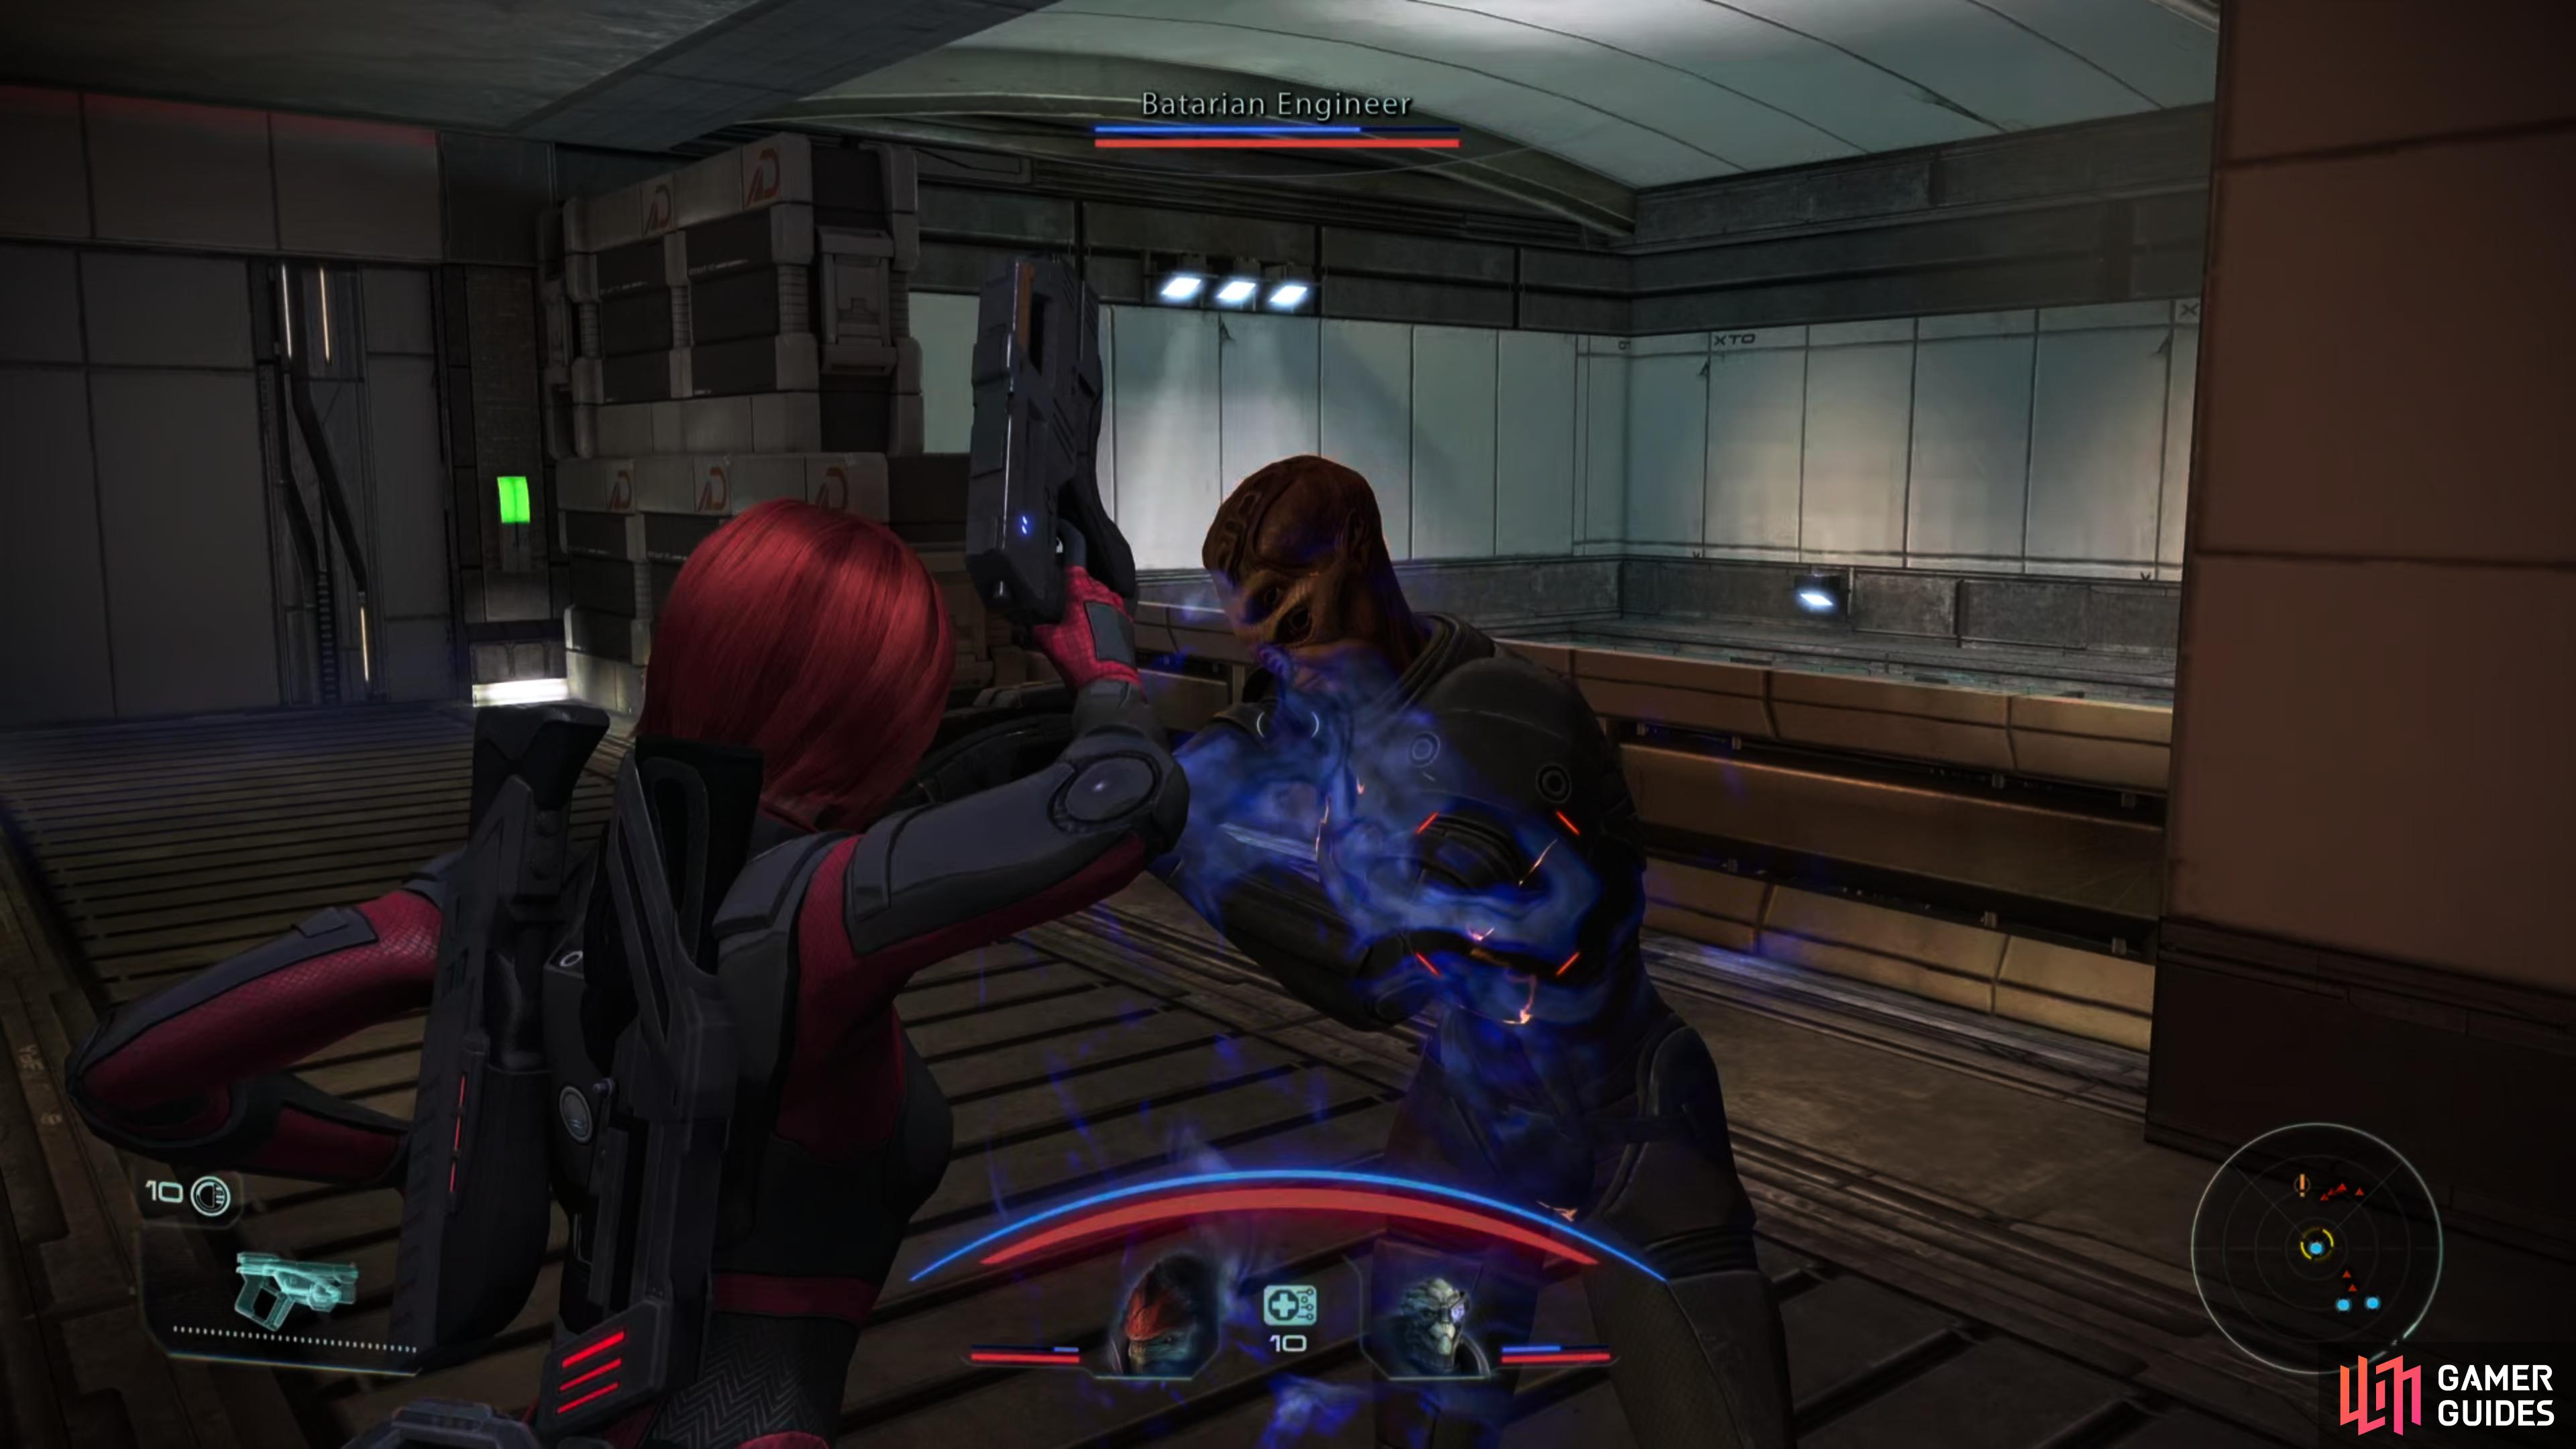
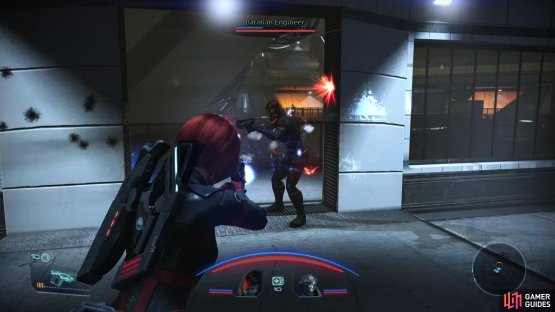
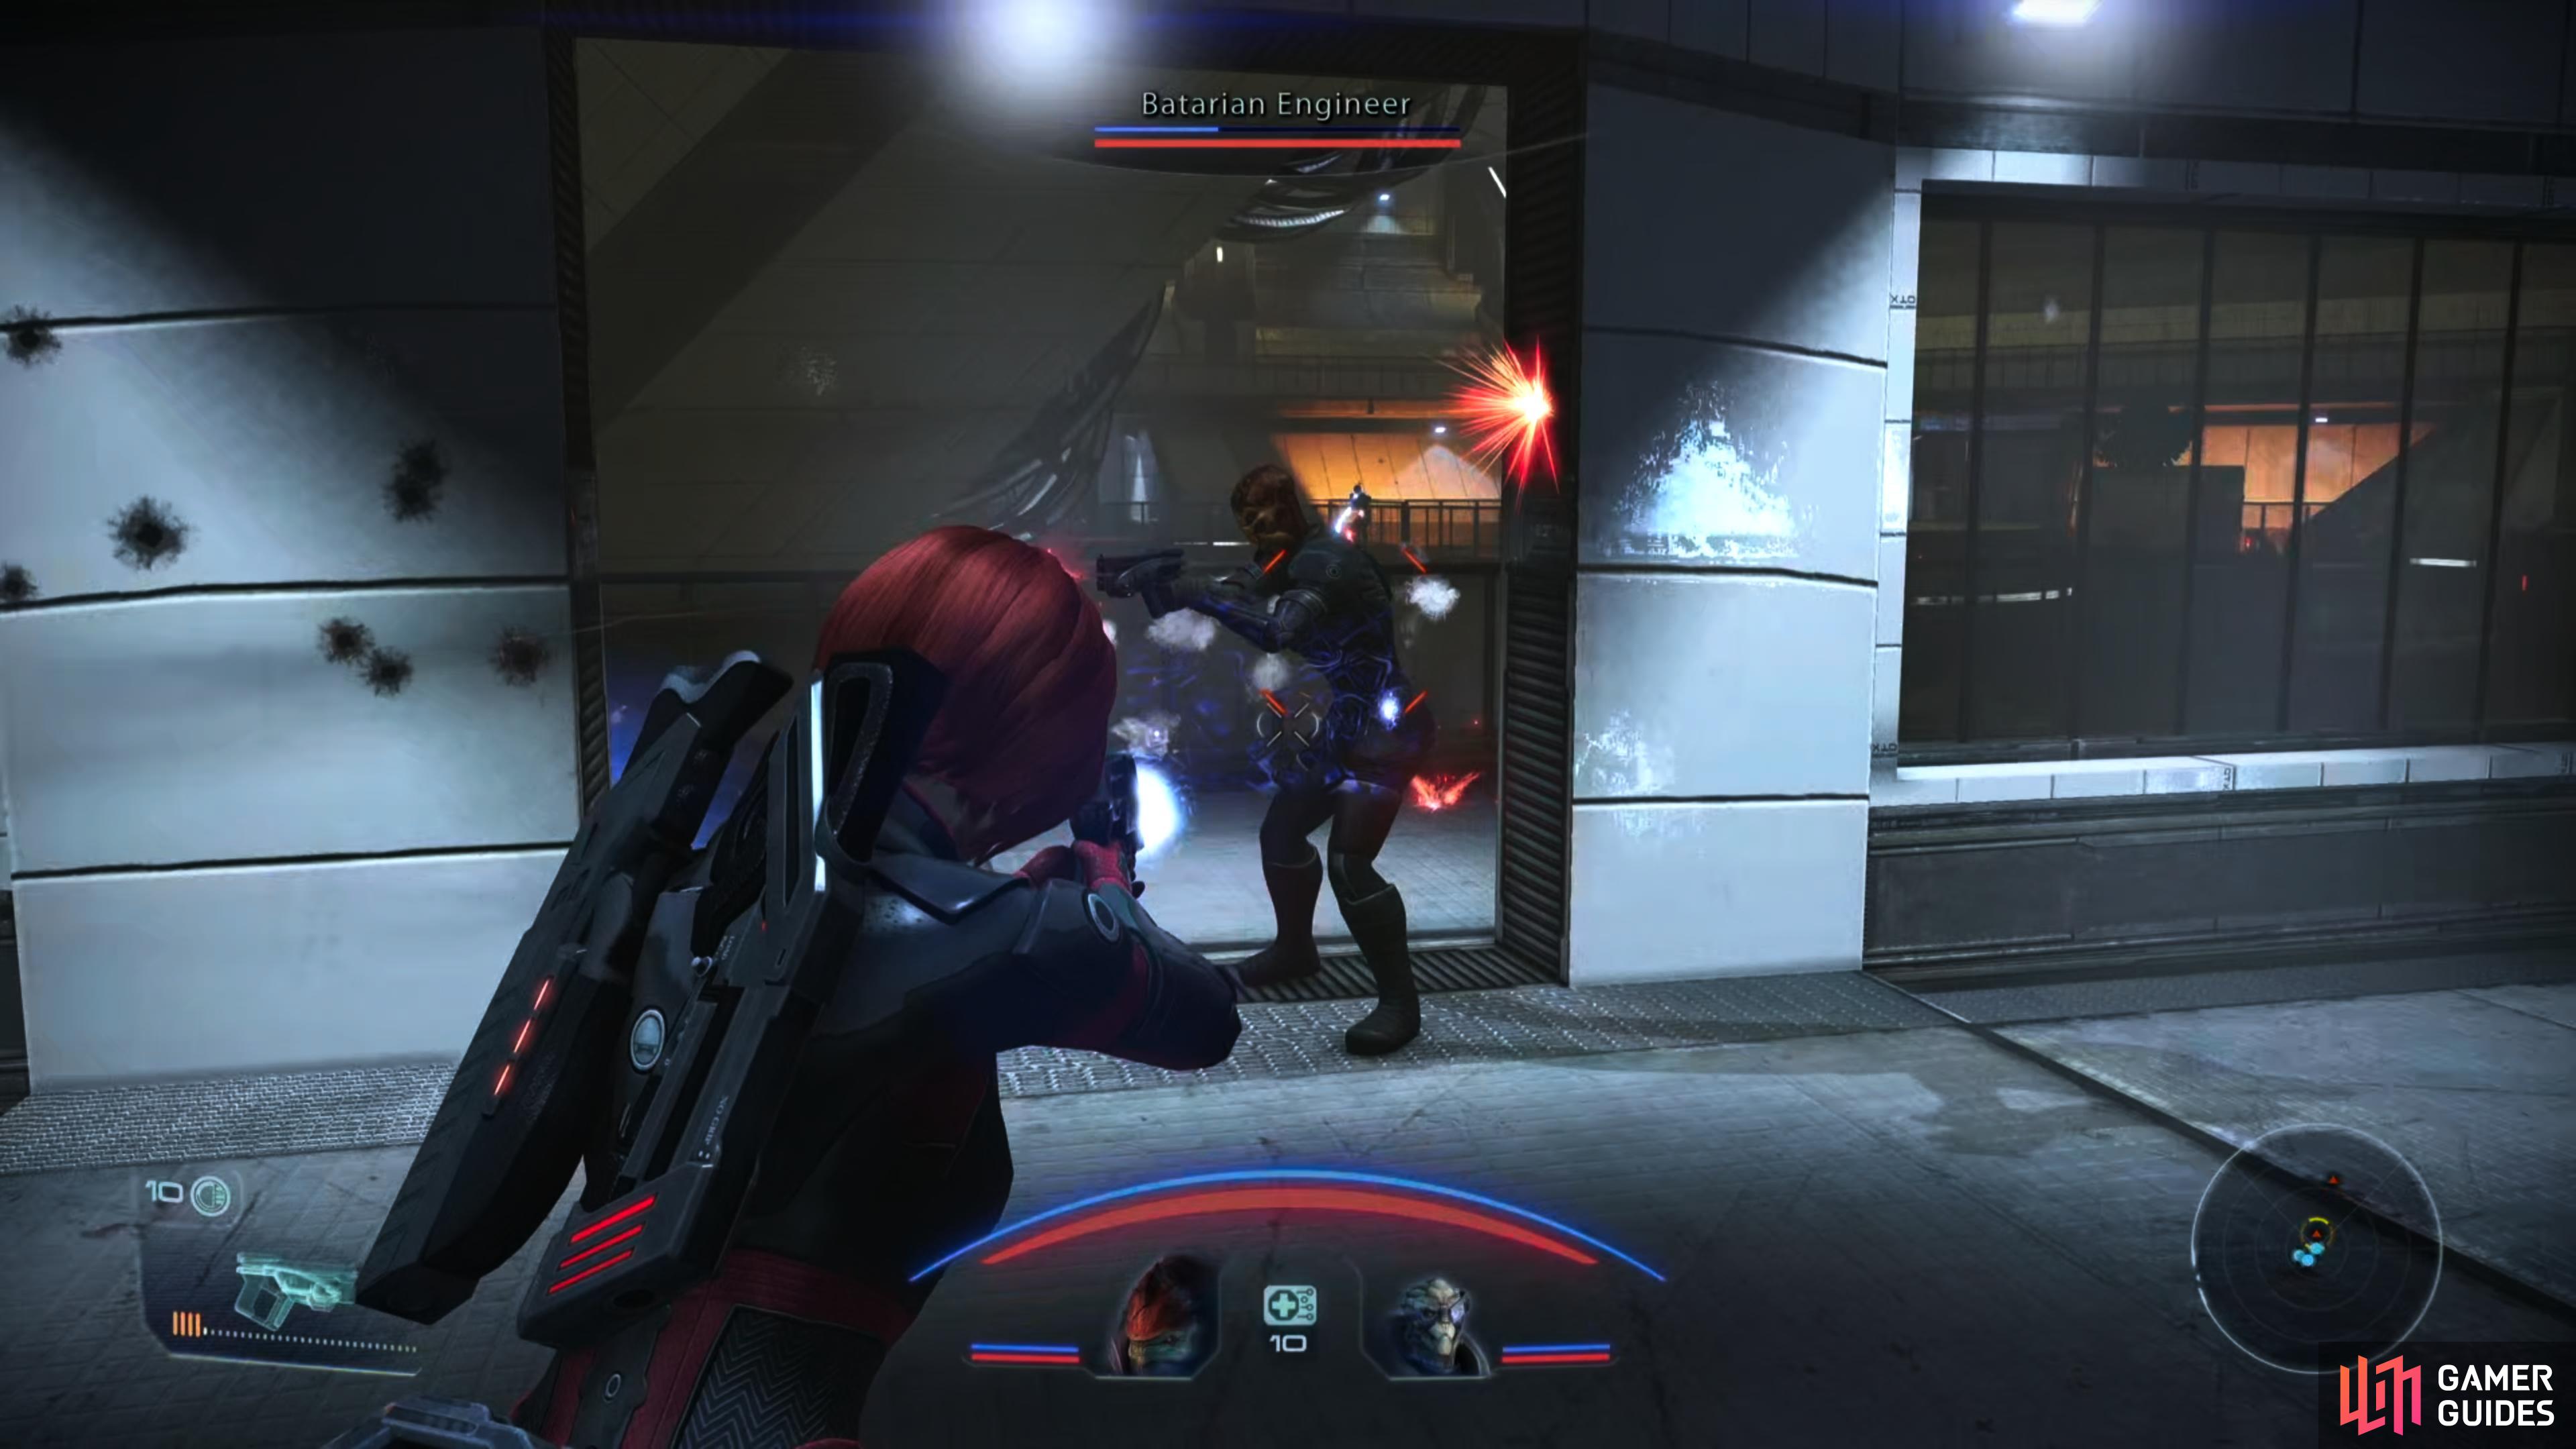
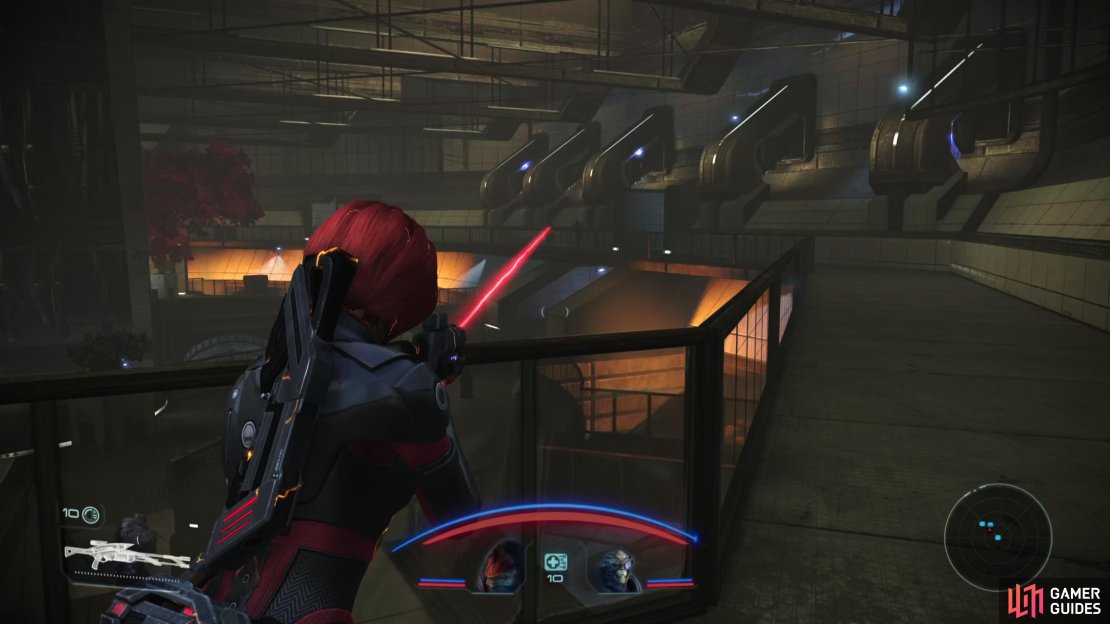
Enter the facility and go through a door to reach the large central chamber, which, of course, is crawling with batarians. Numerous foes await ahead, but the real nuisance here is the Batarian Engineer and his host of Recon Drones on the balcony to the left. The Engineer will use abilities like Damping and Sabotage on you, while the drones fly about and generally make a nuisance of themselves.
There’s also crates in the way, which form a barrier that’ll largely restrict you to two courses of action: seek cover near the crates to the left, or ascend some stairs to reach the top of a crate and fight the enemies (largely to the north) in the large main chamber. The latter approach will give you a better vantage, but also leave you vulnerable to attacks from the enemies to the left (the Engineer and Drones) while the former will hinder your offense as much as it provides safety.
Using biotics and/or sniper rifles to punish foes who make themselves visible is a fair compromise, as it’ll allow you to draw them out of cover for longer and deal heavy damage quickly. Picking foes off this way might be tedious, but it’s safe and reliable. If the Drones get too annoying, debilitate them with Sabotage and pick them off. Once the main chamber is clear, head upstairs and punish the Engineer for harassing you.
When the batarians are dead, loot a Crate in the main chamber and a Storage Locker [Easy] in the back room on the ground floor. Upstairs you’ll find a Secure Crate [Average] and a Medical Kit on the balcony. The Torch Control Console is in a backroom, upstairs. After you deactivate it, you’ll get another scene with Kate, who makes some new friends and loses an old one.
(1 of 2) As usual, destroy the turrets outside of Facility 3,

As usual, destroy the turrets outside of Facility 3, (left), then clear the interior. (right)
Fusion Torch Facility 3
The third fusion torch facility lies a short distance to the northwest of the second one, so drive up there with the Mako (you’ll have to ascend some high ground to get there, so your drive won’t be as straight-forward as last time) and duel the Heavy Turrets outside.
When the way is clear, enter the facility and head into the large central chamber, where you’ll immediately find yourself under fire. This chamber is split into two halves by various sections of wall and set piece electronics, offering plenty of cover and an avenue down which an enterprising sniper can terrorize their foes. The only complication are the several varren that’ll make their way towards you, but the length of the run and their relative squishiness makes it unlikely you seriously need to worry about them reaching you.
Pick off the varren and the several batarians that lurk behind cover down the first lane, then make your way to the second half of the chamber and eliminate any straggling batarians. Search the back room on the ground floor for a Grenade Storage Box and a Storage Locker [Easy], then head upstairs to find another back room, which will yield a Secure Crate [Average] and another Torch Control terminal.
Disable the torch and head downstairs. Given the paltry garrison in this facility, it seems like whatever countermeasures the batarians set in motion to stop you weren’t quite fast enough, but on your way out you’ll be confronted by a batarian named Charn and his squad. If you approach him, he’ll engage in dialog with you, although if you start firing ahead of time, he’ll wisely fight back.
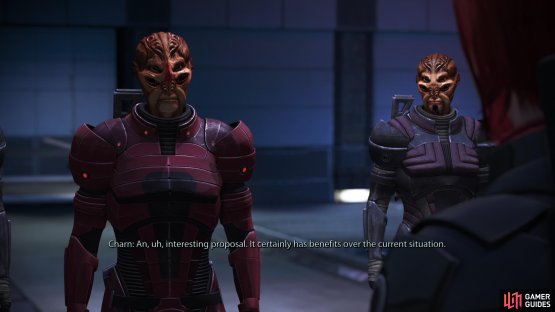
(1 of 2) You can talk your way out of a fight with Charn by picking the Charm or Intimidate option,


You can talk your way out of a fight with Charn by picking the Charm or Intimidate option, (left), or failing that, you can engage in some more violence. (right)
You can always pick a fight later, so hear him out and if you manage to avoid provoking Charn by picking the [Attack him] option during dialog (not very subtle here) you’ll get a Charm/Intimidate option. If you have sufficient ranks in Charm/Intimidate you can talk Charn out of a fight, and whether you go the Paragon or Renegade route you’ll earn Paragon +8. Weird.
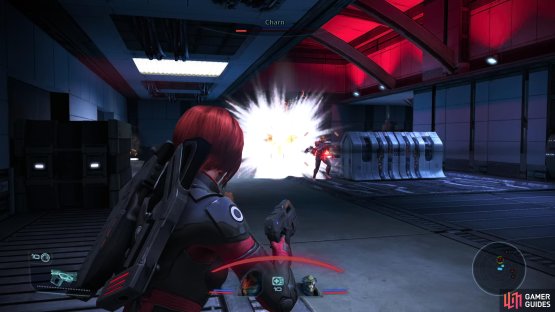
If you end up fighting Charn, he’ll be joined by some varren and Batarian Troopers. None of them are terribly dangerous, especially if you hinder them with Damping and Sabotage. More reinforcements will show up during the fight, however, and these are far more dangerous than Charn and his starting squad. Fortunately the barriers dividing the main chamber will keep most of them out of the fight, or at the very least delaying them significantly, although a few varren and the odd Batarian Trooper may manage to join Charn.
Deal with Charn quickly, then work your way around to the other half of the room, where the most powerful batarians await. These include more Troopers, some Engineers, Snipers and a Shock Trooper. The Engineers are fond of using Damping and Sabotage (turnabout is fair play) while Shock Trooper will use Warp. On their own, none of them are that dangerous, but if you have an Engineer debuffing you while a Sniper takes potshots at you, it could get troublesome. At least, compared to the rest of the foes you’ve fought thus far. Countersniping works well, especially if you’re willing to able to isolate foes with biotics.
When you’re either talked or fought your way through Charn and his minions, leave the facility. The fourth and final fusion torch facility can be found to the northeast, but before you go there, you might as well clear off the remaining map markers.

(1 of 2) Scrap some drones near Survey Station 2,

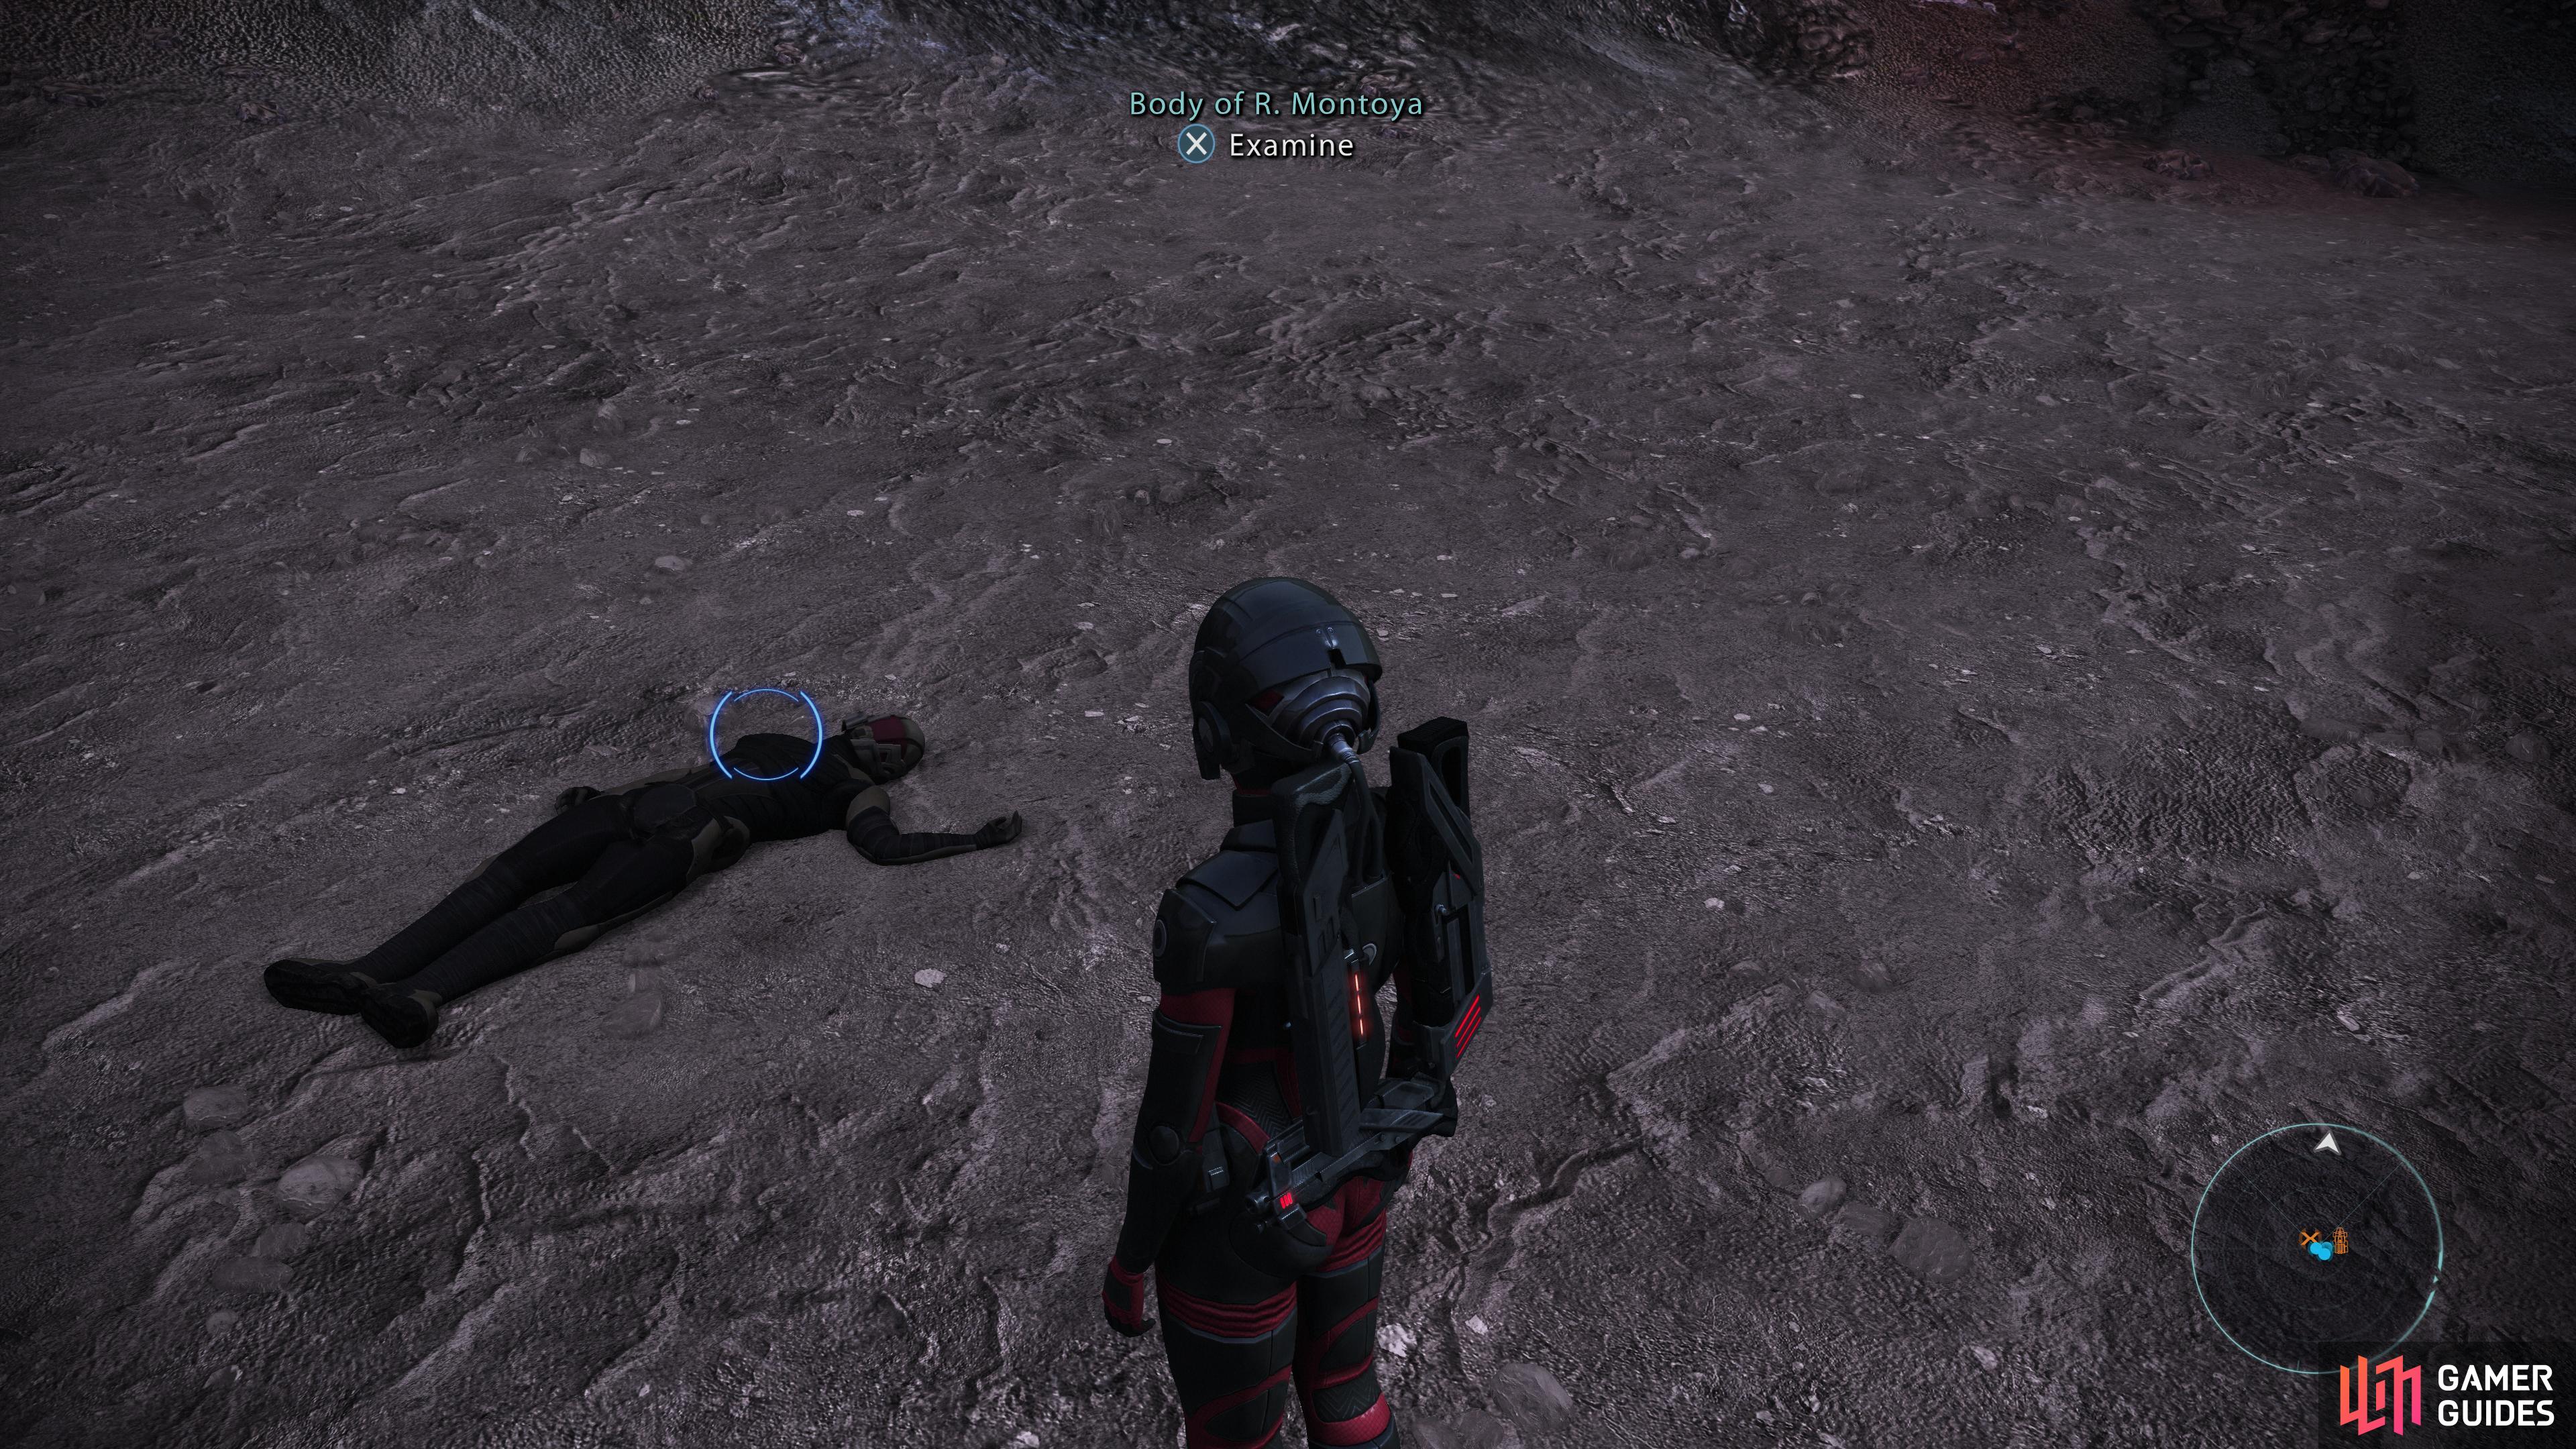
Scrap some drones near Survey Station 2, (left), then make your way east to find the body of R. Montoya. (right)
Survey Station 2
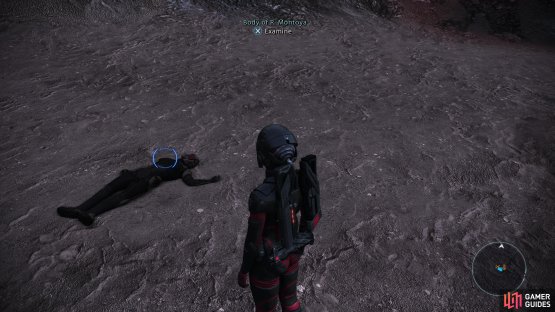
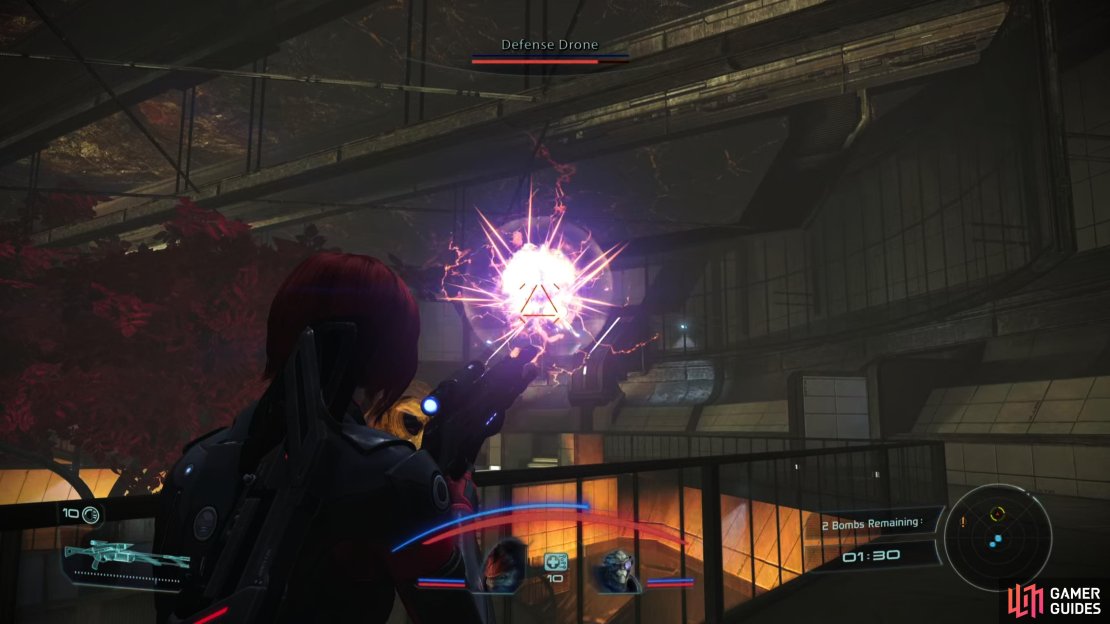
Survey Station 2 can be found in the northwestern corner of the map. Search the shack there to find a Hardened Crate [Hard] and an Aid Station, then hit the Station Logs to find that the engineer here - R. Montoya - was a little more proactive than the other two. This isn’t necessarily a good thing, as three Defense Drones will swoop down and attack after you’re done with the logs.
After you dispatch the turrets (remember, Sabotage will render them temporarily harmless), search just east of the shack to find some footprints, which lead east. Get in the Mako and drive east until you find the body of R. Montoya.
(1 of 2) Search the Construction Site to gain intel on an “Explosives Cache”,
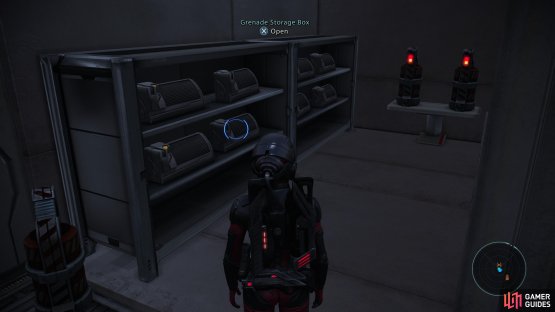
Search the Construction Site to gain intel on an “Explosives Cache”, (left), then head to the aforementioned Explosives Cache to find numerous Grenade Boxes. (right)
Construction Site and Explosives Cache
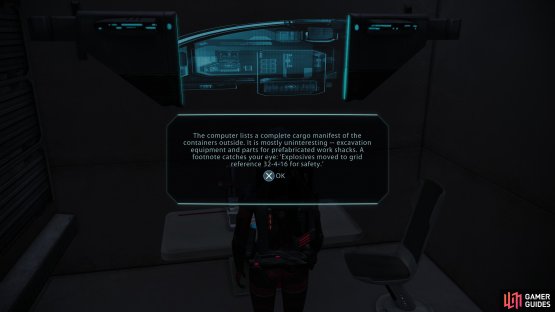
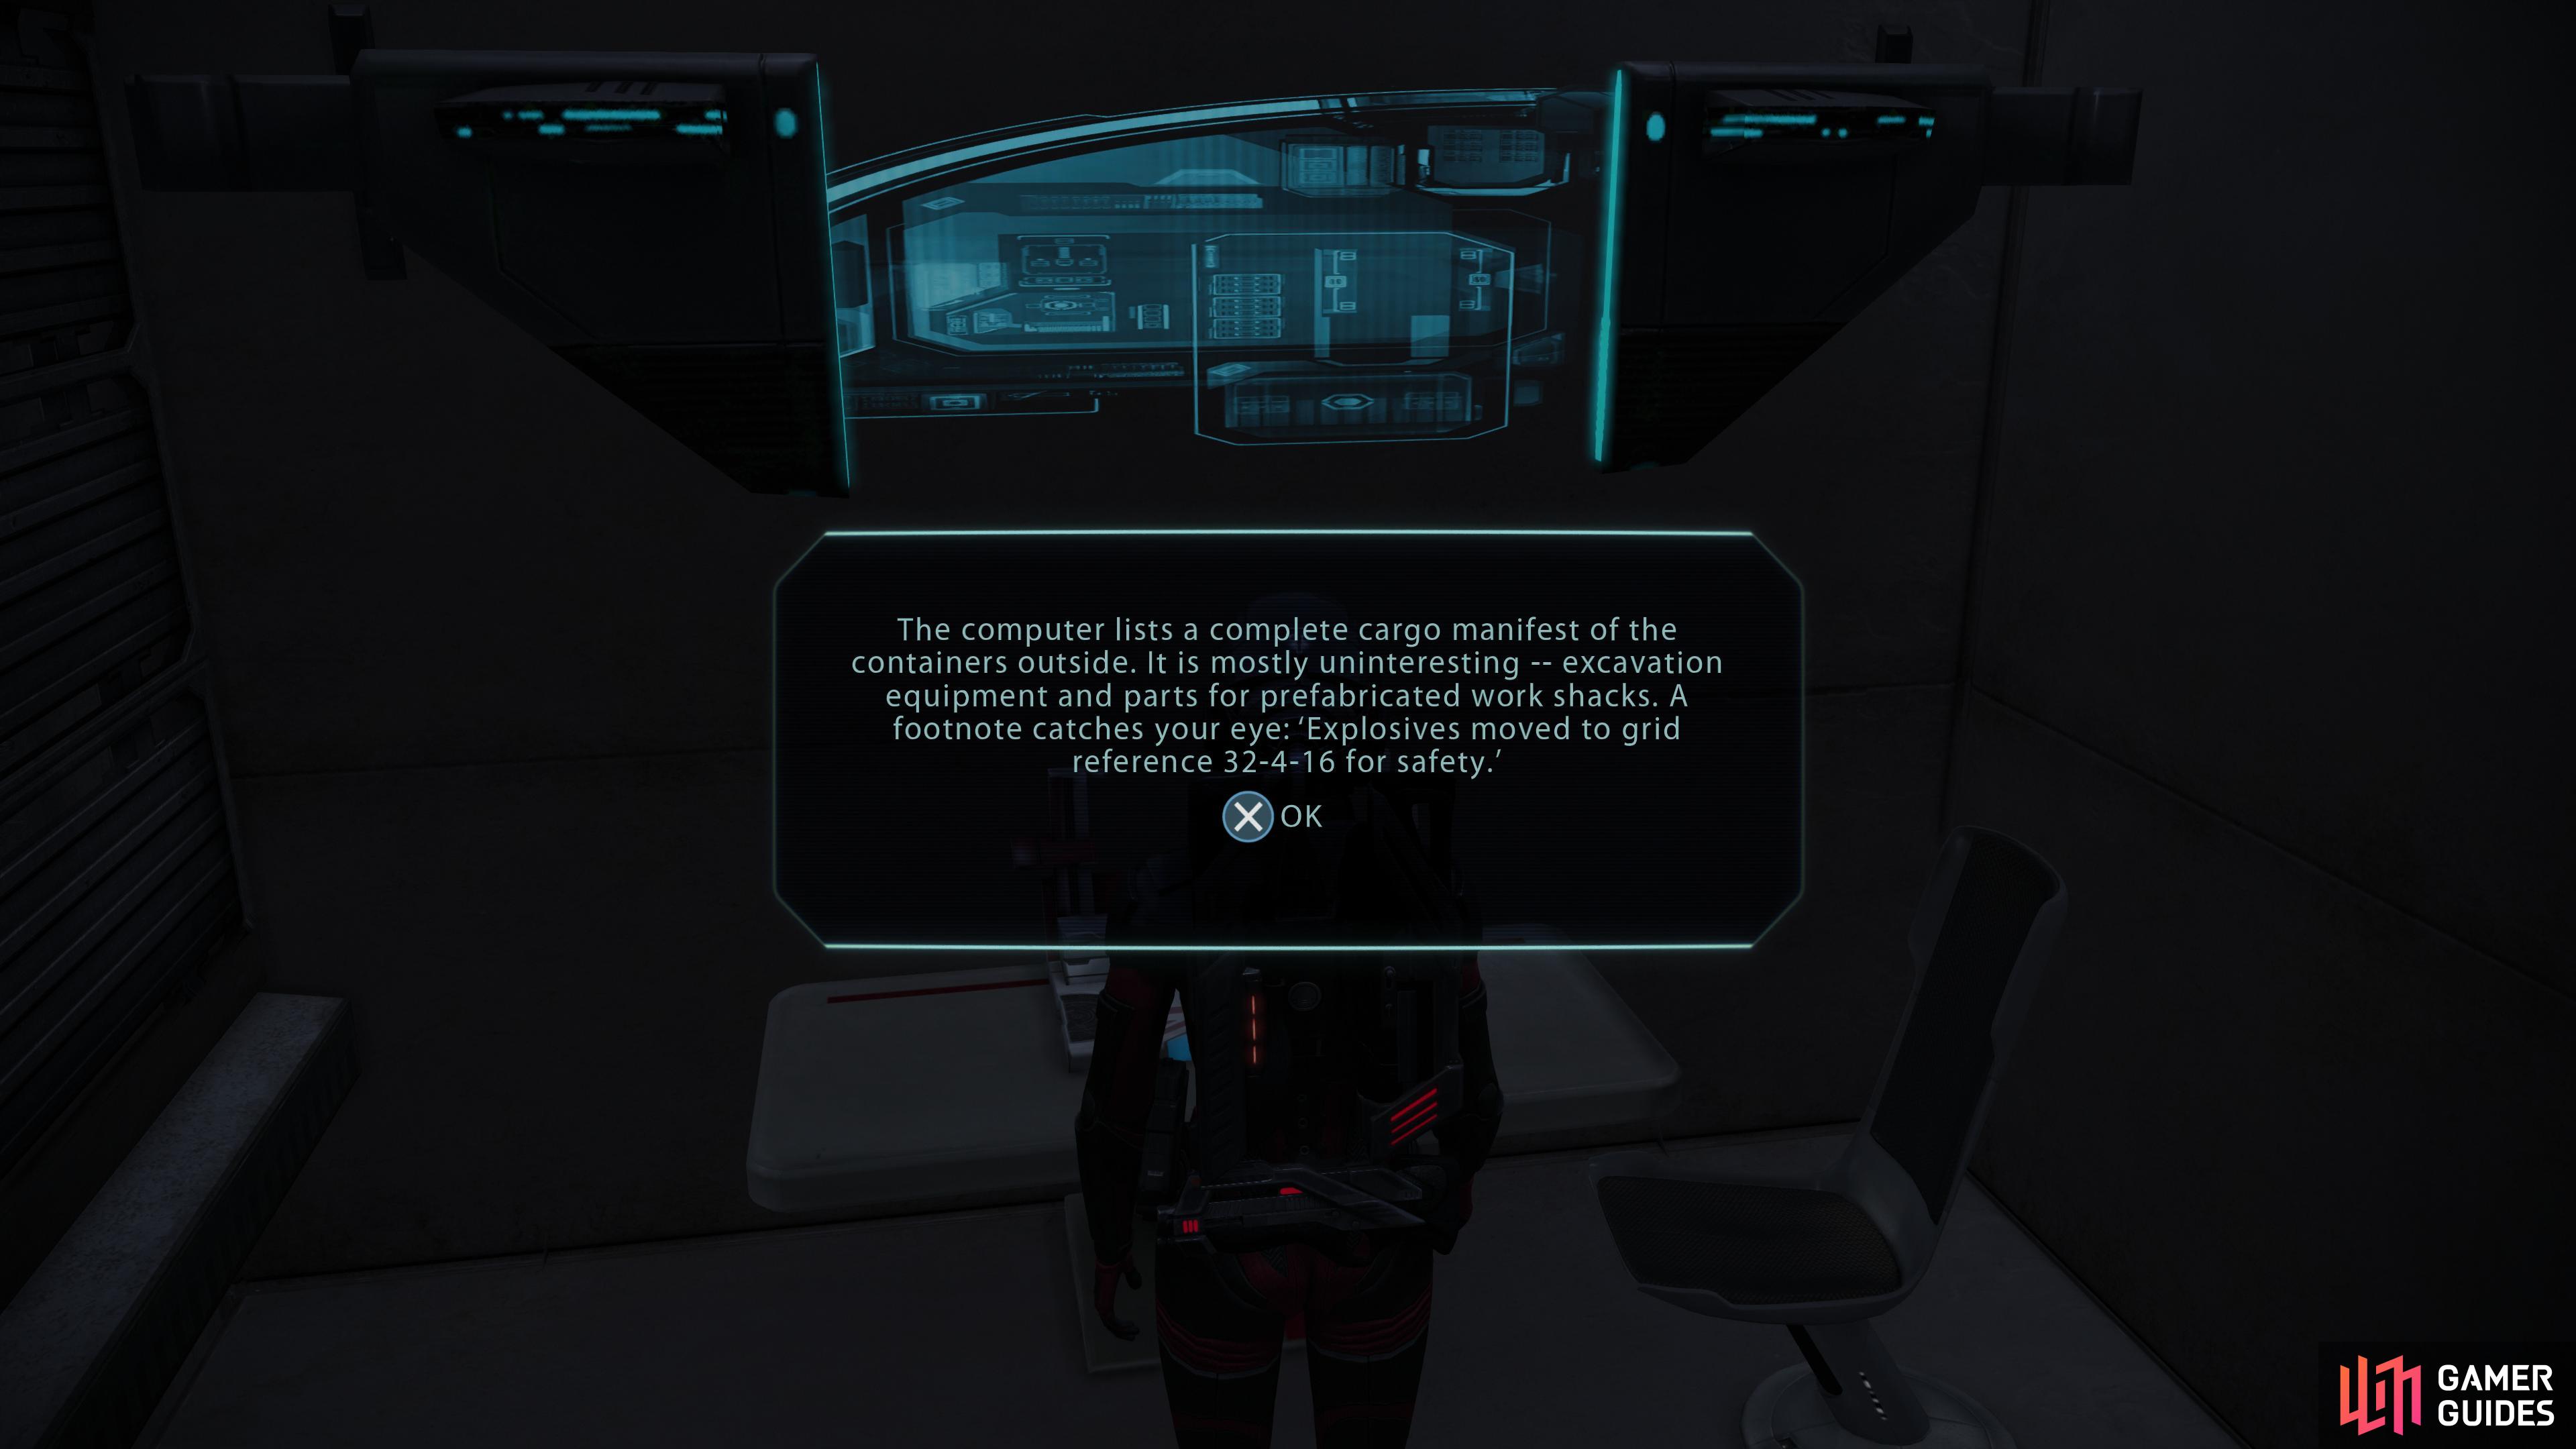
In a valley along the northeastern corner of the map you’ll find a Construction Site, which will remain unmarked until you get close to it. In the shack here you can find an Aid Station along with some Station Logs which will reveal another, more interesting site to the north - the Explosives Cache
Drive the Mako north over mountainous terrain to find the Explosives Caches, a small shack lined with no fewer than eight Grenade Boxes.

(1 of 2) The external defenses of the main facility include moving turrets,

The external defenses of the main facility include moving turrets, (left), while the interior is crawling with batarians - enough to be a threat, if you don’t bottleneck them. (right)
Main Facility
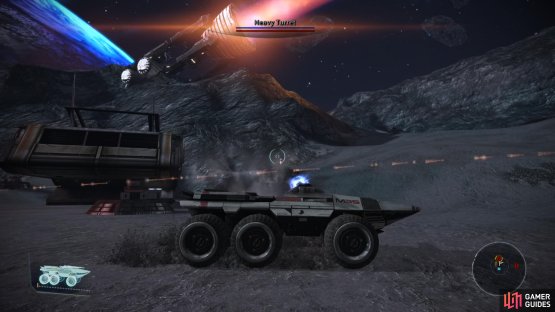
With everything else accomplished on Asteroid X57, drive to the Main Facility in the north-center of the map. As usual, you’ll find numerous Heavy Turrets guarding this facility, save that some of them are on rails! Their mobility doesn’t really make them any more dangerous, just a bit more tedious. Destroy them, then enter the facility.
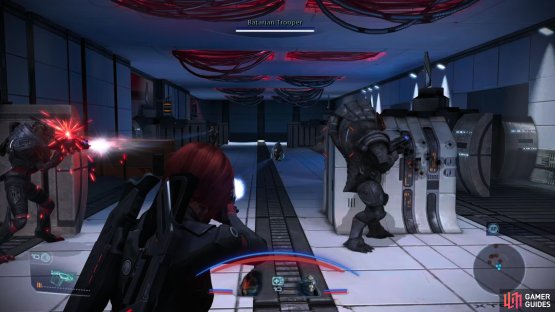
Go through a door and turn left to find a Grenade Storage Box then head upstairs to find yourself in another large fire fight. Your opponents here include pretty much everything you’ve seen on this assignment so far: Engineers, Shock Troopers, Troopers and Defense Drones. Many of these enemies will simply spawn in, making this a hectic battle, and there’s no reason why you shouldn’t use the entrance stairs as a safe haven for when things get too heated. Some enemies are also more aggressive than they are capable, and the long stairway will make them easy pickings, should they choose to charge down them.
Alternatively you can try to sneak into a room to the west (marked on your map as a “Prison Cell”. It’ll take some fighting to secure it, but it’s nearly as defensible as the northern staircase and your presence will continuously provoke the batarians into attacking. They have an odd habit of walking right past to in an attempt to seize cover within the building, which makes them easy pickings.
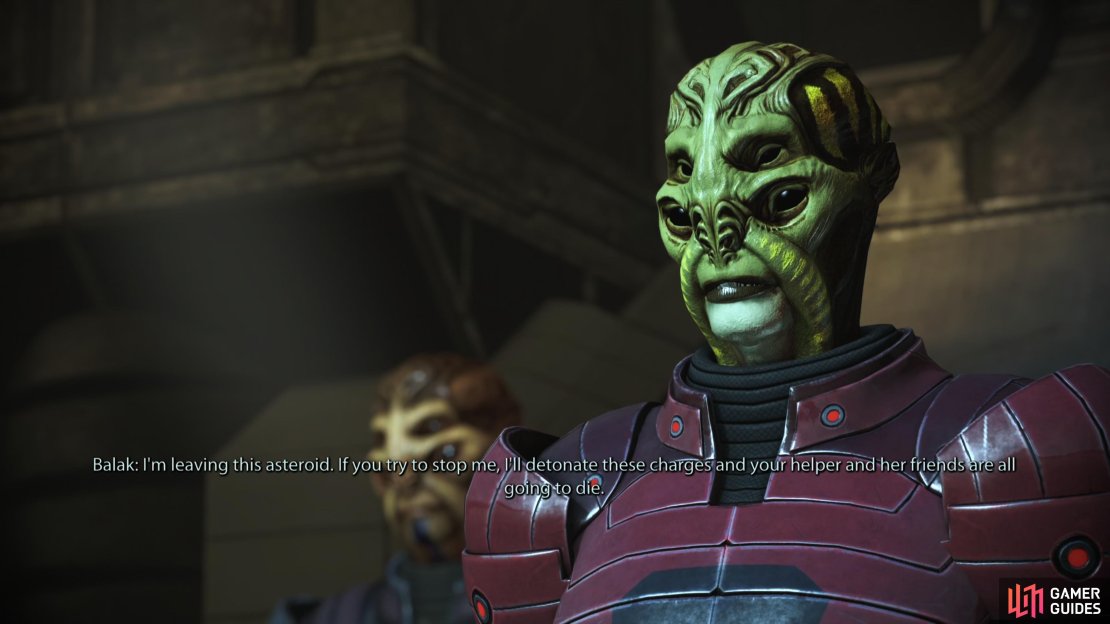
However you manage it, once the batarians are dead you’ll find yourself in a confrontation with Balak. He’ll ultimately leave you with two choices, [Attack him] to start a fight and bring the batarian to justice at the expense of his captives, or [Let him go to save hostages] which… does what it says.
(1 of 4) When you confront Balak, you’ll be presented with a choice: chase down Balak, or stand down and rescue the hostages.
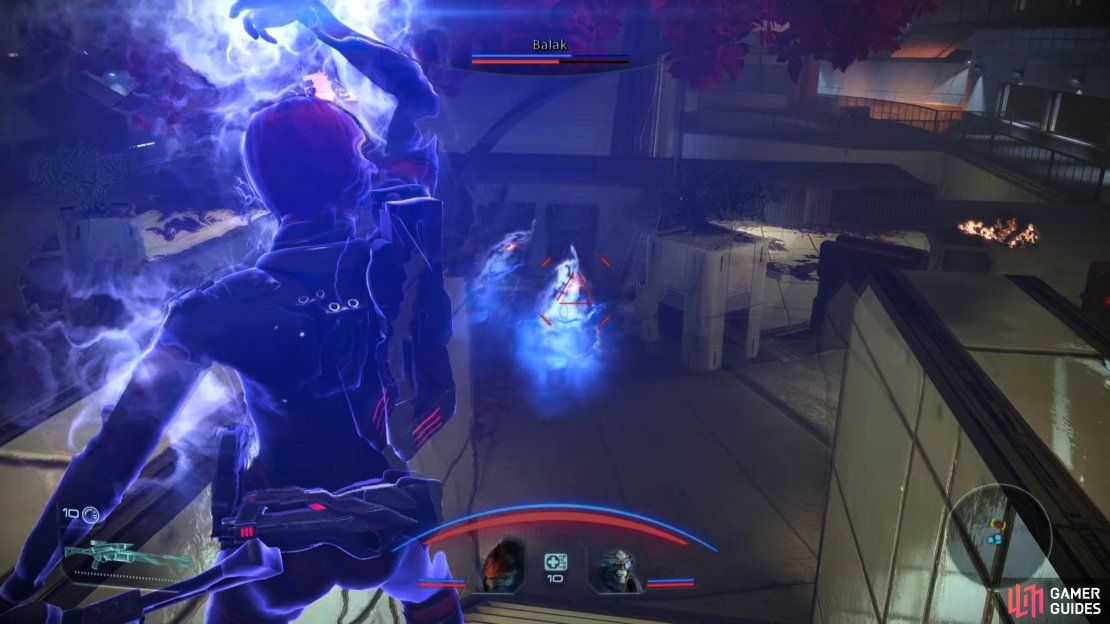
Boss: Balak
If you pick a fight with Balak, he’ll keep his word and kill the hostages, earning you Renegade +25 in the process. As for the fight itself, Balak will erect an energy barrier, which mostly just serves to buy him enough time to flee to the northern end of the map with his Bodyguards, leaving you the trivial task of defeating two varren. Chase him and pick off his Bodyguards and two Defense Drones from afar. Balak himself isn’t much of a threat; he’s an Inflitrator who will use technical abilities like Sabotage to overheat your weapons, as well as take potshots at you with his sniper rifle as he retreats. He lacks much in the way of defense, however and a simple Lift should suffice to render him helpless.
After the fight Balak will babble on about some great race war between batarians and humans, a speech you can interrupt at various points with increasingly aggressive gunfire (or end entirely by killing Balak). If he survives the conversation until they end, you’ll get the option to kill him (quickly or slowly) or turn him over to the Alliance. Honestly, having to live in human custody might be the worst outcome for Balak.
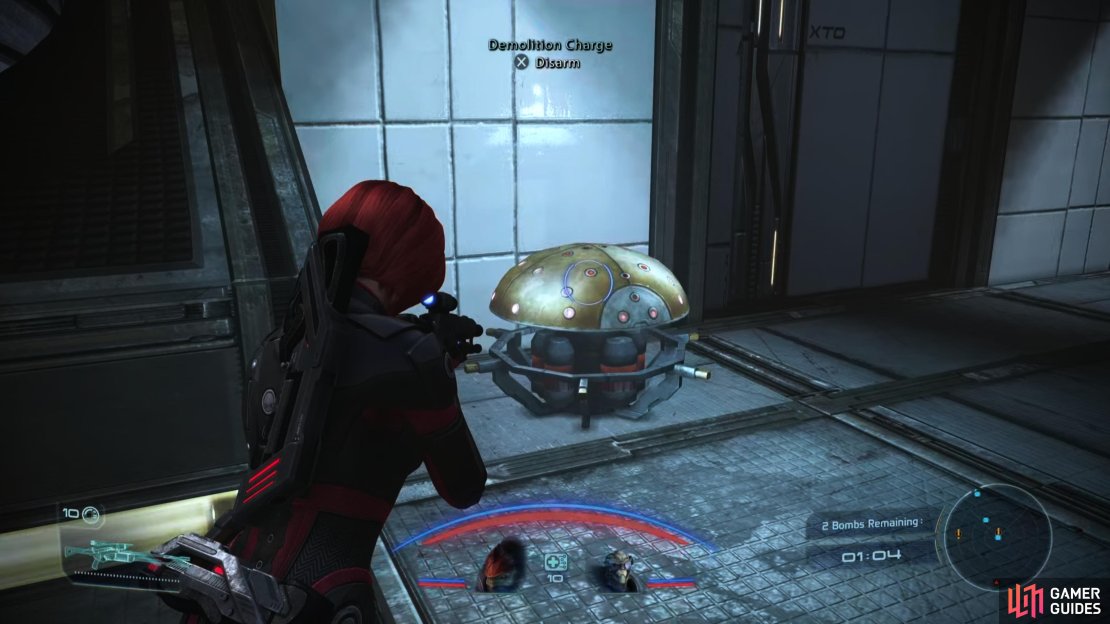

(1 of 3) If you let Balak escape, seek out the bombs he placed. You’ll find one along the eastern balcony,
Save the Hostages
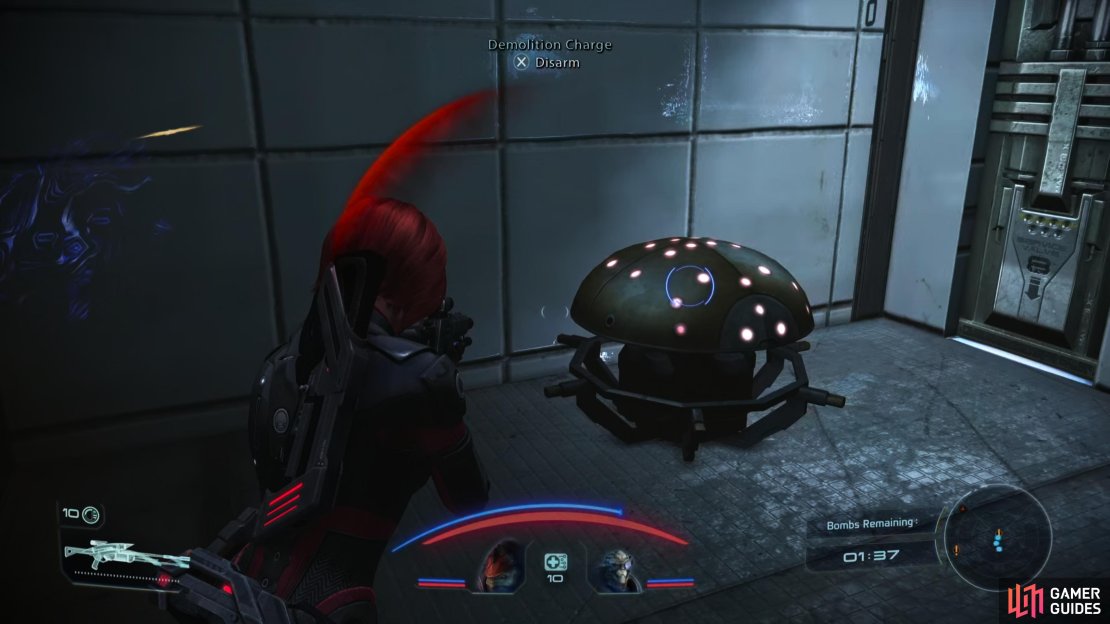
If you choose to let Balak go, you’ll gain Paragon +24 and you’ll avoid a fight… for the most part. But Balak’s not trusting his escape to your goodwill - he’s got three bombs scattered throughout the building on a timer, and you’ll need to disarm them within the 2:00 allotted to the task.
This turns out to be plenty of time, even with the odd Defense Drone Balak left behind to keep things interesting. The locations of the drones are as follows:
-
Along the southern end of the map, near where you confront Balak. Head up the stairs to the south, turn left, work your way around the upper balcony counterclockwise to reach the eastern end of the main facility, where you’ll find a bomb in an alcove.
-
On the ground floor of the main facility, down some stairs in the center of the room. You’ll find the bomb near a sealed door.
-
In the “Prison Cell” room on the western end of the map. Enter this room and head upstairs to reach the “Medical” room. This bomb is to the north, near some medical beds.

After dealing with Balak - one way or another - you’ll get a choice of rewards from Simon.
Simon’s Reward
Disarm the bombs in time or defeat Balak and make your decision regarding his future, after which Simon will show up. Inform him of the fate of the captives, then he’ll offer you a reward for saving the colony: Quarian Armor, Human Light Armor, Human Medium Armor, Human Heavy Armor or, if you can pass a Charm/Intimidate check, his Omni-Tool. If you pick armor, you’ll get a leveled version of Colossus Armor - arguably the best armor in the game. If you pick the Omni-Tool, he’ll fork over a Savant model - also the best the galaxy has to offer.
Pick whatever loot you wish, then leave - you’re done with Bring Down the Sky! However you resolved matters, you’ll earn the Colonial Savior achievement for finishing Bring Down the Sky.


No Comments