
Backtrack to the Mako and start driving back towards Zhu’s Hope. Once you hit the longer, more open stretch of Skyway leading to the Weigh Station you’ll find that the geth have generously decided to deploy more Armatures and Juggernauts. Demolish them for some easy XP, then keep driving until you find a wrecked vehicle on the road, near which is a tunnel containing more geth (the threat markers on your map should give them away). Clear the tunnels and loot a Crate, then keep driving until you pass near the Weigh Station.


(1 of 2) Either succeed at a Charm/Intimidate choice, or Jeong will commit suicide-by-Shepard.
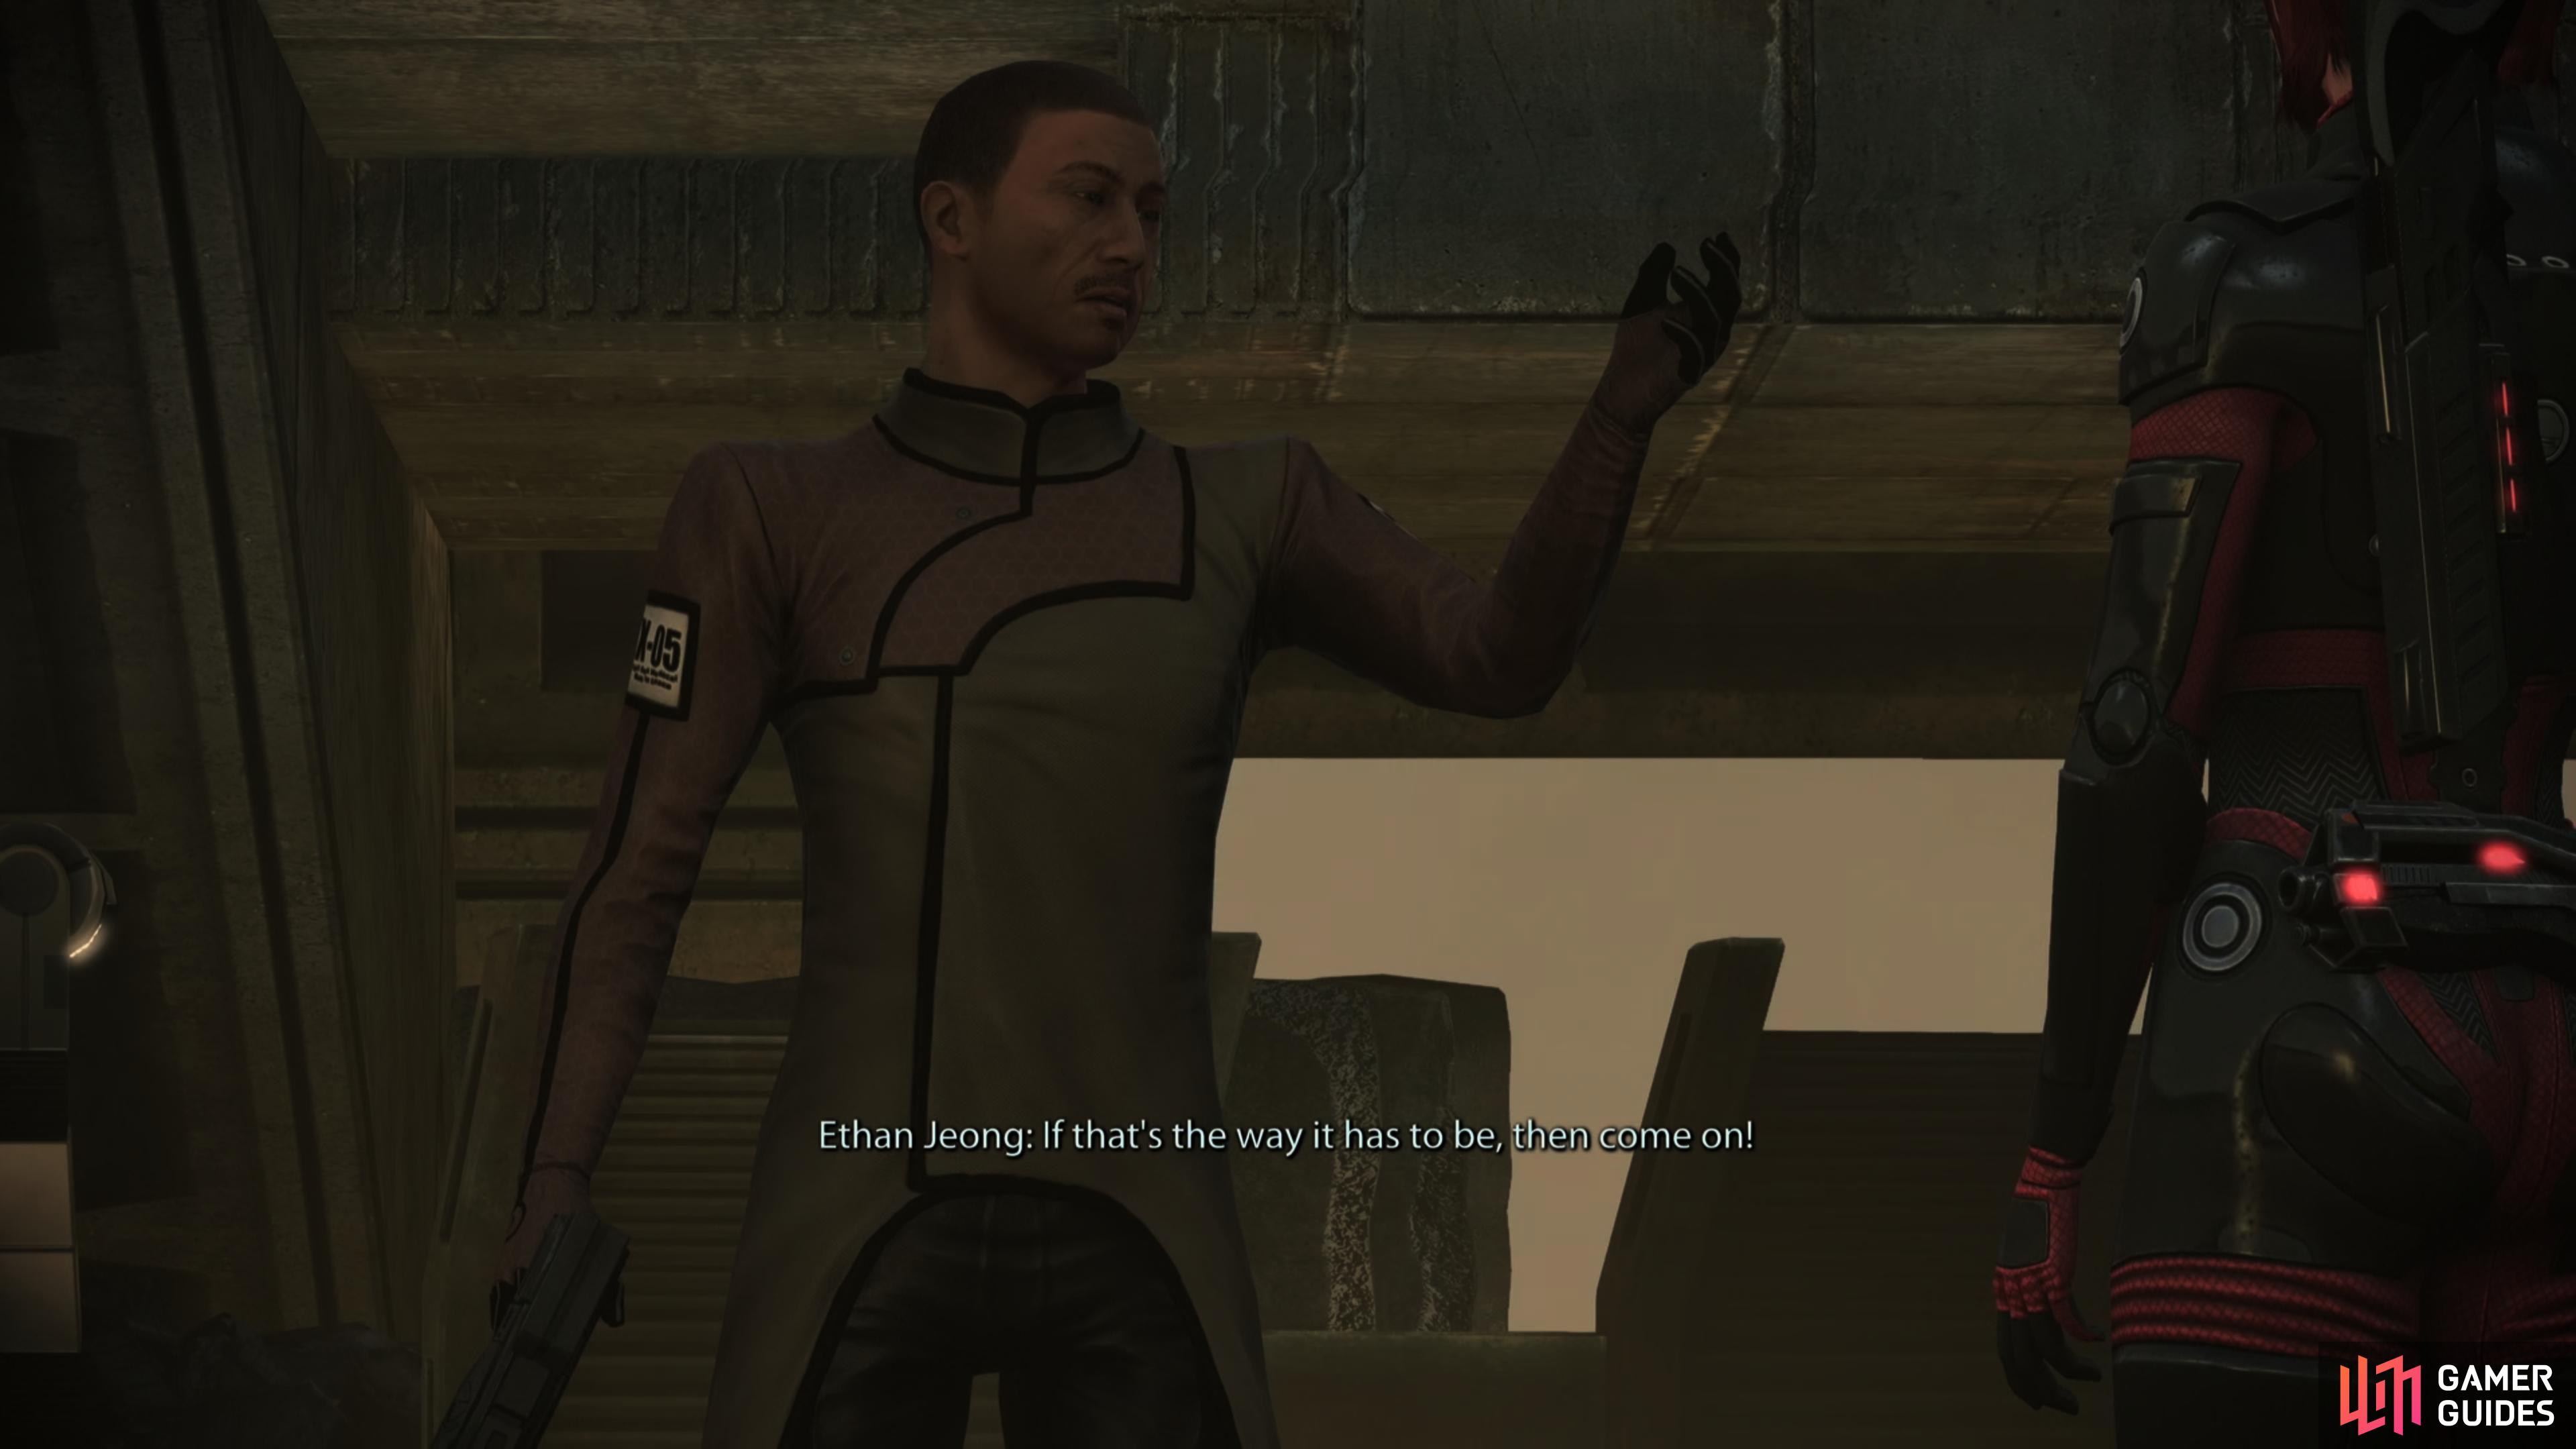

Either succeed at a Charm/Intimidate choice, or Jeong will commit suicide-by-Shepard. (left), After dealing with Jeong, Juliana will offer you a non-lethal solution to the upcoming confrontation with the colonists at Zhu’s Hope. (right)
Feros: Unrest at the Weigh Station
Some chatter will draw your attention, at which Lizbeth will bail to go attend to her mother. Follow her down to the Weigh Station and you’ll find that Jeong is still playing the role of the corporate tool, even if it means committing whatever atrocities ExoGeni orders. The Paragon and Renegade choices here don’t really matter, the only thing that’ll prevent violence is by passing a Charm or Intimidate check. You’ll need a whopping 12 ranks in Charm to pick ”What about the big picture?”, while the Intimidate counterpart, ”I’ll kill you first.”, only requires 10 ranks in Intimidate. You’ll get a whopping Paragon +26 for the former and Renegade +27 for the latter.
| Paragon/Renegade |
|---|
| Paragon +26 or Renegade +27 |
| Charm/Intimidate |
|---|
| If you have 12 ranks in charm Shepard can convince Jeong that there are promotional opportunities in the Feros situation. |
| If you have at least 10 ranks in Intimidate, you can convince Jeong that pissing off the first human Spectre carries with it a significant risk of death-by-gunshot. |
After Jeong has been dealt with - one way or another - you’ll want to chat with Juliana about the colonists. This may happen automatically or you may have to go out of your way to talk to Juliana, depending on how you resolved the dialog with Jeong. She’ll suggest you use some nerve gas (delivered via your grenades) to debilitate rather than kill the colonists at Zhu’s Hope. Agree to use the gas to gain Paragon +2, while if you decline you’ll get Renegade +2. Either way, Juliana will give you the Anti-Thorian Gas grenade mod.
| Paragon/Renegade |
|---|
| Paragon +2 or Renegade +2 |
If you want to save the colonists (or make an attempt, at least), make sure to equip this grenade mod. Every colonist you pacify this way will earn you Paragon +2, while every colonist you kill will earn you Renegade +2. Not a bad way to boost your Paragon/Renegade points, either way, but if you care about the long-term implications of your actions, check out the page regarding this choice.
Whatever you intend to do, talk to Gavin Hossle and give him his data (assuming you recovered it) to close up his assignment, then get back in the Mako and continue driving to Zhu’s Hope. You’ll get the opportunity to absorb more easy XP from some geth Juggernauts and Armatures on the next stretch of Skyway, but this is hardly an inconvenience.
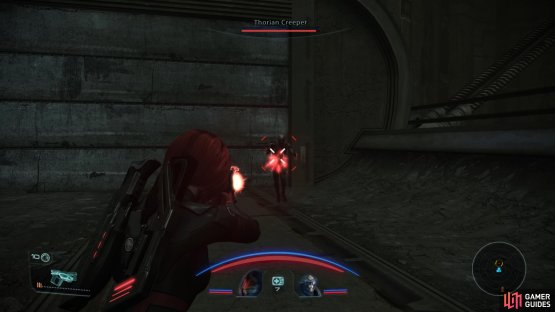
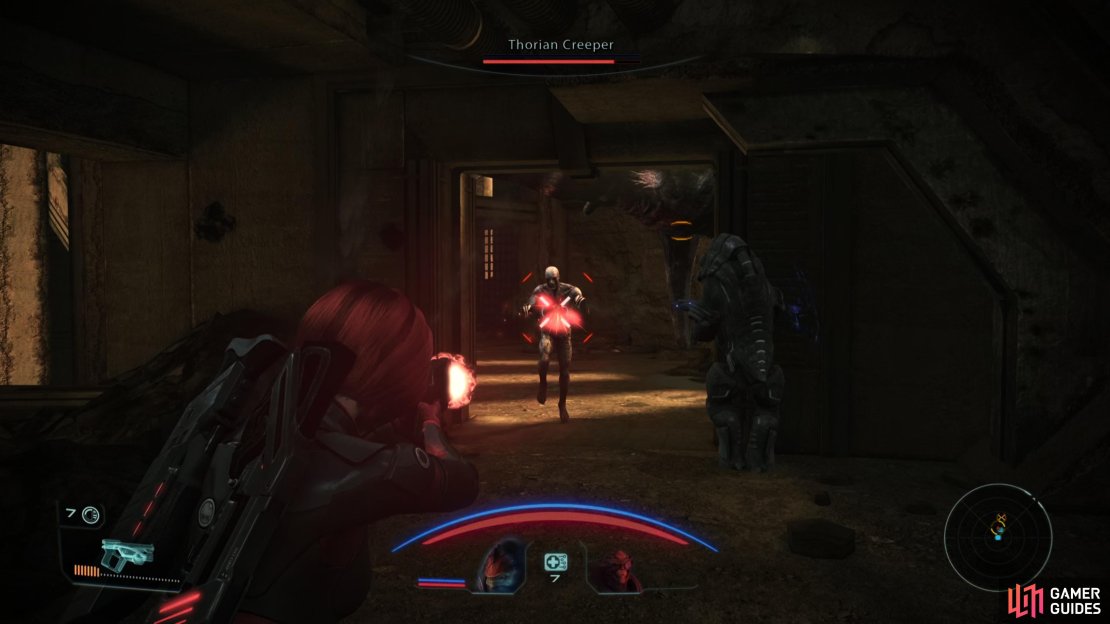
(1 of 2) As you approach the structure housing the elevator to Zhu’s Hope you’ll encounter a Creeper.

As you approach the structure housing the elevator to Zhu’s Hope you’ll encounter a Creeper. (left), After the fight, give orders to your companions regarding the colonists. (right)
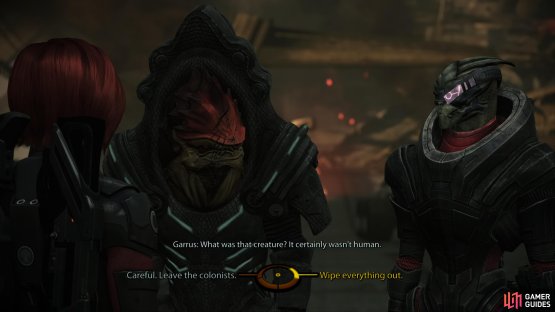
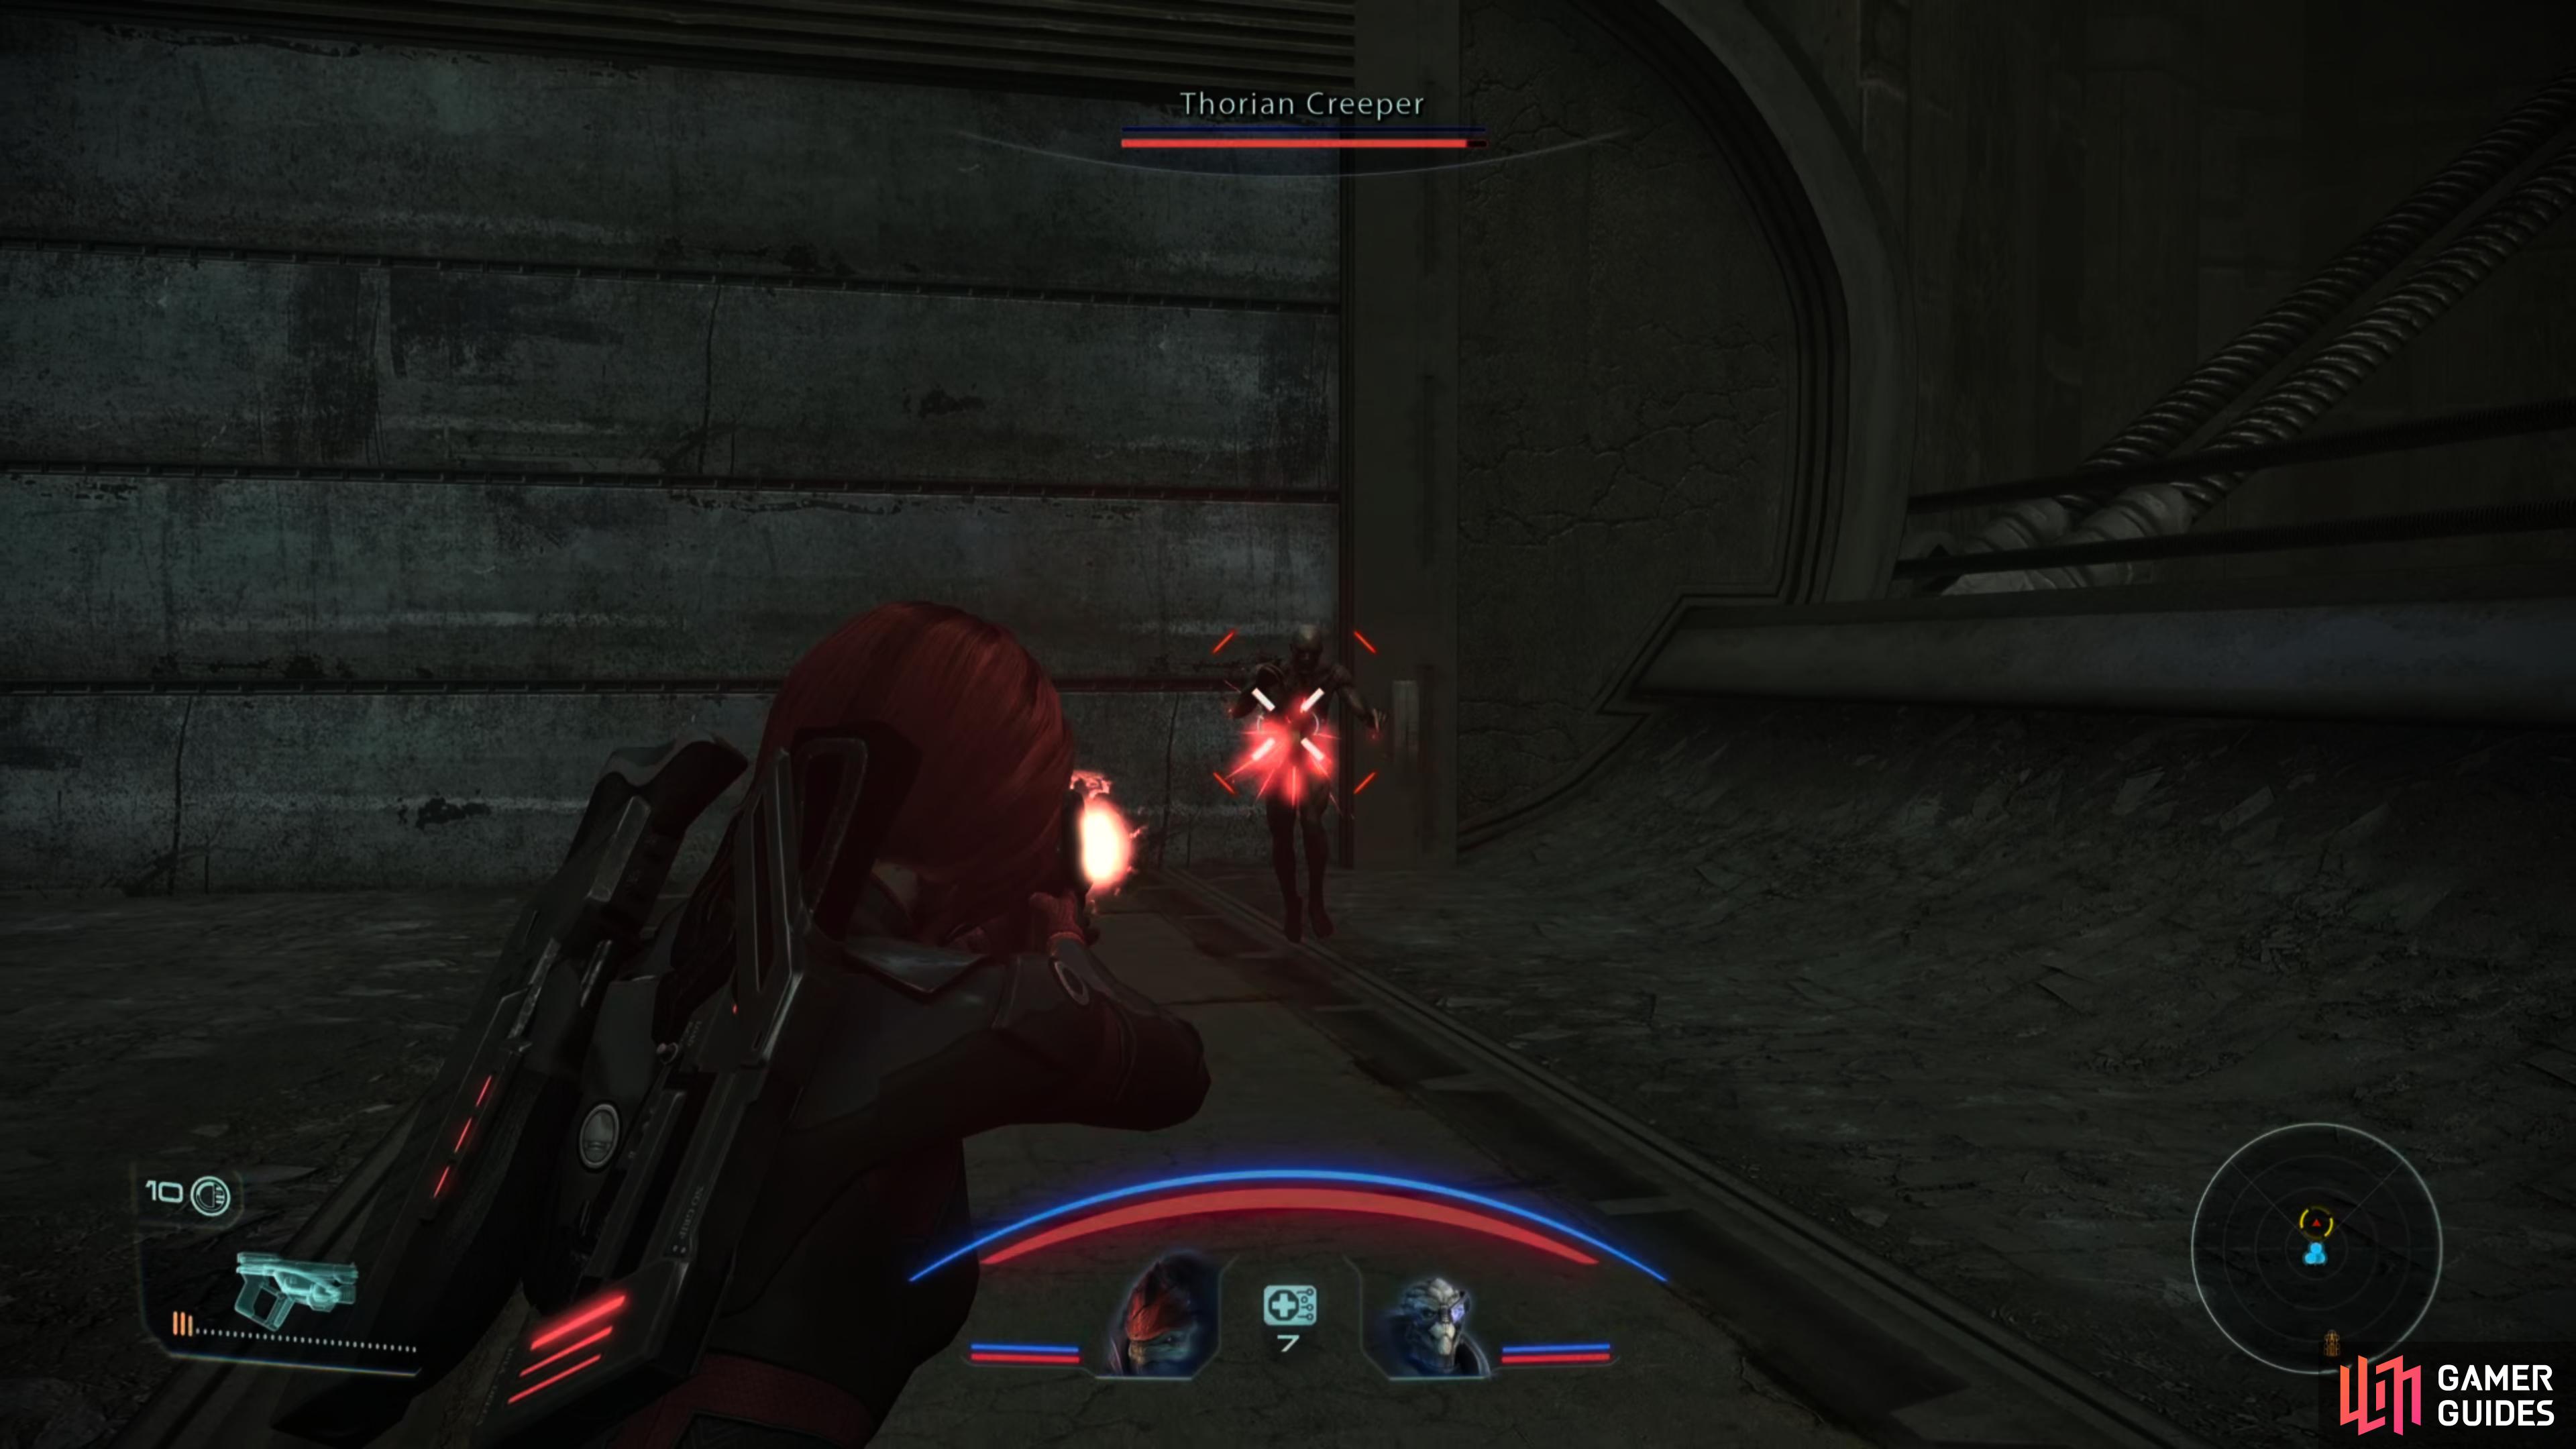
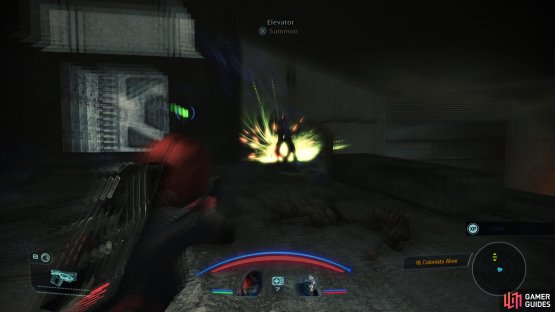
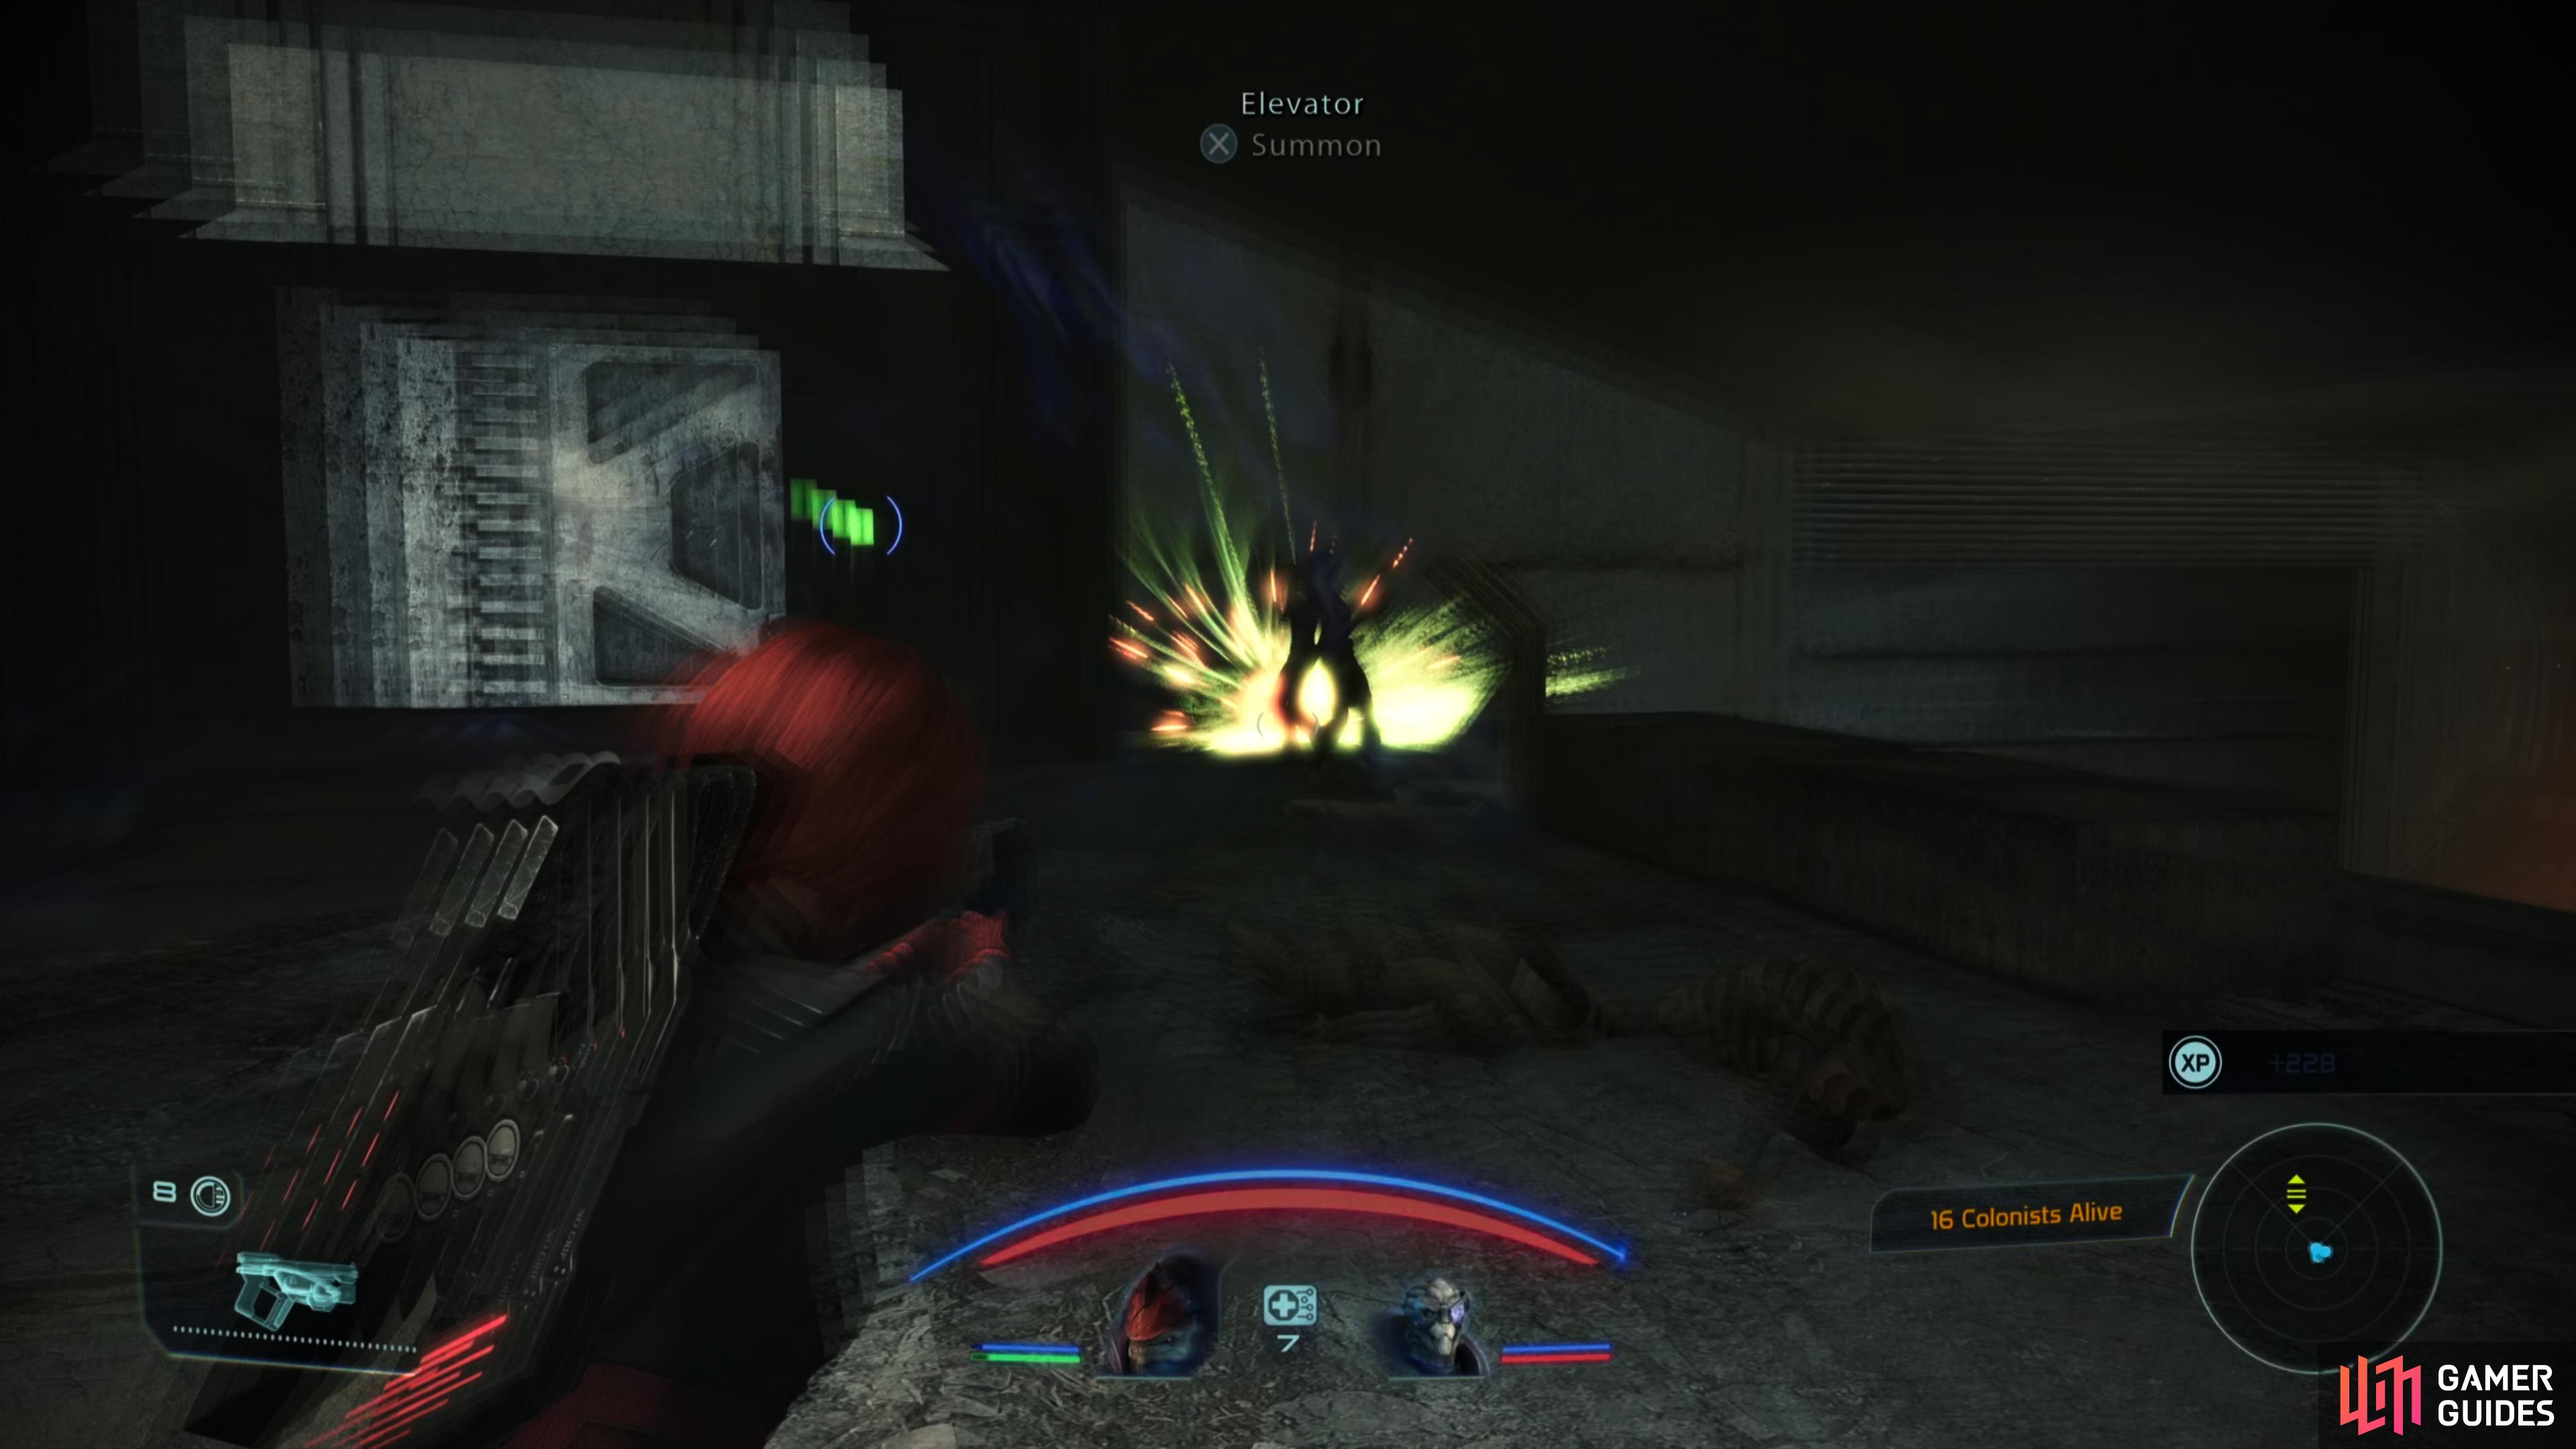
When you approach the structure housing the elevator down to Zhu’s Hope you’ll run afoul of a Thorian Creeper - the Thorian’s version of a Geth Husk. Put the plant-zombie down, after which your squad will ask for clarification on the task at hand. Respond with ”Careful. Leave the colonists.” if you want a realistic shot at using the Anti-Thorian Gas without your squad members just gunning everybody down, or pick ”Wipe everything out.” if you don’t care to bother.
Feros: Fight the Colonists of Zhu’s Hope
Enter the structure housing the elevator leading to Zhu’s Hope and you’ll see a veritable field of Thorian Creepers waiting for you. Better get used to it, you’ll be fighting them a lot. Their main goal is to waddle up to you (when they can stop running around in circles) and spew toxic vomit at you. Simple enough, but their durability is prodigious, so there’s a good chance they’ll succeed, especially on higher difficulties. We suggest equipping your party with armor mods that grant toxin resistance and health regeneration - Medical Interface or Medical Exoskeleton mods work wonderfully here. If you don’t have enough to go around, favor characters without passive health regeneration… which is basically everybody save Ashely, Wrex or a Soldier Shepard. Shotguns are lovely against Thorian Creepers.

(1 of 2) Either use Anti-Thorian Gas grenades to incapacitate the colonists,
Either use Anti-Thorian Gas grenades to incapacitate the colonists, (left), or gun them down. (right)
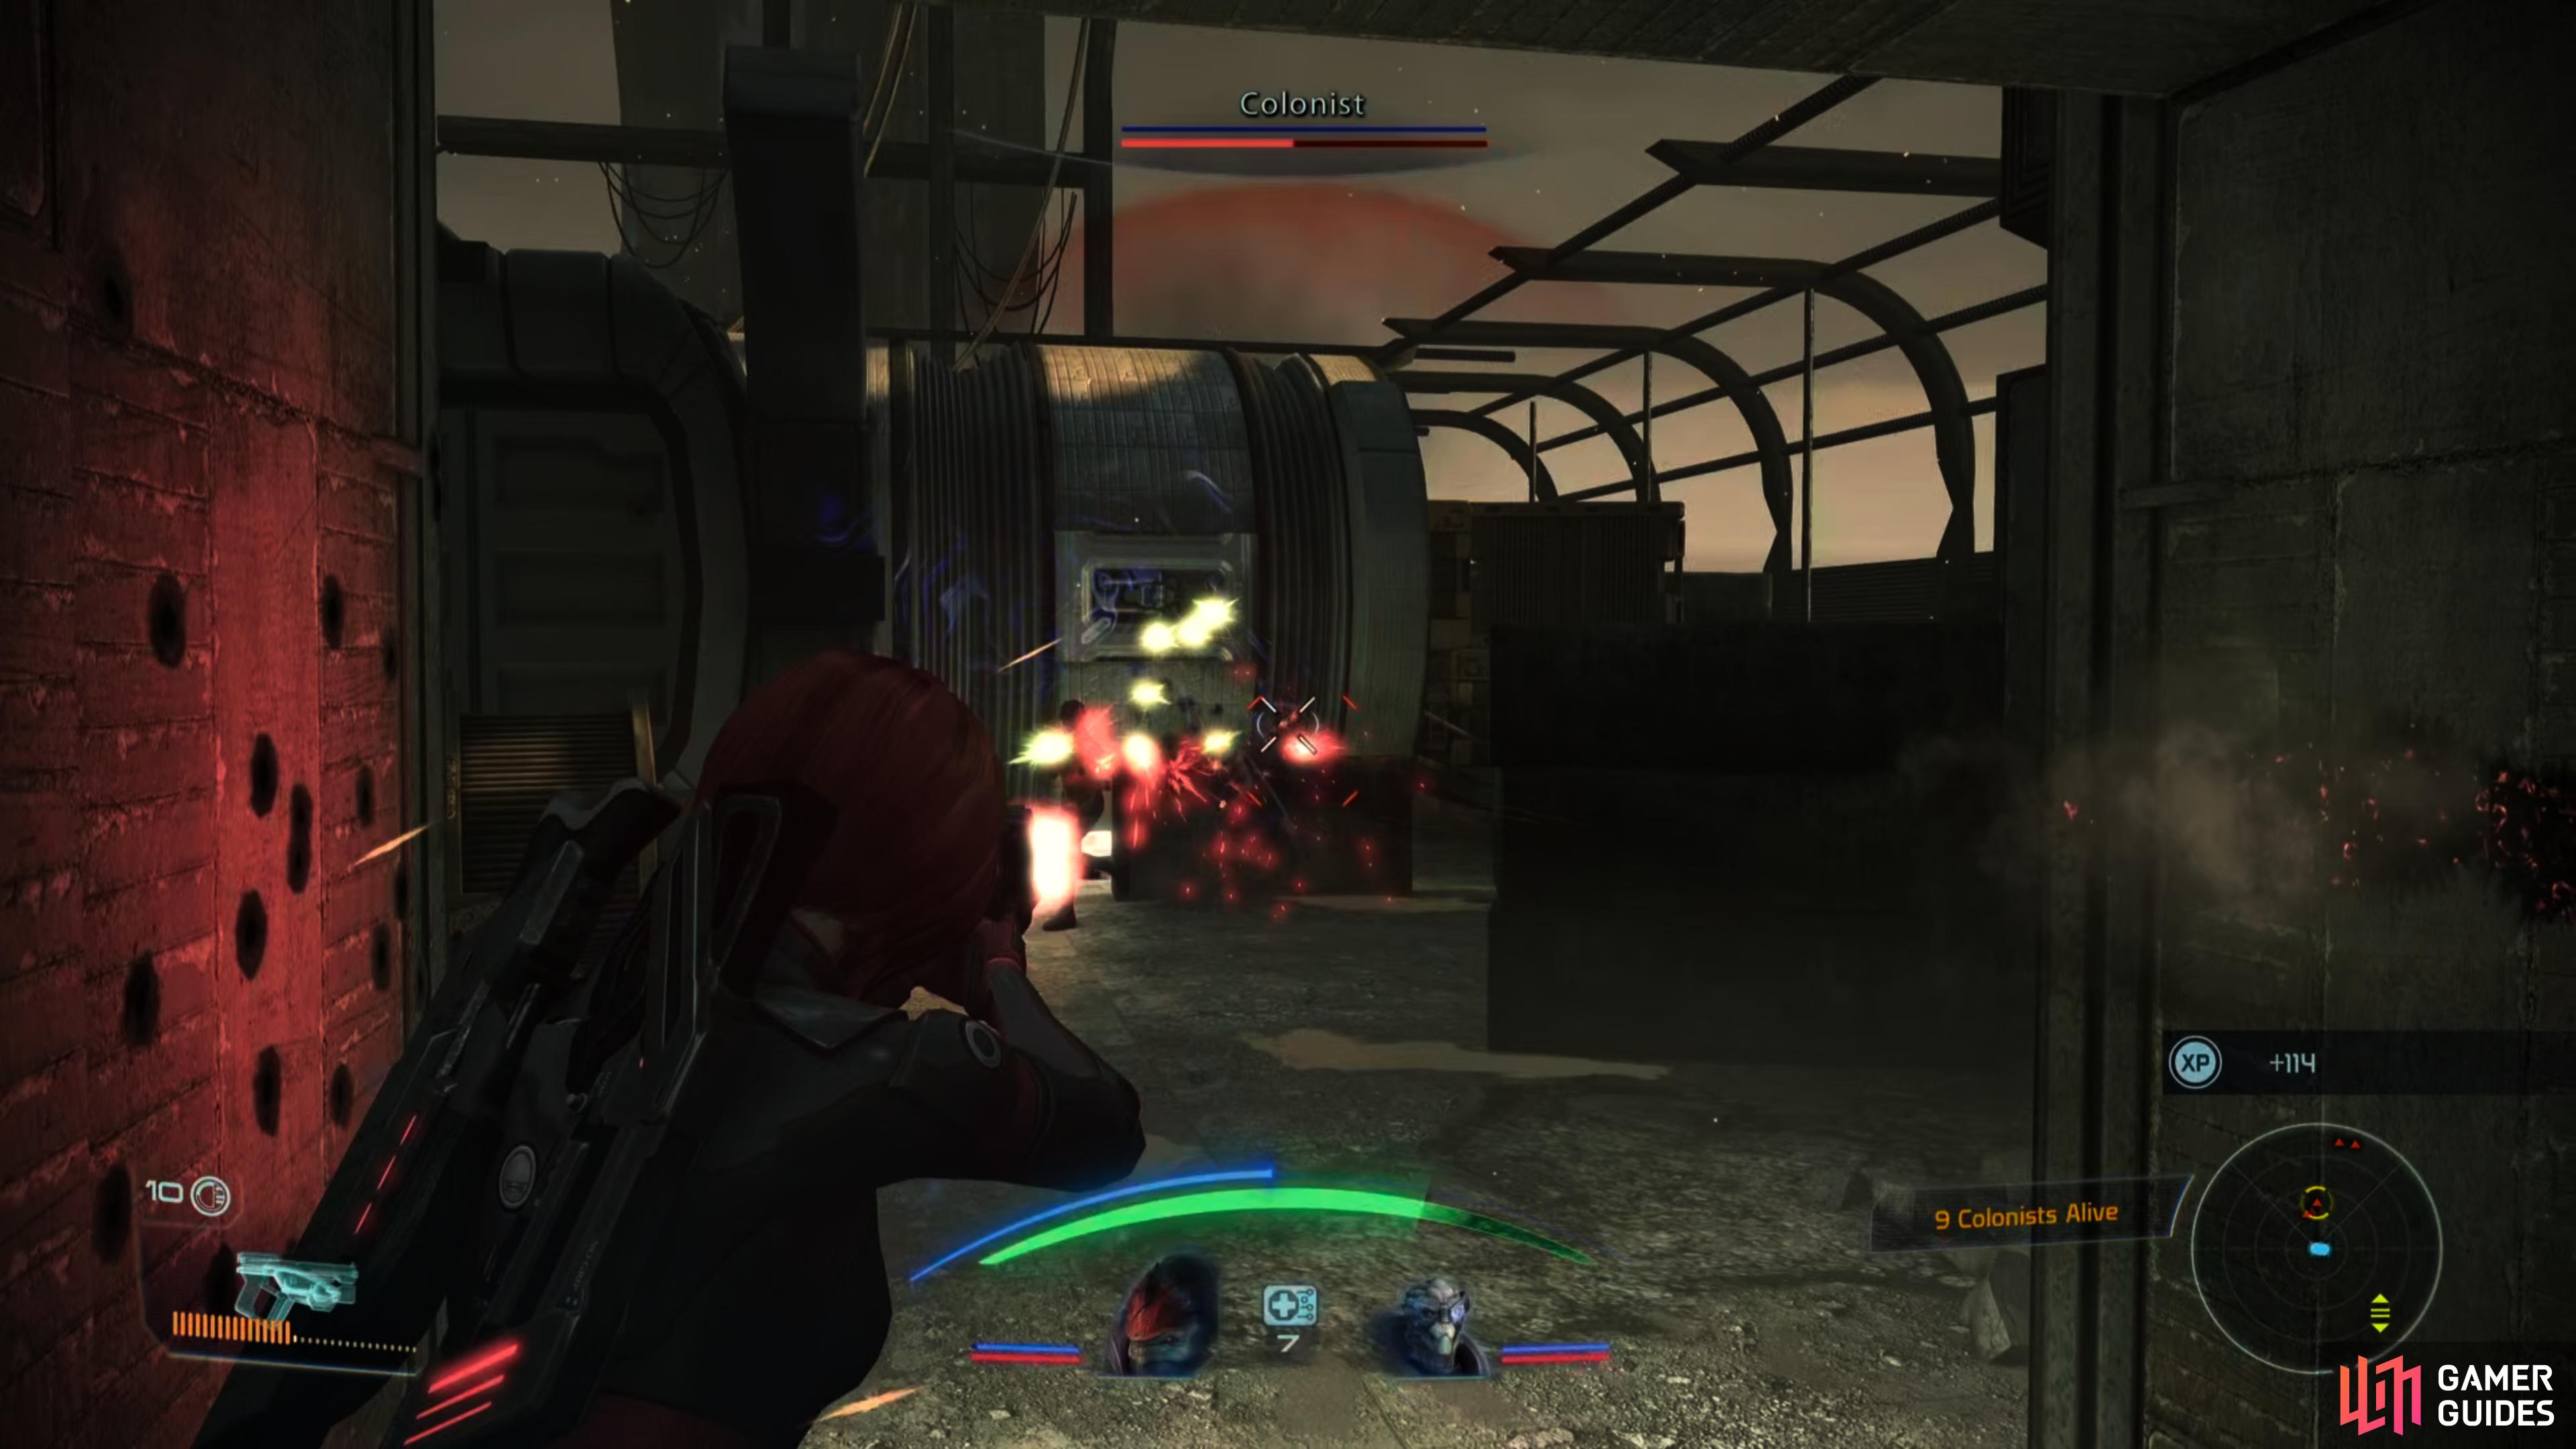
Provoke the Creepers, then retreat so you can dispatch them without being fired on by the colonists near the elevators. Once the Creepers are gone, press on to the elevator and either gun down the four colonists you find, or incapacitate them with your grenades. You’ll get a convenient counter on the bottom right of the screen to let you know how many colonists are still alive. You don’t need to keep things perfect, but if you want better outcomes in later games you’ll need to keep as many colonists alive as possible.
Ride the elevator down, kill several Creepers, then pass through a doorway to find two more colonists. Dispatch them how you will, then continue downstairs and fight through some more Creepers to reach Zhu’s Hope, where four more colonists wait behind barricades. Arcelia Silva Martinez is a more powerful combatant, having access to abilities like Immunity, so be wary, retreat up the stairs to dispatch the Creepers out of sight of the colonists, then deal with said colonists when the Creepers are gone.
Continue through the colony, heading up some stairs and along a walkway, killing another couple of Creepers and dealing with two more colonists before heading downstairs to find the last resistance in Zhu’s Hope. There are around eight Creepers and four colonists ahead - command your squad to shelter behind a structure so they can shoot at the Creepers as they round the corner while being out of sight of the colonists, then bait the Creepers and take them out. When the colonists are isolated, either pick them off normally, or incapacitate them with your grenades.
Now that the colony has been pacified - one way or another - activate the Freighter Crane Controls and you’ll get a scene with Fai Dan. Don’t worry, he doesn’t count against you. Head down the stairs you revealed when the freighter was moved and you’ll get the reward your actions merited: Paragon +2 for every surviving colonists, Renegade +2 for every corpse.
| Paragon/Renegade |
|---|
| Paragon +32 or Renegade +32 (+2 per colonist spared/killed) |
Boss: The Thorian
Continue downstairs and you’ll finally encounter the Thorian, which is a… bigger problem than perhaps anticipated. It’ll vomit up an “Asari Clone”, which speaks for the Thorian. Suffice to say, there’s no peaceful resolution with this arrogant plant. Making your own hostility clear will, however, earn you Renegade +2.
| Paragon/Renegade |
|---|
| Renegade +2 |

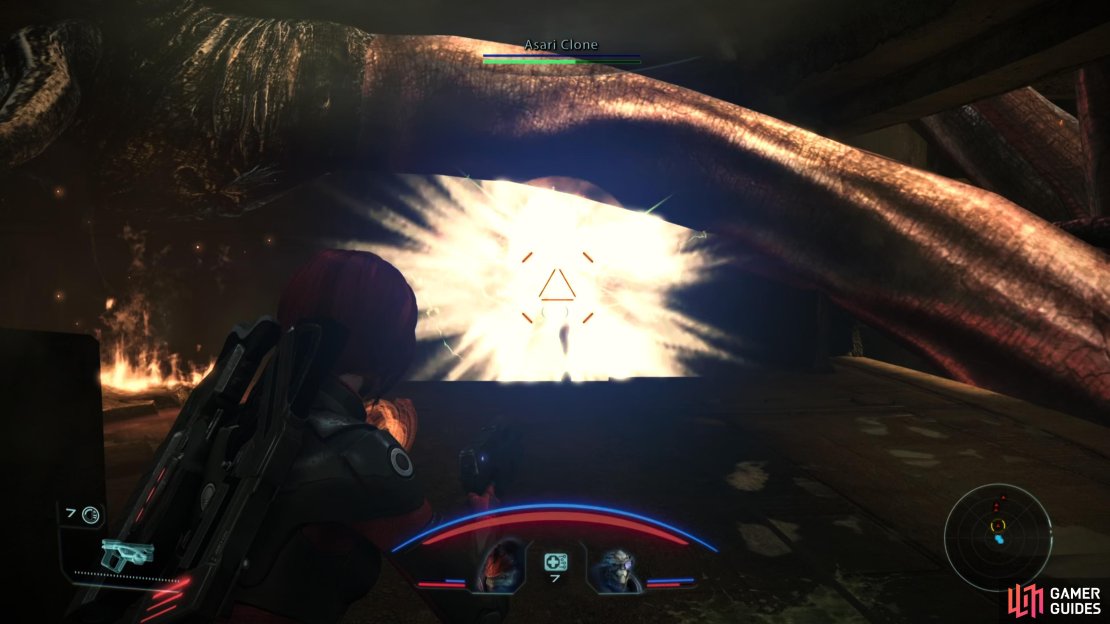
(1 of 4) The Thorian will speak to you via an Asari Clone. Suffice to say, you’re not going to be friends.
Once the shooting starts you’ll find yourself up against the Asari Clone, which is only a moderately competent combatant, albeit one with biotics. Use abilities like Damping to thwart her biotics and Sabotage to overheat her weapons. Once debilitated, it’s a trivial matter to shoot her down.
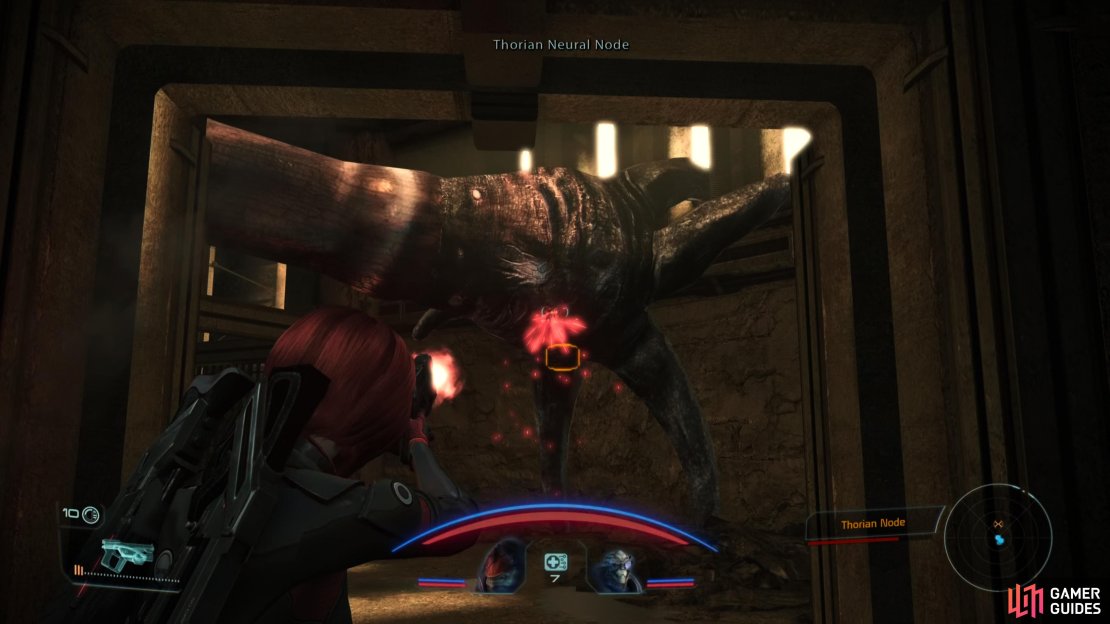
In addition to the Asari Clone you’ll have to deal with more Creepers, of course, which will largely stay dormant until certain conditions are met. In this case, they’ll start waking up after the Asari Clone is defeated, mostly originating from a doorway to the north. Fight your way north and you’ll find a Thorian Neural Node, the destruction of which is your primary objective. Fortunately, you’re not timed and enemies won’t keep spawning, so kill all the critters seeking to do you harm, wait for your health to regenerate, if necessary, then shoot down the node at your leisure.
One down, many more to go.
Not surprisingly, destroying the node will often trigger reinforcements. Something to keep in mind going forward. In this case, the Thorian will spawn another Asari Clone, who will spawn after you make your way up some stairs. You can expect a new Asari Clone to appear every time you destroy a node, so keep that in mind as you advance south through another hallway towards the next node.
Kill the second Asari Clone and her pet Creepers, then loot a Weapon Locker [Easy] before going through a doorway and knocking out the second node. Continue up a rubble-ramp and dispatch a third Asari Clone and her attendant Creepers, then exit through a doorway and note the circular passage running south (clockwise). You can continue south down the passage to reach the third node, but you can just as easily make your way to the ledge and look southwest and spot it in the distance.


(1 of 2) The fight with the Thorian involves you hunting down and shooting various nodes,

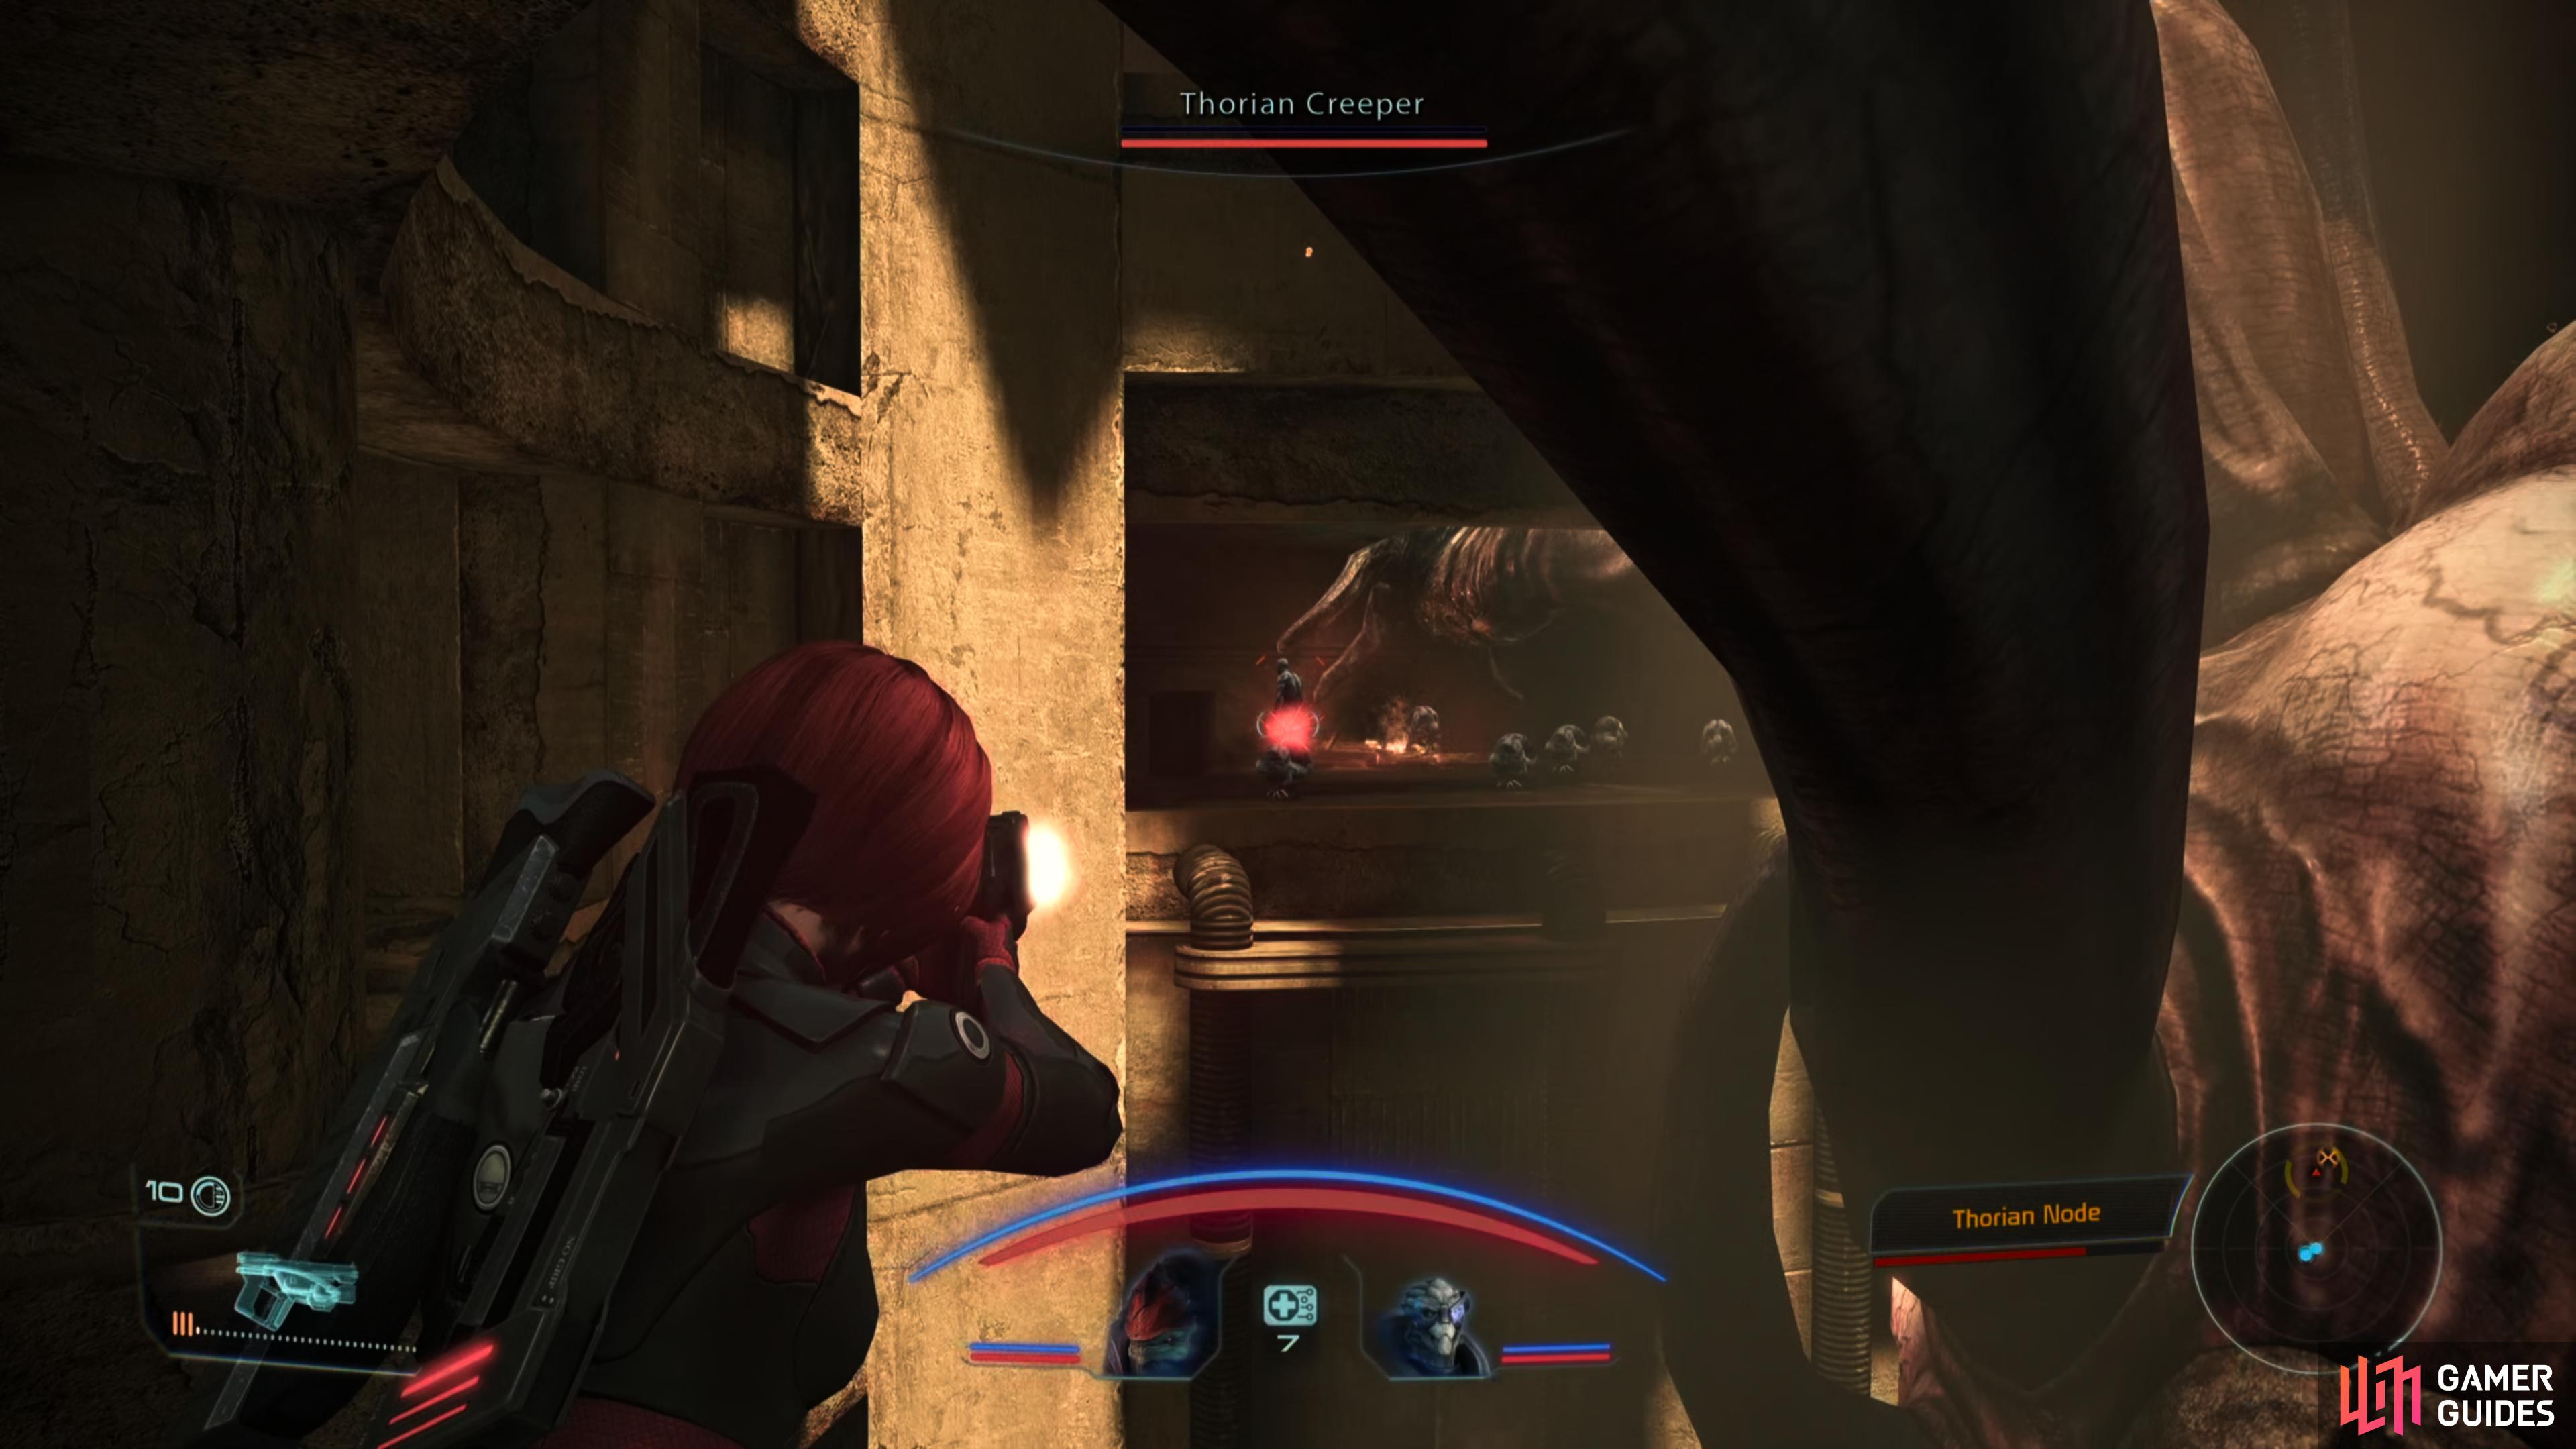
The fight with the Thorian involves you hunting down and shooting various nodes, (left), as the nodes take damage, nearby Creepers will awaken and seek you out. (right)
If you shoot the third node from afar you’ll enjoy the added bonus of seeing the Creepers near it activate as the node takes damage, allowing you to shoot them as they animate. You can even pick off the fourth Asari Clone that spawns when you destroy the node! However you deal with it, once the node, the Asari Clone and the various Creepers that will rise during and after the fight are destroyed, continue following the passage clockwise until you find a doorway to your left. Ignore it for now and continue to the end of the passage to find a Medical Station [Easy] you can plunder.
Backtrack to the previously-ignored doorway and go through it to find another node in the hallway. Ignore the node and provoke the Creepers crouching below it, dispose of them, then take potshots at the node while keeping an eye on the remaining Creepers, who will reliably animate as you damage the node.
Destroy the node, then ascend the next rubble-ramp and exterminate the Asari Clone and some more Creepers. Exit through a doorway atop the ramp, then turn left to immediately encounter another node. Obliterate it, head down a ramp, then continue up a flight of stairs. The dormant Creepers around should be a cause for concern, as they’ll soon animate. In addition, more Creepers and another Asari Clone will come from atop the stairs. You may want to provoke what enemies you can, then retreat back to where you destroyed the last node to defeat your foes without having to worry about getting flanked by dormant Creepers.
When the way is clear, press on upstairs, stopping when you find the next - and as it turns out, the final - node. Another Asari Clone will be lurking around here, as well as numerous Creepers. If nothing is stirring, shoot the node until that changes, then pick off advancing foes and repeat the process until the node is destroyed.
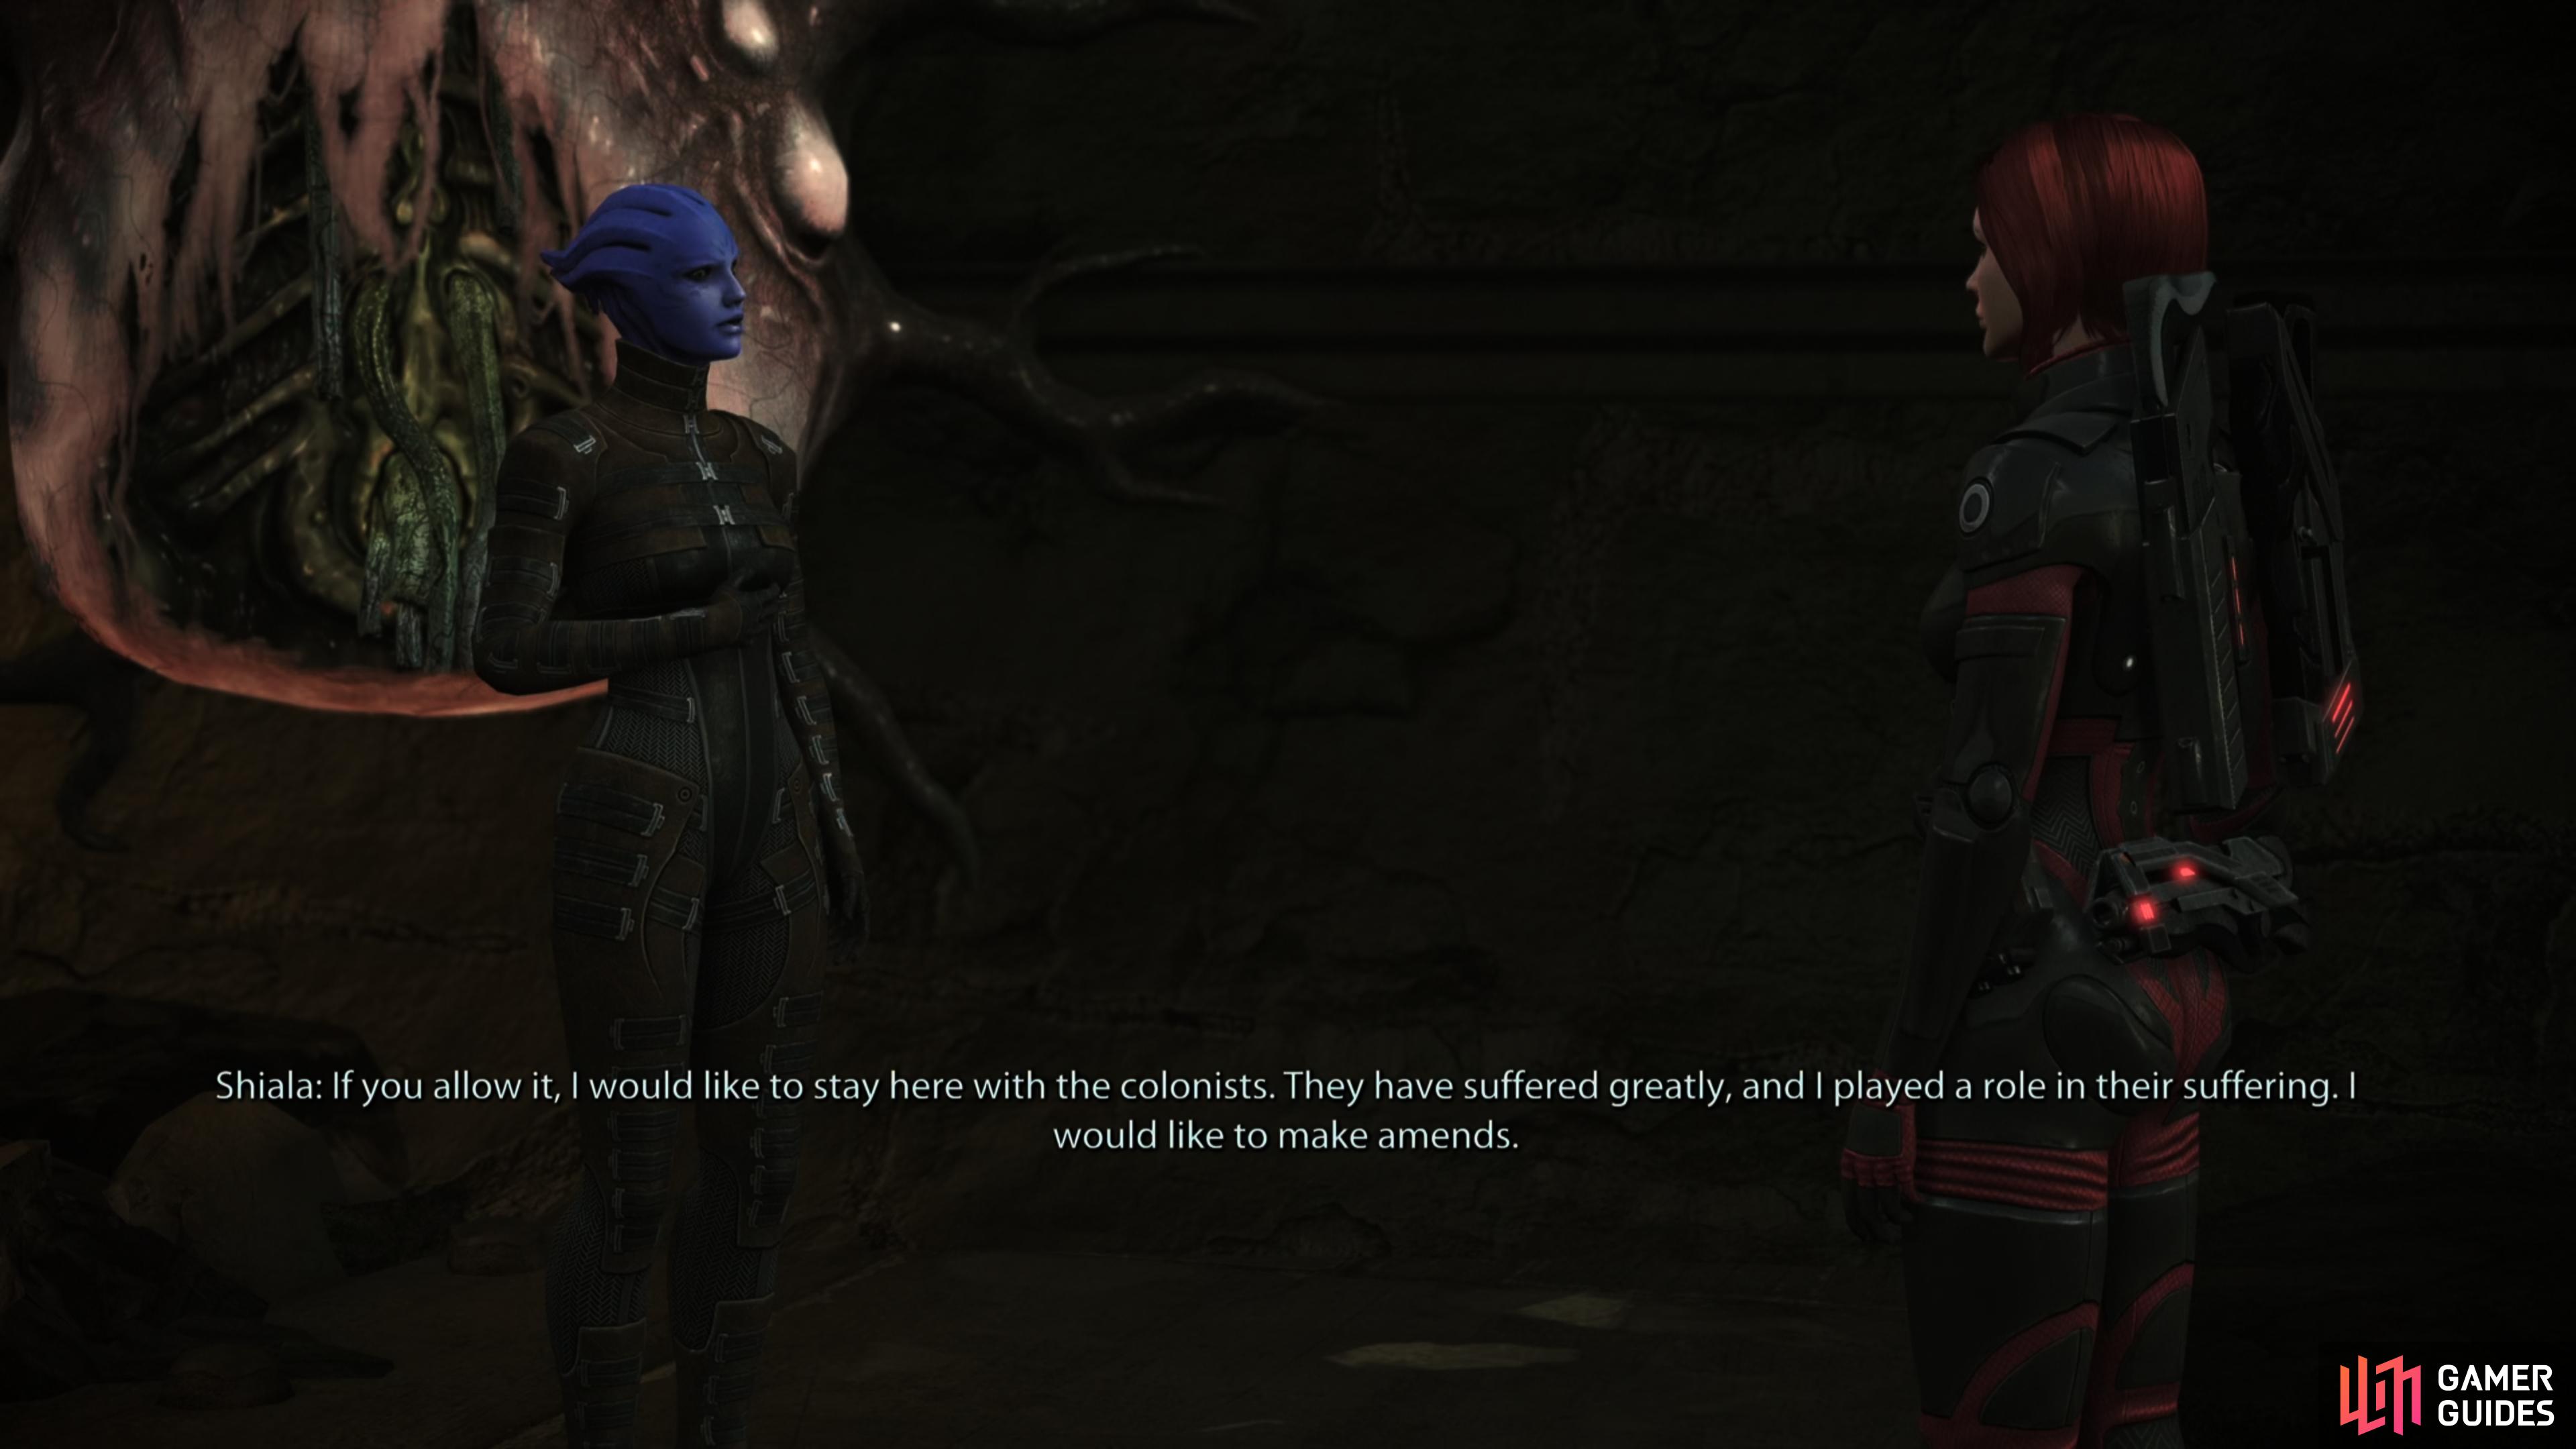
After defeating the Thorian you’ll have to make a choice regarding Shiala - kill her, or spare her.
Feros: Shiala
After a short scene you’ll find yourself talking to Shiala, the template for the Asari Clones you’ve been killing. She’ll tell you about the Thorian, Saren’s interest in the creature, and Benezia’s role in the transaction. Exhaust her dialog options and you’ll eventually come to a choice: spare or kill Shiala. You’ll spare Shiala if you pick ”A noble idea.”, while you’ll execute her if you respond with ”I can’t let you live.”. The former will net you Paragon +8 and the latter will boost you by Renegade +9. The long-term implications of this decision can be found on the page Spare or Execute Shiala.
| Paragon/Renegade |
|---|
| Paragon +8 or Renegade +9 |
| Codex Entries |
|---|
| Primary - Ships and Vehicles / Sovereign |
| Secondary - Aliens: Council Races / Asari: Military Doctrine |
Once your decision is made you’ll find yourself back at Zhu’s Hope, where you’ll be thanked by Juliana, regardless of how many colonists (if any) you saved. The surviving refugees from the Skyway Weigh Station will now be here, and you’ll be free to return to the Normandy to put an end to your mission in Feros. The details of this will be covered in the following page, Normandy After Feros.
For resolving the situation on Feros you’ll obtain the Medal of Heroism achievement.


No Comments