
This section of the mission on Virmire will only begin after you infiltrate Saren’s Base, which requires you to pass through the base approach section, first. You can go through the northern entrance to enter the base via the Warehouse, or you can go through the southern entrance [Easy] to enter via the “Virmire: Detainment Level”.
You’ll make your decision when you interact with a Security Console, one of which is near either door. When you do, you’ll be told you can draw security away to Kirrahe’s location, or leave them be so you can deal with the enemies yourself. The former will earn you Renegade +9 while the latter will score you Paragon +8. Neither option affects the outcome of the mission in any way save for some radio chatter.
| Paragon/Renegade |
|---|
| Paragon +8 or Renegade +9 |


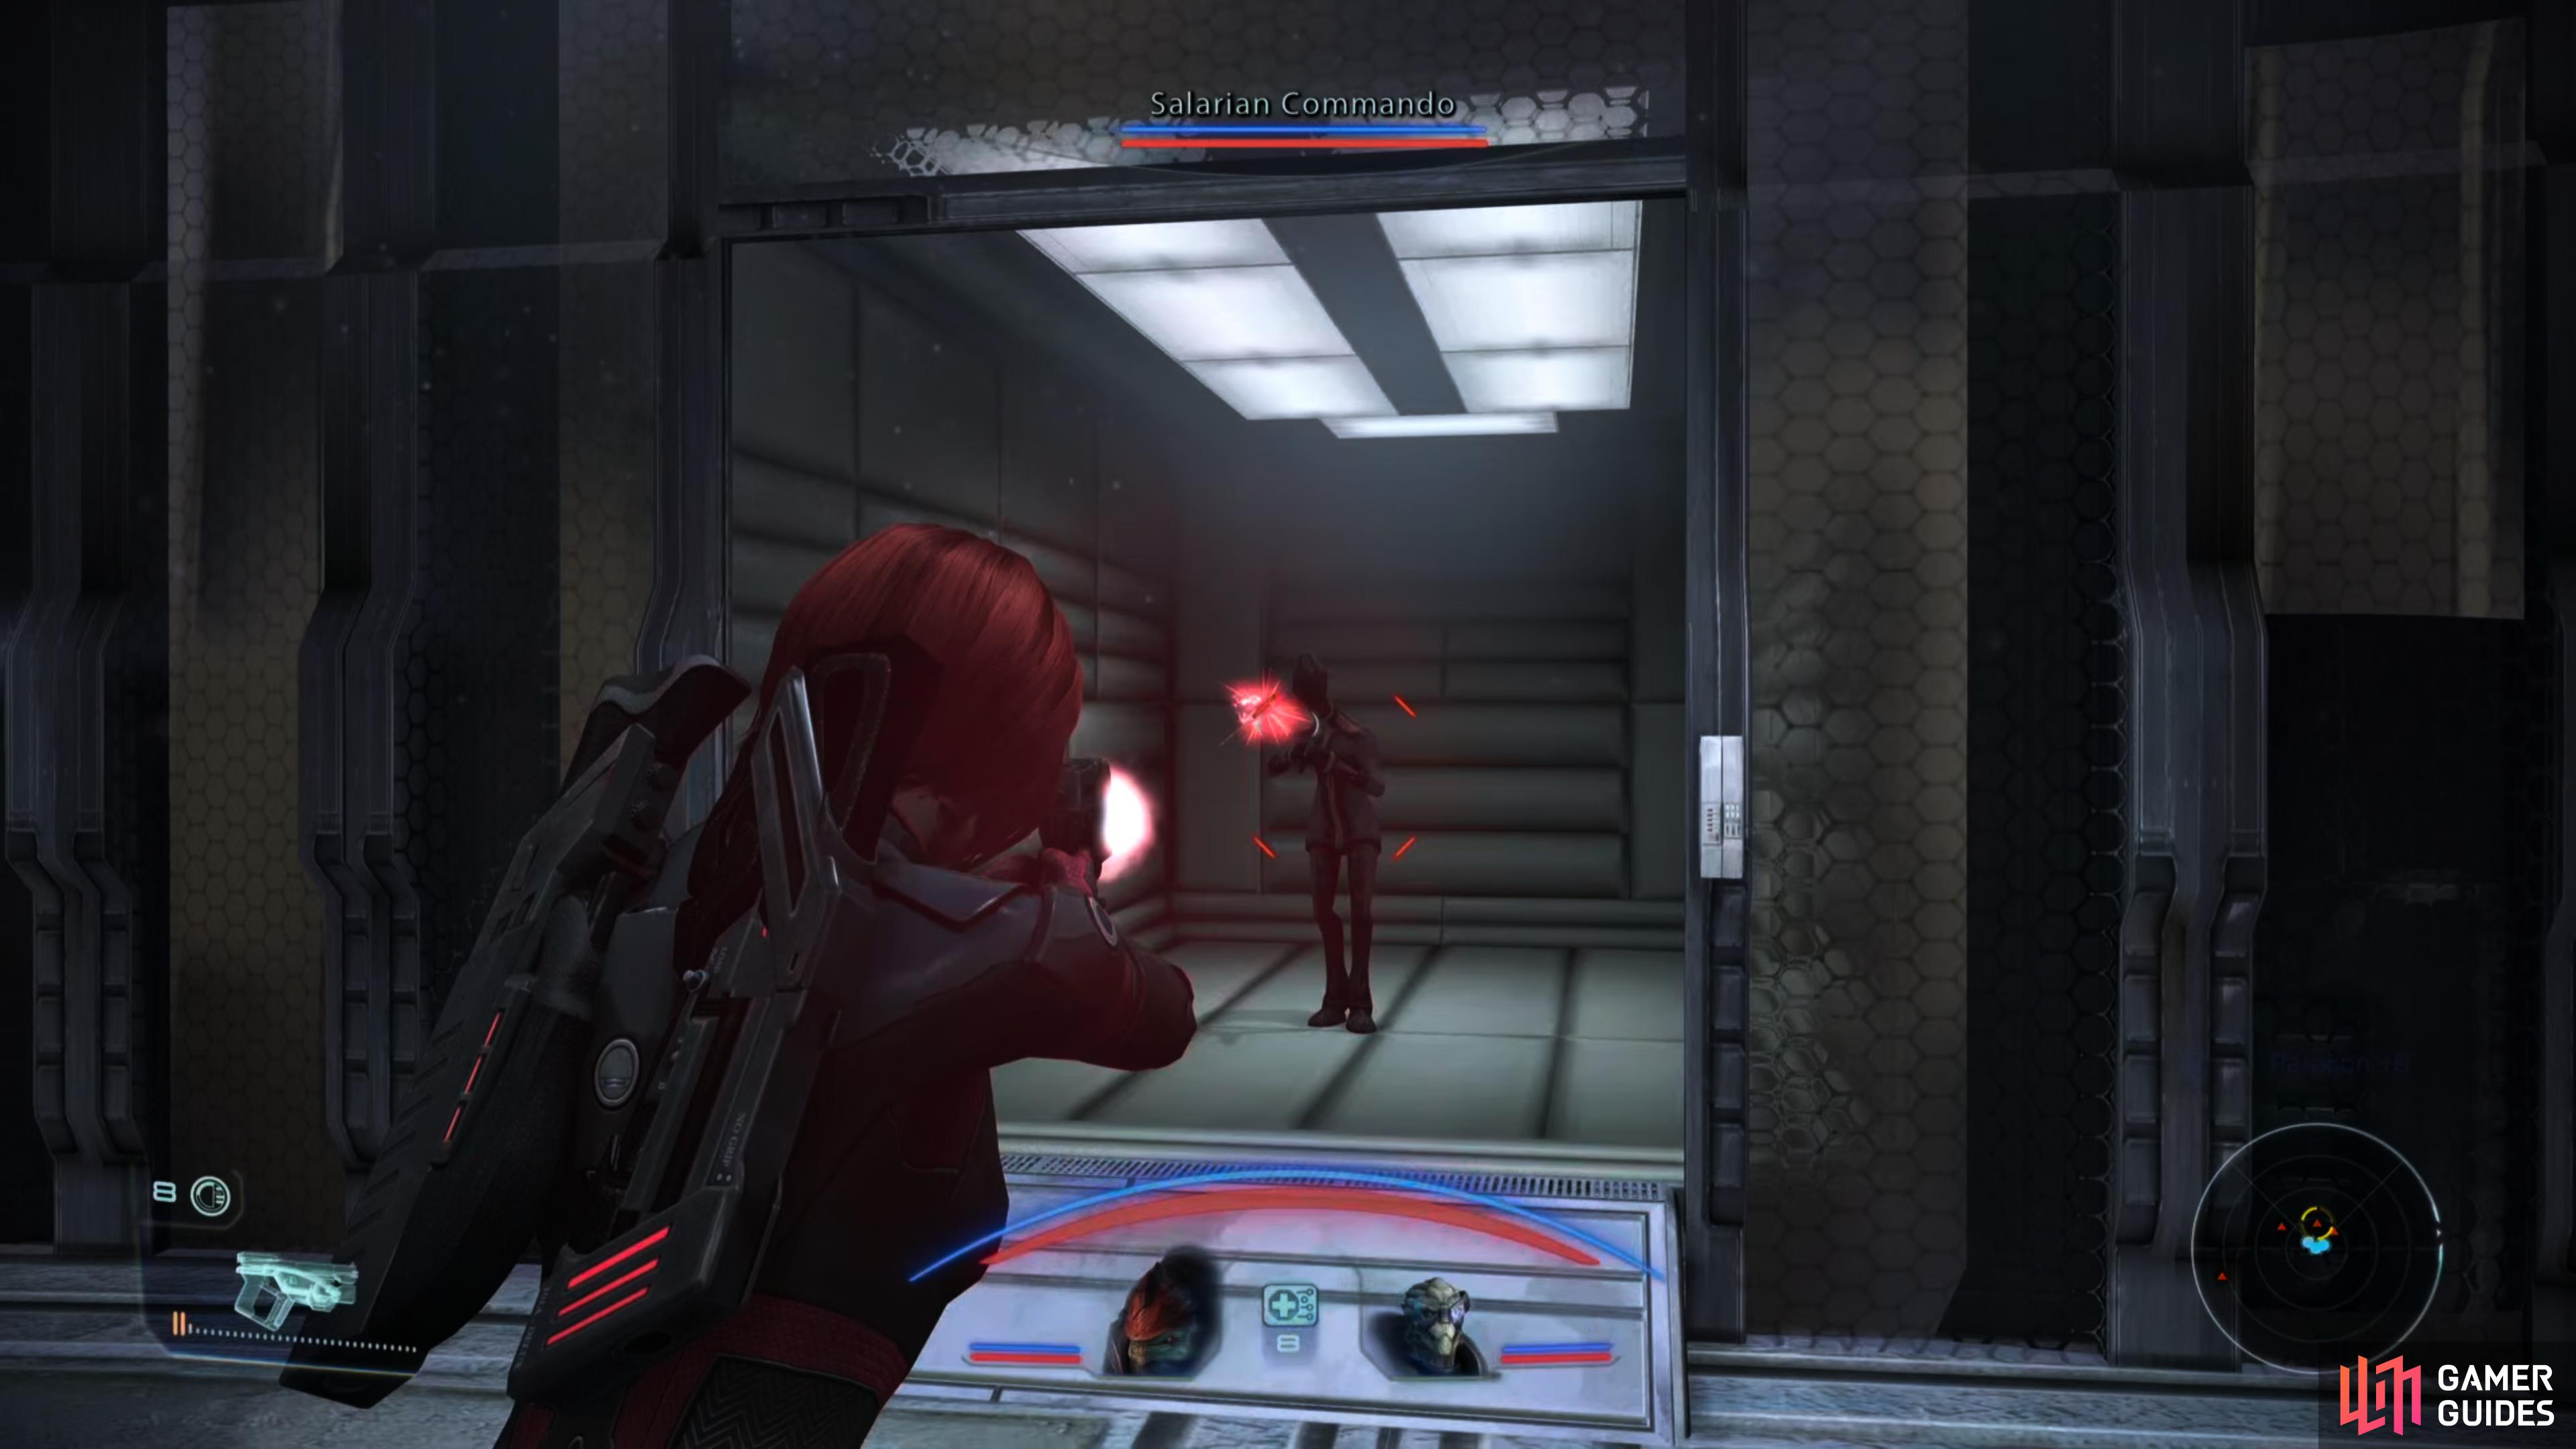
(1 of 2) You’ll be attacked by some indoctrinated salarians in the warehouse,
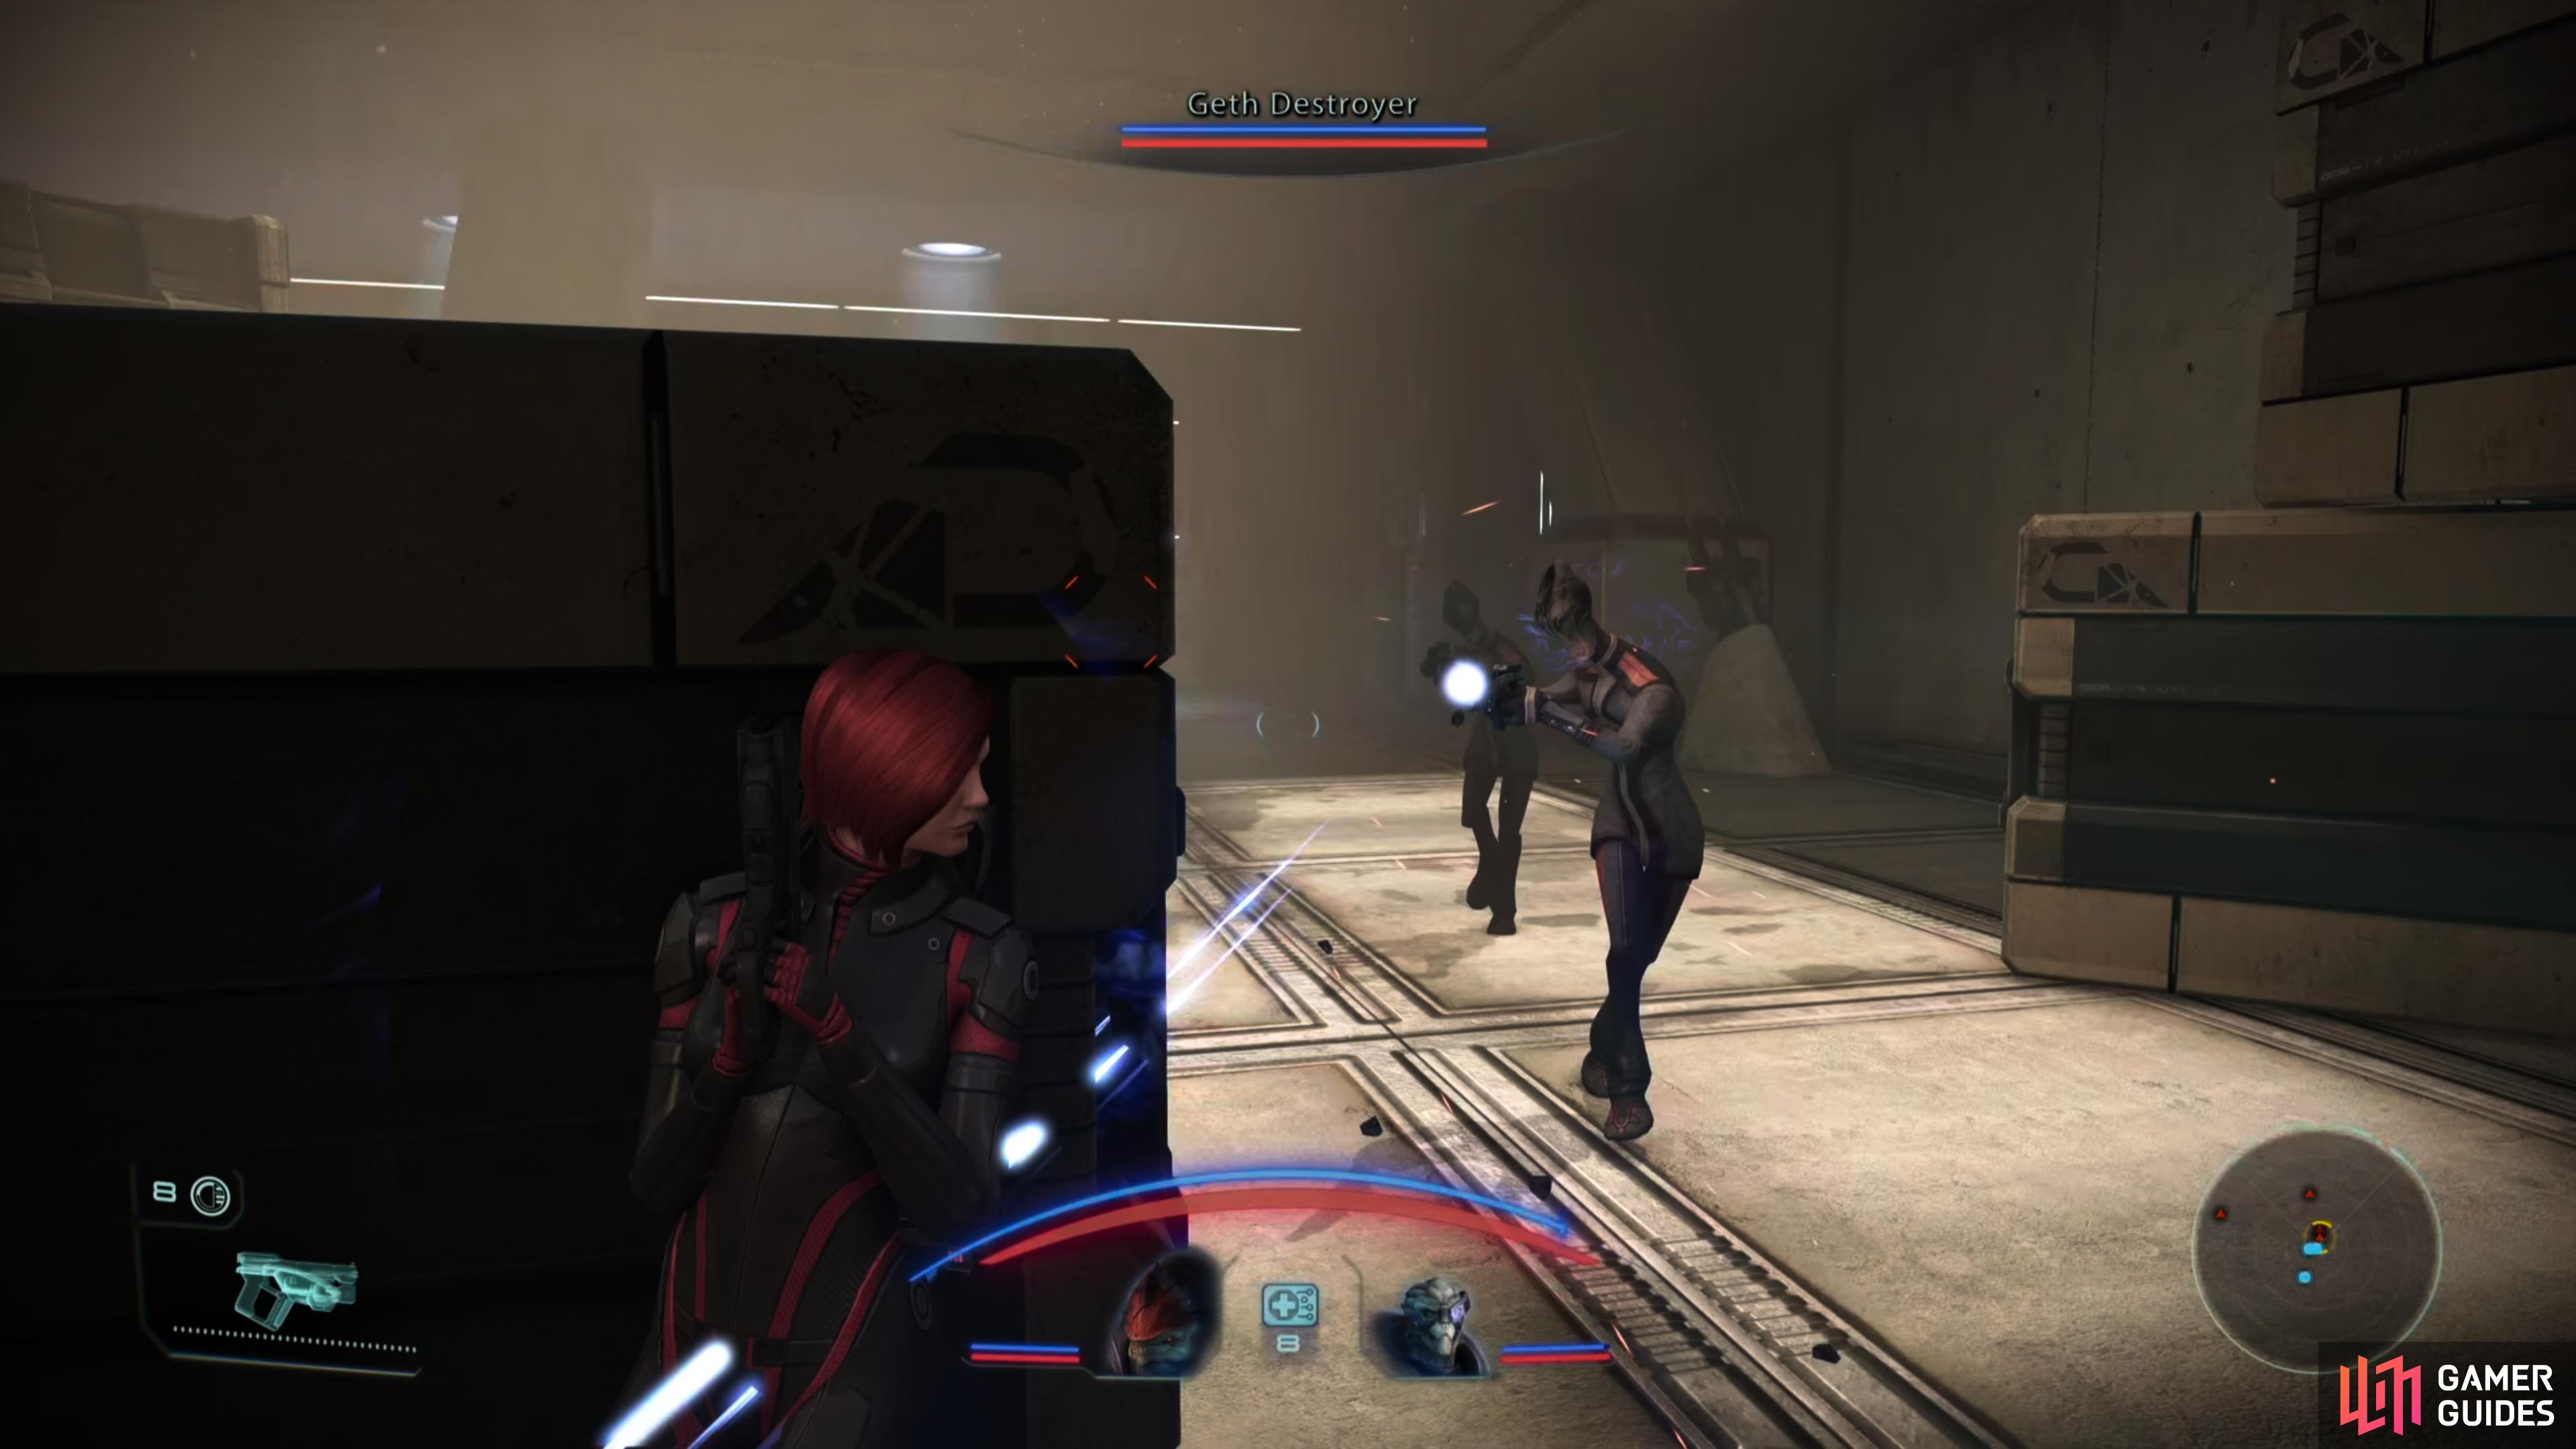
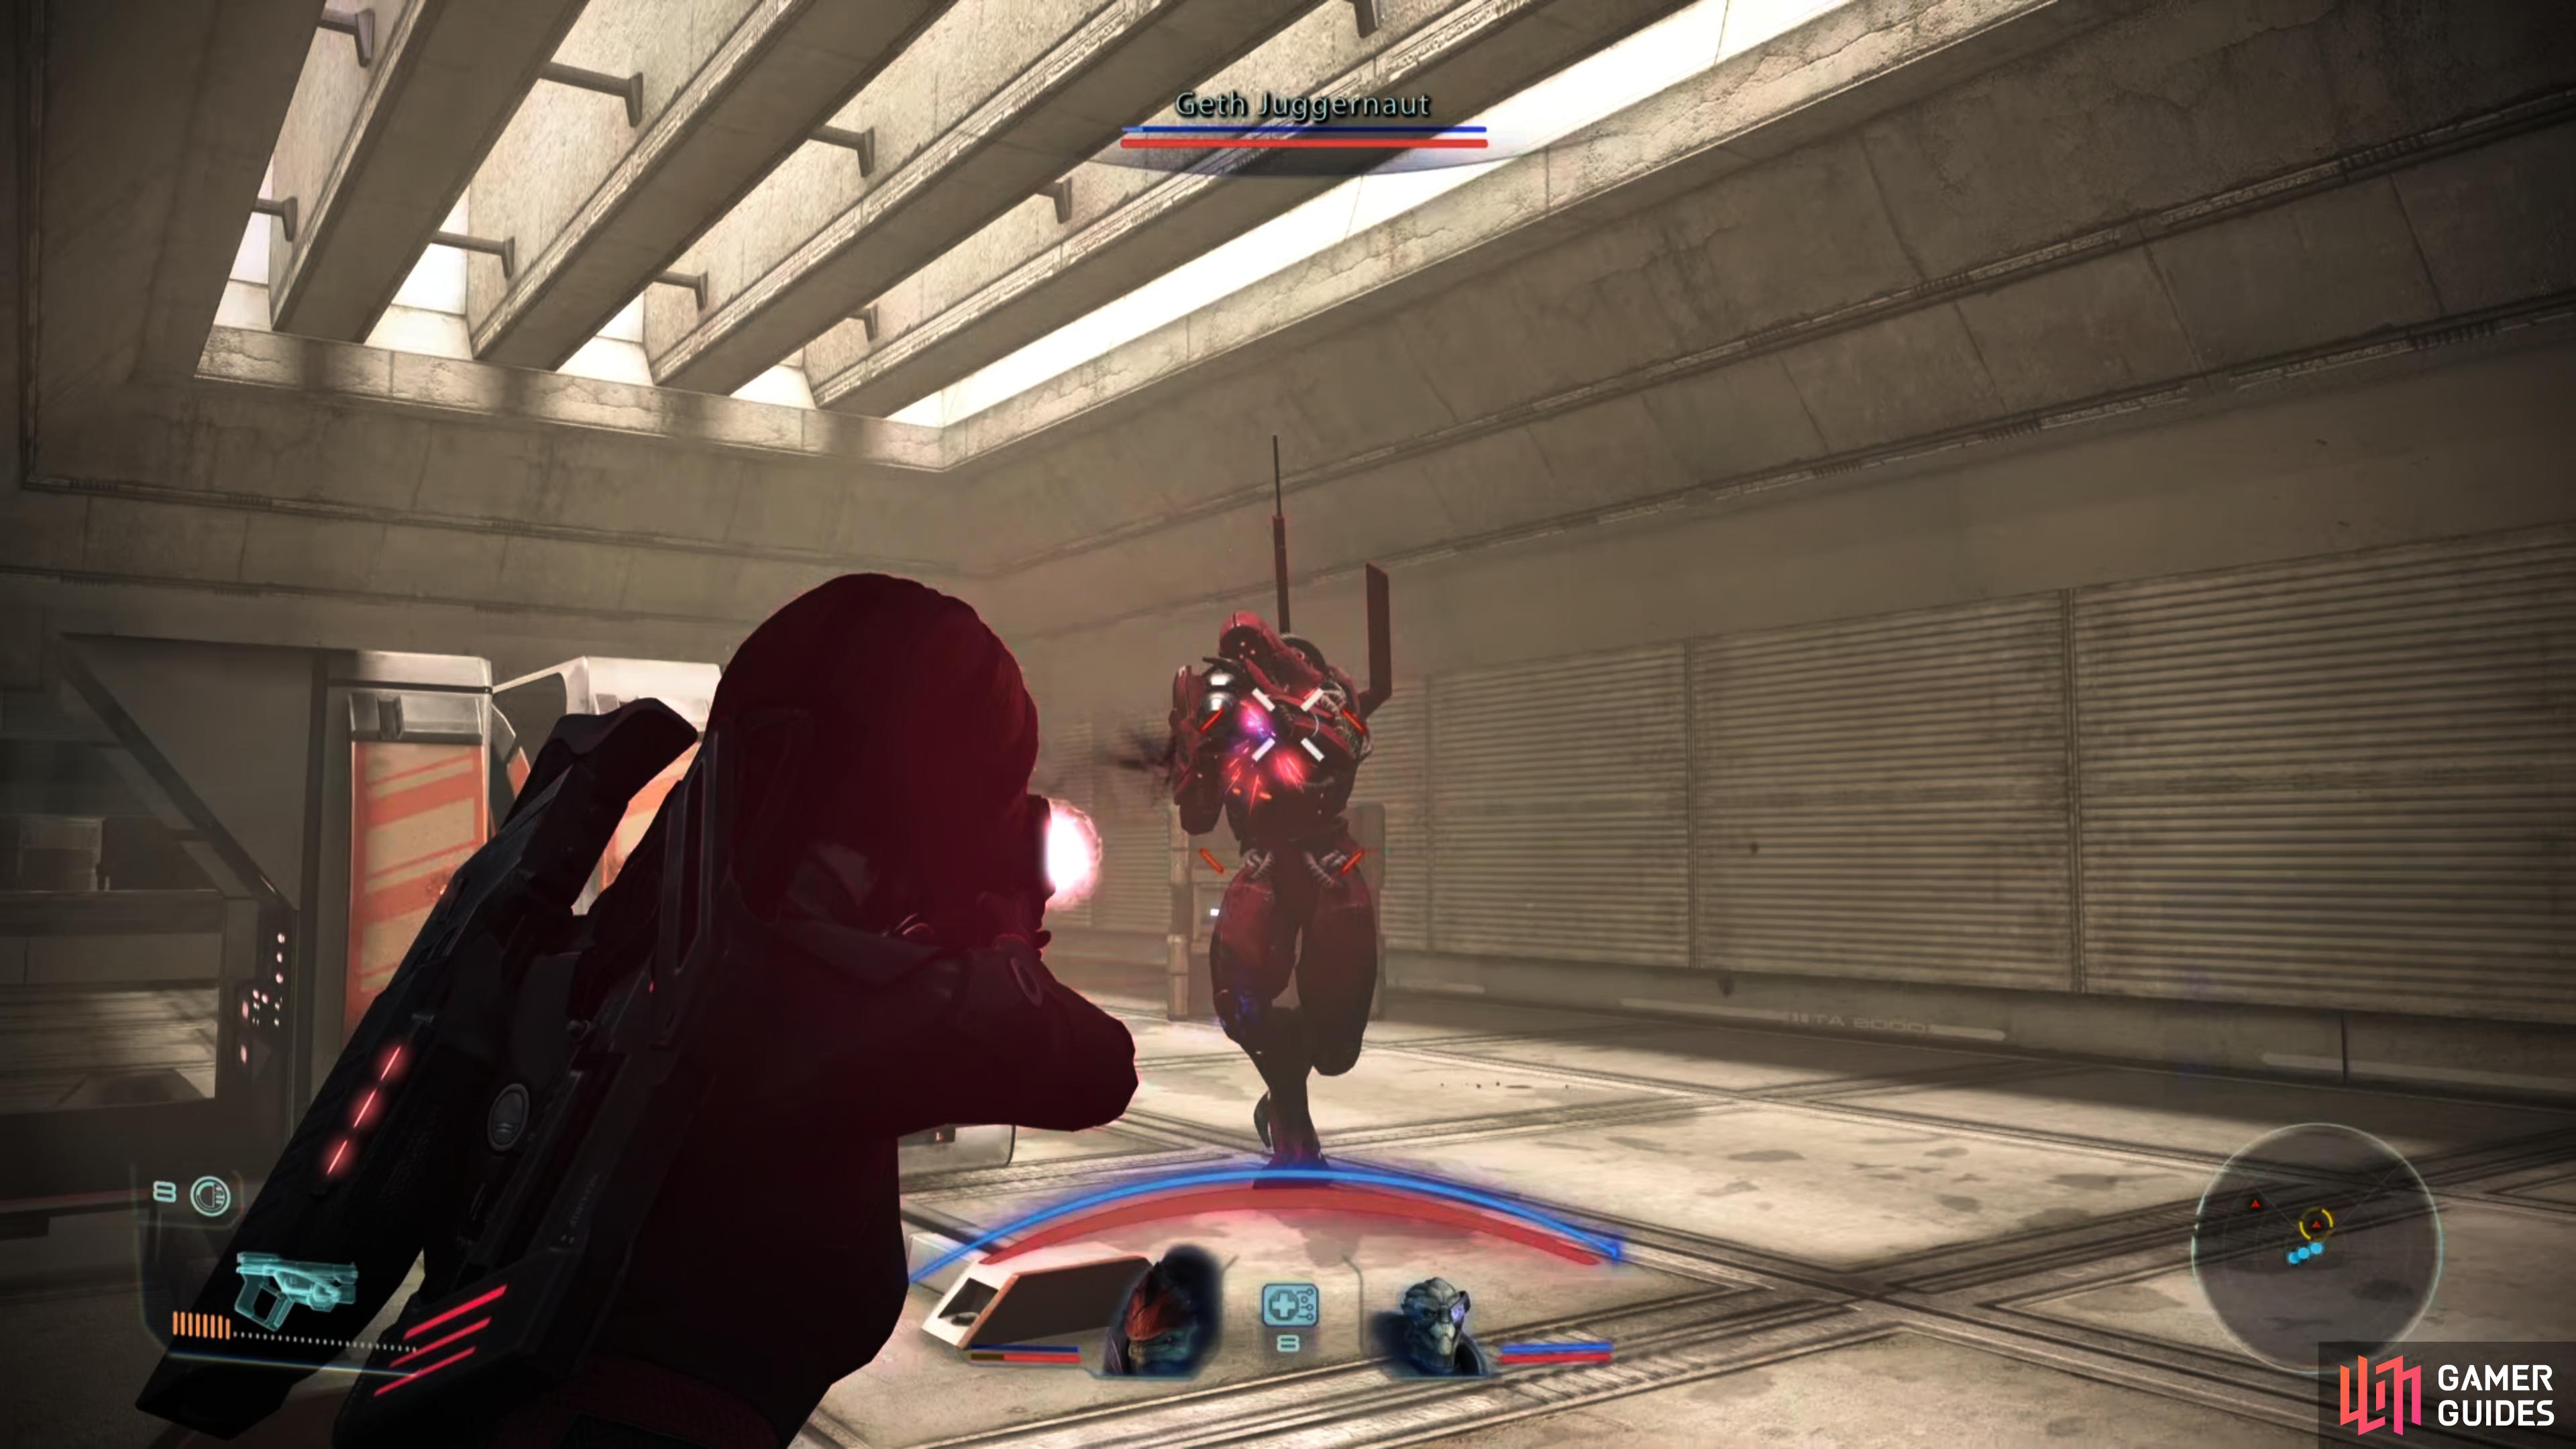
You’ll be attacked by some indoctrinated salarians in the warehouse, (left), after cutting through the salarians you’ll find more sturdy resistance in the form of geth. (right)
Warehouse
In the Warehouse you’ll find numerous “Indoctrinated” salarians and the odd geth - in this case, a Geth Shock Trooper and a Geth Destroyer. Put them down, then head up some stairs to the southwest to find a Geth Juggernaut. Loot an Aid Station if you need it, then continue through a door to the southwest, exiting the “Maintenance” area and proceeding down a hallway towards the “Security Office”.
Security Office
In the Security Office room you’ll find two more “Indoctrinated” salarians. Kill them, then note a door to the northwest, an elevator in the center of the room, and another door to the southwest. There’s also a Crate and a Hardened Weapon Locker [Hard] opposite the southwestern door.
The elevator will lead deeper into Saren’s base, and it’s your current destination, so ignore it for now and turn your attention to the doors to the northwest and southwest.

(1 of 2) In Cell Block A you’ll get the chance to free a salarian captive.
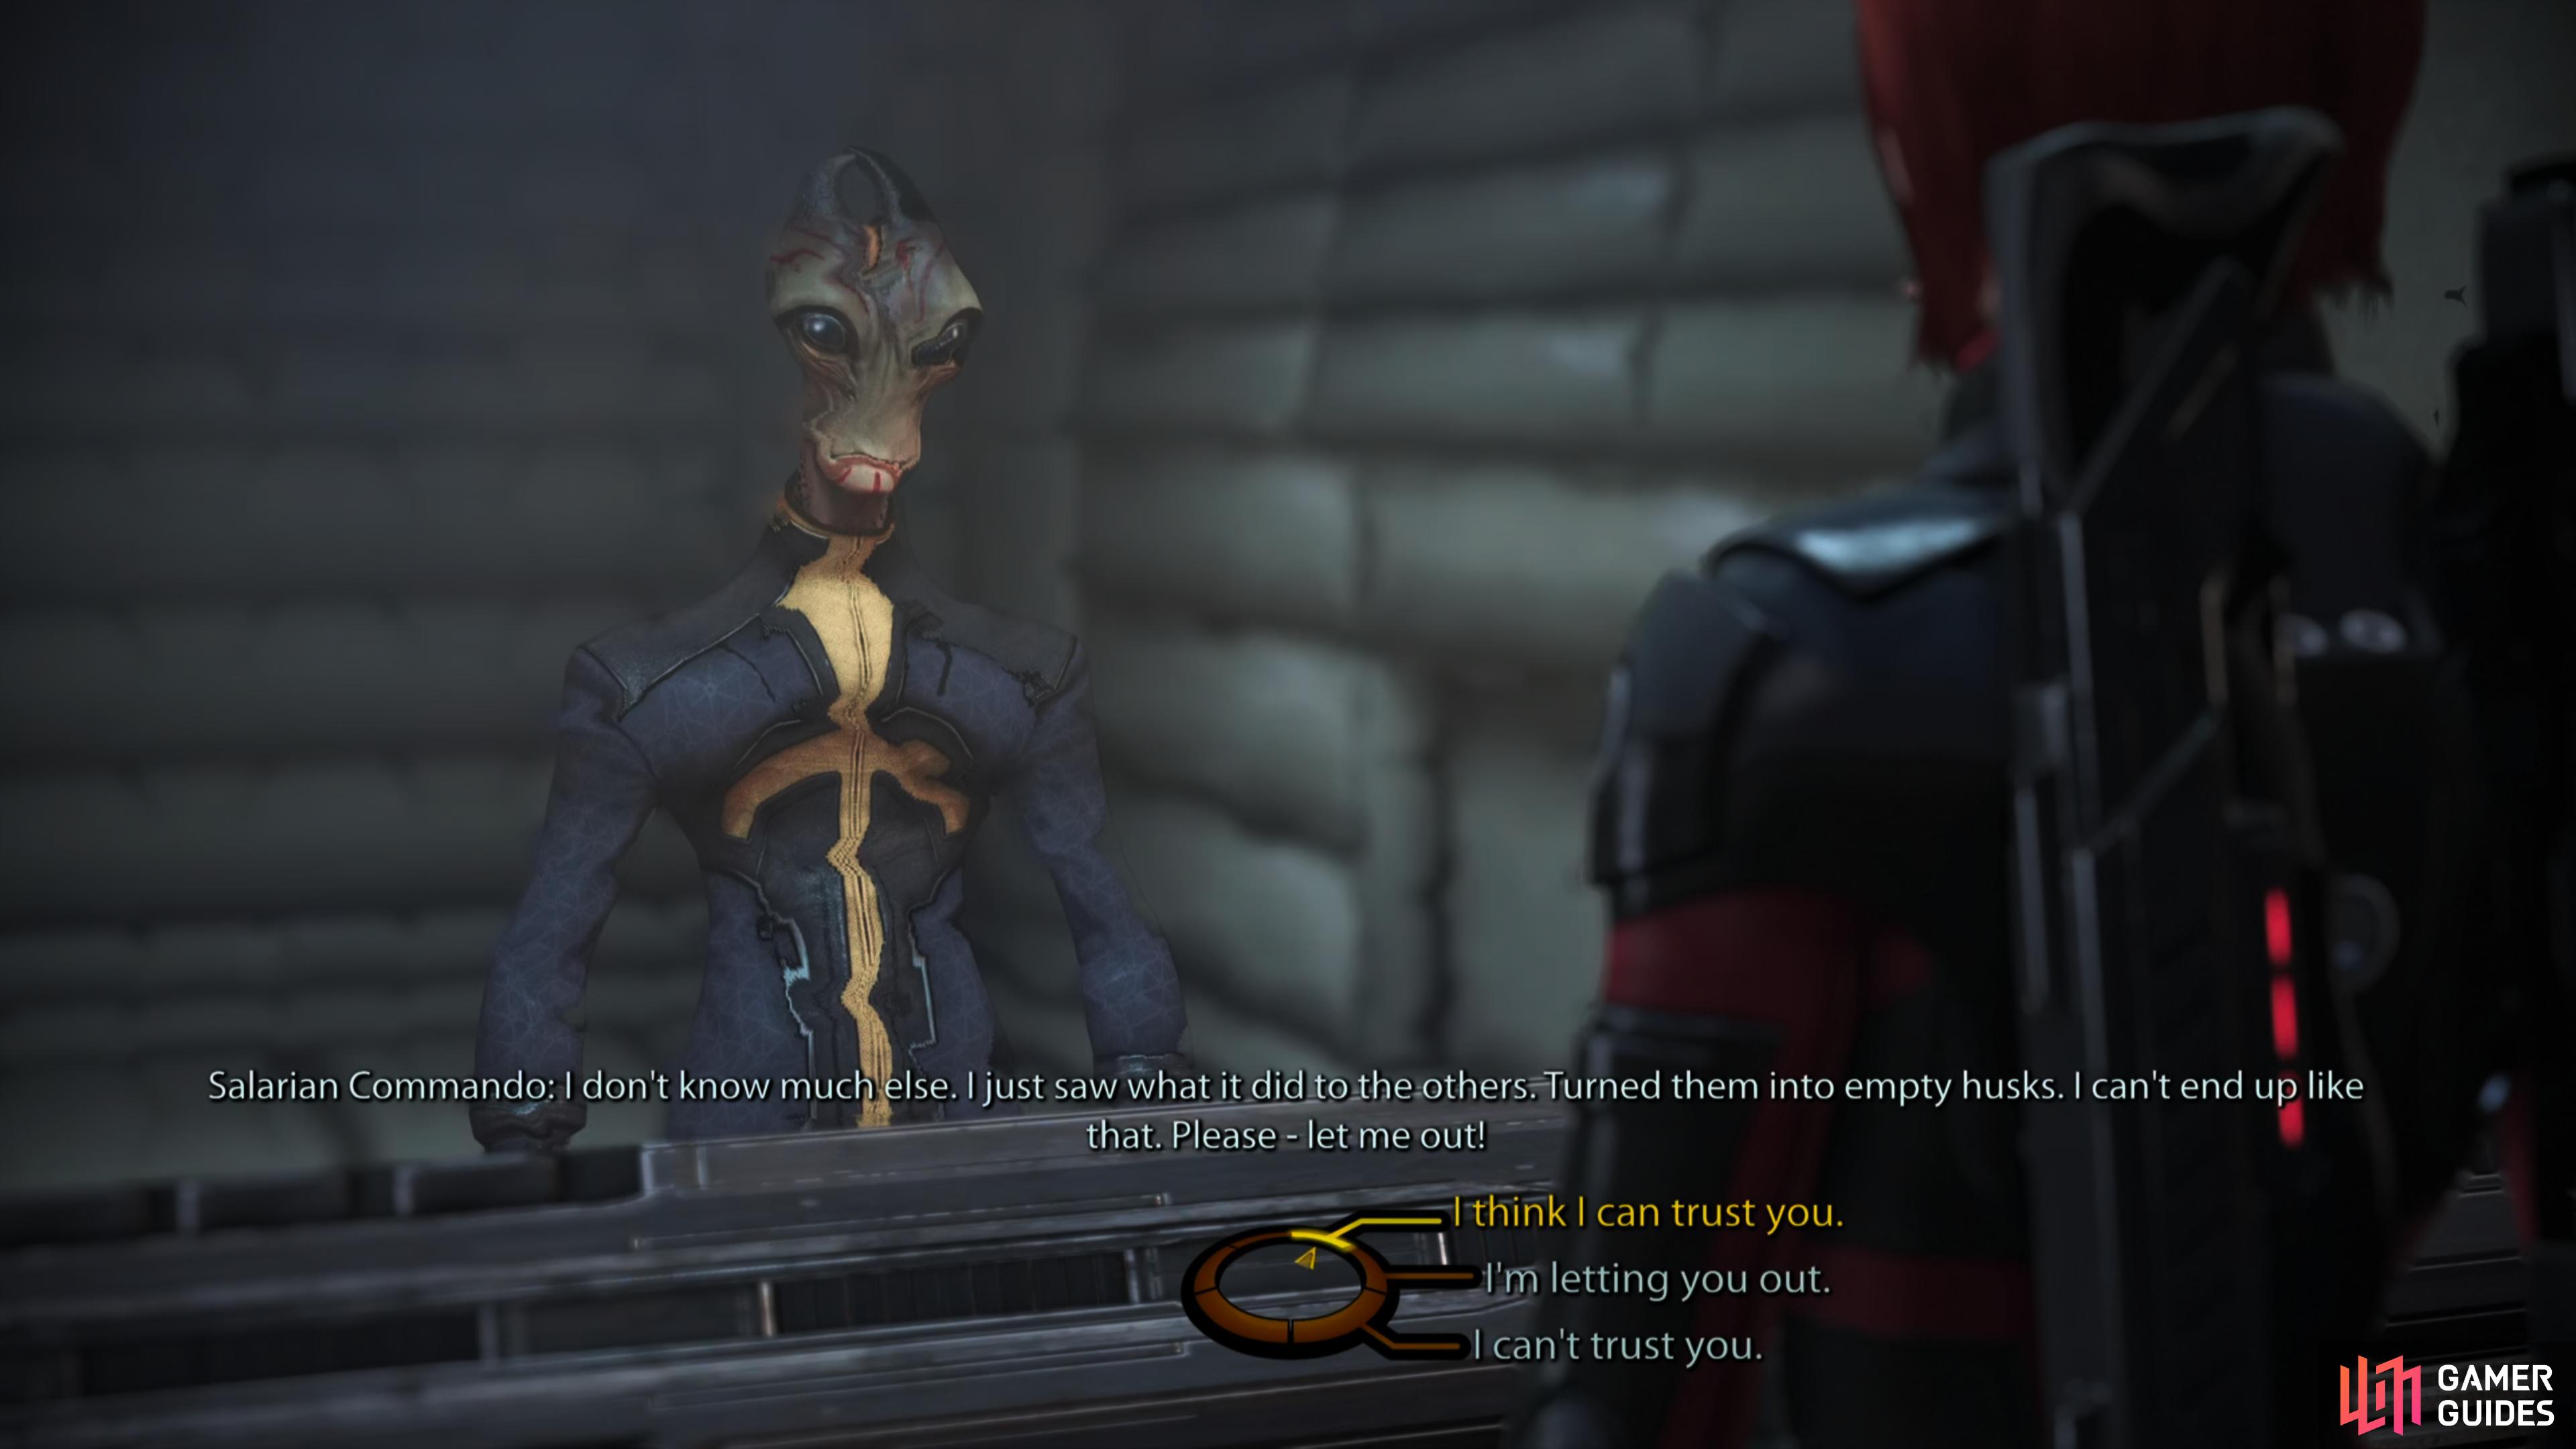
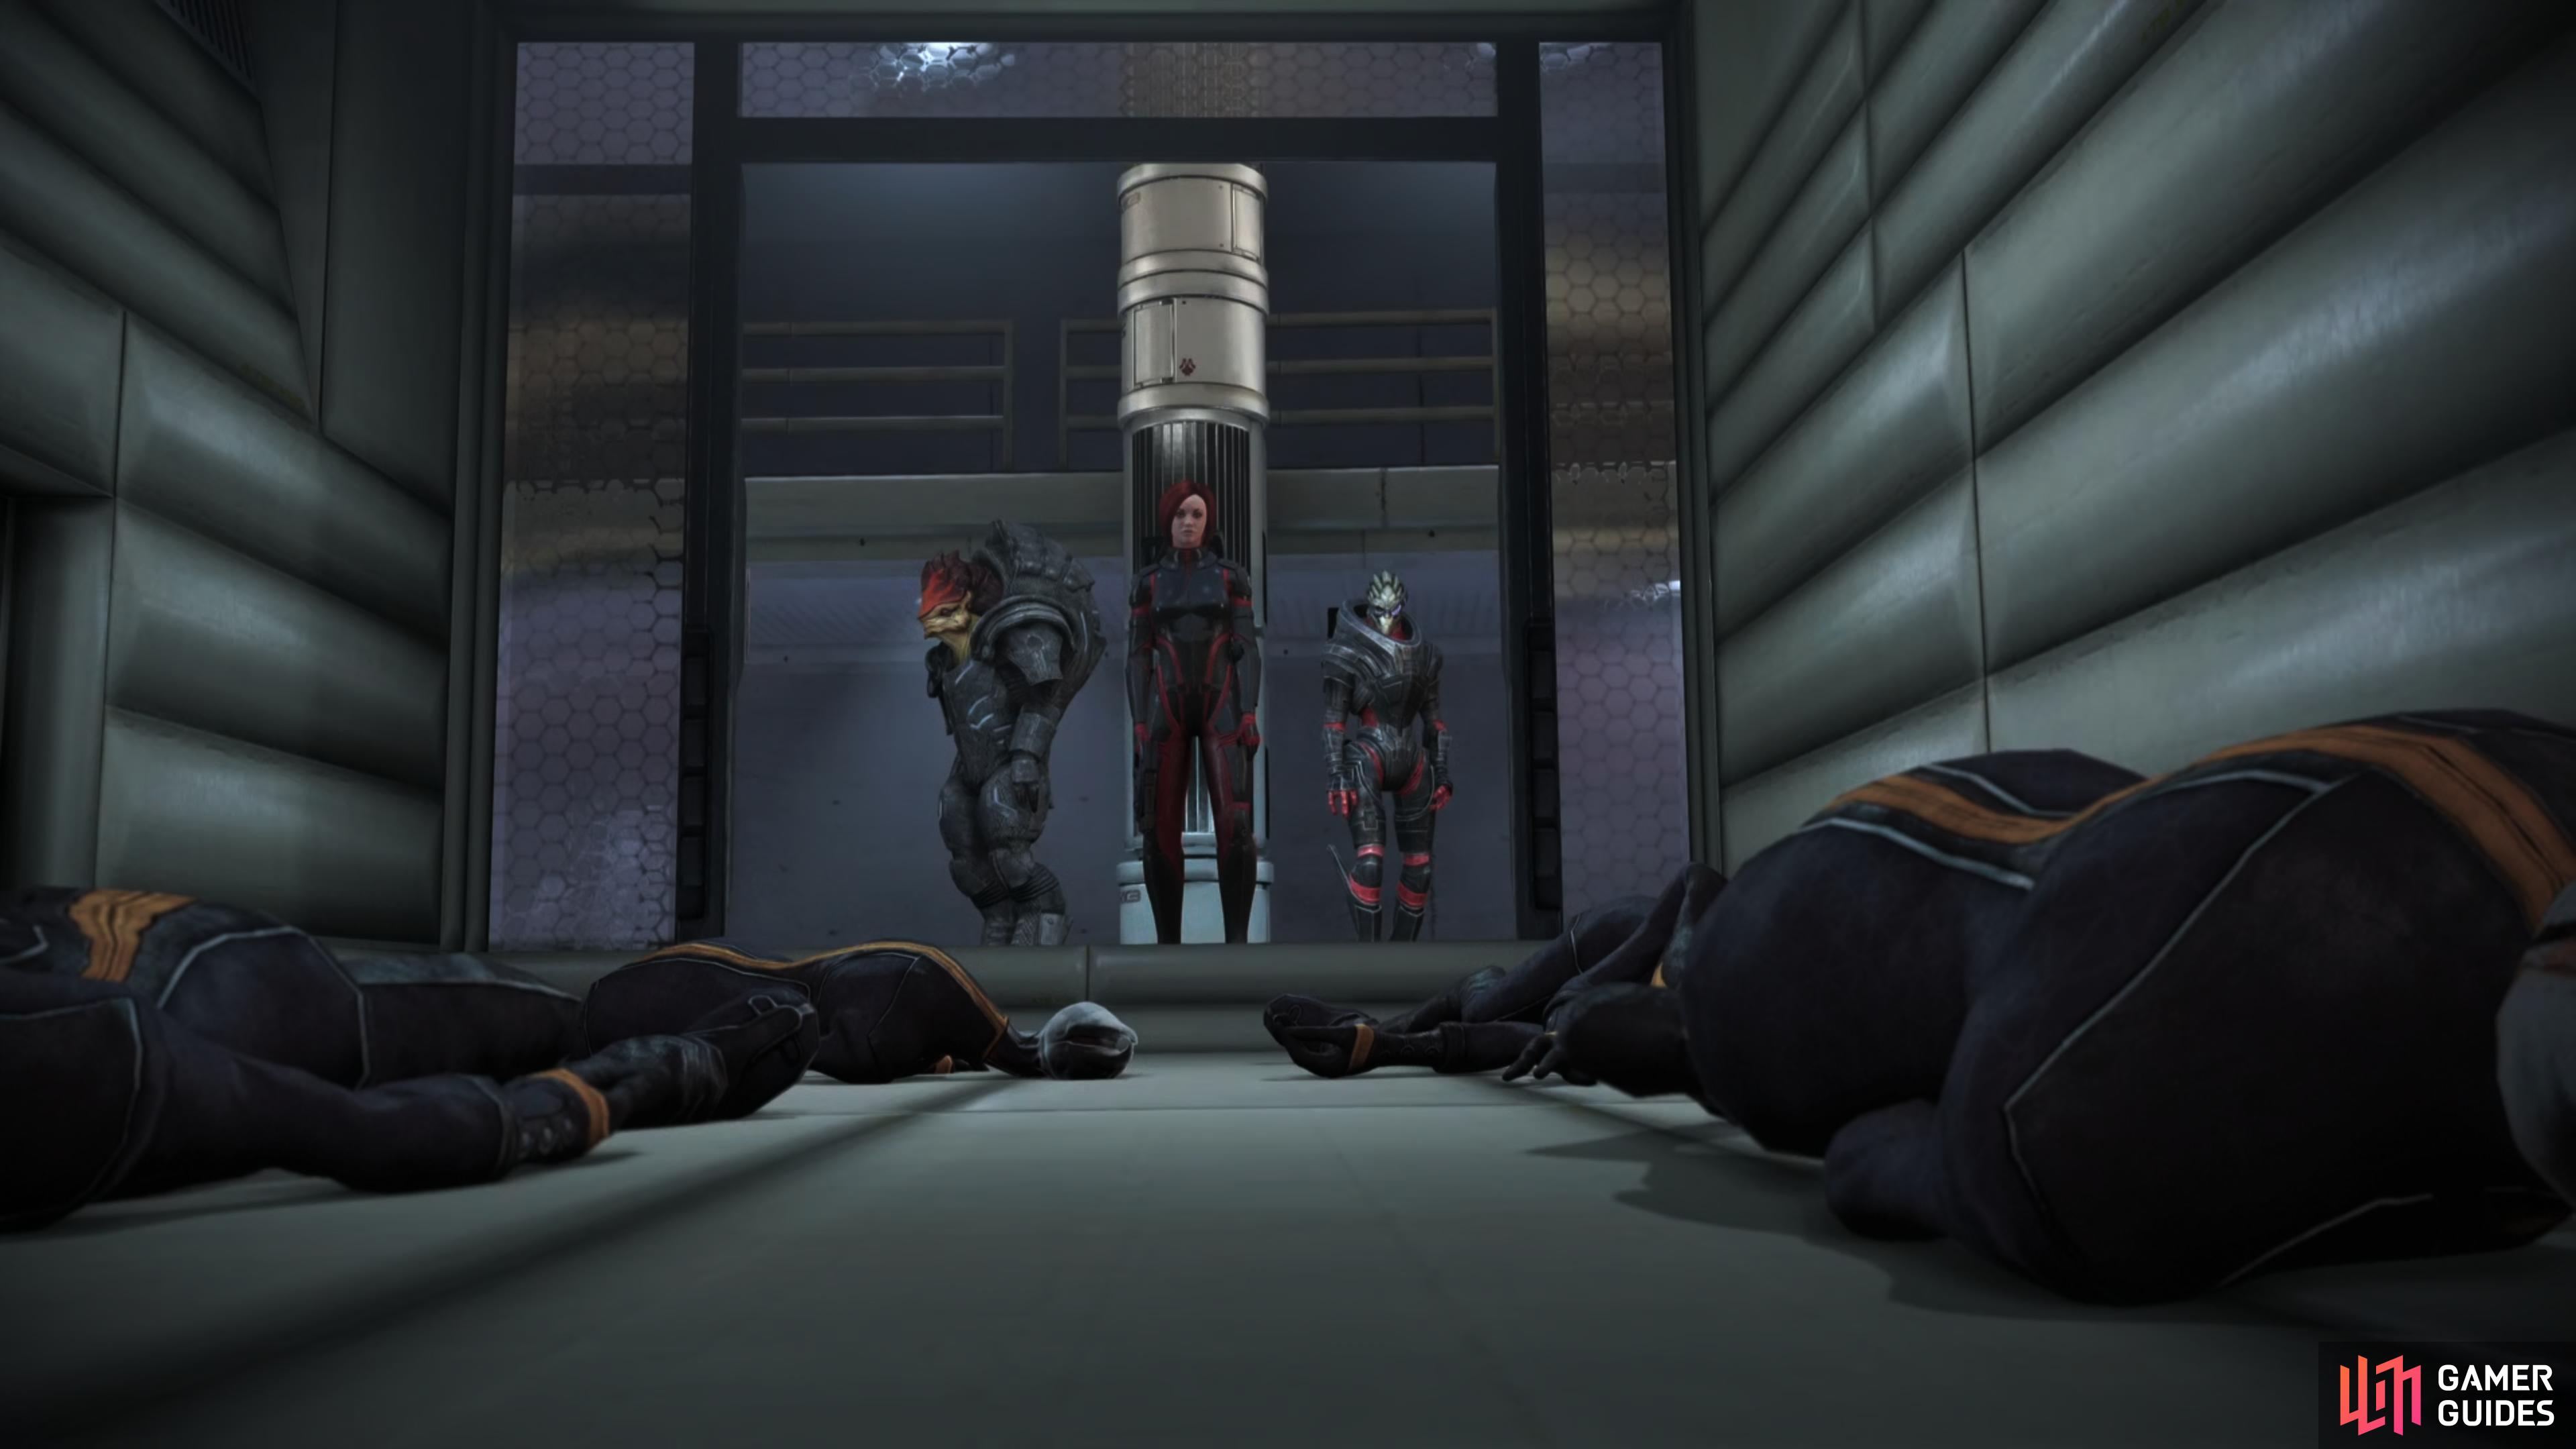
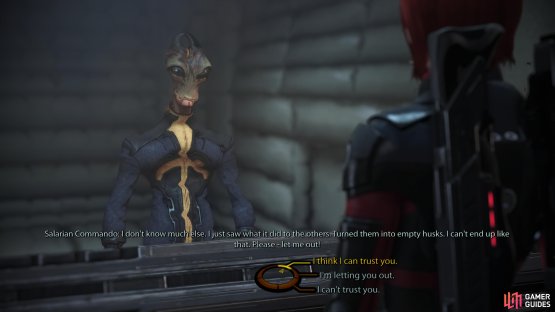
In Cell Block A you’ll get the chance to free a salarian captive. (left), Others, however, aren’t so lucky, and a mercy killing may be the best option. (right)
Cell Block A
If you go through the door to the northwest you’ll eventually reach “Cell Block A”. Interact with a door control and you’ll end up chatting with a Salarian Commando, who claims that he hasn’t yet been indoctrinated, unlike his fellows. Exhaust his dialog options, then you’ll have to choose to let him out or not. If you decline to free him, you’ll earn Renegade +9, although it should be noted that this decision isn’t final - you can talk to him again and subsequently opt to free him, earning you Paragon +2. There’s no reason why you can’t refuse, then talk to him again and free him for the maximum possible points.
| Paragon/Renegade |
|---|
| Renegade +9 |
| Paragon +2 |
After dealing with the still-sane commando, interact with an adjacent cell to find some less fortunate salarians. Your companions encourage you to put them out of their misery, but you can free them for Paragon +2, or gun them down for Renegade +2.
| Paragon/Renegade |
|---|
| Paragon +2 or Renegade +2 |
Neither of these choices have long-term consequences, so make whatever choice you wish for the points it rewards.
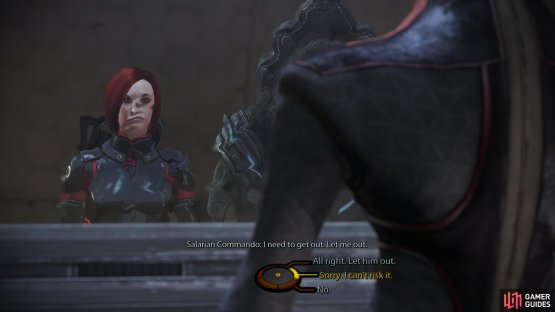
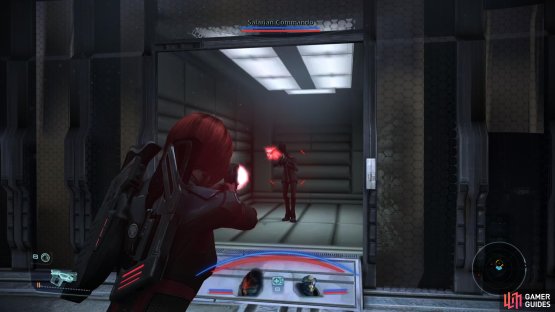
(1 of 2) In Cell Block B, a less sane salarian will beg for freedom,
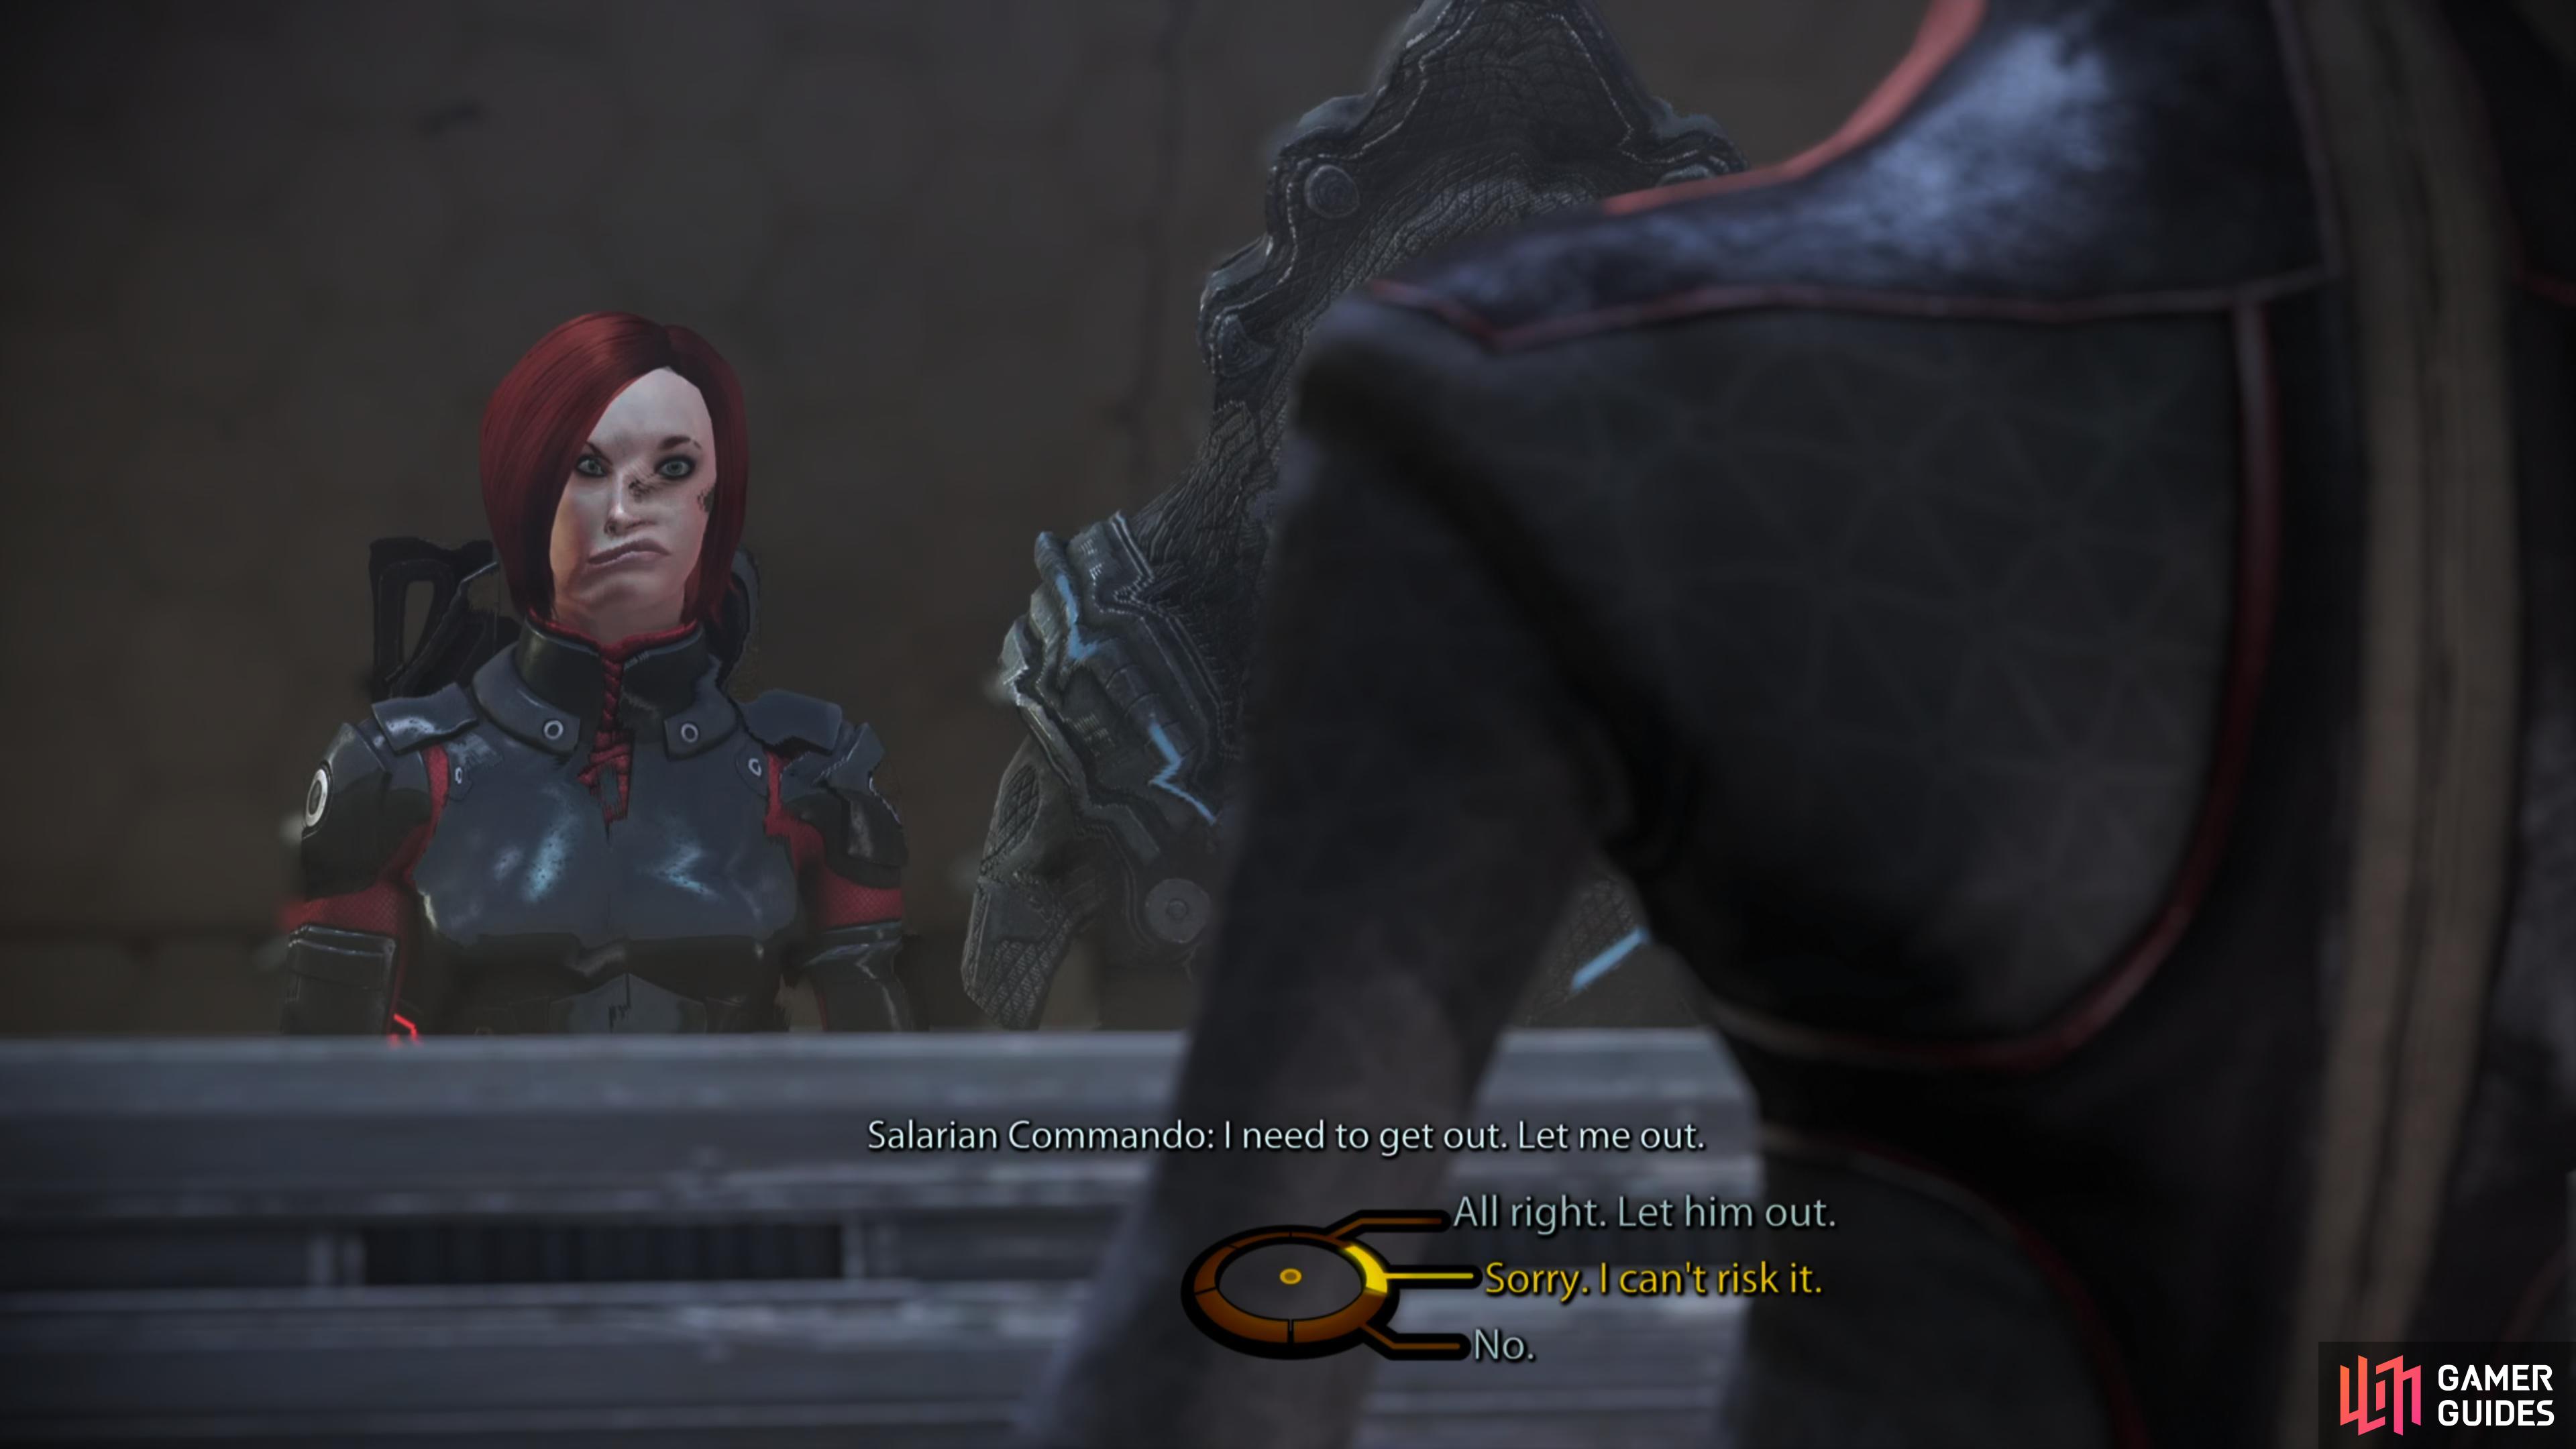
In Cell Block B, a less sane salarian will beg for freedom, (left), and if you grant it, he’ll attack. (right)
Cell Block B
If you head southwest from the Security Office you’ll find yourself in Cell Block B, which has three occupied cells you can examine. Only the middle one is worth the effort, however, as you’l find yourself chatting with a Salarian Command named Private Menos Avot. He’s… not in as good a shape as the talkative Salarian Commando in Cell Block A, and if you ignore the cues and set him free, he’ll attack, along with the other two captive salarians., although you’ll earn Paragon +8 for your good deed. If you refuse to free him, he’ll… well, he’ll take care of himself. This will earn you Renegade +2.
| Paragon/Renegade |
|---|
| Paragon +8 or Renegade +2 |


(1 of 2) Like the northern entrance, the southern entrance is guarded by indoctrinated salarians.
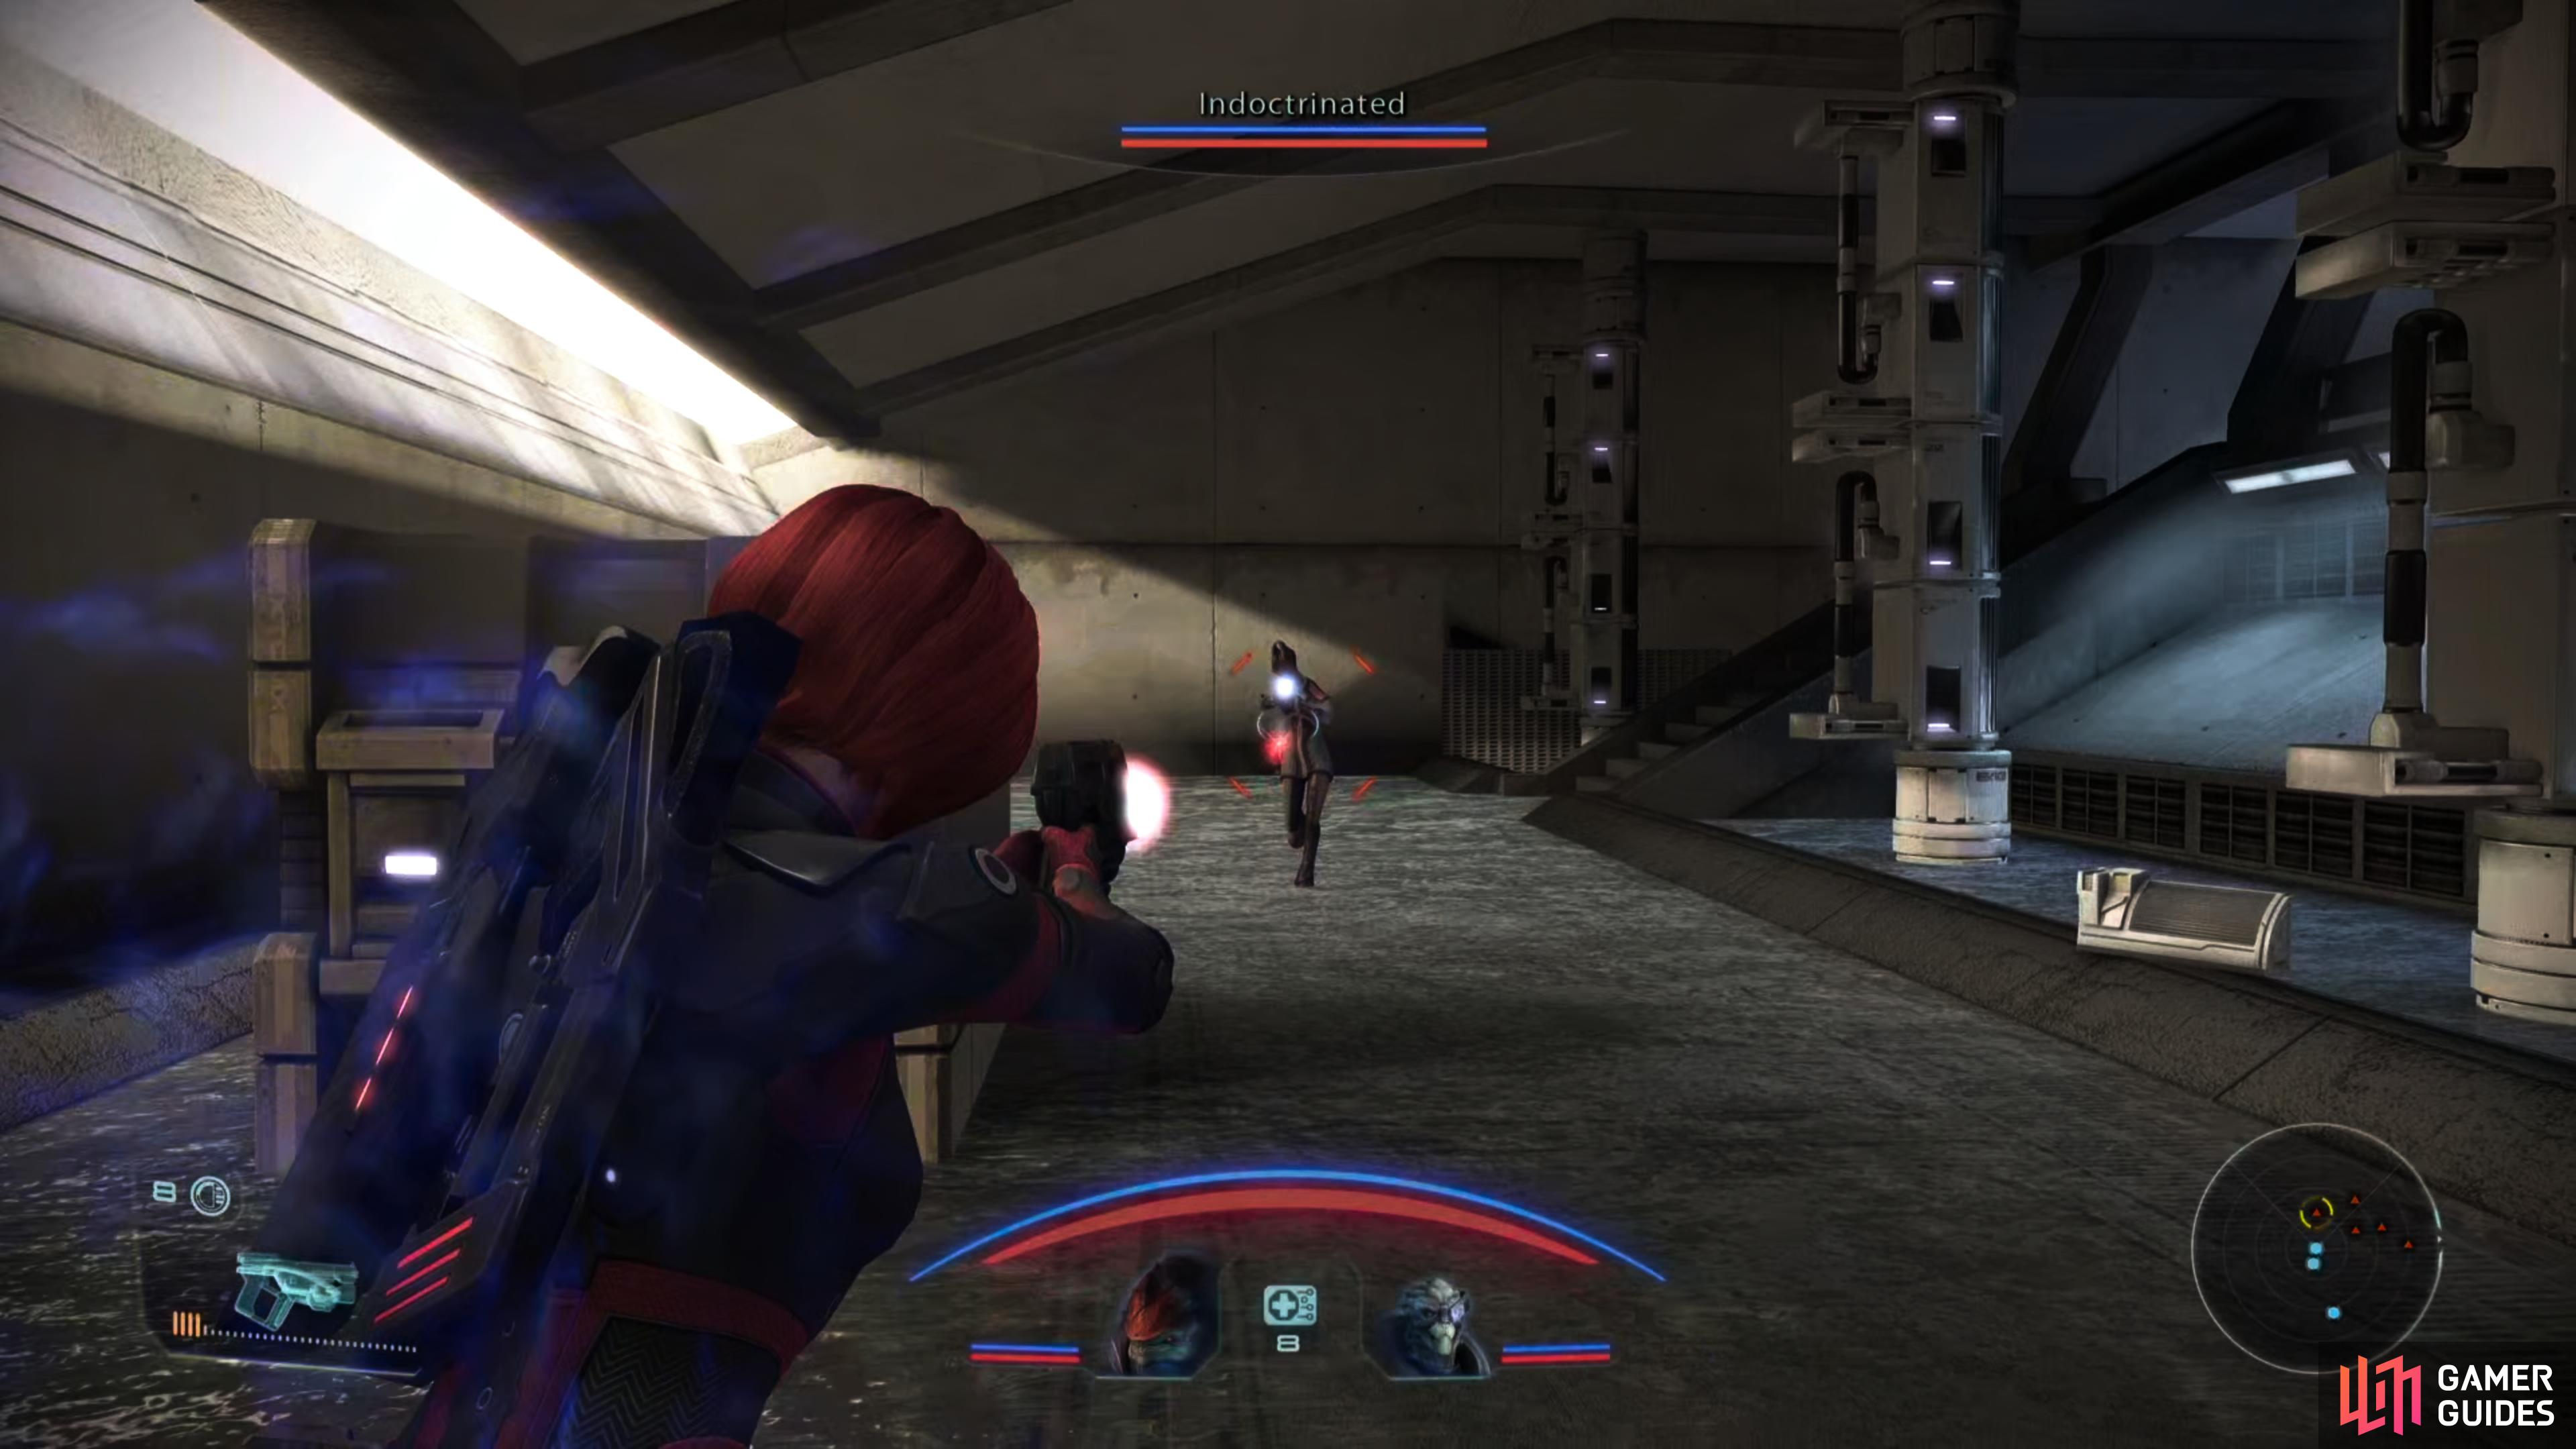
Like the northern entrance, the southern entrance is guarded by indoctrinated salarians. (left), Instead of geth backup, however, all you’ll find beyond the salarians is loot. A definite upgrade. (right)
Storage Room
This is where you’ll enter if you took the southern entrance from the base approach area. You can also get here by heading southwest from Cell Block B and descending some stairs.
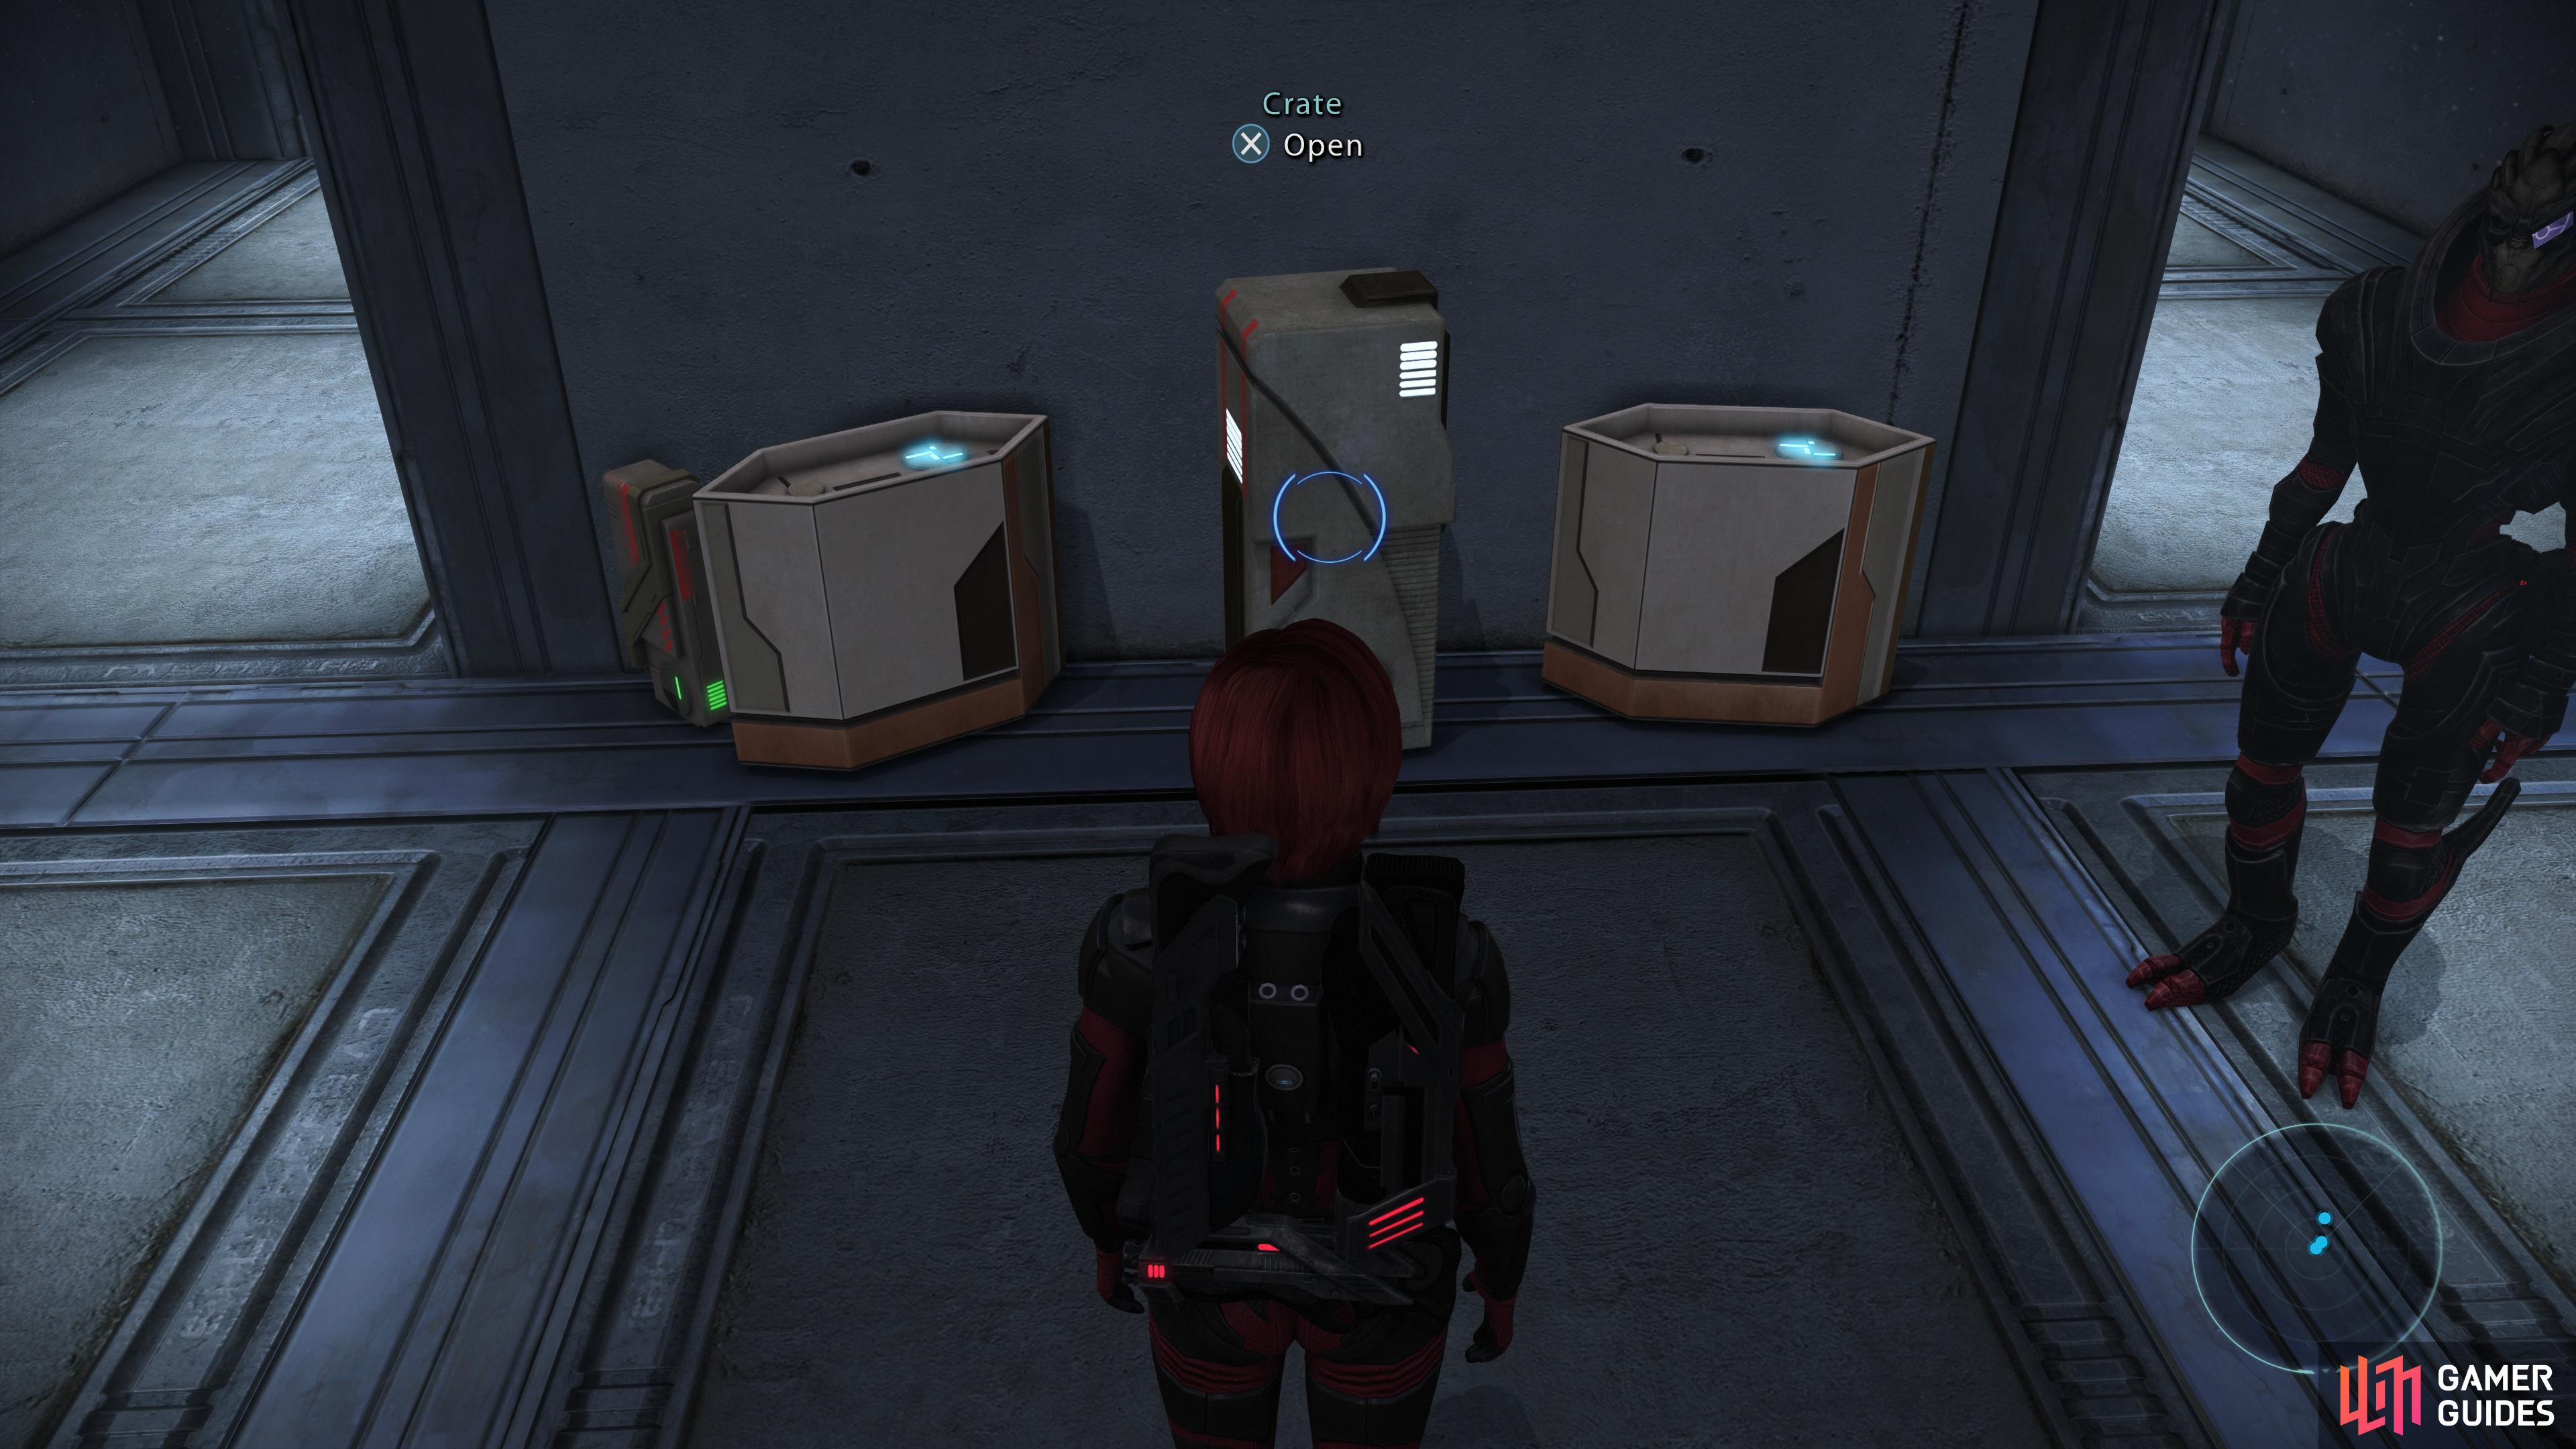
In the upstairs area you’ll find two “Indoctrinated” salarians and an Aid Station, while downstairs you’ll find four Crates you can loot. Should you have entered via the northern entrance (entering into the Warehouse, above), make sure to go through the door to the south to reach the “Maintenance Bay” area, where you’ll find more Indoctrinated and a Technician Kit.

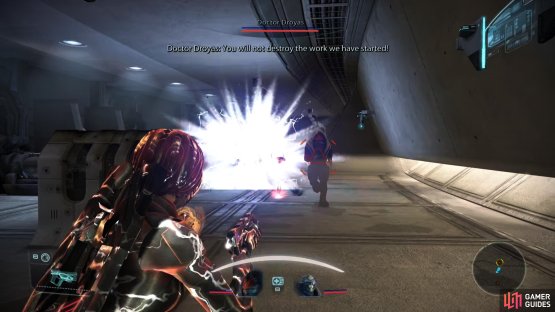
(1 of 2) Wake up - and put down - some Geth Husks,

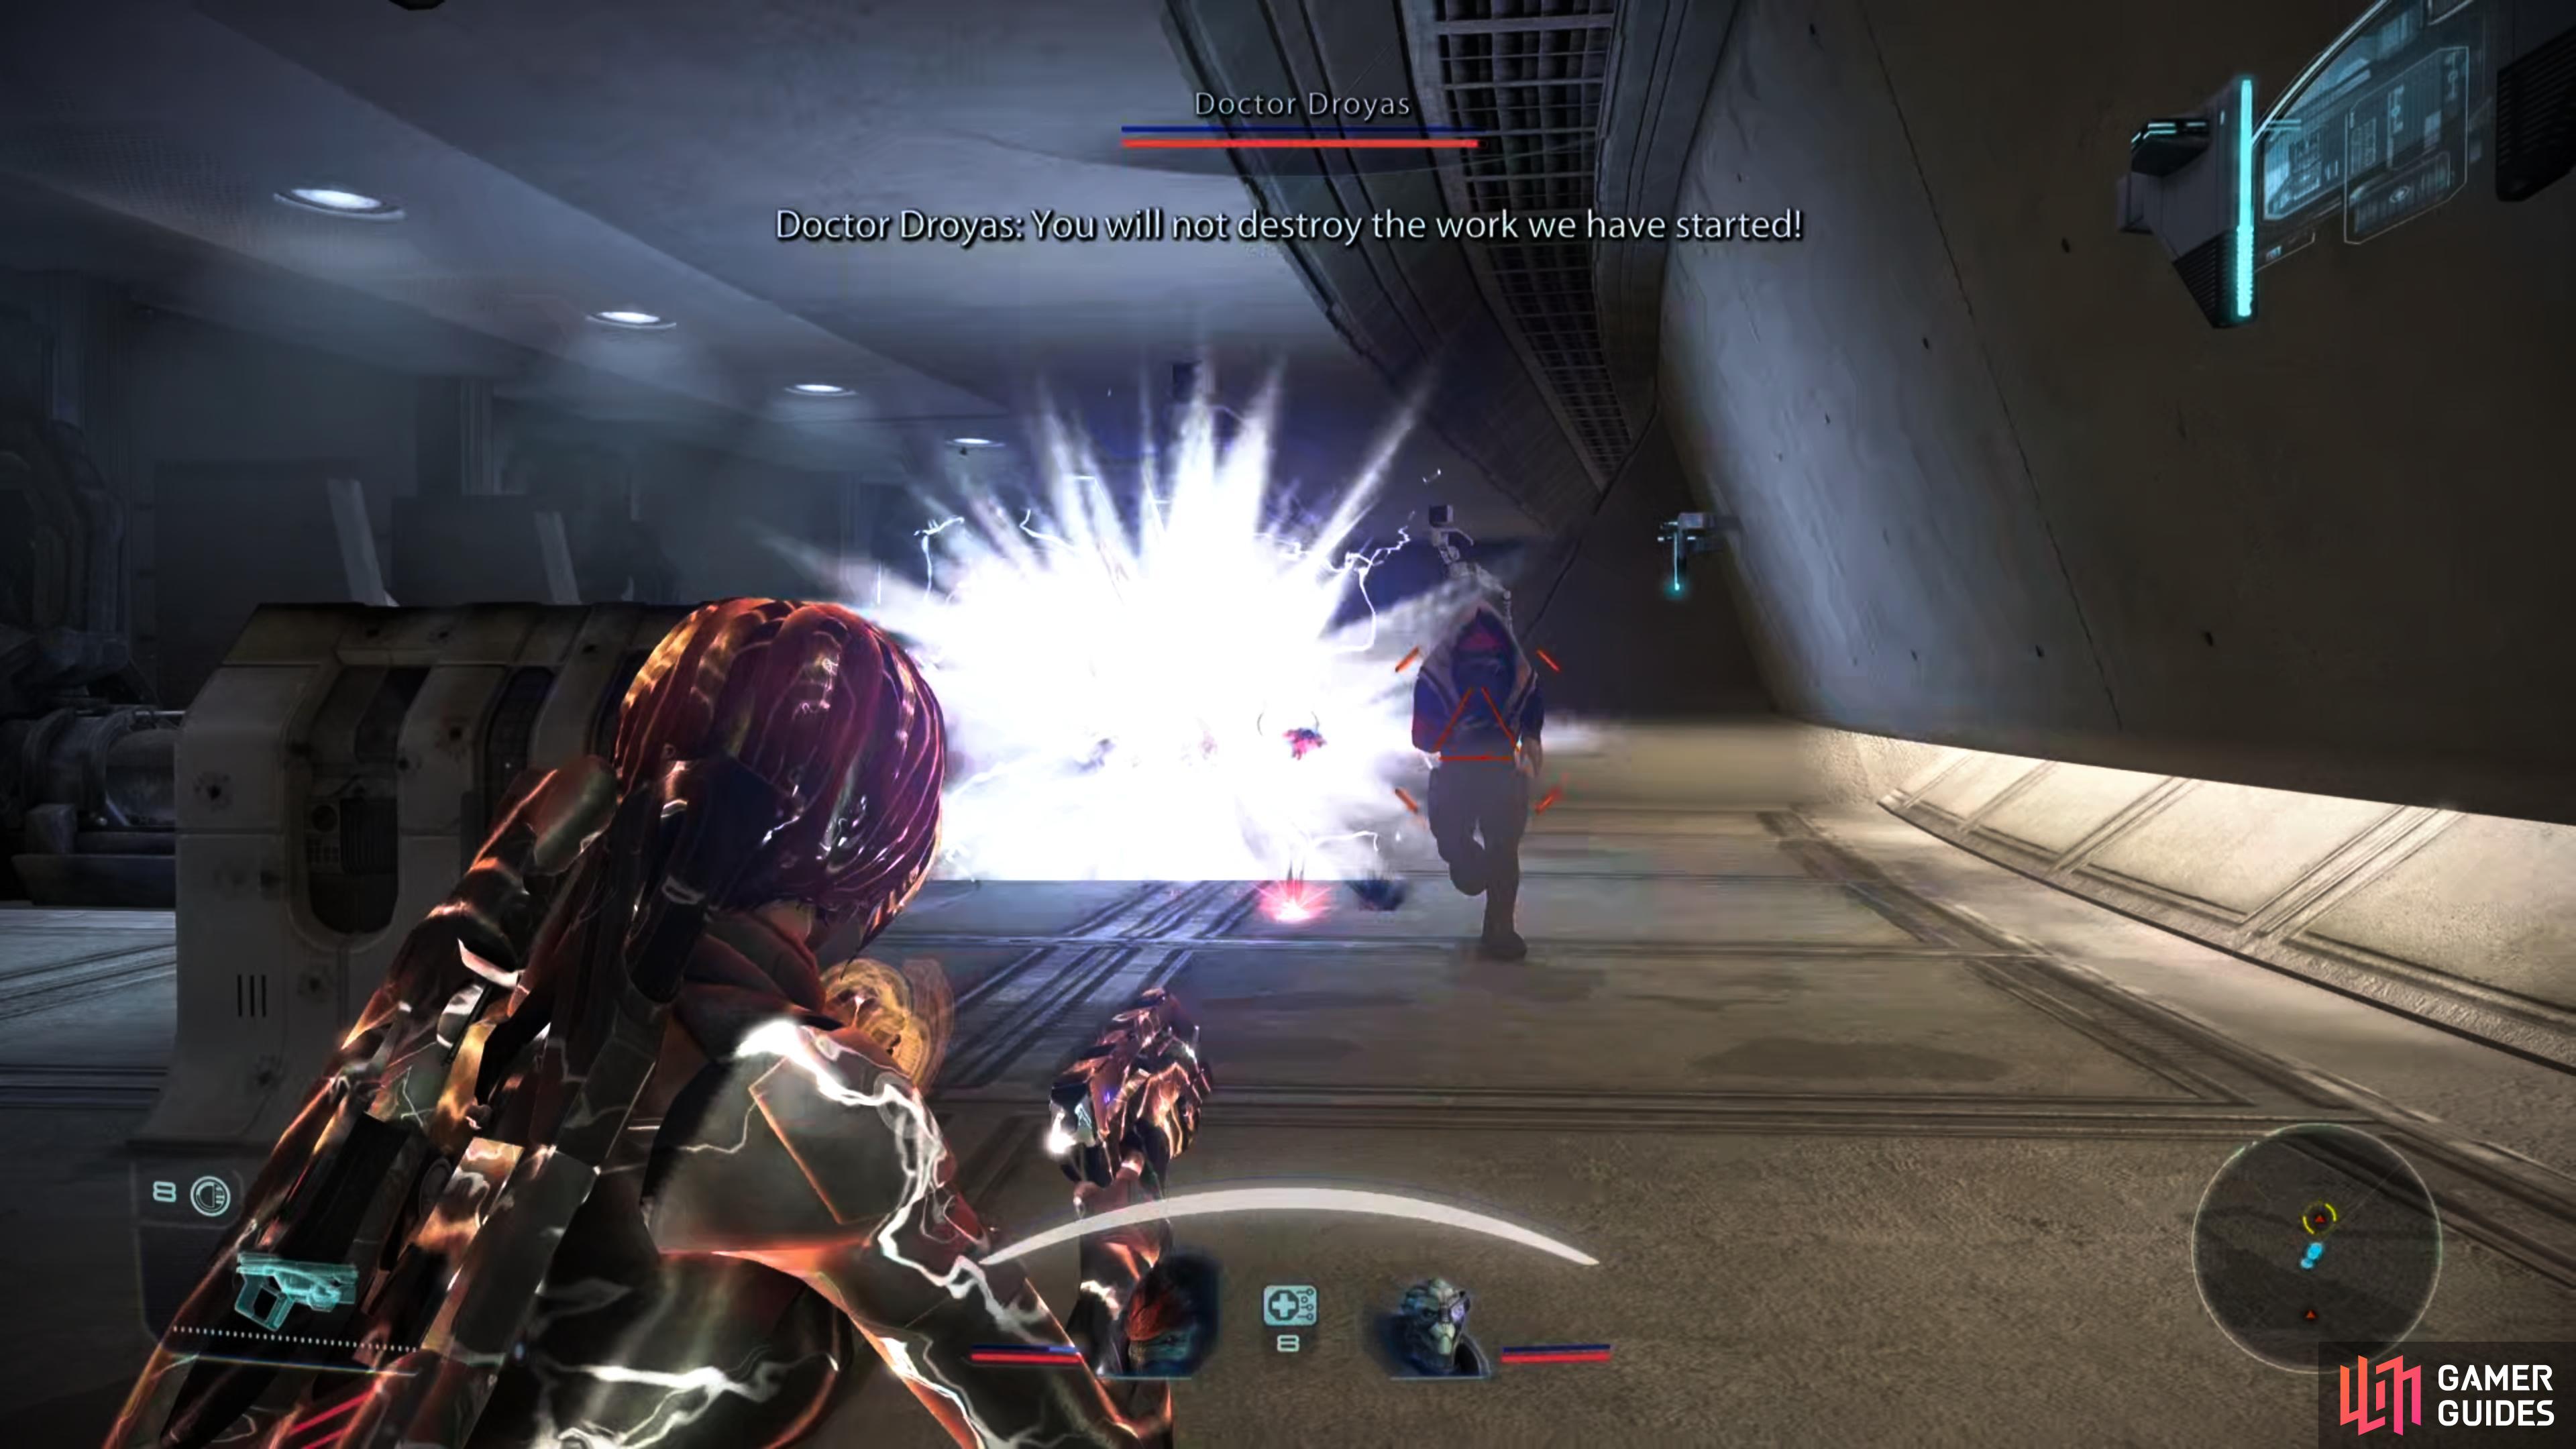
Wake up - and put down - some Geth Husks, (left), then deal with Doctor Droyas and his assistant. (right)
Genophage Labs
Once you’re ready to move on make your way back to the “Security Office” and ride the elevator up to find yourself in a laboratory. Notice the Geth Husks in stasis - don’t expect them to remain there - and press on to the north until you draw the attention - and ire - of Doctor Droyas (a rare krogan scientist) and a Scientist (an asari capable of using Immunity).
Interact with the “Stasis Console” restraining the nearby Geth Husk and quickly retreat, focusing your attention on the Husk until it’s defeated. This will provoke the other aforementioned enemies in the lab, including two more Husks. Use Damping on the Scientist to neutralize her abilities, if you can, but be wary of Droyas, as he can use technical abilities (as befitting a scientist) against you. He likes to lead with Damping, after which he’s keen on charging into melee.
Clear the lab, then loot a table near the elevator to find a Wetware Kit and an Upgrade Kit, then loot a Medical Station [Easy] along the northernmost wall.
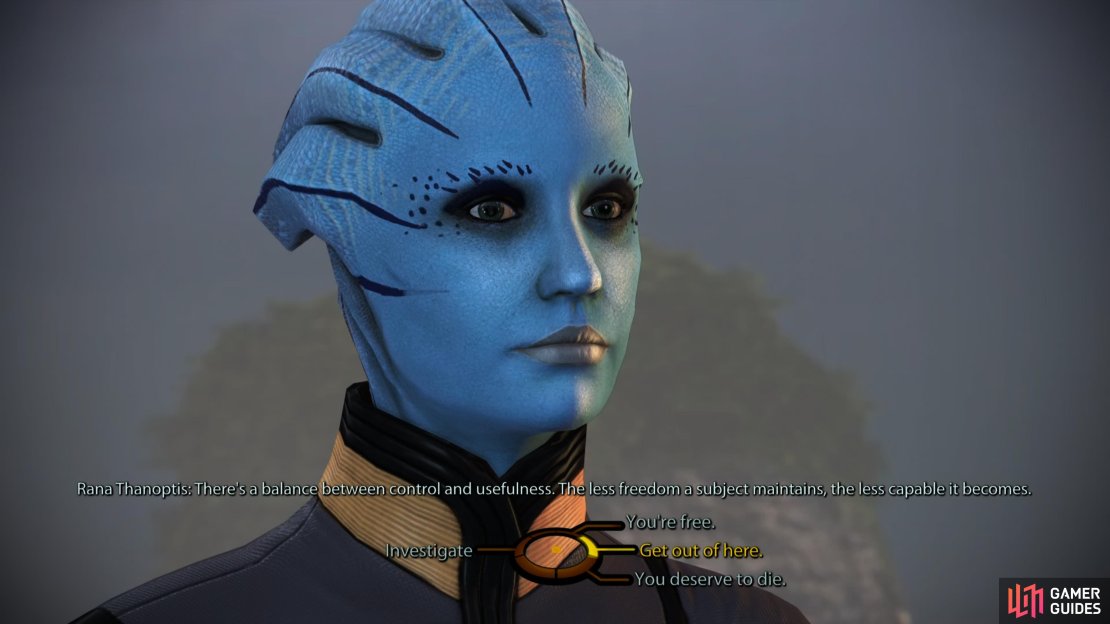
(1 of 3) Decide the fate of Rana Thanoptis,
Rana Thanoptis
When you’re done in the lab, go through a door to the northwest to reach the exterior. Take a left (southwest) and follow the walkway to reach a door guarded by two Geth Troopers. Sweep them aside, and go through the door to reach a room wherein an asari named Rana Thanoptis cowers. Say what you wish and she’ll open the way forward, after which you’ll have to choose whether to let Rana go, or execute her.
Letting her go will earn you nothing, and while she doesn’t play a major role in future games, the snippets of lore you get makes it clear she wasn’t innocent, and doesn’t reform. On the other hand, if you gun her down you’ll earn Renegade +9.
| Paragon/Renegade |
|---|
| Renegade +9 |
After Rana is gone, search an Intel Report terminal [Easy] for a Codex, then loot a Secure Weapon Locker [Average].
| Codex Entries |
|---|
| Secondary - Ships and Vehicles / Weapons: Disruptor Torpedoes |
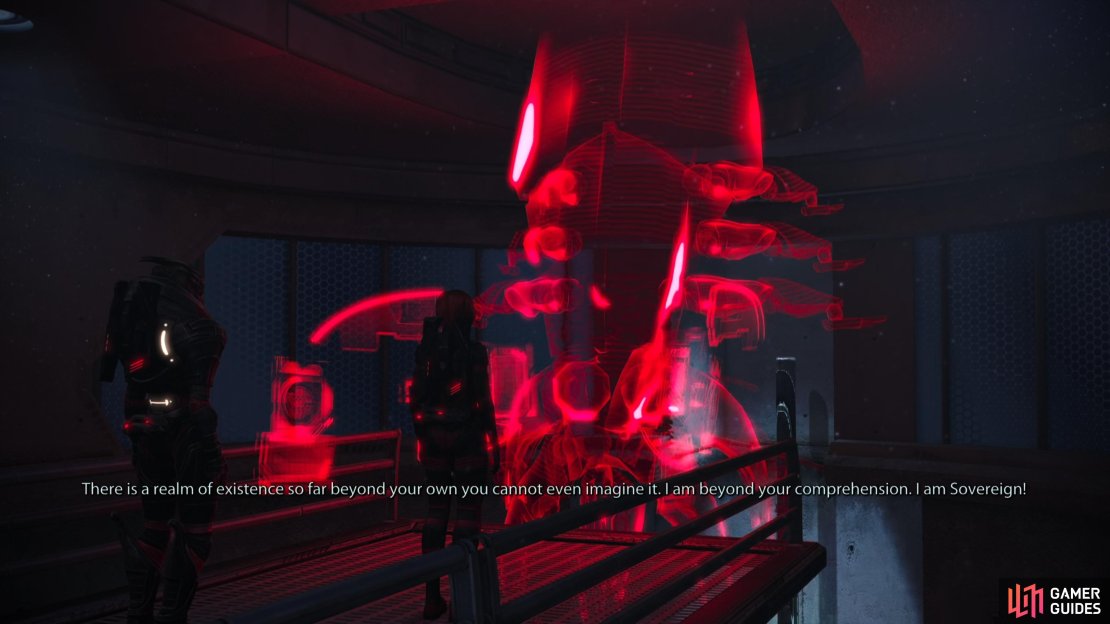
Communications Tower
Go through the door Rana opened (southwest), cross a bridge, go through another door, ride an elevator down, then go through another door to reach a “Communications Tower” room. Go down a ramp and interact with a Communications Panel and after some scenes head back up the ramp to find yourself in a conversation with Sovereign, of all things. Respond how you will and afterwards you’ll get a transmission from Joker, informing you of a complication.
Looks like we need to blow this place quickly.
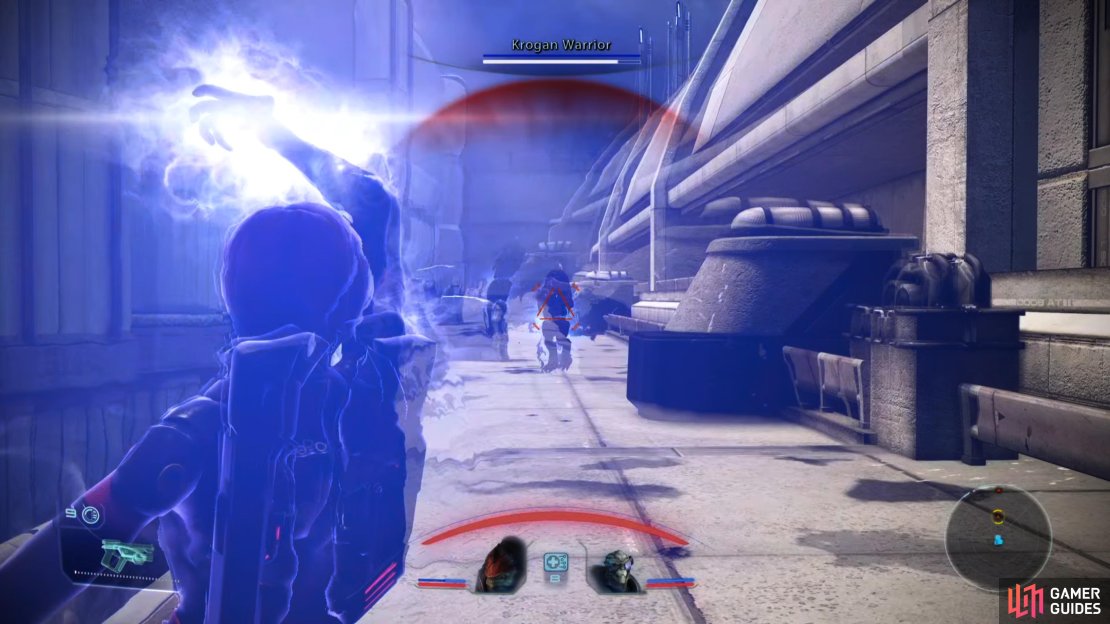
Backtrack to the room where you encountered Rana Thanoptis, killing a Geth Destroyer along the way, then exit back outside to find a bridge has lowered, allowing you to progress to the northeast. Kill three Krogan Warriors guarding the walkway ahead, then continue through the tunnel beyond them until you’re back outside.
You’ve finally reach the Base Main Level area. Just a few more fights and one major decision to go…
No Comments