
Virmire is a mission that becomes available after you complete two of the three core missions: Therum, Feros or Noveria. It doesn’t matter what order or in what combination you choose to complete two of these three core missions, after any two you’ll get a transmission from the Council informing you of the opportunity for mischief on Virmire. While you can technically attempt this mission before completing the third and final core mission, we recommend saving for Virmire last due to story events that take place during this mission.
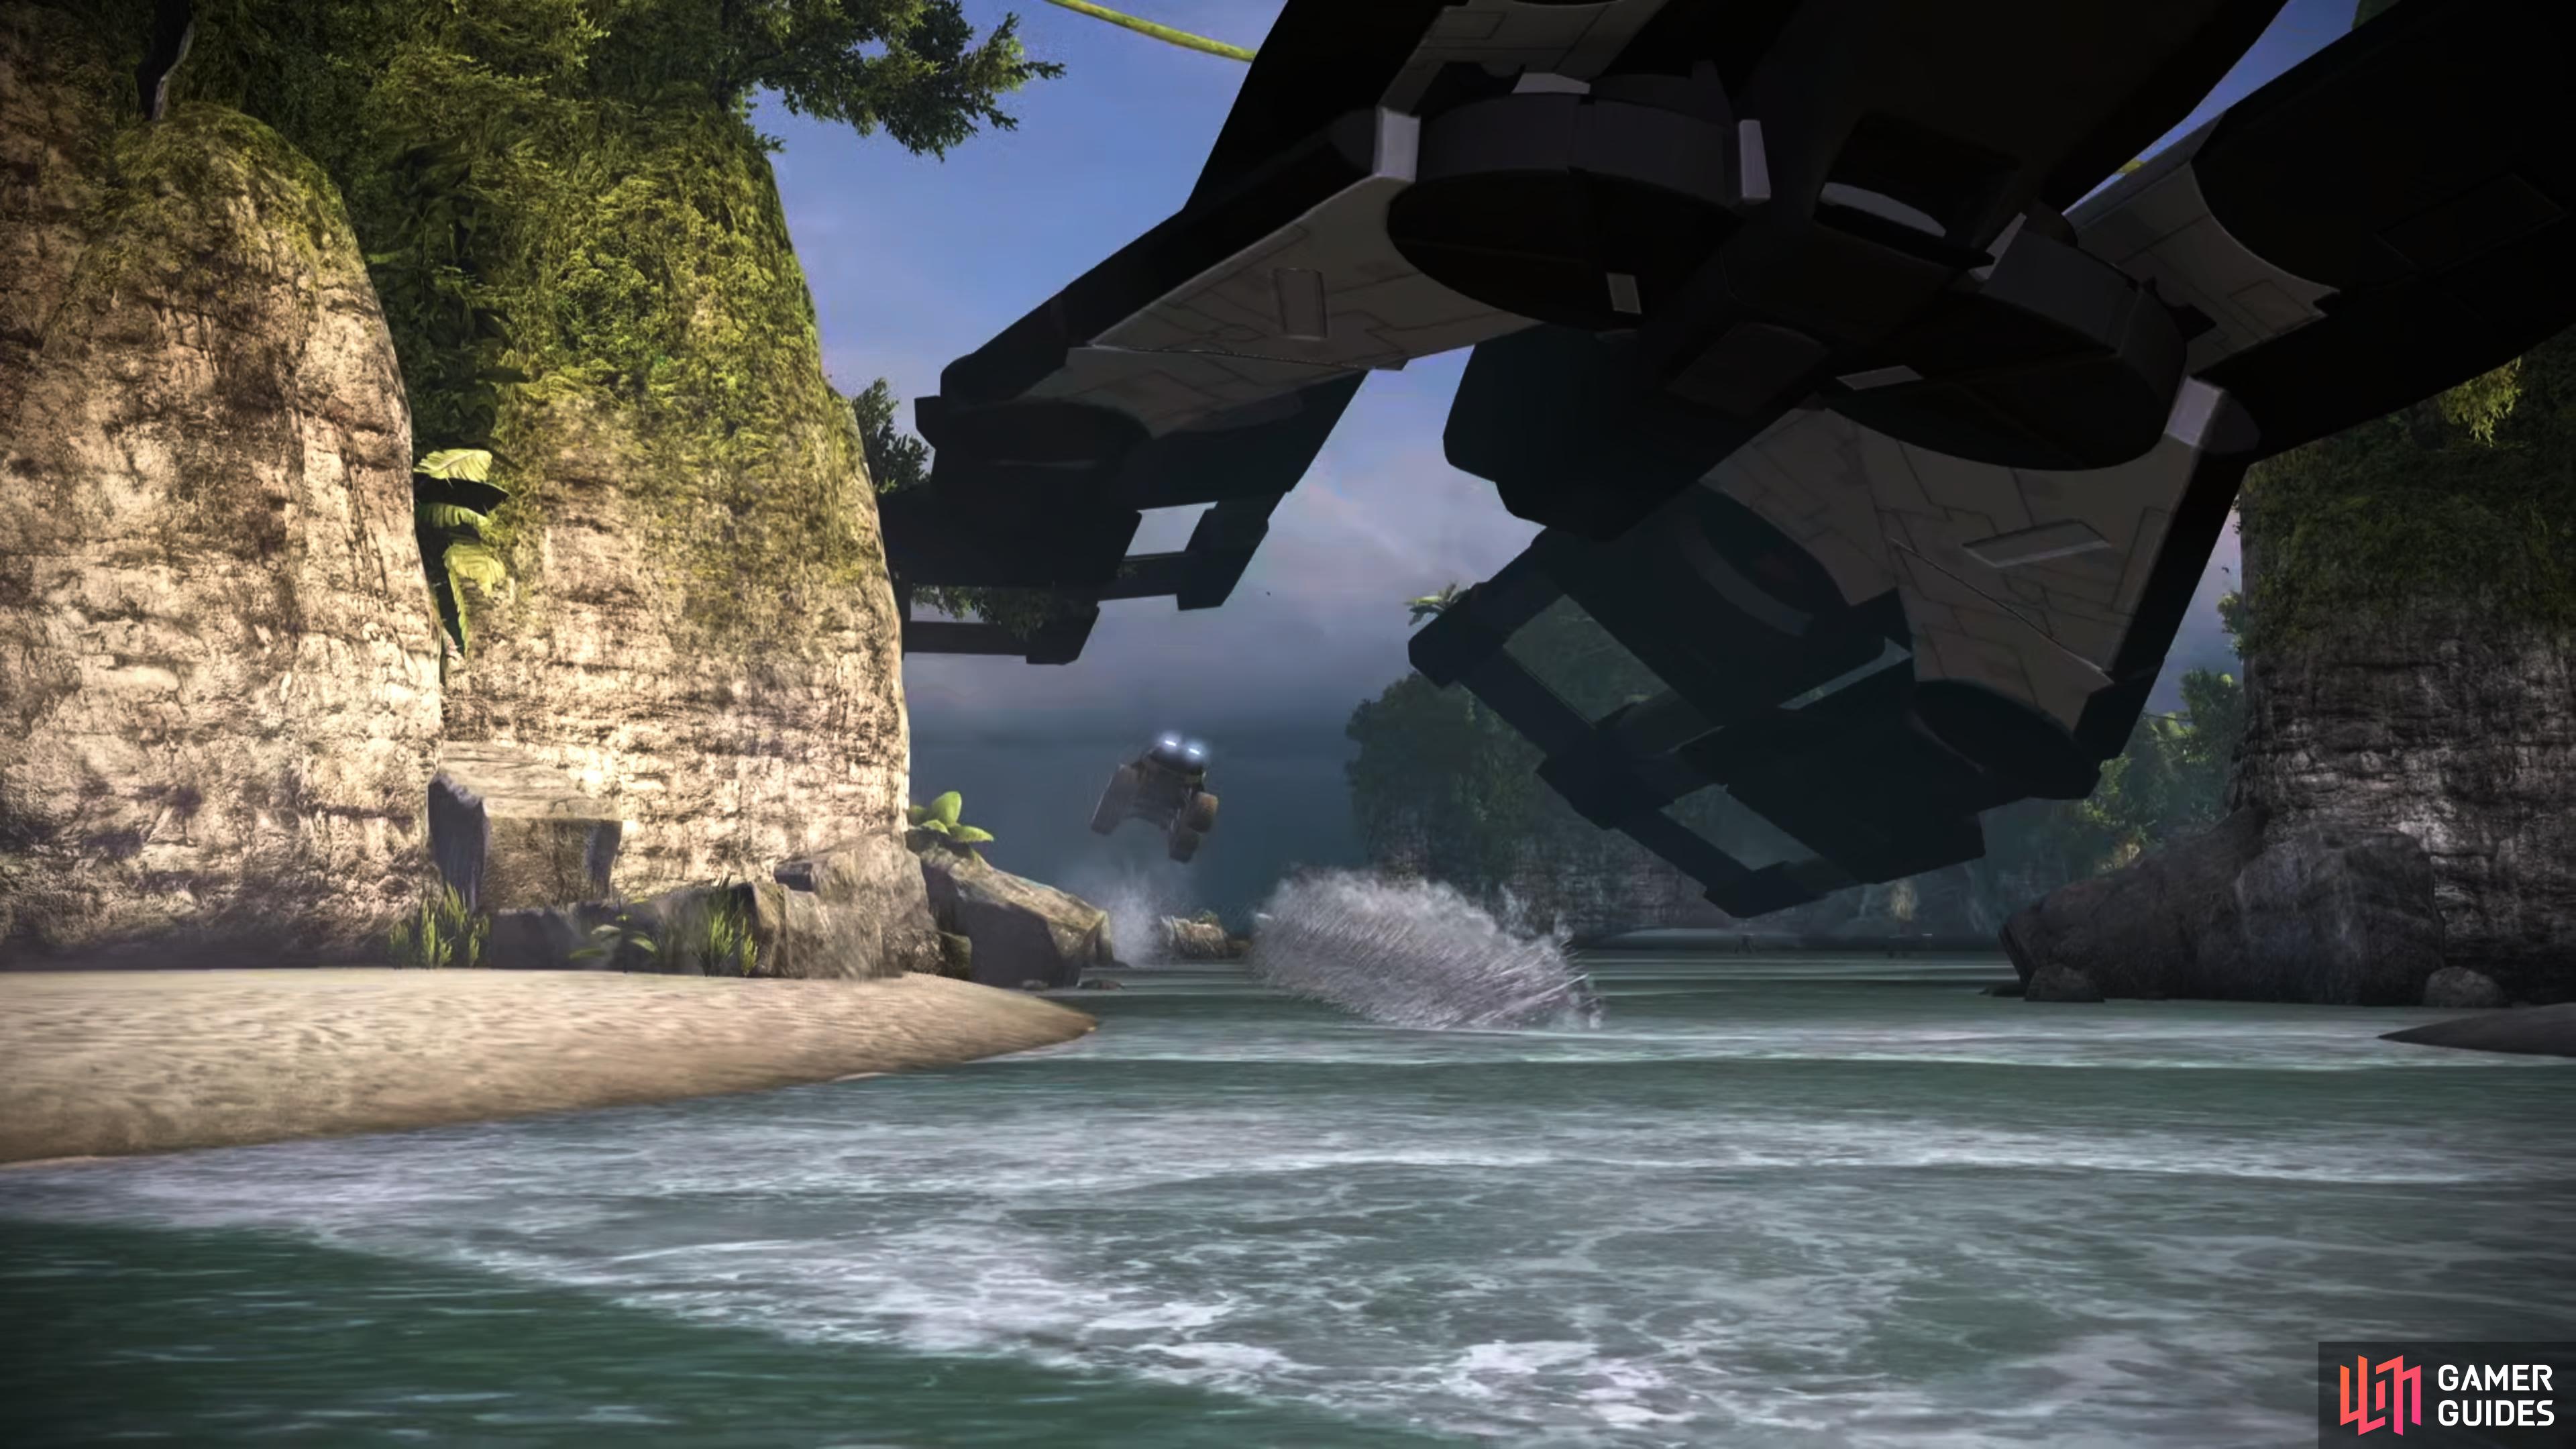
You’ll make a rough landing in hostile territory on Virmire.
When you’re ready to investigate Virmire, travel to the Hoc system in the Sentury Omega cluster. Before you commit, it’s strongly advised that you complete the assignment Wrex: Family Armor, as it’ll make some planet-side complicated internal diplomacy easier to resolve. Also, you might want to remove any gear you don’t want to lose from Kaiden and Ashley - one of them is getting left behind on Virmire, along with any gear they have equipped at the time.
(1 of 2) Fight your way through to various Gatehouses,

Fight your way through to various Gatehouses, (left), and clear out the geth garrisons there. (right)
Disable the AA Tower
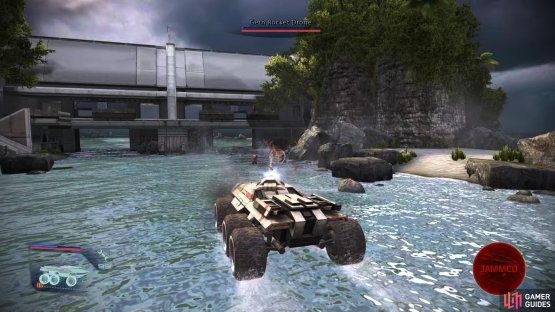
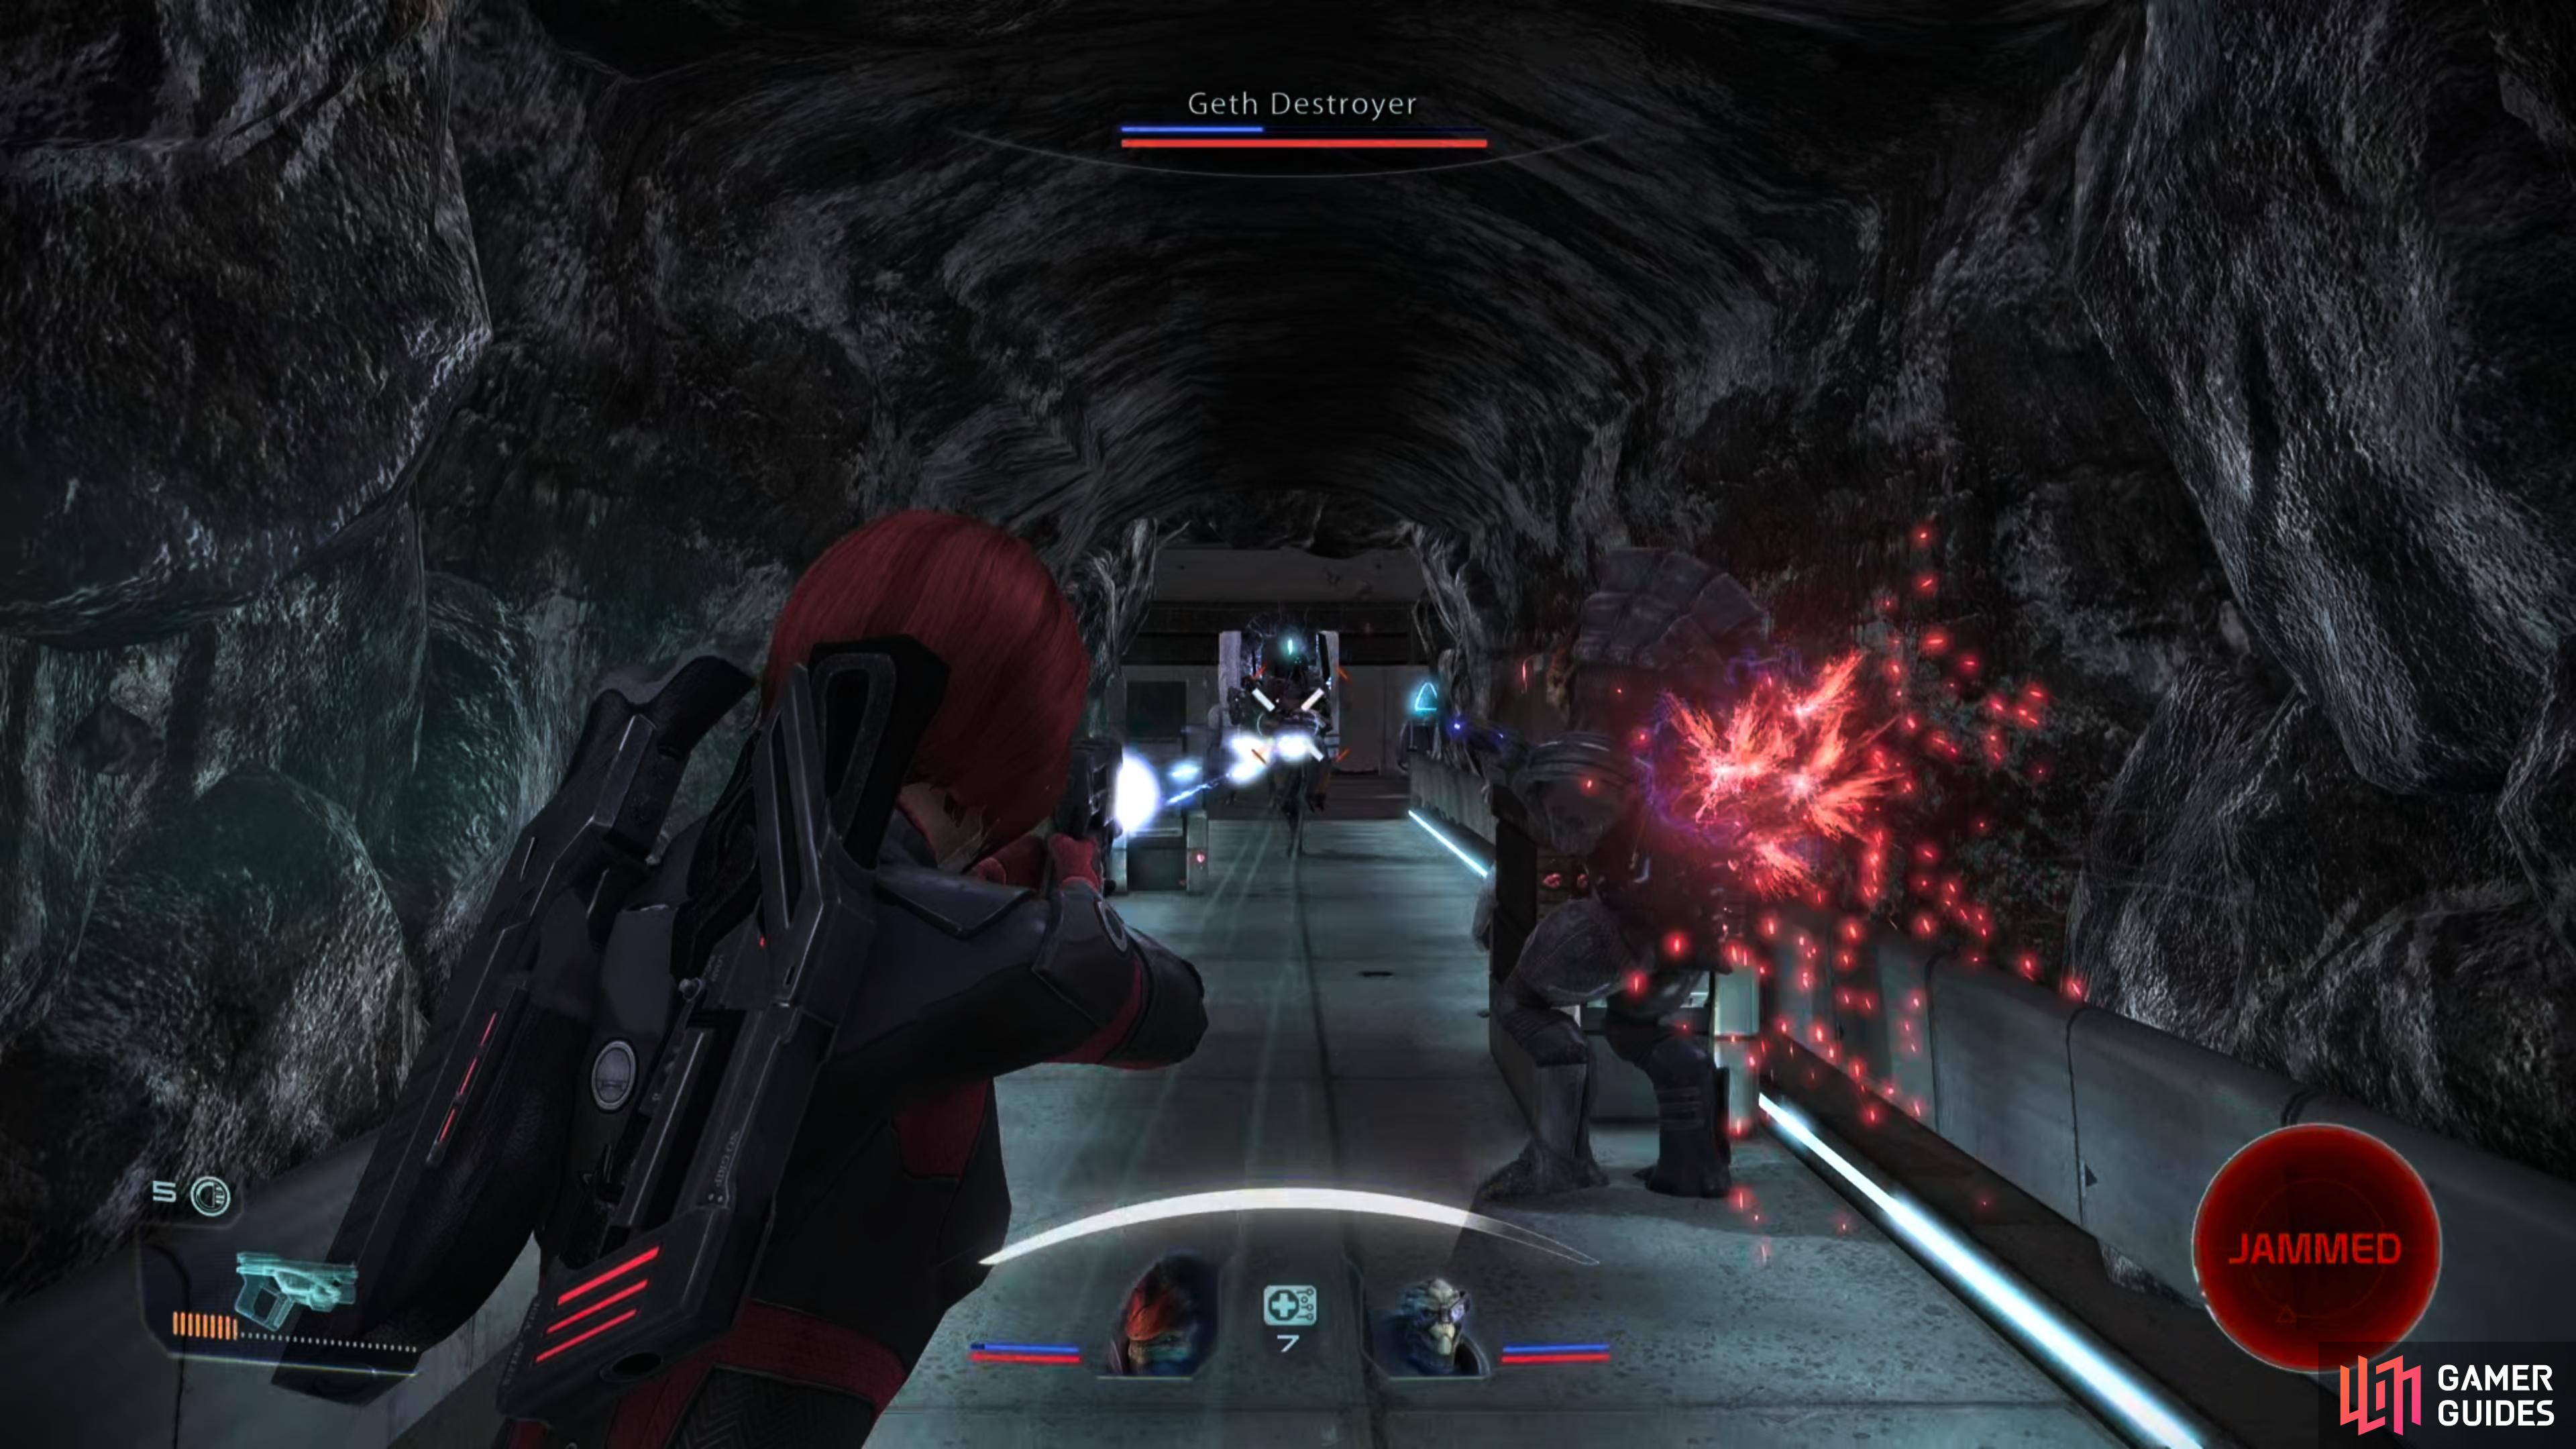
When you land on Virmire, your first objective will be to disable a distant AA Tower. It took Joker some crack piloting to get you here, so respond to him however you wish, then hop into the Mako and drive to the first Gatehouse, shooting down whatever geth you find along the way. You’ll mostly encounter Geth Drones, but the odd Rocket Trooper and Juggernaut can also be found.
The Gatehouse itself is defended by some Geth Rocket Drones, Geth Rocket Troopers, Geth Troopers, a Geth Sniper and Geth Stalkers. The latter two types of enemies will be found in a back room, which houses the gate controls… which you technically don’t need to bother with because this Gatehouse is already open. Still, if you want the loot and XP you’ll clear out the geth, search the northern wall atop the gatehouse to find a Secure Locker [Easy], then plunder the Hardened Weapon Locker [Hard] in the control room.

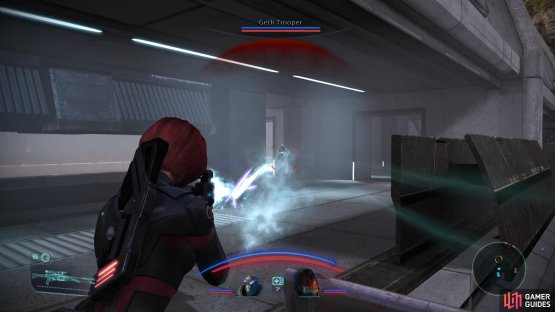
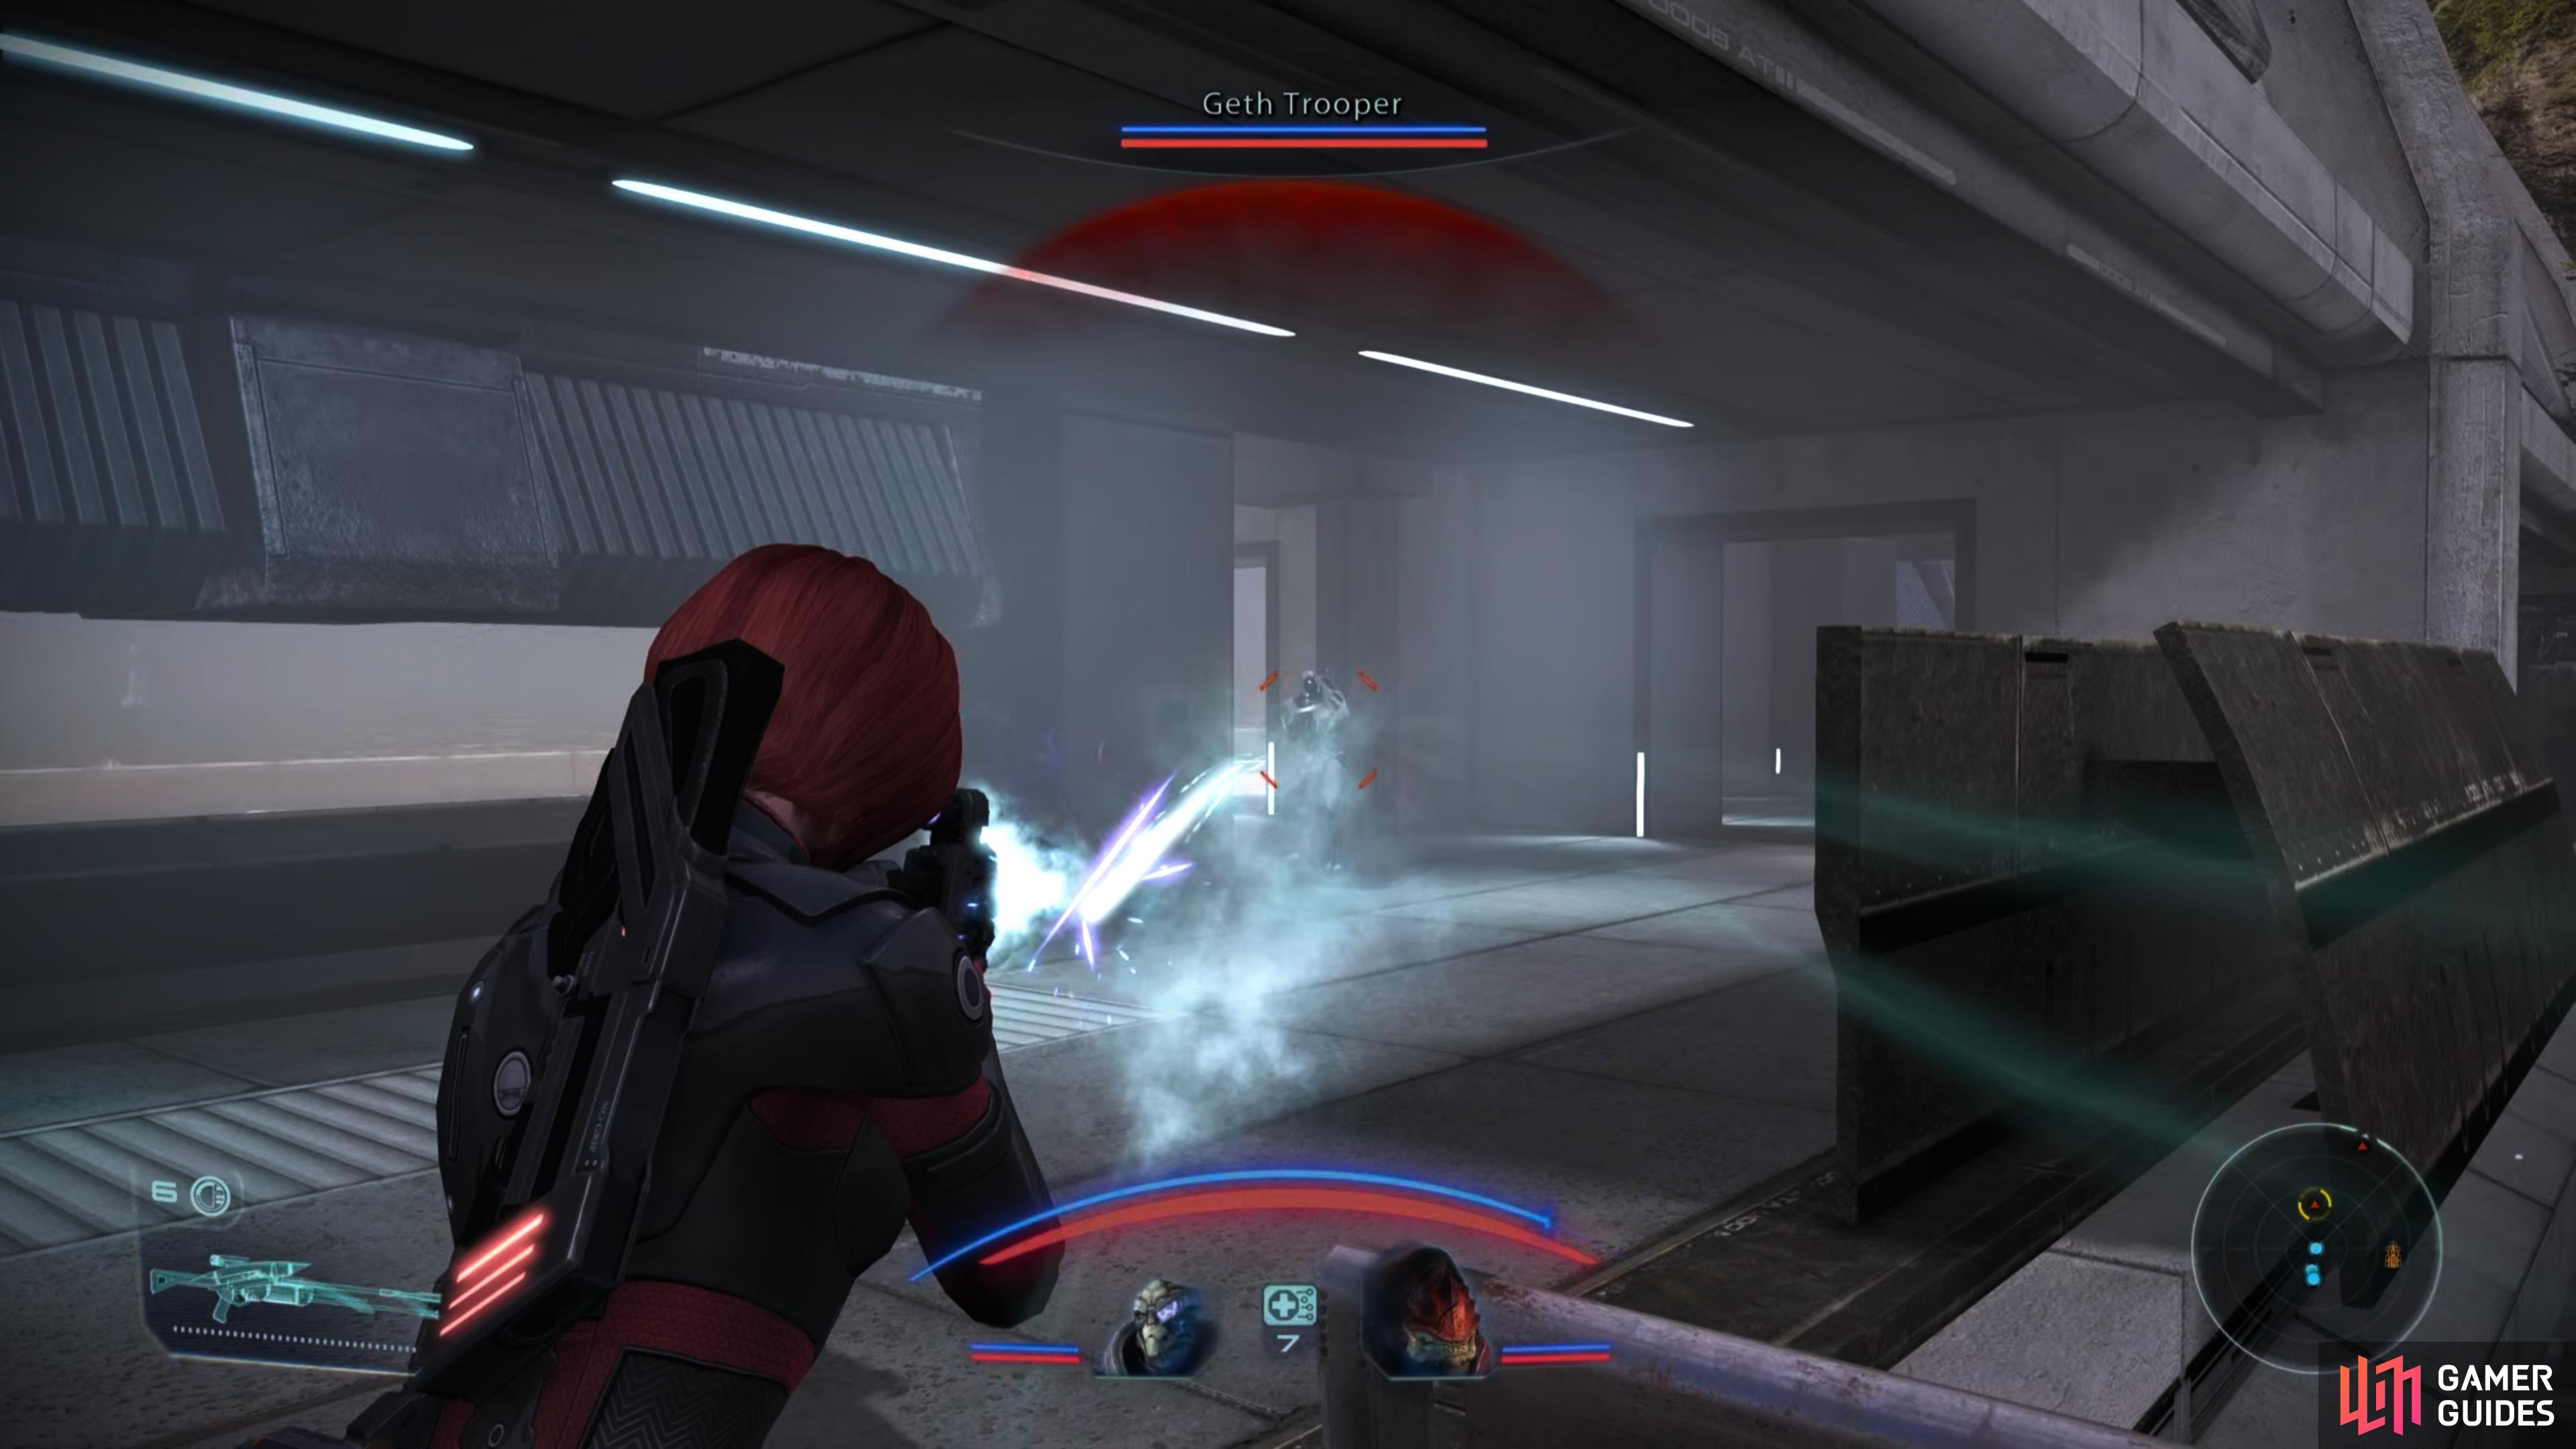
(1 of 2) You’ll meet the stiffest opposition in the control room,
You’ll meet the stiffest opposition in the control room, (left), but you’ll also find various consoles you need to use to disable enemy defenses and open gates. (right)
Destroy the geth, loot the Gatehouse, then return to the Mako and continue driving through the now-vacant Gatehouse. Shortly after the Gatehouse you’ll run afoul of a Geth Colossus, after which the path will fork. The “choice” here is illusory, as both paths connect, forming a loop, and both will force you to fight Geth Armatures and Geth Colossi. You can kill a total of five of the former and three of the latter, if you want to hunt them all down for XP and loot… and to secure your flank.
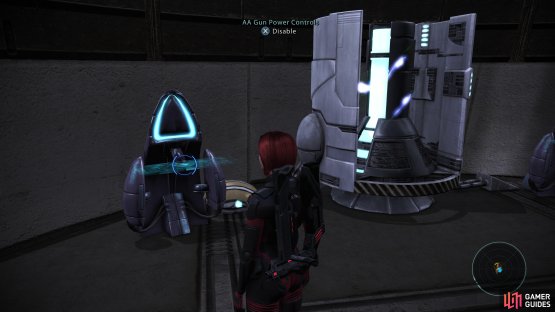
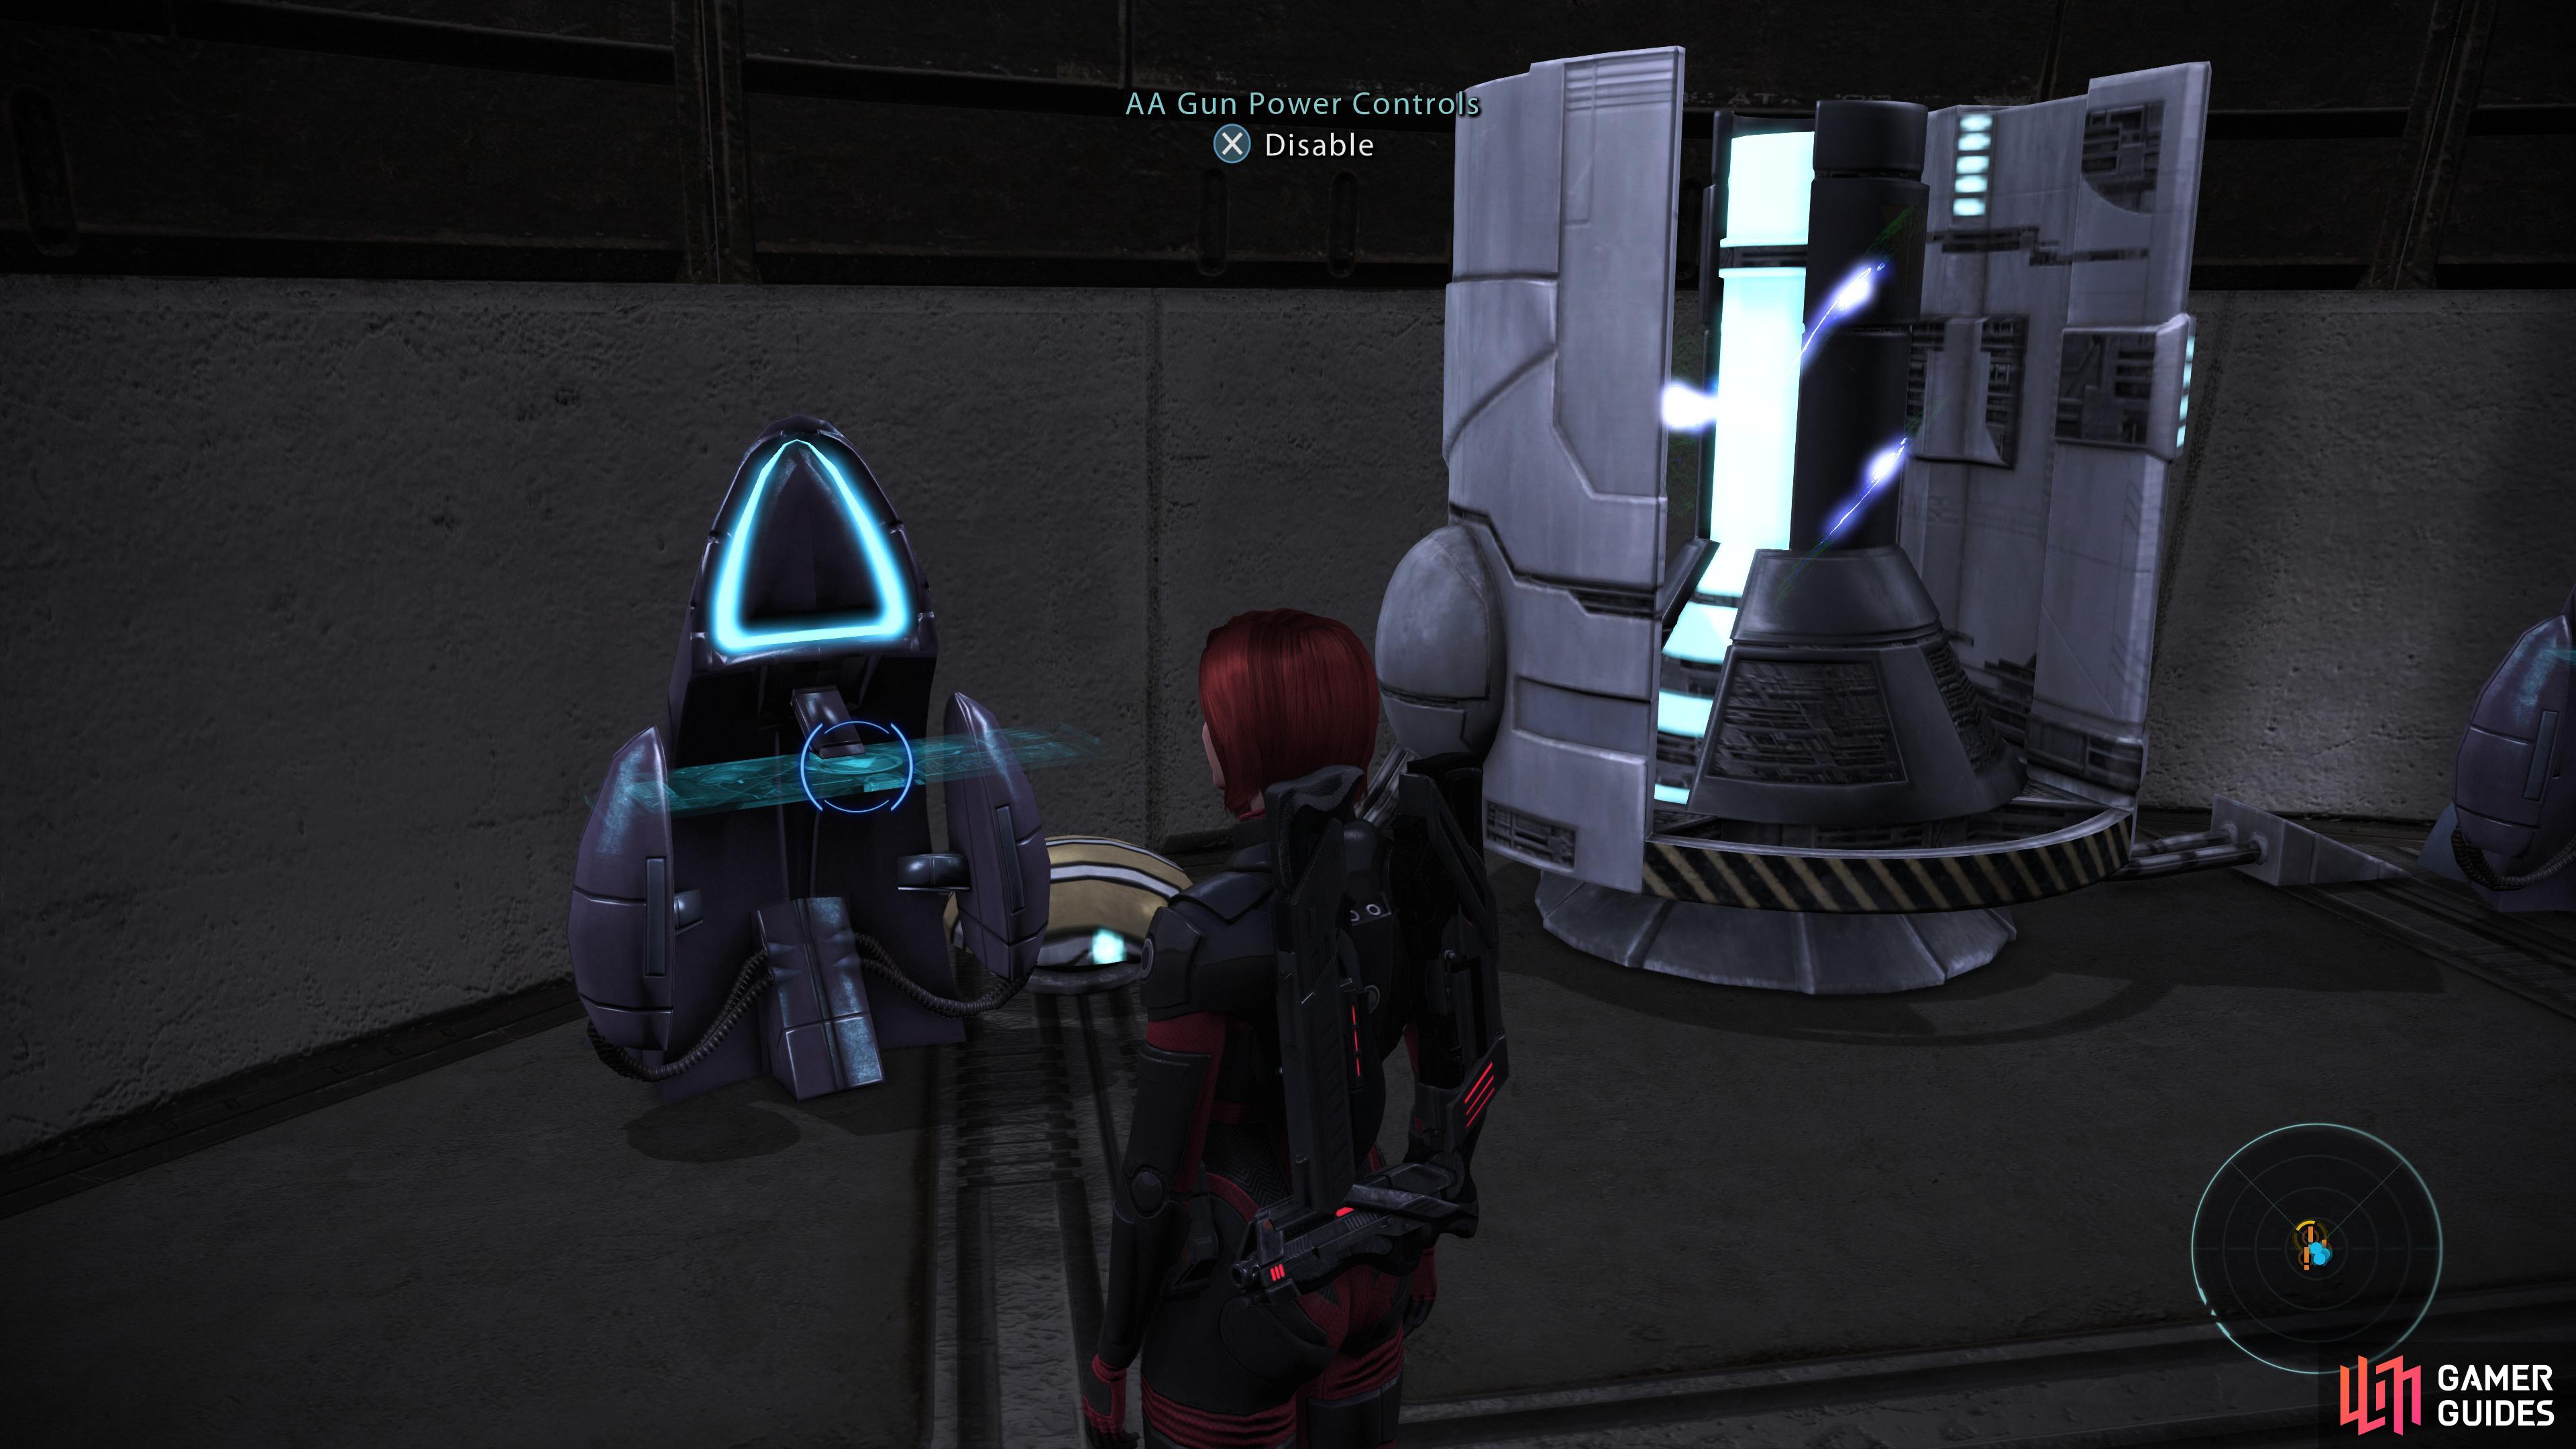
Eventually you’ll come to a second Gatehouse, which is occupied by a variety of Geth Troopers of various sorts (Shock Troopers, Rocket Troopers, and normal Troopers). The control room houses a Sniper and two Geth Destroyers, which can be easily dispatched with a combination of counter-sniping and biotics. Defeat them, then activate an AA Gun Power Controls terminal, followed by some Gate Controls to open the way for the Mako. Finally, loot a Secure Weapon Locker [Average] in the control room and a Crate just opposite the stairs.
Return to the Mako, drive through the Gatehouse, and shortly you’ll reach another Gatehouse. Disembark and clear out the Troopers (Shock and Rocket) outside and within the Gatehouse, then sack the control room, which contains another pair of Geth Destroyers. Loot a Crate on the wall outside the control room, a Hardened Weapon Locker [Hard] inside the control room, then hit another Gate Controls terminal to open the way forward.
Nothing between you and your current destination: The Salarian Camp.


(1 of 2) When talking to Captain Kirrahe, you’ll gain some intel that tests Wrex’s loyalty.
When talking to Captain Kirrahe, you’ll gain some intel that tests Wrex’s loyalty. (left), Commander Rentola will serve as a merchant. (right)
The Salarian Camp
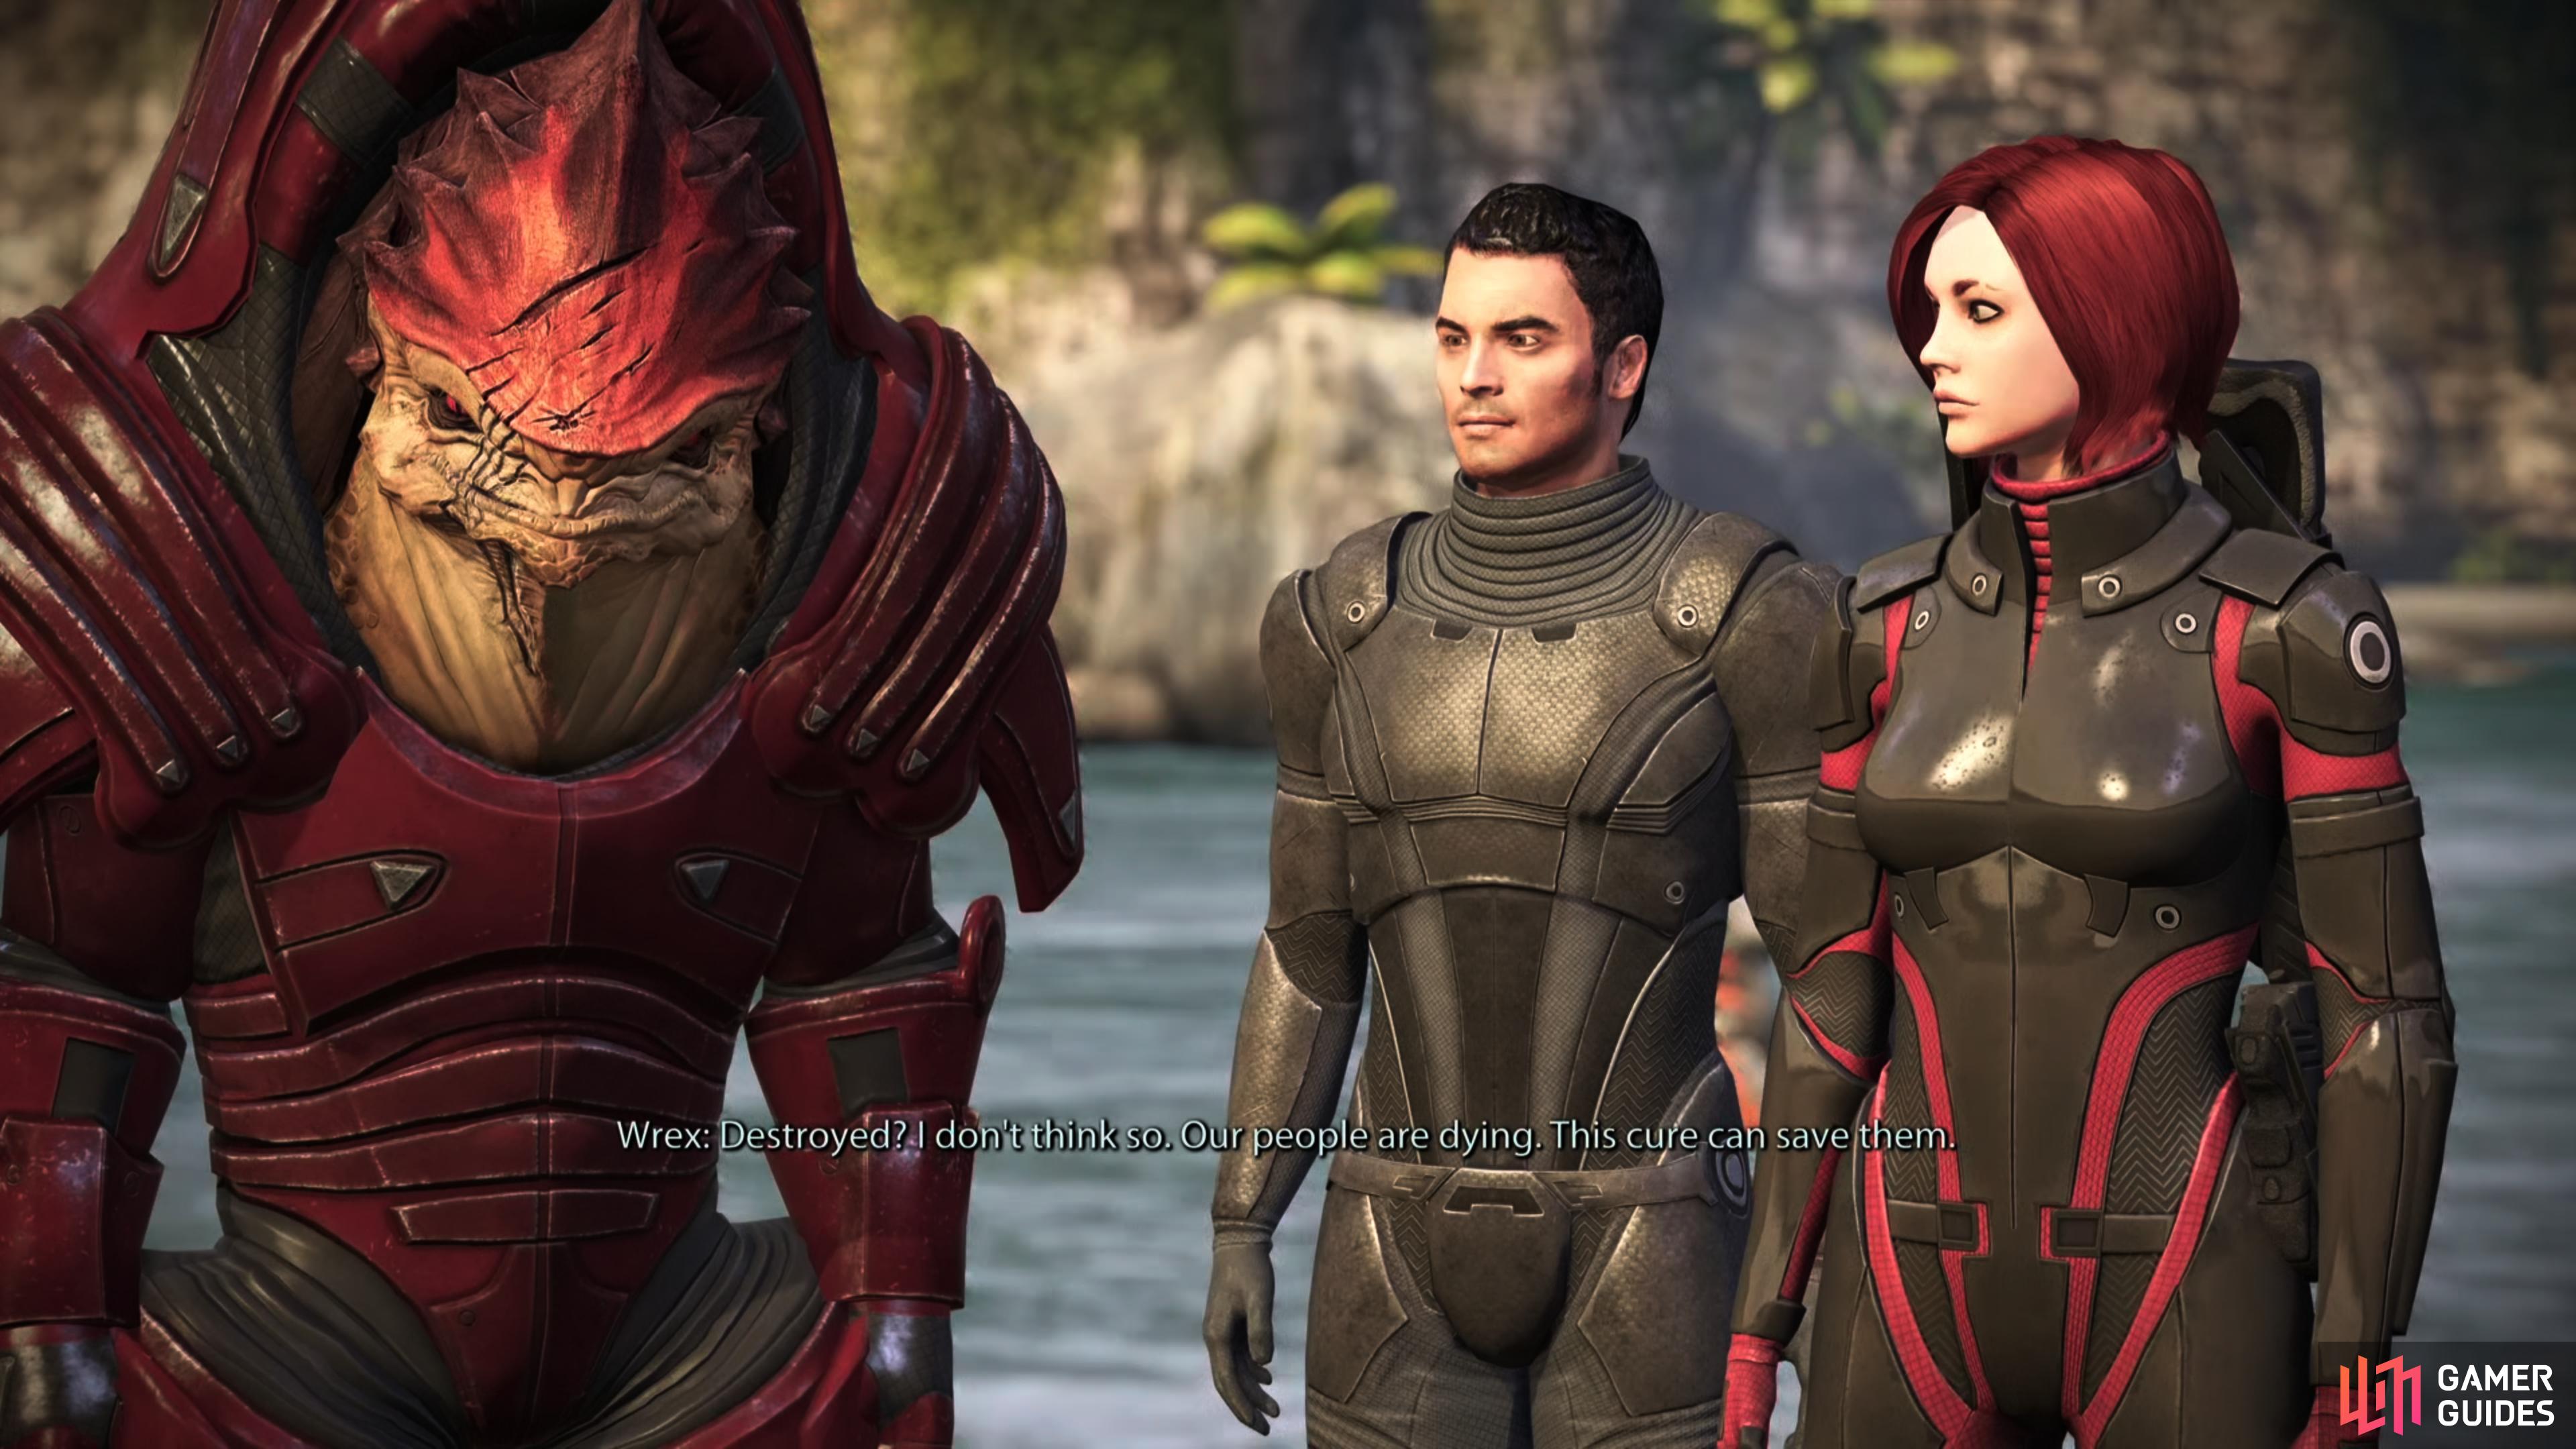
Drive the Mako to the Salarian Camp and when you arrive you’ll find yourself chatting with Captain Kirrahe, who gives you some bad news: You’re grounded due to the AA guns in the area, and Saren is breeding himself an army of krogan. There’s no reason to expect the Council to send any more reinforcements, and no leaving, which only leaves one option: you’ll have to storm Saren’s base with what few troops you have. Naturally, Wrex isn’t happy with any solution that threatens to destroy the genophage-free krogan Saren has created.
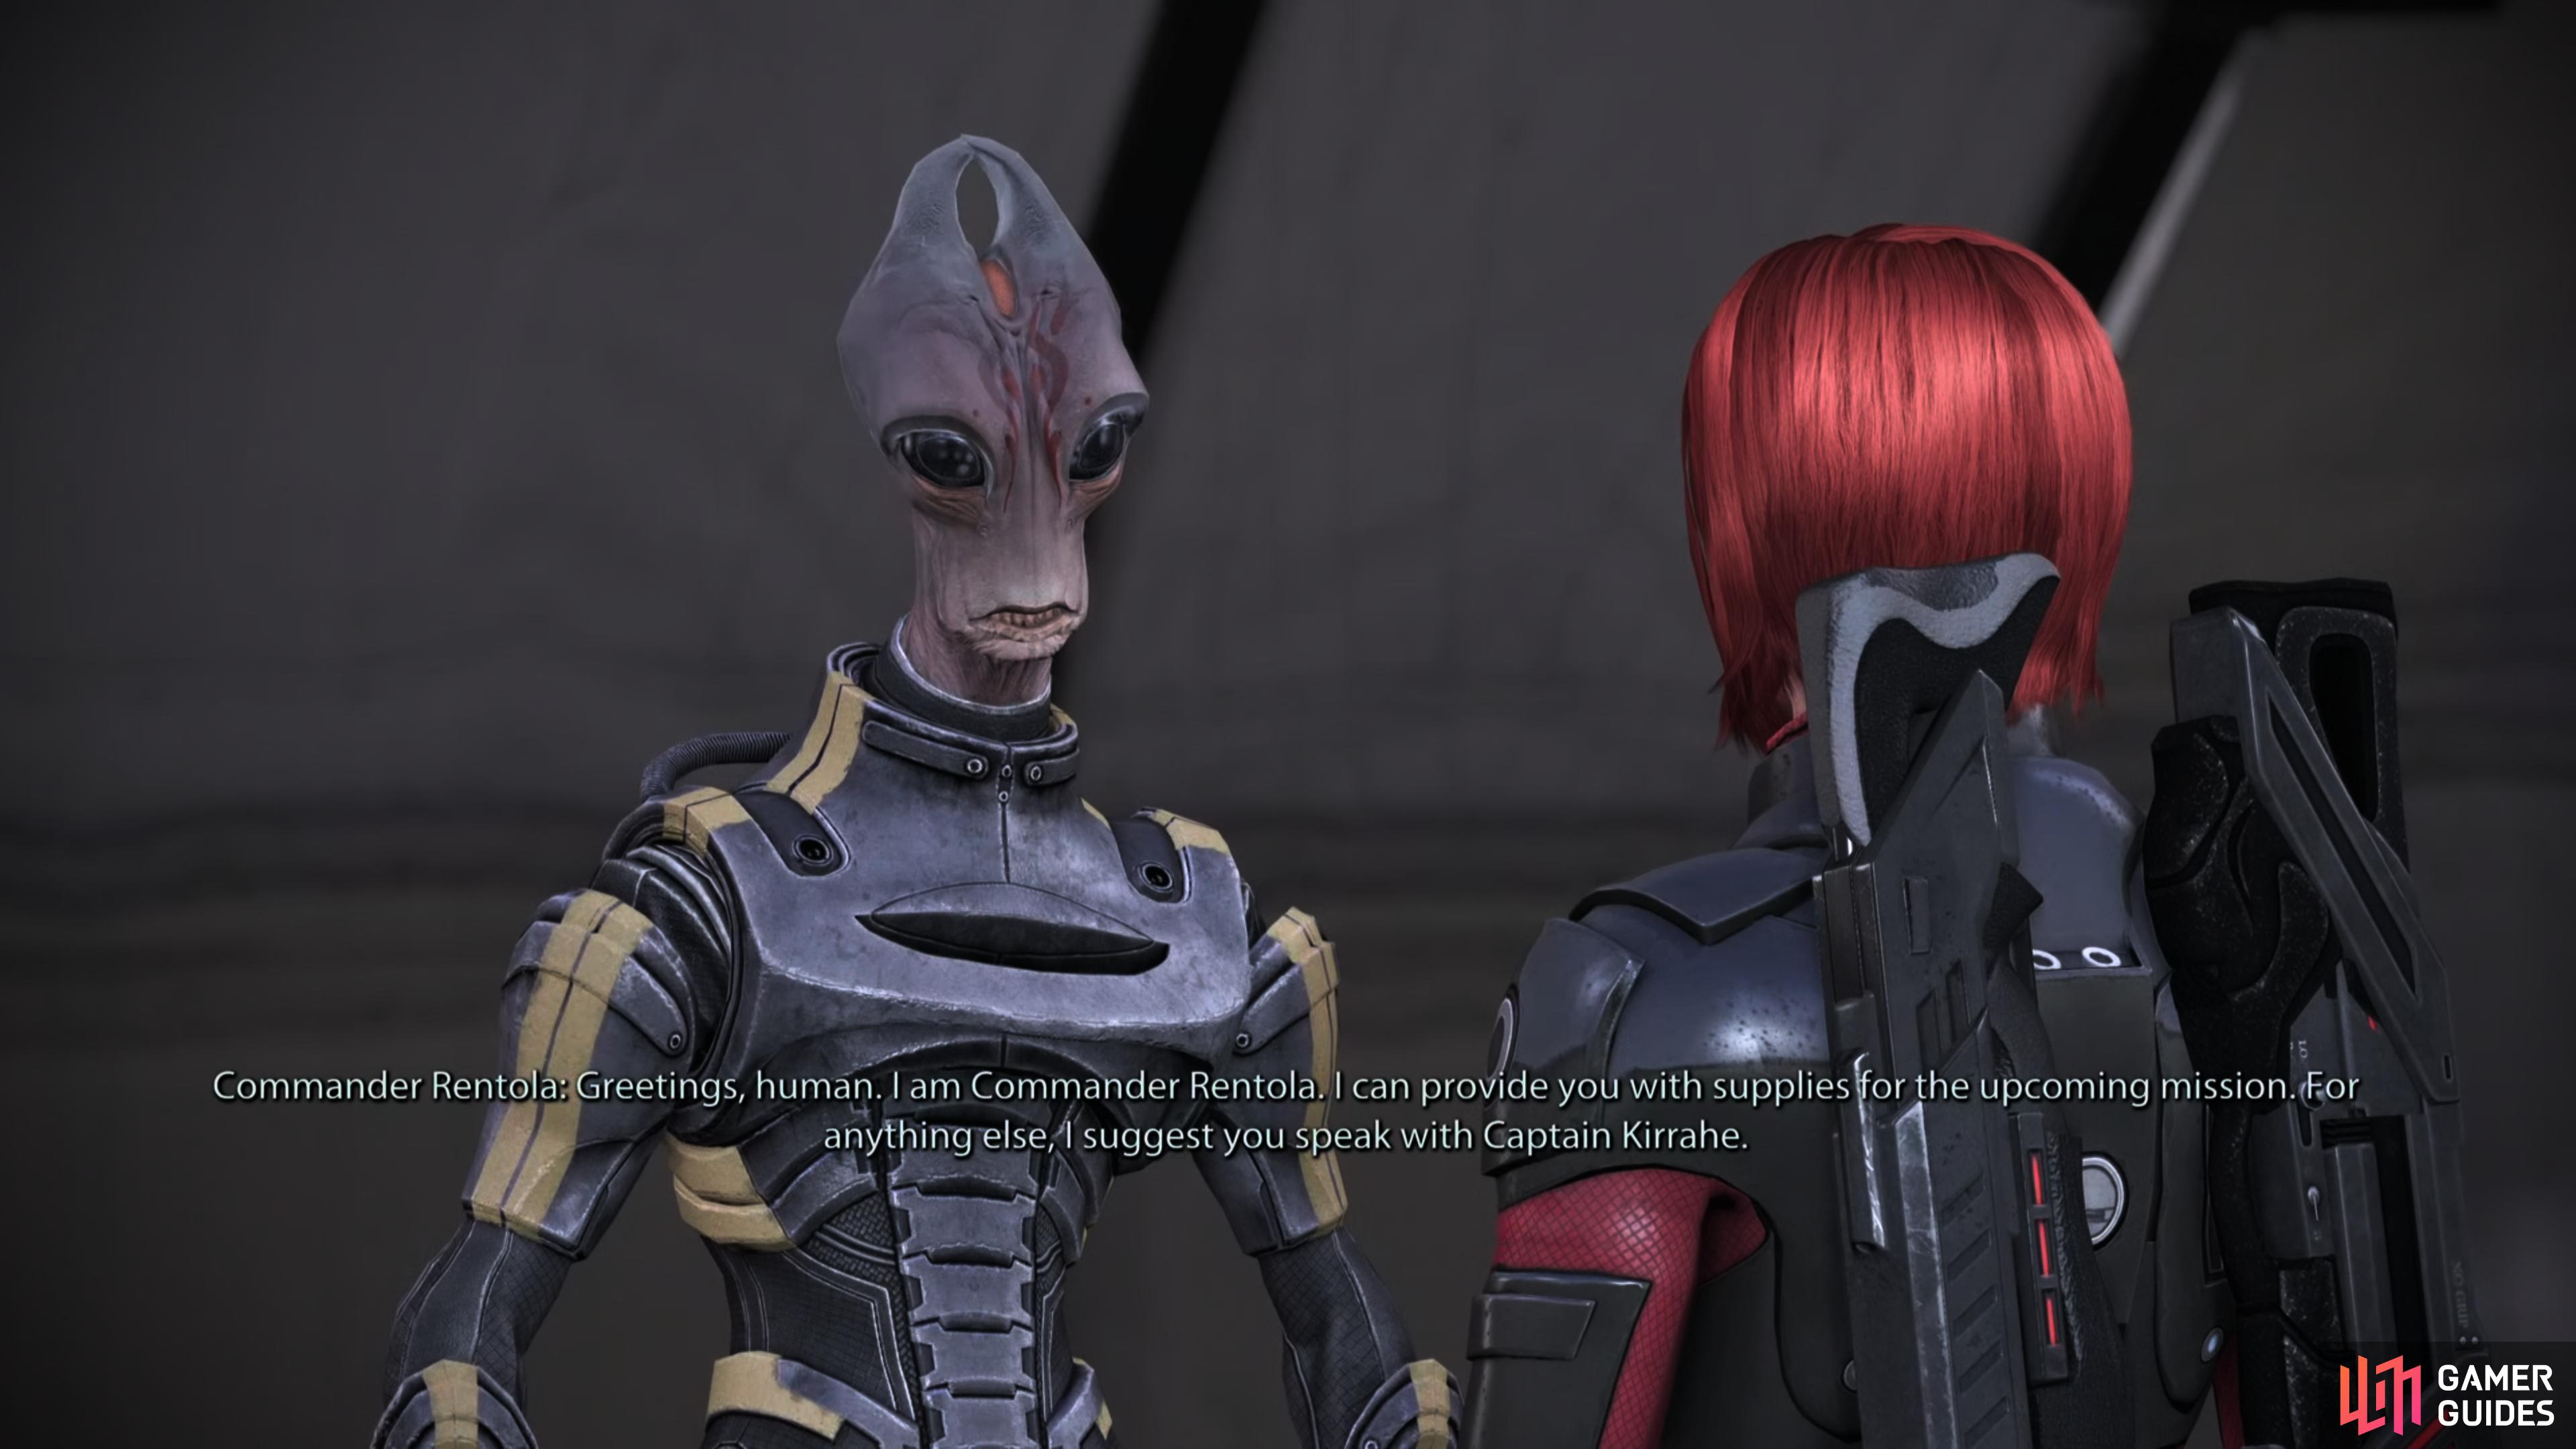
Before you seek out Wrex, search the northernmost shelter to find Commander Rentola, who will serve as a merchant, should you need one… albeit a merchant with incredibly limited stock. You can also loot a Medical Station [Easy] in the same shelter.
When that’s done, it’s time to talk to Wrex.
Your confrontation with Wrex will devolve, and only recovering his armor or succeeding at a Charm/Intimidate check will pacify him.
Kill or Calm Wrex
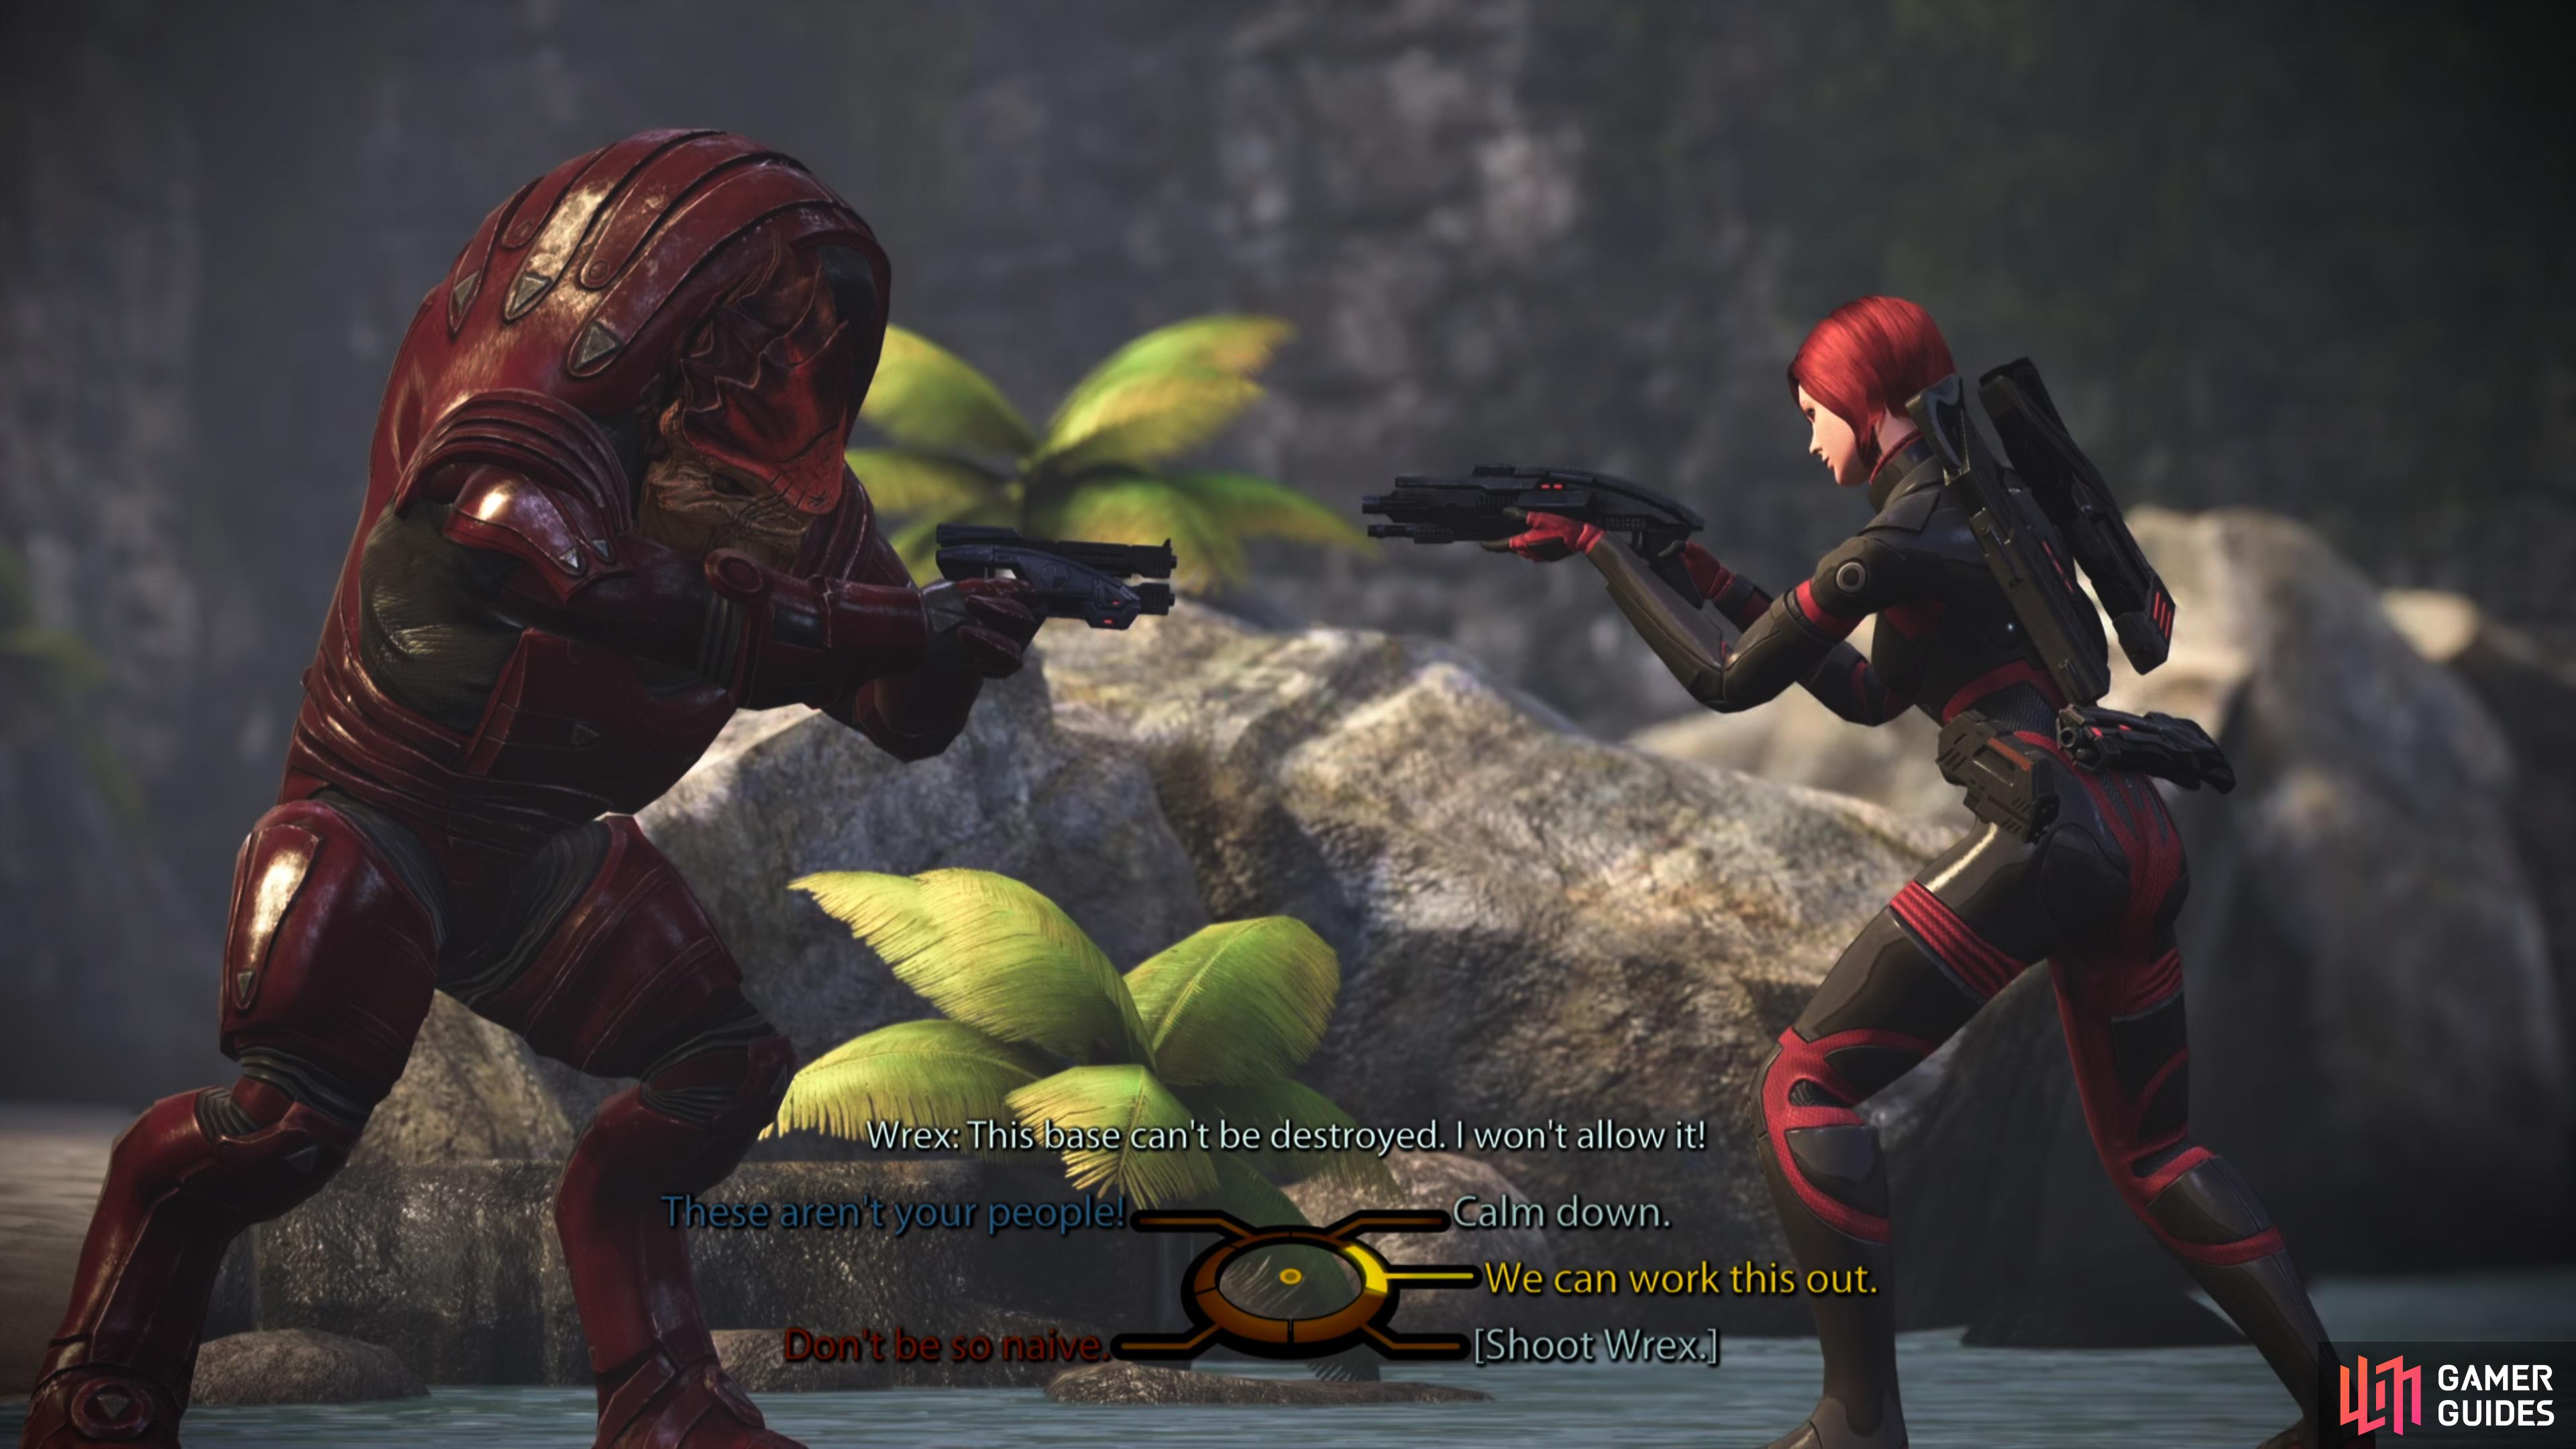
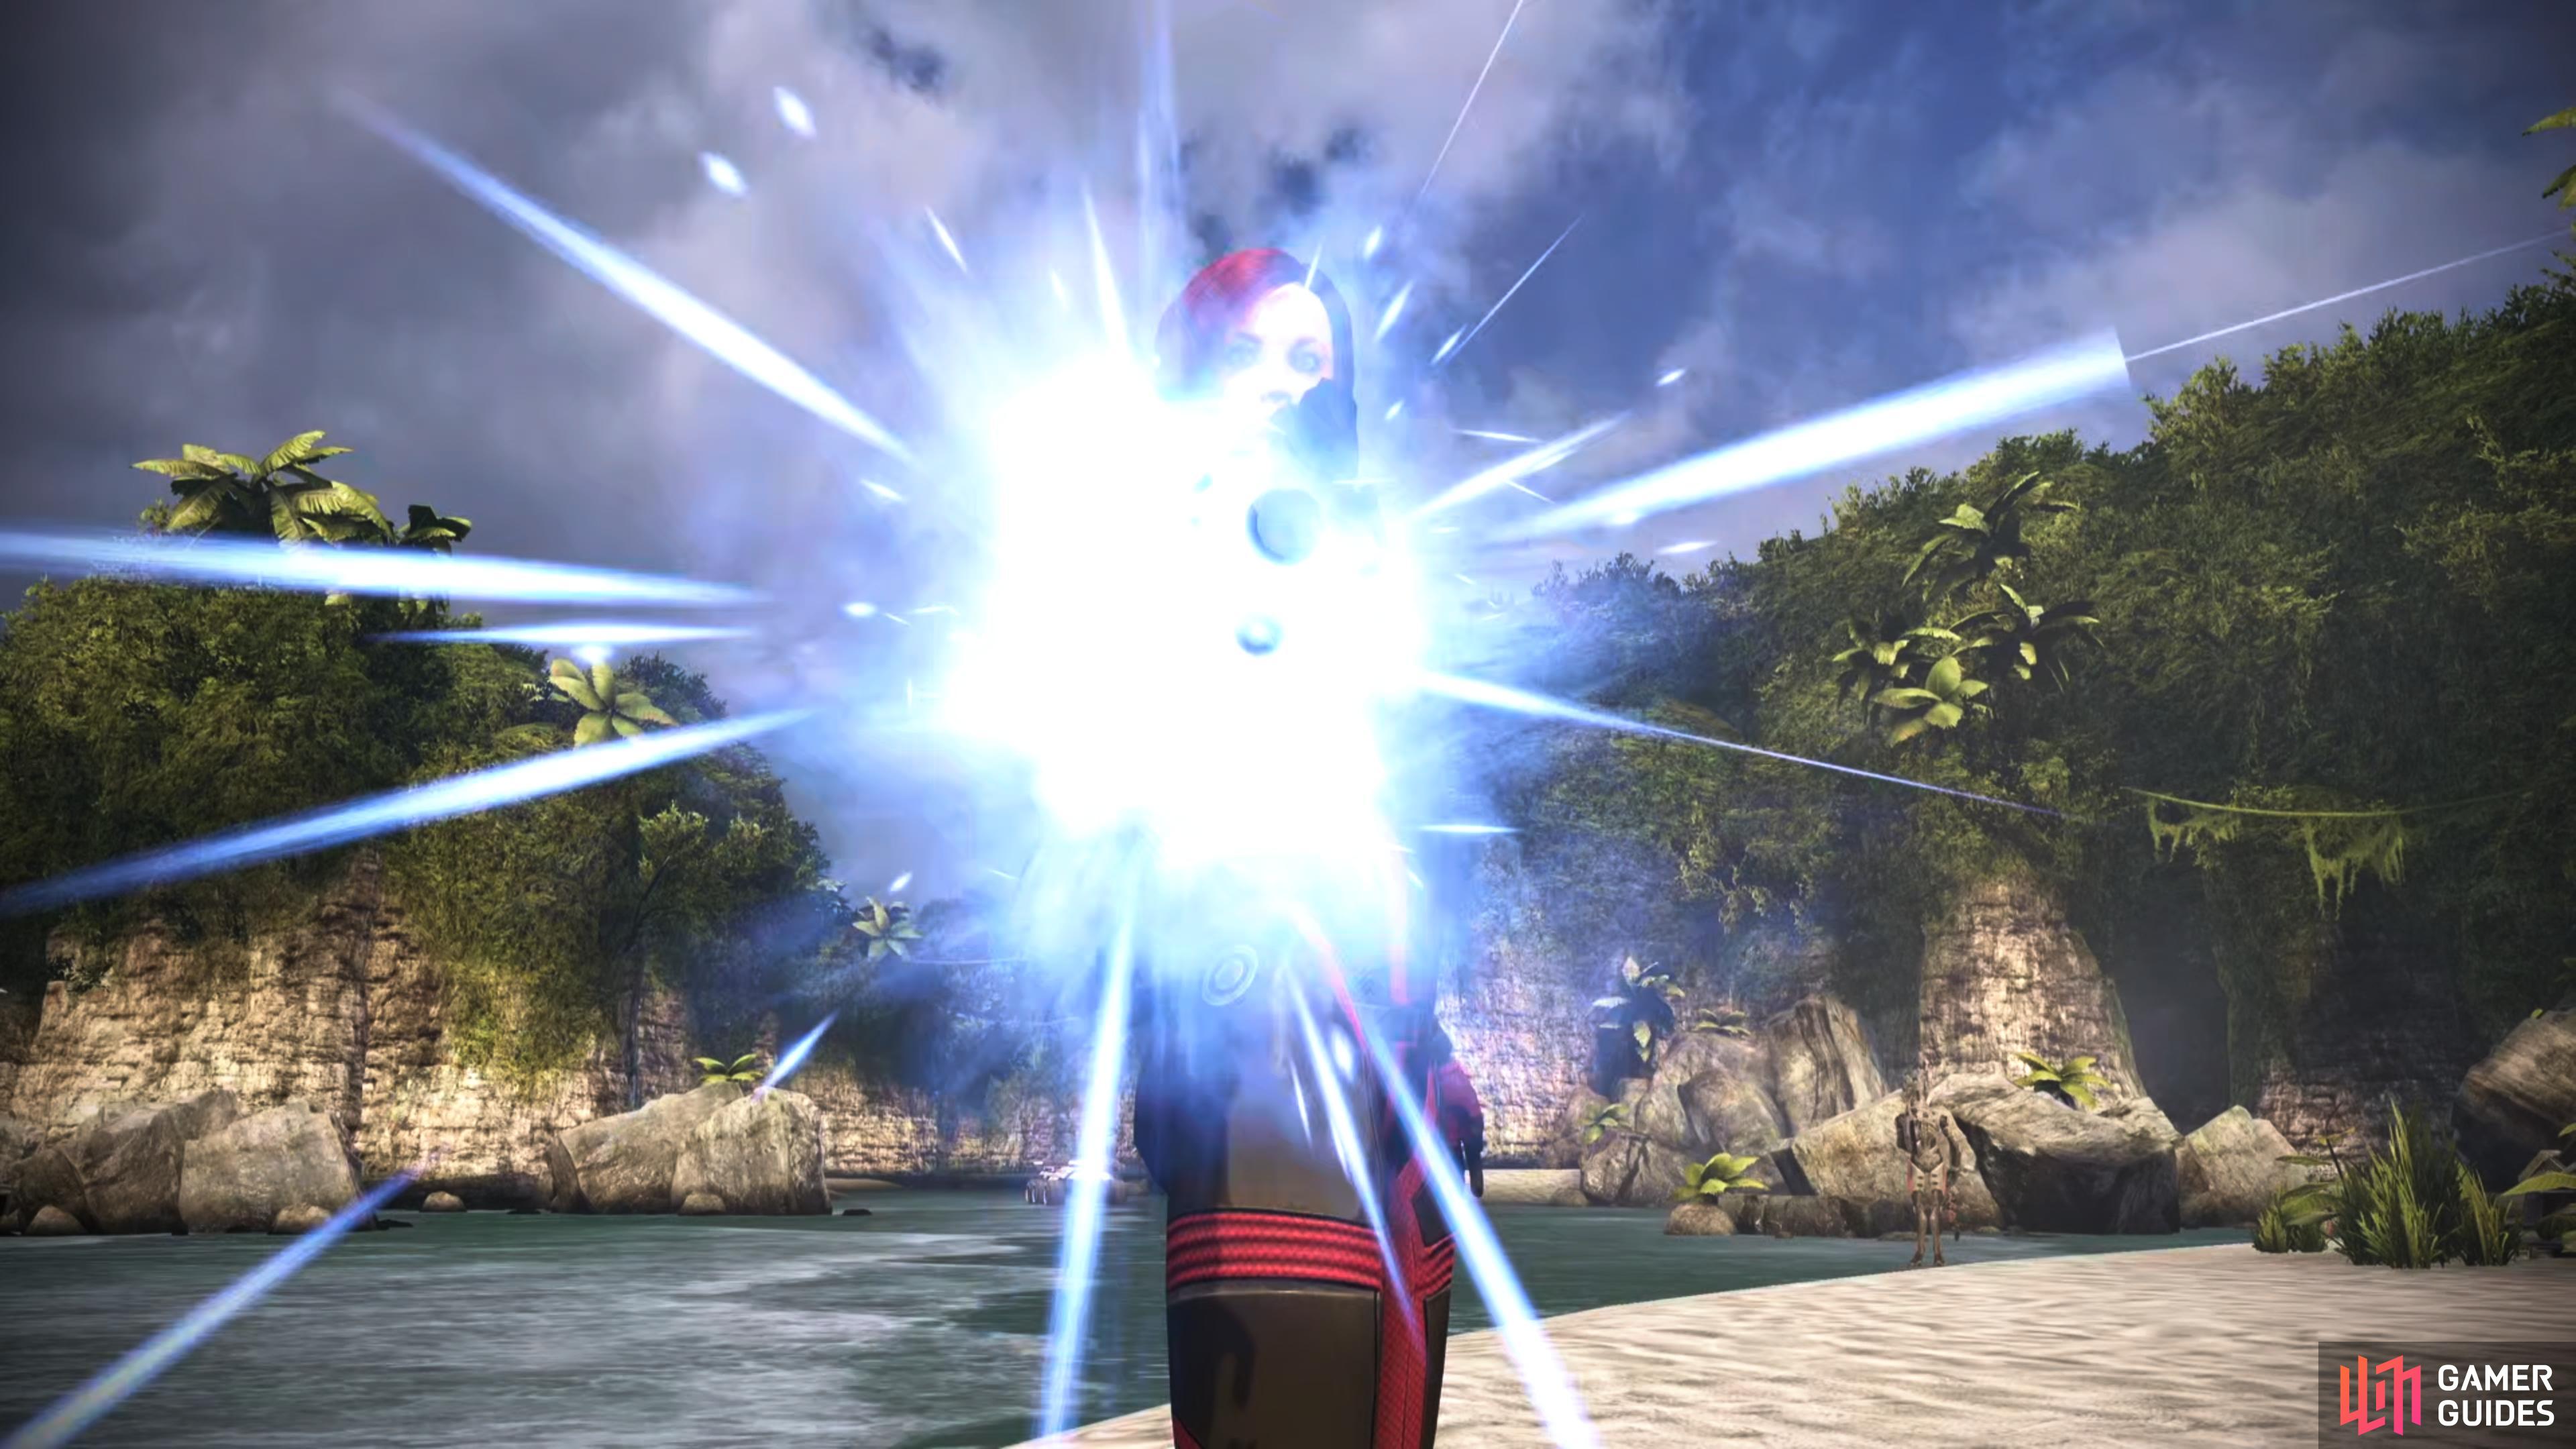
Approach Wrex and you’ll find yourself in a contentious confrontation, and perhaps rightfully so. Saren has apparently cured the genophage, which has seemingly all but doomed the krogan to slow extinction. Despite his practiced apathy towards the krogan, the salvation of his species is important enough to question his loyalty to you. The outcome of this encounter will come down to how much Wrex trusts you, or how persuasive you are, and there are only two ways this ends: Wrex dies, or you convince Wrex to back down and he stays in the squad.
If not, Wrex won’t end up coming out of Virmire alive.
Kill Wrex
Wrex dying is the default conclusion to this encounter should you not have the ability to achieve a better outcome. If you didn’t complete the assignment Wrex: Family Armor or if you stick to the Renegade responses, you’ll eventually come to a dialog hub with five options, including a Charm/Intimidate option. If you pick [Shoot Wrex.] here you’ll put the krogan down yourself, earning Renegade +25. If you pick ”Calm down.” and haven’t completed Wrex: Family Armor or if you pick ”We can work this out.”, Ashley will put the mutinous krogan down and you’ll get nothing for your fecklessness.
If Wrex dies, this obviously means you won’t have him at your disposal anymore, nor will he be in later games. You can read more about the consequences of this choice by following the provided link.
| Paragon/Renegade |
|---|
| Renegade +25 |
If you completed the assignment Wrex: Family Armor and stick to Paragon options - or if you select a Charm/intimidate dialog option - you can convince Wrex to stand down.
Calm Wrex
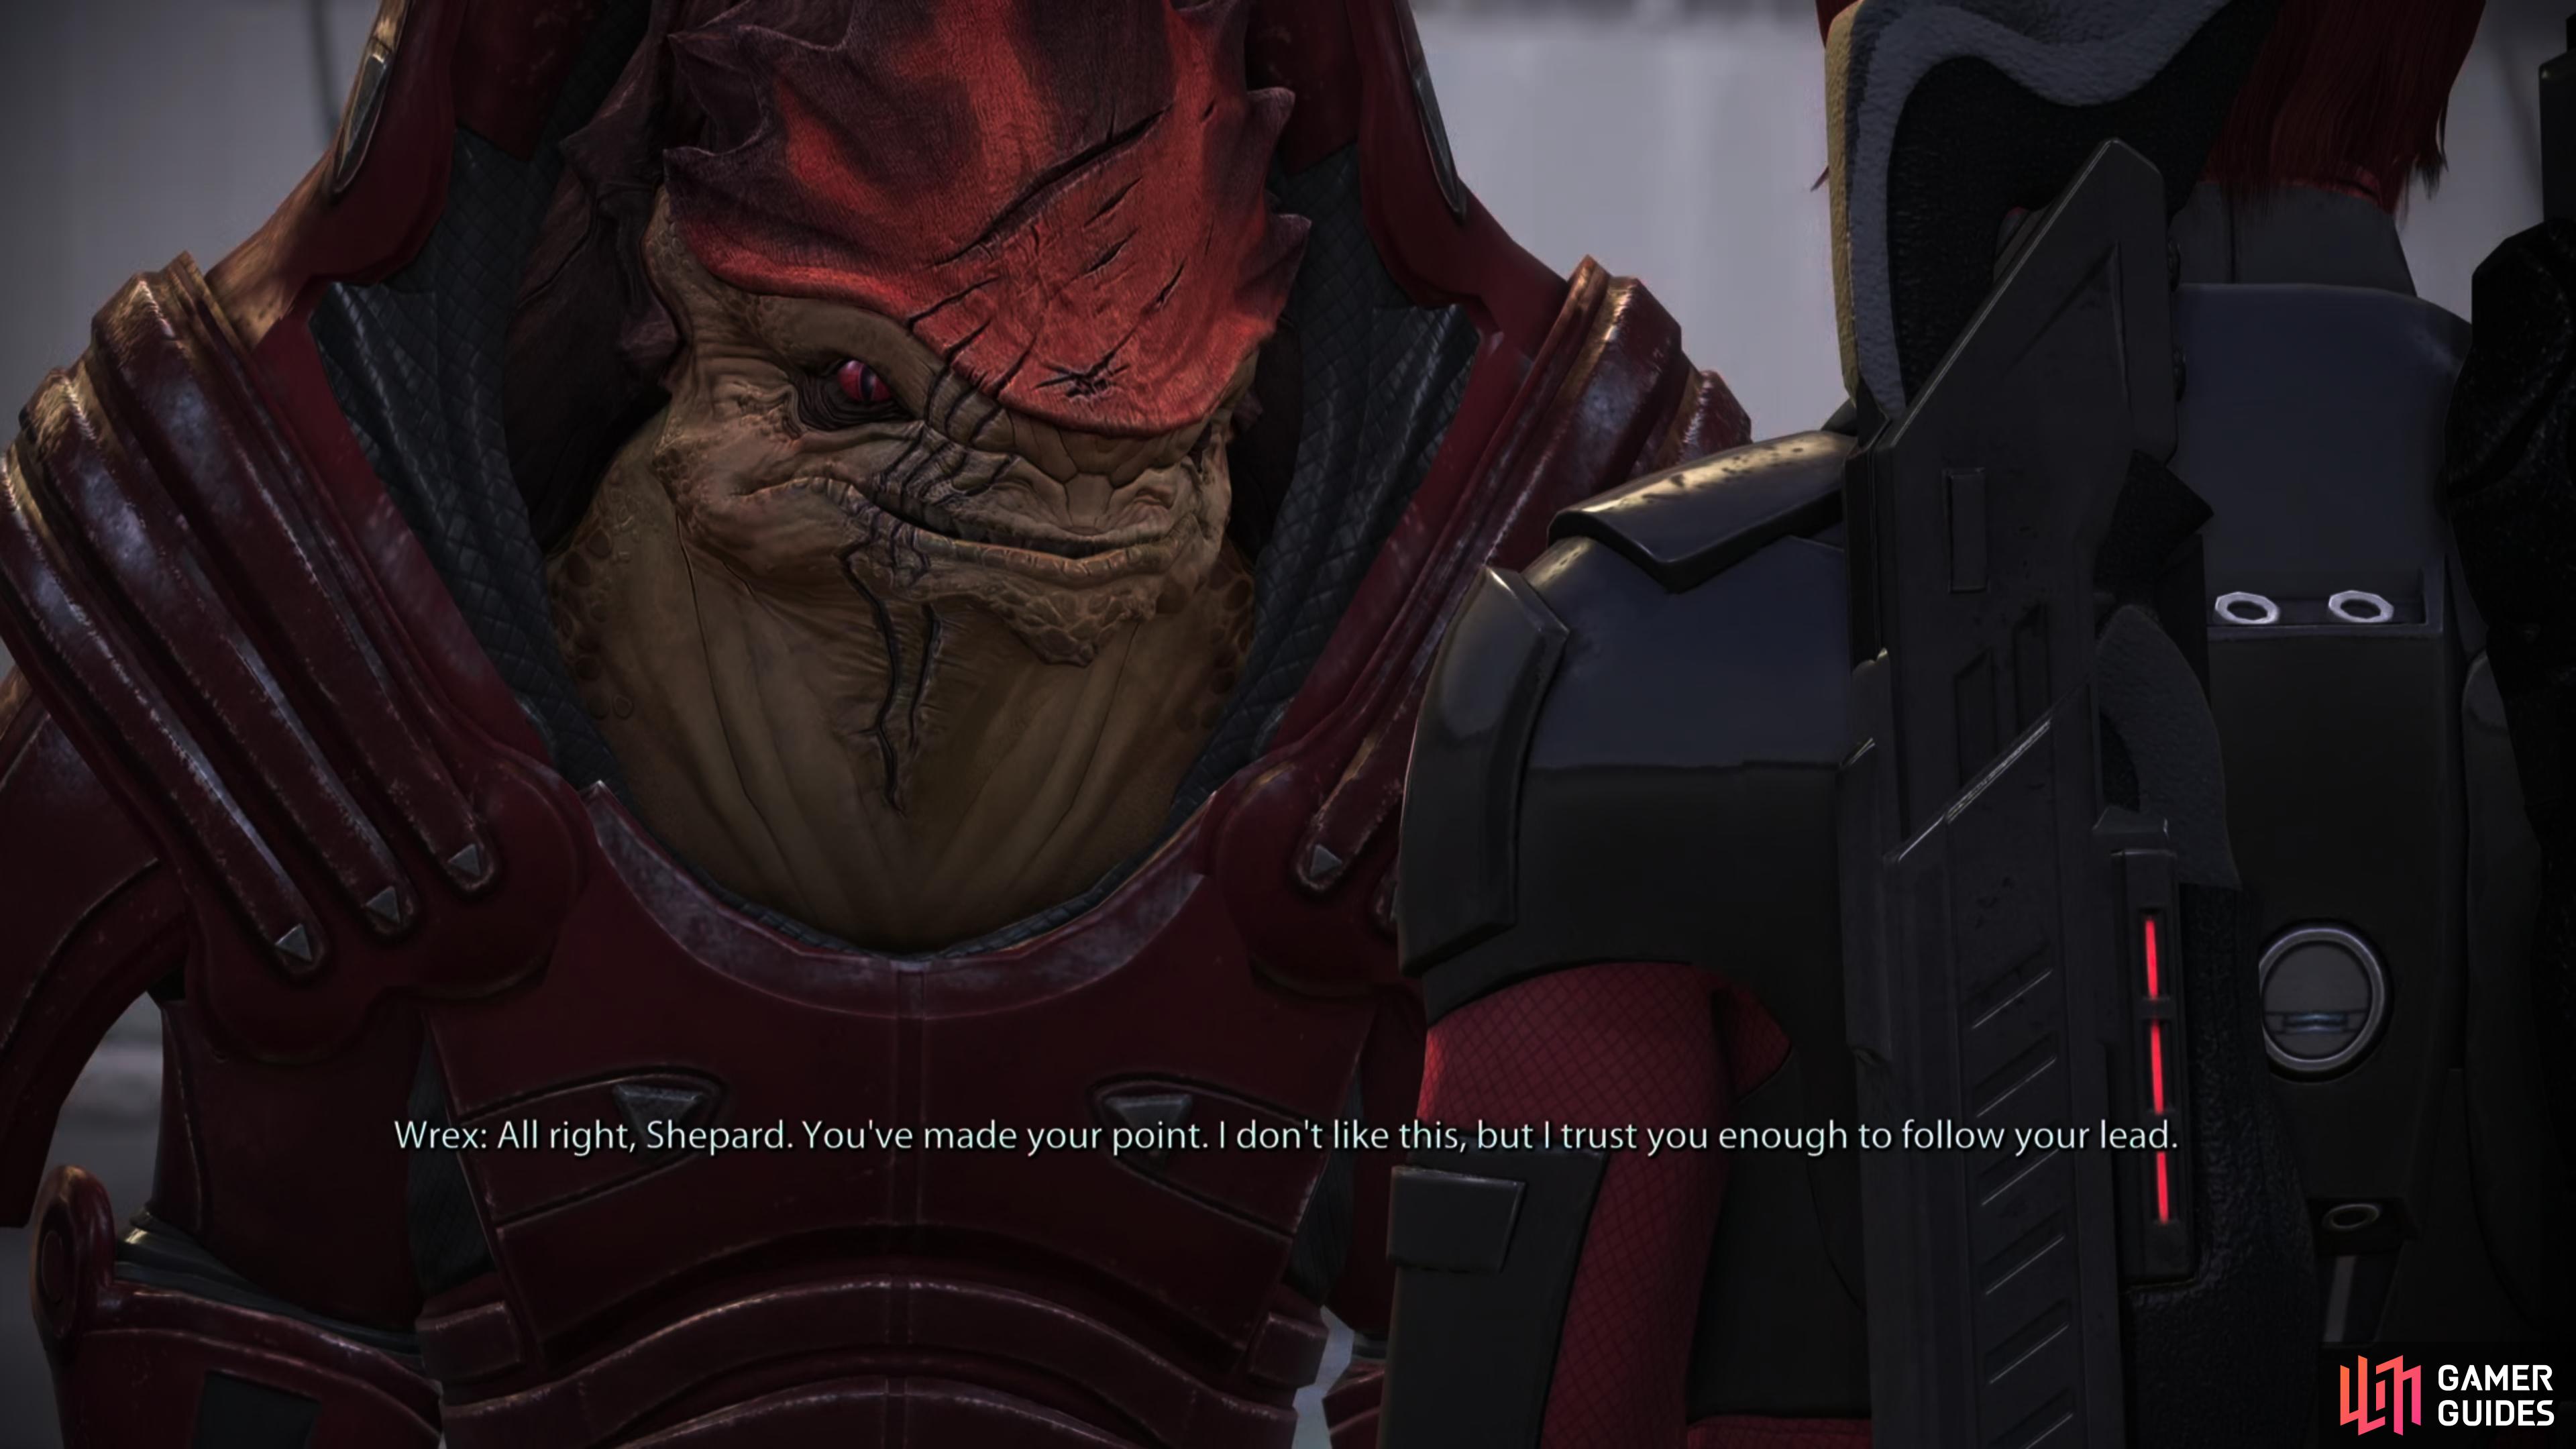
If you can talk Wrex down, you’ll get to keep him for the rest of the game, which on its own makes it a better option.
If you completed the assignment Wrex: Family Armor, you can simply stick to the Paragon options (”Easy Wrex.”, ”It’s not that simple.” and either ”I wouldn’t do this otherwise.” or ”We are.”) and he’ll relent, earning you Paragon +28.
If you for some reason didn’t complete Wrex: Family Armor, you’ll ultimately end up at a five option dialog hub, including a Charm option ”These aren’t your people!” and an Intimidate option ”Don’t be so naive.”. Both will talk sense into Wrex, earning you either Paragon +28 or Renegade +9, respectively.
| Charm/Intimidate |
|---|
| If you have 8 ranks in either Charm or Intimidate, you can convince Wrex to back down. |
| Paragon/Renegade |
|---|
| Paragon +28 or Renegade +9 |
If you manage to resolve matters with Wrex by using Charm or Intimidate, you’ll earn the Charismatic achievement.


After resolving things with Wrex (one way or another…) enter the westernmost tent (where Liara is, if you recruited her) to find a Communications Relay [Easy], which will yield a Codex Entry. Once that’s done you’ll need to find Captain Kirrahe in the middle shelter and talk to him. You’re not done making important decisions that’ll echo through the rest of the trilogy yet…
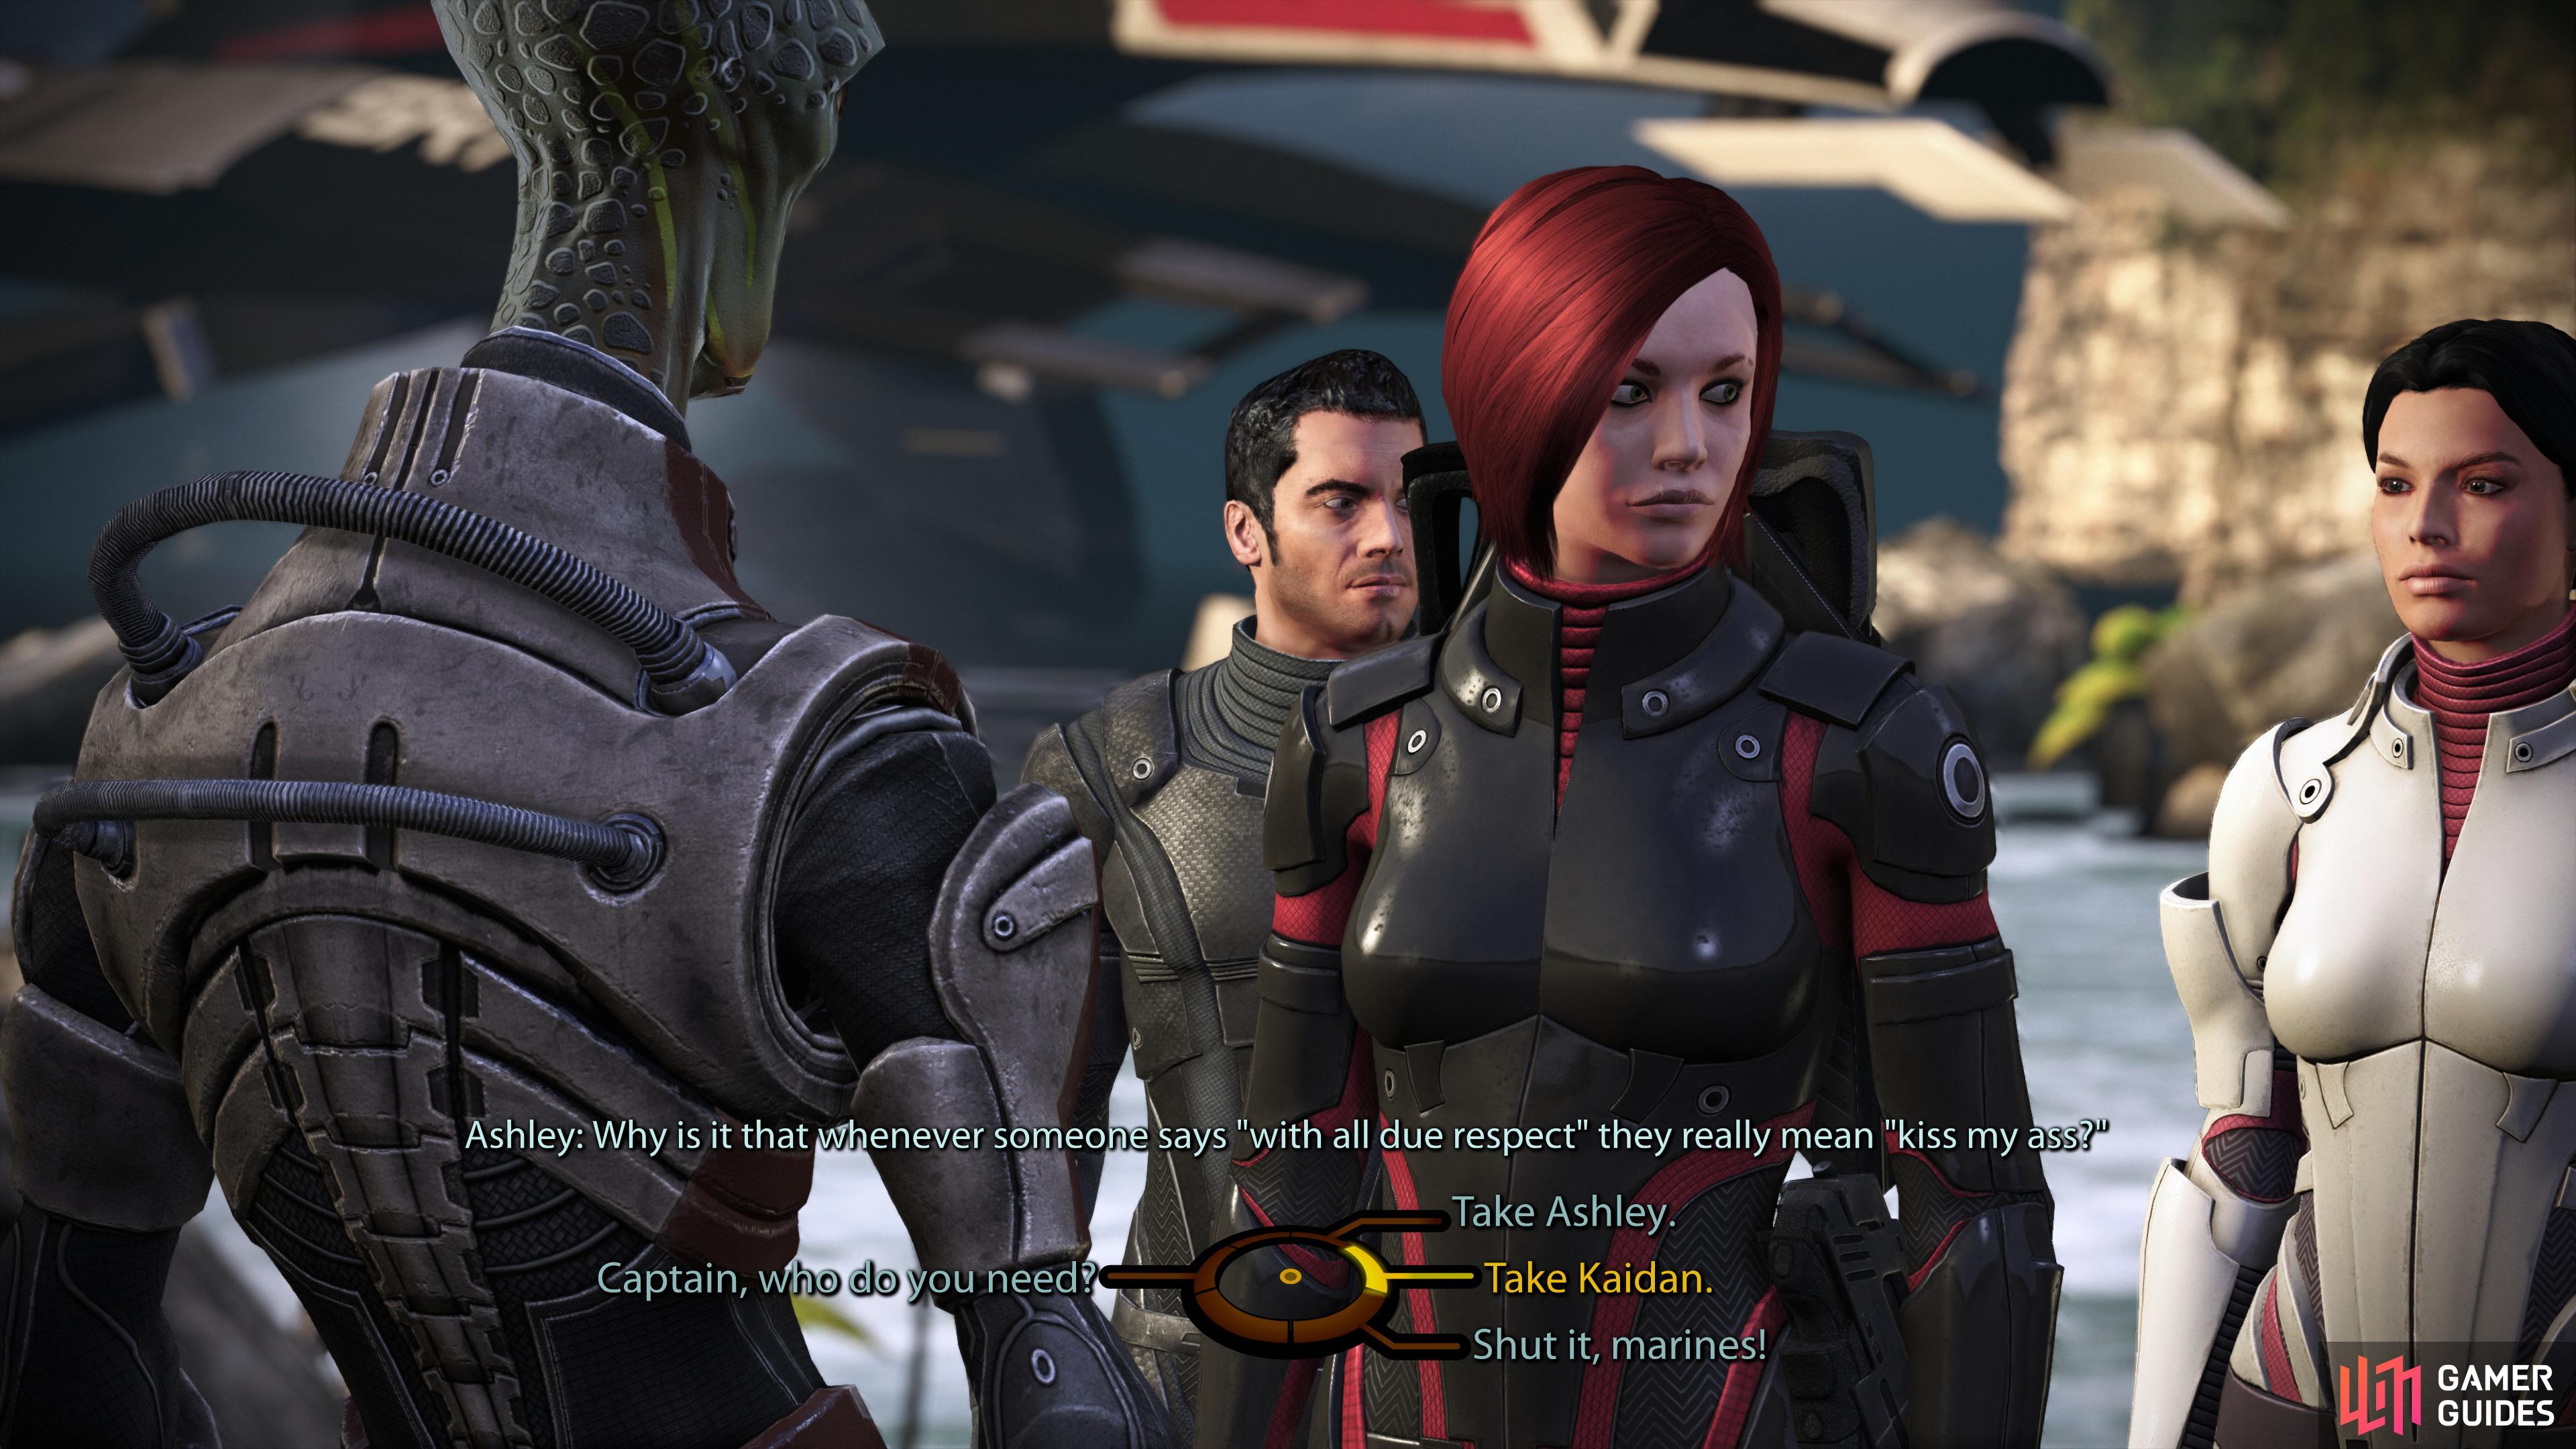
After dealing with Wrex, you’ll have to send either Ashley or Kaiden with Captain Kirrahe.
Captain Kirrahe’s Companion - Ashley or Kaiden
Talk to Kirahhe and he’ll tell you his plan for destroying the base, which requires you to “infiltrate the base, disable the AA guns and pacify the ground forces”. This requires complex maneuvering between multiple teams… not something you, personally will have to deal with as far as gameplay goes, but for story purposes. To coordinate these teams you’ll need to send one of your human underlings with Kirrahe - either Ashley or Kaiden. This choice in itself isn’t terribly impactful, as its only immediate consequence is to deprive you of that character for the rest of the mission, but it does potentially have a minor impact on where, exactly, this mission will end.
Pick whomever you wish, exhaust Kirrahe’s dialog options, and confirm you’re ready. After a motivational speech from Kirrahe, you’ll pick your squad and head to the Base Approach portion of this mission.
| Codex Entries |
|---|
| Secondary - Aliens: Council Races / Salarians: Culture |
| Secondary - Aliens: Council Races / Salarians: Government |
| Secondary - Aliens: Council Races / Salarians: Military Doctrine |
No Comments