
This section of the mission on Virmire will begin after you finish the Base Entry and Labs section of the mission, which will occur after you encounter Sovereign, then pass through the area where you ran into Rana Thanoptis, cross a newly-lowered bridge to the north and fight your way onward. The transition between the aforementioned section and this one is after passing through the doors guarded by three Krogan Warriors.
(1 of 3) Pick off the Geth Stalkers from afar to limit your exposure to enemy fire.
Turret Control
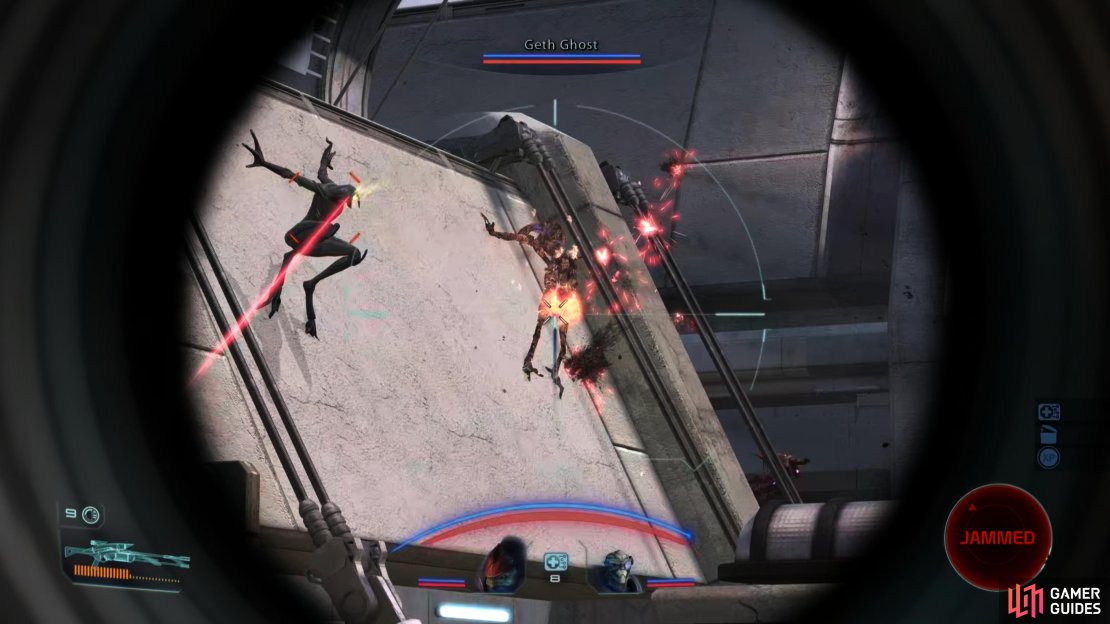
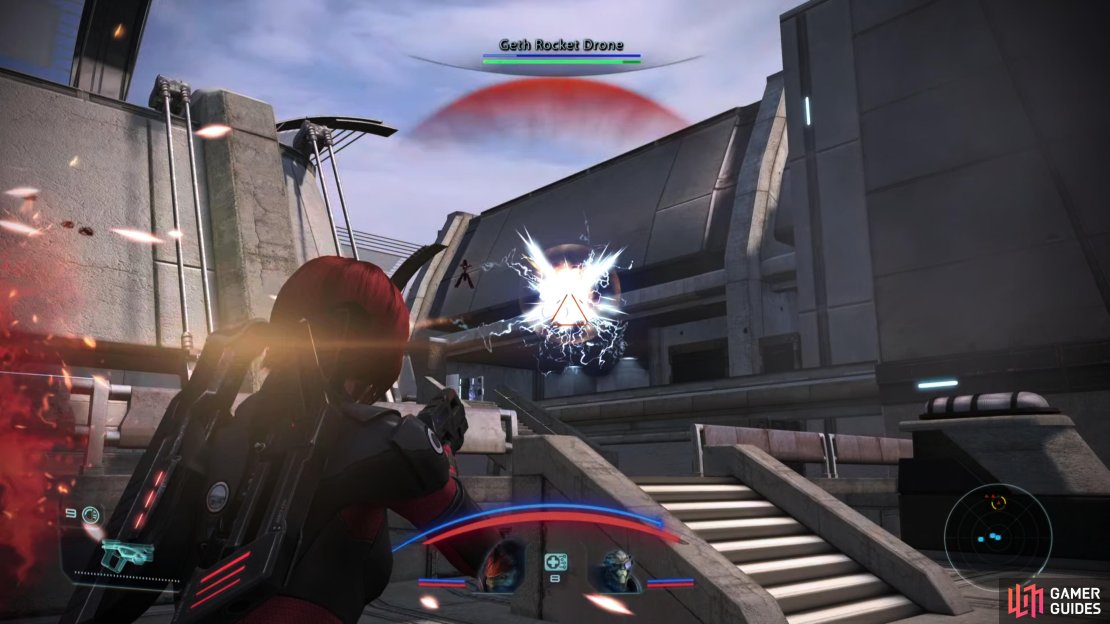
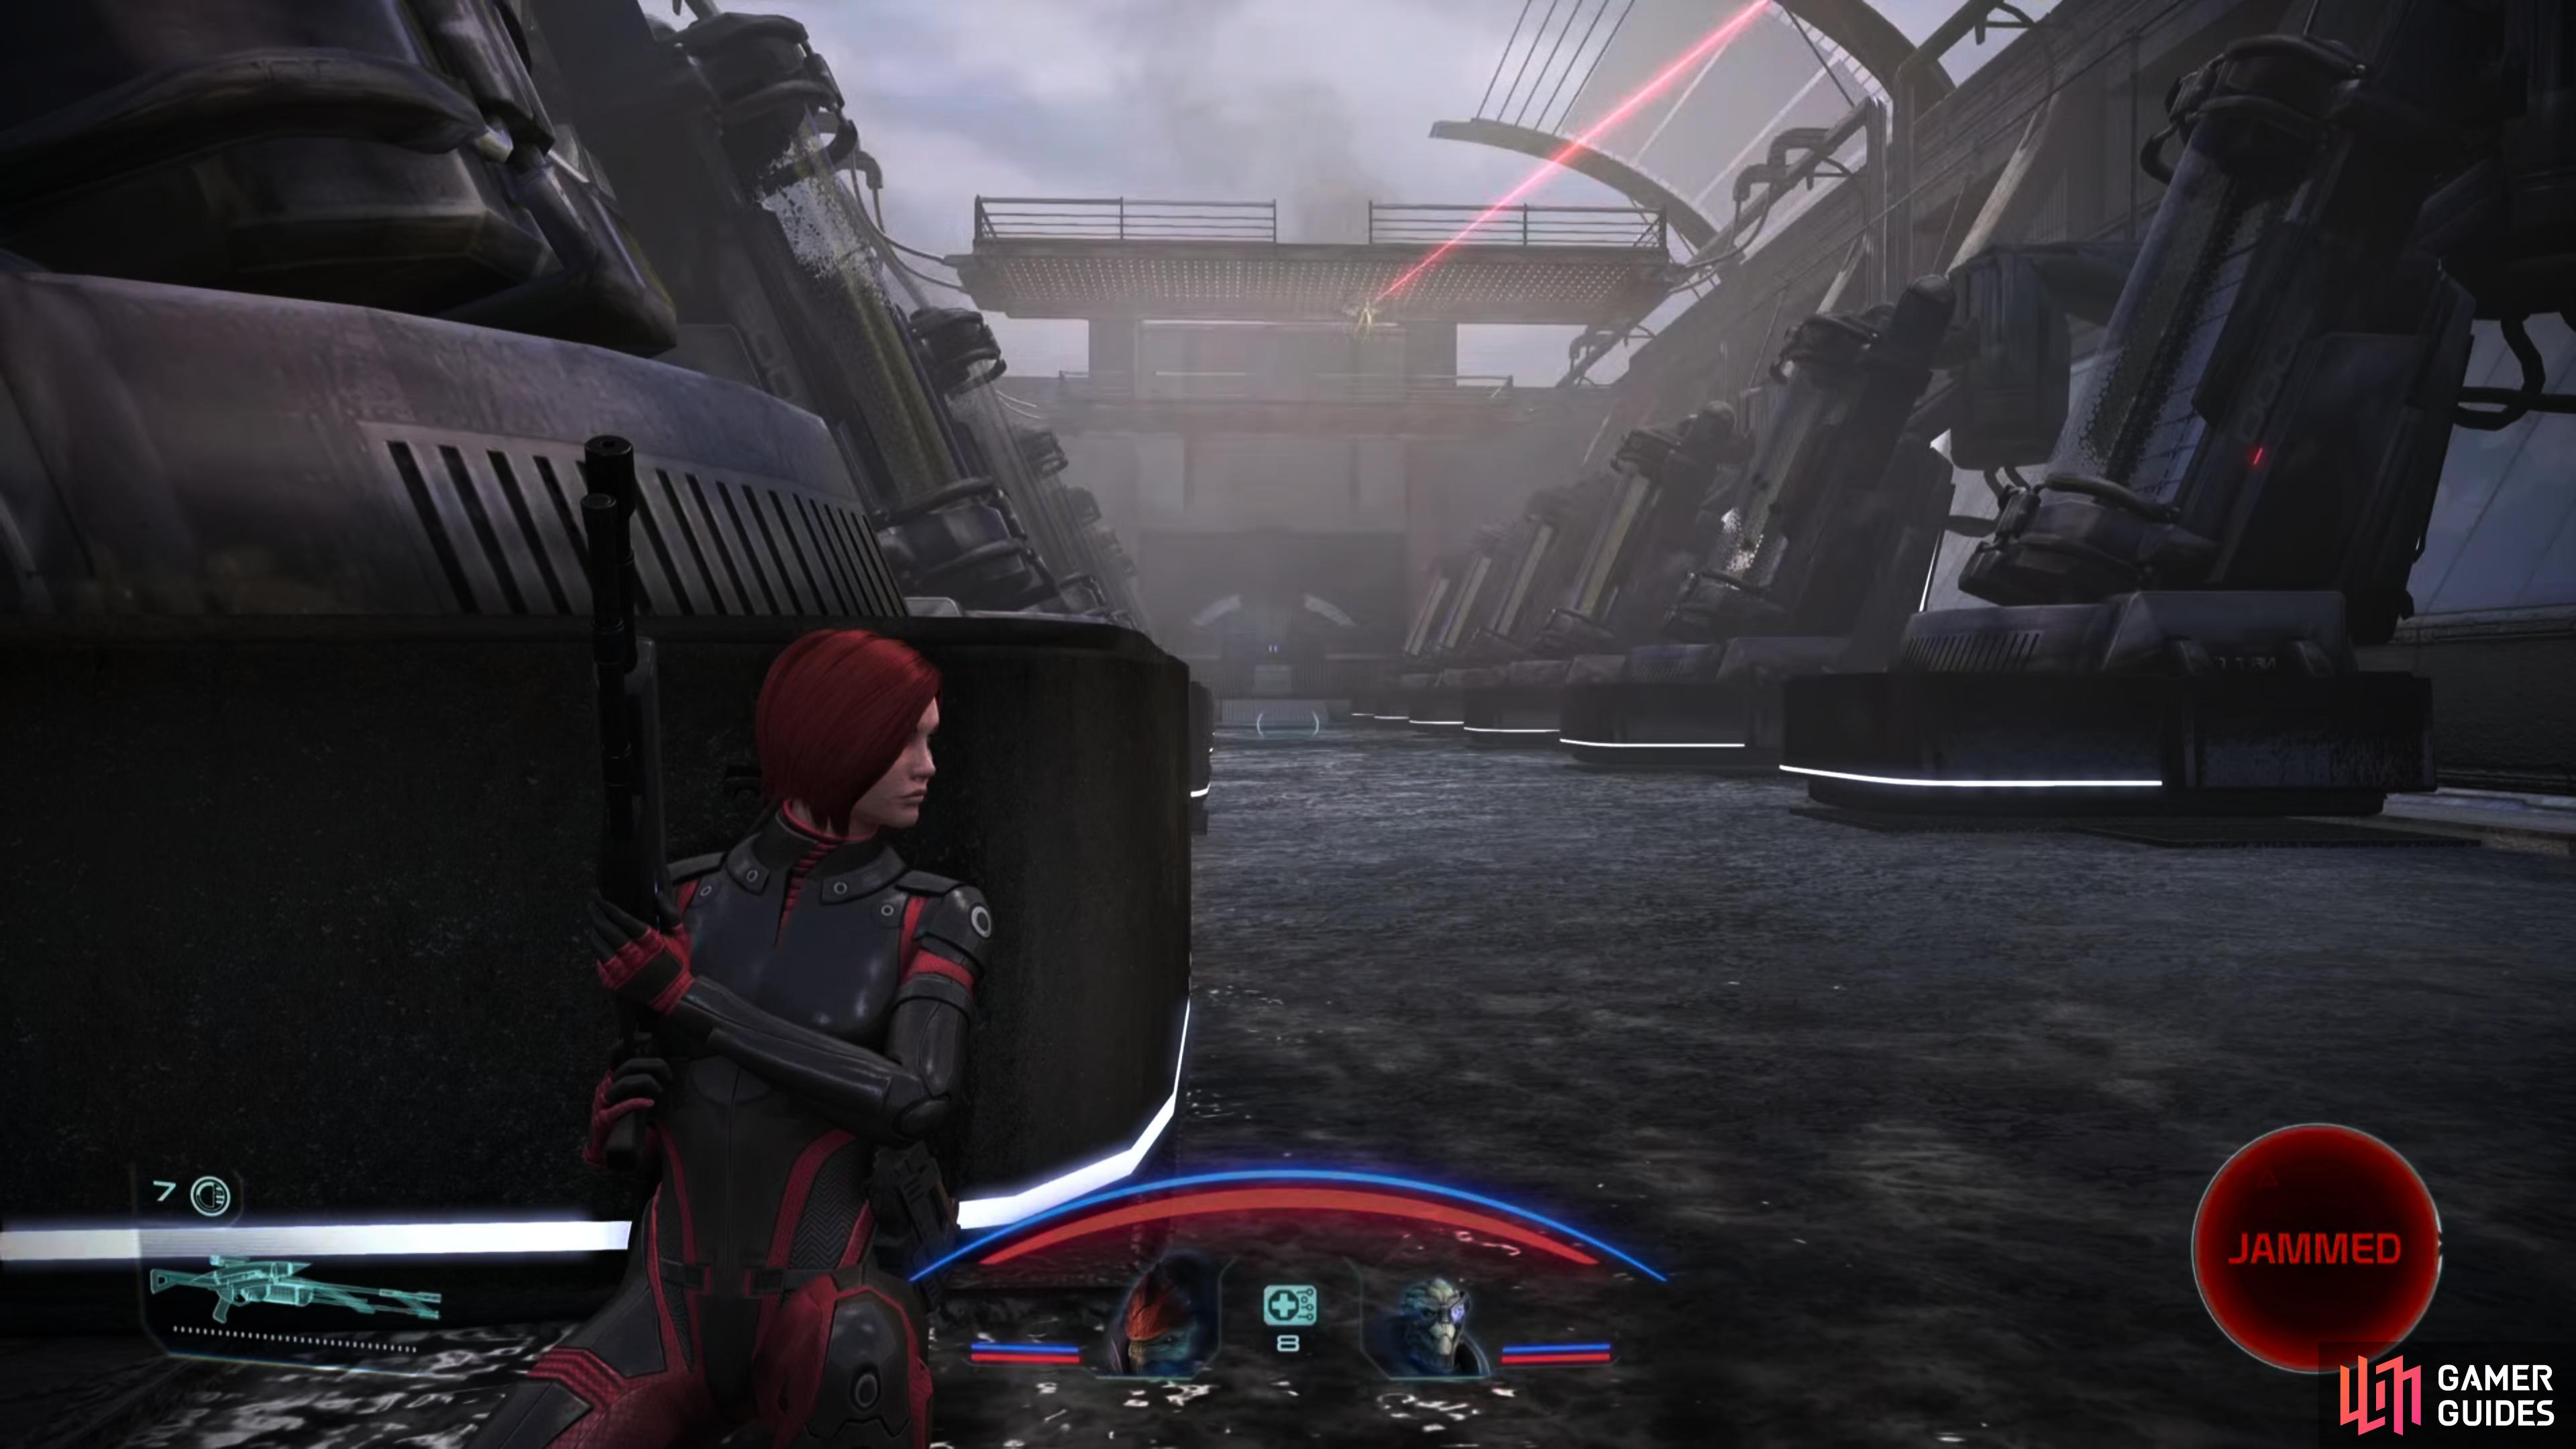
After defeating three Krogan Warriors and passing through a tunnel you’ll emerge back outside. Head down two flights of stairs and loot a Crate, a Secure Crate [Average] and a Locked Crate [Average], then ascend some stairs and continue following the walkway up a winding ramp. Be cautious when you see a turret in the distance, as the area outside of it is guarded by some Geth Stalkers and a Krogan Warrior. Stand back and pick the Stalkers off with sniper fire, then move in and put down the outnumbered krogan. As you approach the turret you’ll also encounter three Geth Rocket Drones - Sabotage and Overload are particularly effective against them.
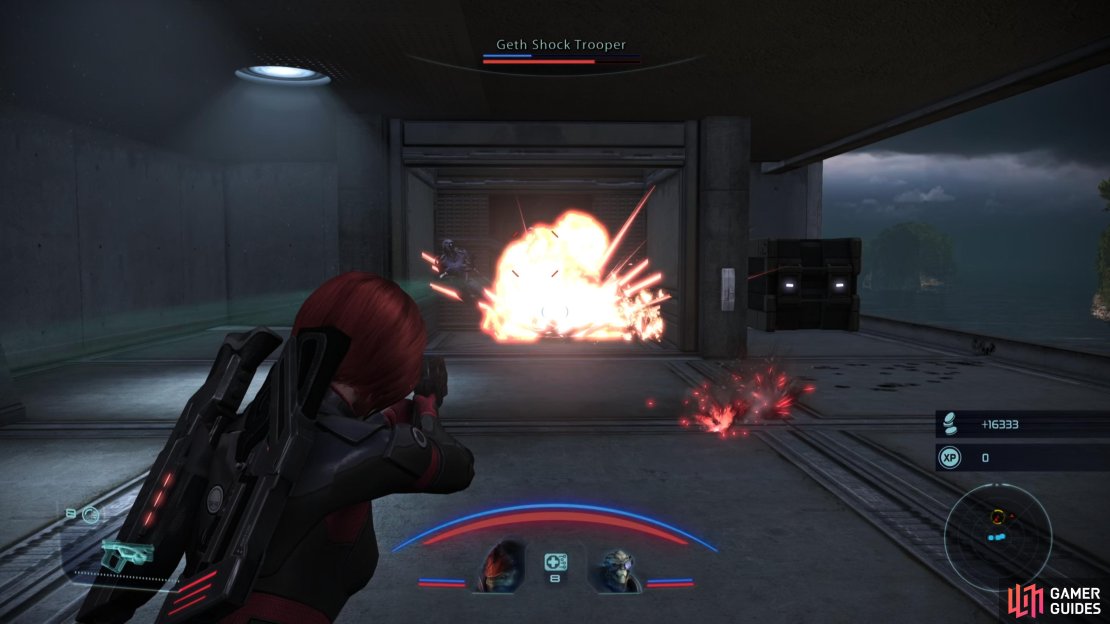
Crush the defenders outside the turret, then head upstairs and loot a Supply Container before deactivating a Turret Controls console. After you deactivate the console, immediately turn around and focus your attention on the elevator to the north. Some geth will arrive downstairs to distract you, but ignore them, as three geth - Troopers and Shock Troopers - will emerge from the elevator. Hit them with technical abilities and/or toss a grenade in there to make short work of them, then mop up and ride the elevator you just cleared.
When the elevator stops, plunder an Aid Station, then go through a door to reach the “Breeding Trenches”. Lovely name.

(1 of 2) Fight your way through the eastern Breeding Trench,
Fight your way through the eastern Breeding Trench, (left), and the Normandy will arrive with its nuclear payload. (right)
Breeding Trenches
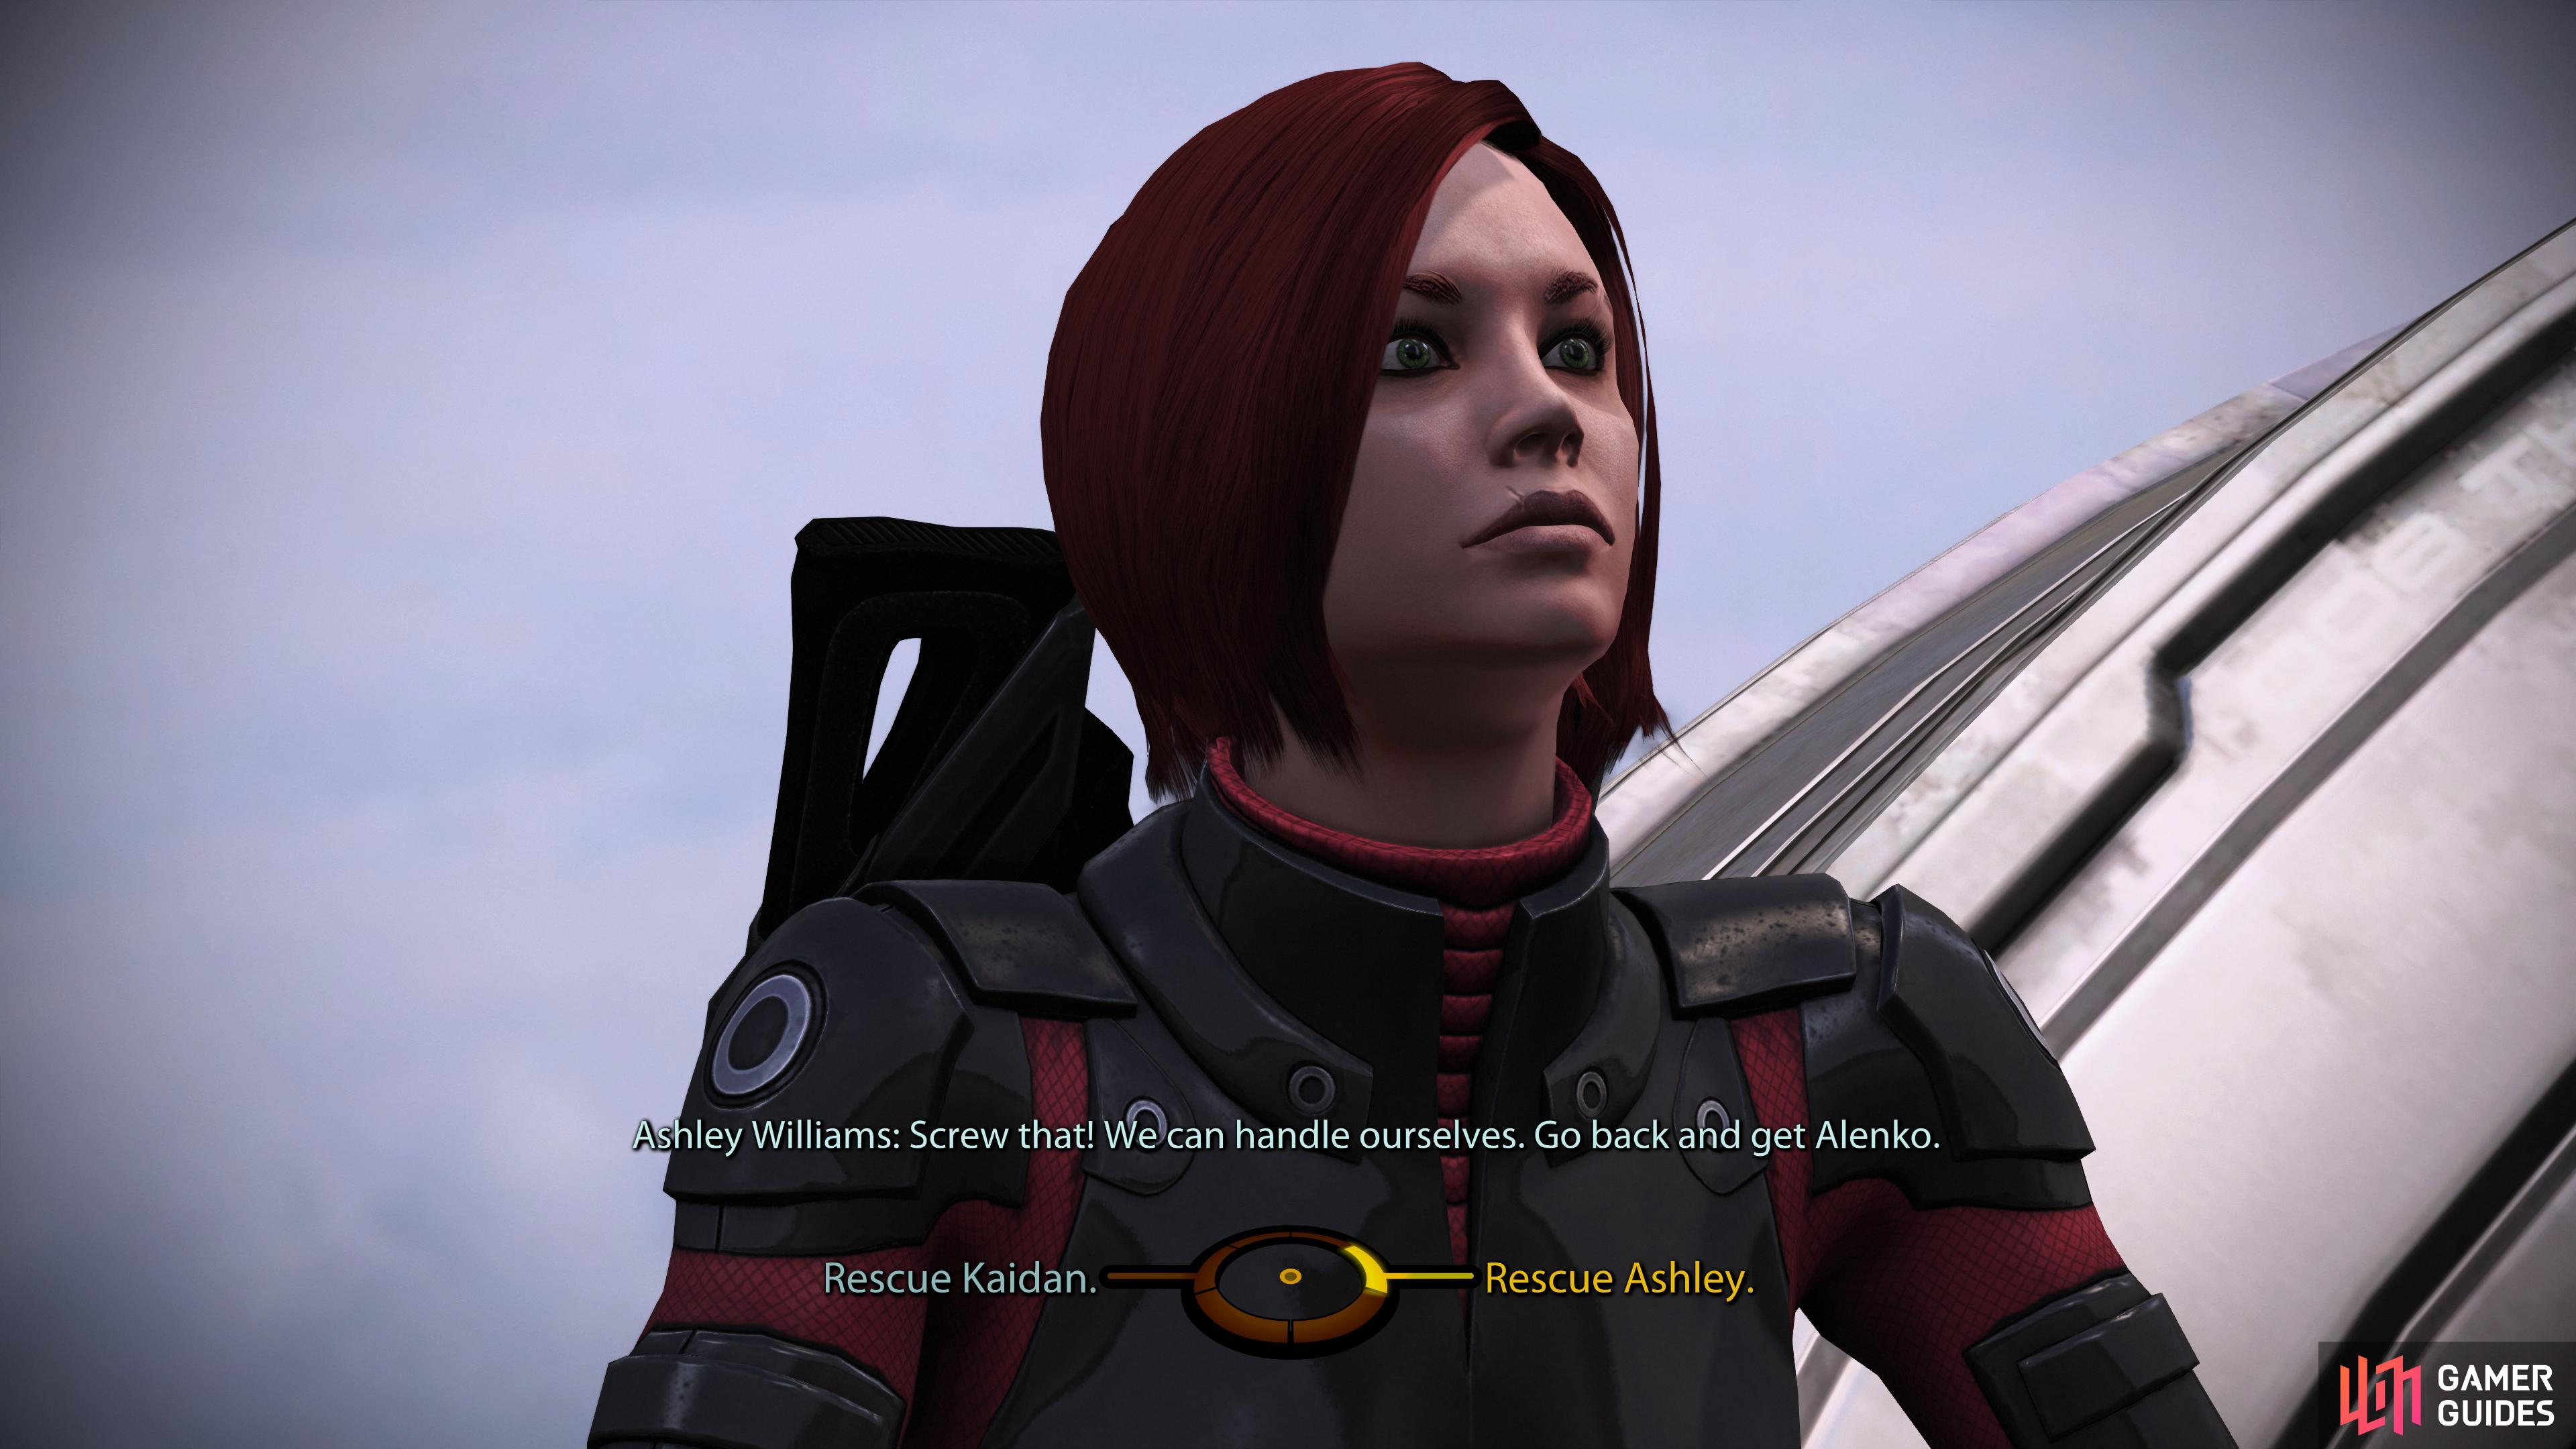
You’ll emerge in the eastern of two “Breeding Trenches”. Kill some Geth Stalkers hopping around, then continue through a large door to the west to reach a large, central trench. After some chatter, the Normandy will arrive and the nuke will be deployed, with whichever human companion (Ashley or Kaiden) you didn’t send to accompany Kirrahe accompanying the nuke. Unfortunately, a complication arises, as you’ll be contacted by the companion you did send with Kirrahe informing you that they’re in a spot of trouble.


(1 of 2) The combination of Stalkers and Krogan in the western trench can be tricky.
The combination of Stalkers and Krogan in the western trench can be tricky. (left), When you approach the AA Tower, you’ll get more bad news, forcing you to choose between rescuing Kaiden or Ashley. (right)
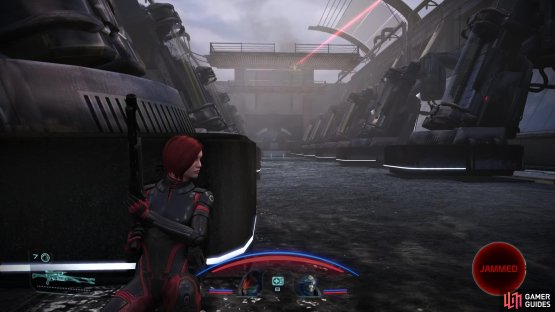
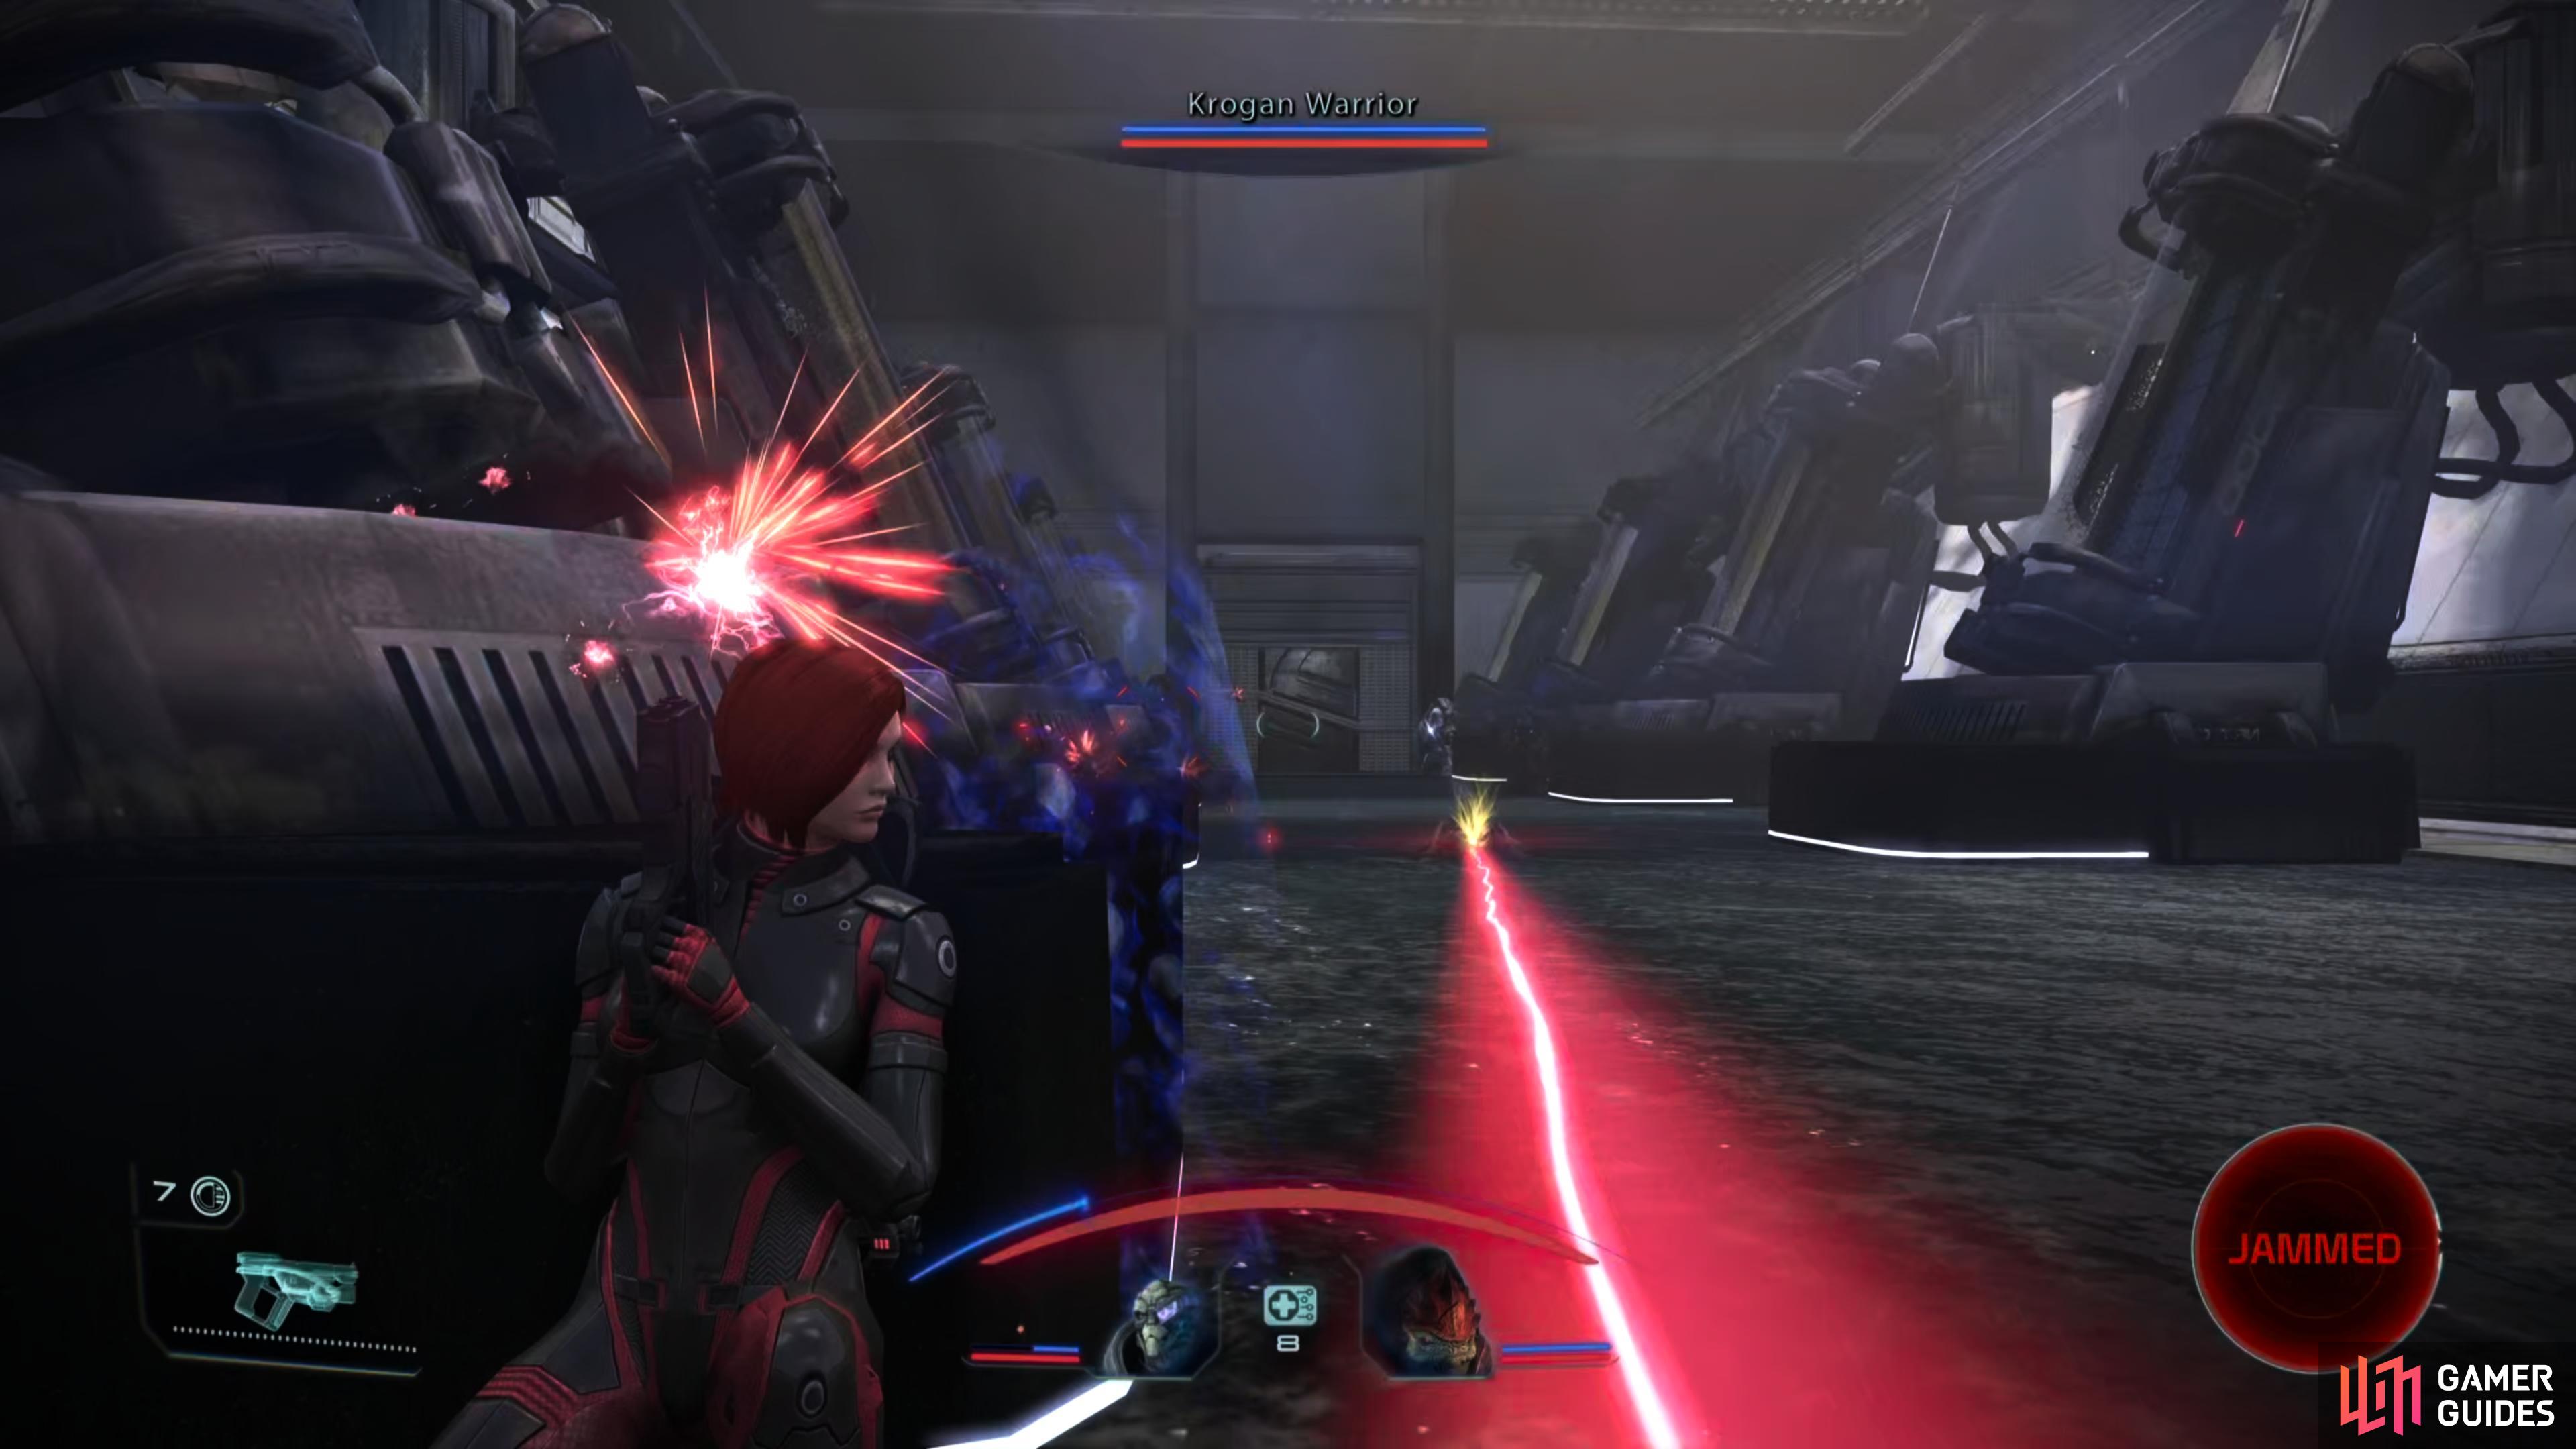
Head through a door to the west to reach the western-most of two Breeding Trenches, where your passage will be contested by some Geth Stalkers, two Krogan Warriors and a Krogan Warlord. This is another situation where it’s safer to stand back and snipe your foes, focusing on the Stalkers first. Their targeting laser gives them away, and shooting at the krogan will only provoke them. Krogan, as you know all too well by now, are sturdy and prone to charging, and Stalkers prefer to stay back and take potshots - a surprisingly dangerous combination. Pick off the Stalkers and if any krogan charge, neutralize them with your biotics.
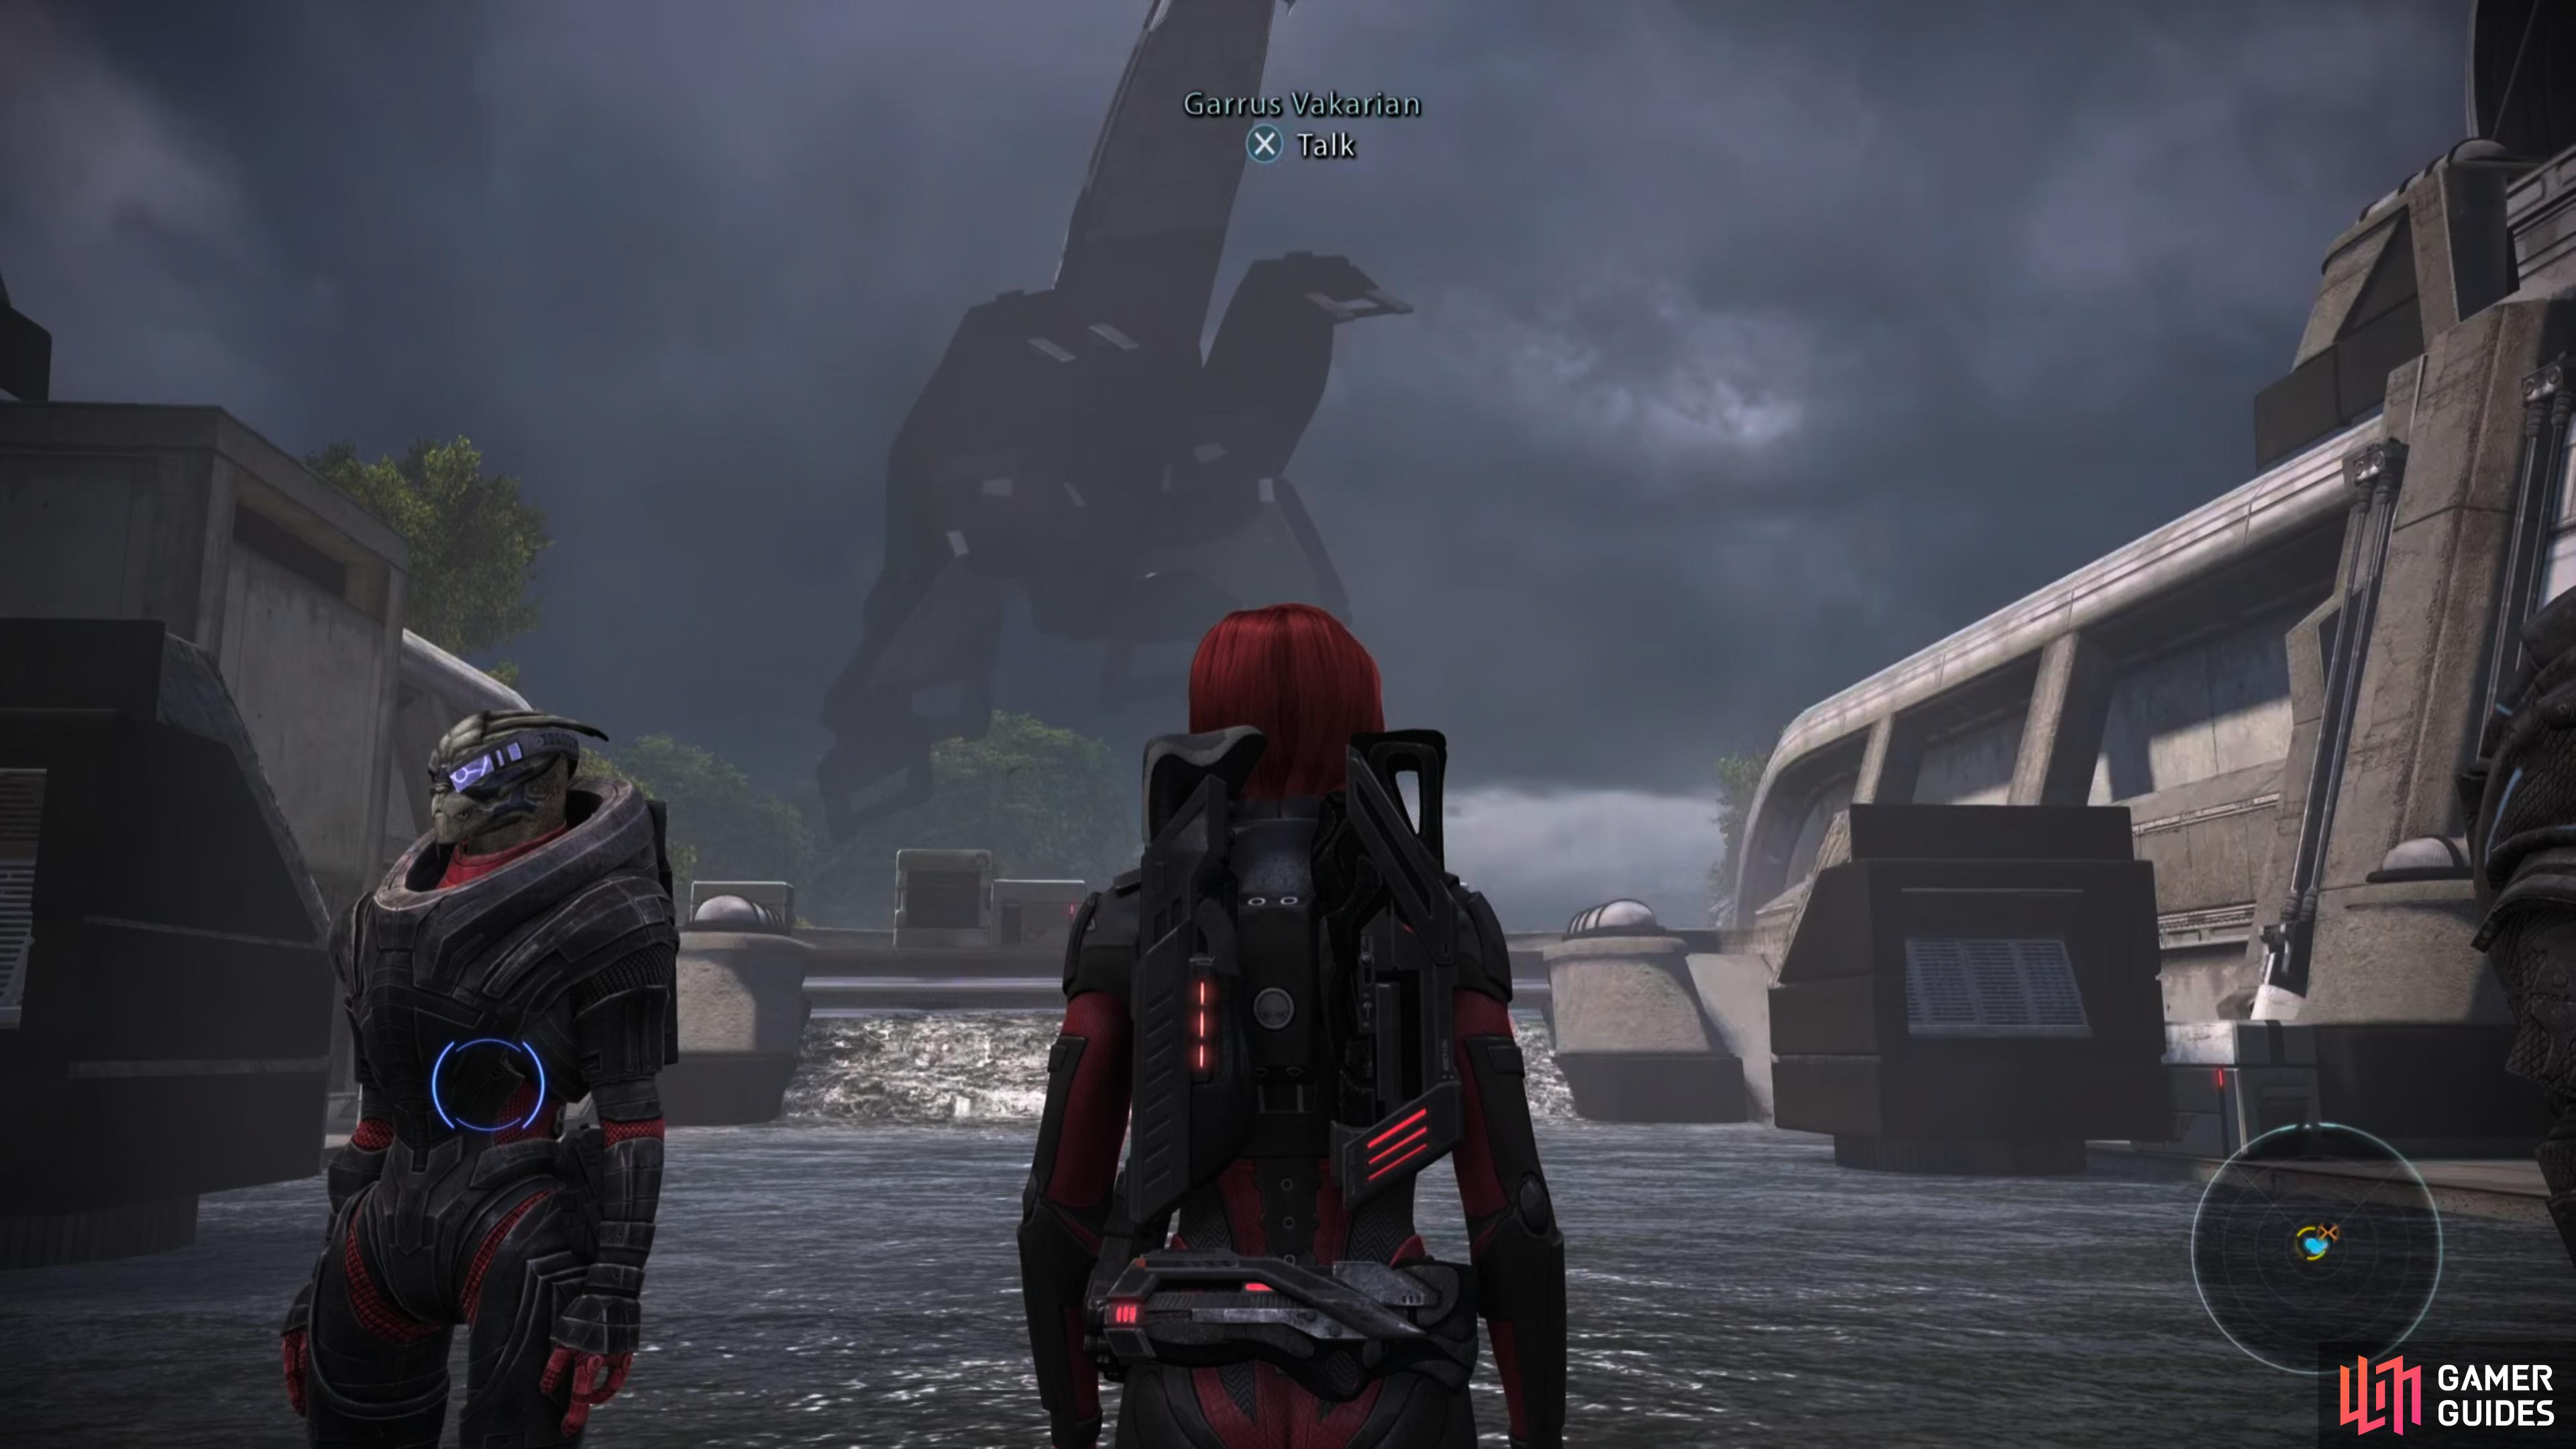
When the way is clear, press on and ride an elevator up.
Once atop the walls, make your way north, loot a Crate to the right (east) of a ramp, then ascend the ramp to spot… a complication. The geth in this base aren’t going down without a fight, and with enemies swarming the site of the nuke, whichever companion you left behind decides to arm the bomb to ensure the base will be destroyed. You only have time to rescue one of your companions - the one in the AA tower, or the one you left behind with the nuke.
When you make your decision, it’s set in stone; you won’t be able to change your mind and go to the location of the condemned character. If you stick to the Paragon options you’ll end up with Paragon +2, while the Renegade options will earn you Renegade +2.
| Paragon/Renegade |
|---|
| Paragon +2 or Renegade +2 |
AA Tower
If you opt to save the companion in the AA Tower, head up the ramp and turn left (west), then go through a door. In the room beyond you’ll find a Hardened Weapon Locker [Hard] and an Aid Station. Ride another elevator and you’ll find yourself in a firefight, with a squad of geth (including some Destroyers and Shock Troopers) caught between your squad on one side, and your companion and their accompanying salarians on the other side.
Caught in such a pincer, the geth don’t have a prayer. Gun them down and Saren will show up. After some chatter, you’ll find yourself in a fight (see below).
Nuke Site
If you choose to save the companion guarding the nuke… well, just head back down the elevator and cross through the Breeding Trench to reach the bomb site. You’ll have to fend off a number of geth, including some Snipers behind cover, a Geth Destroyer, Geth Prime and Geth Juggernaut. Counter-sniping the snipers and hitting overly aggressive geth with biotics should suffice to secure victory.
Defeat the geth and Saren will show up, and after some chatter you’ll find yourself in a fight (see below).
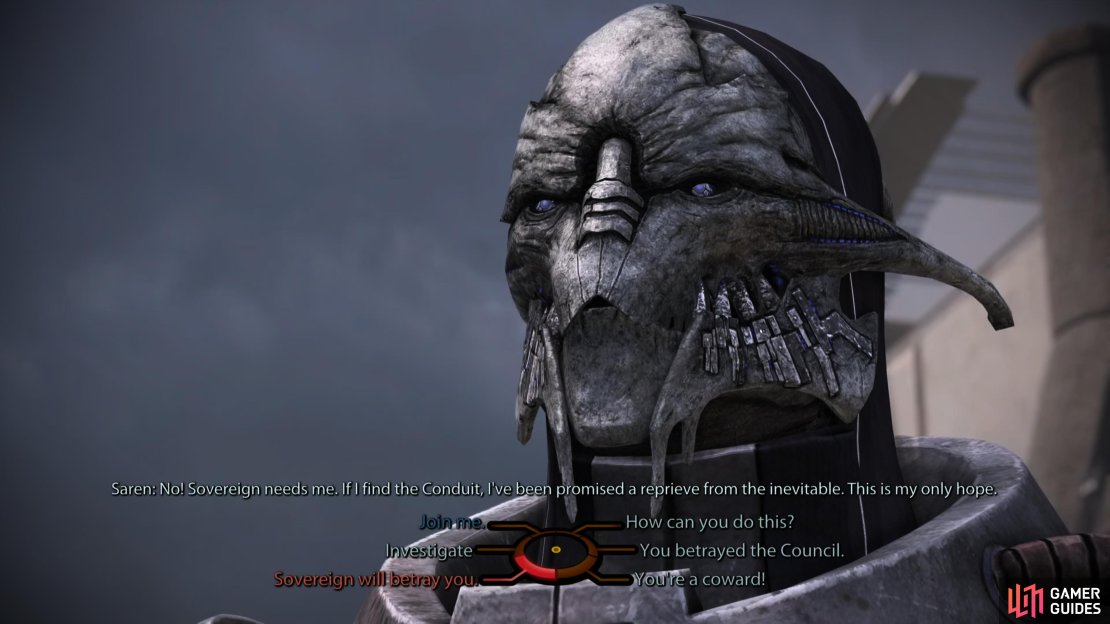

(1 of 4) Saren will engage in dialog, but a fight is inevitable.
Boss: Saren
Whether you go to the AA Tower or back to the Bomb Site, Saren will show up after you clear out the geth. While you’ll exchange words here, the outcome is immutable, but if you have at least 7 ranks in either Charm or Intimidate, you can pick a Charm/Intimidate option that’ll net you either Paragon +2 or Renegade +2.
| Charm/Intimidate |
|---|
| If you have 7 ranks in either Charm or Intimidate, you can try to reason with Saren. While unsuccessful, it will earn you some Paragon/Renegade points. |
| Paragon/Renegade |
|---|
| Paragon +2 or Renegade +2 |
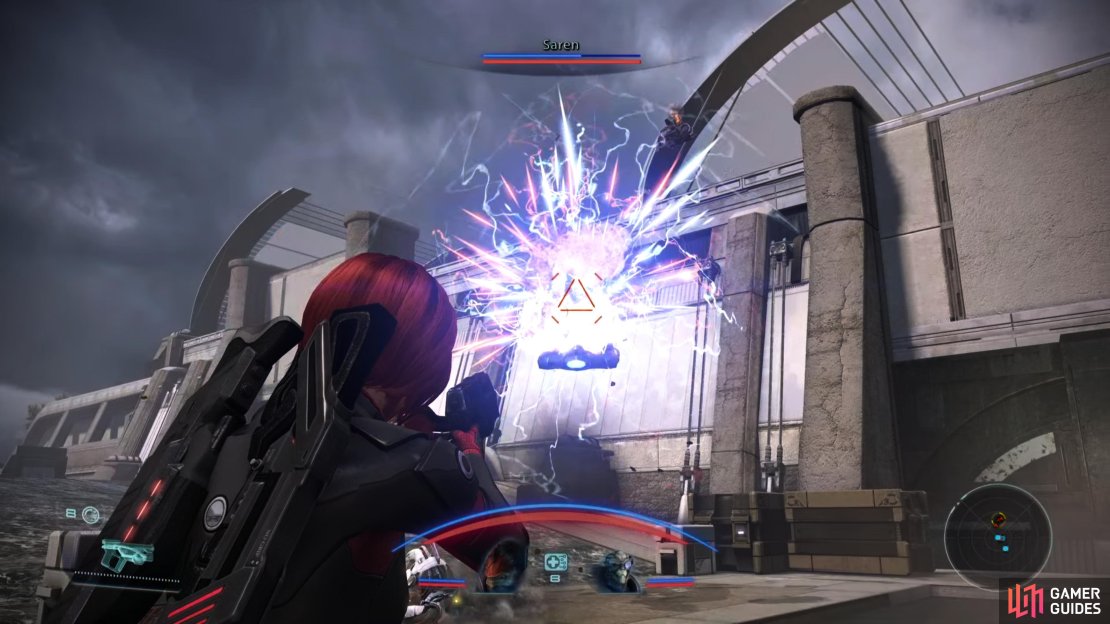
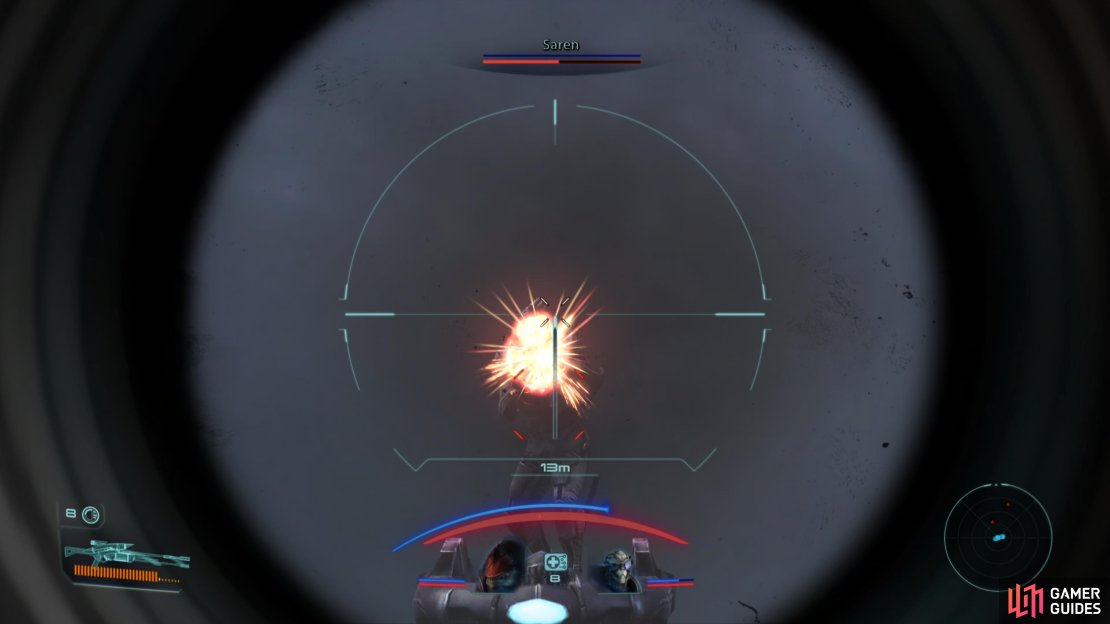
When a fight inevitably ensues, Saren will summon a host of geth to attack, which will include Snipers, Shock Troopers and Destroyers. They don’t appear all at once, fortunately, and while Saren can be a nuisance, his geth are arguably more dangerous. Saren, for his part, will use tech abilities like Sabotage and Damping on you if given the chance, then resort to firing missiles and shooting at you with an assault rifle. You should respond in kind, as hitting him with Sabotage and Damping will momentarily stifle his offensive output, during which time you should focus on thinning out his geth. Be sure to instruct your companions to fire on the geth, not Saren, as the sooner you deal with Saren’s minions (he’ll only summon a finite number), the easier it’ll be to put Saren down.
Your own biotics are useless here, save for Warp, so use them to deal with the nearby geth, especially when Saren’s own offense is hindered by the aforementioned tech abilities. When enough geth have been removed to allow you to focus on Saren, do so. Overload will deal heavy damage to his shields, and while he’s fairly sturdy, he’ll only continue to fight until he’s down to around half his health. Hitting him with Overload followed by Assassinate can pretty much end the fight outright.
After taking enough damage, Saren will end the fight by emitting a burst of energy, and after some scenes you’ll be back on the Normandy. For surviving Virmire you’ll earn the Council Legion of Merit achievement.


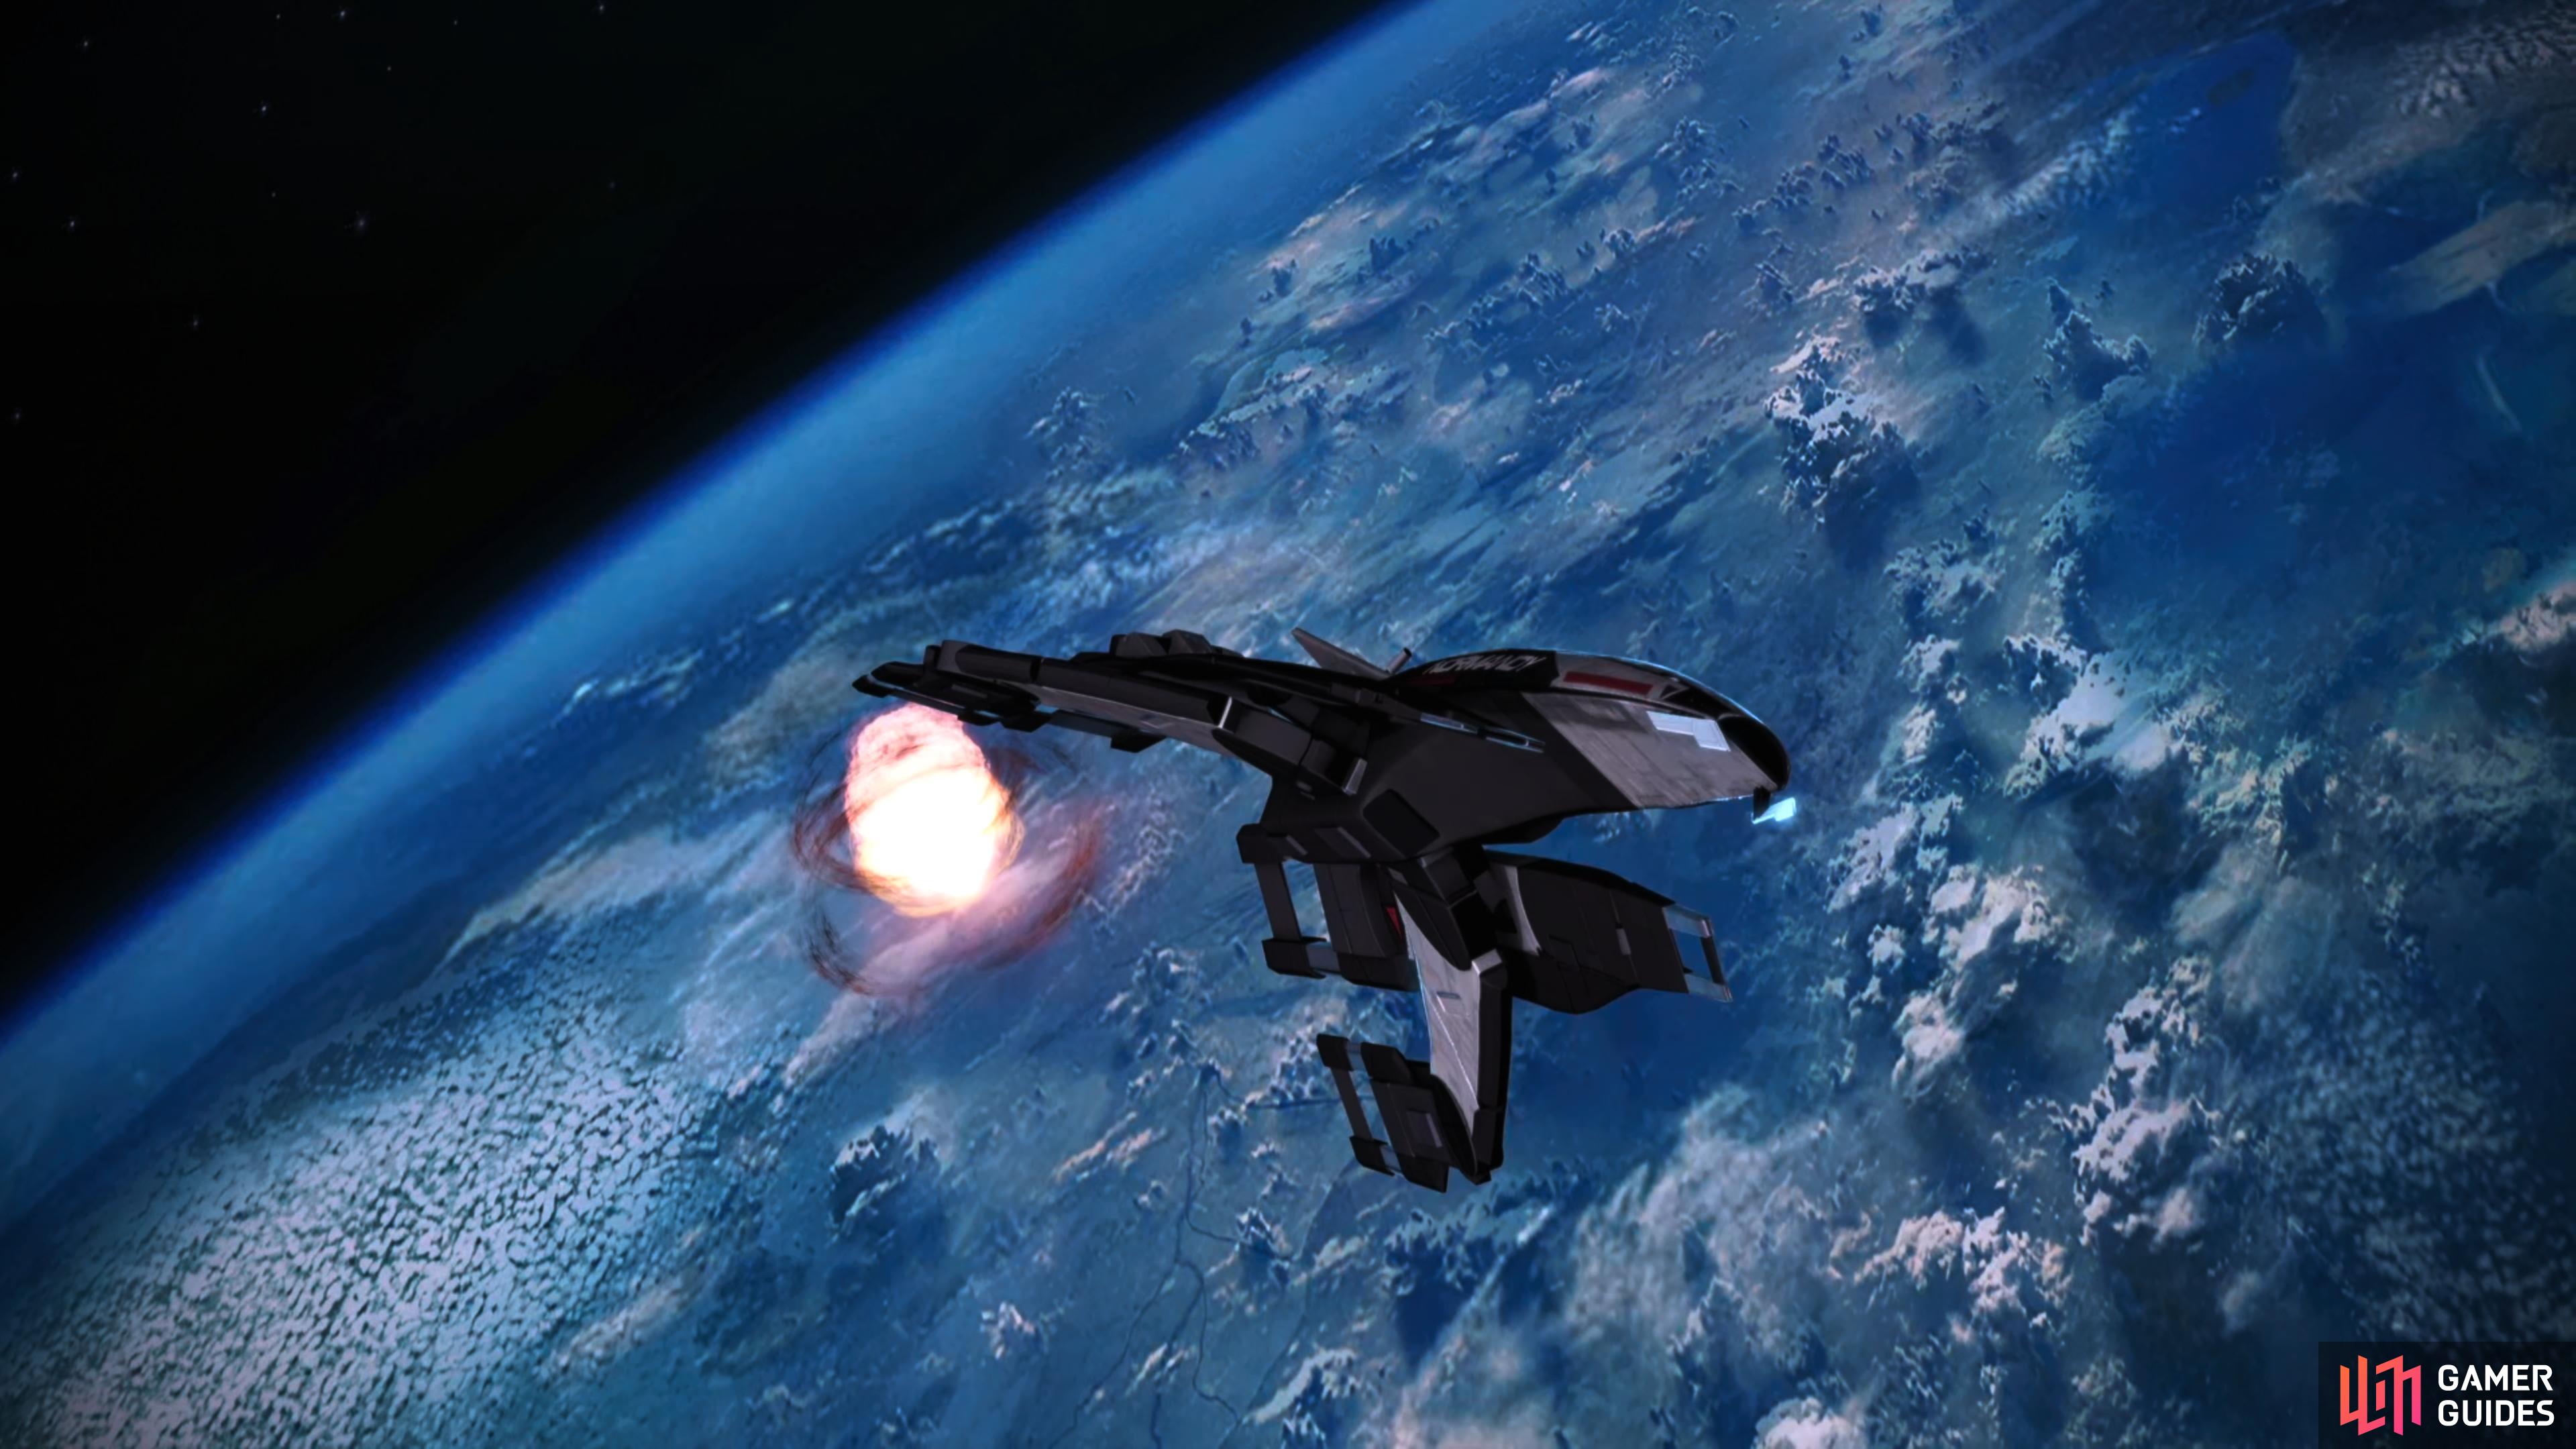
The Normandy escapes Virmire.
No Comments