Not long after you’ve begun to find your feet with the resistance, do you find yourself caught up in a situation to protect one of their labs under attack from the RDA. Becoming is the fifth main quest in Avatar: Frontiers of Pandora and like most of them, there are times when you may get lost when looking for specific people, creatures, or locations. If you’re looking for Nor at the Resistance HQ, look no further!
The Becoming Quest in Avatar: Frontiers of Pandora sees you searching for Nor.
Look for Signs of Nor at Resistance HQ
After connecting with your first Tarsyu Flora alongside the other remaining Sarentu and learning your first Ancestor Skill, you’ll need to make your way back to the Resistance HQ and speak with Priya. You should know your way there by now, but if for whatever reason you’ve lost your bearings, open the map and mark the main quest marker, this will show a green marker on your compass, making it easier to retrace your steps.
Once back there, head over to the Command Center to find Priya with your other allies, and you’ll learn about the RDA polluting the nearby areas, beginning the “Clearing the Air” Side Quest in the process. This Side Quest will last the entire adventure and involves you hitting up every RDA Installation and Outpost in the Western Frontier. Considering there are some that require a Combat Strength of 20, it’ll be some time before you can mark this off your journal!
Make your way over to So’lek once you’re done with the meeting, he can be found in the Maintenance area on the ground floor, where you can find the various merchants. You’ll get your first Songcord Bead and then will be sent on your way to look for Nor. This is by far the most confusing part of this Quest.
If you’re not used to the various gameplay systems in Avatar yet, you may have trouble locating her. The only information you’re given is that she is outside the Research Area at Resistance HQ, and if you take a look at your map, you’ll just see the quest marker over the Resistance HQ in general, that’s not going to help you locate Nor!
Instead, make use of your Na’vi Senses and if you look toward the upper floors, you’ll see a blueish glow. This indicates that it’s a quest objective and you can use that to discern that Nor is above where you were after speaking with So’lek. Head upstairs, through the Research area, and then take the western exit to leave the Resistance HQ.
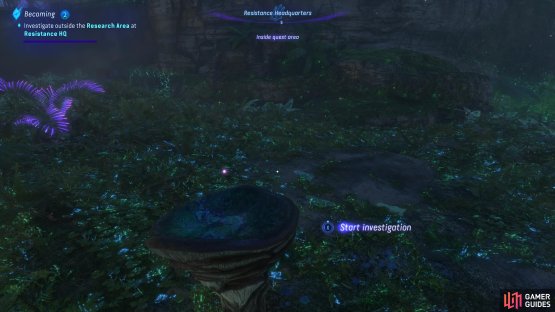
(1 of 2) Head outside the western exit on the upper level of the Resistance HQ and examine this burst vein pod
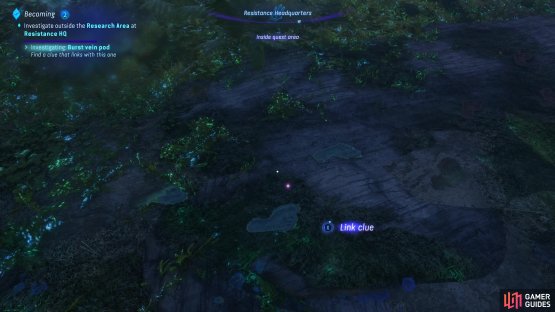
Head outside the western exit on the upper level of the Resistance HQ and examine this burst vein pod (left), then examine the footprints to see Nor’s scent that you can then track! (right)
Investigate Outside the Research Area at Resistance HQ
The Quest objective will update at this point, and you’ll be introduced to the Clue Investigation mechanic. Essentially, using your Na’vi Senses, you can find clues nearby, and you’ll need to interact with two of them to “link” them together. You’ll see nearby a Burst vein pod and some Footprints, examine them both to link them together and you’ll be able to follow the scent by using your Na’vi Sense to see the trail and then interact with it so you can see it outside of your Na’vi Senses.
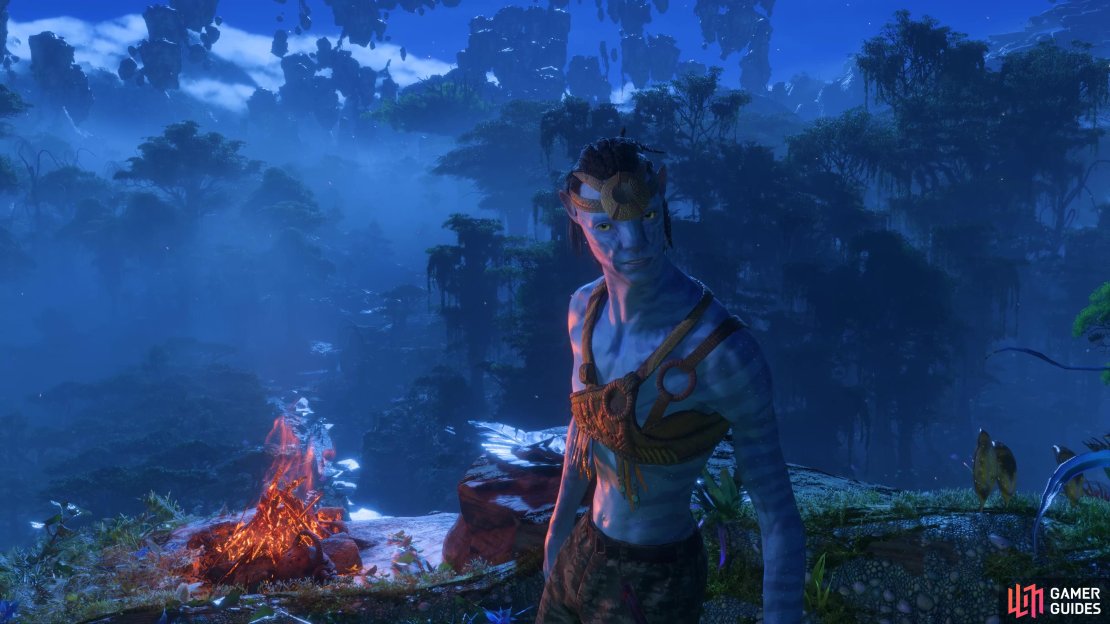
You’ll need to follow this scent for a while, up the Tapestry Falls, and should you lose the scent, you’ll need to go back to where you initially picked it up outside Resistance HQ to start it again. You’ll know you’re on the right path as you start to see the title cards (took a while, right?) start to appear in the bottom left of the screen. As you approach the campfire at the end of the cliff, you’ll trigger a scene where you’ll eventually meet up with Nor. Your meeting is eventually cut short as you get a call from Priya about an RDA attack on one of their labs.
Help the Resistance
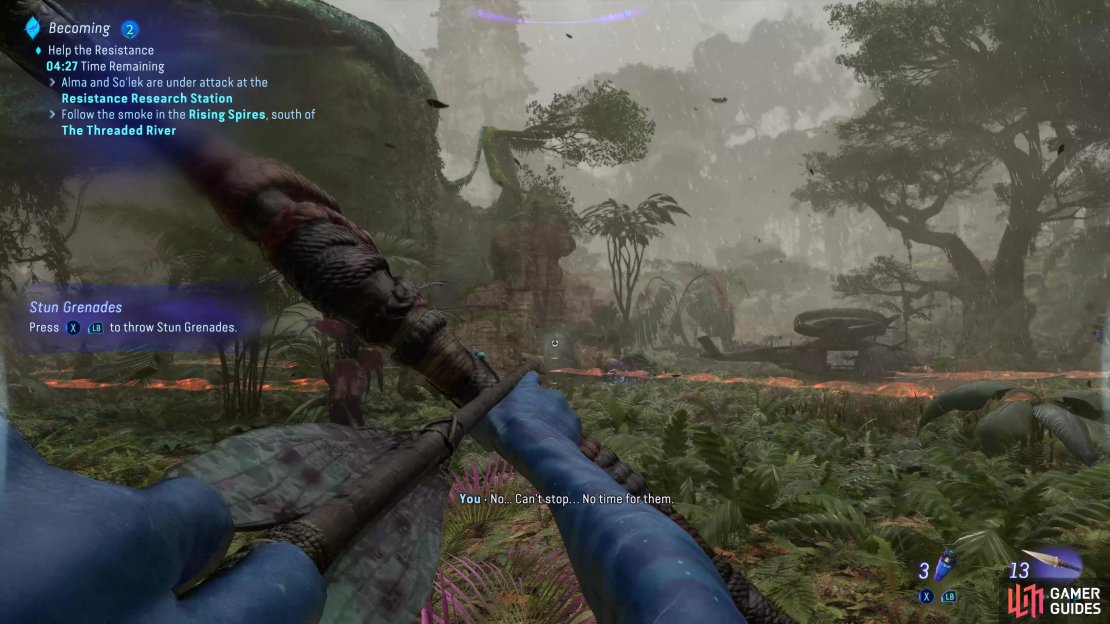
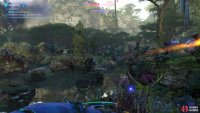
You’ll be up against the clock here, you’ll have seven minutes to reach the Resistance Research Station in time before your allies are overrun. Take a step back, and then run and leap off the cliff to land into the water below, this is the quickest route down from your current location. If you use your Na’vi Sense, you’ll see that your objective lies to the southwest, ignore everything else and sprint toward that direction.
You may come across a group of RDA along your path but ignore the temptation to attack them and go around them, the Resistance Research Station is your main goal here. Once you see the burning trees in the distance, you’ll know you’re on the right track and once you reach what now remains of the research station, the timer will stop, and a scene will take over.
(1 of 3) Head southwest to find the Research Station in time
Survive the RDA Assault
You’ll obtain the Staff Sling here, a new weapon that allows you to toss traps that can stop your enemies in their tracks. You’ll only have a few shots available to you here, so look to the west and toss them there as many RDA will approach from here. Once you’re done, switch to either your Bow or Assault Rifle and then take a moment to restock your resources with the various containers before the RDA begins their attack.
You’re in the open in your initial position, so look to use parts of the terrain to block your enemy’s shots and then hit back with your own assault. The Bow is fantastic here as you can be much more accurate with it than with the Assault Rifle. The first few groups of enemies will just be footsoldiers, but before long, you’ll be up against Exosuits. Use your Na’vi Sense to see the weakpoint (the cockpit) and let loose some arrows to deal with them quickly.
Help Alma
Alma will contact you after you finish off the last of the RDA and inform you that she urgently needs medical supplies. Once again, you’re up against the clock, and this time you only have five minutes to locate it. If you face the Research Station (to the east) and use your Na’vi Sense, you’ll spot the objective in the distance. Once again, ignore everything else along the way and dash in that direction.
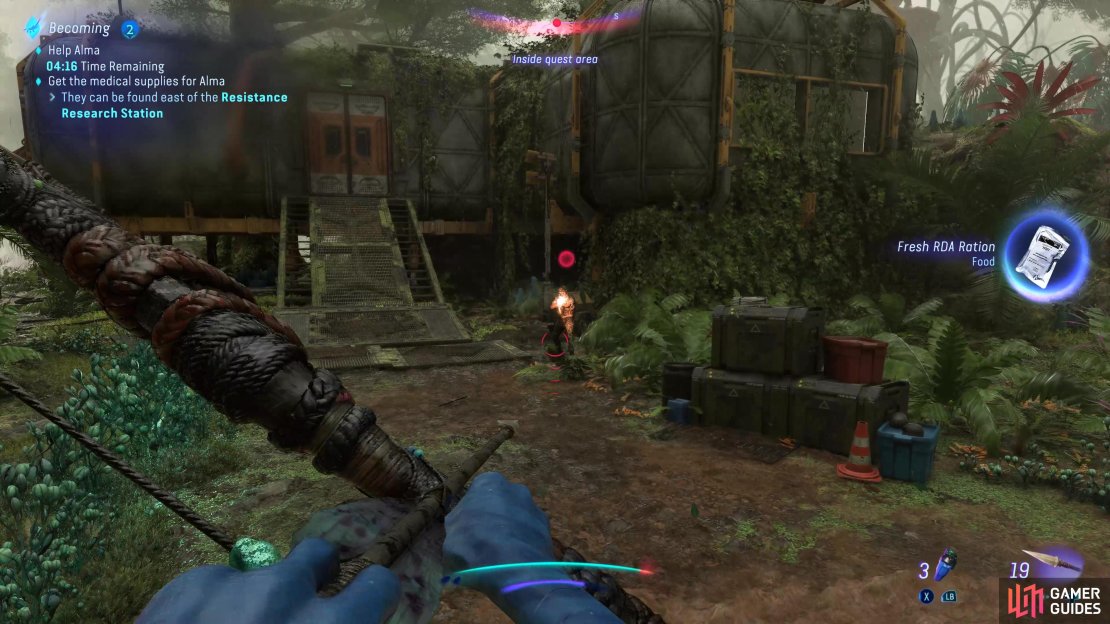
(1 of 3) There are two footsoldiers to deal with outside the lab
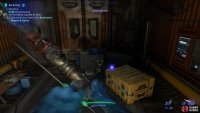
You’ll soon reach another small lab with two Footsoldiers outside of it. Dispatch them however you wish and enter the doors, you’ll find a yellow container almost immediately that contains the necessary supplies. Hopefully, you took no detours along the way, as the timer is still going and you’ll need to race back to the Research Station where you’ll find one final group of RDA, many in Exosuits. Refill your health pouches with the nearby Daphomet plants if needed and then once again look for cover as you take out the remaining RDA. Once the camp is safe, you’ll hand over the supplies to bring this quest to an end.
More Avatar: Frontiers of Pandora Guides
Avatar: Frontiers of Pandora is a vast game, and you can get yourself lost in the wilds of the Western Frontier. If you’re considering taking it on with a friend or want to know what skills to shoot for early on, check out the pages below!




No Comments