
Spirits in Black Myth: Wukong can be obtained by defeating special empowered monsters found throughout the game. When equipped, these Spirits will not only give you an equipped bonus such as extra defense, but they’ll give you a skill that you can use in combat. There are a lot of Spirits to hunt down in Wukong, so read on to find out what they do and where you can find them.
You will receive a Blessed Gourd in Bamboo Grove that allows you to absorb Spirits.
Table of Contents
If you want to jump to a specific Chapter, click on the links below.
How to obtain Spirits
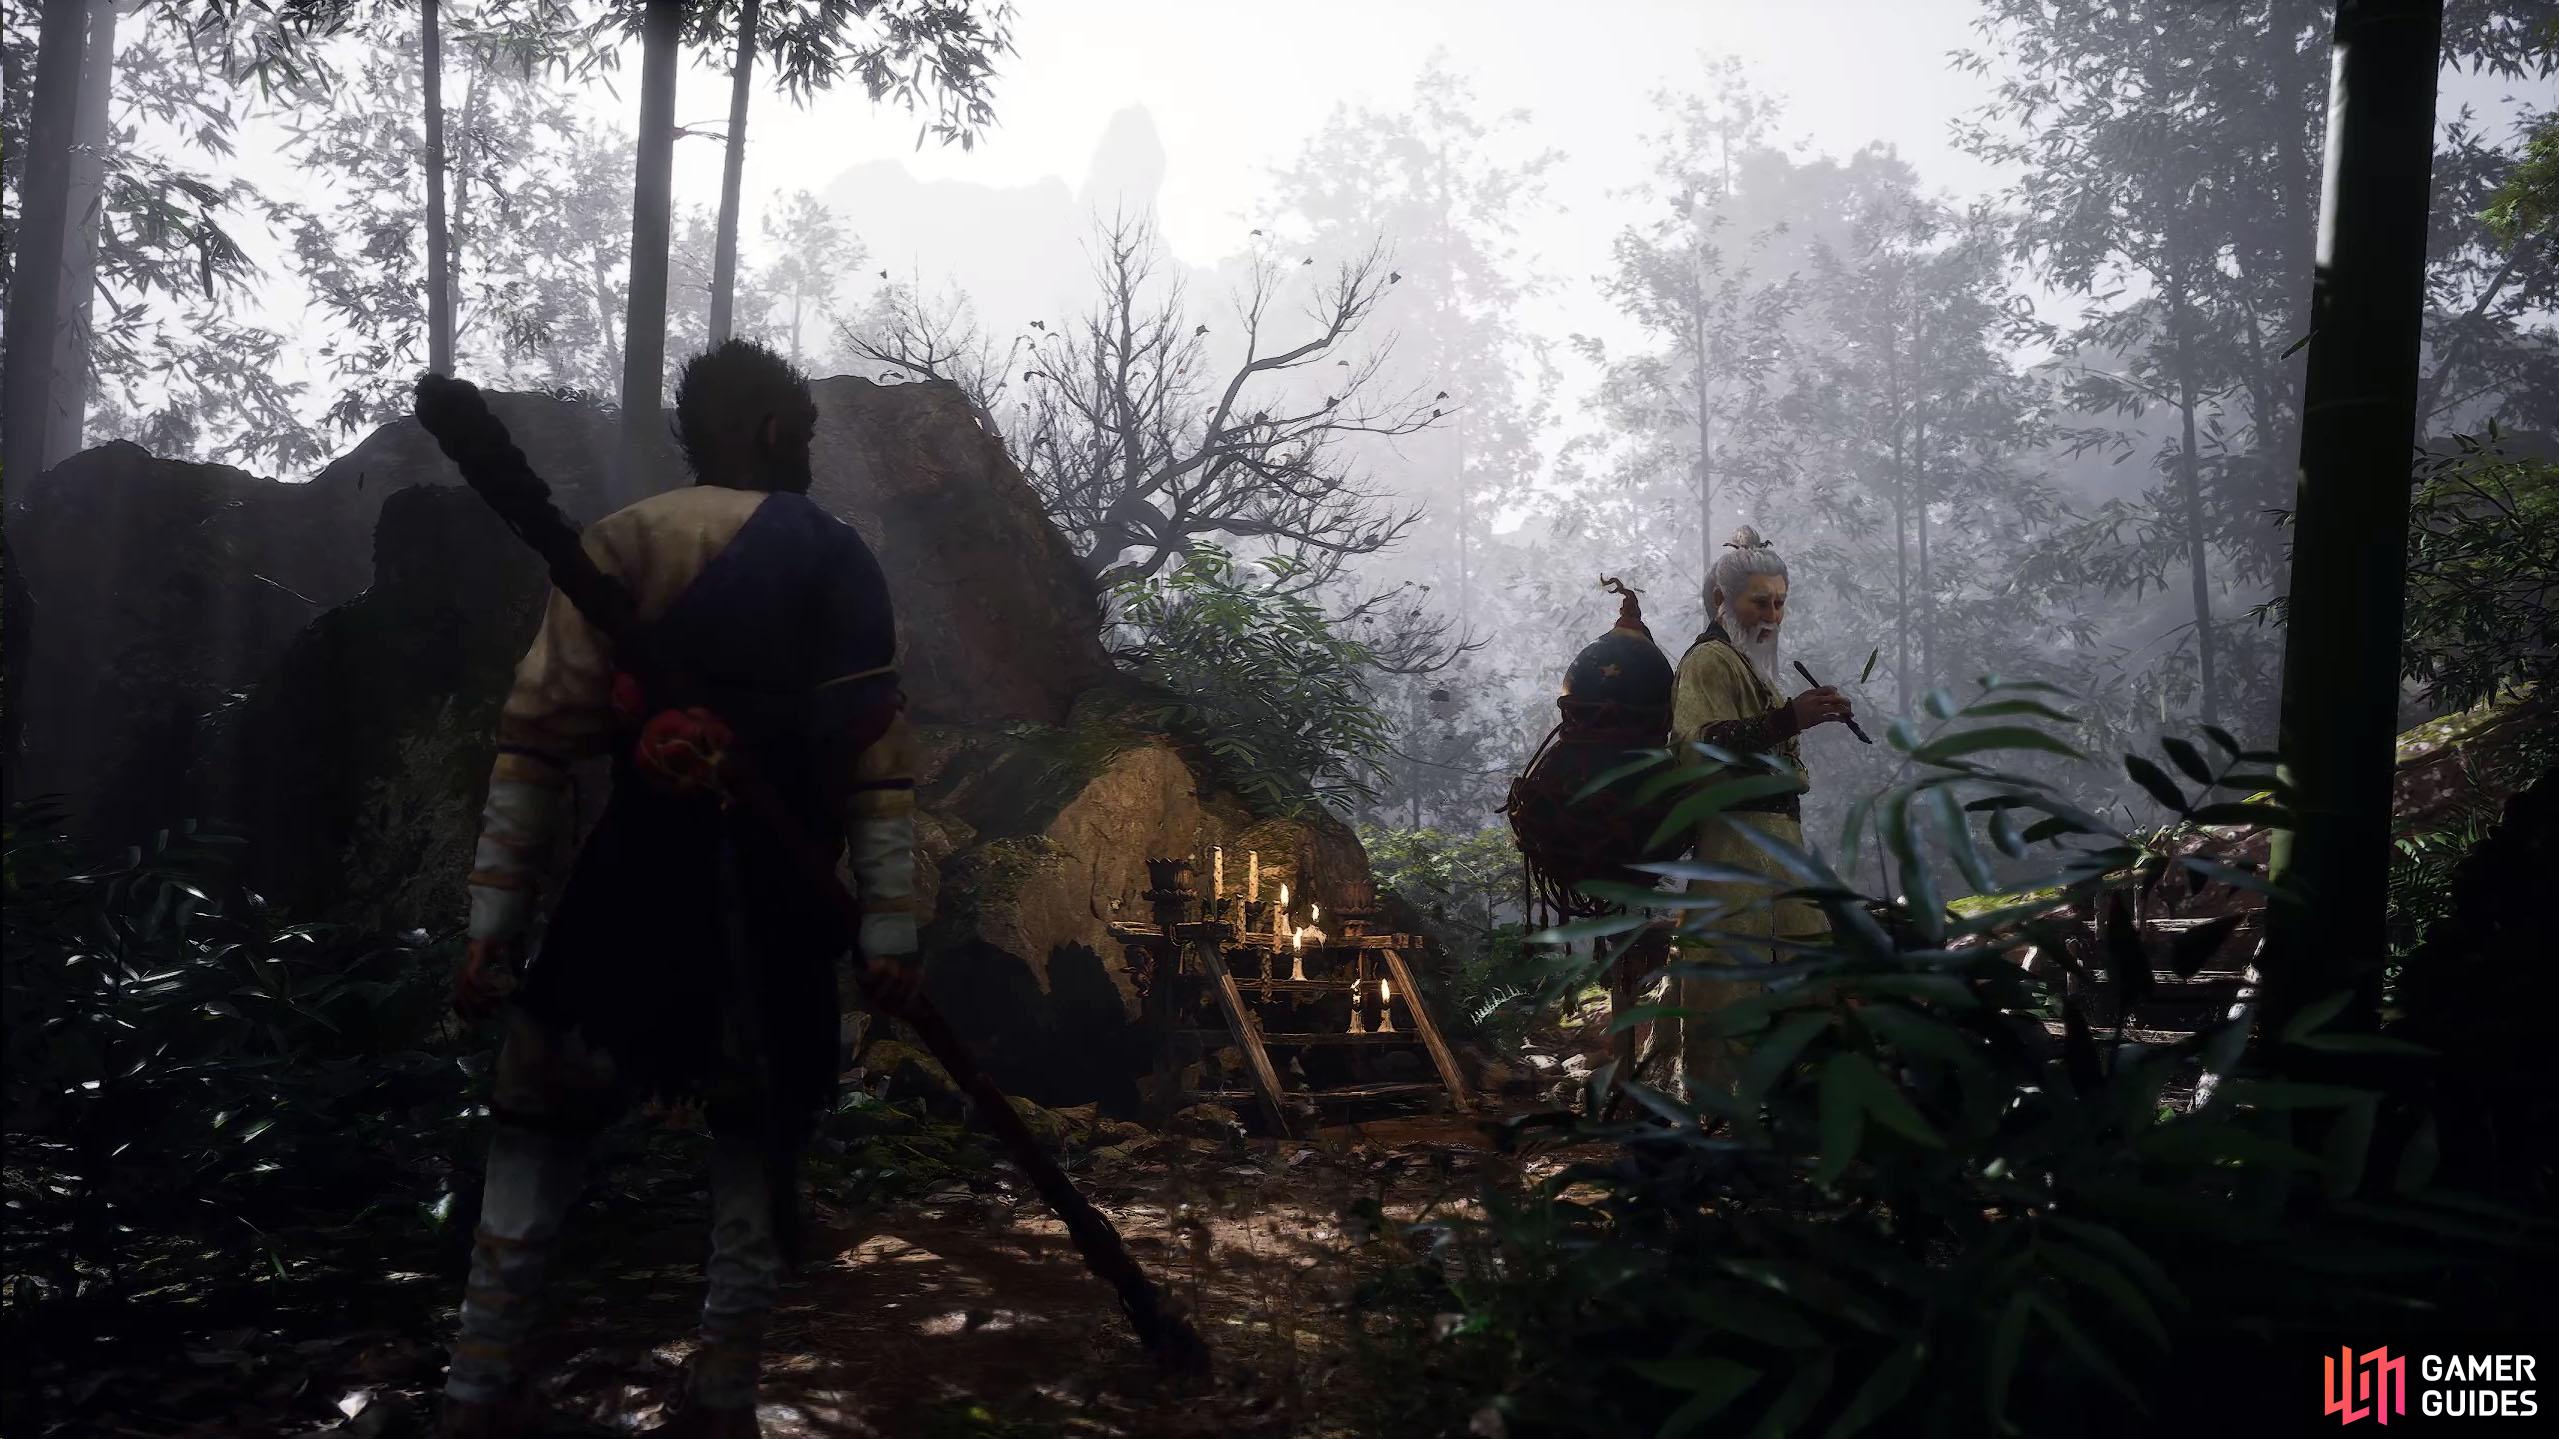
Spirits can be acquired by using a special Gourd to absorb their essence, which appears after that specific enemy has been defeated. Before you can absorb Spirits, you must make your way to the Gourd Blessing Man who can be found near the Snake Trail Shrine in Bamboo Grove. From the Shrine, head up the stairs and go right to trigger a short scene. After obtaining the Gourd, you can absorb Spirits including the ones you couldn’t pick up earlier. Note that you can get the Spirits you defeated from the Shrine by selecting recover lost Spirits.


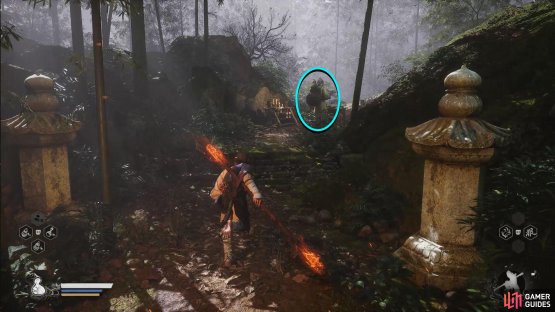
(1 of 2) Head up the stairs and go right from the Snake Trails Shrine in Bamboo Grove.
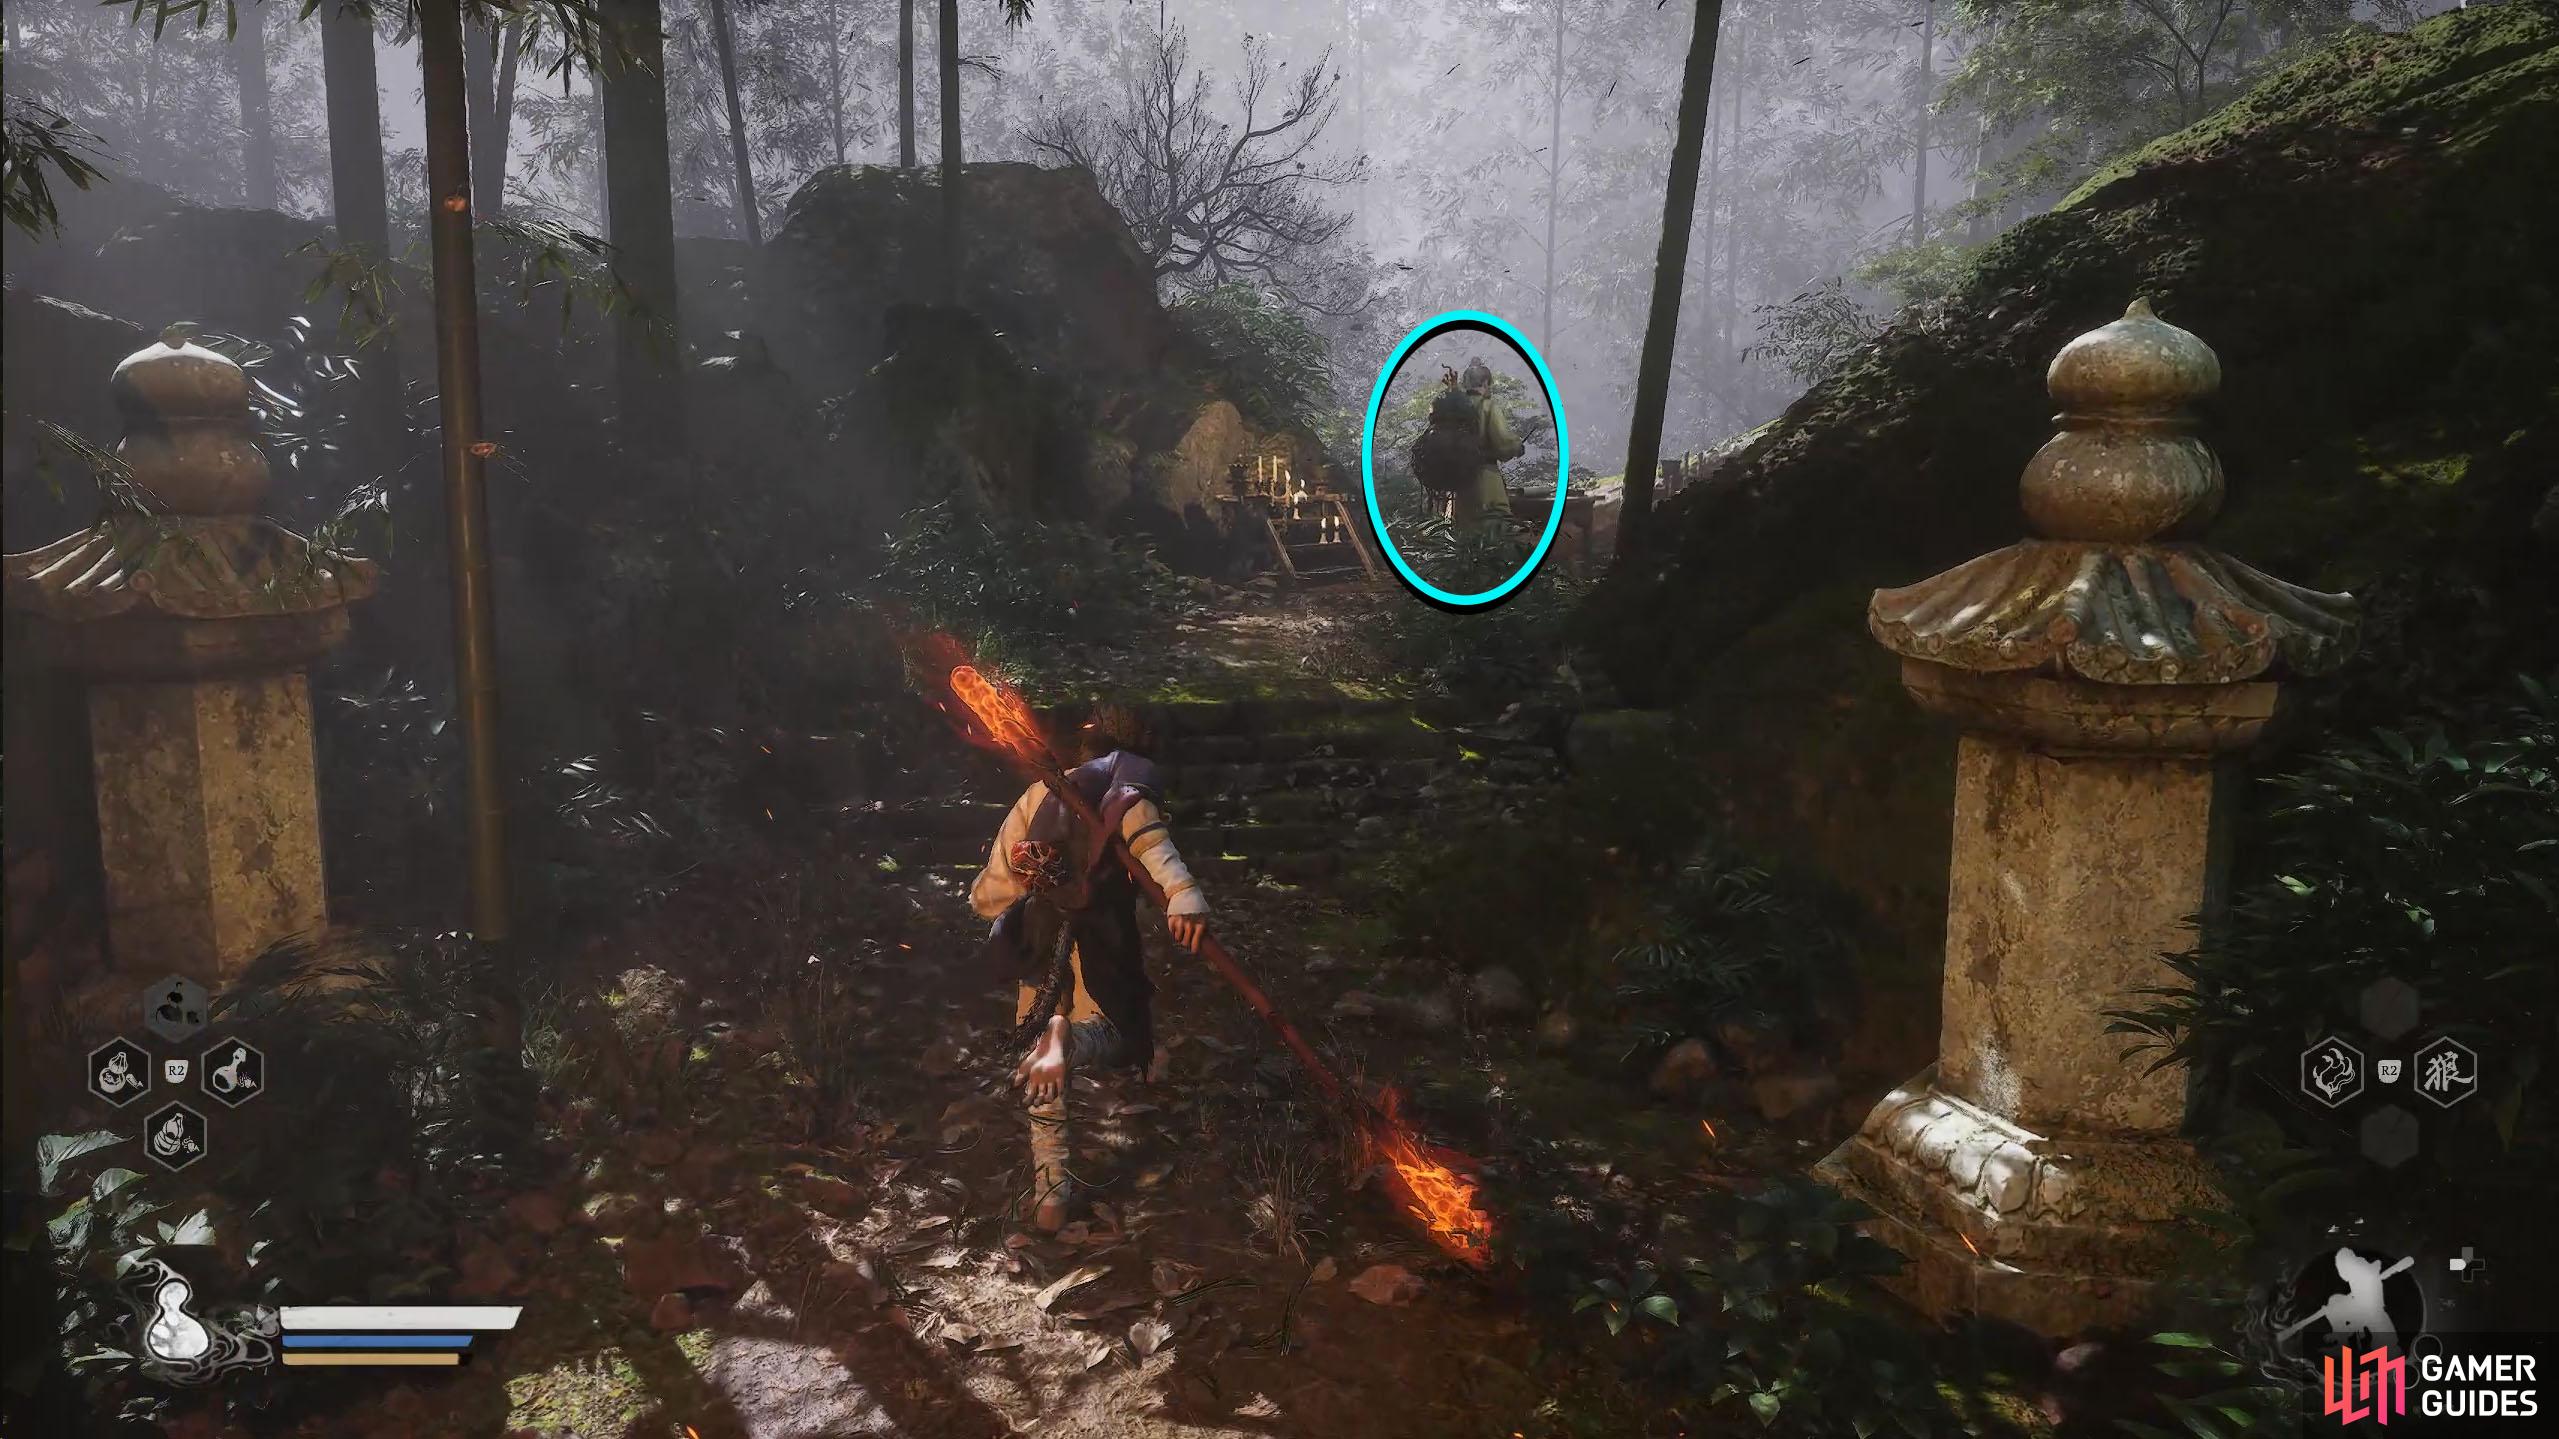
Head up the stairs and go right from the Snake Trails Shrine in Bamboo Grove. (left), Here, you’ll find a mysterious man who will give you the Blessed Gourd. (right)
Chapter 1 Spirit Locations
All the Spirits below can be found in the Black Mountain Region.
| Rarity | Spirit | Skill | Equip Bonus | Qi Cost | Location |
|---|---|---|---|---|---|
| Epic | Faithful Kowtow: Bow with utmost devotion and ram the foe with your bronze skull, dealing massive damage. | Significantly increases Defense | High | Defeat the |
|
| Epic | Tongue Whip: Stick out tongue to lash at foes from afar to inflict great damage. | Moderately reduces |
High | Defeat |
|
| Epic | Veiled Vipers: Call forth snakes to spit venom upon foes and inflict Poison Damage | Moderately increase Poison Damage and Poison Resistance | High | Defeat |
|
| Rare | Soul Reaper: Throw out knives that claim lives from a distance. | Slightly increases Critical Hit Chance | Moderate | As you head up the mountain, you can jump off to the left after the bridge with the archer. The |
Chapter 2 Spirit Locations
These Spirits are scattered around the much larger, barren wasteland of the Yellow Wind Ridge region.
| Rarity | Spirit | Skill | Equip Bonus | Qi Cost | Location |
|---|---|---|---|---|---|
| Epic | Wild Rapture: Recklessly charge straight at the foe to make them stumble. | Grants a small amount of additional Focus on hit | High | Defeat the |
|
| Rare | Wing Flap: Unfurl your wings and stir up gravel to strike oncoming foes. | Moderately increases |
Moderate | Defeat |
|
| Rare | Evil Banisher: Ward off attacks with the tiger shield and repel foes. Then, bash at enemies repeatedly and smash the ground with the shield to shake foes within. | Slightly increases Damage Reduction | High | Defeat |
|
| Rare | Tribute: Leap up with your staff, and shoot lightning from its tip to strike at foes, dealing Thunder Damage. | Moderately increases Thunder Damage | Moderate | Defeat the |
|
| Epic | Raging Blood Stay within the glow and your attack will be enhanced. The staff vanishes on its own after a while. | Moderately increases maximum mana. | High | Defeat the |
|
| Rare | Strike at Heart: Leap up and kick the foe in the chest. Even if the kick misses, the following slam on the ground can damage nearby foes with the impact. | Moderately increases Damage for Jump Light Attacks and reduces |
Low | Defeat the |
|
| Rare | Mighty Release Load and shoot arrows several times in succession, dealing damage multiple times. | Moderately reduces the stamina cost of Staff Spin. | High | Defeat the |
|
| Rare | Meat Cleaver Nimbly circle the target, slicing them when they least expect it. | Moderately increases Focus gained from perfect dodges. | Moderate | Defeat the |
|
| Rare | Civeat Sergent | Heart Ripper: Juggle twin blades and hurl them at the foe’s chest. Once striken, the foe shall suffer the agony of a pierced heart. | Slightly increases Attack | Moderate | Defeat the Civeat Sergent in the cellar of the Crouching Tiger Temple. Head inside the temple cellar after beating the |
Chapter 3 Spirit Locations
Explore snowy peaks of The New West region to find any of the Spirits below.
| Rarity | Spirit | Skill | Equip Bonus | Qi Cost | Location |
|---|---|---|---|---|---|
| Rare | Swift Leap Leap up and let a flurry of slashes rain down. This bout of recklessness is sure to deter the foe. | Slightly increases the Critical Hit Chance of Jumping Heavy Attacks | Moderate | Defeat the |
|
| Rare | Whirl Wield a staff that spins like a wheel to charge into the foe and nearby yaoguais. | Moderately increases the recovery speed of Might | High | Defeat the |
|
| Rare | Frosty Wind Summon a gust of wind that deals Frost Damage multiple times along its path, or freezes enemies in place with repeated hits. | Moderately increases Frost Damage | High | Defeat the |
|
| Rare | Punishing Arrow Shoot an arrow imbued with exceptional power at the foe. This can stagger them for a moment. | Moderately increases Heavy Attack Damage | High | Defeat the |
|
| Epic | Bone Spikes Spin and leap to draw near the target in a flash and sprout thorns all over the body to stab them. | Moderately increases Poison and Frost damage | High | Defeat the |
|
| Epic | Ginseng Roots Take root to call forth one or more Ginsenglings that strike at the foe. | Moderately increases the Maximum Health of summoned minions | High | Defeat the |
|
| Epic | Seasoned Punch Let loose a flurry of punches and kicks. Different phases of Light Attack enable different moves. | Slightly increases Attack, Critical Hit Chance, and Critical Damage, but massively reduces maximum mana. | Low | Defeat the |
|
| Rare | Frigid Fragrance Scatter a field of Frigid Dust from an incense burner, stacking Frost Bane on both you and your foes. | Moderately increases Chill Resistance | Moderate | From the Valley of Ecstasy - Brook of Bliss Shrine, head across the bridge and down into the water to find him. | |
| Rare | Mutilate Swing a long blade to stab the foe in the heart. This can stagger them for a moment. | Grants a moderate amount of Focus when hit. | High | After completing the Prisoner Quest, return to the Pagoda Realm - Lower Pagoda Shrine and head up to the next floor. Turn right and you can open one of the cells that contains this enemy. | |
| Epic | Flash Step Stride back in a sweep and turn into a waving alter-image, intangible and invincible to foes. | Recovers a moderate amount of |
Low | As part of the Fox Quest that you start at the Forest of Felicity Shrine, go to the Temple Entrance Shrine at New Thunderclap Temple and go straight forward. Go up the stairs, and then down the left stairs and into the building. Go to the top floor and up the stairs to the temple at the top, you must be in Fox form to fight the battle. | |
| Rare | Flames of Doom Spew flames from your knees as you take great strides. The flames twist with each step and burn surrounding foes. | Moderately increases Burn Resistance | Moderate | New Thunderclap Temple - Temple Entrance Shrine. Go forward from the main Shrine, then up the stairs and forward again, this |
|
| Epic | Precept Upholder Brandish a monk’s spade back and forth. Striking foes repeatedly to cleanse all evil. | Moderately increases Damage Reduction for a short duration after performing |
High | New Thunderclap Temple - Mahavira Temple. Go back down the stairs and enter the room on your left. |
Chapter 4 Spirit Locations
You’ll have to explore the dark caves of the Webbed Hollow region to find any of the Spirits below.
| Rarity | Spirit | Skill | Equip Bonus | Qi Cost | Location |
|---|---|---|---|---|---|
| Rare | Airborne Sting Soar into the air to evade attacks, then dive down to hack at the foe upon landing. | Moderately increases Maximum |
Moderate | From the Webbed Hollow - Upper Hollow Shrine, go up the stairs to the right of the Shrine and follow it around to the back | |
| Epic | Foul Spray Spray venom from the tail to form poisonous pools on the ground, stacking Poison Bane on foes who tread upon them. | Slightly increases Critical Hit Chance when in Poisoned state | High | Complete the Rice Cocoon Quest | |
| Rare | Deathsting Fling your tail to pierce through foes and inject venom into the ground to deal Poison Damage in a small area. Foes standing within the area take more Damage. | Moderately increases Poison Damage | High | From the Verdure Bridge Shrine, cross the bridge, go left, and then keep taking the path down and you’ll come to an opening with some shacks. | |
| Epic | Rolling Ball Curl your body into a giant ball and collide with nearby foes. | Slightly increases Movement Speed | High | Defeat the |
|
| Rare | Bursting Spiders Shake the staff and screech to summon small |
Considerably reduces the Mana cost for |
From the Relief of the Fallen Loong Shrine, head left of it (when facing it) and go forward around the tree and up the hill. Upon reaching the top, enter the cave and hug the right wall to find it | ||
| Rare | Rain of Arrows Draw your bow and shoot Poison arrows at surrounding foes. | Slightly increases Qi gained from hits, but significantly reduces Maximum Health, Mana, and |
Moderate | From the Webbed Hollow - Purifying Spring Shrine, exit into the open area, take the slope up and then look on your right to find it | |
| Epic | Blade Flurry Spin the twin blades to hack at the target. The spinning edges pulse, striking all nearby foes and dealing area Damage once. | Moderately increases Poison Resistance | High | From the Temple of the Yellow Flower - Forest of Ferocity Shrine, keep going up the main path and then its on your right | |
| Epic | Aloft Drift through the air with a mushroom cap and release spores. Upon landing, crash into the foe as the spores rain down to track and strike them. Spores that hit the foe can return and recover health. | Significantly increases Maximum Health but considerably reduces Maximum |
High | From the Temple of the Yellow Flower - Court of Illumination Shrine, go back on yourself and keep going forward, taking the path to the top and then going right. Attempt to pick up the Fungi to spawn her | |
| Rare | Verdant Arbor Absorb the essence of nature to recover Health continuously. The healing effect is enhanced when in water. | Slowly recovers a small amount of Health | High | From the Purple Cloud Mountain - Valley of Blooms Shrine, go over to the right of the shrine (by dropping into the water) | |
| Rare | Venom Spray Smash venom on the ground from the herb basket to form poisonous pools. Foes that step into the pools will stack Poison Bane. | Recovers a small amount of Health when taking Medicines. | Moderate | From the Purple Cloud Mountain - Valley of Blooms Shrine, go up the main path and you’ll run into it | |
| Rare | Tiger Roar Extend the neck to roar skyward, shaking all nearby yaoguais with powerful voice. | Moderately increases Attack, but considerably reduces Defense | Low | From the Temple of the Yellow Flower - Temple Entrance Shrine, go up and then to the right to find it (just beyond the meditate point) |
There you have it, this is all of the Spirits that we’ve found so far in Black Myth: Wukong. Be sure to check back as we update this page on any new Spirits we encounter.
No Comments