
Black Myth: Wukong is an Action RPG which features lots of bosses, but a lot of them are optional and well hidden. On this page, we’ll provide you with the locations of all 16 bosses in Chapter 2.
| Boss | Nearest Shrine | Reward |
|---|---|---|
| Lang-Li-Guhh-Baw | Village Entrance | |
| King of Flowing Sands | Village Entrance | |
| First Prince of the Flowing Sands | Valley of Despair | Ahrat Gold Piece |
| Earth Wolf | Valley of Despair | |
| Man in Stone | Squall Hideout | |
| Mother of Stones | Rockrest Flat | |
| Stone Vanguard | Rockrest Flat | |
| Shingandang | Rockrest Flat | N/A |
| Yellow-Robed Squire | Rockrest Flat | Unlocks the Kingdom of Sahali Area |
| Tiger Vanguard | Temple Entrance | |
| Gore-Eye Daoist | Windseal Gate | |
| Yellow Wind Sage | Windseal Gate | |
| Tiger Acolyte | Windrest Hamlet | |
| Mad Tiger | Village Entrance | |
| Black Loong | Rockrest Flat | ? |
| Tiger Vanguard | Secret: Kingdom of Sahali | |
| Fuban | Secret: Kingdom of Sahali |
Where to Find All Chapter 2 Bosses
As mentioned above, there are 17 bosses scattered around the Yellow Wind Ridge and their locations can be found below!
Lang-Li-Guhh-Baw Boss Location
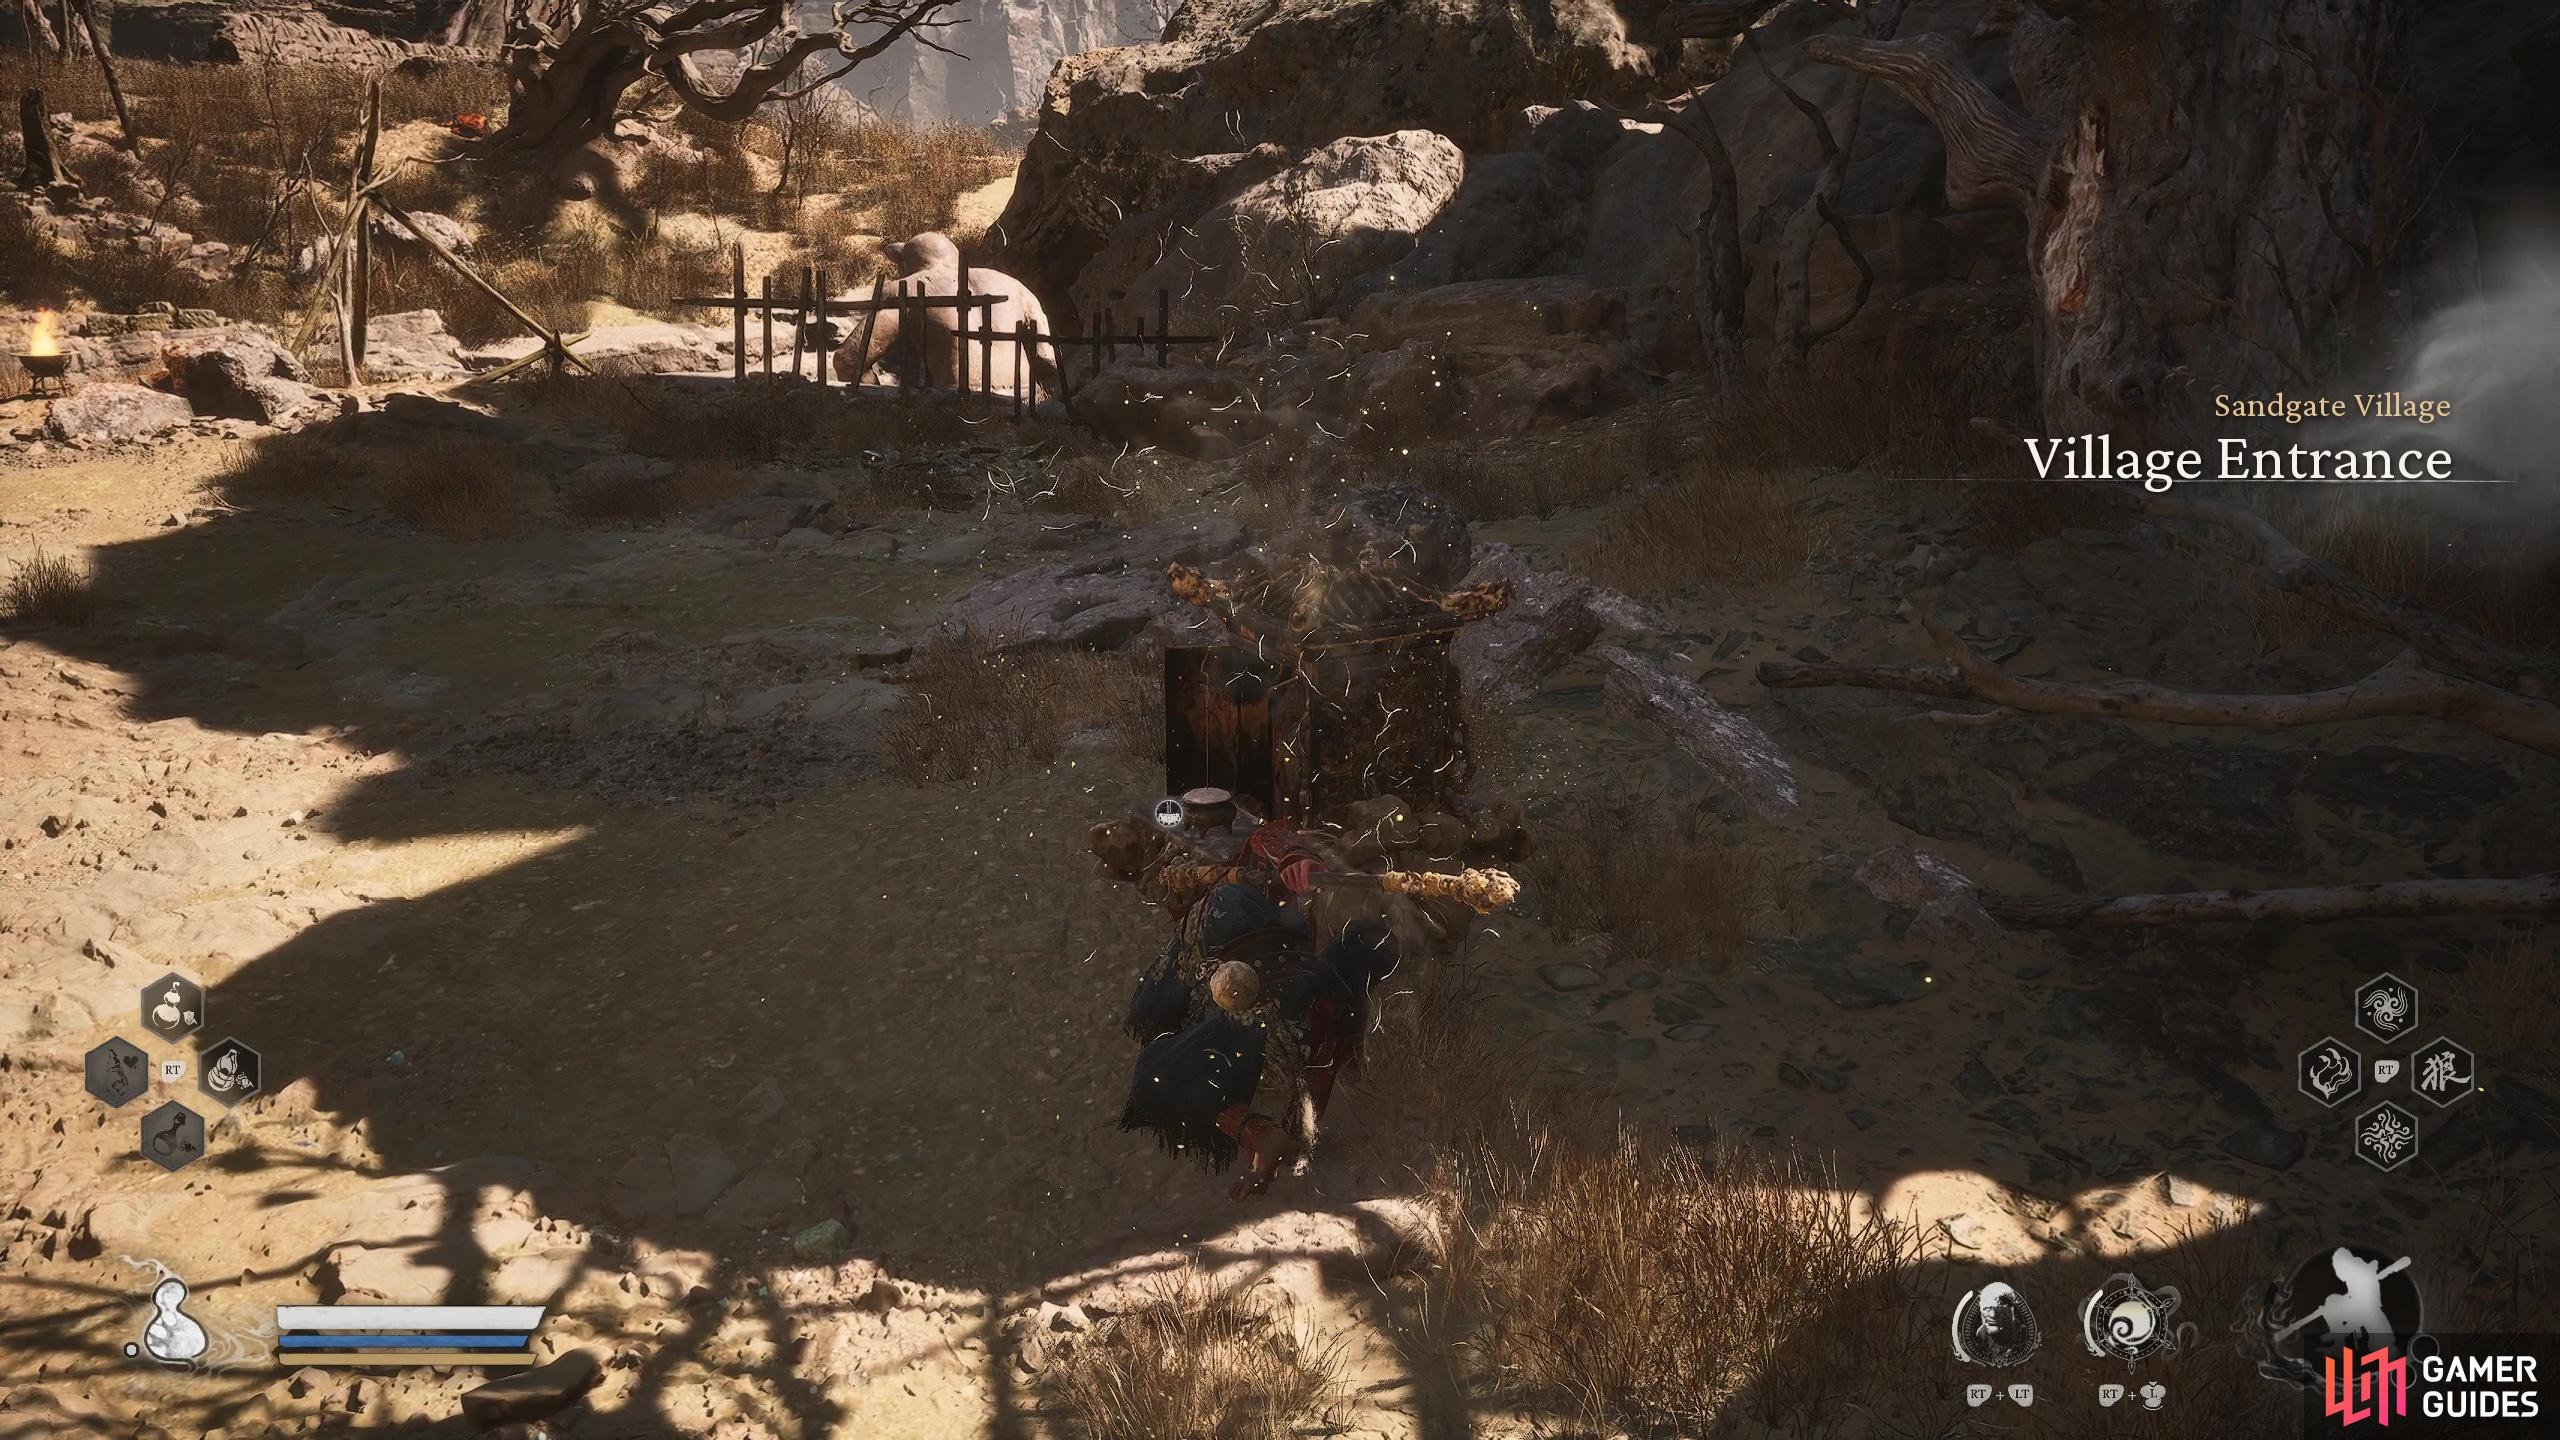


(1 of 2) Start at the Village Entrance Shrine
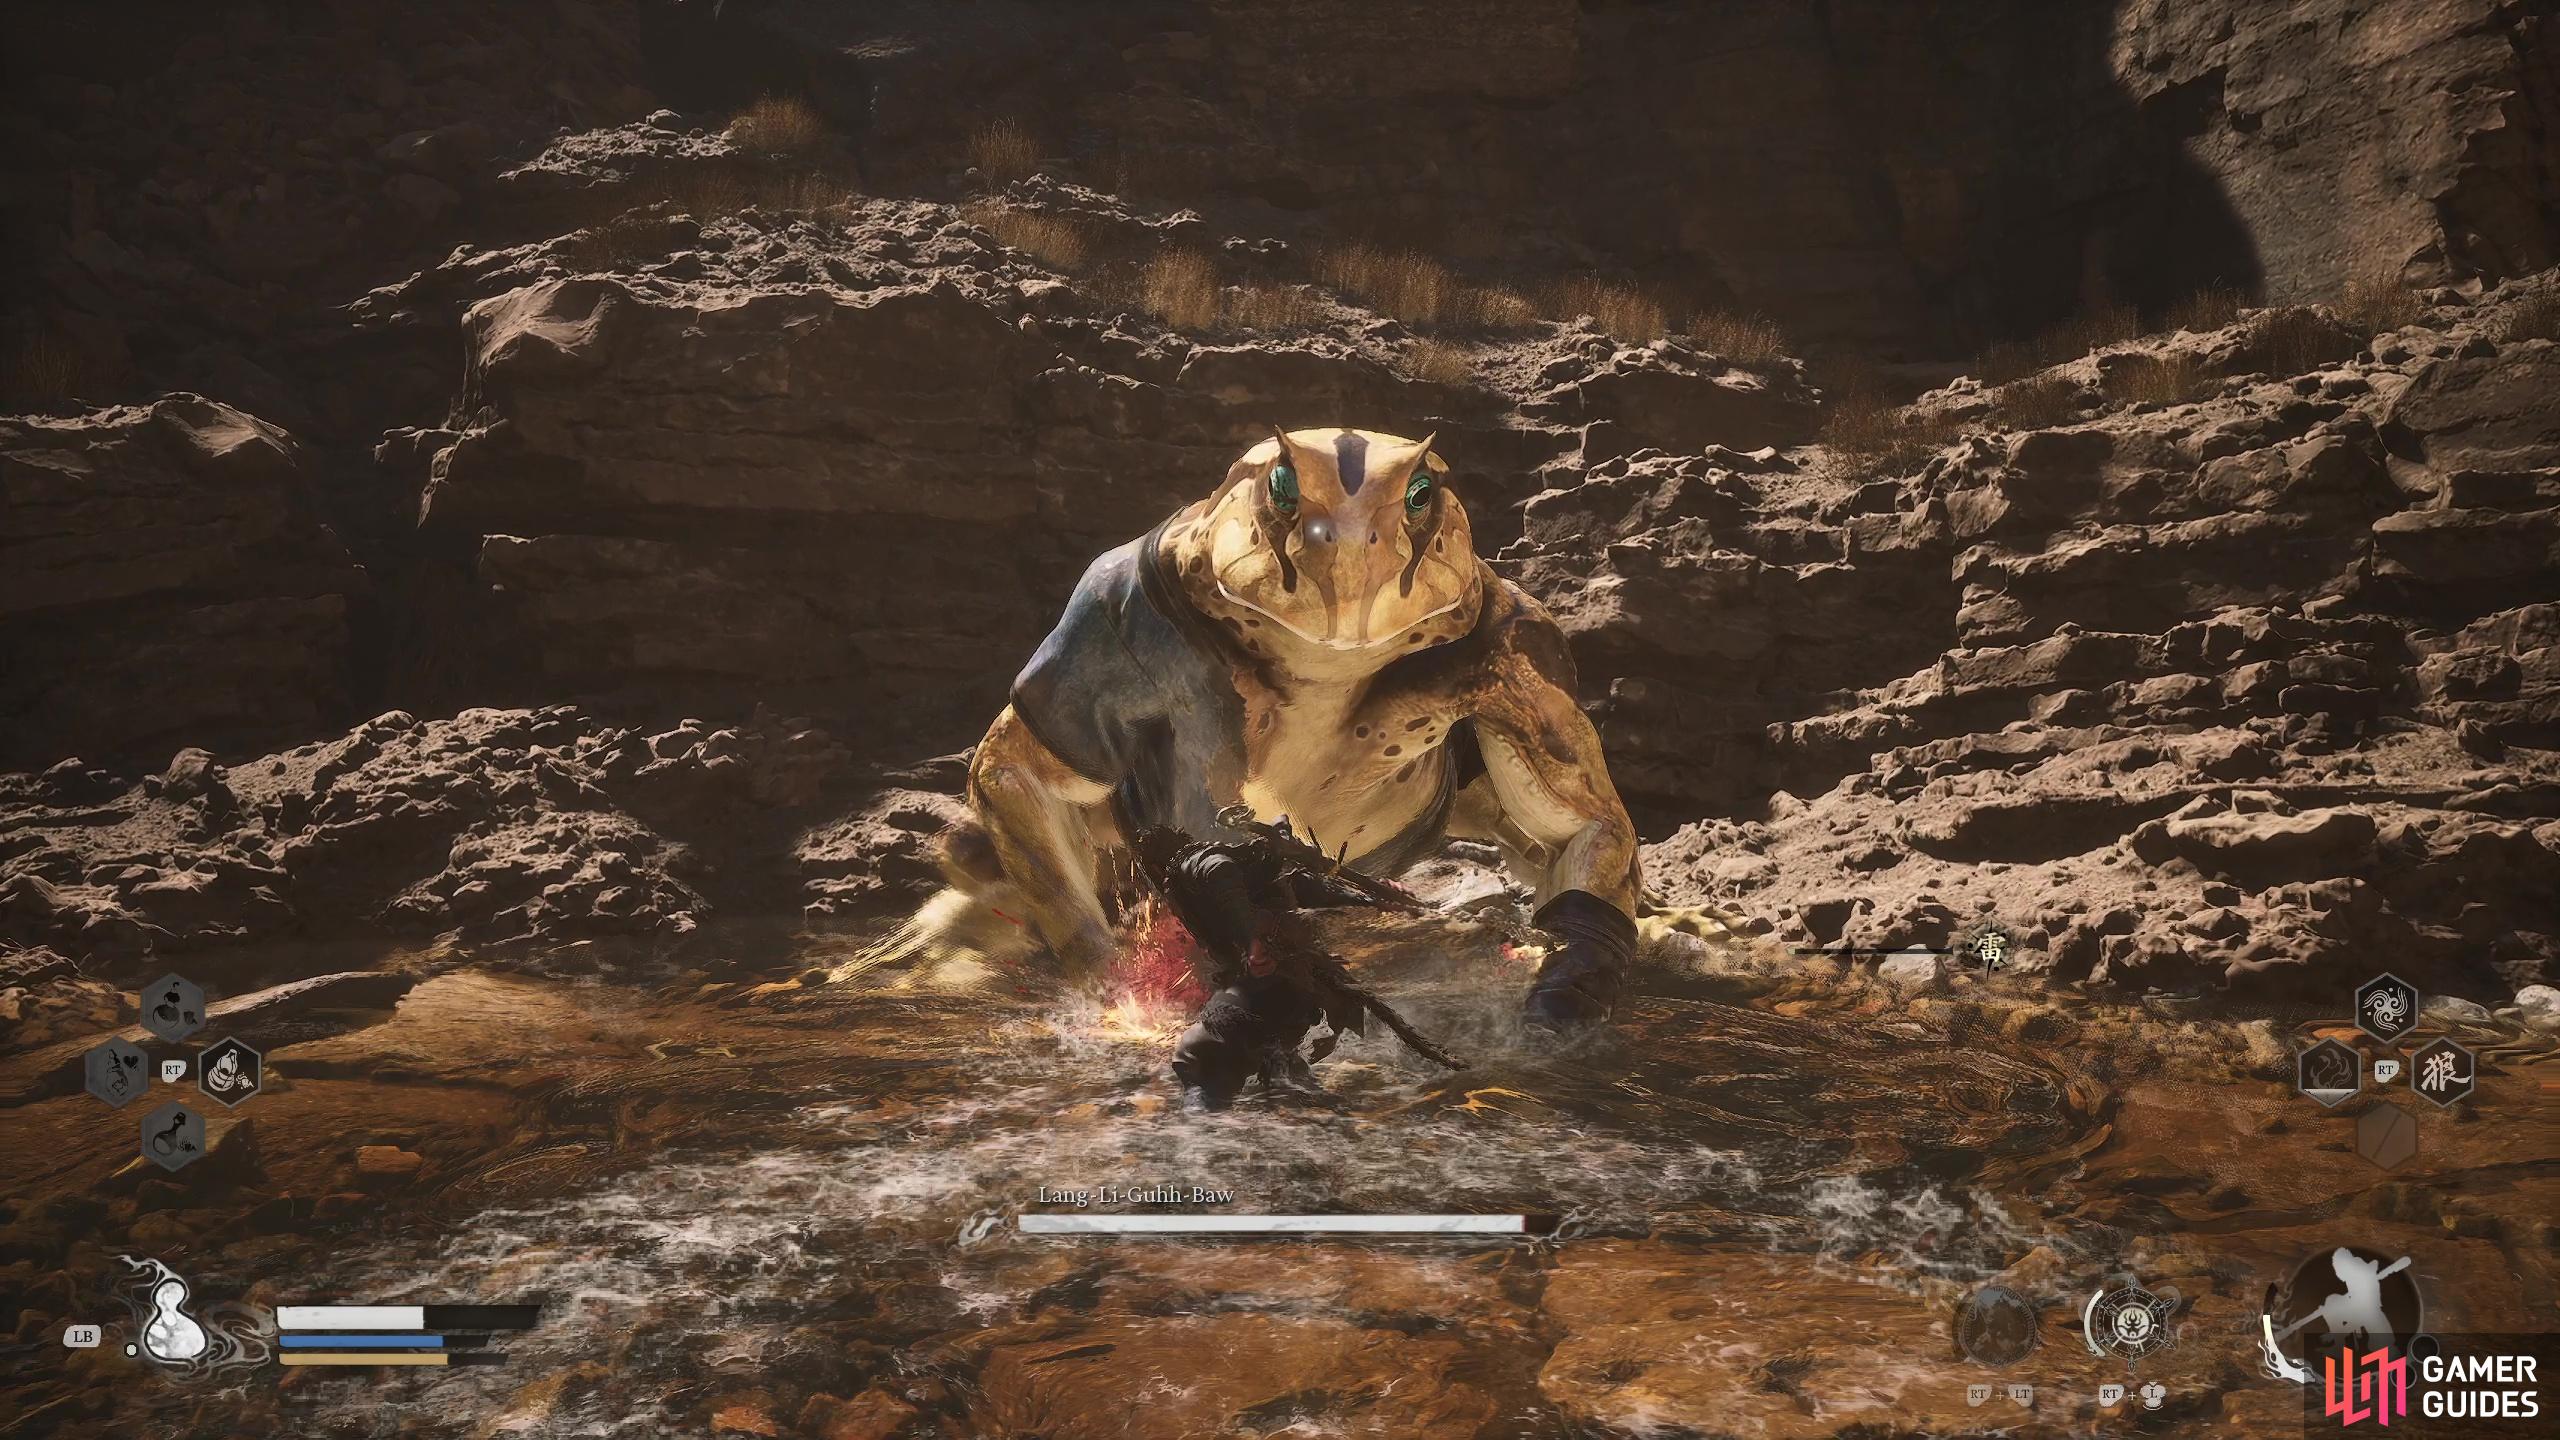
Start at the Village Entrance Shrine (left), to find the Lang Li Guhh Baw in some water. (right)
![]() Lang-Li-Guhh-Baw can be found by starting at the Village Entrance Shrine and heading up the stairs, then drop down into the small patch of water to the left. Defeating this boss will reward you with the
Lang-Li-Guhh-Baw can be found by starting at the Village Entrance Shrine and heading up the stairs, then drop down into the small patch of water to the left. Defeating this boss will reward you with the ![]() Evil Repelling Medicament which is an item needed for Xu Dog’s Medicine Making Quest.
Evil Repelling Medicament which is an item needed for Xu Dog’s Medicine Making Quest.
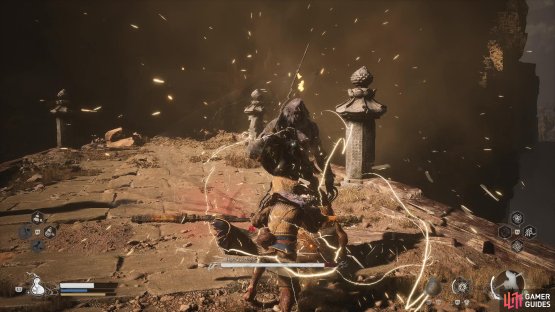
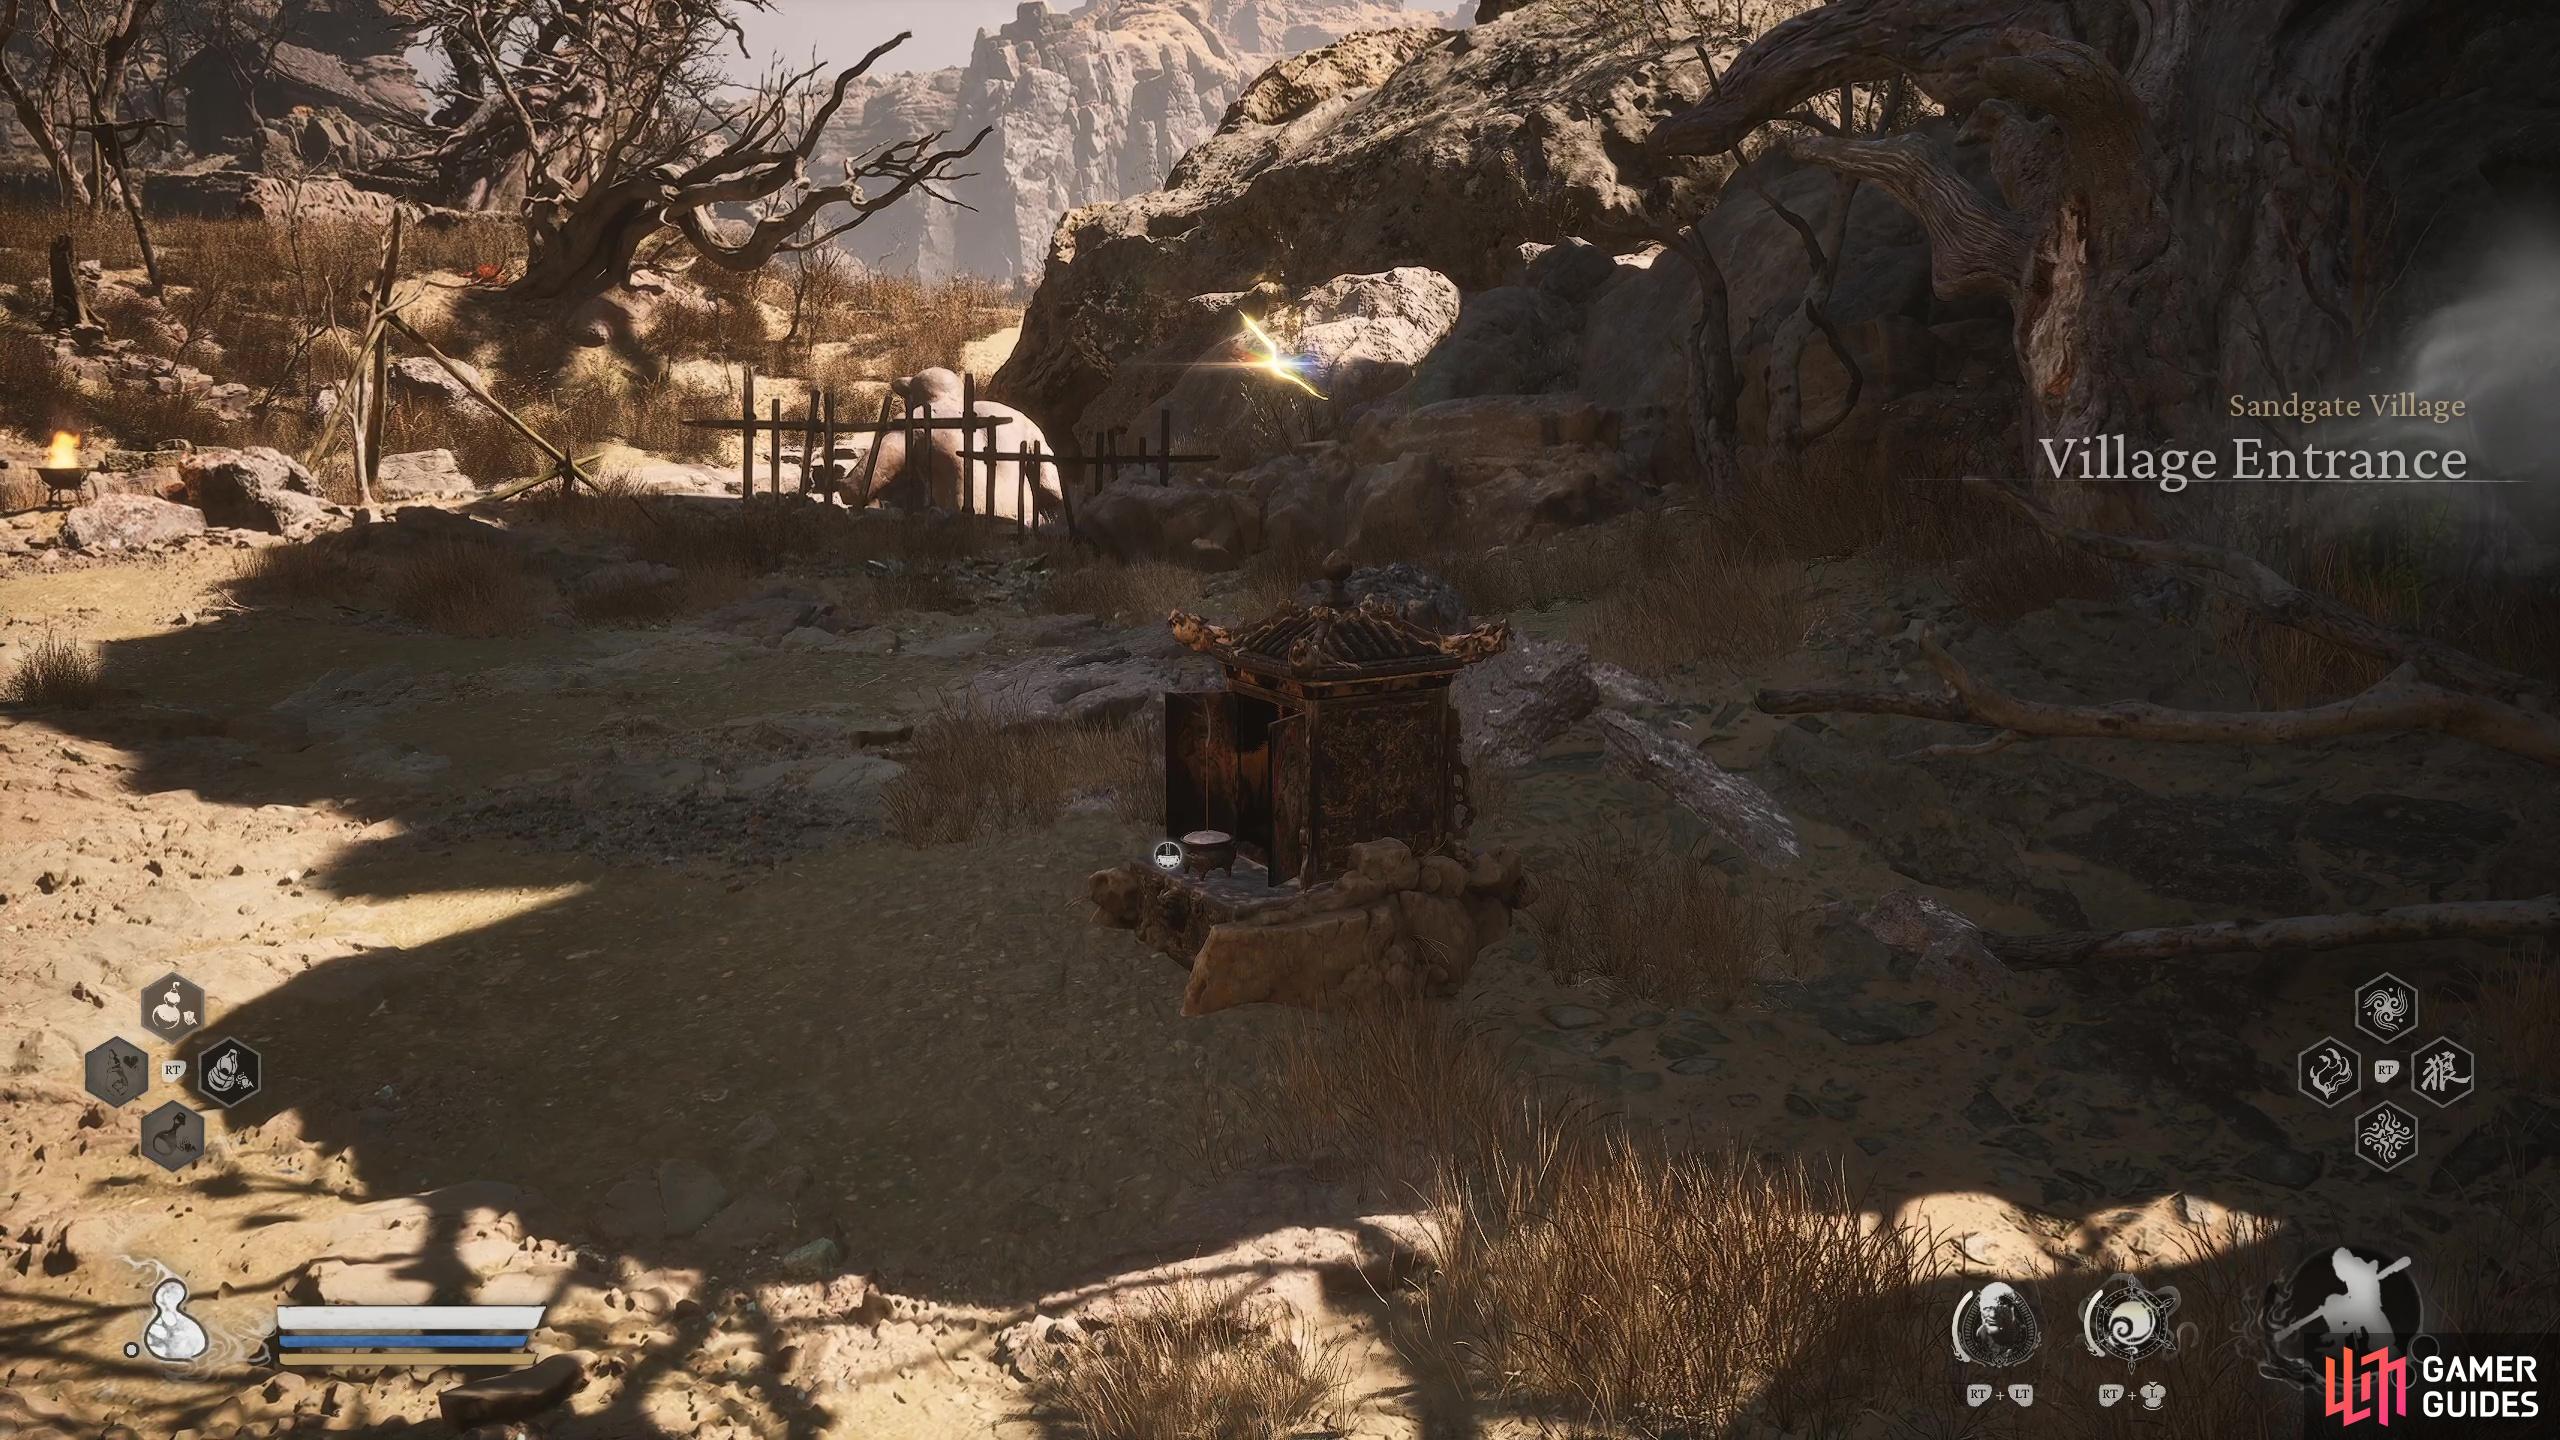
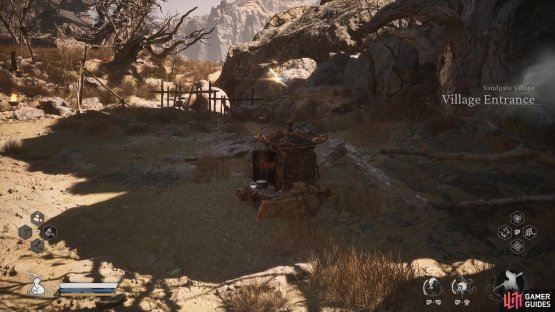
King of Flowing Sands & Second Rat Prince Boss Location

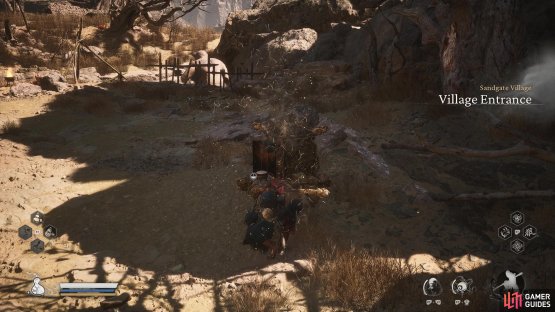
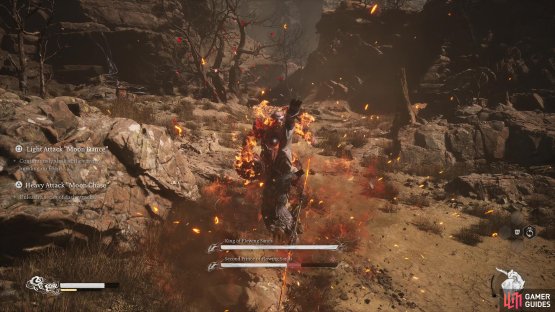
(1 of 2) Head to the Village Entrance Shrine
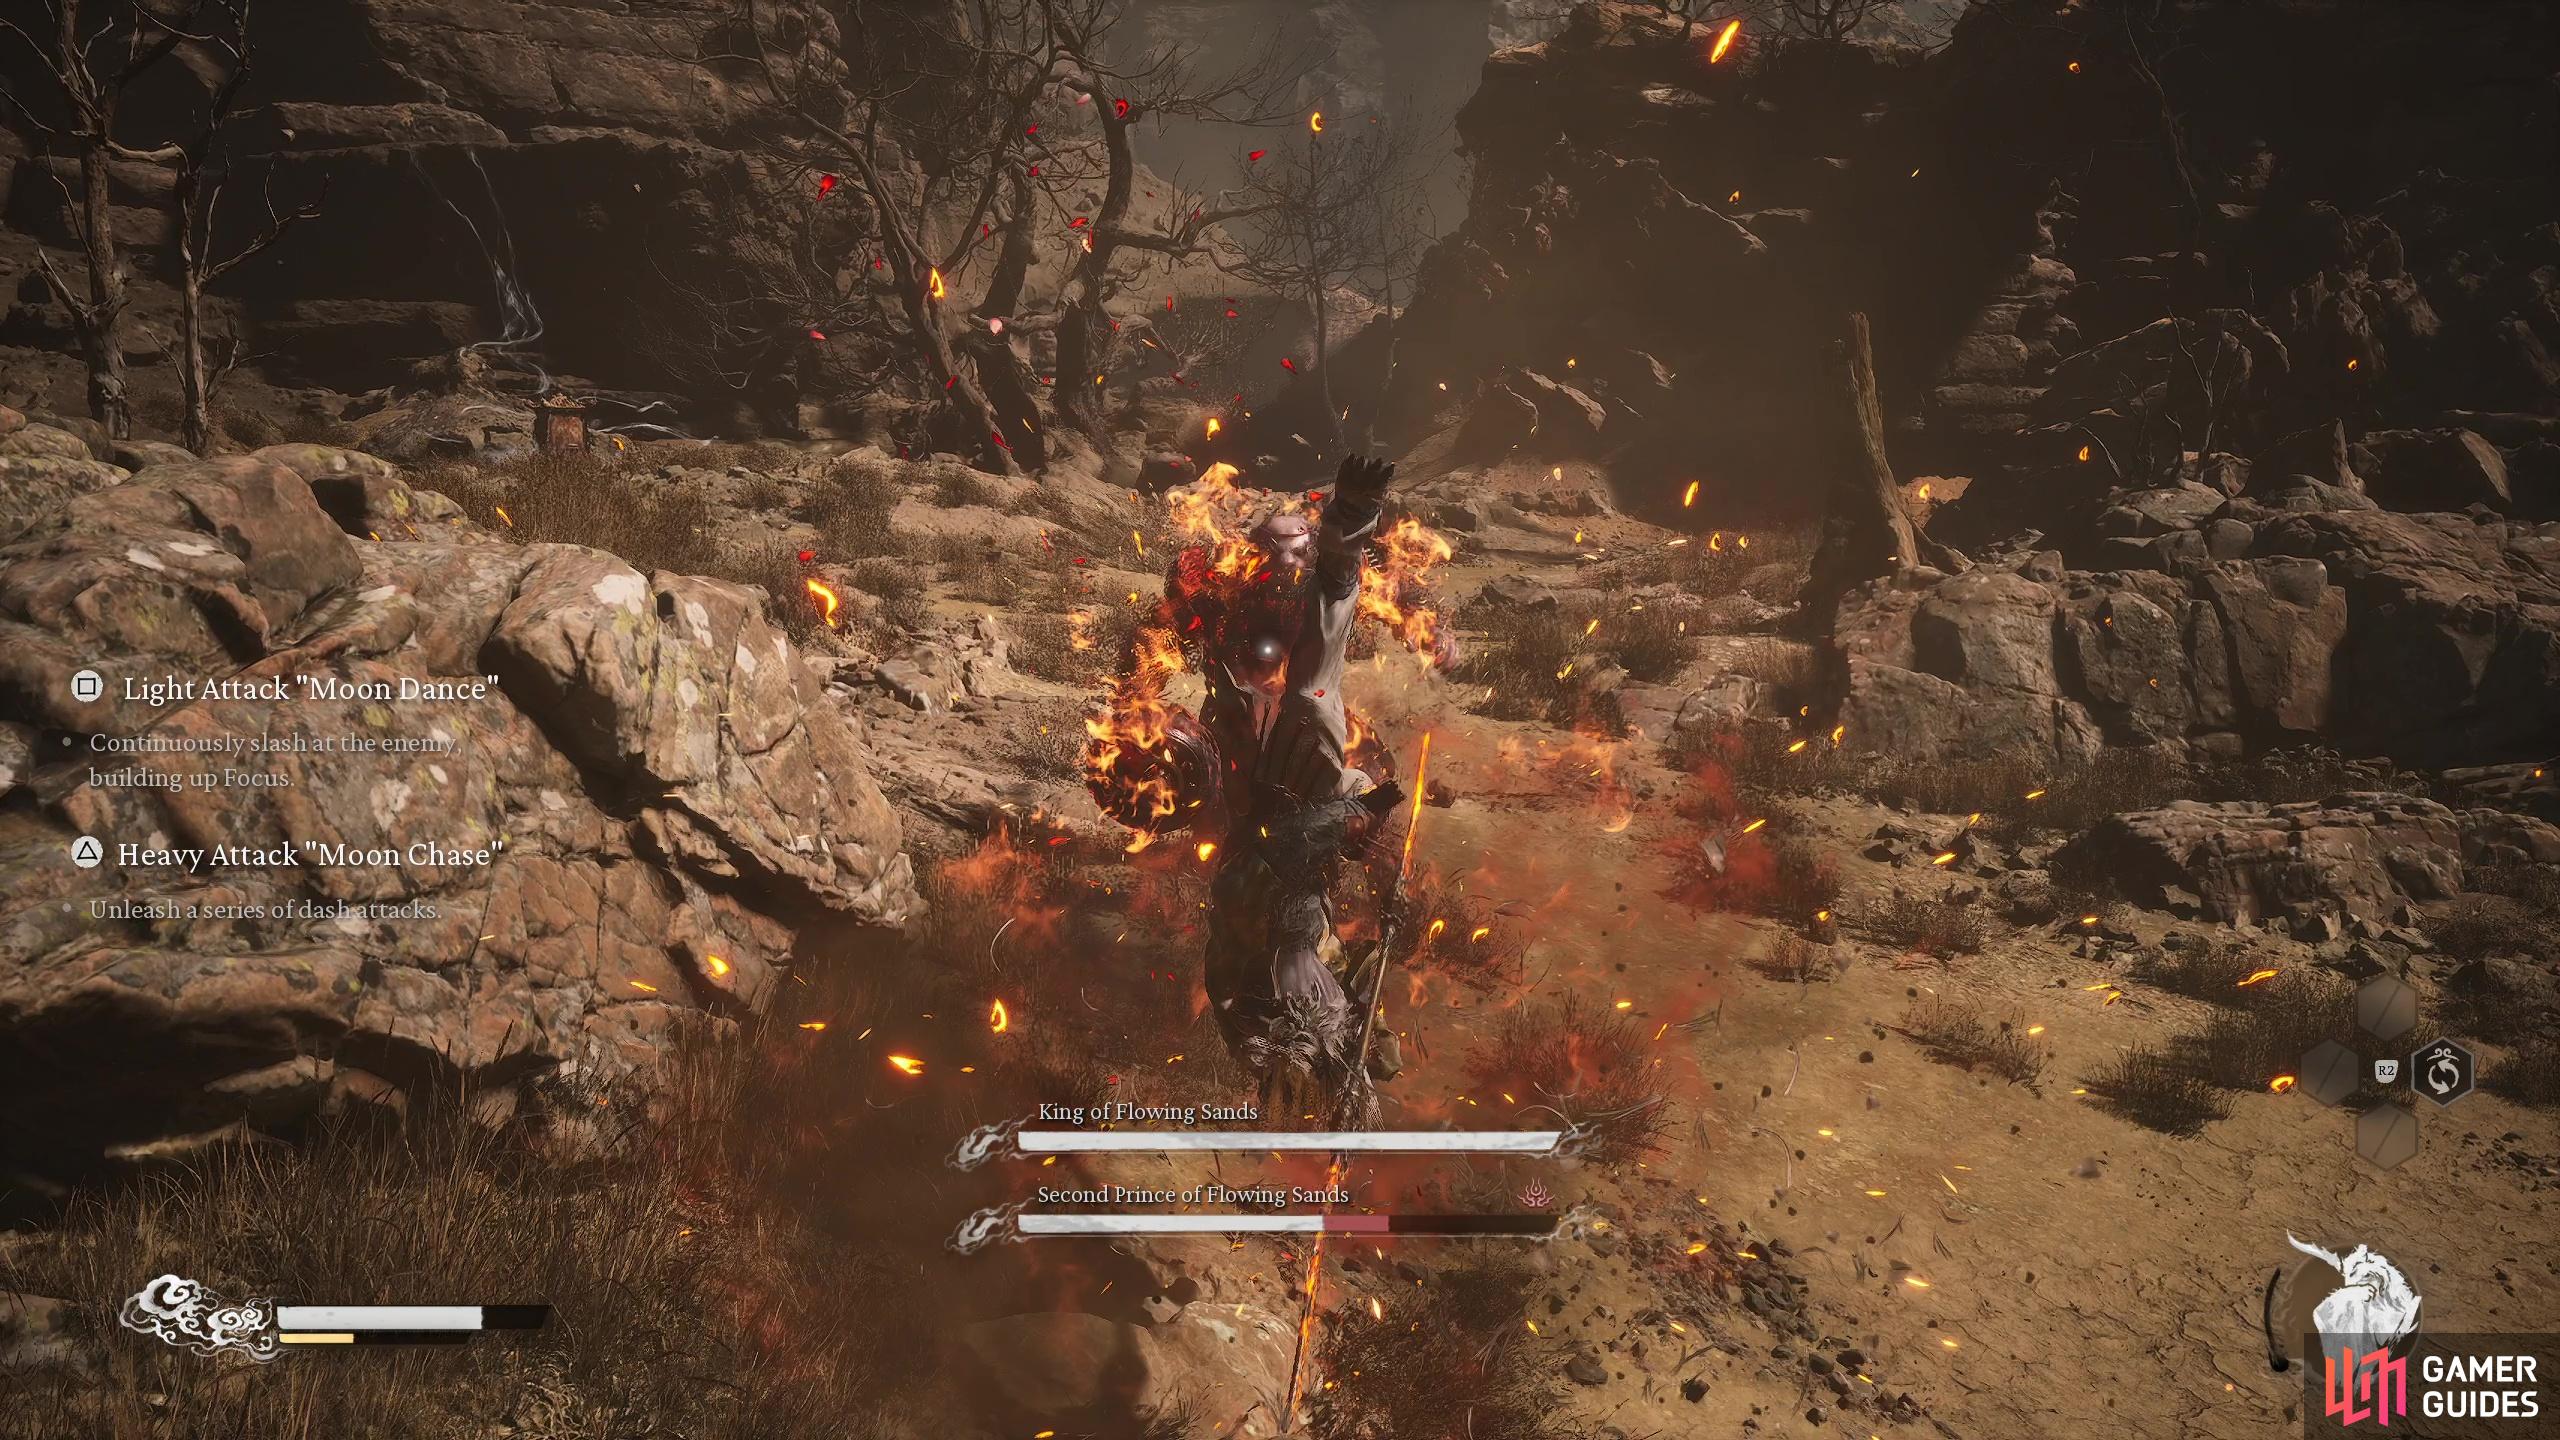
Head to the Village Entrance Shrine (left), to find the King of the Flowing Sands (right)
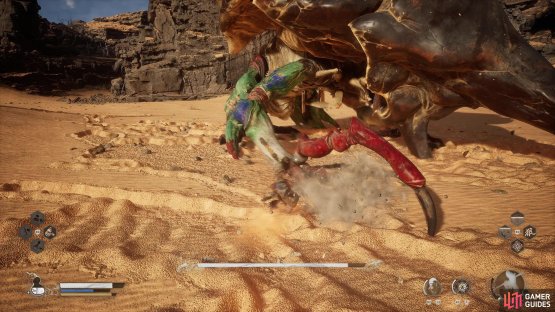
The King of Flowing Sands can be found by starting at the Village Entrance Shrine and making your way over to a small pathway over to the right of the village, then hug the right wall until you come across some double doors. Defeating this boss will reward you with the ![]() Blood of the Iron Bull Material which is an item needed to upgrade your spirits.
Blood of the Iron Bull Material which is an item needed to upgrade your spirits.
First Prince of the Flowing Sands Boss Location


(1 of 2) Start at the Valley of Despair Shrine
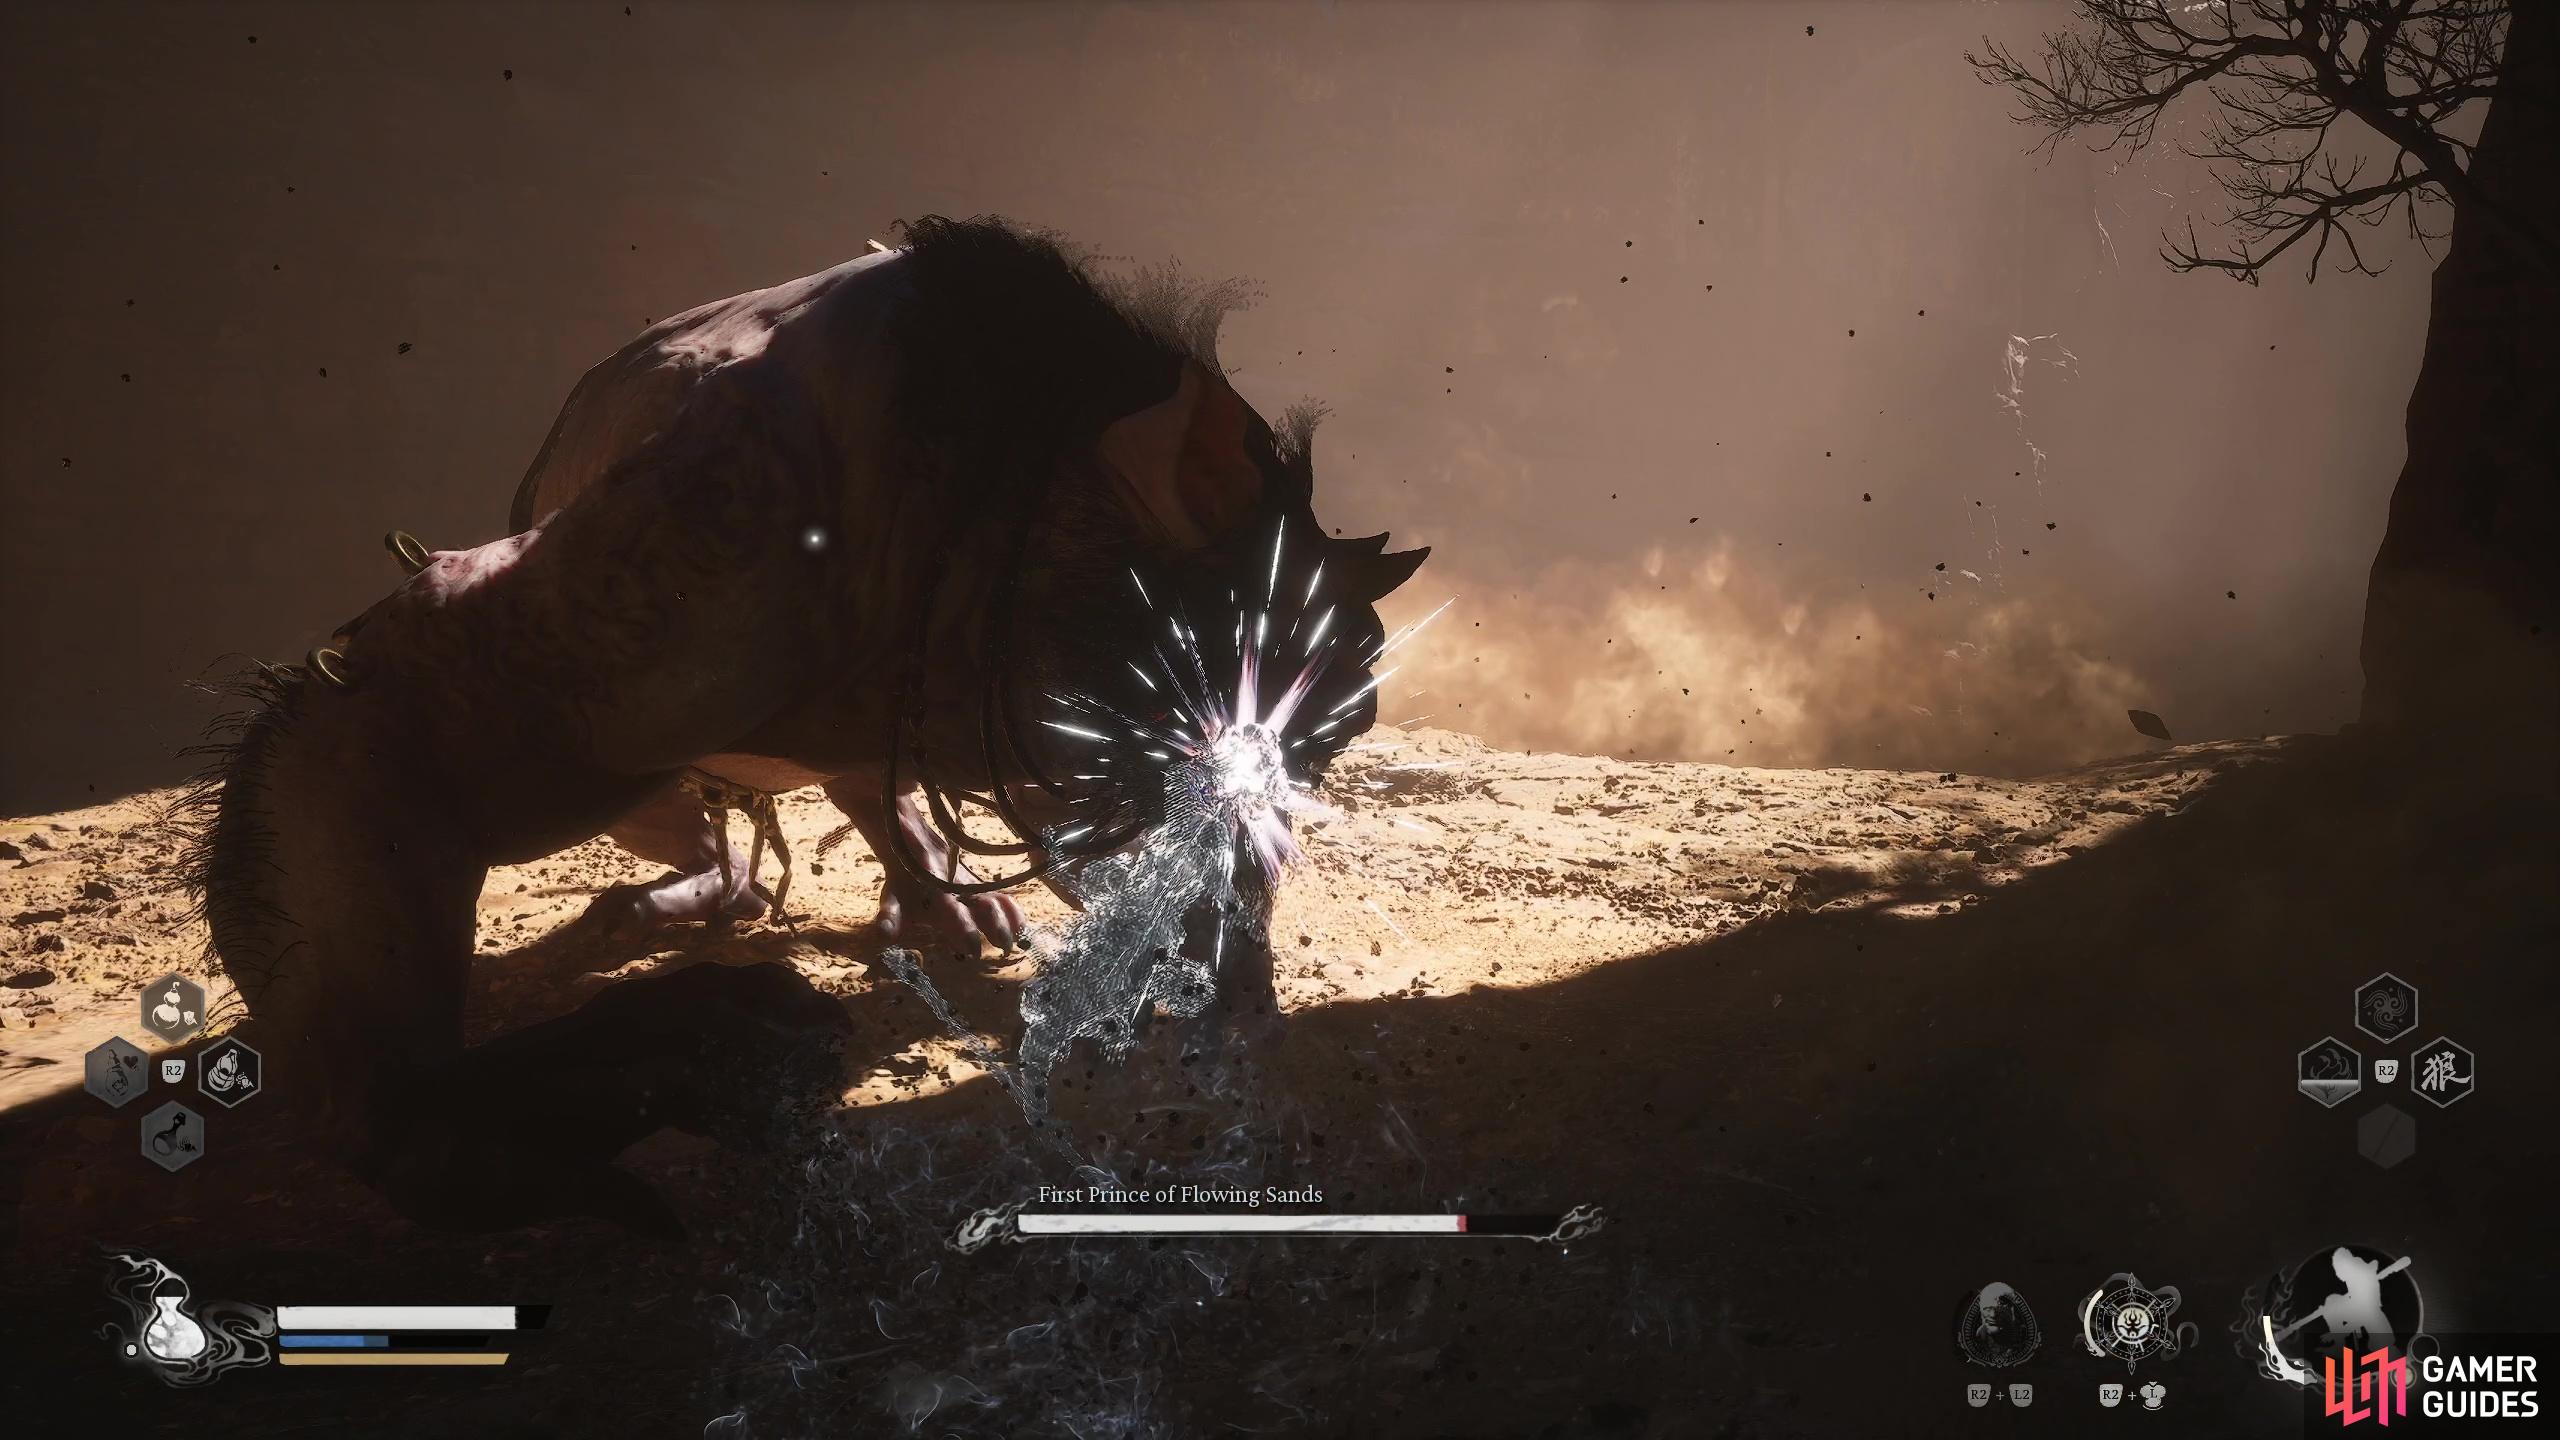
Start at the Valley of Despair Shrine (left), to find the First Prince of Flowing Sands (right)
The ![]() First Prince of the Flowing Sands can be found by starting at the Valley of Despair Shrine (which is available after defeating the
First Prince of the Flowing Sands can be found by starting at the Valley of Despair Shrine (which is available after defeating the ![]() Second Rat Prince) and then heading into the nearby cave. Defeating this boss will reward you with the Ahrat Gold Piece and this is an item needed to complete The Drunken Pig Quest.
Second Rat Prince) and then heading into the nearby cave. Defeating this boss will reward you with the Ahrat Gold Piece and this is an item needed to complete The Drunken Pig Quest.
Earth Wolf Boss Location
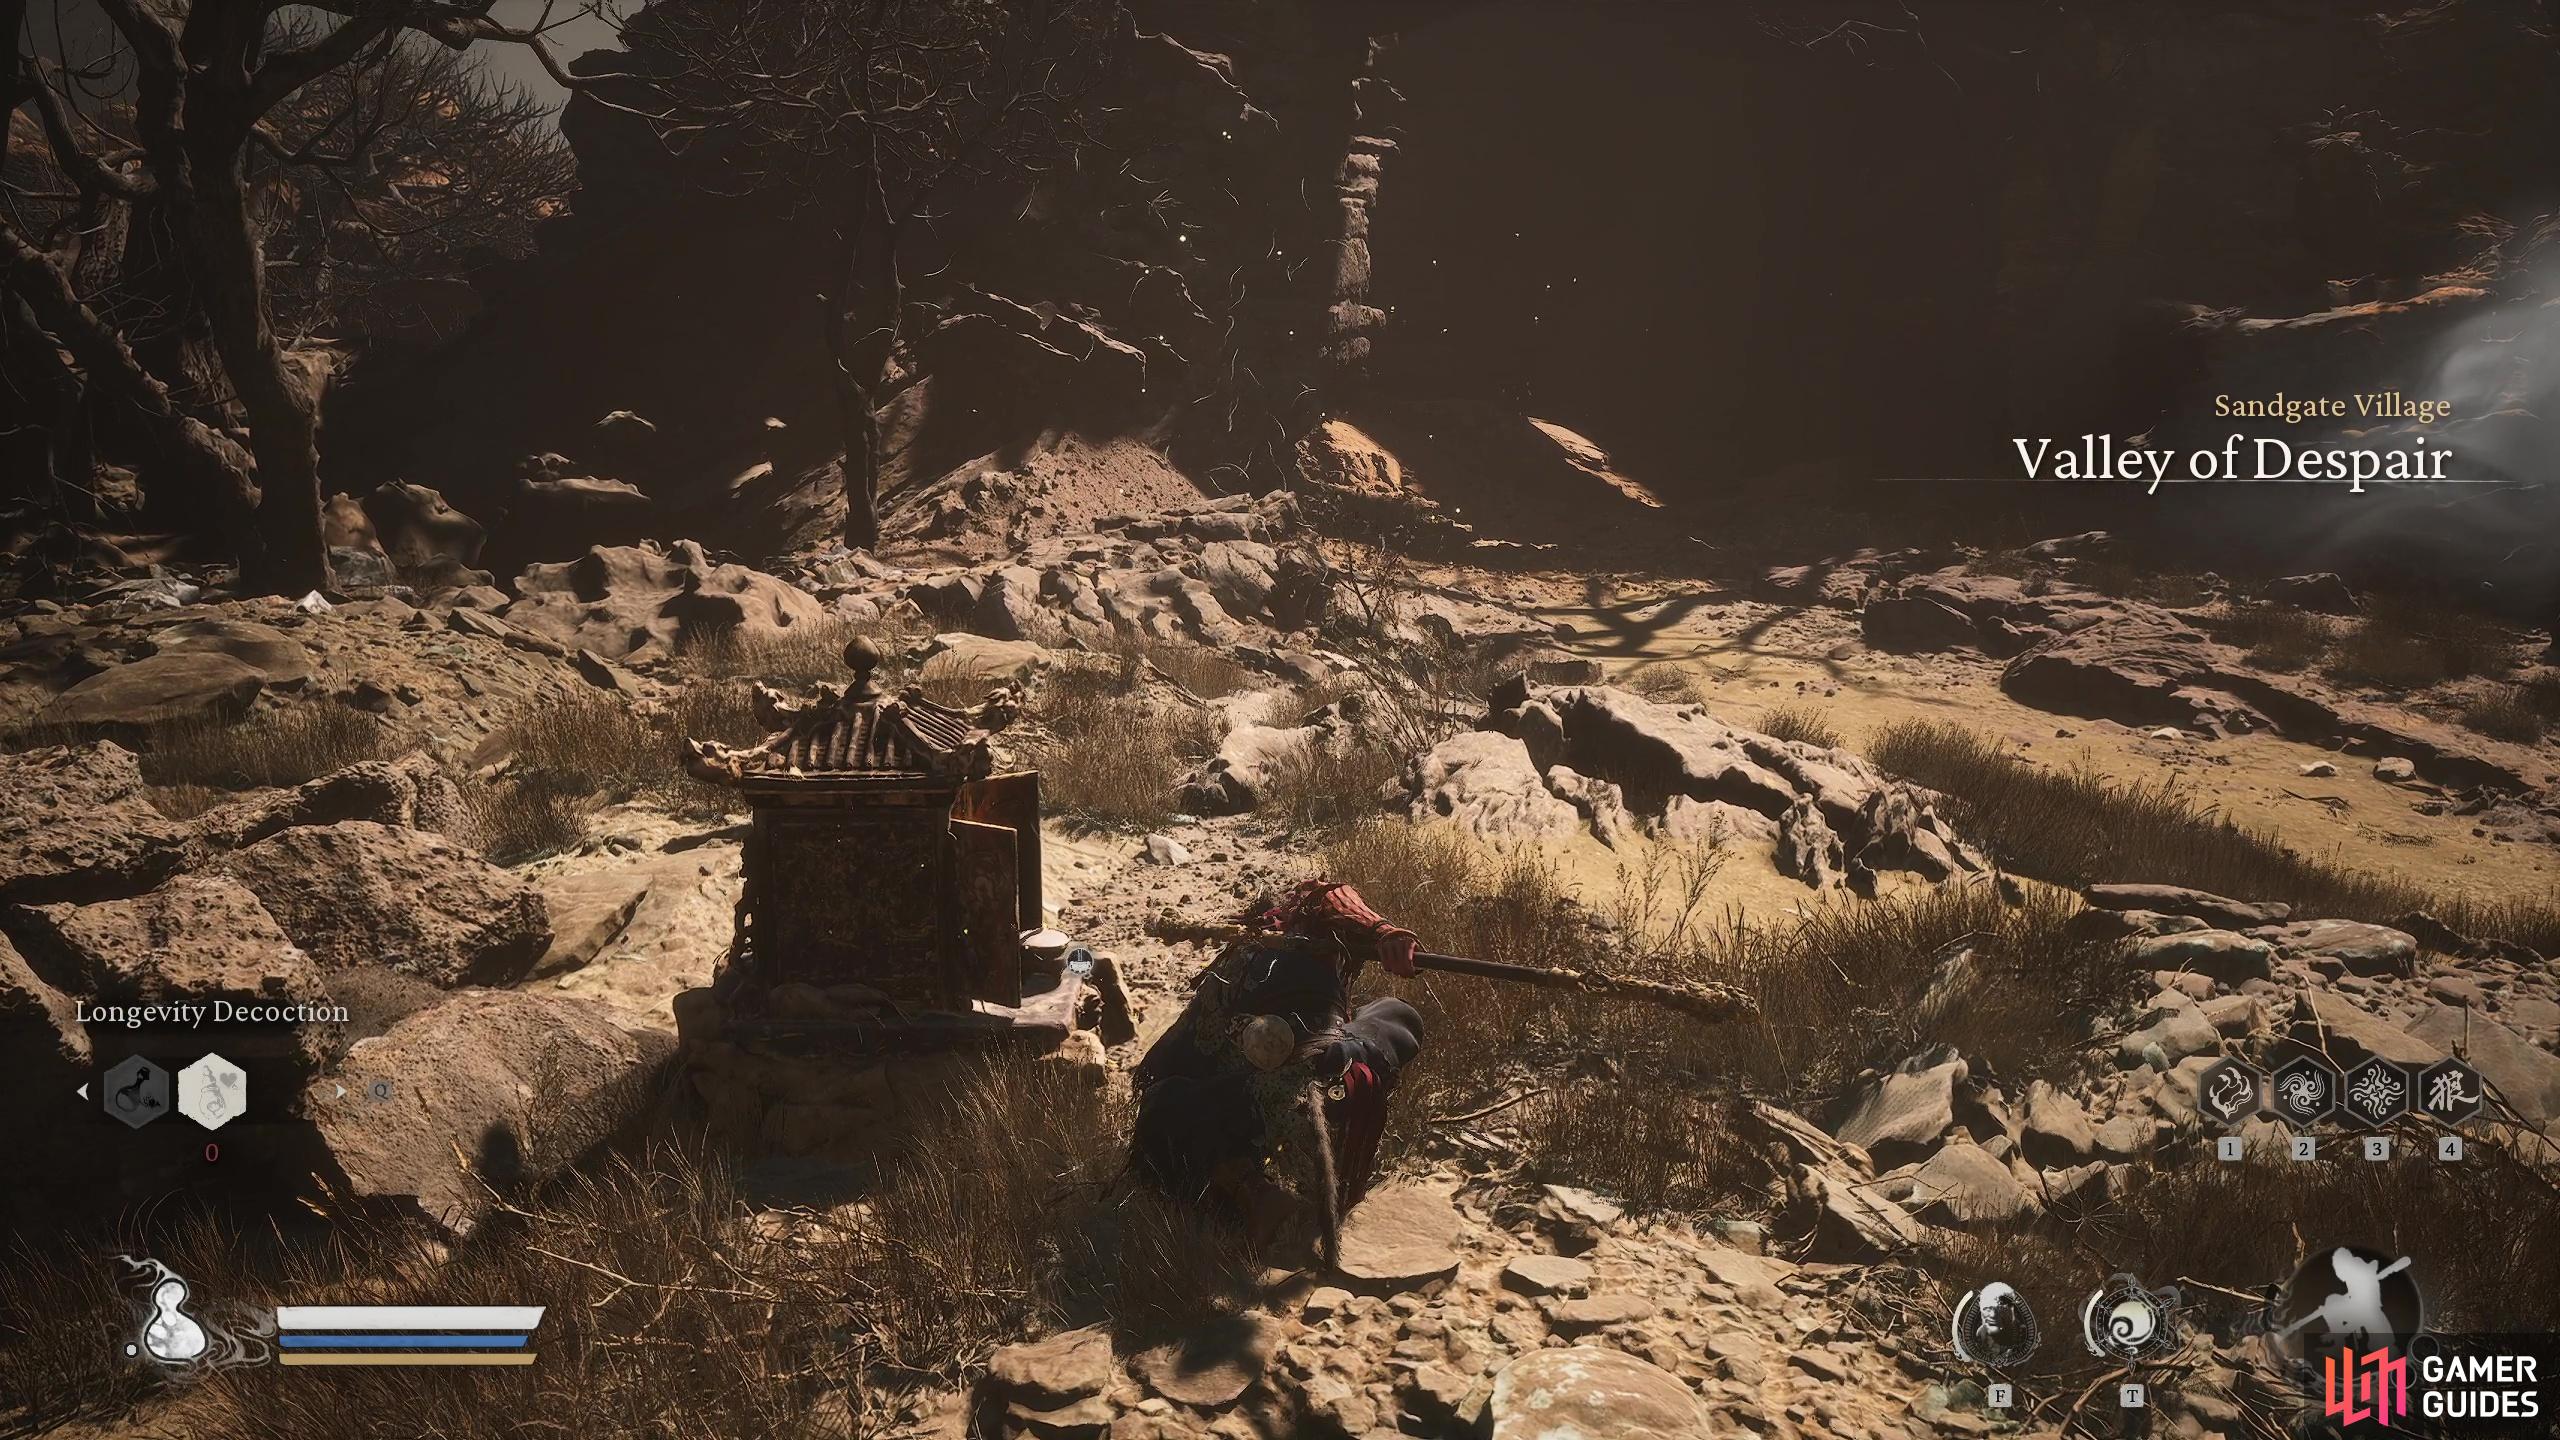
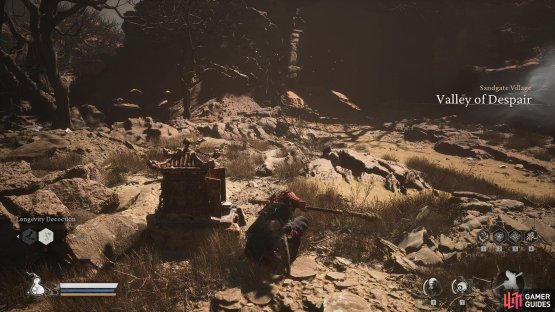

(1 of 2) Start at the Valley of Despair Shrine
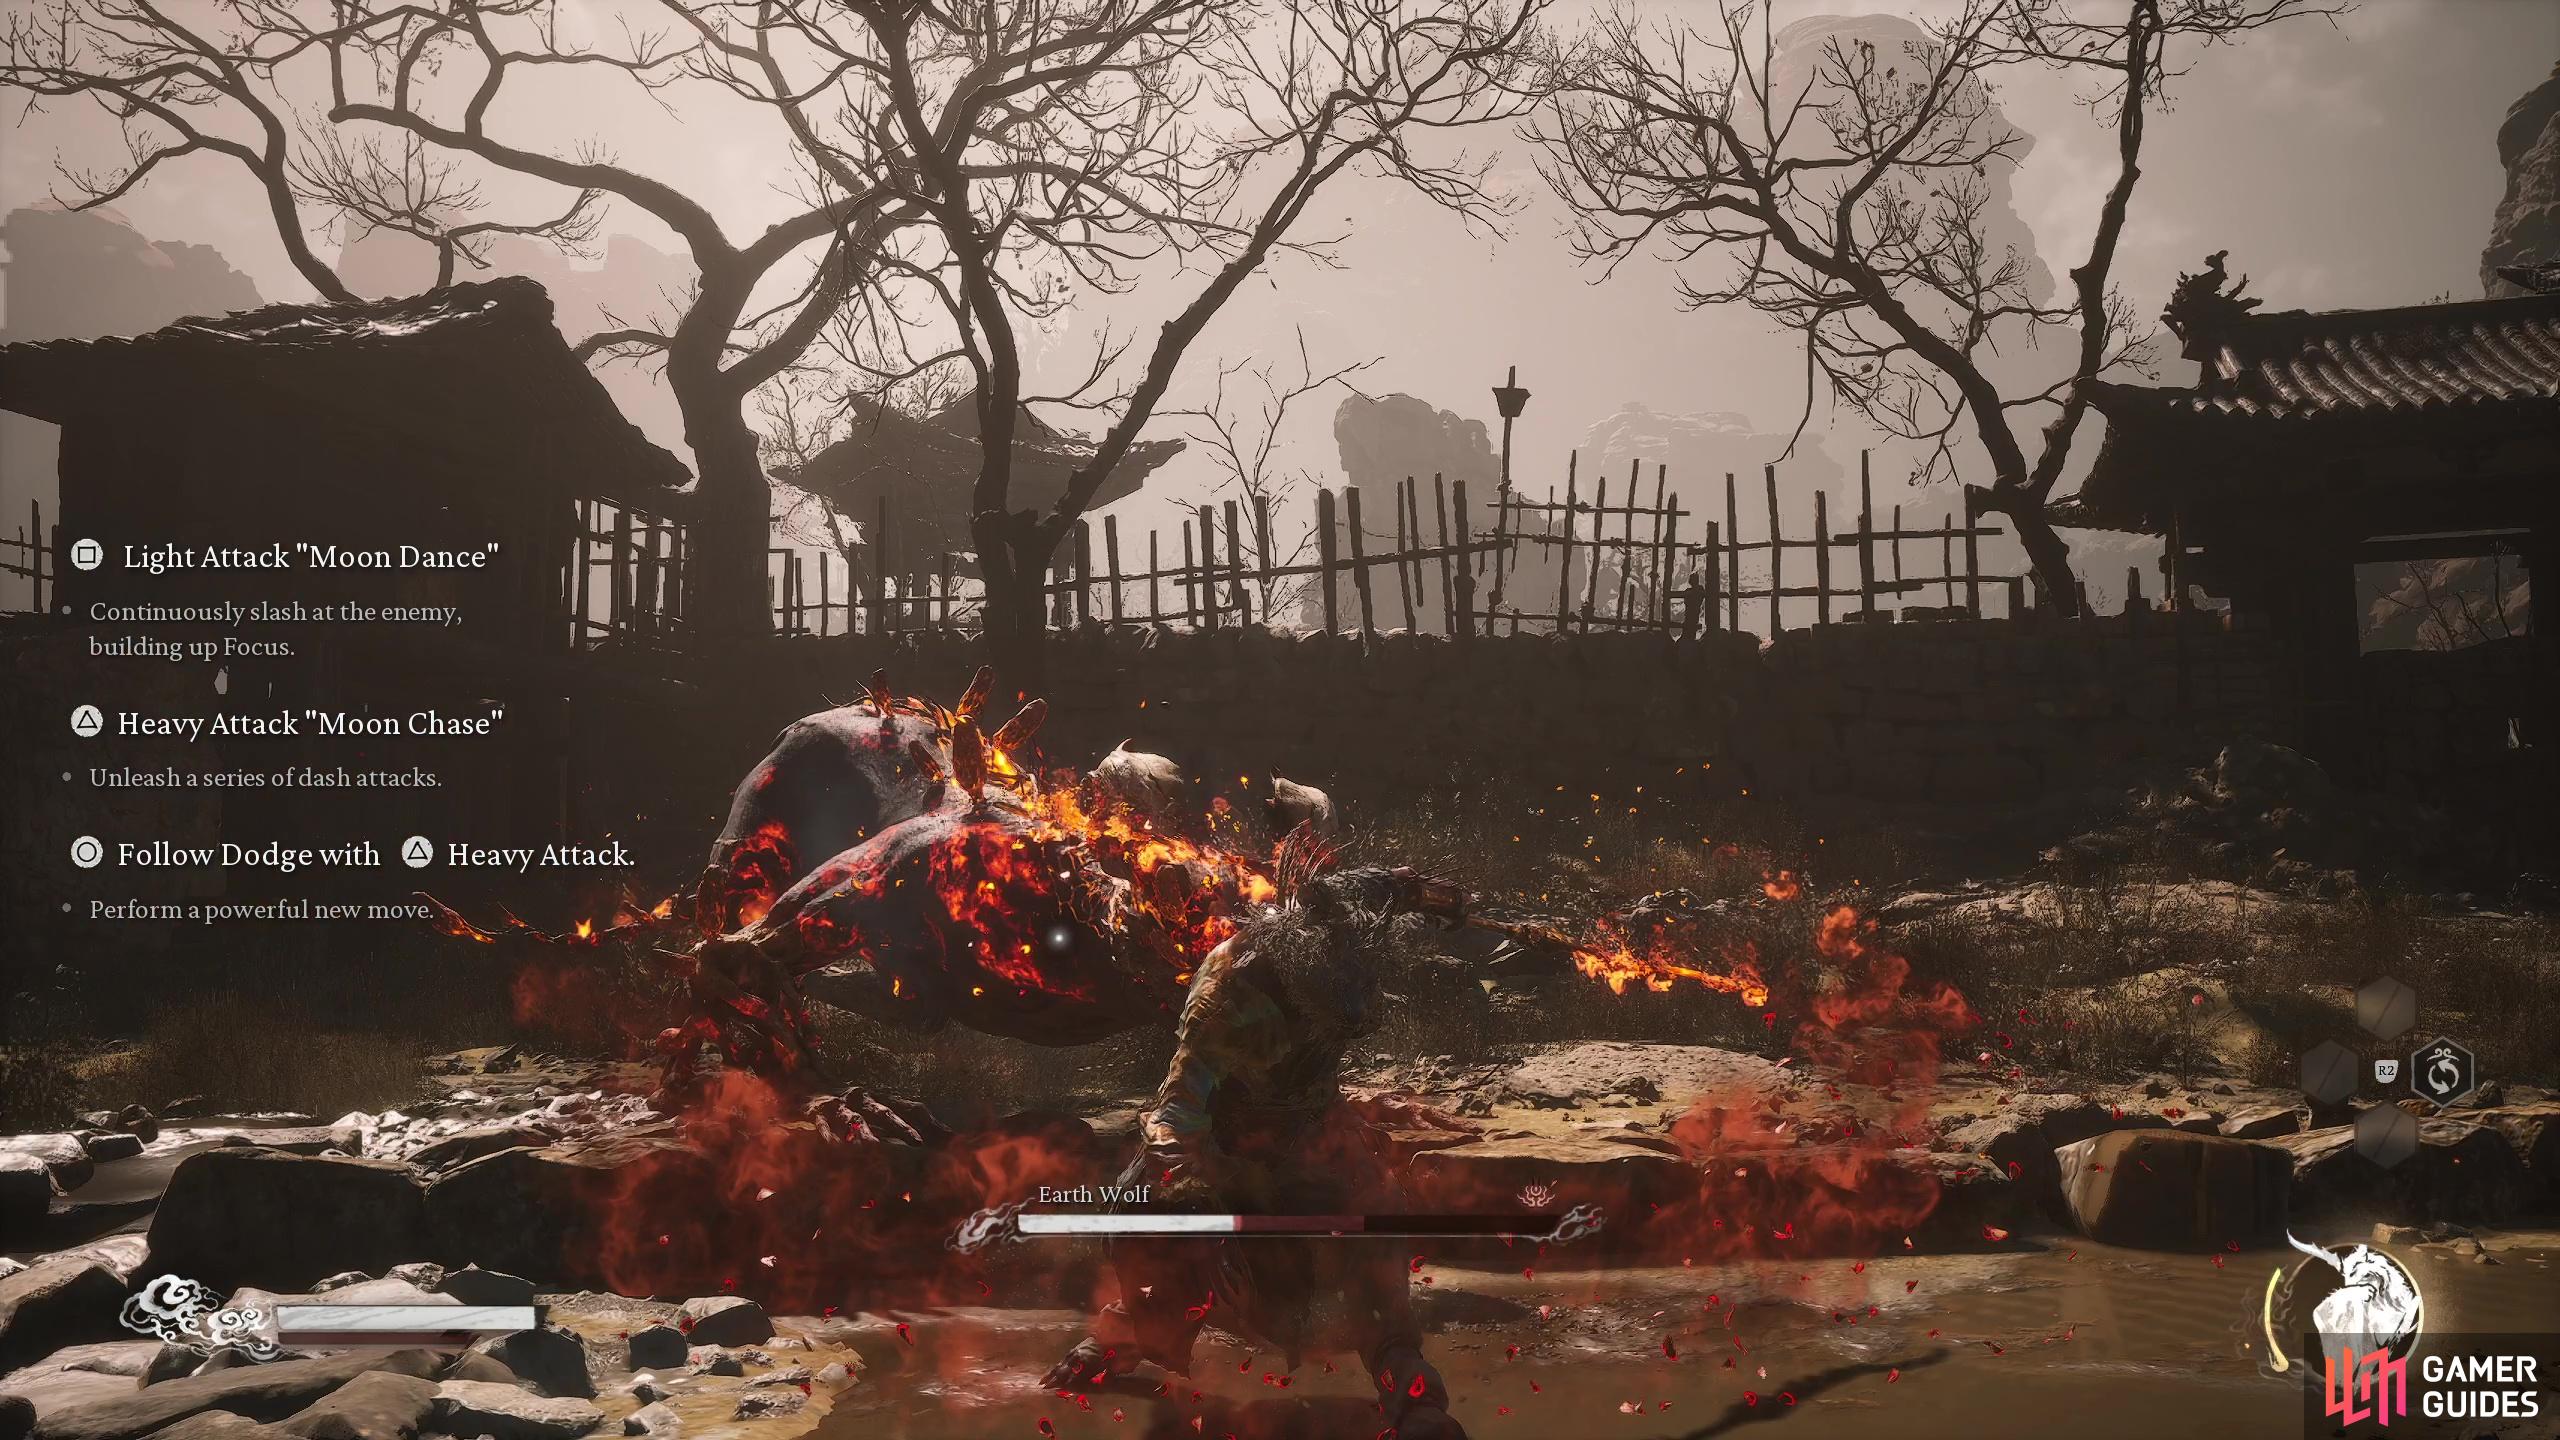
Start at the Valley of Despair Shrine (left), to find the Earth Wolf (right)
The ![]() Earth Wolf can also be found by starting at the Valley of Despair Shrine, but this time head in the opposite direction from the First Prince of the Flowing Sands boss arena. Defeating this boss will reward you with the Earth Wolf Spirit.
Earth Wolf can also be found by starting at the Valley of Despair Shrine, but this time head in the opposite direction from the First Prince of the Flowing Sands boss arena. Defeating this boss will reward you with the Earth Wolf Spirit.
Man in Stone Boss Location


(1 of 2) Start at the Squall Hideout Shrine
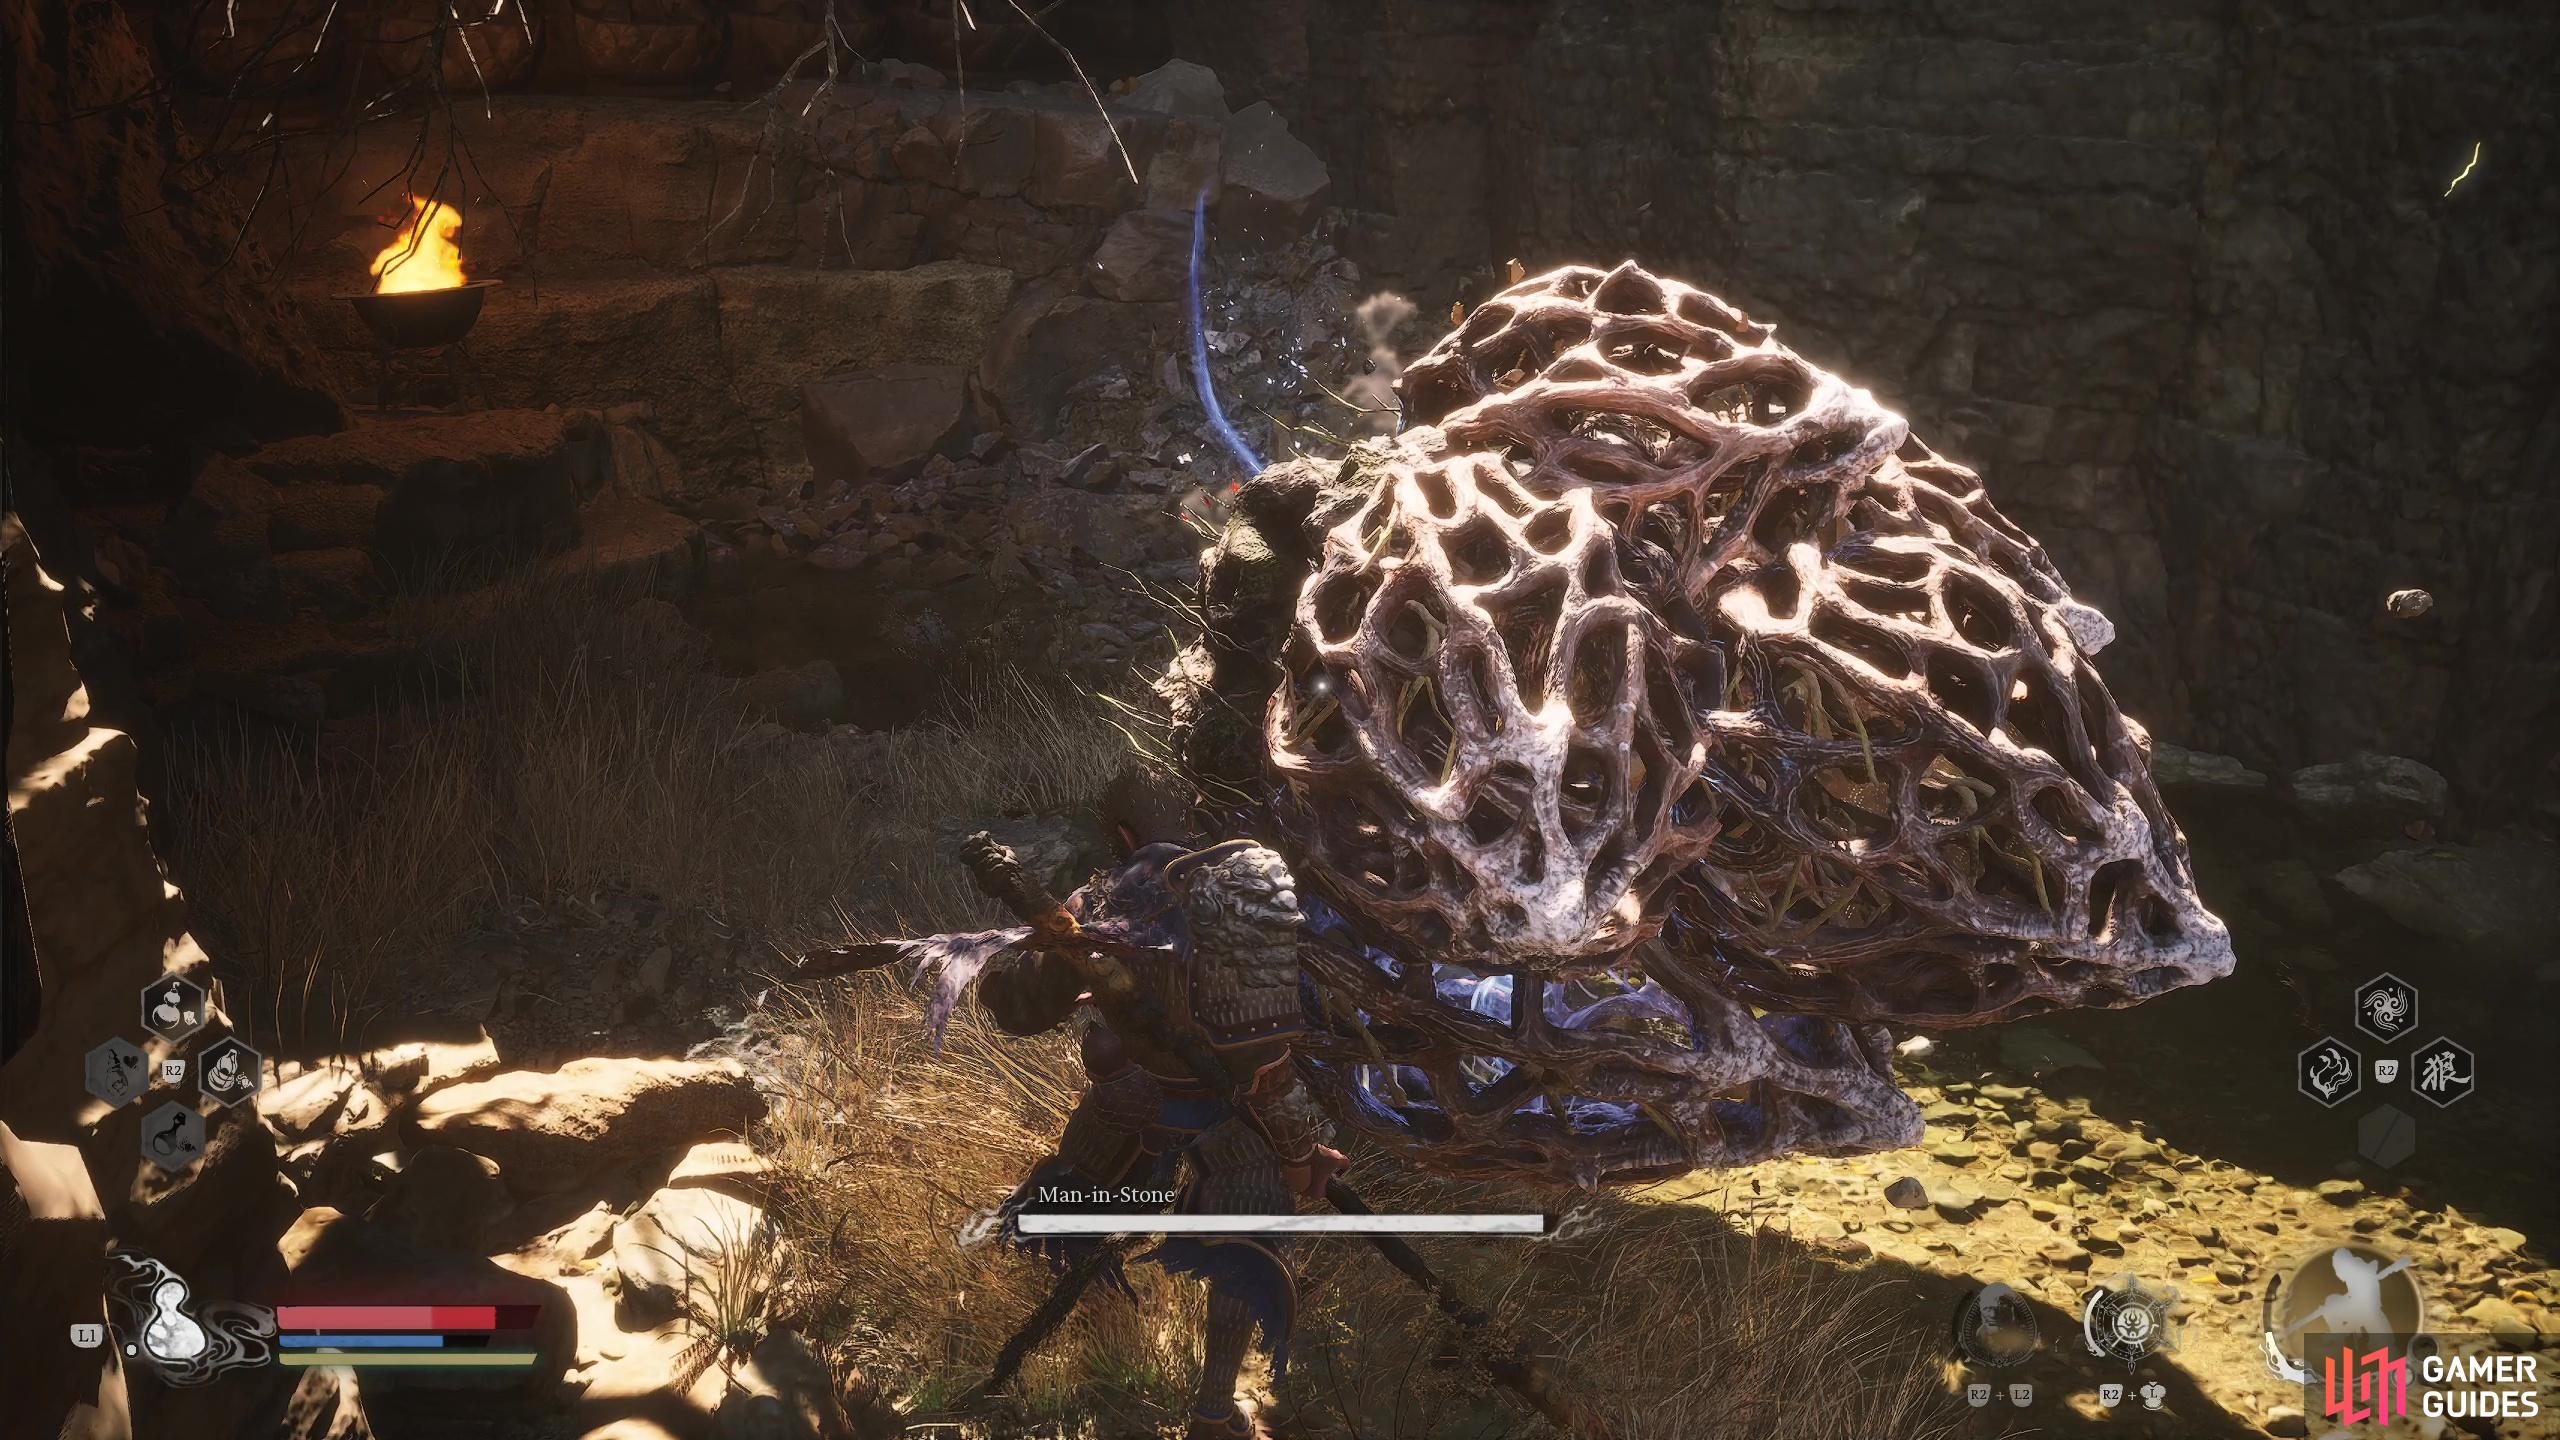
Start at the Squall Hideout Shrine (left), to find the Man in Stone (right)
The Man in Stone can be found by starting Squall Hideout Shrine head to the open area to the northeast until you come across some ![]() Rat Archers, then drop down into a ravine and follow the path to the end. However, you won’t be able to face him until you beat the
Rat Archers, then drop down into a ravine and follow the path to the end. However, you won’t be able to face him until you beat the ![]() Mother of Stones first. Defeating this boss will reward you with will give you access to a merchant which contains some useful items.
Mother of Stones first. Defeating this boss will reward you with will give you access to a merchant which contains some useful items.
Mother of Stones Boss Location


(1 of 2) Start at the Rockrest Flat Shrine

Start at the Rockrest Flat Shrine (left), to find the Mother of Stone (right)
The Mother of Stones can be found by starting at the Rockrest Flat Shrine and backtracking into the cave, then taking the slope up to the right. Defeating this boss will reward you with the ![]() Stone Essence which is needed for the Man in Stone Quest.
Stone Essence which is needed for the Man in Stone Quest.
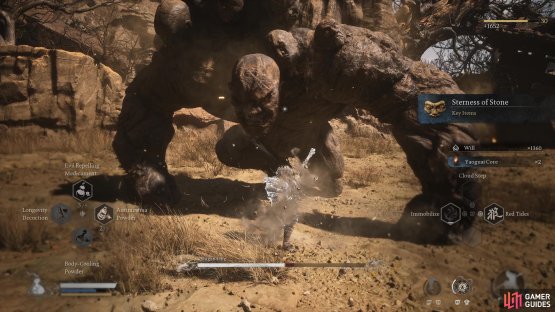
Stone Vanguard Boss Location


(1 of 2) Start at the Rockrest Flat Shrine
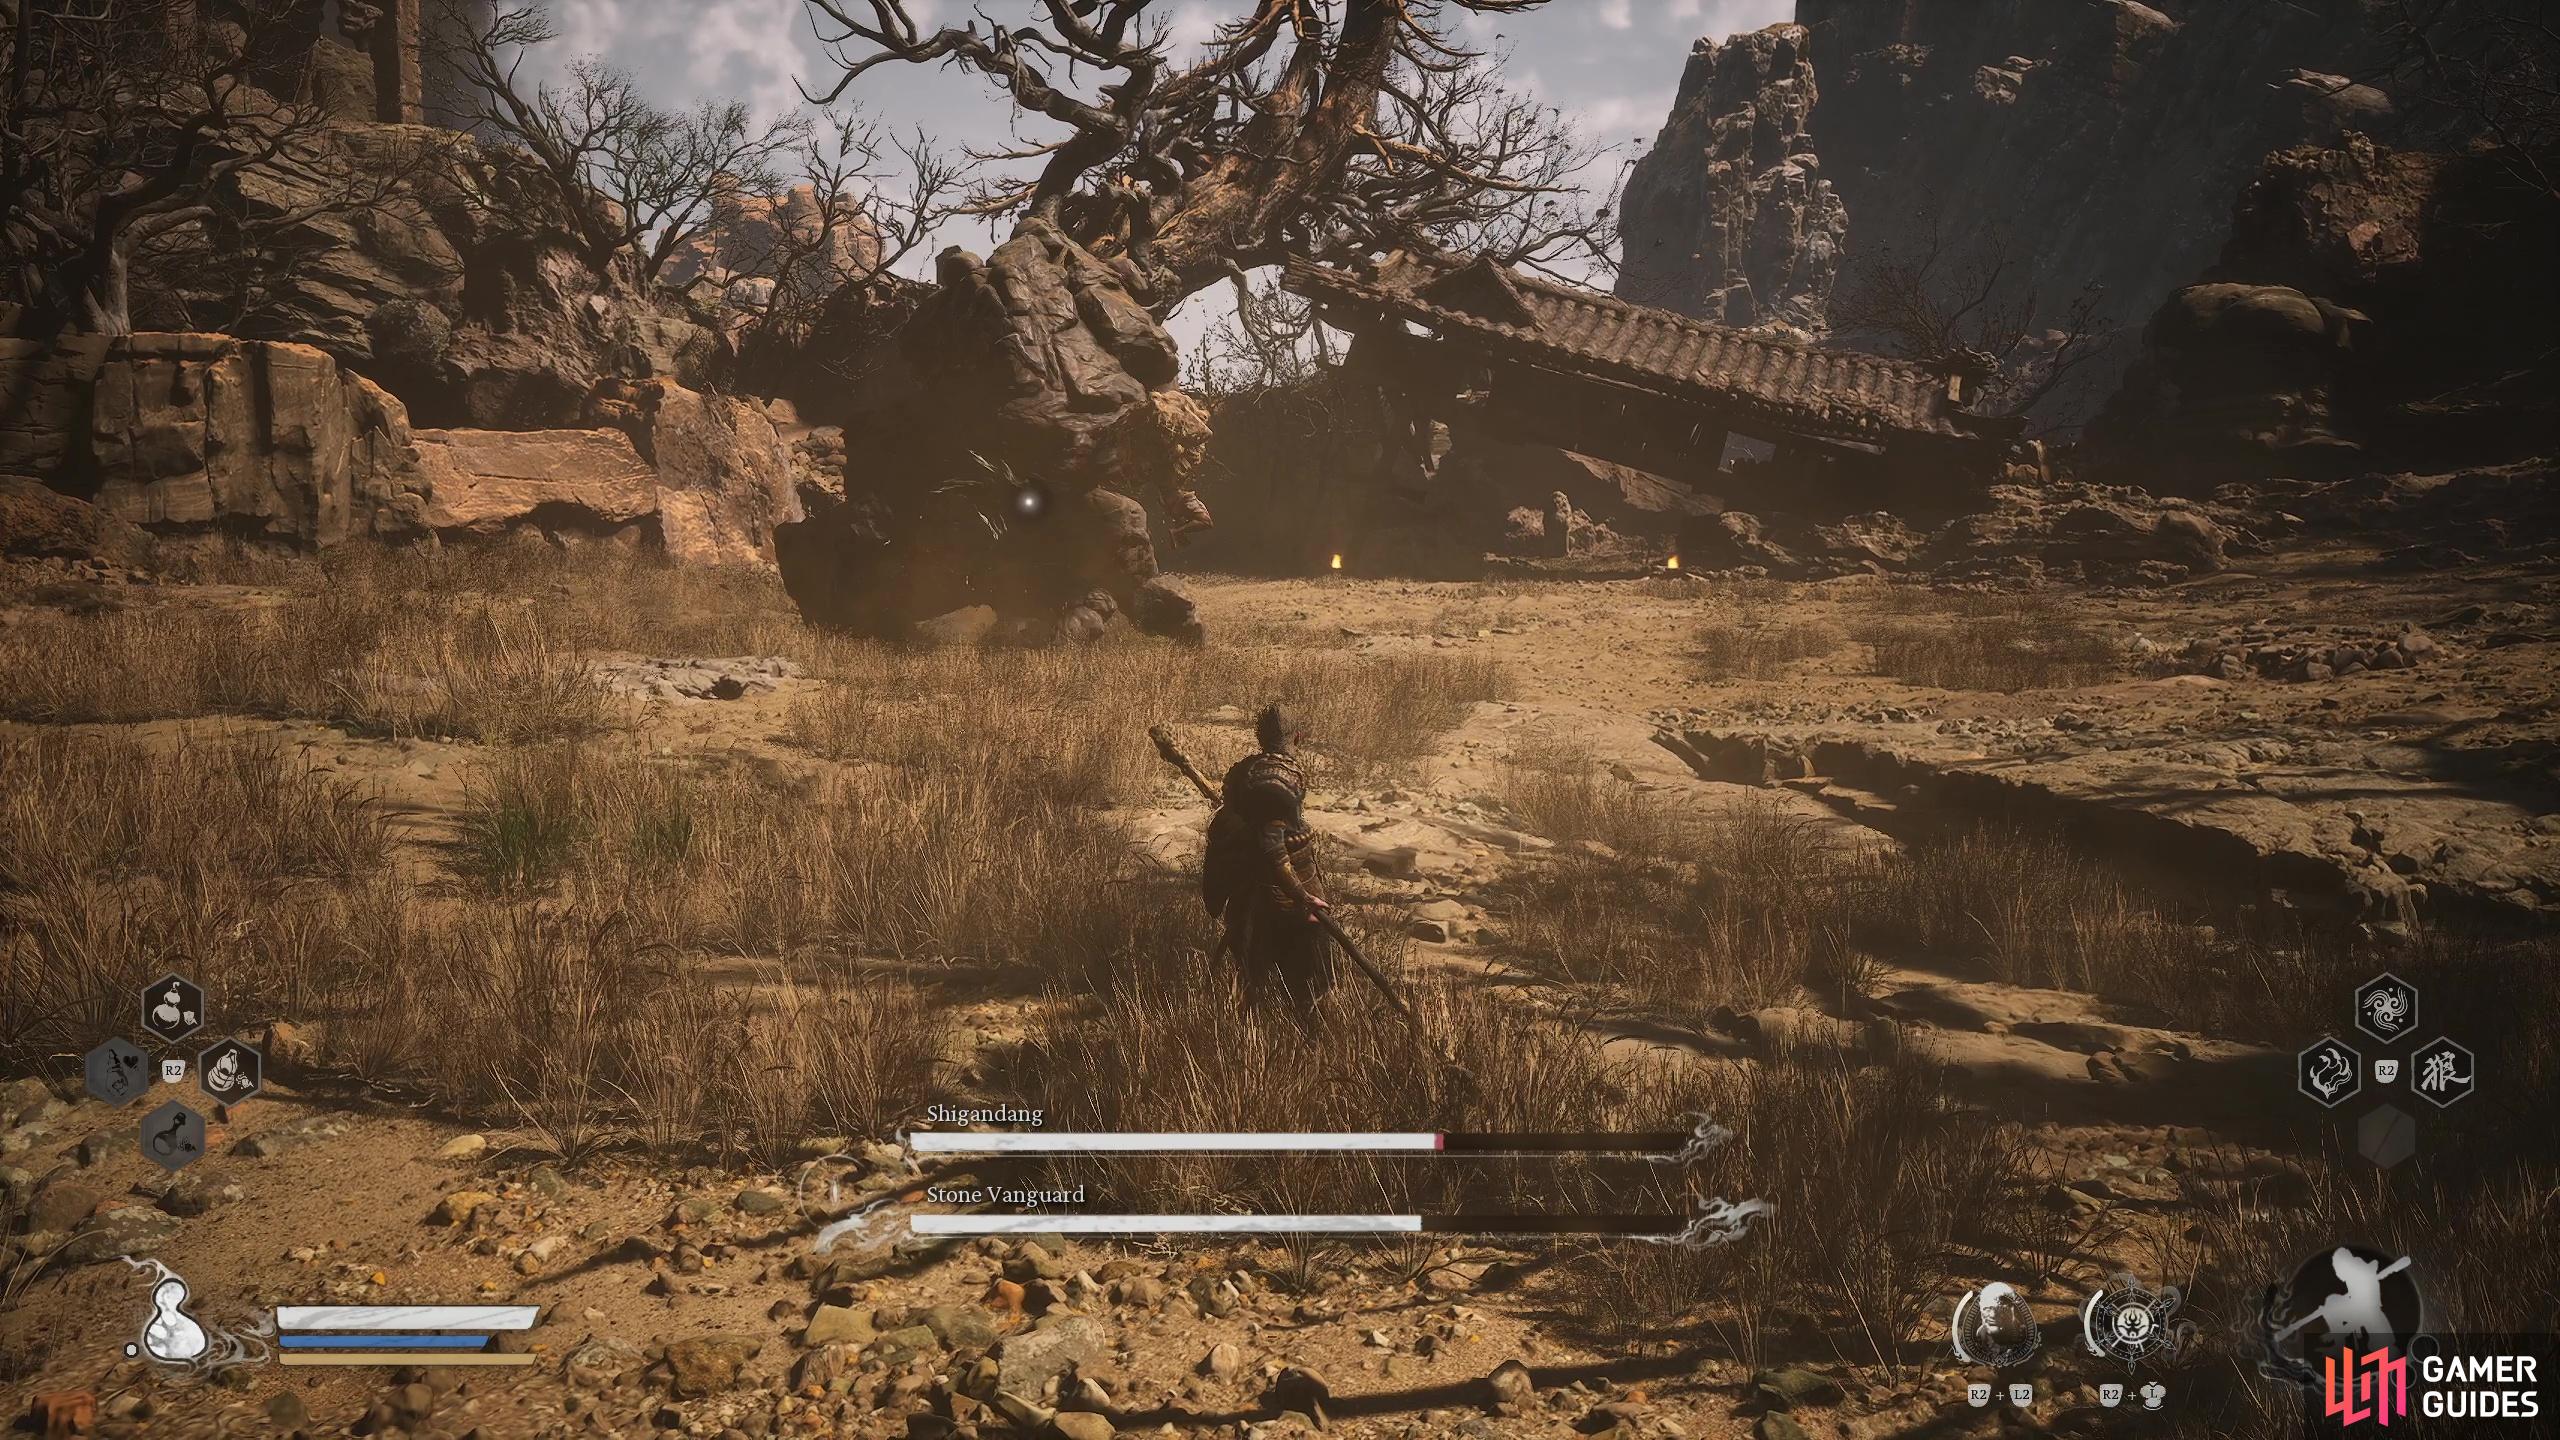
Start at the Rockrest Flat Shrine (left), to find the Stone Vanguard (right)
The ![]() Stone Vanguard can be found by starting at the Rockrest Flat Shrine and heading over to the large area to the left. Defeating this boss will reward you with the
Stone Vanguard can be found by starting at the Rockrest Flat Shrine and heading over to the large area to the left. Defeating this boss will reward you with the ![]() Sterness of Stone which is an item needed to progress through the story.
Sterness of Stone which is an item needed to progress through the story.
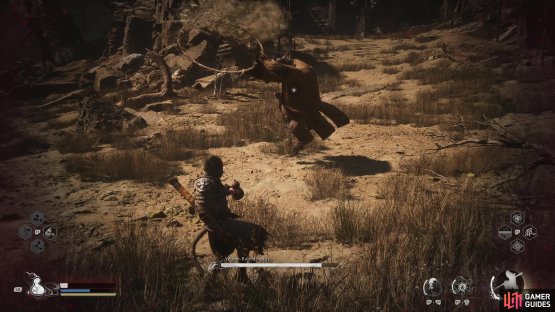
Shingandang Boss Location


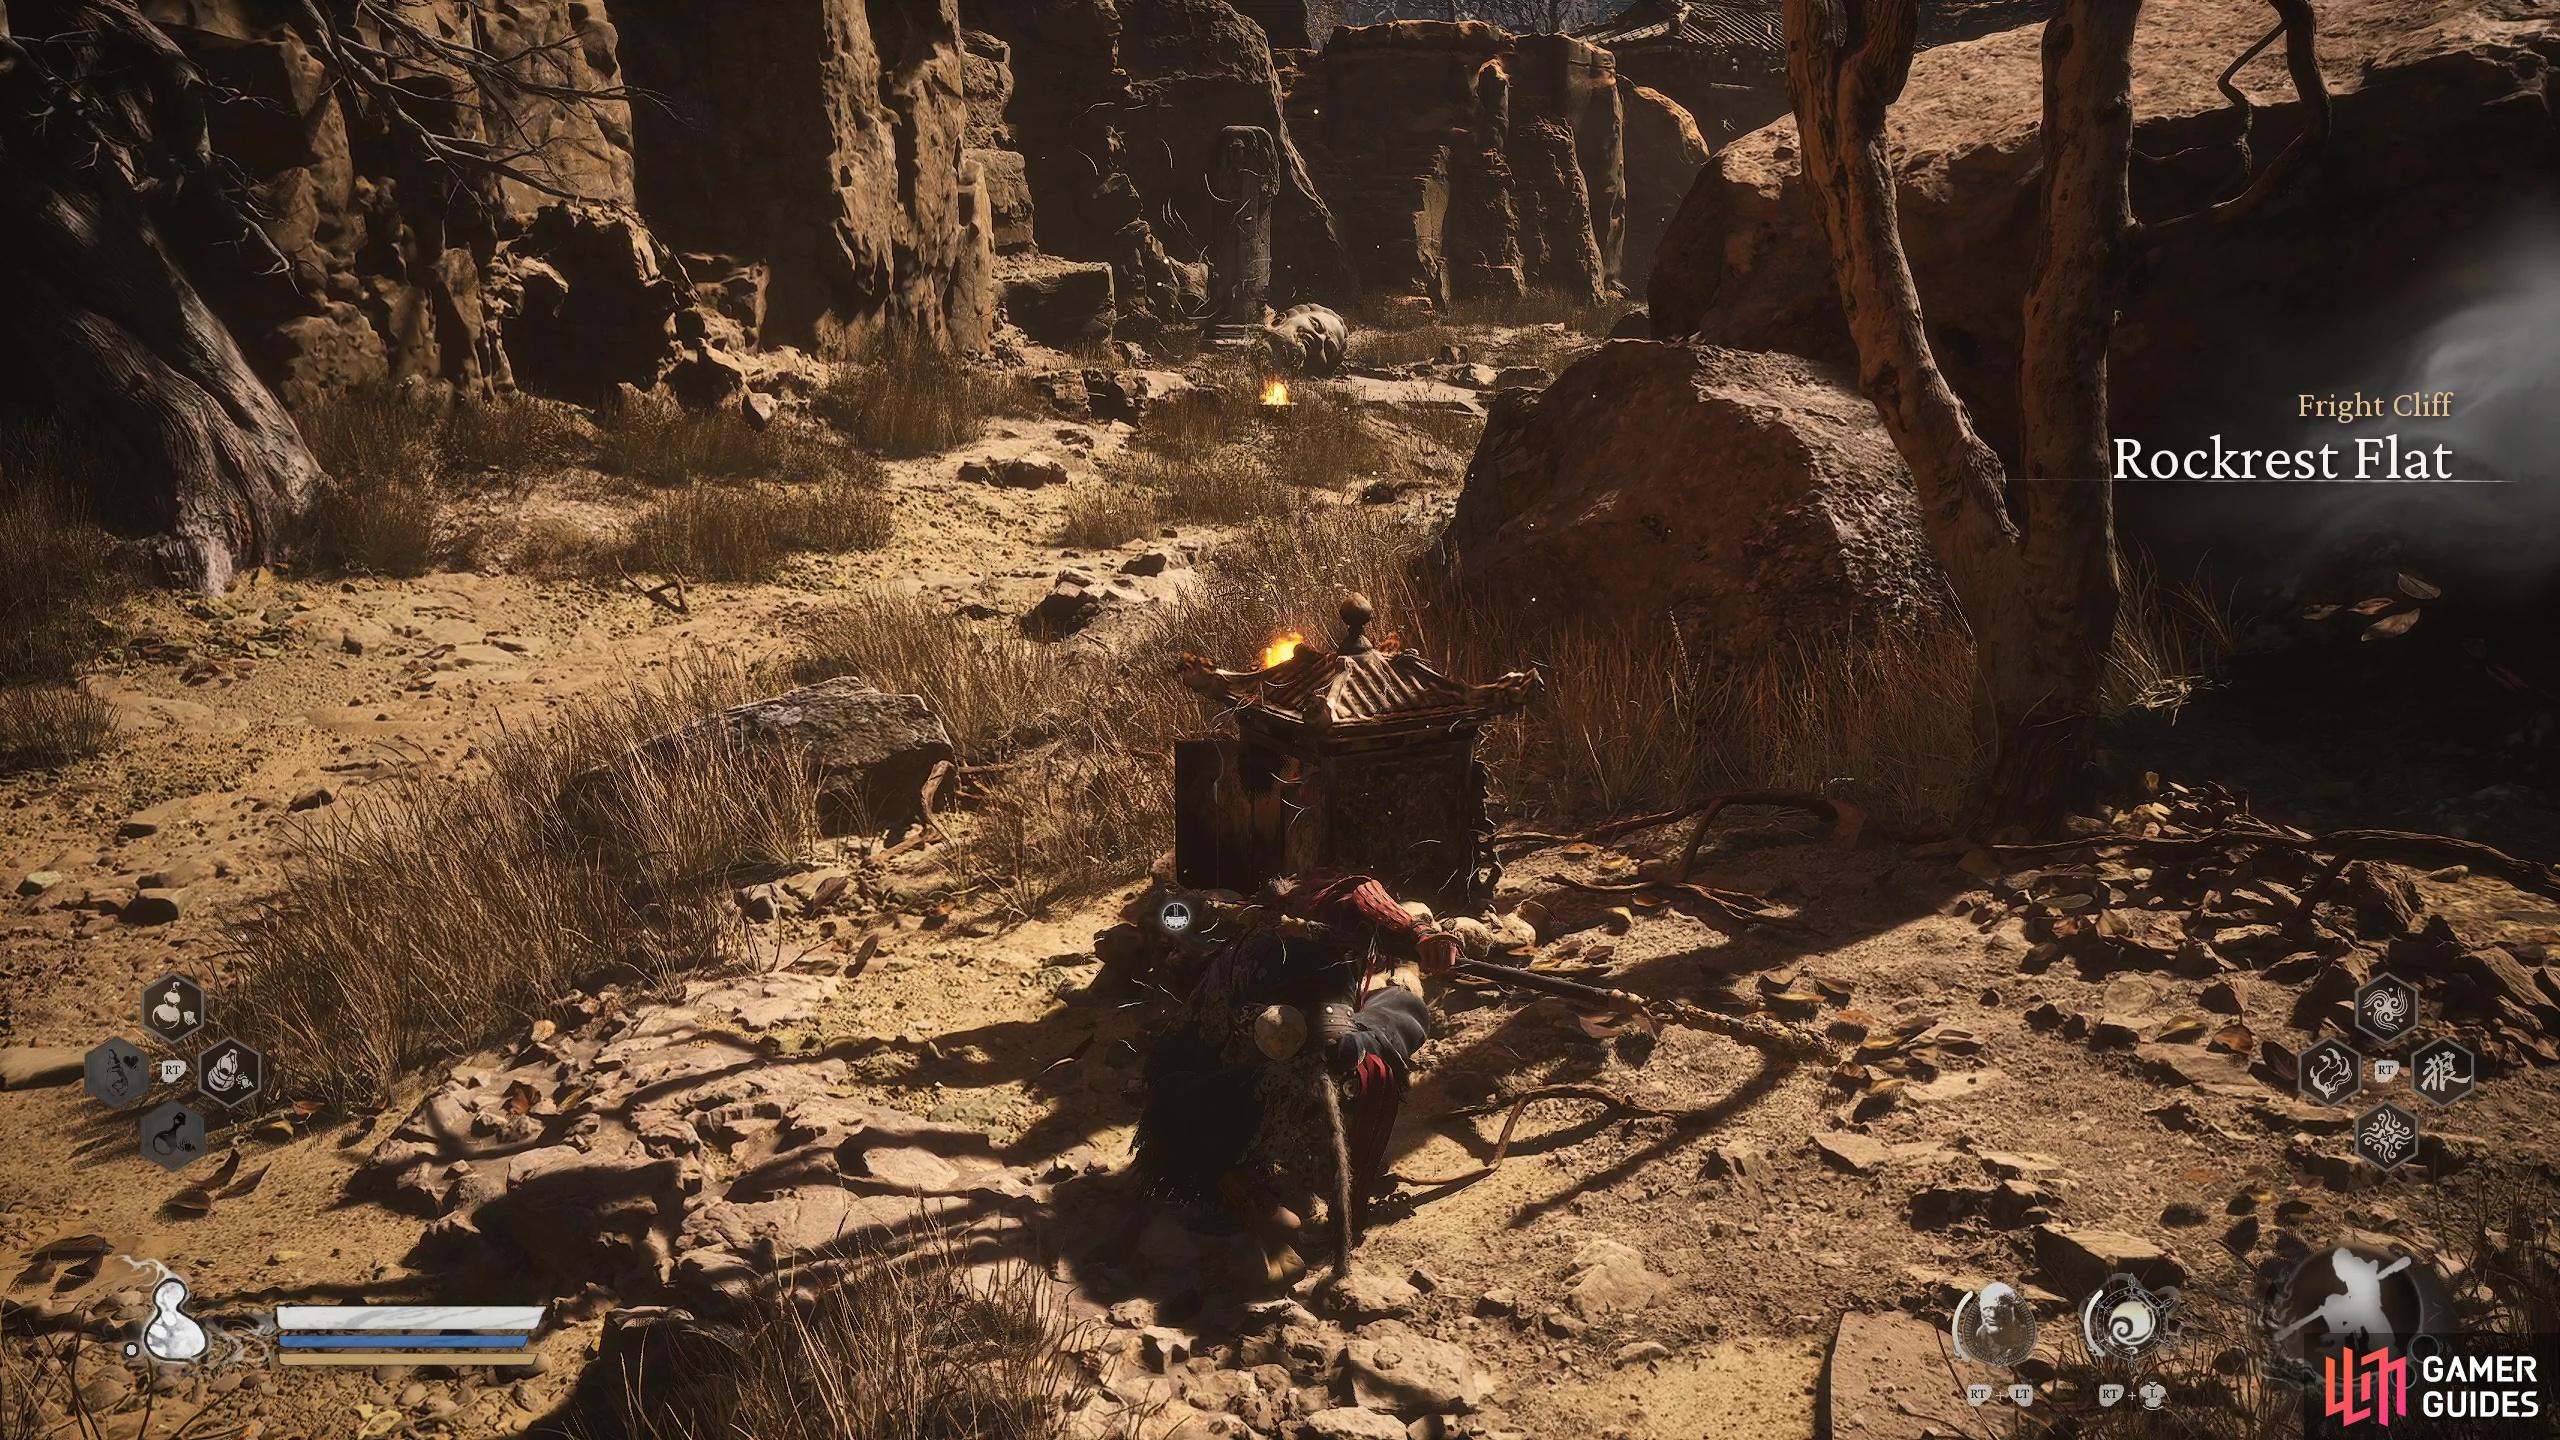
(1 of 2) Start at the Rockrest Flat Shrine
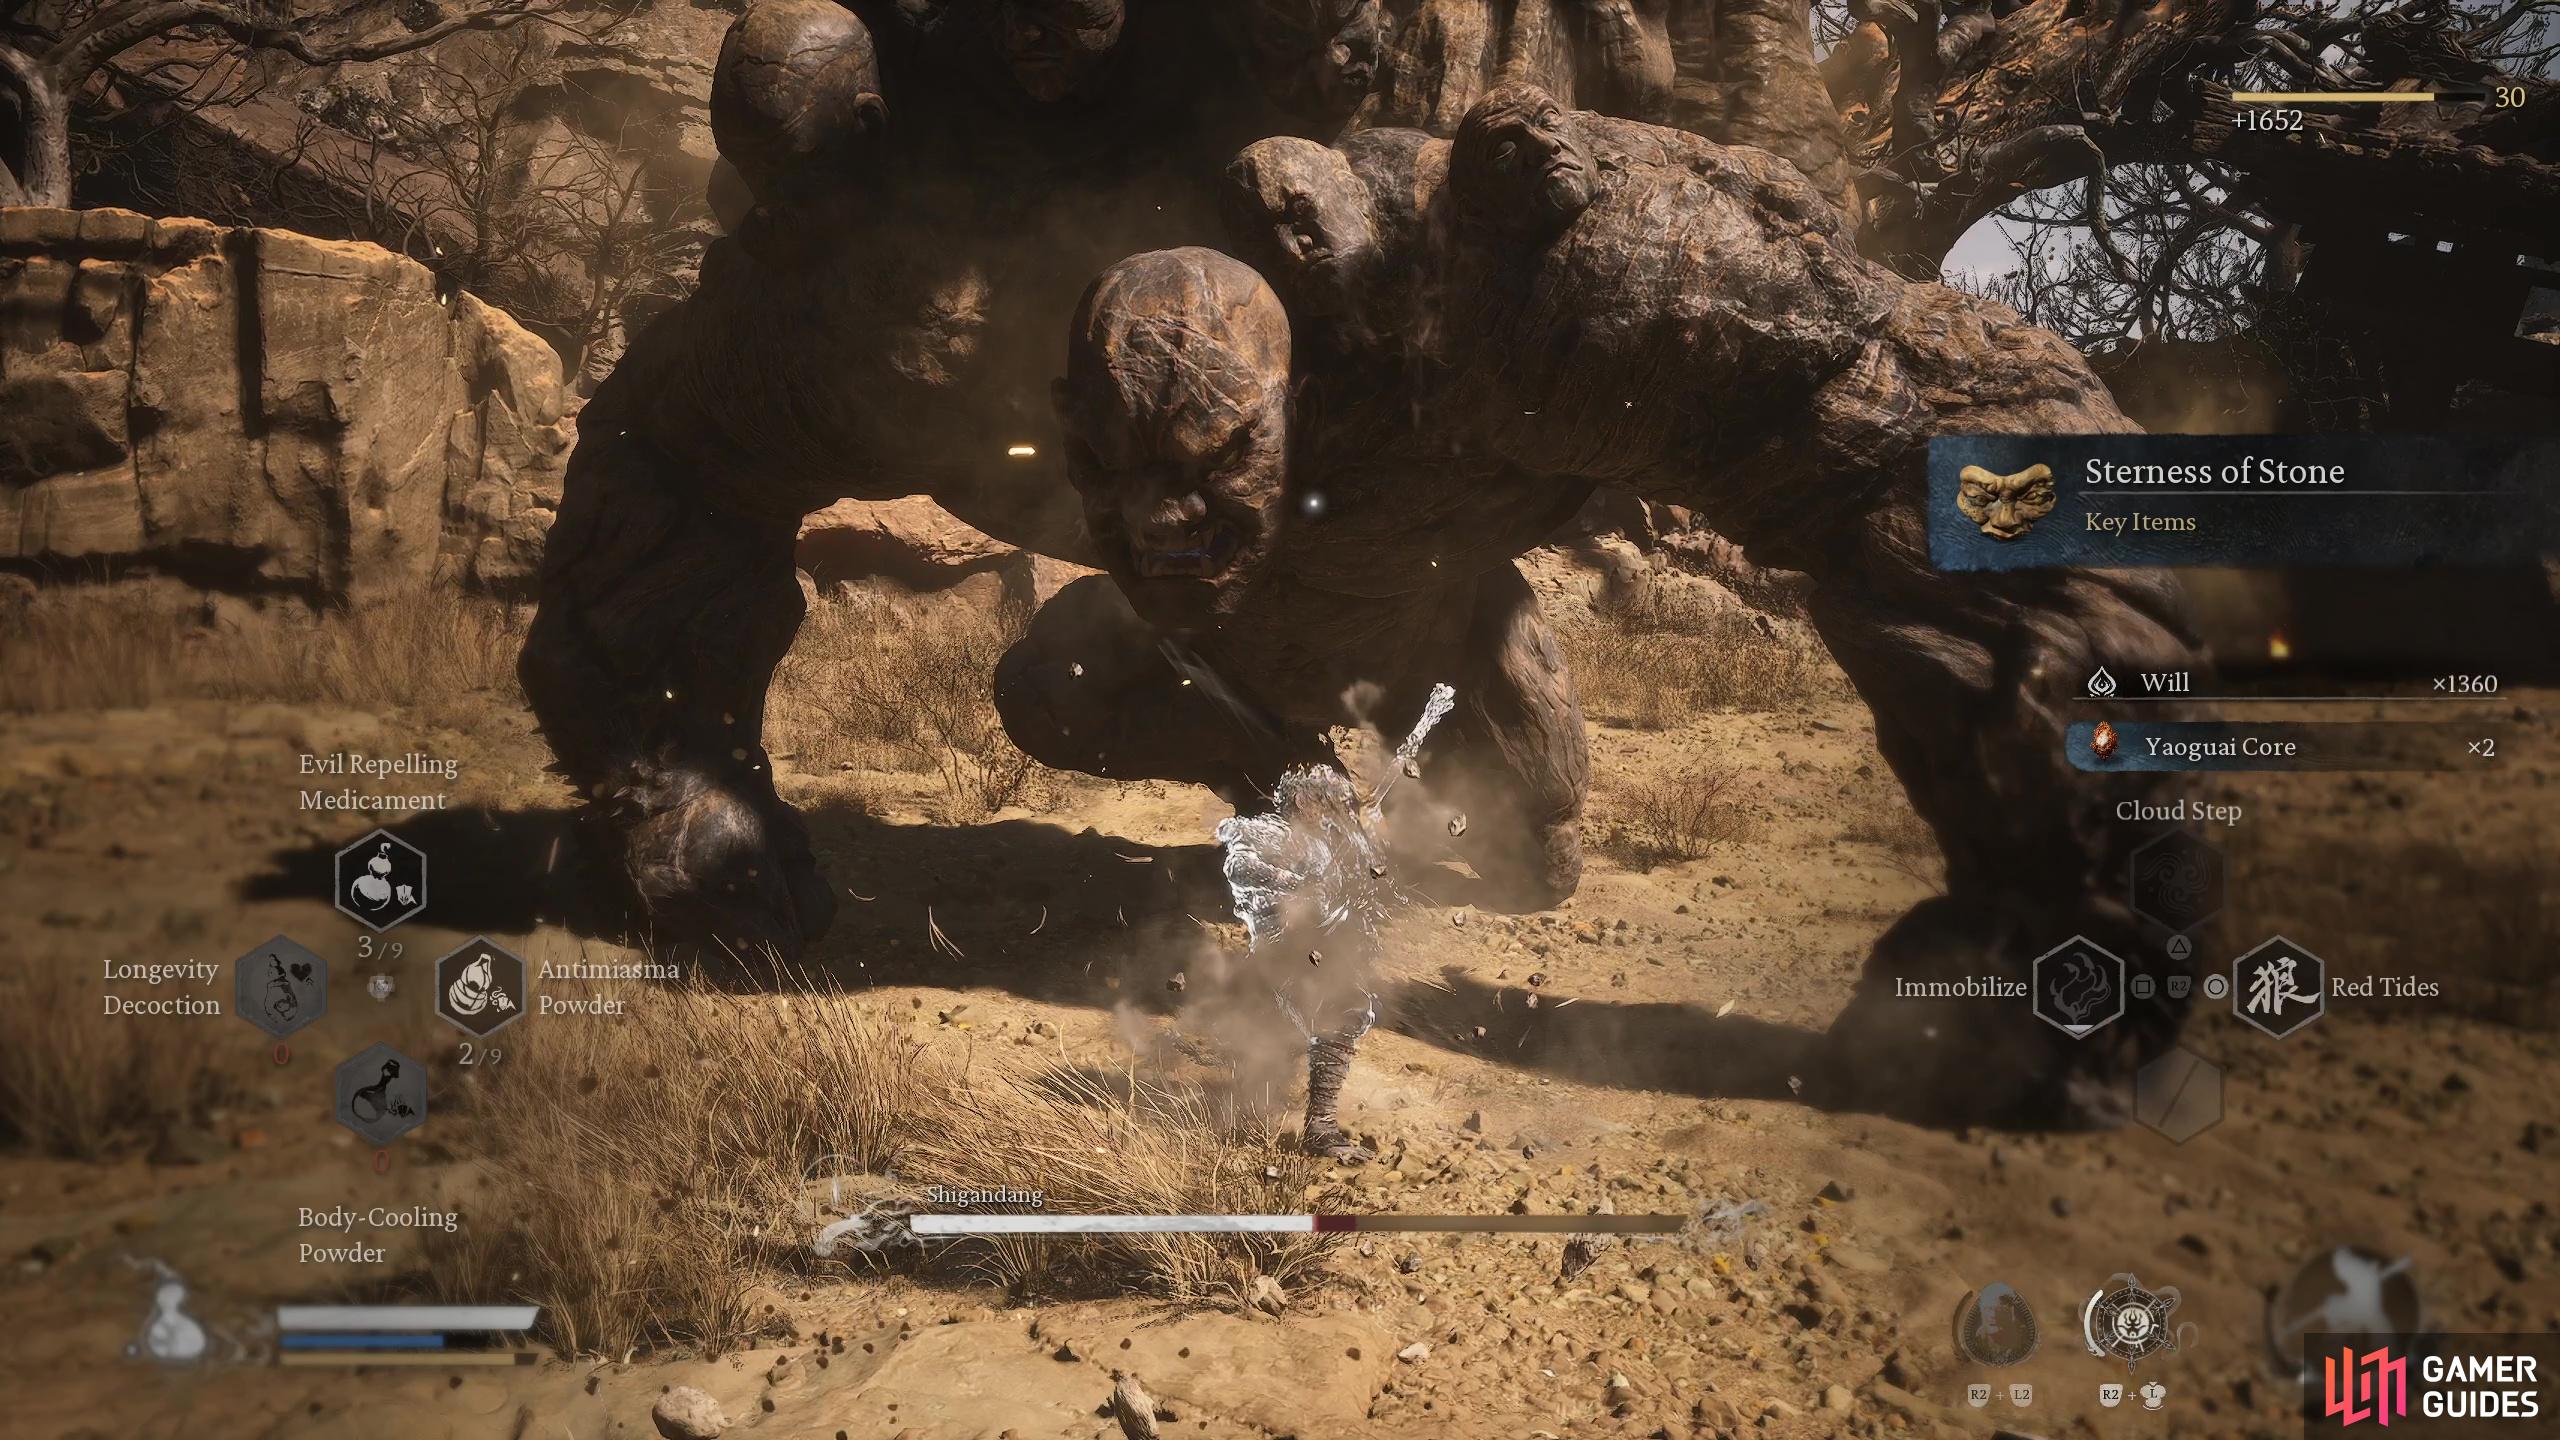
Start at the Rockrest Flat Shrine (left), to find Shigandang (right)
Shingandang can be found by starting at the Rockrest Flat Shrine and heading over to the large area to the left, but this boss won’t become available until you’ve tracked down the location of all six Buddha’s Eye’s.
Yellow-Robed Squire Boss Location


(1 of 2) Head to the Rockrest Flat Shrine

Head to the Rockrest Flat Shrine (left), to find the Yellow Robed Squire (right)
![]() Yellow-Robed Squire can be found by starting the Rockrest Flat Shrine and heading over to the large area on the right, but this boss won’t become available until you’ve progressed through The Drunken Pig Quest. Defeating this boss will reward you with give you access to chapters 2 secret area Kingdom of Sahali.
Yellow-Robed Squire can be found by starting the Rockrest Flat Shrine and heading over to the large area on the right, but this boss won’t become available until you’ve progressed through The Drunken Pig Quest. Defeating this boss will reward you with give you access to chapters 2 secret area Kingdom of Sahali.
Tiger Vanguard Boss Location


(1 of 2) Head to the Temple Entrance

Head to the Temple Entrance (left), to find the Tiger Vanguard. (right)
The ![]() Tiger Vanguard can be found by starting at the Crouching Tiger Temple Shrine and heading up to the top of the stairs. Defeating this boss will reward you with the
Tiger Vanguard can be found by starting at the Crouching Tiger Temple Shrine and heading up to the top of the stairs. Defeating this boss will reward you with the ![]() Mind Core Material and the
Mind Core Material and the ![]() Rock Solid Spell.
Rock Solid Spell.
Gore-Eye Daoist Boss Location
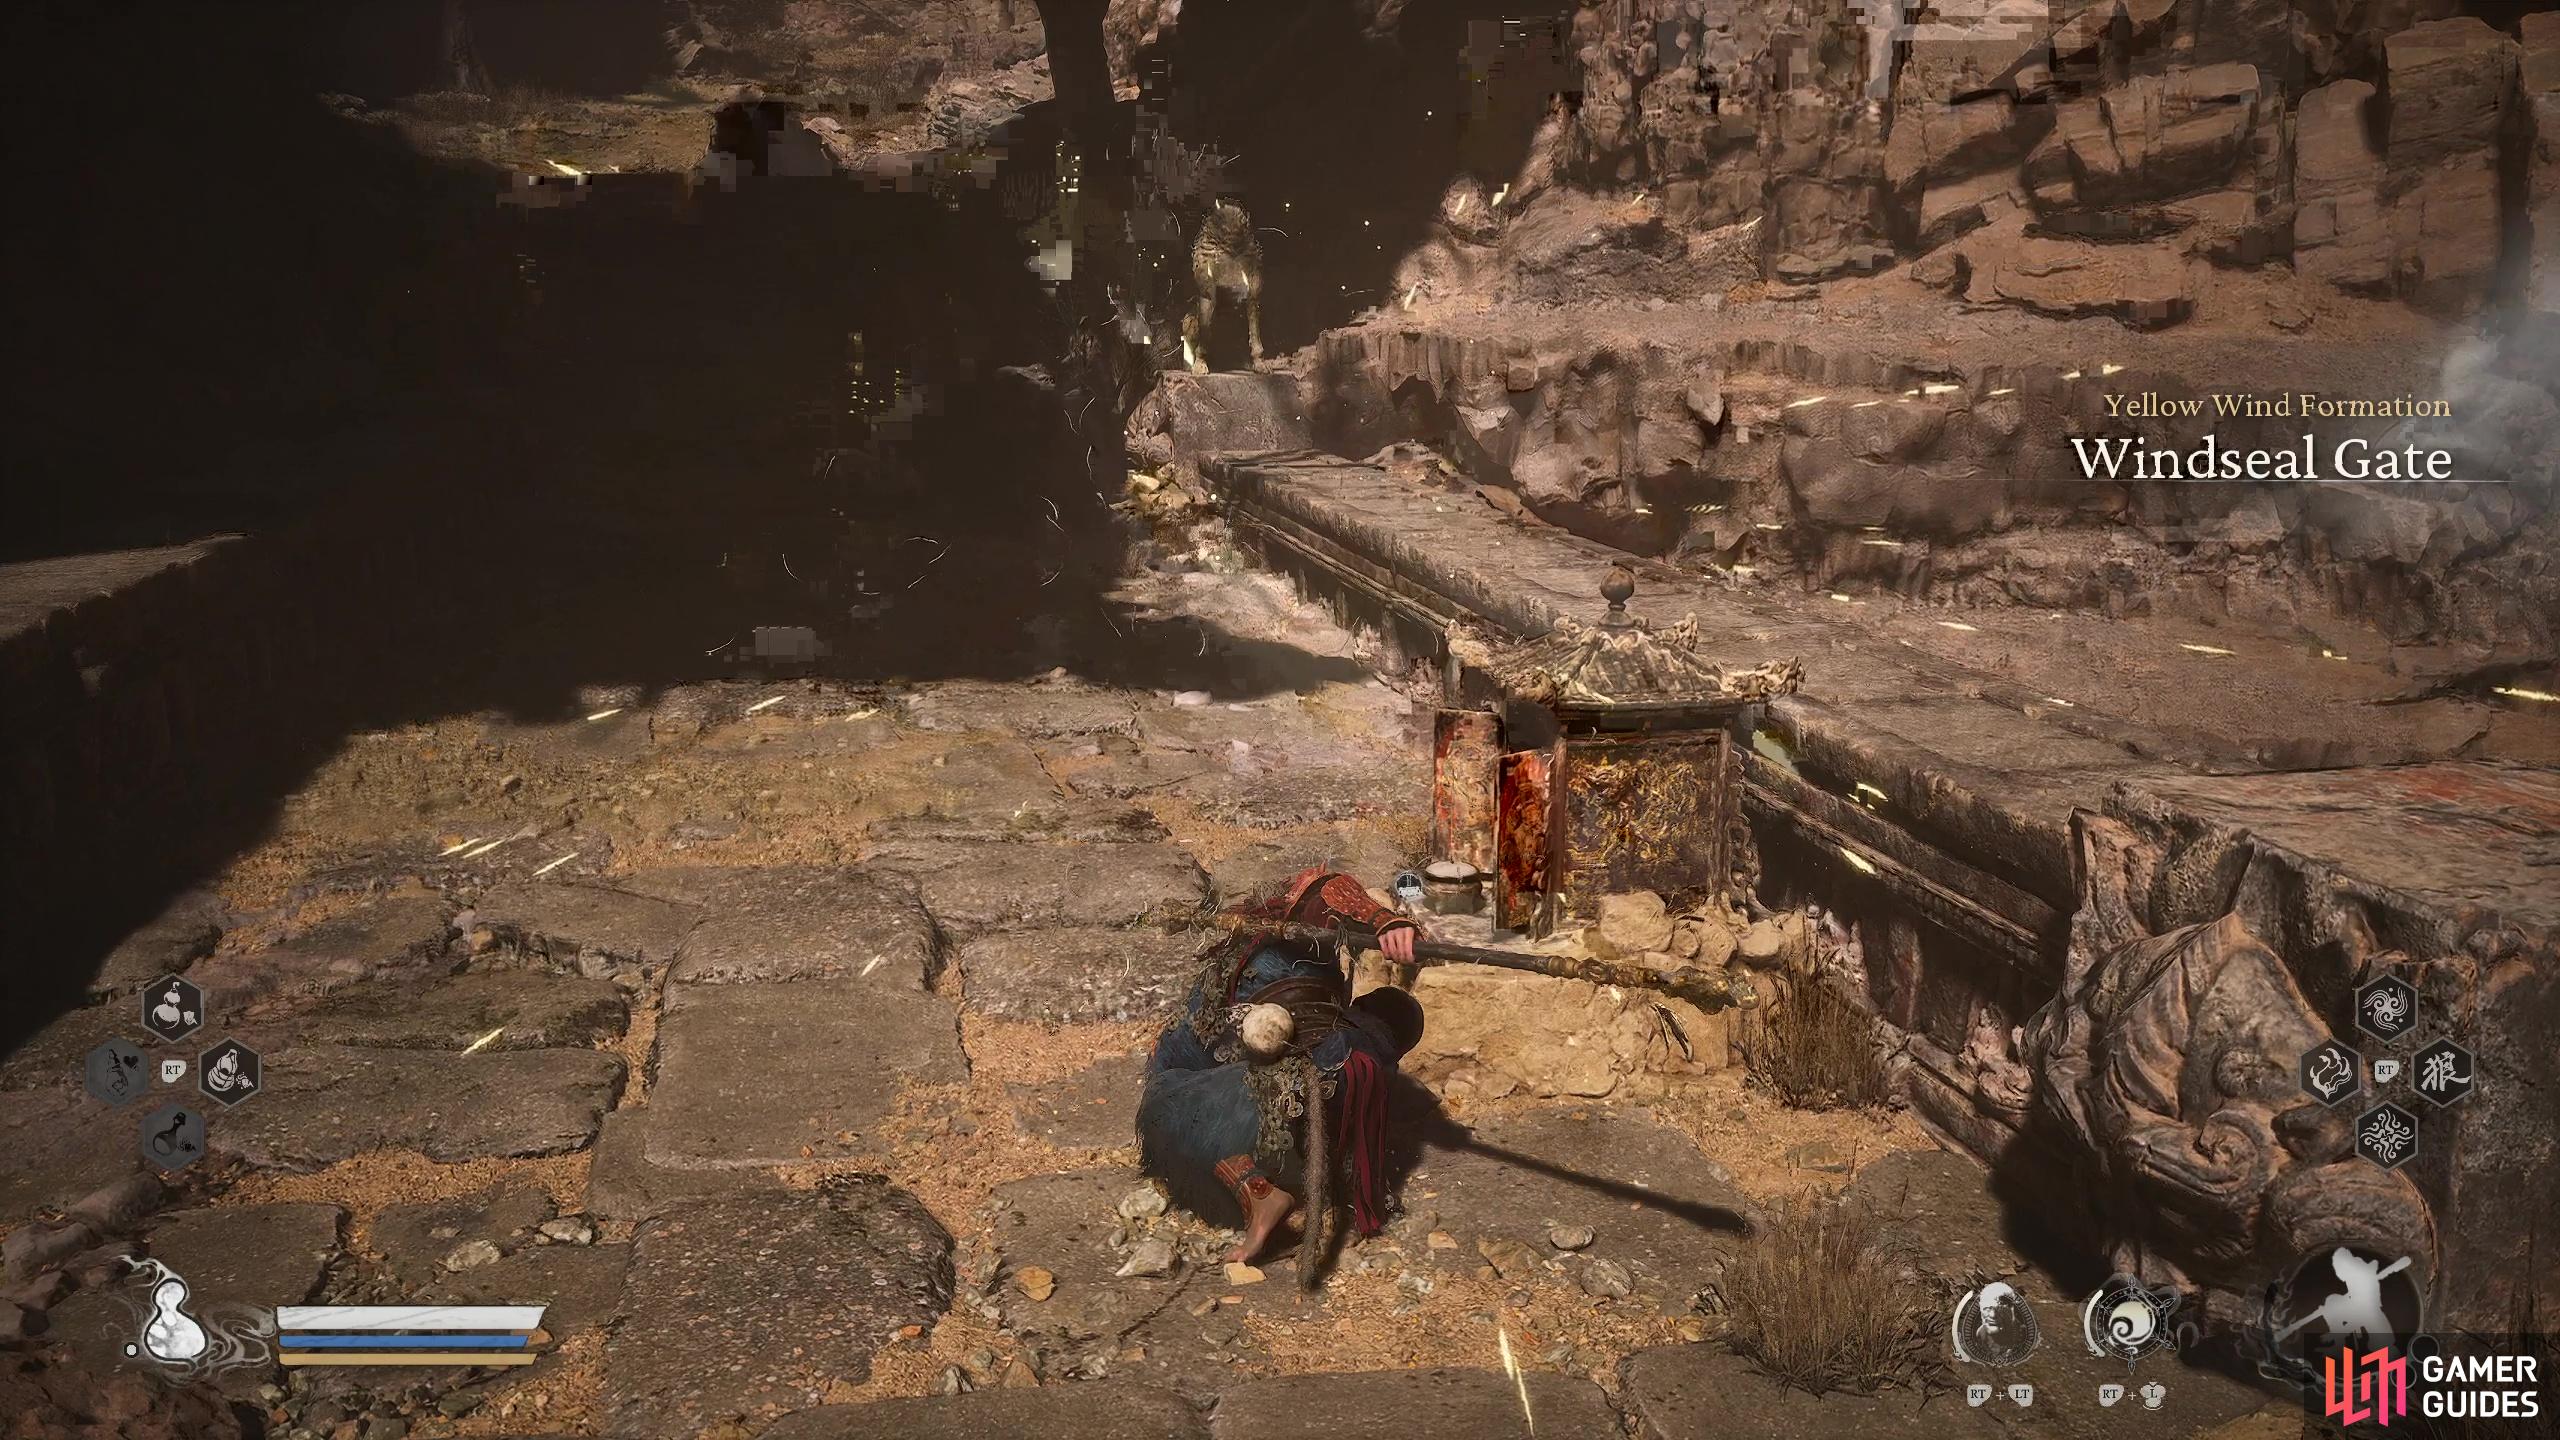

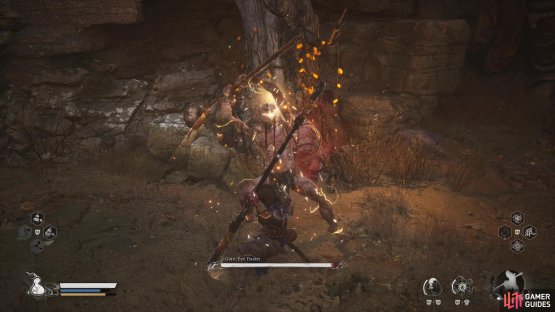
(1 of 2) Start at the Windseal Gate
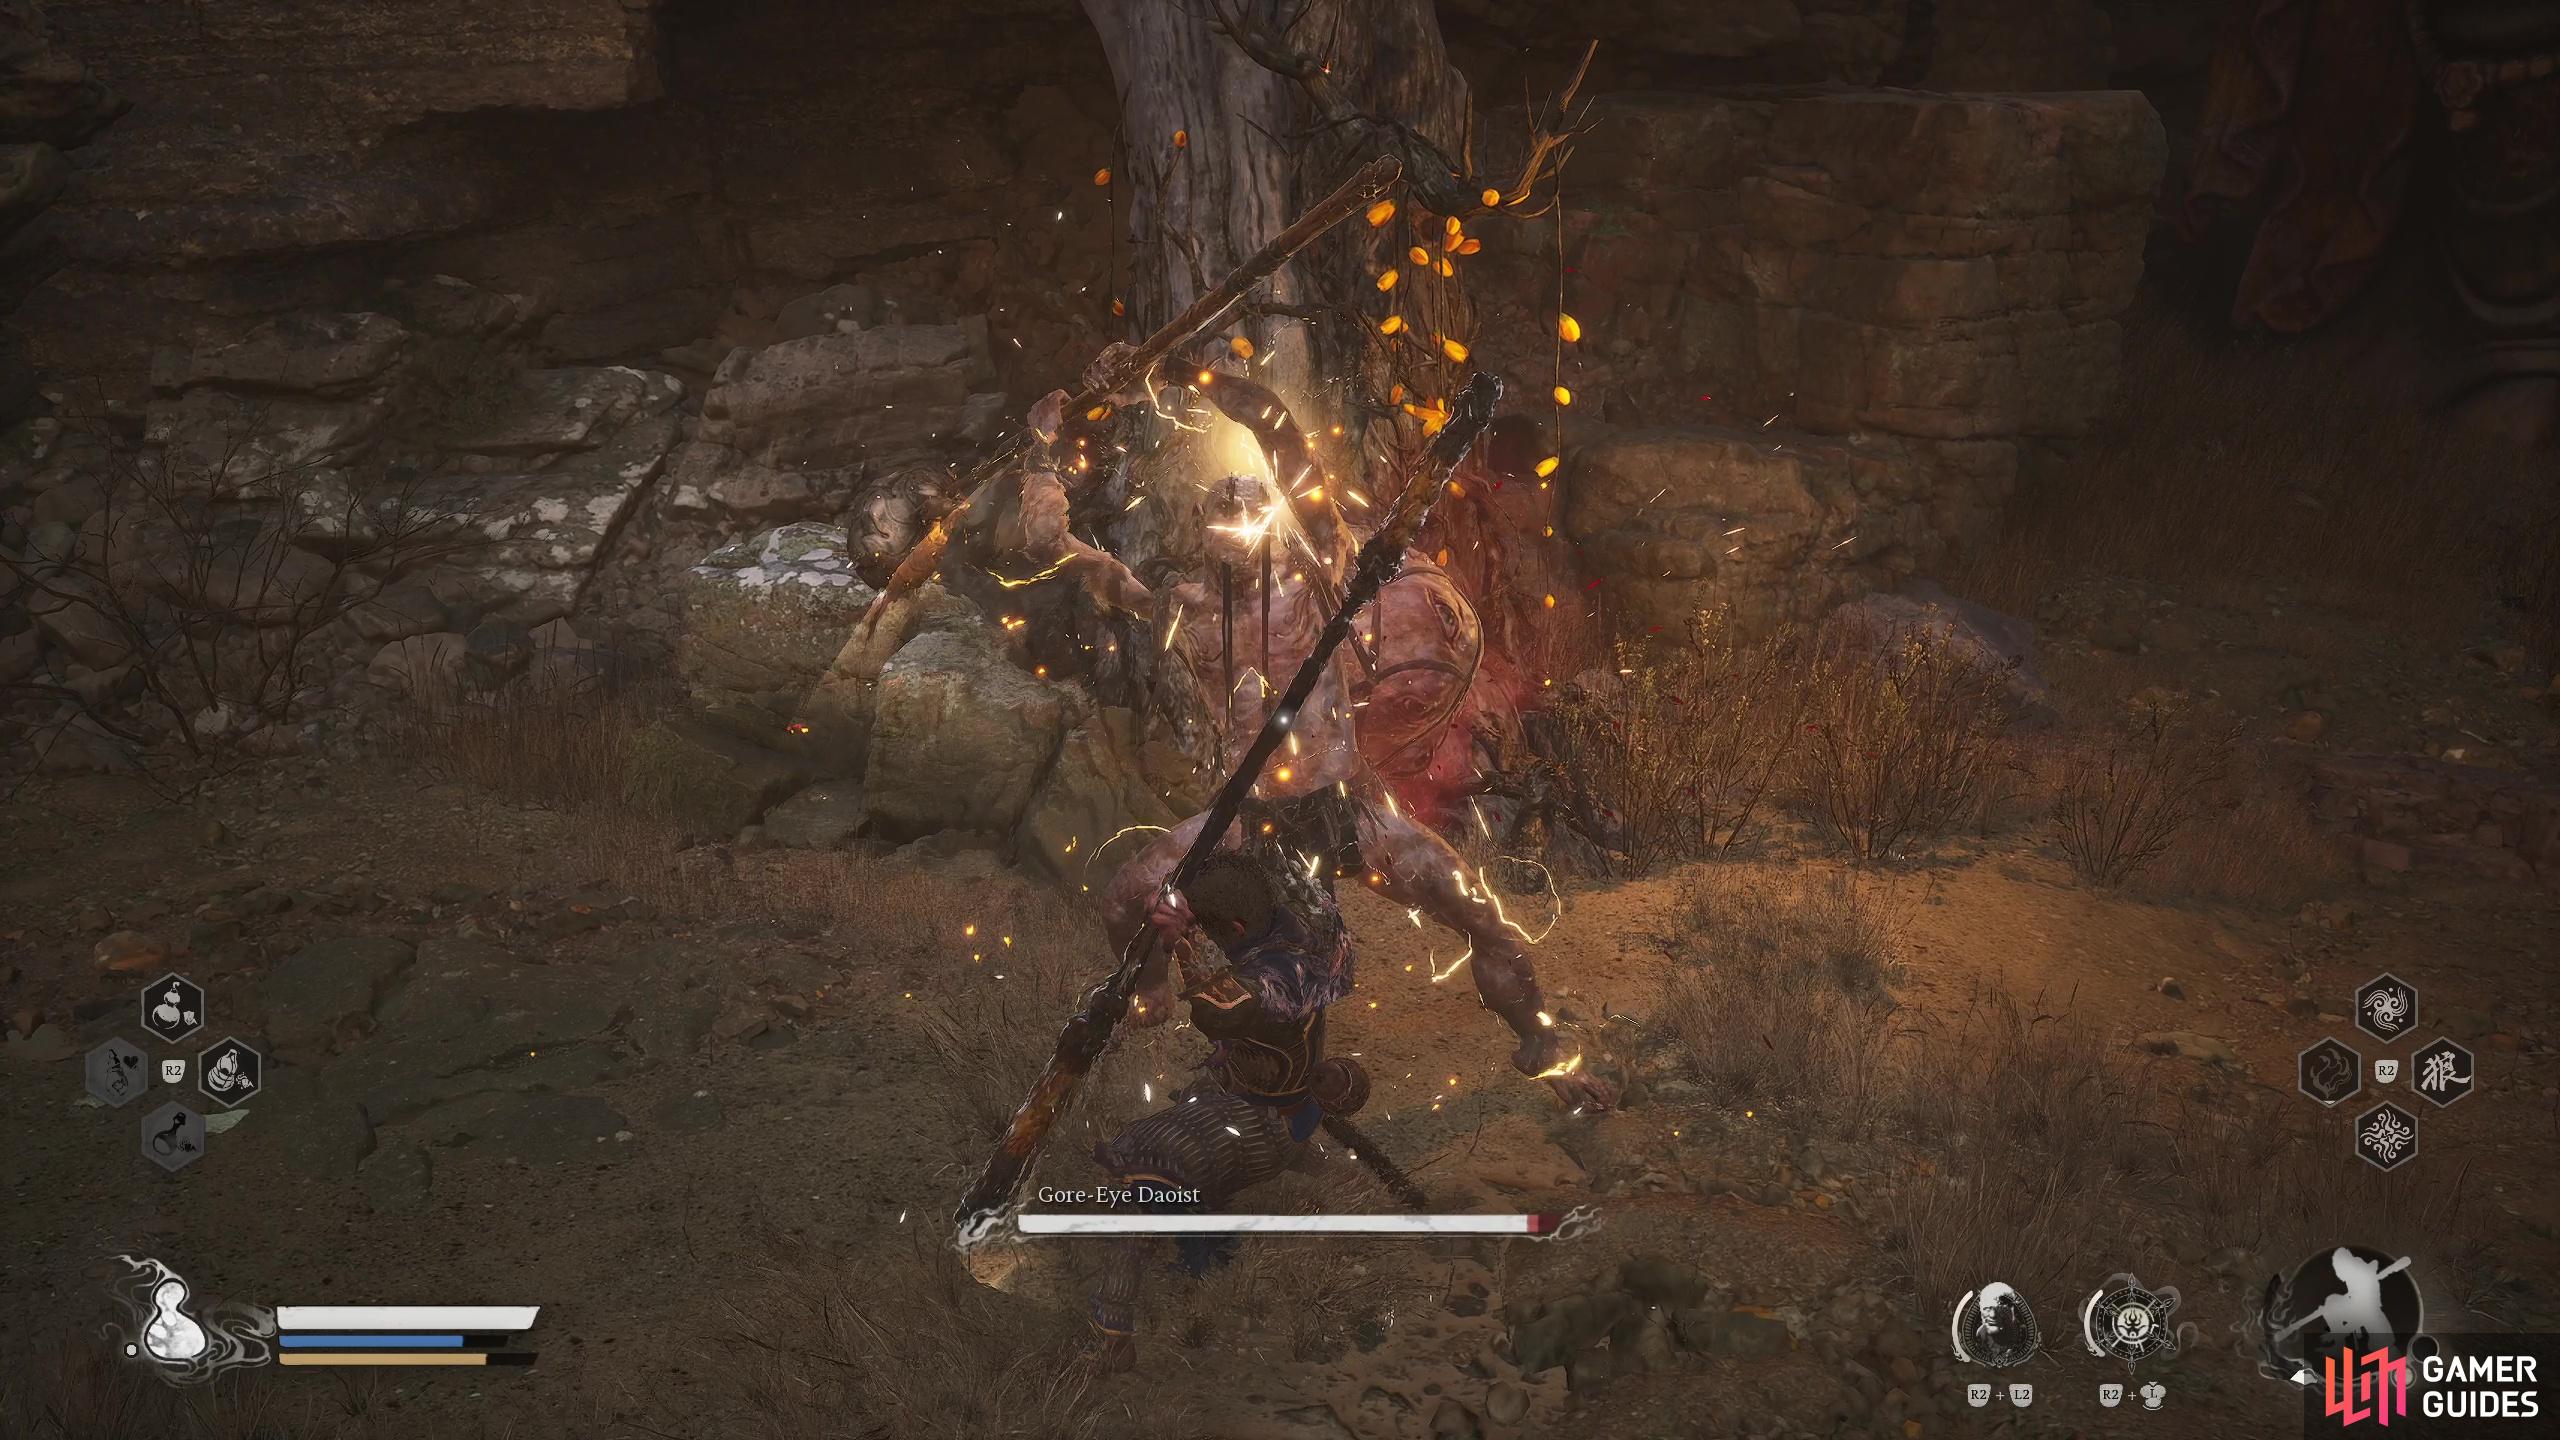
Start at the Windseal Gate (left), to find the Gore Eye Daoist (right)
The ![]() Gore-Eye Daoist can be found by starting at the Windseal Gate Shrine and heading up towards the tree in the nearby cave. Defeating this boss will reward you with the Gore-Eye Daoist Spirit.
Gore-Eye Daoist can be found by starting at the Windseal Gate Shrine and heading up towards the tree in the nearby cave. Defeating this boss will reward you with the Gore-Eye Daoist Spirit.
Yellow Wind Sage Boss Location


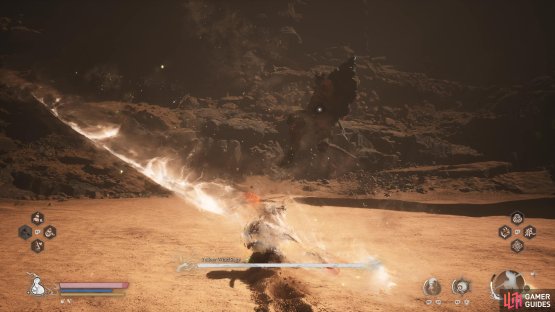
(1 of 2) Start at the Windseal Gate Shrine

Start at the Windseal Gate Shrine (left), to find the Yellow Wind Sage. (right)
The ![]() Yellow Wind Sage can be found by starting at the Windseal Gate Shrine and heading through the large double door. Defeating this boss will reward you with the
Yellow Wind Sage can be found by starting at the Windseal Gate Shrine and heading through the large double door. Defeating this boss will reward you with the ![]() Fuming Ears Relic. If you’re looking for some guidance on how to defeat this opponent, then check out our Yellow Wind Sage Boss Guide page.
Fuming Ears Relic. If you’re looking for some guidance on how to defeat this opponent, then check out our Yellow Wind Sage Boss Guide page.
Tiger Acolyte Boss Location

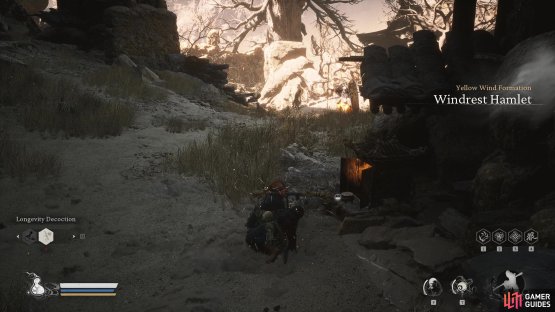
(1 of 2) Start at the Windrest Hamlet Shrine

Start at the Windrest Hamlet Shrine (left), to find the Tigers Acolyte (right)
The Tiger Acolyte can be found by starting at the Windrest Hamlet Shrine and heading across the bridge and down the slope. Defeating this boss will reward you with the ![]() Old Rattle-Drum.
Old Rattle-Drum.
Mad Tiger Boss Location
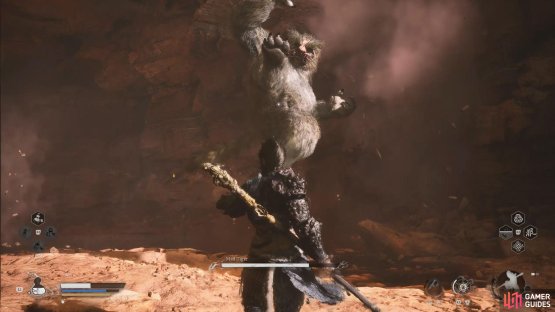
(1 of 2) Start at the Village Entrance Shrine
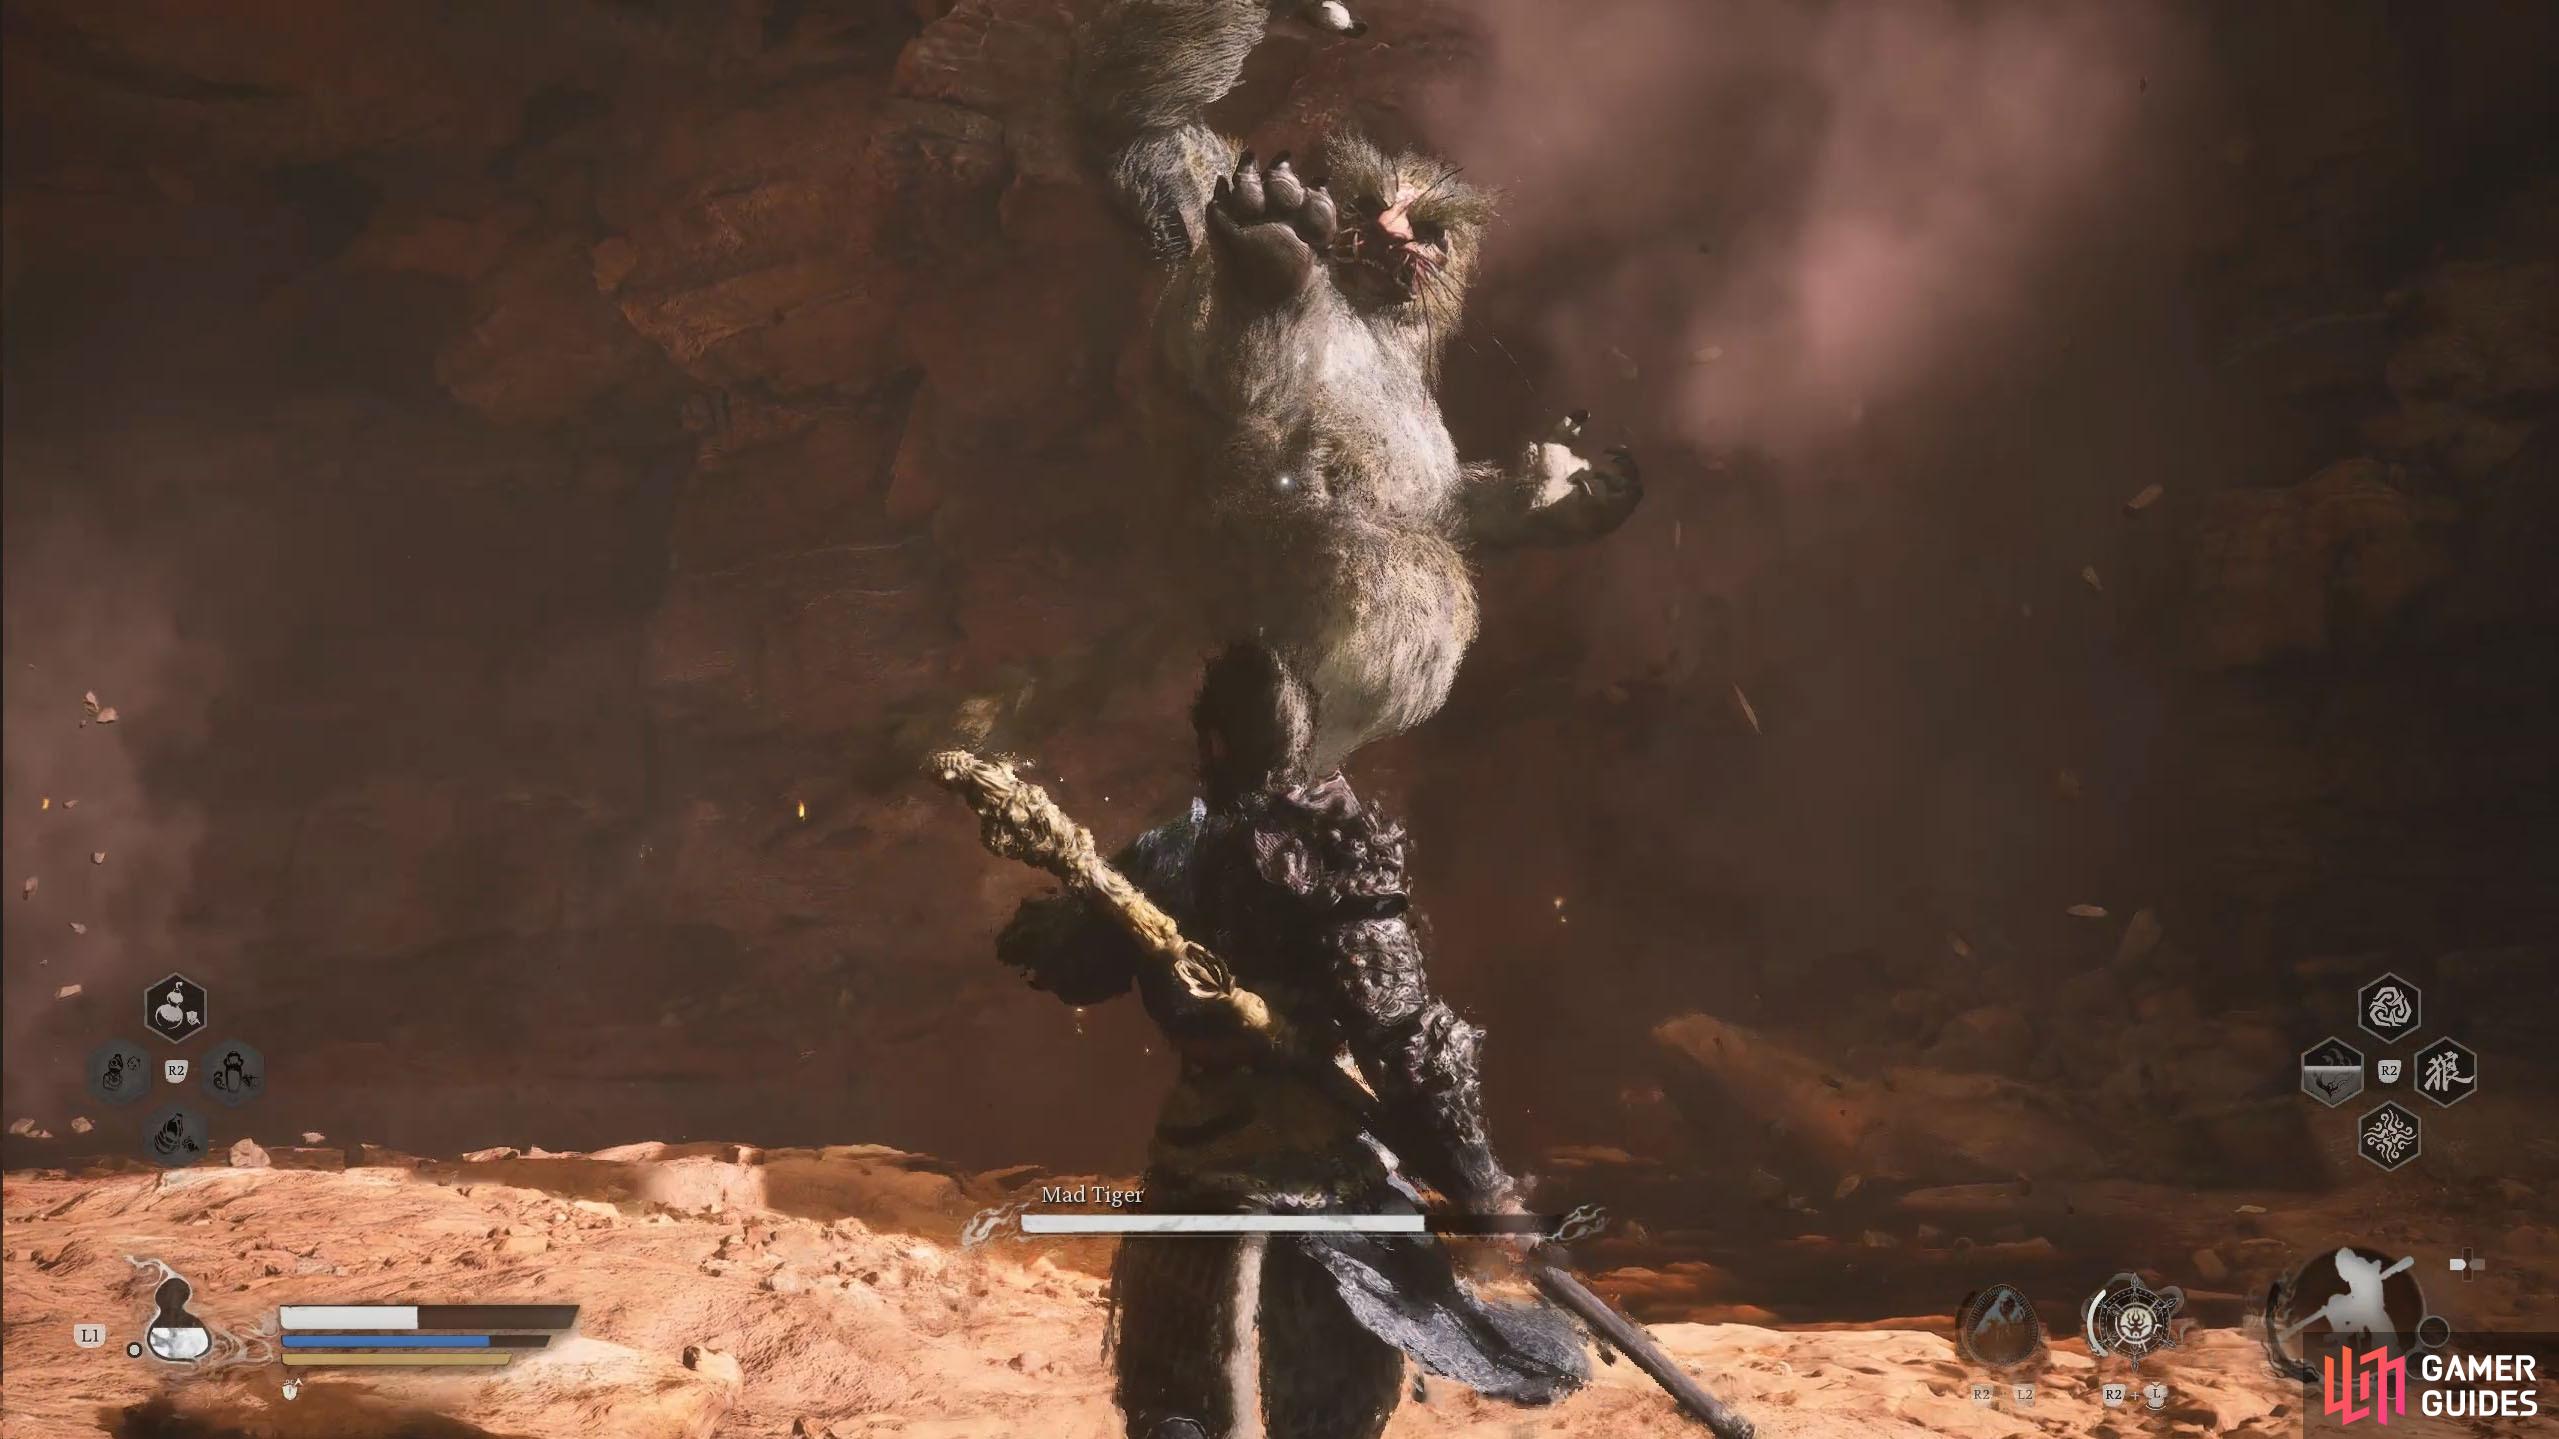
Start at the Village Entrance Shrine (left), to find the Mad Tiger (right)
Once you’ve used Old Rattle-Drum at Windseal Gate and Windseal Hamlet, then the ![]() Mad Tiger can be found by starting at the Village Entrance Shrine and head through the double door and work your way around to the left. Defeating this boss will reward you with the Mad Tiger Spirit.
Mad Tiger can be found by starting at the Village Entrance Shrine and head through the double door and work your way around to the left. Defeating this boss will reward you with the Mad Tiger Spirit.
Black Loong Boss Location


(1 of 2) Start at the Rockrest Flat Shrine
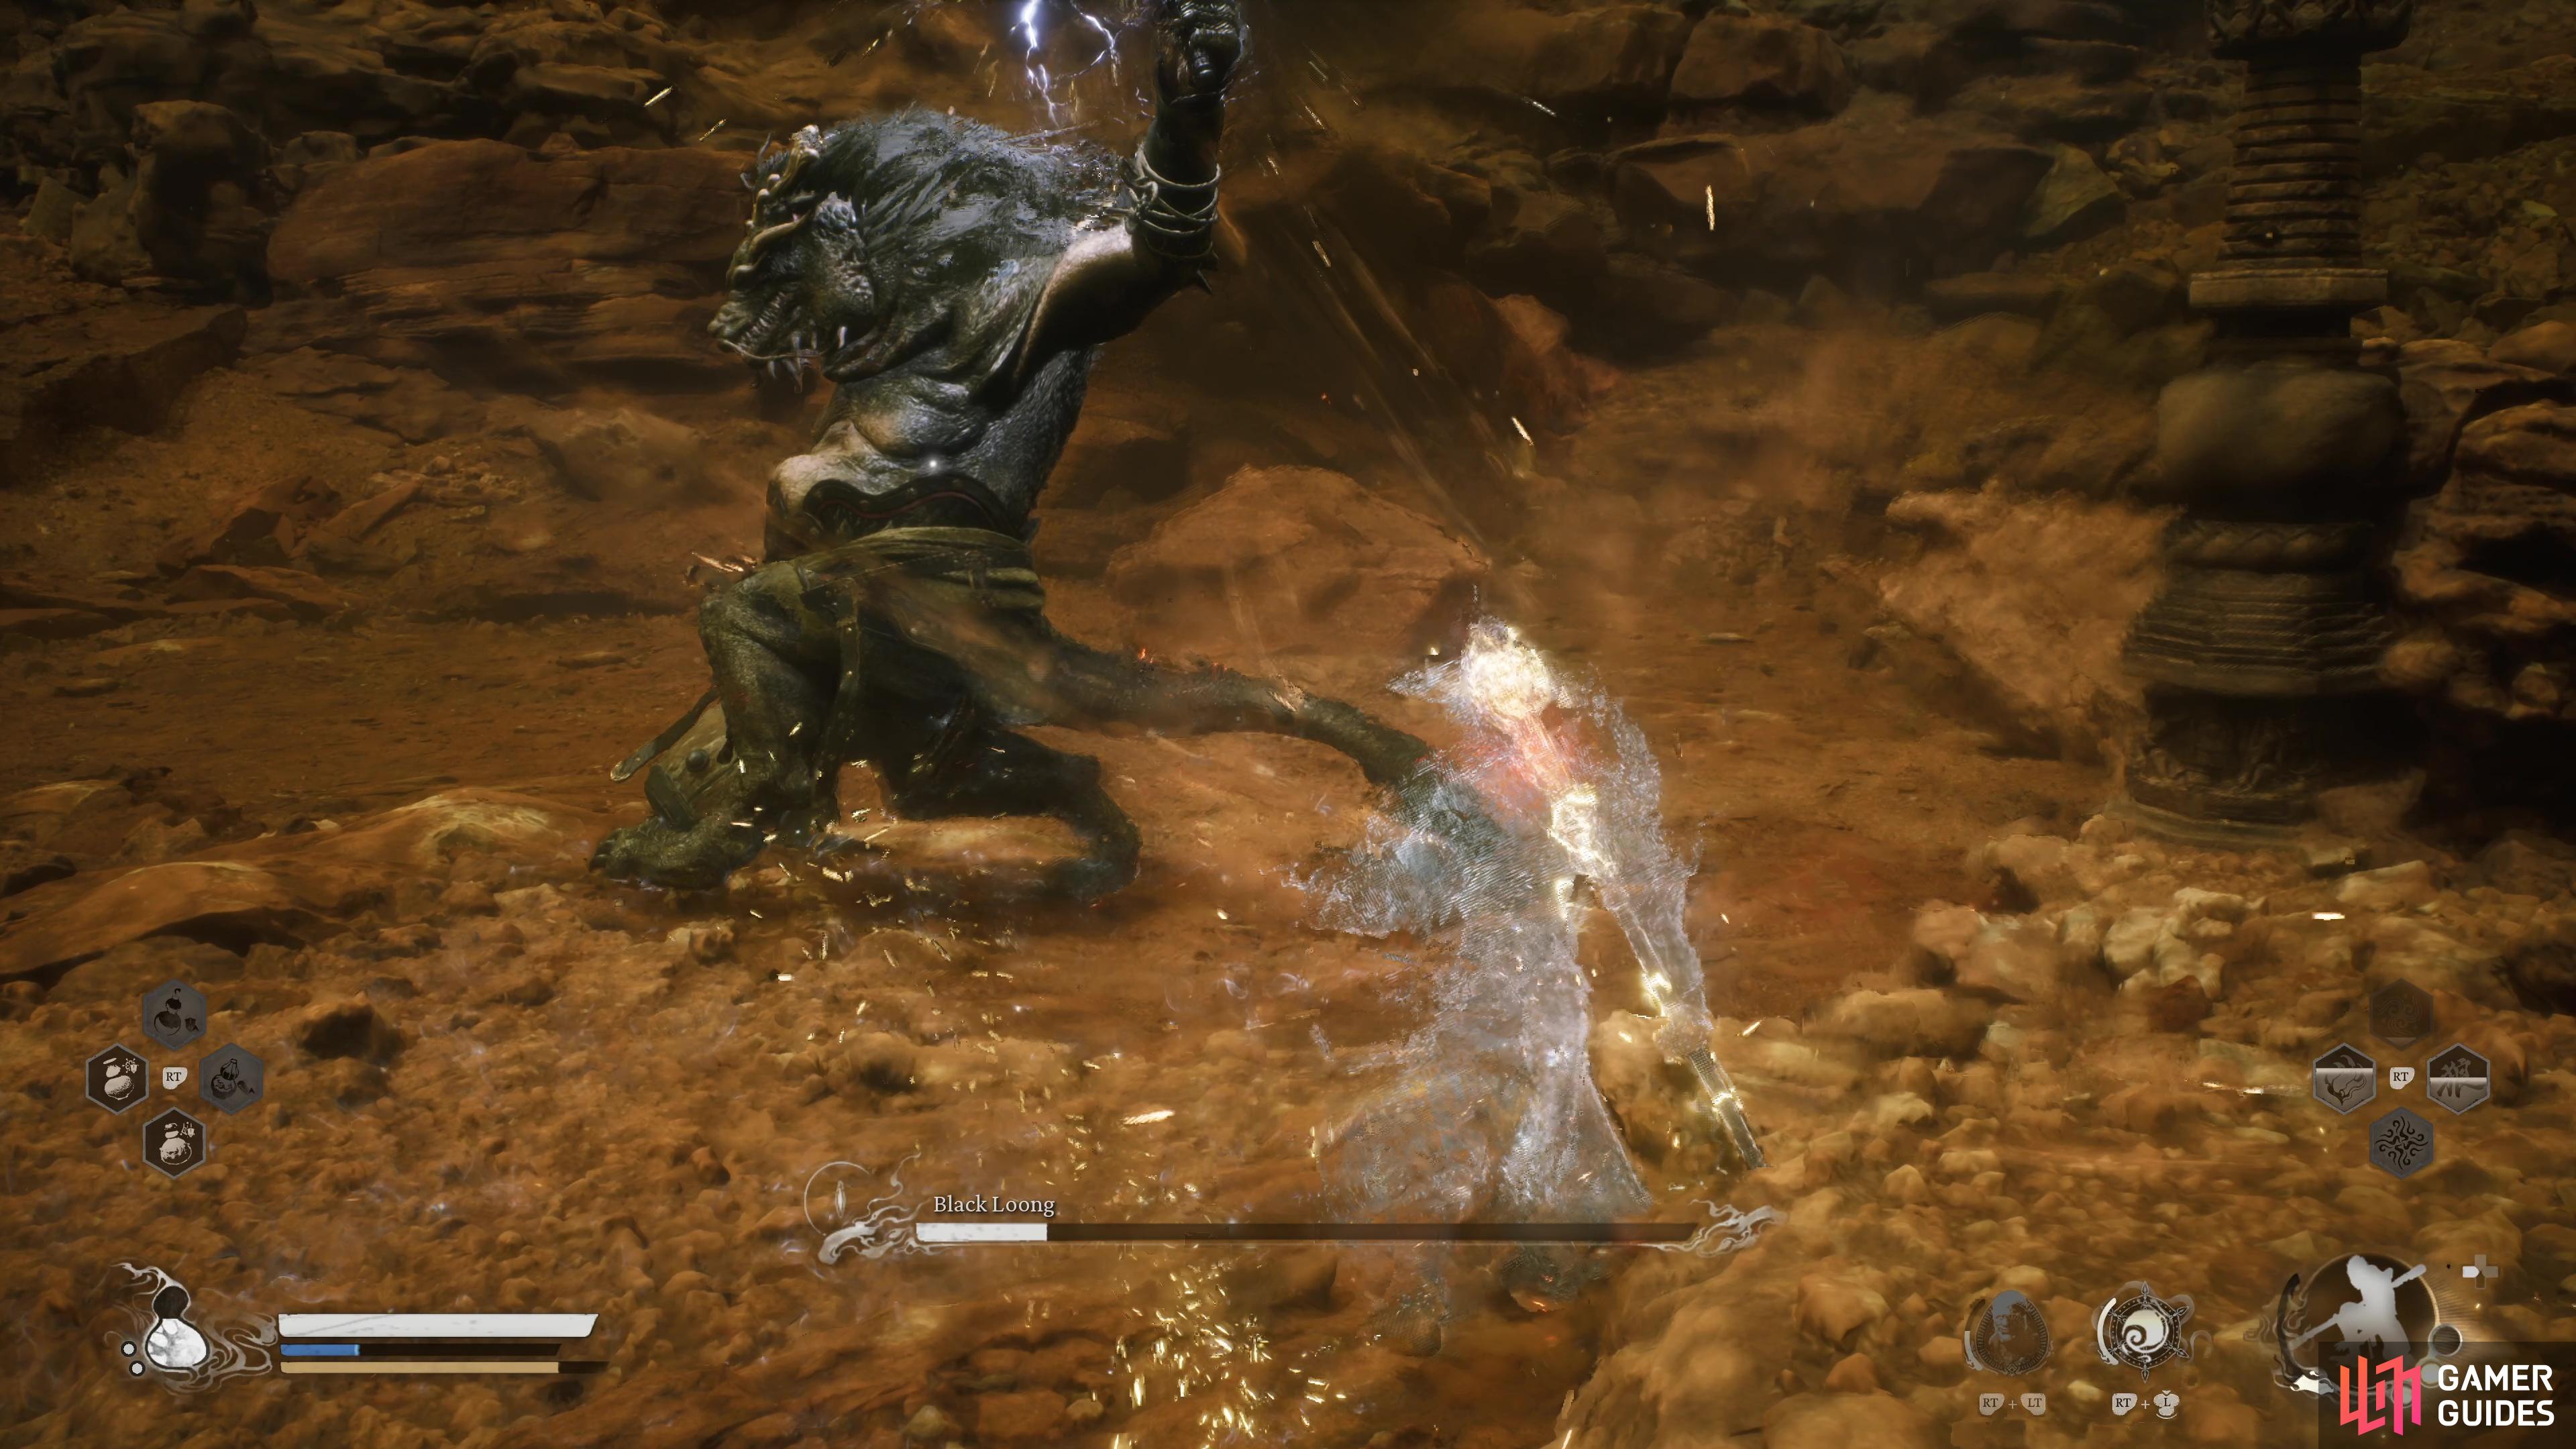
Start at the Rockrest Flat Shrine (left), to find Black Loong (right)
Once you’ve obtained the ![]() Loong Scales which is found by breaking a wall with the
Loong Scales which is found by breaking a wall with the ![]() Wandering Wight Spirit in the cave where you fought the First Prince of the Flowing Sands, defeat Red Loong who can be found in a waterfall in the chapter 1 area, then head to the Rockrest Flat Shrine and walk up the stairs to your right to face
Wandering Wight Spirit in the cave where you fought the First Prince of the Flowing Sands, defeat Red Loong who can be found in a waterfall in the chapter 1 area, then head to the Rockrest Flat Shrine and walk up the stairs to your right to face ![]() Black Loong.
Black Loong.
“Tiger Vanguard” Boss Location

(1 of 2) Head to the Kingdom of Sahali

Head to the Kingdom of Sahali (left), to find the “Tiger Vanguard” (right)
The “Tiger Vanguard” can be found once you enter the Secret: Kingdom of Sahali which is accessible after defeating the Yellow-Robed Squire. Defeating this boss will reward you with the ![]() Tiger Tally Curio.
Tiger Tally Curio.
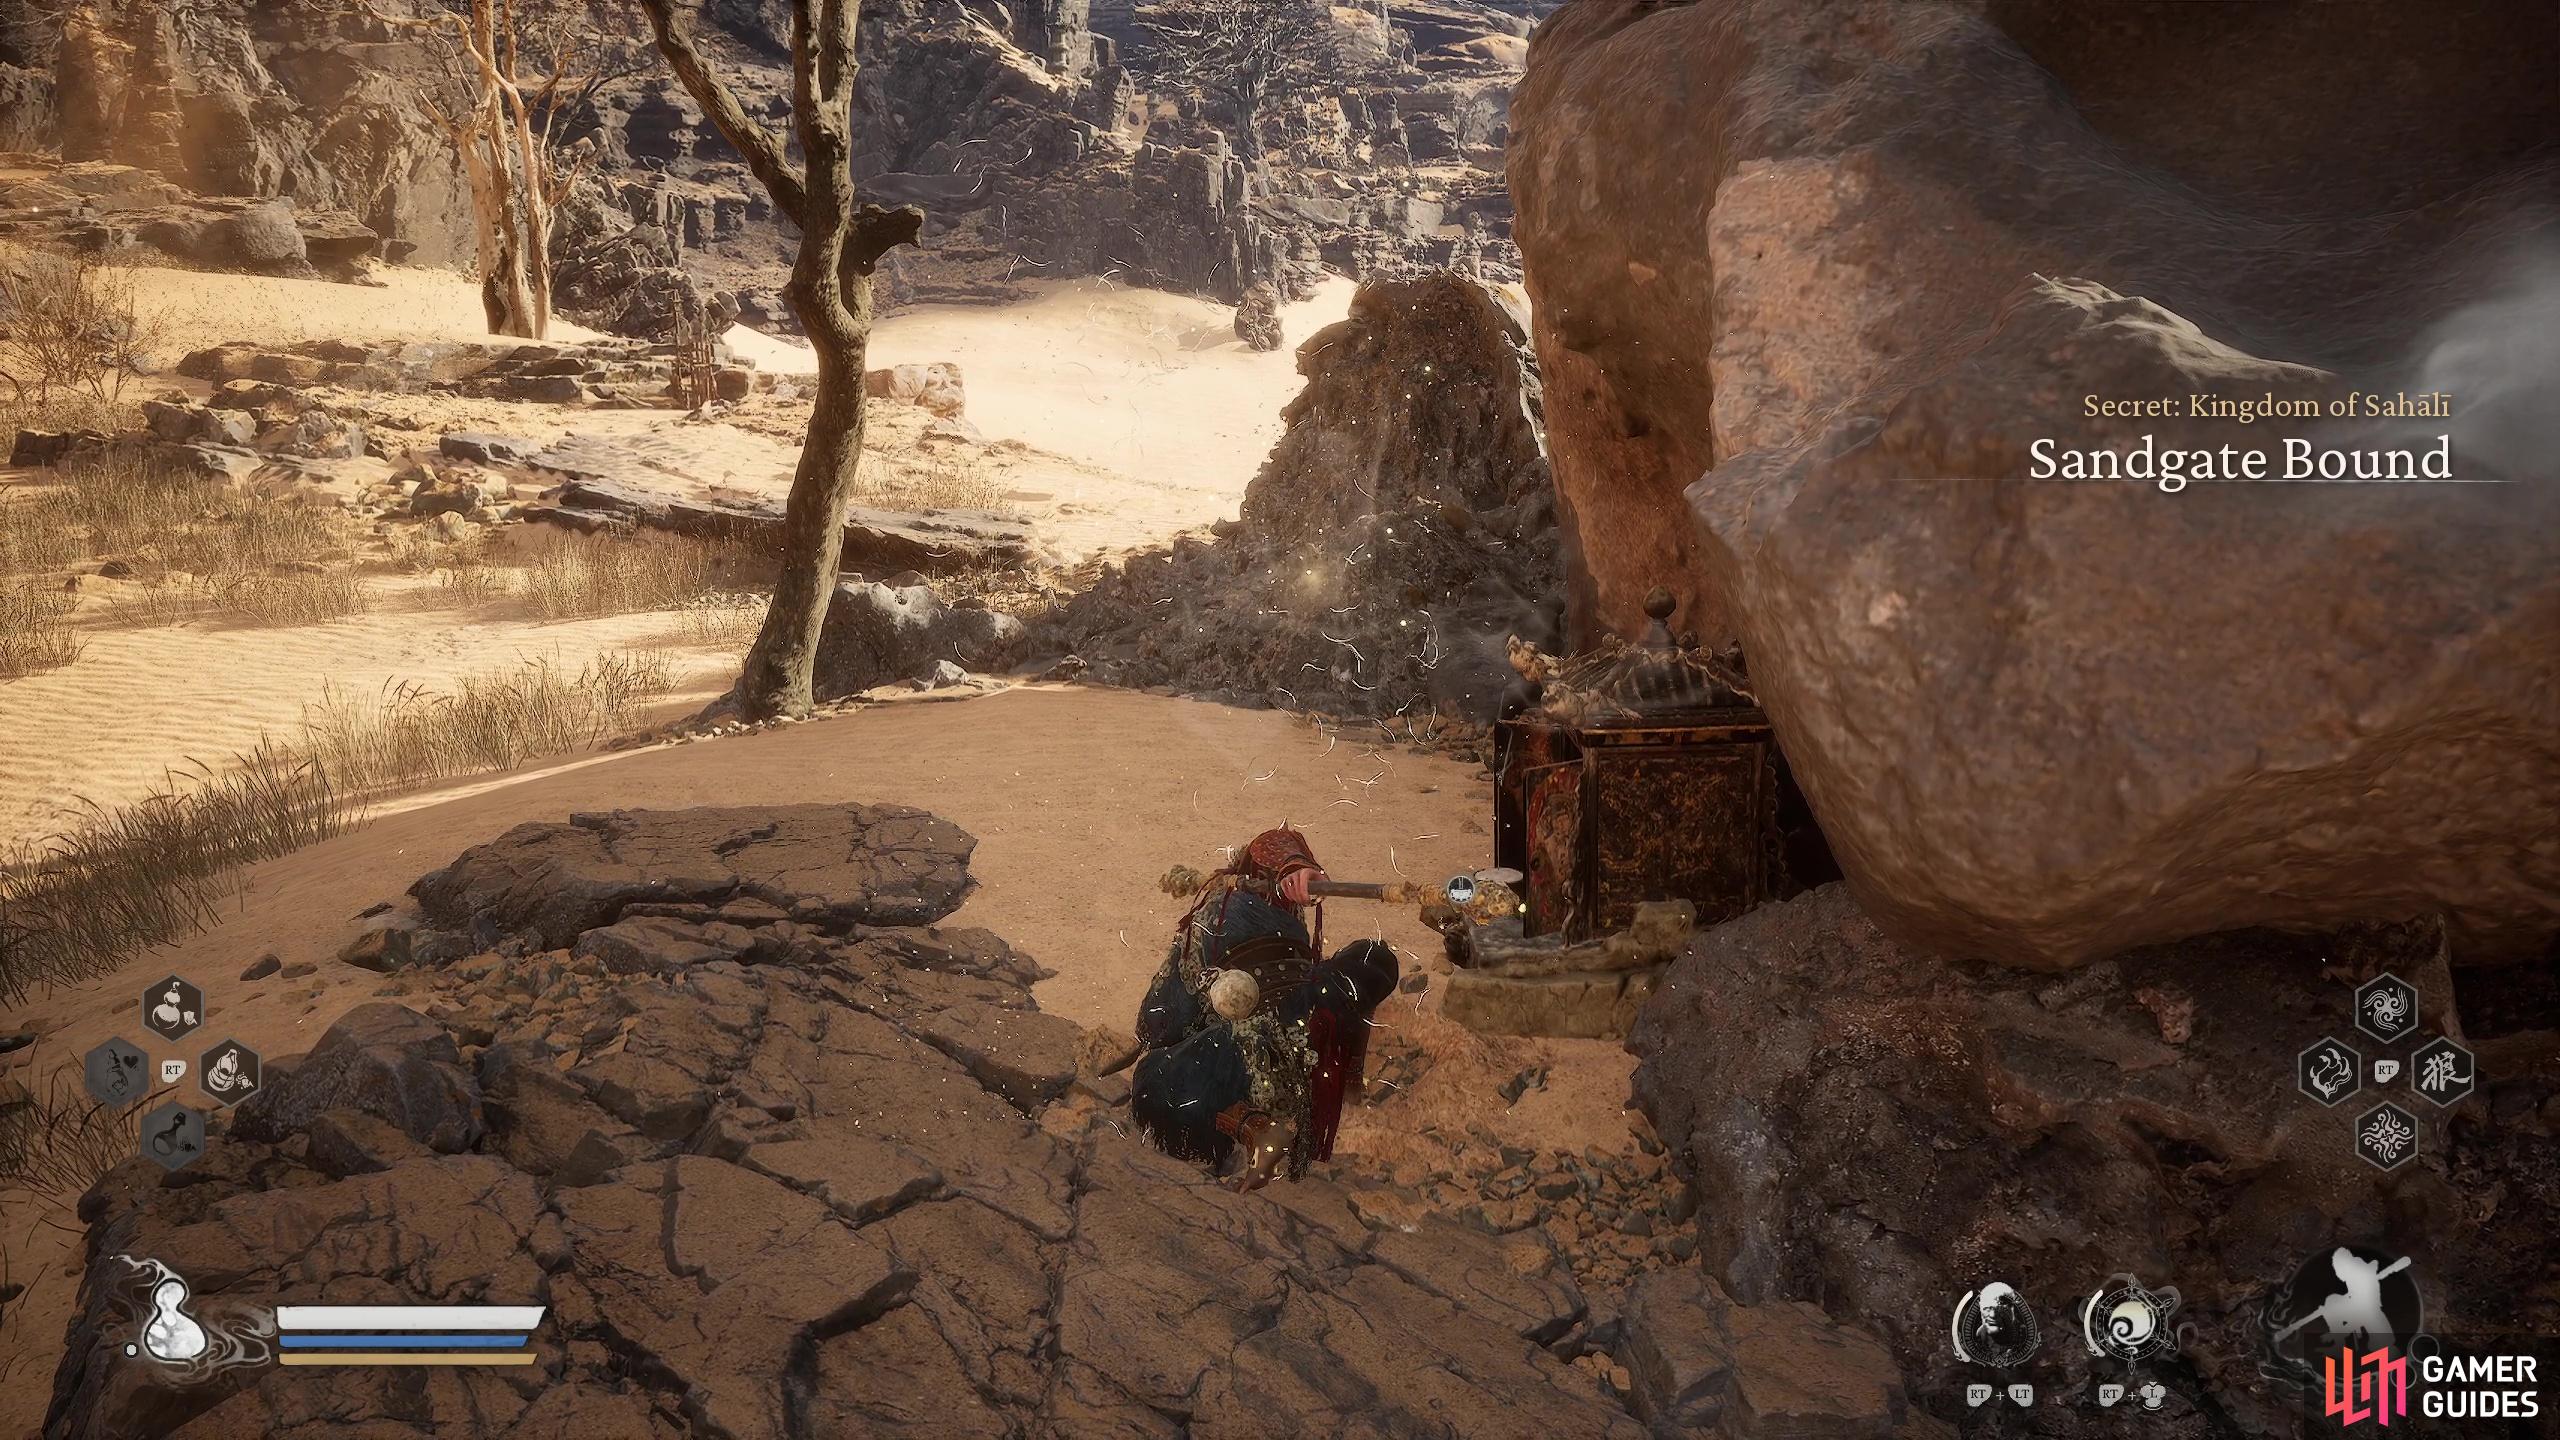
Fuban Boss Location


(1 of 2) Head to the Kingdom of Sahali

Head to the Kingdom of Sahali (left), to find the Fuban boss. (right)
![]() Fuban can be found in the large open area of the Kingdom of Sahali which is accessible after defeating the Yellow-Robed Squire. Defeating this boss will reward you with the
Fuban can be found in the large open area of the Kingdom of Sahali which is accessible after defeating the Yellow-Robed Squire. Defeating this boss will reward you with the ![]() Wind Tamer Vessel which is a useful item for the Yellow Wind Sage boss fight.
Wind Tamer Vessel which is a useful item for the Yellow Wind Sage boss fight.
No Comments