
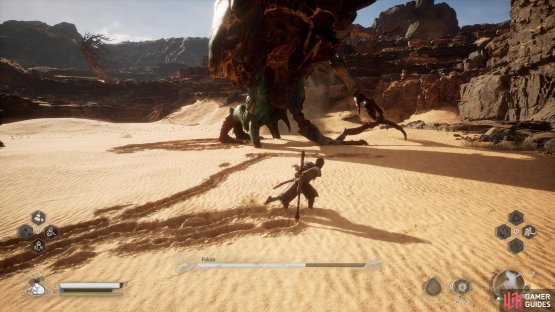
Despite the many bosses you’ll encounter during your journey in Black Myth: Wukong, the ones you face at the end of each chapter are usually the toughest, requiring you to put all of the skills you’ve learned to use. You’ll encounter the ![]() Yellow Wind Sage at the far edge of the Yellow Wind Formation. Learn how to take down this fearsome foe and how you can make it easier for yourself.
Yellow Wind Sage at the far edge of the Yellow Wind Formation. Learn how to take down this fearsome foe and how you can make it easier for yourself.

The Yellow Wind Sage is the final boss of Chapter 2.
Table of Contents
If you want to jump straight to our strategy, or perhaps see what rewards you get for beating the Yellow Wind Sage, check out the following table:
| Quick Search |
|---|
| Yellow Wind Sage Location |
| Boss Strategy |
| Rewards |
Yellow Wind Sage Location
As the Yellow Wind Sage is the final boss of Chapter 2, you won’t be able to avoid fighting him. It is worth noting, however, that Chapter 2 is far larger than the first and as such, what state you reach the Yellow Wind Sage in may vary greatly from player to player. It goes without saying, but if you only tackle the mandatory bosses and content on the way to him, you’re going to have a much harder time.
Before you can reach the Yellow Wind Sage’s location, you’ll need to head through Sandgate Village and take out the King of Flowing Sands and his Son. At this point, you’re presented with two directions to go from the nearby Shrine, to the left into a cave, or over the bridge to the right and Fright Cliff. You’ll have to cover both routes eventually, as the key items you need to open the door is dropped from the ![]() Tiger Vanguard and
Tiger Vanguard and ![]() Stone Vanguard, found at the end of each path.
Stone Vanguard, found at the end of each path.
Once you’re done with that, you can access the path to the Yellow Wind Sage by either opening the door at Yellow Wind Formation - Windseal Gate or by taking the back path by going into the Crouch Tiger Temple and sliding down the slope near the Cellar Shrine. Before you head off to fight the Yellow Wind Sage though, consider the preparations below.
Preparation
The Yellow Wind Sage is already a tough battle, but if you complete the majority of the optional content in Chapter 2, you’ll obtain a Vessel that makes life a lot easier. You’ll need to take the following steps to acquire this Vessel:
-
Encounter the Drunken Pig near Rockrest Cliff and he’ll ask you for something to sober him up.
-
Complete the Man-in-Stone Quest and purchase said item from him, then take it back to learn the Drunken Pig is hungry.
-
Find him to the right of the boss arena of Crouching Tiger Temple and give him a Fragrant
 Jade Lotus (you can find one to the right at the back of the temple grounds).
 -
Return to where you first found him and defeat him, then follow him to reach a door that grants you access to the Secret Area for this Chapter.

(1 of 2) Complete the Drunk Pig Quest to reach the secret area where you will battle Fuban.

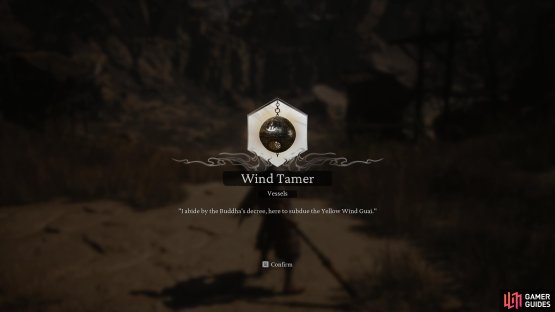
Complete the Drunk Pig Quest to reach the secret area where you will battle Fuban. (left), You’ll get the Wind Tamer Vessel upon his death that will make the Yellow Wind Sage much easier. (right)
Once you defeat the boss of this area, you’ll obtain the ![]() Wind Tamer Vessel, this will knock the Yellow Wind Sage out of his wind-based phase and stun him for a while when used!
Wind Tamer Vessel, this will knock the Yellow Wind Sage out of his wind-based phase and stun him for a while when used!
Yellow Wind Sage Boss Strategy
The Yellow Wind Sage is a massive enemy that is both agile and powerful, so be ready for him to close the distance at a moment’s notice. The good news is, he only has one HP gauge, so you won’t need to worry about wasting your resources.
The Yellow Wind Sage has plenty of abilities up his sleeve though and you can find out all about them below:
Shockwave Slash
The Yellow Wind Sage often starts the battle with this attack, and will shoot a shockwave toward you, followed by leaping over and slashing at you. The Shockwave is easy to avoid, but be ready to dodge to the side to avoid the leaping slash that follows.
Trident Combo
The Yellow Wind Sage will perform a four-hit combo with his Trident, starting with a spinning slash, followed by two regular strikes, and finishing with a slam. If you dodge backward out of the first spinning slash, you can then keep backpedaling (provided you’re not up against the wall) to avoid the rest of the combo. The slam will deal the most damage out of all of the hits of this combo.


(1 of 2) Get ready for a leaping slash following this shockwave.
Get ready for a leaping slash following this shockwave. (left), The thrust at the end of the Trident Combo is the part to watch out for. (right)
Stab
The Yellow Wind Sage will charge his Trident and then stab it into the ground, this will deal major damage should it hit you, this will also shoot out mini Tridents in a line in front of him. Fortunately, this is rather simple to avoid as you have time to prepare as he charges the attack.
Stomp
When up close, the Yellow Wind Sage will attempt to Stomp on you with either leg, simply dodge to either side to avoid this attack.


(1 of 2) Look for the charged Trident to know when the Stab attack is coming.

Look for the charged Trident to know when the Stab attack is coming. (left), Simply dodge to either side to avoid the Stomp. (right)
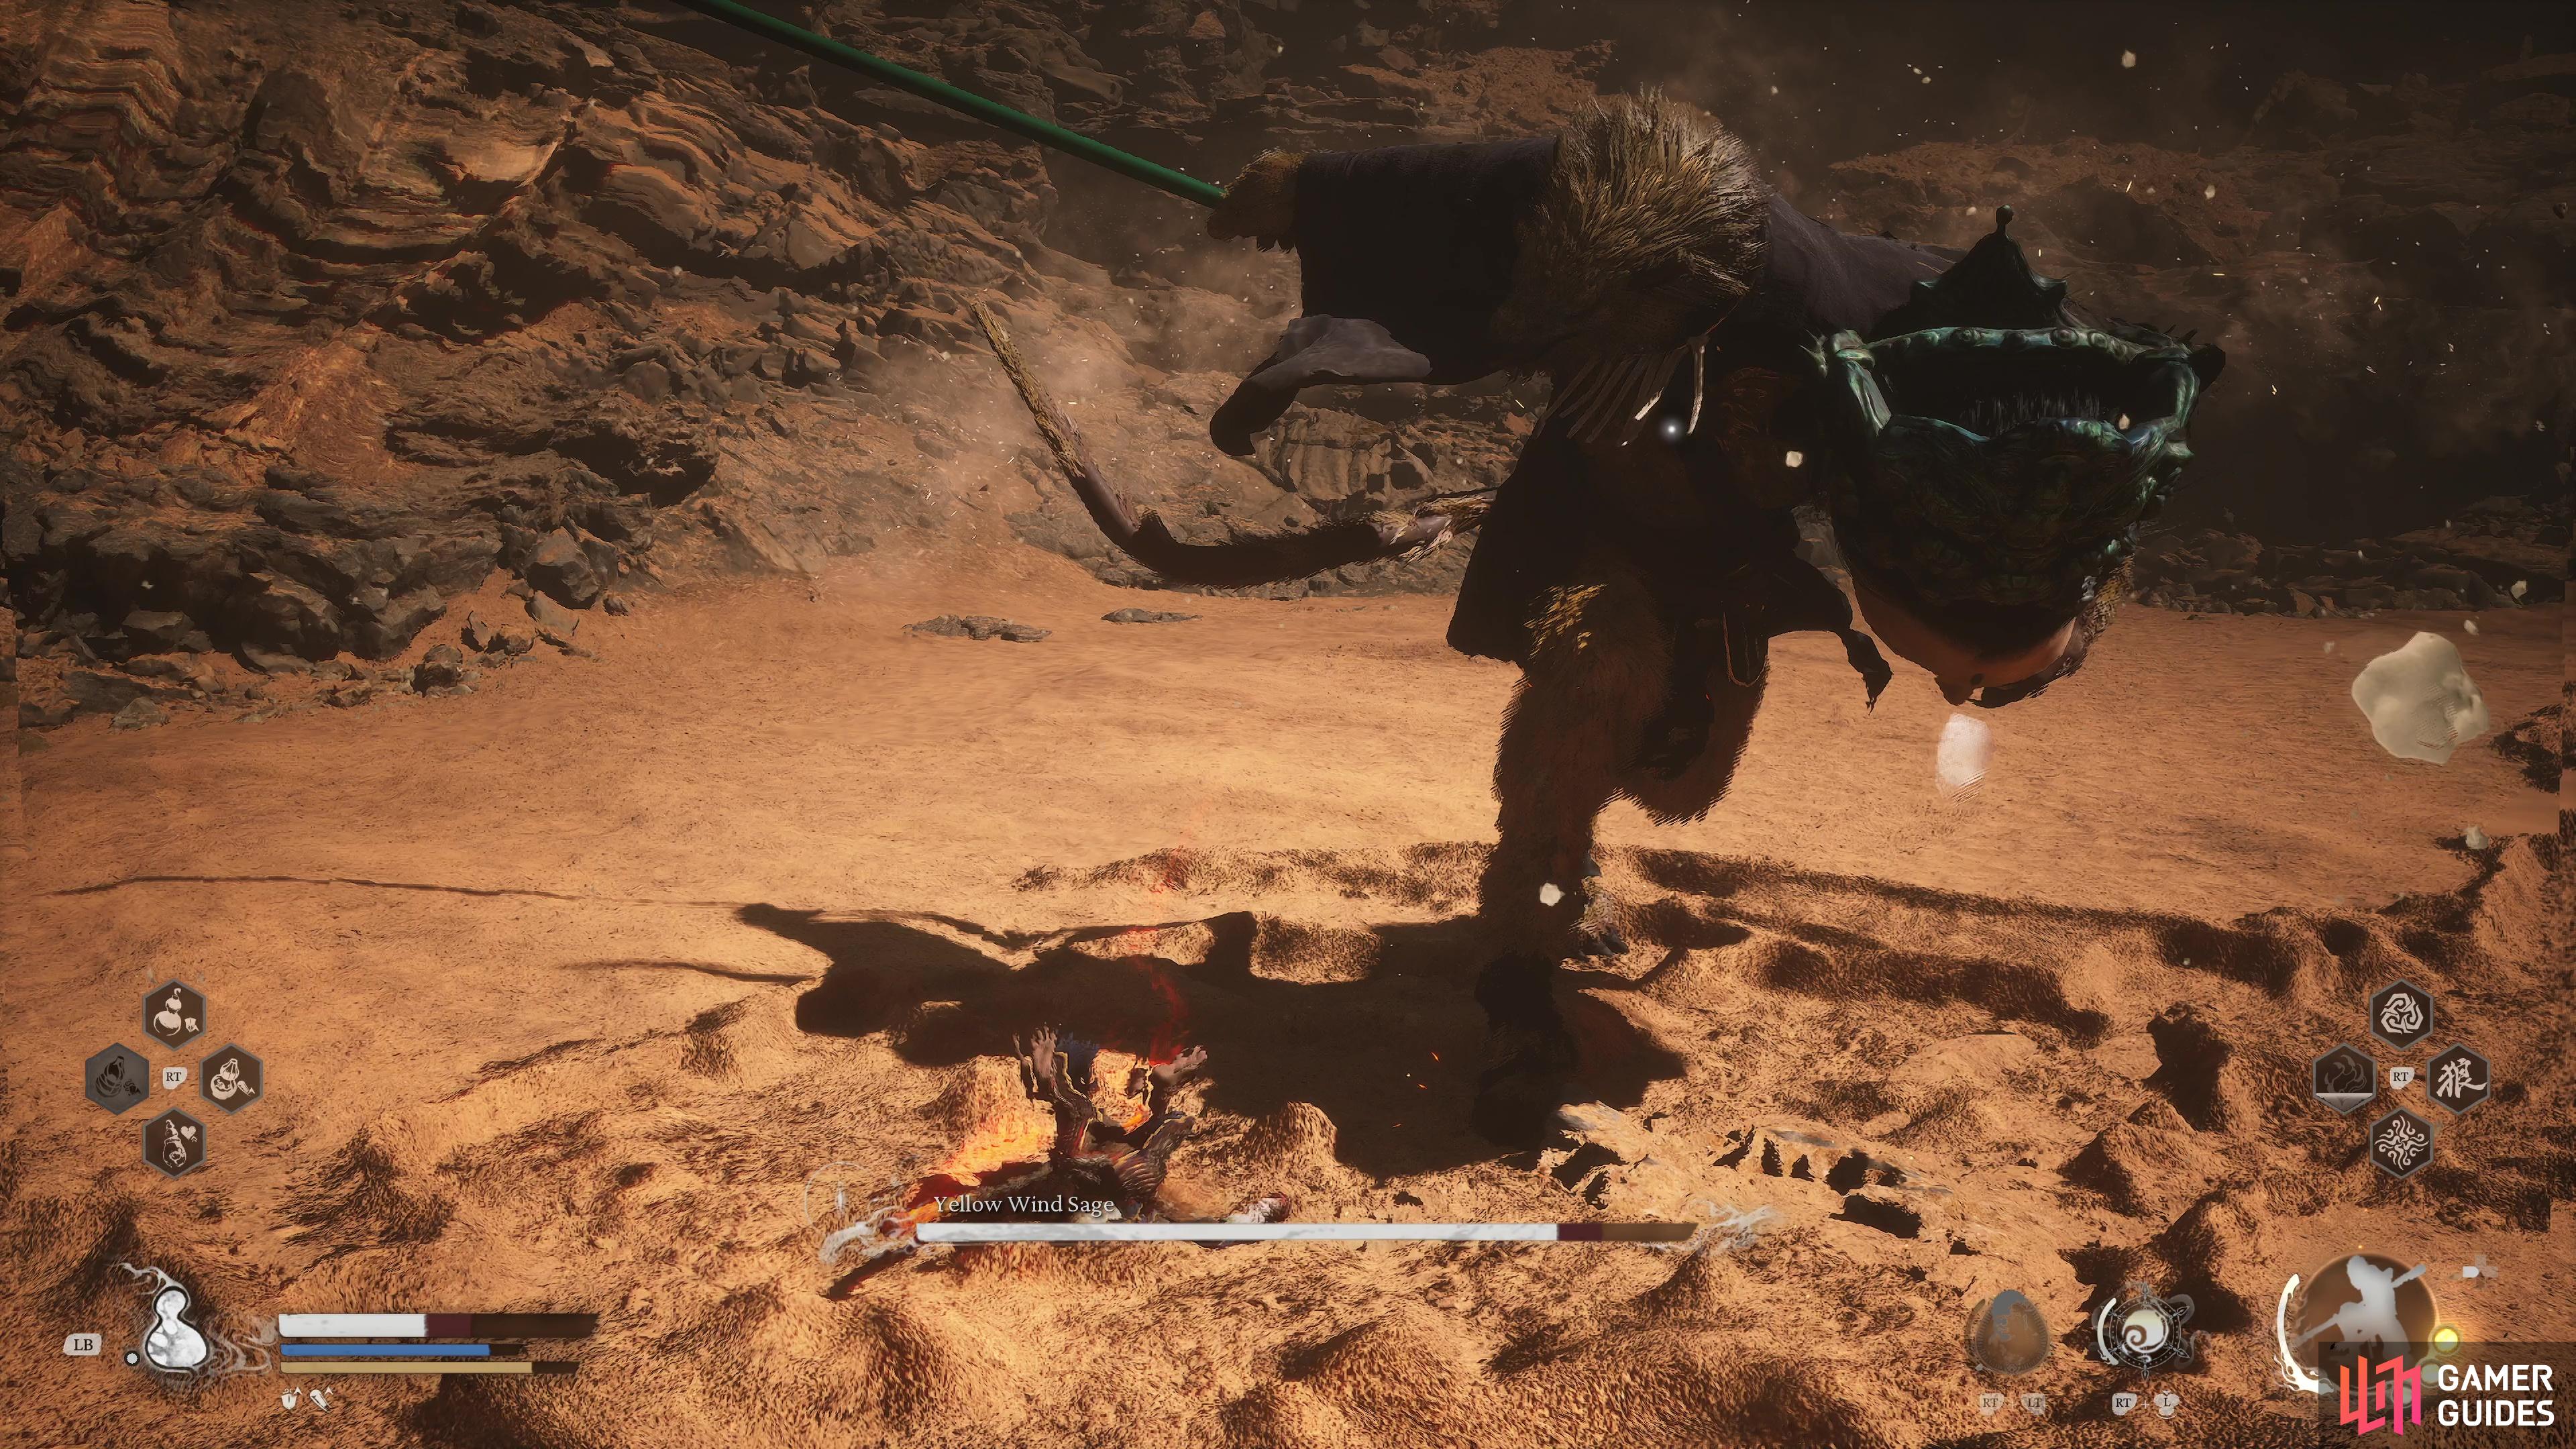
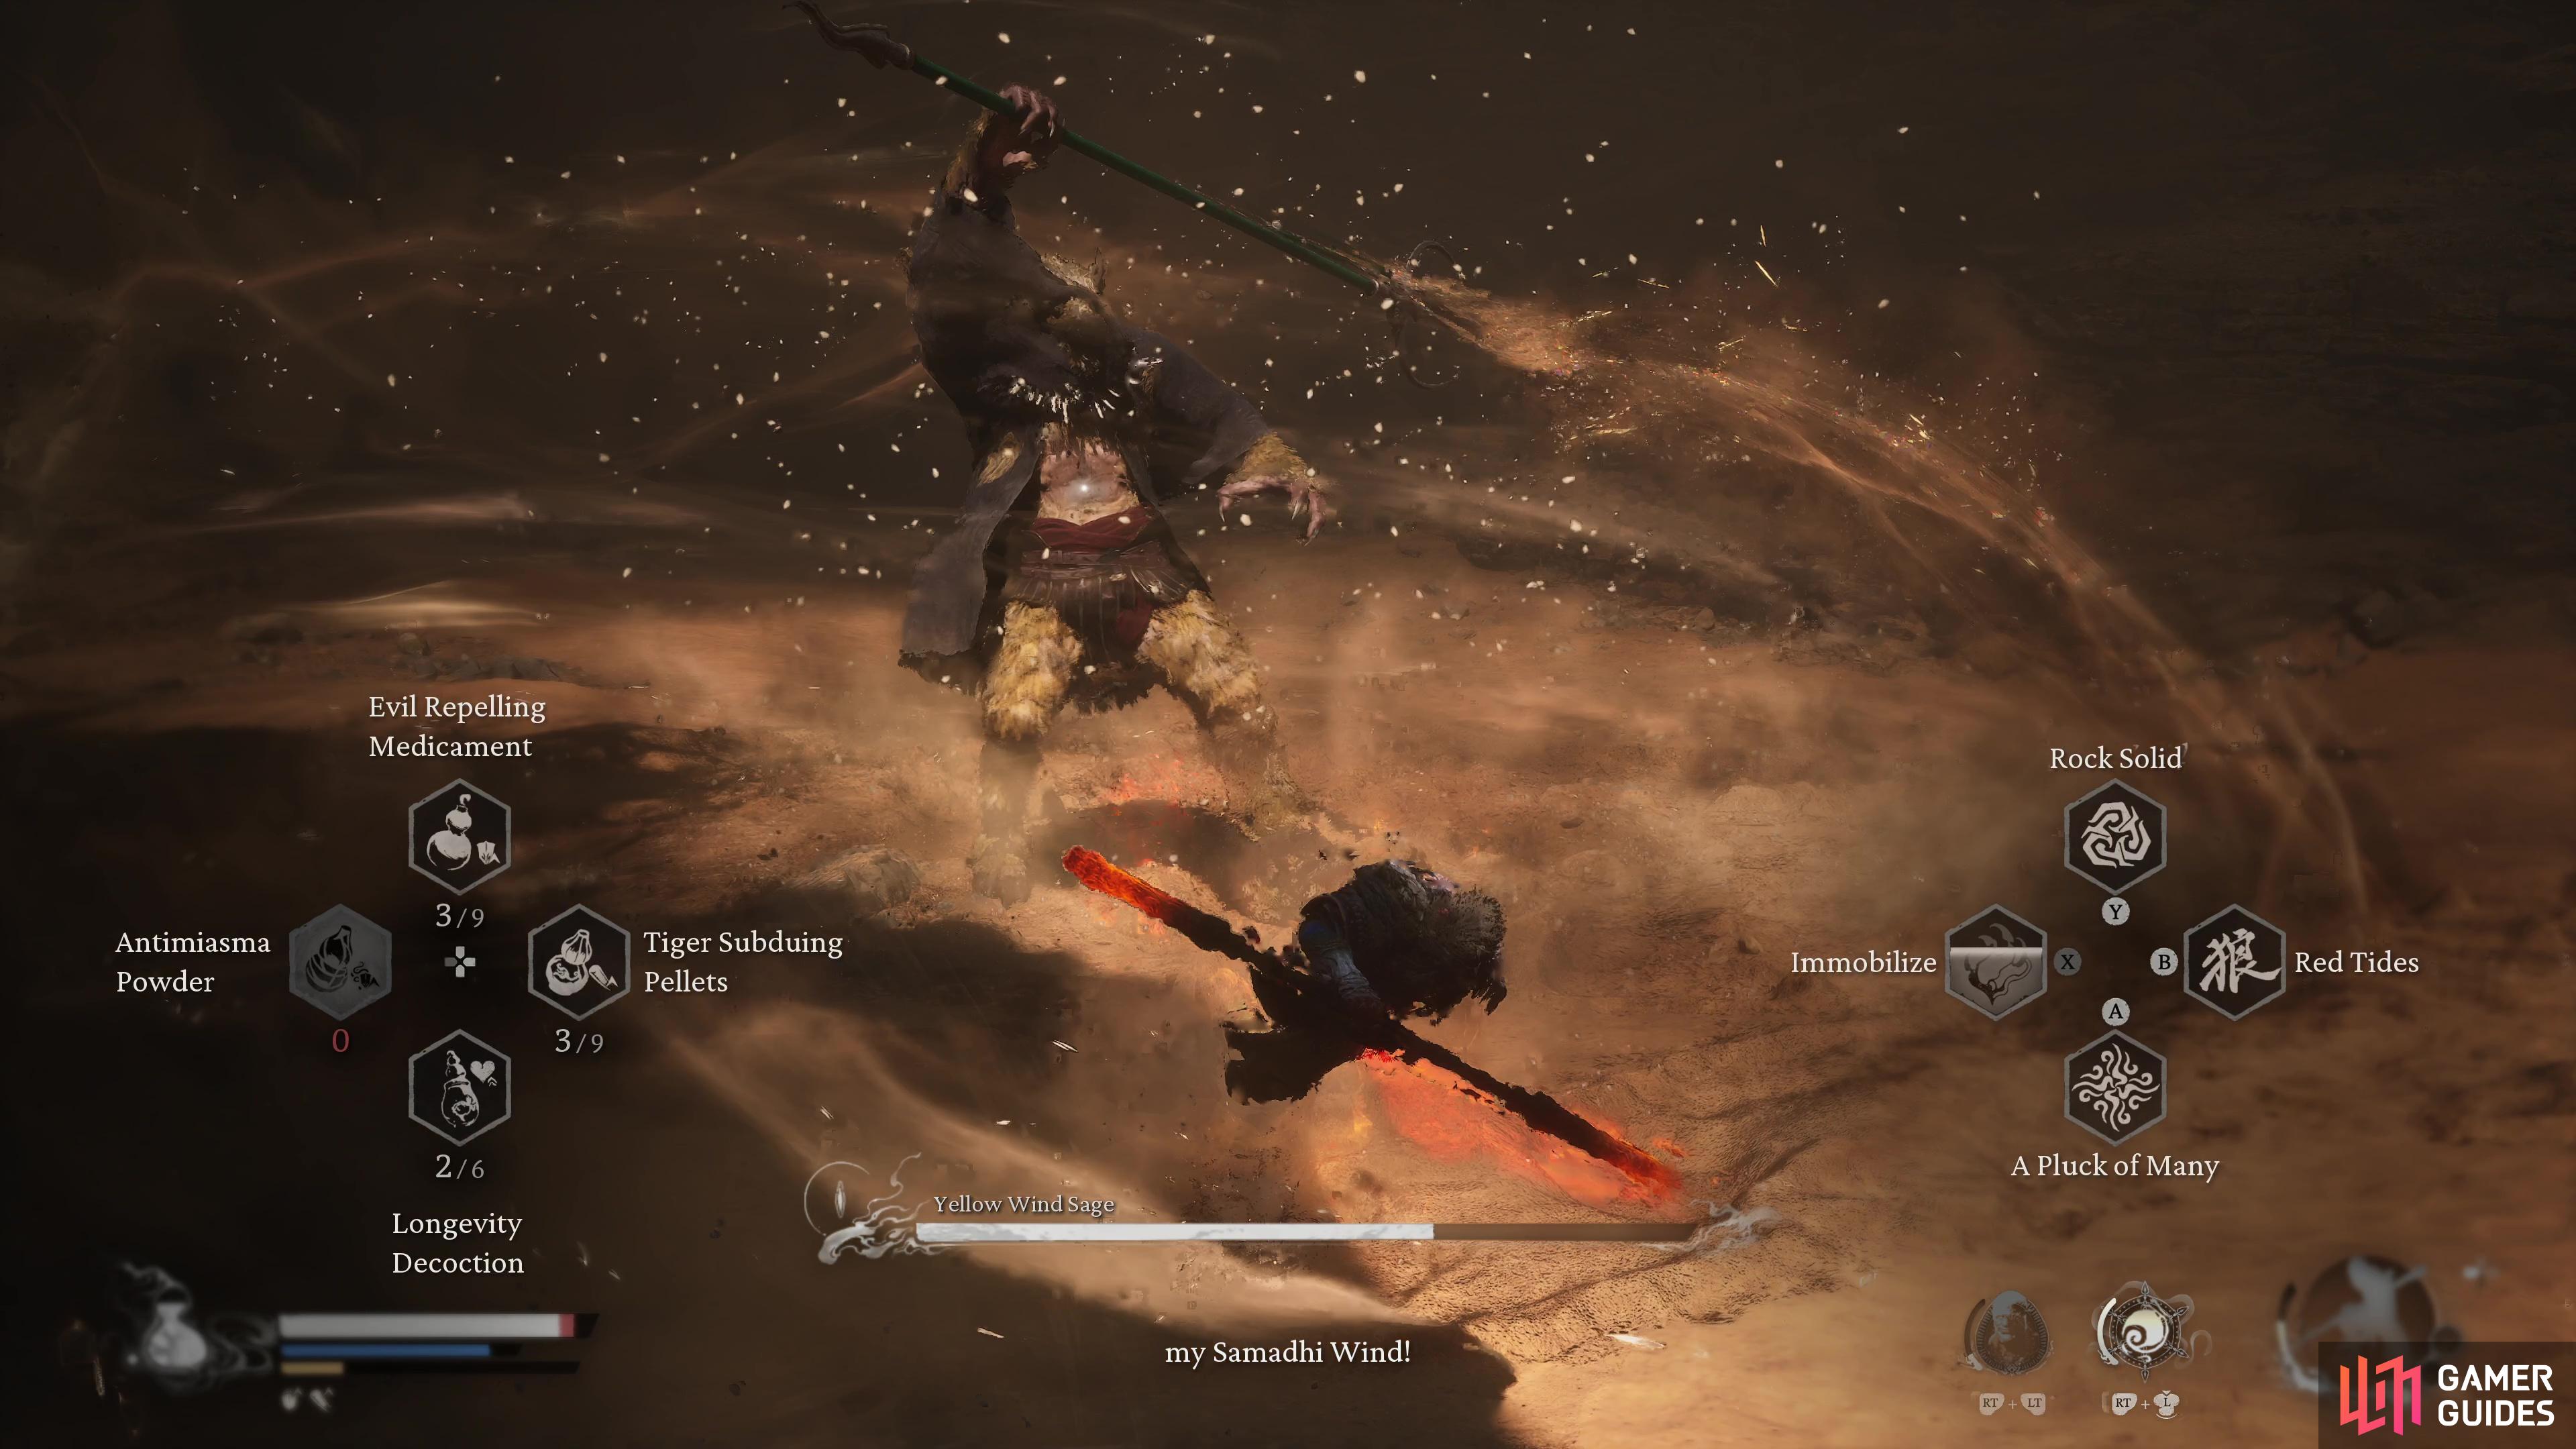
Samadhi Wind
This is akin to a phase transition, but he will spin his Trident around him as he generates the necessary wind and should you be in close proximity to him, you will take damage. If you went through the trouble to get the Wind Tamer Vessel, now is the time to use it as you’ll knock him out of this phase and stun him for a period.
Samadhi Wind Attacks
If you don’t have the Wind Tamer, or didn’t use it in time, you will have to contend with various combos the Yellow Wind Sage will use during this phase. This involves him doing a double circle slash, a kick, a leap, and, when the phase finishes, a rather lethal stomp. The name of the game here is to focus completely on dodging these attacks, as if you get caught by one, you’ll probably take damage from them all and the battle will be over.

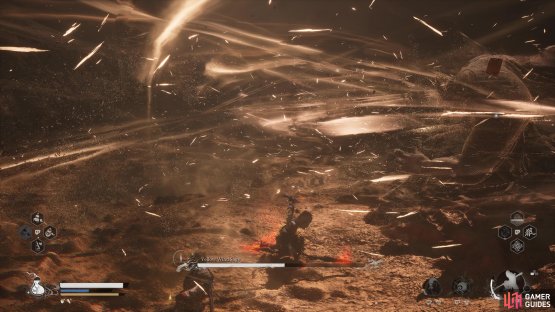
(1 of 2) The Yellow Wind Sage will conjure ferocious winds.
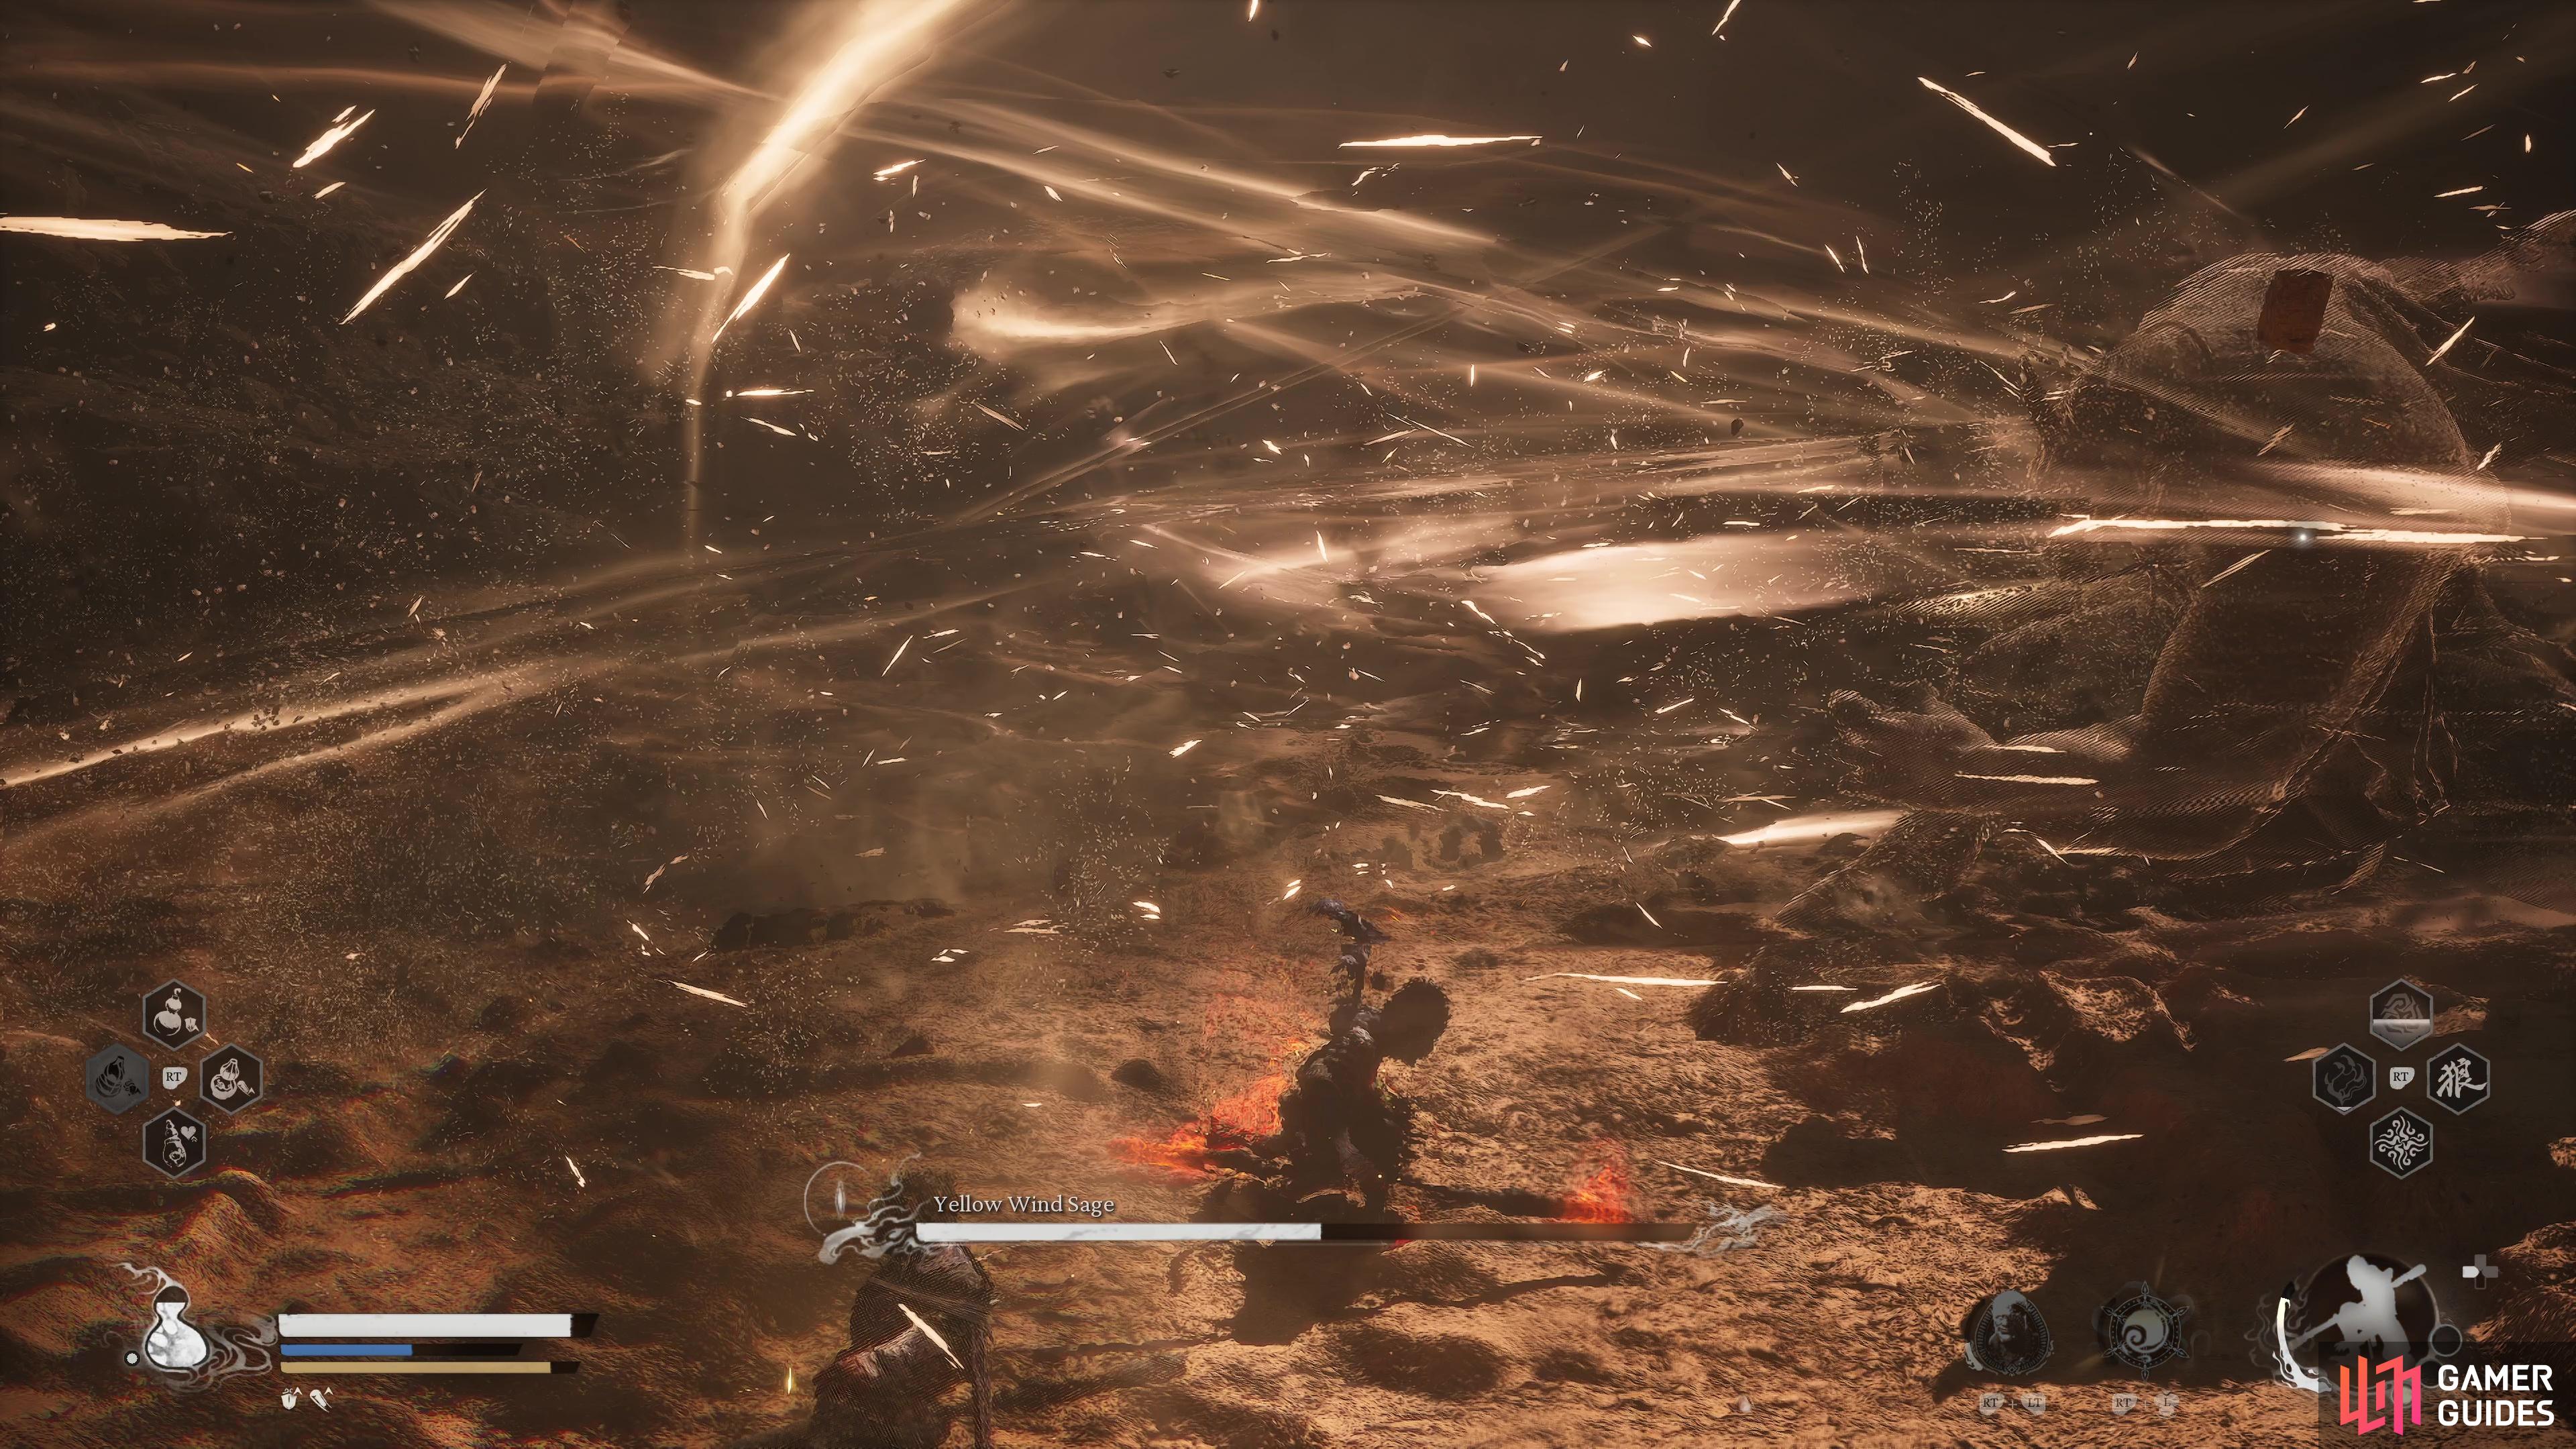
The Yellow Wind Sage will conjure ferocious winds. (left), focus on dodging attacks during this phase. (right)
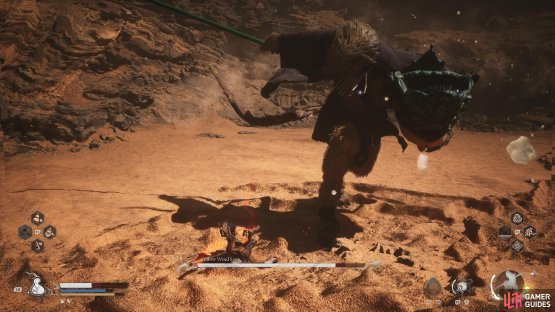
Leaping Spinning Slash
The Yellow Wind Sage will leap over you and then slash his Trident behind him, hitting a large arc in the process before coming back in with a leaping spinning slash. The first part of this attack is easy to dodge, just avoid chasing him after the leap, but be ready to dodge the follow-up spinning slash as you won’t have much time.
Summon Fuban
If you’ve already defeated the secret boss of Chapter 2, you’ll know who ![]() Fuban is. Fuban is a giant beetle and the Yellow Wind Sage will let out a loud roar before causing Fuban to launch out of the sands and toward you, wait until its body gets close and then dodge roll through it.
Fuban is. Fuban is a giant beetle and the Yellow Wind Sage will let out a loud roar before causing Fuban to launch out of the sands and toward you, wait until its body gets close and then dodge roll through it.
Vital Stab
This is perhaps the deadliest attack the Yellow Wind Sage, indicated by him attempting to kick you (he uses this at the end of Samadhi Wind too). If he catches you with the kick, he’ll stab you on the ground with his Trident, stomp on you, and then kick you away, dealing significant damage. If you avoid the initial kick, the rest of this attack won’t follow.


(1 of 2) Wait until the last moment to roll out of the way of the Summon Fuban attack.
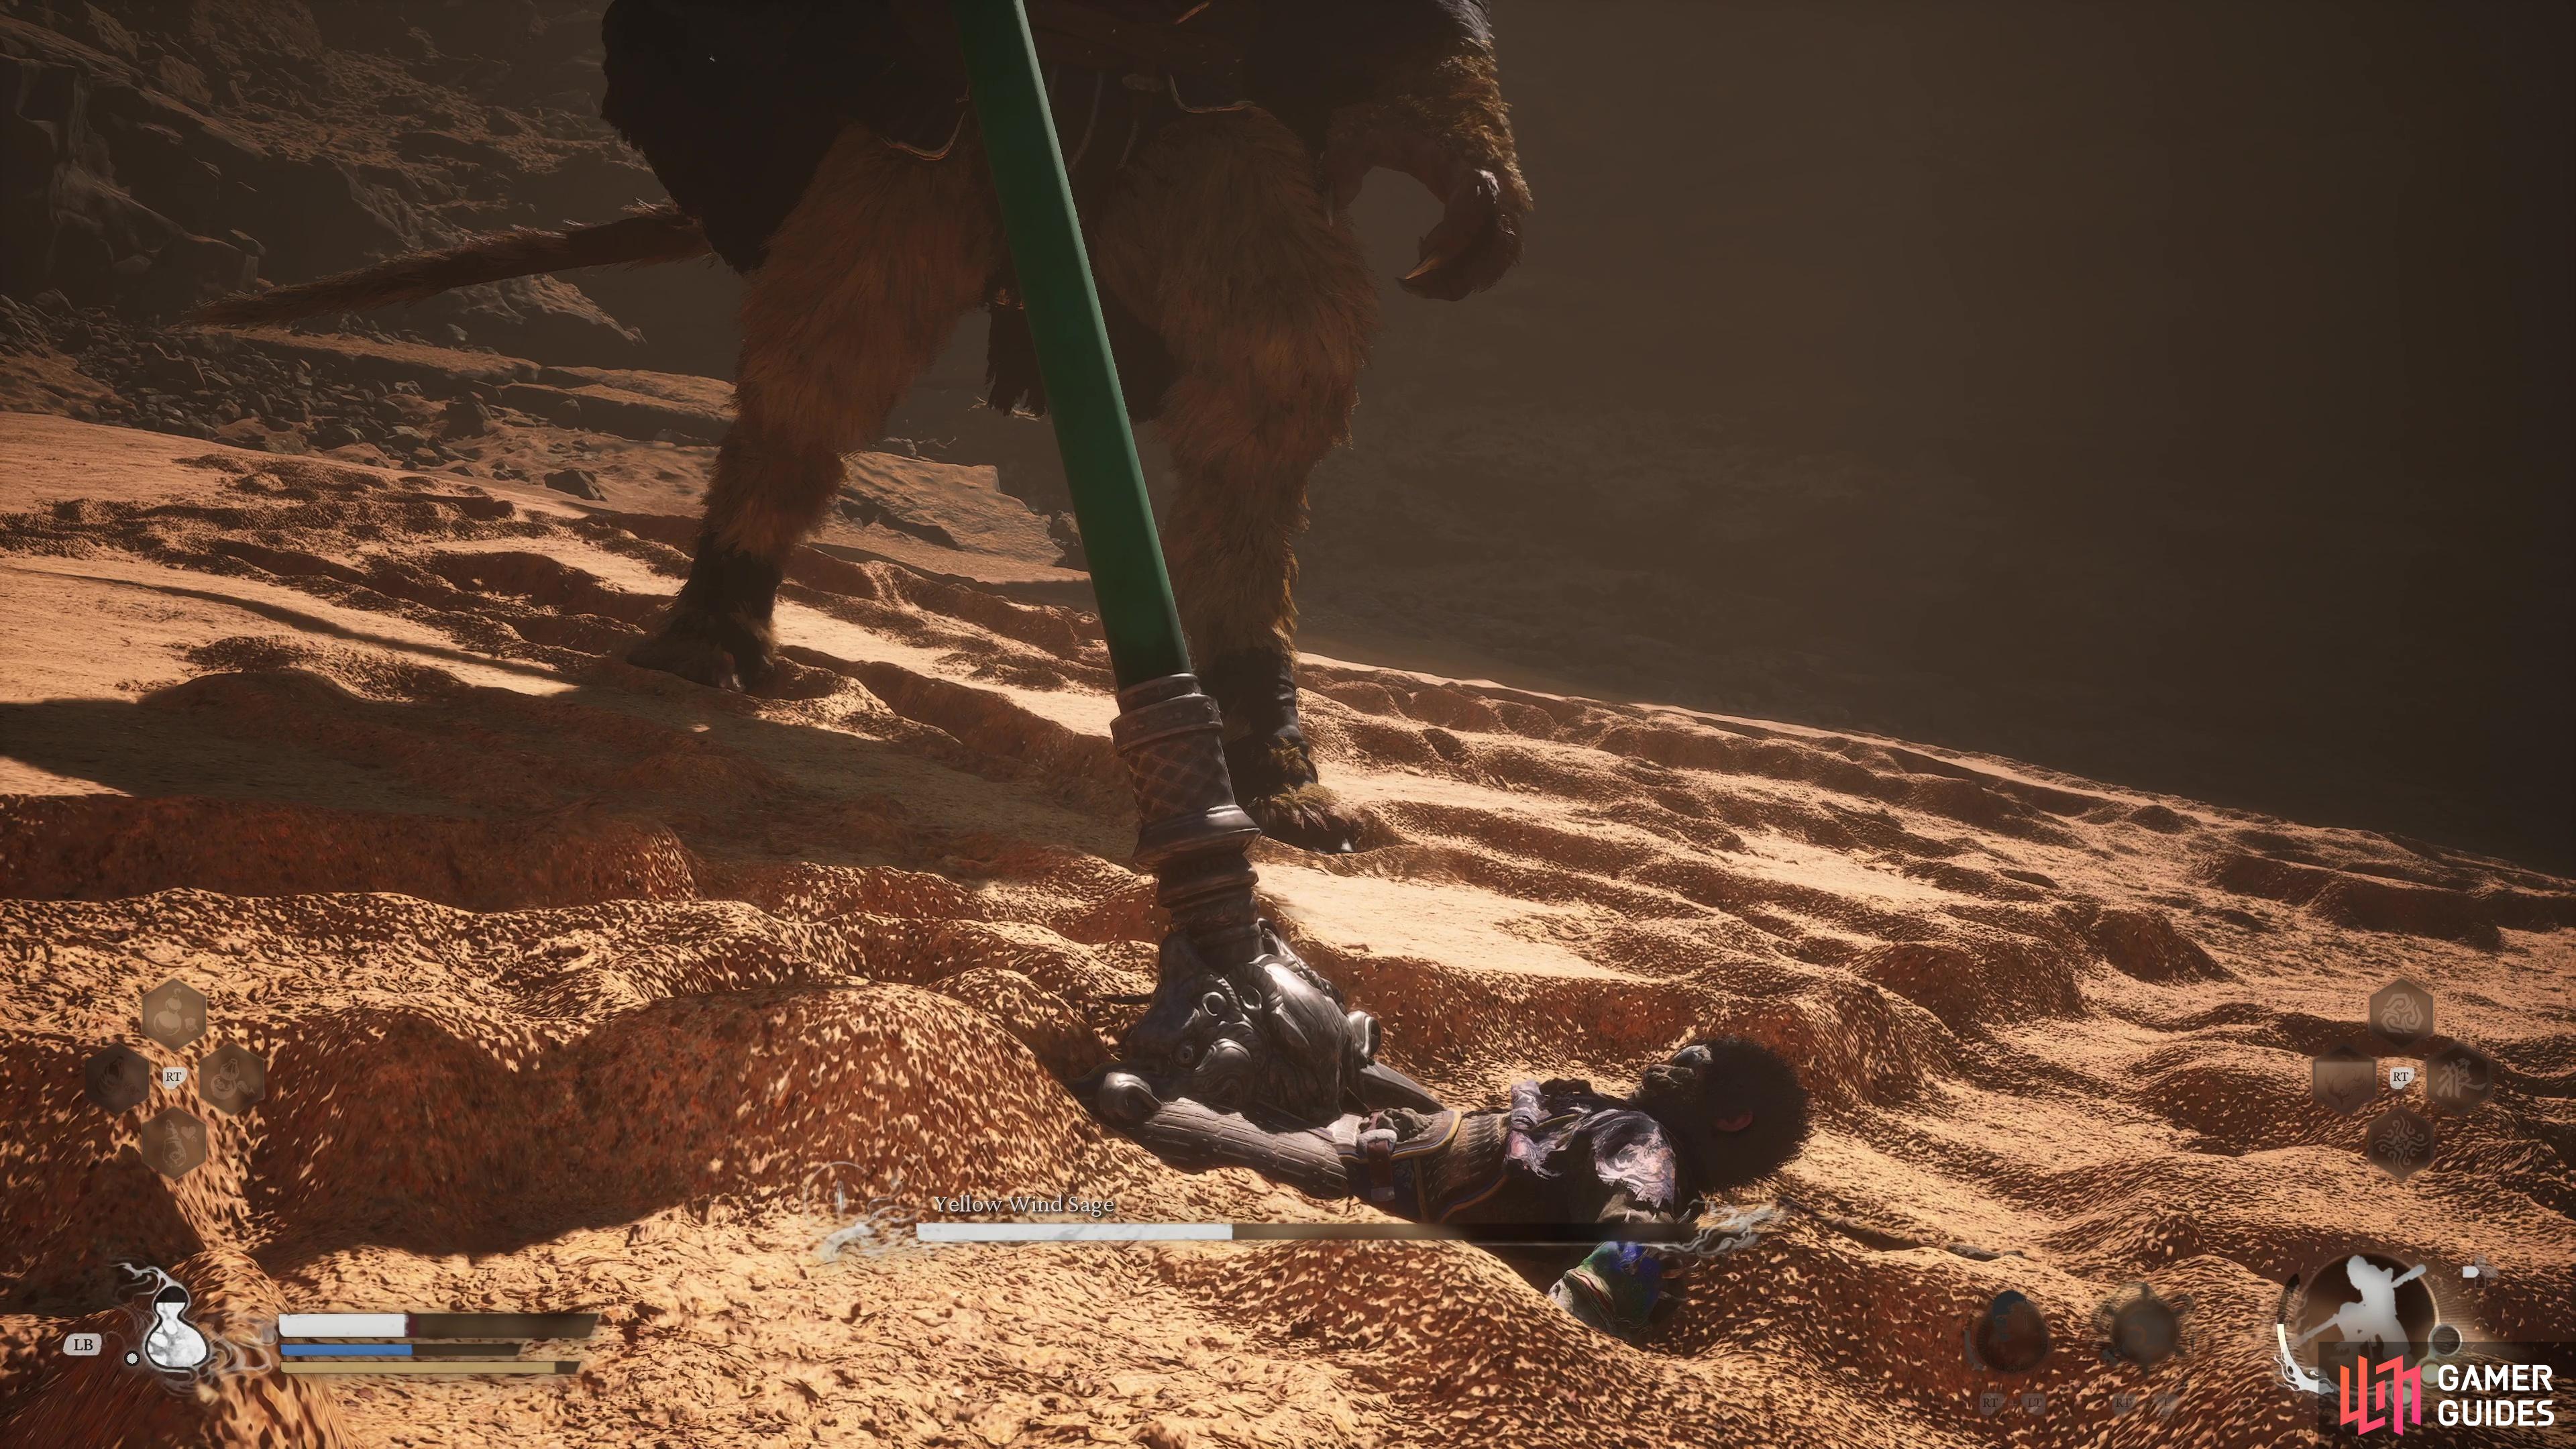
Wait until the last moment to roll out of the way of the Summon Fuban attack. (left), If you get hit by the Vital Stab attack, you’ll take significant damage. (right)
Conjure Tornado
The Yellow Wind Sage will stab his Trident into the ground and perform a conjuration that will summon a Tornado. This will persist in the arena and should you come into contact with it, you’ll be thrown to the ground and be wide open to follow-up attacks.
Trident Throw Combo
A powerful combo that the Yellow Wind Sage uses near the end of the battle. He will begin by leaping to the edge of the arena and letting out two Shockwaves. Following this, he will jump into the air and throw his Trident at you before performing three sideway slashes and a slam that shoots out smaller spears in a line. As soon as you see the Yellow Wind Sage move to the edge of the arena, move to the opposite side, this will avoid most attacks but be ready for the final slam.


(1 of 2) The Yellow Wind Sage can Conjure Tornados.

The Yellow Wind Sage can Conjure Tornados. (left), When he retreats to the edge of the arena, get to the other side to easily avoid his Trident Throw Combo. (right)
You’ll really have to be on top of your dodging game in this battle if you want to survive, so hopefully you listened to some of our early game about the Best Abilities and upgraded all of your dodge related abilities. The Yellow Wind Sage is very aggressive, and won’t leave you many opportunities to attack, so you need to look for openings while avoiding the attacks.
The best attacks, then, to look to punish the Yellow Wind Sage is after the Stomp and Stab attacks. Both are one-hit attacks and leave him wide open for a pummeling, should you dodge within the proximity of the attack. Like many enemies in Black Myth: Wukong, Smash-based attacks are very potent and often flinch the enemy. If you perform two in a row, you can often stun him for a short while, so for that reason, we liked a charged Focus Attack Smash (with at least three Focus Points) followed by using the Wandering Wight Spirit when you get a gap.
A lot of this battle, however, will come down to how well you deal with the Samadhi Wind phase of the battle. If you have the Wind Tamer Vessel, use it and you’ll stop the winds part of this phase and stun him for a while. This is your cue to get in there and deal some major damage to him, but be ready for the Samadhi Wind Attacks that follow. If you’re not confident of dodging them all during this time, it may be time for you to use your Transformation so that it takes most of the damage for you.


(1 of 2) The Yellow Wind Sage will flinch from Smash attacks.

The Yellow Wind Sage will flinch from Smash attacks. (left), Use the Wind Tamer Vessel when he goes to conjure up a windstorm. (right)
Be sure to make use of ![]() Immobilize and
Immobilize and ![]() A Pluck of Many during this battle, you’ll need to time to cast Pluck, but the extra damage and attention you get from the clones is not to be underestimated. Likewise, Immobilize remains a fantastic spell to use at all times so look to use it when he’s about to use one of his longer combos.
A Pluck of Many during this battle, you’ll need to time to cast Pluck, but the extra damage and attention you get from the clones is not to be underestimated. Likewise, Immobilize remains a fantastic spell to use at all times so look to use it when he’s about to use one of his longer combos.
Yellow Wind Sage Rewards
Beyond the obvious rewards of completing Chapter 2, you’ll also obtain the ![]() Fuming Ears Relic, a
Fuming Ears Relic, a ![]() Samadhi Wind Agate,
Samadhi Wind Agate, ![]() Cold Iron Leaves x2,
Cold Iron Leaves x2, ![]() Silk x5,
Silk x5, ![]() Yaoguai Core x2,
Yaoguai Core x2, ![]() Refined Iron Sand, and a
Refined Iron Sand, and a ![]() Mind Core, along with the usual substantial EXP reward. The Samadhi Wind Agate will let you craft a new weapon once you reach the next Shrine, the
Mind Core, along with the usual substantial EXP reward. The Samadhi Wind Agate will let you craft a new weapon once you reach the next Shrine, the ![]() Rat Sage Staff that will let you kick up a whirlwind of sands during your light attack combos! You’ll also discover you can now craft the Ochre armor set using Silk and Cold Iron Leaves.
Rat Sage Staff that will let you kick up a whirlwind of sands during your light attack combos! You’ll also discover you can now craft the Ochre armor set using Silk and Cold Iron Leaves.
No Comments